Although Instagram is the photo social media app, Facebook would not work without photos. Today, everyone is looking to sift through irrelevant content so quickly that they skip over some important stuff. So, to really catch people’s attention, those who post on Facebook often choose to include photos.
Besides, posting photos on Facebook is done for a variety of reasons – for the memories, to shed light on something, or to make people laugh.
Many people access Facebook using their iPads by default. And, of course, you can share photos on Facebook using this popular tablet. Here’s how to do it.
There are many ways to share photos on Facebook, even when only looking at the iPad. Given the fact that they share an identical OS (up to iOS 12) or very similar (iOS 13 and the more specialized iPadOS), posting/sharing/sending photos on Facebook works the same way on iPhones and iPads. This means that everything that follows is also applicable to your iPhone.
Here’s how to share photos from your iPad to your Facebook account.
You’re probably using Apple’s native Photos app to browse your photos. Whether you’ve taken photos or saved them from somewhere, all images and photos on your iPad device will be located inside this app (as well as videos, gifs, etc.)
So, to share a photo on Facebook using the Photos app, start by opening the app. Now, find the photo that you want to share. You can sort the photos by year, month, or day and zoom in or out using the pinch gestures, etc.
Once you’ve found the photo that you want to share, tap to enter it. Then, navigate to the bottom-left corner of the screen and tap the share icon (a square with an arrow pointing upward). You’ll see various social media and app icons. One of them should be Facebook.
Once you’ve tapped the Facebook icon, you’ll get to choose whether you want to share the photo on your News Feed or Story. Tap the desired share option, add a caption/other features, and tap Post or Share to Story.
You can also share photos from the Photos app using Facebook’s Messenger app. Once you’ve got the desired photo selected and are in the Shared screen, you’ll see a list of Messenger contacts. Scroll through them and select the desired messenger contact. Alternatively, select the Messenger app icon and then find/select the contact/group chat that you wish to send the photo to. You can select multiple entries.
The official Facebook app allows you to add photos to Facebook in a couple of ways. To share a photo on your News Feed, just open the Facebook app by tapping its icon on the home screen. If you aren’t on the News Feed, tap the icon that resembles a house (bottom-left corner of the screen).
Then, you’ll see the “What’s on your mind?” section. Below it are three options – Live, Photo, and Room. Select Photo. This will open the list of photos that you have on your iPad. Tap the Camera Roll feature at the top of the screen to navigate to a different album.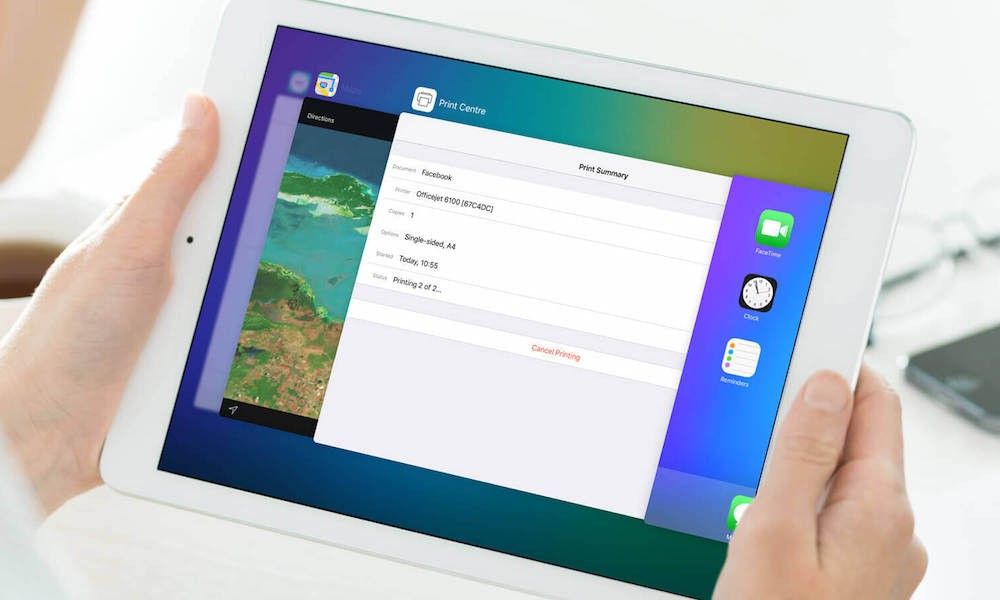 Alternatively, you can take a photo immediately by selecting the camera icon.
Once you’ve selected the photo/photos, tap Done. Then, you’ll be prompted to add a description to the photo post. Once you’re done, select Post in the upper-right corner. That’s pretty much it, your photo will be posted.
You can also change your profile photo by selecting the profile icon in the bottom part of the Facebook app screen. Then, tap your current profile picture and go to Select Profile Picture or Video. Then, you’ll be prompted to select your new profile photo. You can also edit it. Once you’re done, the modified profile picture will be shared, and your photo will be added to your Profile Pictures album on Facebook. The same goes for your cover photos.
To change the cover photo, tap your current one and then either select Upload Photo or Select Photo on Facebook to choose one of your other Facebook photos.
Facebook’s Messenger app is one of the most popular apps of its kind. Navigate to the Messenger icon and open Messenger. You’ll see a list of your previous chats. Either select a chat that you wish to share a photo to or use the Search function at the top of the screen to find the user/group in question.
Once inside the chat that you want to share a photo or photos to, navigate to the quick menu at the bottom. If you select the camera icon, you’ll automatically be redirected to your iPad’s camera, allowing you to take a photo. Take a photo and hit Send to share it.
Right next to the camera icon, you’ll see an image icon. Tap it to choose from the photos that are already on your phone. Feel free to scroll through. If you want to switch to a different album, tap the Albums option in the upper-right corner (only available if you start scrolling through photos).
Once you’ve selected the photo or photos that you want to share to the app, a Send option will appear. Tap it to send the photos to the chat you’re in.
If you go to the Safari app and visit www.facebook.com, you’ll be able to share photos from there as well. It’s all fairly similar to sharing the photos via the Facebook app. On the News Feed screen (this option located in the upper-right corner of the screen this time), select the Photo entry. Now, either tap Take Photo or Photo Library. You can choose multiple images just the same.
Once you’re done selecting, and once your post is ready to go, tap Post (upper-right corner or bottom of the screen).
Sharing photos to Facebook using an iPad has been made very simple and straightforward. Plus, there are multiple ways to do it. Keep in mind that this applies to iPhones, considering the similarity of the OS.
Have you managed to share your photo/photos to Facebook the way you wanted to? Did you have something else in mind? Feel free to let us know in the comments below, and fire away with any questions or tips that you might have.
... Peter Macdiarmid/Getty Images News/Getty Images
Your iPad offers Facebook integration, which means you can seamlessly transfer photos from your device to your Facebook page. This feature enables you to bypass the need for a special app or use an alternate method for delivering the pictures. Before you can take advantage of this tool, you need to sync your Facebook account to your iPad. After that, you can simply select images from an iPad app, such as Photos or Camera, to post the pictures you want.
Tap "Settings" on the home screen, tap "Facebook" and sign in.
Tap the "Sign In" button and read the information that launches to understand how Facebook interacts with your iPad. Besides enabling you to transfer pictures, Facebook can work with Contacts and Calendar on your iPad to sync information, as well as connect Facebook apps with your Facebook account. Click the "Sign In" button to continue.
Click the "Later" button to finish connecting Facebook. Optionally, click the "Install" button, which adds the Facebook app to your iPad and provides access to your Facebook account on your device.
Tap an app, such as "Photos," that contains the images you want to transfer.
Tap the picture you want to post on Facebook, and then tap the "Share" button, resembling a square with an exiting arrow.
Tap "Facebook" and enter a description in the provided fields. Tap "Post" to publish it to your Facebook page.
Brandy Alexander has been writing professionally since 2001. She is a glass artist with a Web design and technical writing background. Alexander runs her own art-glass business and has been a contributor to "Glass Line Magazine" as well as various online publications.
Home » iPad
Author Gleb Zakharov Reading 4 min. Views 128
Content
Sending a photo to Facebook from your iPad couldn't be easier. There are actually several methods you can follow so you can make your choice whichever is easier for you.
You can upload photos or videos to Facebook directly from your iPad via Safari, or use the Facebook mobile app. However, perhaps an even easier way to send photos to Facebook is to do so directly from the Photos app, or even from the camera app.
There are two ways to use the Photos app to send images to Facebook. You can do this for images you've taken before, or for an image or video you just took in the Camera app.
To use the Photos app, simply open the app and select the image you want to post to Facebook. If you want to send several at the same time, select Select and then select all the photos and/or videos you want to post on Facebook.
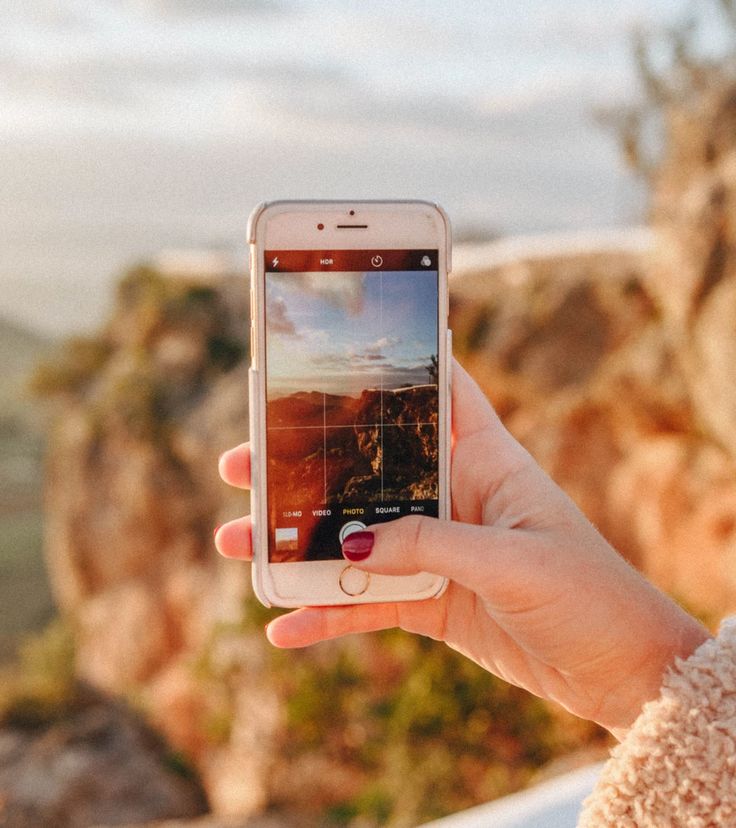
To send a photo or video you just took, stay in the Camera app and then tap on the thumbnail on the right that shows the image/video.
In any case, follow the instructions below:
This method requires you to have the Facebook app installed on your iPad. You can download Facebook for iPad if you don't have it.
Click the share button at the top.
Select Facebook from the list.
If you don't see the Facebook option, select Greater than , find Facebook in the list, and click the button next to it to make it green instead of white.
Wait until the image or video is ready to be uploaded. This may take some time if it is a high resolution photo, if there are multiple objects, or if it is a video. You may not even see the progress bar if it's a small element.
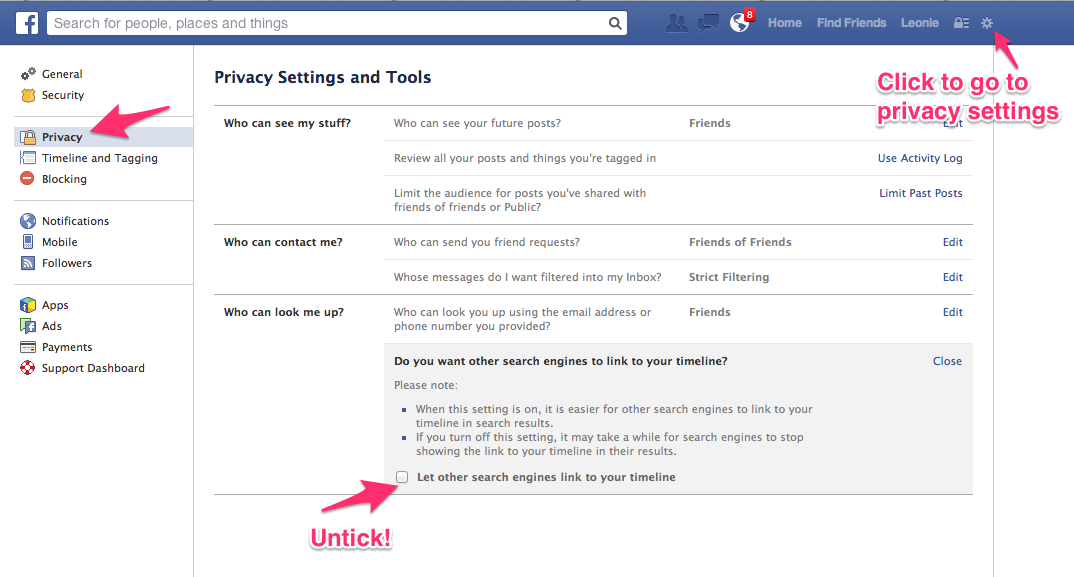
Optionally write a message to go along with the image. You can also select this time to choose who can see the image and decide if you want to add it to your photo album on your Facebook page.
Press Next .
Select Share to send your iPad photo or video to Facebook.
As you can see in this screenshot, there are some other elements you can customize, such as sending a photo/video to a Facebook group or a friend's timeline.
You should see the image/video on Facebook immediately, but if not, pull the page down to refresh.
The Facebook app has a Photo button that you can click to select the images and videos you want to send to Facebook from your iPad.
Click News Feed at the bottom of the app. Another way is to choose Menu and then tap your name to go to your profile.
Select Photo in message What's on your mind? .
Click on each image and/or video you want to send to Facebook from your iPad. To change the album you are viewing, select Camera Roll at the top.
Select Done when you're done choosing what to post on Facebook.
Write something if you want (you don't have to) and optionally use the buttons below your name so you can choose who can see the Facebook post and what album (if any) you want to post it under.
Select Post to share videos or photos from your iPad to Facebook.
You can also share photos and videos on Facebook through a web browser such as Safari, Chrome, Opera Touch, Firefox, etc.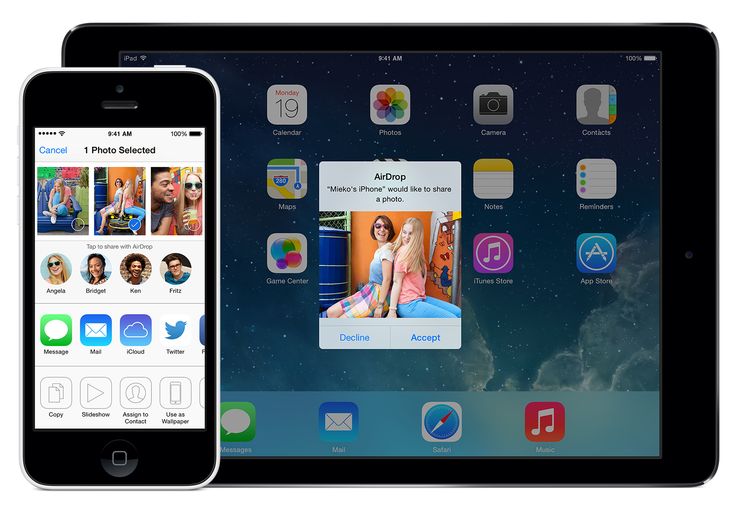 The Facebook mobile page works the same in all browsers, so you can use any mobile browser you like. needed.
Open Facebook.com in a browser.
Click Photo/Video on the News Feed page or on your profile.
To do this, select Take a photo or video or Photo library to select something from your iPad and send it to Facebook. Another option is Browse , which lets you find something from iCloud Drive.
To send photos or videos to Facebook that are stored on your iPad, press Done when you select them. If you decide to take a photo or video right now, do so, and then select Use photo or Use video .
Optionally customize the message with text, choose who can see the photos and videos you share, and add more elements. Click Share to share videos and photos on Facebook.
Although Instagram is photo, Facebook won't work without photos. Today, everyone strives to weed out irrelevant content so quickly that they miss something important. So, to really grab people's attention, those who post on Facebook often include photos.
Here's how to share photos from your iPad to your Facebook account.
You probably use the native Apple Photos app to view your photos. Whether you took photos or saved them from somewhere, all images and photos on your iPad device will be inside this app (as well as videos, gifs, etc.)
Windows apps, mobile apps, games - EVERYTHING is FREE, in our closed telegram channel - Subscribe :)
So, to share a photo on Facebook using the Photos app, start by opening it. Now find the photo you want to share. You can sort photos by year, month, or day, and zoom in or out with pinch gestures, and more.
Once you find a photo you want to share, tap to enter it. Then go to the bottom left corner of the screen and tap the share icon (a square with an arrow pointing up). You will see various social media and app icons. One of them should be Facebook.
After you click the Facebook icon, you can choose whether you want to share the photo on your news feed or story. Tap the post option you want, add a title/other features, and tap Post or Share to Story.
You can also share photos from the Photos app using the Facebook Messenger app. After you select the desired photo and go to the shared screen, you will see a list of Messenger contacts. Scroll through them and select the desired contact in the messenger. Alternatively, select the Messenger app icon and then find/select the contact/group chat you want to send a photo to. You can select multiple entries.
The official Facebook app allows you to add photos to Facebook in several ways. To post a photo to your news feed, simply open the Facebook app by tapping its icon on the home screen. If you're not in the news feed, tap the house icon (lower left corner of the screen).
You will then see the message "What's on your mind?" chapter. Below are three options - "Live", "Photo" and "Room". Select Photo. A list of photos that are on your iPad will open. Tap the Camera Roll feature at the top of the screen to switch to another album. In addition, you can immediately take a picture by selecting the camera icon.
Once you have selected your photo/photos, click Done. You will then be prompted to add a description to the photo. When you're done, select Publish in the top right corner. That's it, your photo will be published.
You can also change your profile photo by selecting the profile icon at the bottom of the Facebook app screen. Then tap on your current profile picture and select "Select profile picture or video". You will then be prompted to select a new profile photo. You can also edit it. When you're done, the modified profile picture will be posted and your photo will be added to your Facebook profile picture album. The same goes for the cover photos.
To change the cover, click on the current one, and then select "Upload Photo" or "Select Facebook Photo" to select one of your other Facebook photos.
The Facebook Messenger app is one of the most popular apps of its kind. Navigate to the Messenger icon and open Messenger. You will see a list of your previous chats. Either select the chat where you want to share the photo, or use the search feature at the top of the screen to find the user/group you want.
Once you're in the chat you want to send your photo or photos to, go to the quick menu at the bottom. If you select the camera icon, you will automatically be redirected to your iPad's camera, allowing you to take a photo. Take a photo and click "Submit" to share it.
You will see an image icon next to the camera icon. Touch it to choose from the photos you already have on your phone. Feel free to scroll. If you want to switch to a different album, tap the Albums option in the top right corner (only available when scrolling through photos).
Once you have selected the photo or photos you want to send to the app, the Send option will appear. Tap it to send photos to the chat you're in.
If you go to the Safari app and visit www.facebook.com, you can also share photos from there. It's all pretty similar to sharing photos through the Facebook app. On the News Feed screen (this time it's in the top right corner of the screen), select the "Photo" entry. Now click "Take Photo" or "Photo Gallery". You can select multiple images in the same way.
Once you've made your selection and when your post is ready to be published, click Publish (in the top right corner or bottom of the screen).
Sharing photos to Facebook using iPad has never been easier.