How to post high quality videos on instagram story
Instagram Story: 3 Steps to Get High-Quality Video
I have a few tips to try to help you get the high-quality video on the Instagram story that you can brag about. Have you been adding videos to your Instagram feed and Instagram story, and it just doesn’t look sharp and crisp and high-quality like you expected it to? So, here are the 3 steps to get a high-quality video on the Instagram story that you can show to your followers and friends.
1.
How to get the higher quality video to file for your Instagram storyOne of the best ways to get a high-quality video file is to use a DSLR or mirrorless camera like this one here, but you don’t need an expensive camera to get a high-quality video file for Instagram.
What I did was I took this test image right here used for focus on a camera and recorded it on multiple different devices and different ways and tested how Instagram used each of those files and compressed them and which one came out with the highest quality image.
When recording using the Instagram app, Instagram tells your camera to record in a lower resolution than it’s capable of. My camera on the iPhone 8 Plus was recording at 720p.
Tip #1: I have to record in the iPhone’s camera app or another camera app that lets you record in at least 1080p And then add that video to your Instagram feed or Instagram story. This will give Instagram a higher-quality video file to start with.
Tip #2: If you can record on a DSLR camera, all of the video files that I recorded on an external camera like that ended up looking better in the end after Instagram’s compression. A lot of the tips out there suggest exporting videos from a DSLR or mirrorless camera at an extremely low bit rate that Instagram says is the ideal video size.
Tip #3: They recommend 1080 by 1080 video at about 3.5 megabits per second. Through my testing, I uploaded multiple different versions from DSLR cameras, including 4K, all the way up to a 50 megabit per second, all the way down to the recommended 1080 by 1080 at 3. 5 megabits per second. And from that testing, I was not able to visually see any difference in any of the videos.
That lets me know that most likely Instagram compresses the video no matter what file size you give them. So what I would recommend is to find a medium in there somewhere that gives you a high resolution, a decent bit rate, and let Instagram have the most information to compress down to the video size, since they’re going to compress it anyway.
2.
Getting a high-quality video file without being compress on Instagram storyDSLR to PCIf you’re recording this on your iPhone, then it doesn’t really matter. The file is already on your phone, but if you’re recording on a DSLR, depending on the devices that you’re using will depend on how to get the file from your computer to your phone. It’s important to know that texting or emailing your video file will compress it before it ever makes it to your device.
Mac to iPhoneIf you’re going from a Mac to an iPhone, it’s best just to Airdrop the file. If you’re going from PC to iPhone, it’s best and easiest for me to use the VLC app. Once you have the VLC app open, go to the cone in the top left corner, press that. Turn on sharing via wifi and then go to your computer and type in the IP address that shows up on your phone. Once you have that open, just drag and drop the video file into the window and that video file will instantly show up on your phone.
And then you can press edit, select your video file, and press the arrow at the bottom and save the video to your phone. This takes the video from your computer to your iPhone without any compression.
PC to AndroidNow, if you’re going from a PC to an Android phone, I think it’s easiest just to plug your phone into the computer and transfer via USB.
Mac to AndroidNow, if you’re going from a Mac to an Android, you’re probably going to have to use something like Google Drive, or Dropbox, or another cloud storage service to transfer that video file.
In my experience, the videos typically look less compressed when I upload them with a strong wifi signal versus a weak cell signal. Again, that is not proven at all, it may not even be true, but I try to upload all of the videos on a strong wifi signal.
3.
One of the most common mistakes that I’ve seen in getting a high-quality video…I’ve seen clients of mine make when uploading videos that I’ve made for them for Instagram stories or Instagram feed is not using the full resolution or size of the video on the post.
Instagram defaults to a one by one ratio on an Instagram feed post, but they will accept up to a four to five ratio video post on the post, which will make your video take up more of the screen when somebody is watching it.
But you have to press the little two arrows in the bottom left corner to make that video on its full resolution. And then once you add it, it will fill up the whole screen./cdn.vox-cdn.com/uploads/chorus_asset/file/22714641/reshare.jpg) With Instagram stories, I suggest cutting up the video into 15-second segments or less before adding to Instagram stories.
With Instagram stories, I suggest cutting up the video into 15-second segments or less before adding to Instagram stories.
Instagram will cut up smaller videos, but you have a little more control of the timing if you do it in another app or in your editing program before you upload the videos to your phone.
ConclusionThere are certain factors that you cannot control. Number one, I found Instagram’s compression is inconsistent. Depending on the environment, uploading over the cell network, or over wifi, or many other factors that we probably don’t even know.
Instagram does not compress every video equally. Throughout my testing, I uploaded the same video to Instagram multiple times. This is not something that you will be able to control.
One tip is Instagram compression does take some time, so often you need to wait 10 minutes or so to go back and view your video once it’s been through compression. Immediately, it may look super low quality as Instagram is processing that file.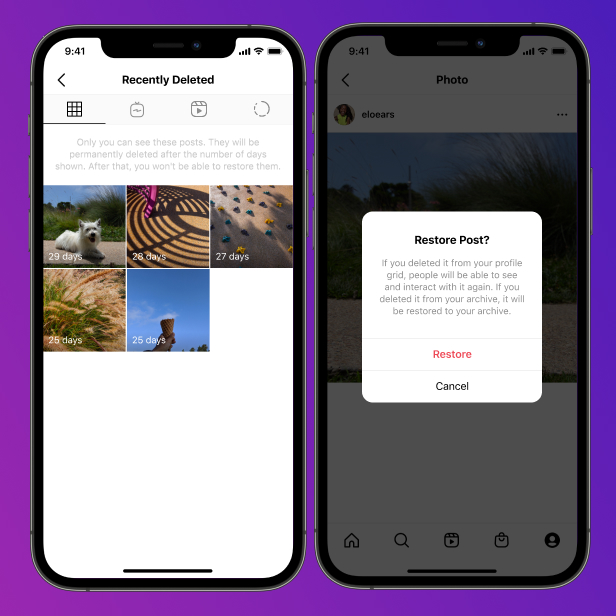
The second thing you cannot control is how the end-user is viewing your video on Instagram. If they are in a low connection quality environment, Instagram is going to deliver a lot lower resolution of the video than you originally upload and the Instagram compress to start with. Also, Instagram delivers different quality files to different devices. So purely depending on the device that the end-user is using to watch your video can change the resolution and quality that they see.
I hope you were able to get a few tips to upload higher-quality videos on your Instagram Stories.
Instagram Story Video Quality Bad After Upload? Fix It!
Summary: Instagram story video quality bad after upload? In this article, we will tell you why Instagram Story videos go blurry and how to fix this issue. Check it out!
If you are an Instagram user, you will be aware of the importance of Instagram video/photo quality. However, on Quora and Reddit, you see lots of threads like this.
My videos become poor quality after uploading them to Instagram. There is no problem with the video. Why and how to fix this problem?
- Question from a Quora User
Instagram Story video quality bad issues may happen for various reasons, including the Internet connection, the app version. Whatever the case is, Instagram story video quality bad issues are not hard to solve. Follow the methods below and say no to blurry Instagram story videos.
Also Read: 8 Best Instagram Video Background Music Resources >
Fix Instagram Story Video Blurry Issues Tip 1. Check Internet Connection
If your Internet connection is not stable, the uploaded Instagram story videos might get blurry because they are not fully loaded. That’s not all, while you are uploading videos to Instagram under bad Internet connection, Instagram will automatically reduce the video quality in order to upload it. Try to connect your devices to a stable WIFI switch to mobile data.
Fix Instagram Story Video Blurry Issues Tip 2.
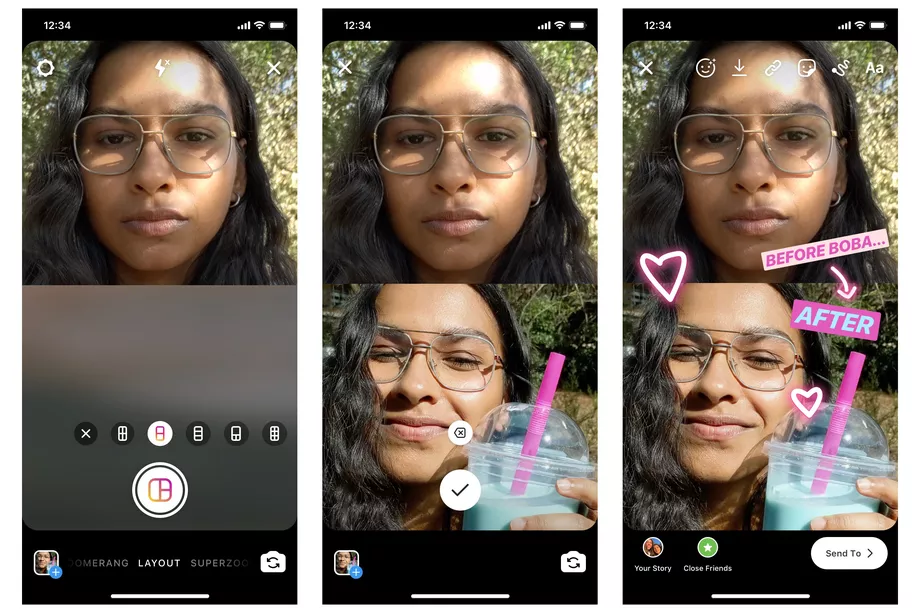 Try Different Videos & Photos
Restored your phone from a backup? Try another video or photos. The clarity of photos and videos may change in a corrupted backup.
Fix Instagram Story Video Blurry Issues Tip 3. Reset Network Settings
On iPhone, to reset network settings, you have to go to Settings > General > Reset > Reset Network Settings. On Android phone, you need to go Settings >Backup and reset > Reset Network Settings.
Fix Instagram Story Video Blurry Issues Tip 4. Adjust Camera Settings
When your phone can’t capture high-quality video, here is what you do to adjust phone camera settings.
On Android:
Step 1 Open the default Camera app on your phone.
Step 2 Click on the Settings icon shaped like the gear icon.
Step 3 Adjust the picture and video size to the highest quality.
On iPhone:
Step 1 Launch iPhone Settings app on your phone.
Step 2 Find Camera.
Step 3 Adjust camera quality and toggle the “Auto DHR” on.
Fix Instagram Story Video Blurry Issues Tip 5. Your Phone Might Be Too Good
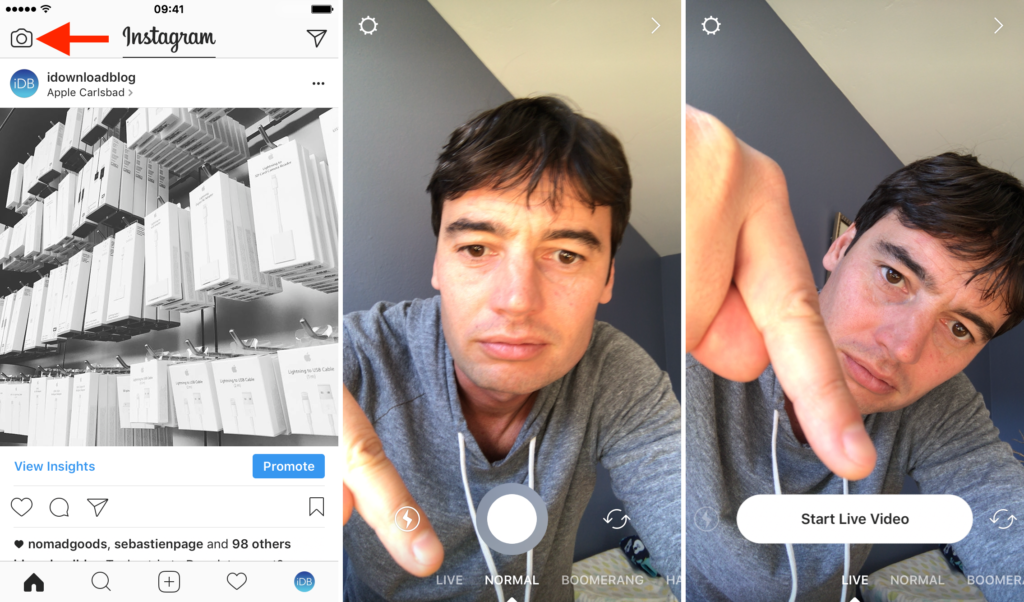
Instagram limits the size and quality of the photo and video you uploaded. If you are uploading a video or photo that is too large, Instagram will compress it so that your video could be loaded faster. As a solution, don’t use phone’s camera. Use Instagram’s camera instead. No trimming, no quality loss.
Fix Instagram Story Video Blurry Issues Tip 6. Update the App
When you are in the older version of Instagram, the Instagram Story video might appear worse. Update it so that you can enjoy the new Instagram journey.
Fix Instagram Story Video Blurry Issues Tip 7. Adjust Instagram Settings
Instagram burns your mobile data. To prevent you from overusing the data, Instagram provides you a setting to keep your mobile data usage to a minimum. This will significantly lower your Instagram feed quality. This is what you do to toggle off this settings.
Step 1 Launch Instagram and tap your profile icon.
Step 2 Click on the three horizontal lines.
Step 3 Go to Settings > Account > Cellular data use.
Step 4 Toggle the Data Saver off.
Fix Instagram Story Video Blurry Issues Tip 8. Use Photo/Video Editing Apps
Instagram has certain requirements for videos and photos. If the video you want to upload doesn’t meet the requirements, Instagram will automatically trim or compress it.
Visit Instagram Video Requirements >
Lots of video editor such as FlexClip helps you trim and compress the video to fit Instagram story format without quality loss. In clicks, you can adjust the aspect ratio, video length and video size. Moreover, it also provides you other video editing tools to level up the video, like transitions, filters, and video speed changer. Last but not least, FlexClip has numerous media resources you can apply, including royalty-free video clips, photos, music and even pre-made video templates.
Image Board: Instagram Story Video Quality Bad - FlexClip Overview
Create a VideoView Templates
Instagram Video Temp 1
Use This Template
Instagram Video Temp 2
Use This Template
Instagram Video Temp 3
Use This Template
The Bottom Line
With the 8 Instagram story video quality bad solutions, you will no longer suffer from blurry Instagram story videos! Share this post if you find it helpful. Have any ideas? Tell us via Facebook.
Elena /
Member of PearlMountain Limited. Has a mania for video editing. Love to share photo/video shooting tips and ideas.
How to upload a video to Instagram without losing quality, why the service spoils the video
Posting clips to the Instagram social network is sometimes accompanied by some technical problems. One of these is the deterioration in the clarity of the “picture”. Such an anomaly is not only unpleasant for the author, but also unlikely to please the readers of the page. However, this is quite possible to avoid by following the rules.
Below we will figure out how to upload a video to Instagram without losing quality. Stay with us and check out useful tips on how to easily share your favorite video with your friends. nine0003
Technical requirements Instagram for uploading videos
The first thing you should pay attention to before uploading a video to a common feed is the technical characteristics of the file. Ideally, they should fully comply with those set by the social network service. Namely:
- MP4 video file format (found on Windows or Android) or MOV (common on Apple products).
- Clip size up to 128 megabytes.
- Ribbon aspect ratio is square. These are proportions: 4:5 or 1:1. For stories or Insta TV, a vertical rectangle in the proportion of 9 is suitable:16.
- Codec - H.264 (the most common). Bitrate - 3000 kbps and above.
Movie playback time is important:
- for tape - up to 60 seconds;
- for stories - 15 seconds;
- for IGTV - up to 60 minutes.
The social network system will most likely not let you download the video:
- avi format;
- with other codecs.
Good to know. It will be possible to attach widescreen clips with a 16:9 aspect ratio to the post, but then white borders will appear at the top and bottom of the movie, and the video itself will be scaled down.
Why does Instagram degrade video quality
So why does Instagram degrade video quality? The reason for this may be several things:
- The technical parameters of the file do not match those specified by the system.
 Accordingly, the social network simply compresses or crops the “picture”.
 - The quality of the Internet connection is poor.
- Application error. nine0012
- Outdated version of Instagram.
It is from this that the “picture” of the clip can deteriorate. What to do in this situation? It's simple:
- View the properties of the published material and correct the format or resolution in special editors.
- Connect to a Wi-Fi hotspot or find a place with a strong network signal.
- Reboot the device or log into Insta from a PC or tablet. If this does not help, then write to the support service through the "Settings - Help" section. nine0012
- Go to the game store on your smartphone (AppStore, Windows Store or Google Market) and update the version of the program to the latest one.
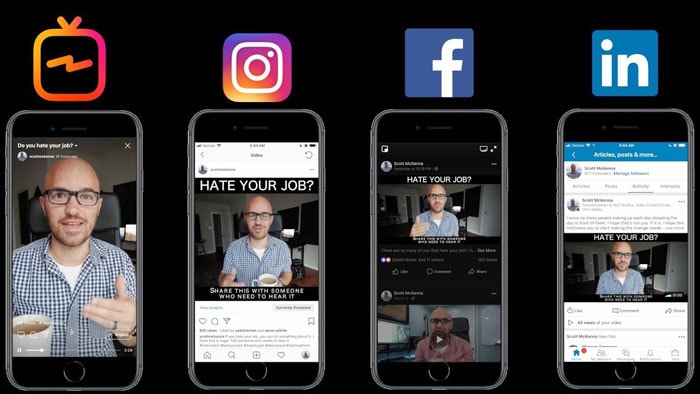
How to keep good quality when uploading videos from your phone
So, how to keep good quality video files when uploading to Instagram? Follow the standard algorithm of actions. And since it will be slightly different for iPhone and Android owners, we will consider them separately.
On Android
To publish a video clip with the best resolution on a smartphone with the Android operating system, you will need:
- Unlock the screen of your gadget and launch the Instagram social network.
- Log in to your account using your login (nickname/email/phone number) and password.
- Tap on the plus sign, which is located in the bottom menu.
- Select a suitable material from the device library or remove a new one. To record a new movie, you need to click on the "Video" tab and hold down the round button. nine0012
- Edit the file: apply a filter, change the color balance, add saturation, etc.
- Make a signature, add hashtags and geolocation as desired.
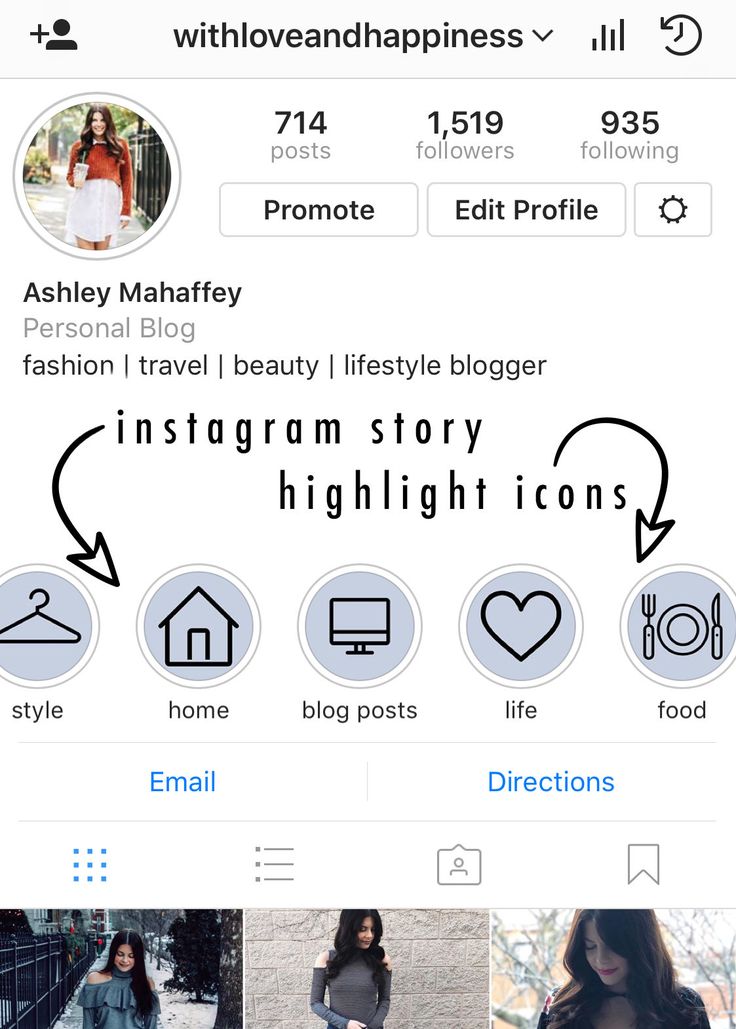
- Click on "Share" and put the post in the feed.
If the Instagram video is still uploading in poor quality, then install the auxiliary utility FilmoraGo on your smartphone. With its help you can:
- change the aspect ratio for the social network;
- reduce file length; nine0012
- overlay text, music or thematic effects;
- adjust playback speed.
For your information. FilmoraGo is a free Android app.
For iPhone
For Apple owners, the step-by-step instructions are almost the same. Only the location of icons and options in the application can differ. All you need is:
- Make sure that the material is suitable for Instagram. nine0011 Log in to your account.
- Click on the "plus" in the menu.
- Capture a new clip or attach one from the gallery.
- Filter it and publish it.
If the resolution deteriorates, then you need to upload such a video with pre-processing.![]() To do this, install the InShot editor on your phone. It will help:
To do this, install the InShot editor on your phone. It will help:
- apply text, music, filters and stickers;
- adjust color, tint, shadows and brightness;
- speed up or slow down playback; nine0012
- cut or split a file into fragments;
- adjust the proportions to a specific social network (Facebook, Instagram, Twitter or YouTube).
Note. To improve the quality, install only official and user-tested programs from the Market. Utilities from unknown sites in the browser can be malicious.
The universal way is to convert video via Convertio
Another way to avoid poor quality video on Instagram is to convert it. After all, an incorrect file format can lead to the fact that the clip will either not be added to the post, or it will “compress” greatly. nine0003
To improve the quality or restore the sharp "picture" of the movie, follow the step-by-step instructions below:
- Open your browser and go to the Convertio service.
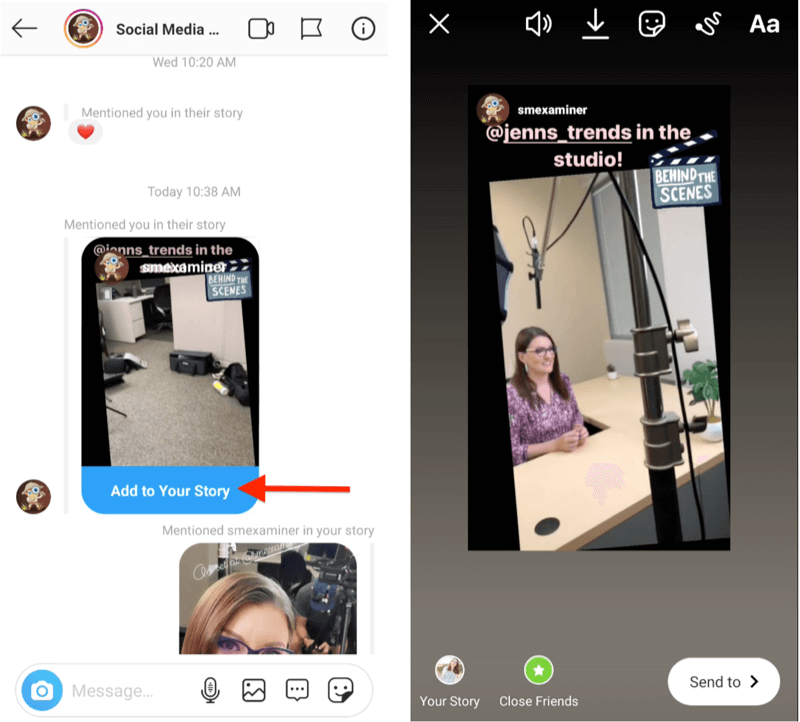
- Scroll down the page and switch it to Russian, if it didn't happen automatically.
- Click on the "folder" icon and select the material to be converted from the device's library.
- Click on "to..(GIF)" and tap on the "Video" tab in the menu that appears.
- Click on the MP4 and start the process with the "Convert" button. nine0012
- Please wait a few minutes while the site processes the video.
- Download it back to your PC or smartphone.
Done. Now you can upload the resulting "short film" in the usual way.
Important. When processing a movie in the editor, always choose the best quality for saving.
To upload a video to Instagram without quality loss, you need to know the requirements of the social network. If the file is not suitable, then the system tries to adjust it automatically, which leads to a fuzzy and sometimes too “pixelated” picture. nine0003
☹ Why Instagram stories are of poor quality and how to deal with it - LiveDune Blog
Home
Blog
How to deal with poor video quality in stories
The amount of content posted on Instagram is not as important as its quality. And we are not talking about useful information for subscribers, but about the quality of shooting. After all, even if the video was originally of good quality, when uploaded to stories, it can become much worse. Let's figure out why this happens and how to deal with it. nine0195
Why Instagram spoils the quality of videos in stories
How to improve the quality of stories in Instagram
We have products that help automate work in social networks
Learn more
and improve accounts using analytics
deep analytics Why Instagram spoils the quality of videos in stories
Android smartphone owners are more likely to experience poor quality stories than iOS users. Depending on the brand or model of smartphone, the default video quality settings on Android are different. nine0003
Instagram has its own requirements for video format, size, frame rate, and so on, so the social network compresses and optimizes the video for itself, which is why the quality deteriorates. On the iPhone, the default settings are more suitable for Instagram requirements. In addition, it is believed that the iPhone camera API is better and transmits a higher quality video stream, so problems with the quality of stories are less common.
There is no 100% way to solve the problem with low quality stories on Android, since the reasons for each user may be different, so we recommend experimenting and gradually eliminating each possible option. nine0195
How to improve the quality of stories on Instagram
The described options are most relevant for those who create content in advance or shoot videos not on the phone. For those who shoot instant content (here and now), the easiest way to do this is with the internal camera in the Instagram app. This is the easiest way not to get a compressed pixelated video and not to bother with proportions and formats for stories.
For owners of Android smartphones, before shooting, it is important to set the parameters for vertical video in the settings, which correspond to the dimensions of stories: aspect ratio 9:16, the optimal size is 1080 x 1920p at 30 fps.
Also try switching the video codec to MPEG4 (HEVC) in the camera settings. If this function is not available on your smartphone, you can install the Open Camera application, set the codec there and shoot video in the application.
The video is saved in MP4 format on Android and MOV format on iPhone. This can also be the reason for the poor quality of the uploaded video in stories. There is a version that MOV is preferable for Instagram, as this is the standard video format on the iPhone. You can convert MP4 or any other format (for example, if the video was shot with a professional camera) to MOV using the Convertio service. nine0195
Due to slow Internet speeds, Instagram can also compress videos mercilessly. The social network is interested in fast video loading, so if the file weighs a lot and the Internet speed is low, Instagram optimizes it, reducing the weight at the expense of quality.
Prioritize uploading videos to stories when connected to good Wi-Fi. When in doubt about speed (for example, if connected to public Wi-Fi), compare mobile Internet and Wi-Fi using the Speedtest app (Android, iOS). Where the speed will be higher - through this connection and download. nine0003
To prevent Instagram from compressing the weight of the video on its own, try to compress large videos yourself. You can use the Clideo service. It allows you to reduce the size without quality loss from any device: Android, iPhone, Mac, Windows, Google Drive or Dropbox. This doesn't guarantee that Instagram won't compress the video, but at least it won't be so barbaric.
When editing videos in third-party programs and applications, when applying filters or effects, as a rule, the video quality becomes worse. Try to upload original videos, if you cannot do without it - when saving, specify the video settings the same as in the original or lower, for this use the VN or Inshot applications. nine0003
For example, if the original video is in 4K resolution, it can be compressed to 1080p. If the original recording had a resolution of 720p, it makes no sense to set 1080p, such manipulation will only worsen the quality of the recording. Always leave the frame rate as in the original, for example, if the video was shot at 30 fps, then leave it.
In addition to the above options to improve the quality of stories, do not abuse the wide-angle camera when shooting. In stories, such videos can freeze a lot. Also, 4K videos are completely useless for stories - Instagram still won’t transmit the desired quality, and you will have to compress it additionally. nine0003
Avoid third-party apps to improve the quality of stories, which require you to enter your username and password. This is not safe for your account. Better experiment and try the above methods to solve the problem with the quality of the uploaded video in stories.
Only important news in the monthly newsletter
By clicking on the button, you agree to the processing of personal data.
What's new in SMM?
Subscribe now and get 9 ways to promote on Instagram for free
Popular articles
#instagram Monday, July 1
Polls in Instagram stories
How to create a poll in stories, what to ask subscribers and what is the use of such an interactive.
≈ 6 min to read Monday, April 20
5 Cool Ideas for Instagram Stories
5 Ways to Design Stories to Stand Out and Surprise Instagram Users. nine0003
≈ 8 min to read Thursday, February 20
Competitor analysis on Instagram and other social networks
How to analyze the content of competitors on social networks, what insights can be found and how to test the hypotheses received in your account.