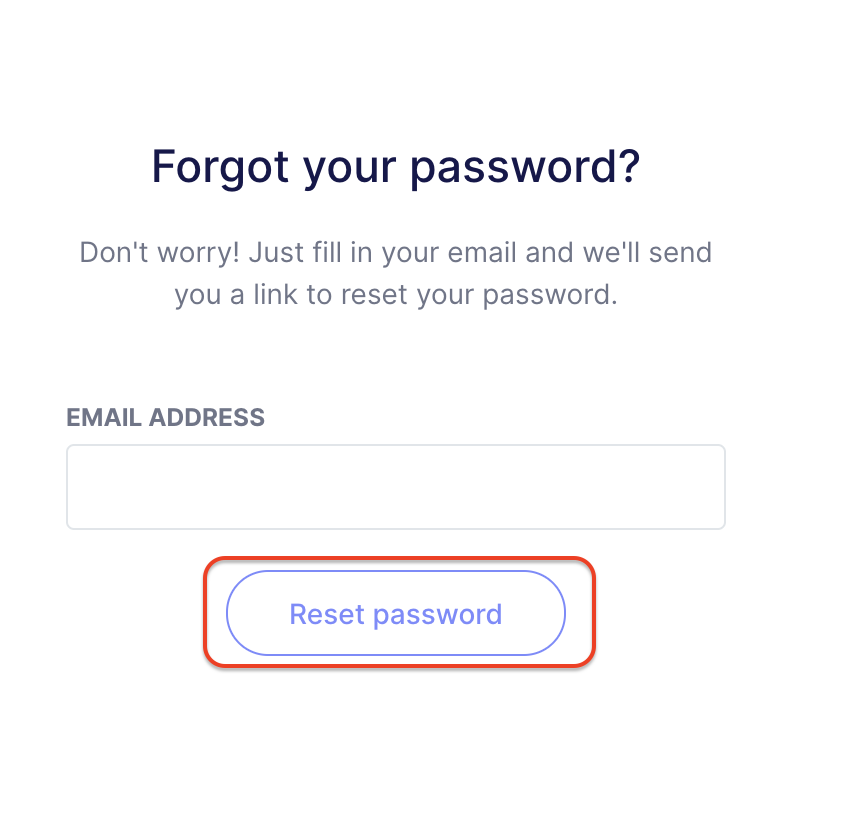
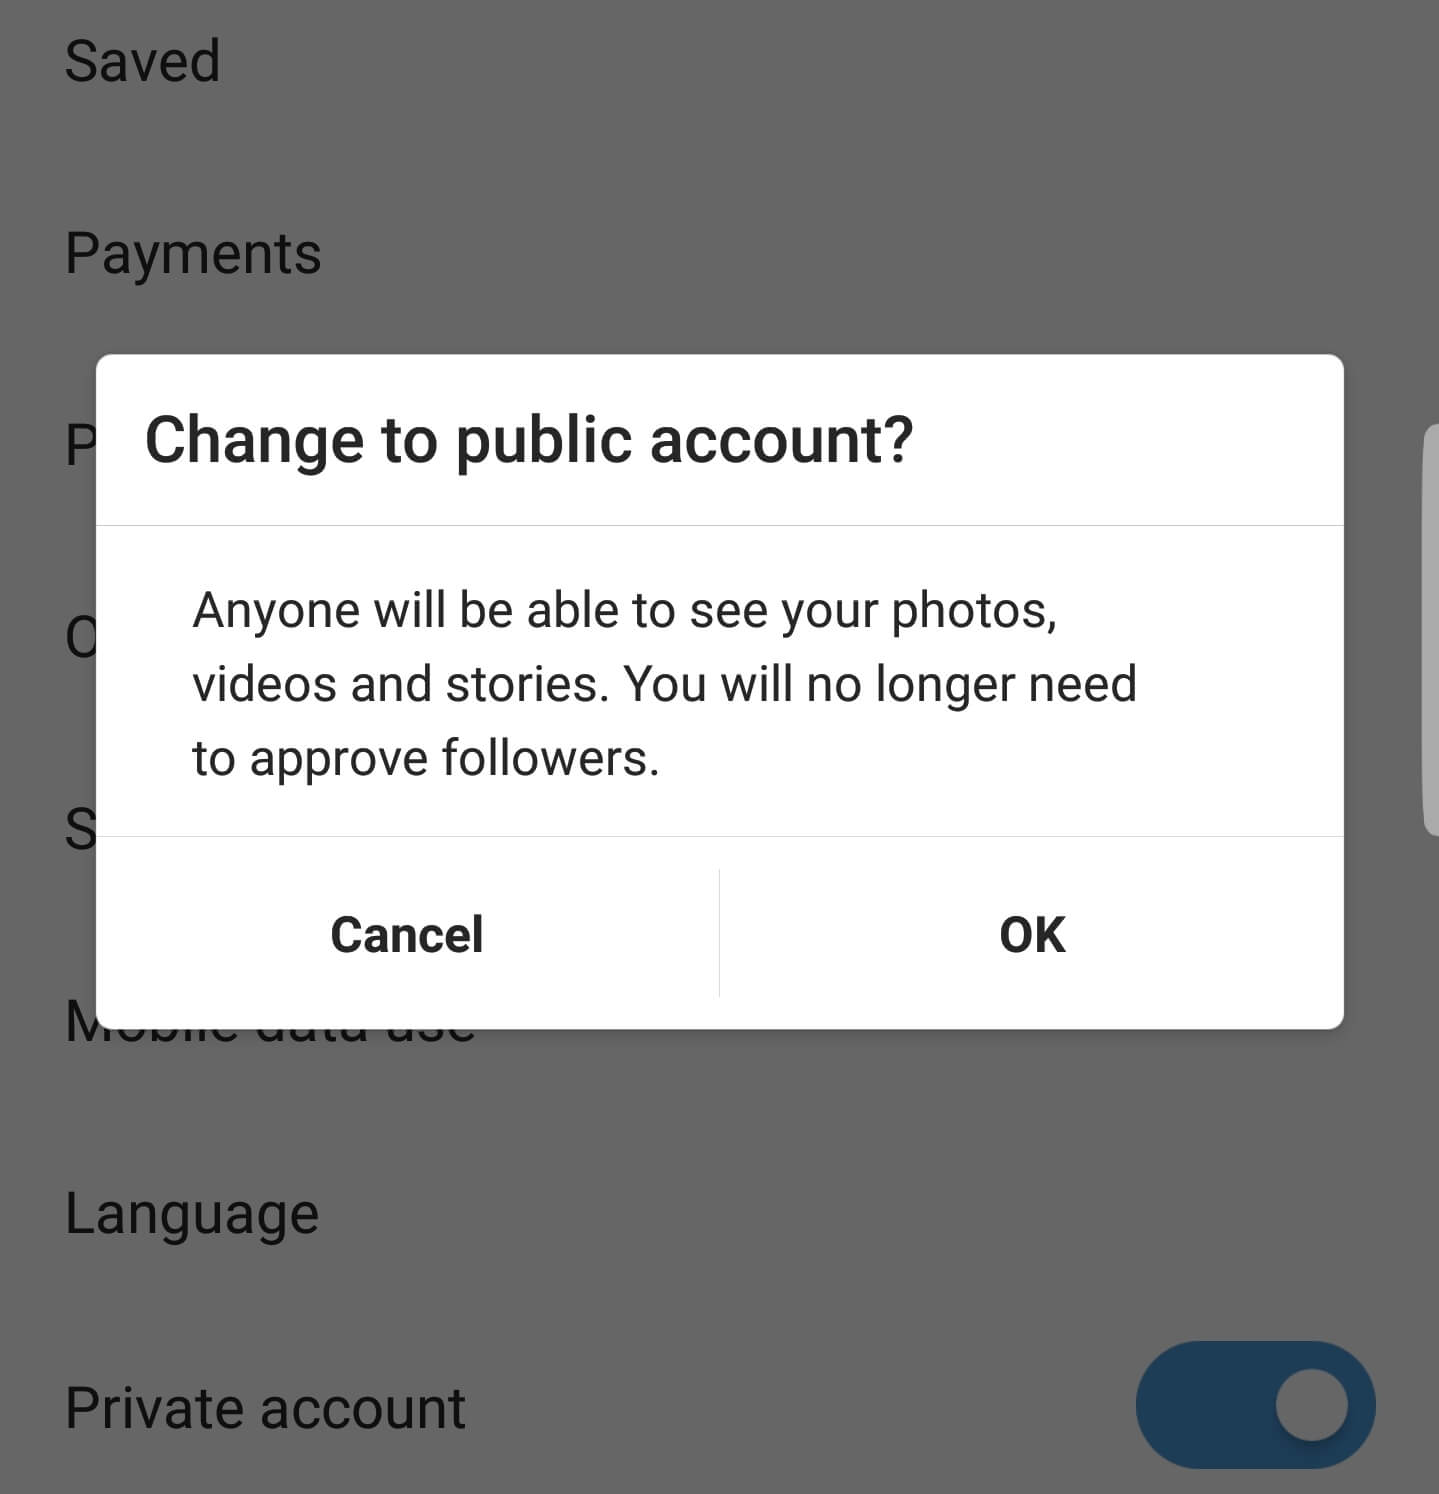
If you have an iPhone 6s or newer, you can capture live photos right from your camera app. The new-ish medium occupies the space between a still photo and video, creating a "moving" image that lets you give viewers more visual context for your images.
Instagram was one of the last platforms to support live photos, but thanks to updates and savvy workarounds, there is a way to bring that feature to your profile. It's important to note that the ease of posting a live photo will depend on whether you want to add it to your story or your photo wall.
Here's how to post a live photo on your Instagram.
1. Open your photos app and select the live photo you want to use.
2. Swipe upwards and choose "Save as video."
You can find this option underneath "Use as Wallpaper." Devon Delfino/Business Insider3. Open the Instagram app.
4. Tap the plus sign in the app's bottom menu.
The icon is located between the magnifying glass search heart icons.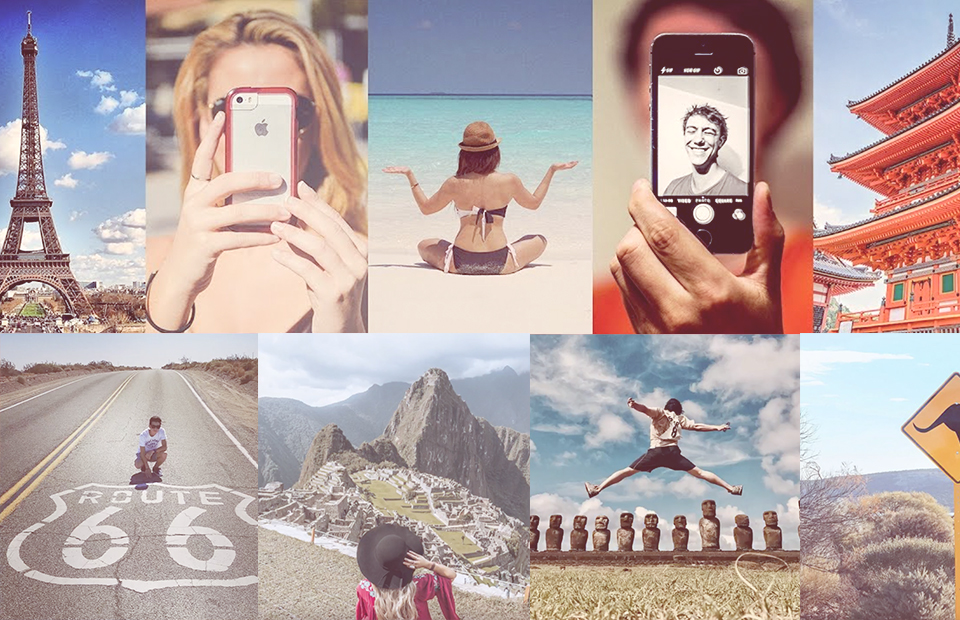 Devon Delfino/Business Insider
 5. Select the video you saved from your photo library.
The library will appear when you hit the plus sign, allowing you to edit your photo as you see fit. Devon Delfino/Business Insider6. Tap "Next" in the top right.
7. Add your caption.
You can also add location information, turn on social sharing, and more. Devon Delfino/Business Insider
 8. Hit "Share."
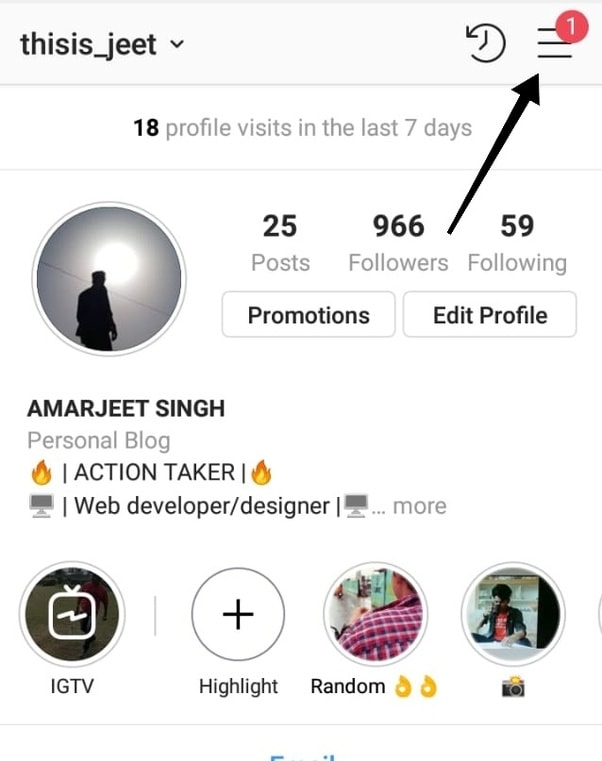
1. Open Instagram.
2. Tap the camera icon in the top-left corner of the screen to access the "Stories" section.
3. On the story screen, scroll through your bottom menu until you see "Boomerang." Tap it.
You may also be able to find this option as an infinity icon on the left side floating menu. Abbey White/Business Insider4.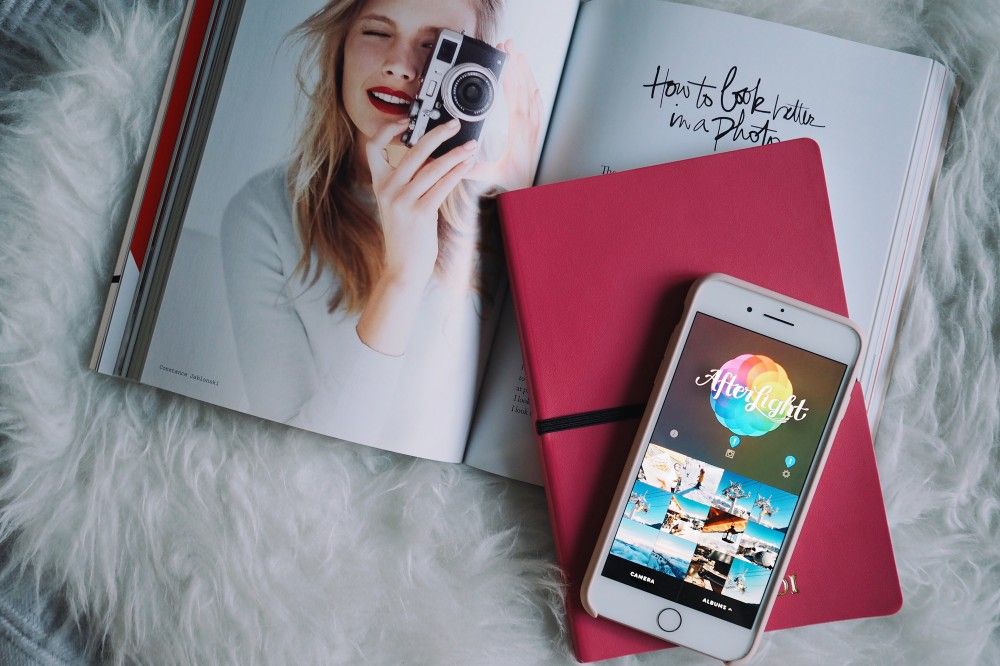 Tap the white circle on the bottom menu to begin capturing your live photo when you see the boomerang icon appear.
5. Add text or edit your live photo in whatever way you want.
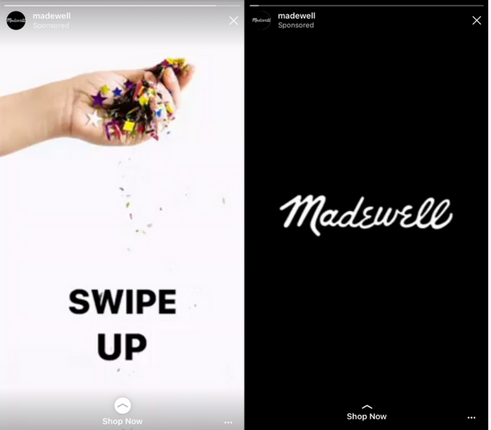
6. Press "Send To" in the lower right.
The Instagram "Send To" button is white and oblong in the right bottom corner. Abbey White/Business Insider7. Select where you want to send your live photo, including "Your Story," "Close Friends," or someone you follow.
You can also add location information, turn on social sharing, and more. Abbey White/Business Insider
 8. You can press "Undo" to stop the action or press the blue "Done" link that appears at the bottom of the screen.
Devon Delfino
Devon Delfino is a Brooklyn-based freelance journalist specializing in personal finance, culture, politics, and identity. Her work has been featured in publications such as The Los Angeles Times, Teen Vogue, Business Insider, and CNBC. Follow her on Twitter at @devondelfino.
Read moreRead less
Insider Inc. receives a commission when you buy through our links.
Page Contents
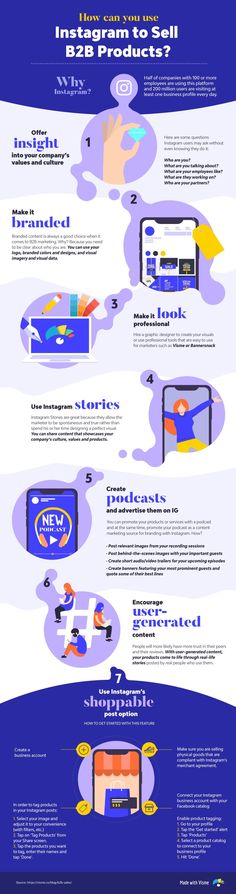
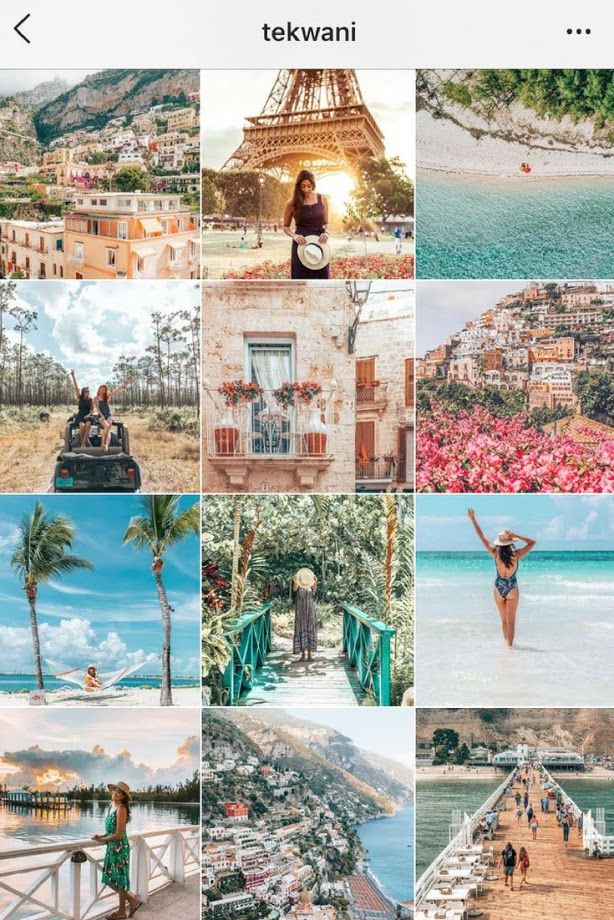
Instagram is a fascinating visual platform to showcase and post different kinds of photos and videos. Marketers upload high-quality photos and videos on Instagram to get more followers and increase their IG engagement rate.
Live photos are multiple photo styles on the iPhone that merge video and GIF imagery. This recent creation of photography does not only capture a moment in a frame, but it looks alive and fresh. Also, some Android phones, depending on their OS and model, have this option. Now, many Instagrammers that have this feature on their phone may need to consider how to post a live photo on Instagram.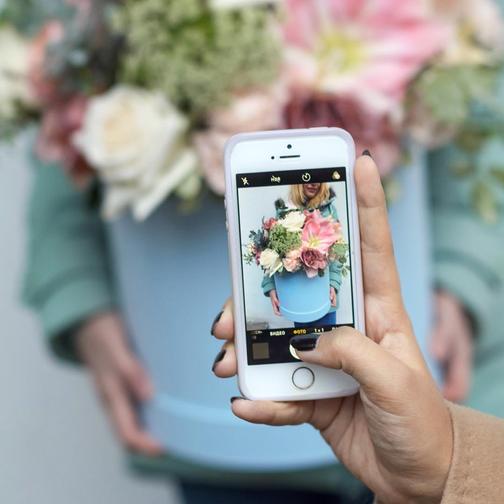
It’ll take a while for Instagram to add this feature as one of its options. There are many methods to share media on Instagram. But now, we will address How to post live photos on Instagram?
Here, we will also guide you on how to take loop photos on Instagram. Additionally, we will introduce you to two services called AiSchedule and AiGrow. These two services will work magic for you and will prevent you from having trouble sharing live photos on Instagram.
How To Take A Live Photo On iPhoneYou can enhance the quality of your posts by uploading different kinds of multimedia posts, from posting vertical photos on Instagram to uploading high-quality images on this platform.
Live Photo is an excellent feature that lets you capture a scene with sound and movement. When you click the shutter button, your phone will capture 1.5 seconds before and after it.
Before knowing how to post a live photo on Instagram, it’s better to know how to take one. So, to take a live photo on the iPhone, follow the steps below:
When you hold your finger on the button, the camera will take a live photo for 1.5 seconds, including any scene movement and the voice of the environment. Remember that you can take live pictures with both cameras and that any Live Photo takes about 3-4 MB of your phone’s space.
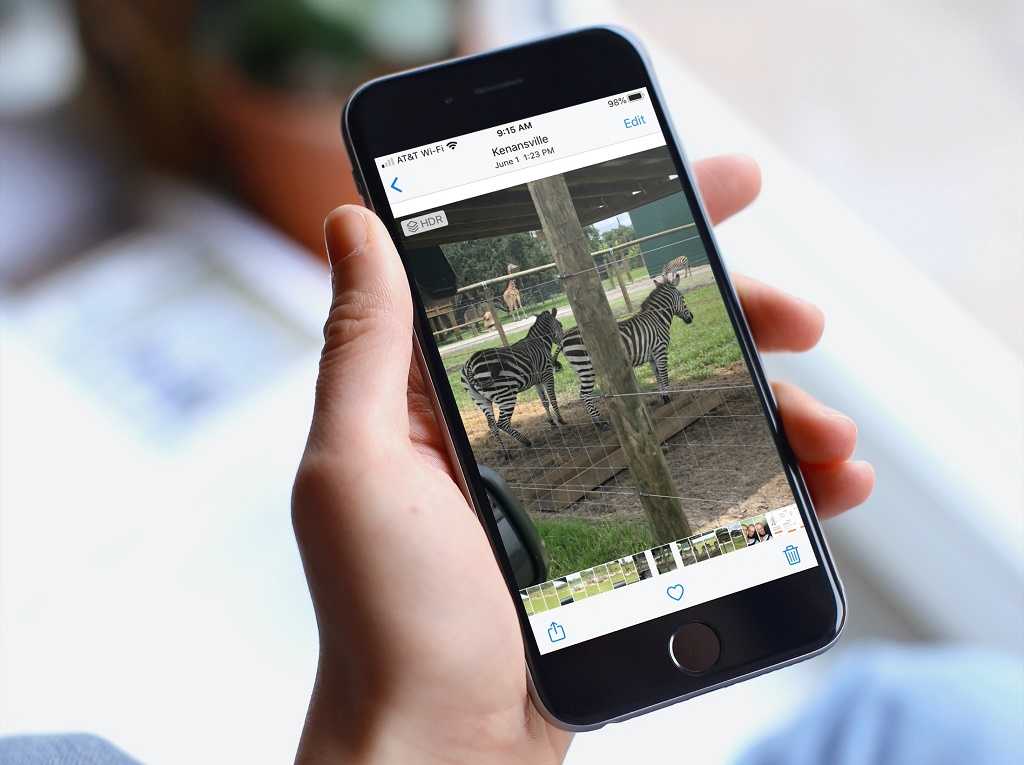
You can see your Live Photos in your camera roll with a single symbol on the top-left of the screen. If you want to mute the sound of your Live Photo or even disable its Live Photo features, you can tap on ‘Edit’ on the top-right of your photo and do what you want.
How to Take a Live Photo on Your Android PhoneThe Live photo feature is not just for iOS users in particular. You can also take live photos on Android phones. There are many ways to create looping videos on Android. To do so, you can follow these steps:
When you switch on the motion camera, a short clip of what happens before each photo will be recorded. After that, you may save it as a video and publish it on Instagram. It’s the same as taking a live photo on an iPhone.
Now, let’s see how to post a live photo on your Instagram story and feed.
How To Post A Live Photo On InstagramWe have learned first-hand that creating engaging IG posts is a challenge. Sharing your live photos can be an excellent post idea for Instagram so that you can grow your IG followers organically.
However, a Live photo is a motion picture, and Instagram doesn’t provide a specific feature to post it instantly. Hence, uploading it differs from a regular Instagram post. If you want to know how to post a live picture on Instagram, we will show you four ways to do it.
If you’re wondering how to post a live photo on your Instagram feed, converting photos can be a decent method. According to Instagram guidelines, Boomerang is a version of a short video on Instagram that you can save your live photos in its format.
You can post a live photo on Instagram using the Boomerang method which is the most popular answer to how to post a live photo on Instagram. However, bear in mind that it reduces the time to 1 second.
To post a live photo on Instagram as a Boomerang, track down these commands:

To post a live photo to Instagram, you can save it as a video and then upload the live picture on Instagram. Also, you can set custom photos as your Instagram video thumbnail.
Now, to know how to post your live photo on Instagram as a video, follow these steps:
As the third method on how to post a live photo on Instagram, you can try looping live photos. That is, you can apply an effect, and change your Live Photo to a loop, similar to looping a video on IG that we discussed before. Then, upload the loop to Instagram.
Therefore, to ‘Loop’ or ‘Bounce’ your Live Photo follow these instructions:
4- Convert Your Live Photos To GIFs
Another way on how to post a live photo on Instagram is by changing it to a GIF. In this case, you can use a photo tool such as GIPHY to convert your Live Photo to a GIF and instantly post the GIF on Instagram.
How To Post A Live Photo On Instagram StoryTo be precise, over 500 million users post IG stories daily. Many Instagram users are big fans of stories as it lets you share your special moments with loved ones who are far away from you. Also, Instagram influencers and marketers cash in on this feature to communicate with their followers and clients uniquely by adding multiple photos to one Instagram story.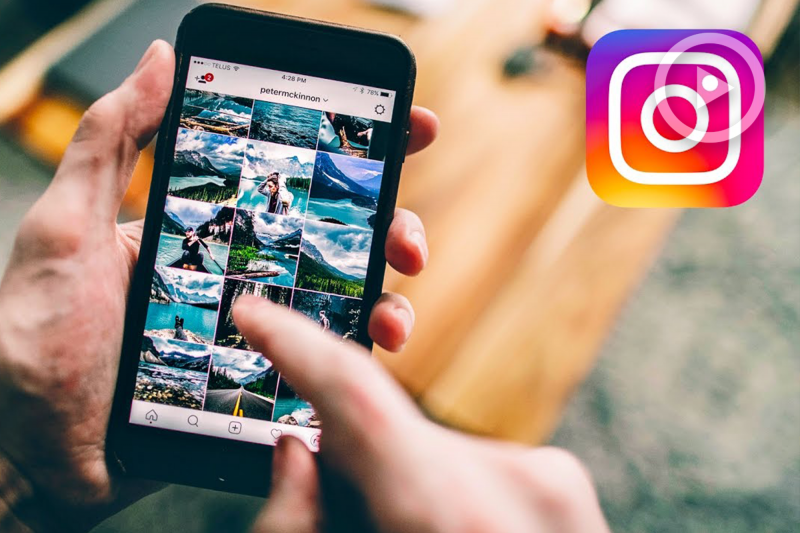
That is a good idea to know how to post a live picture on Instagram, put saved photos on the Instagram story, and share it with your audiences.
So if you want to learn how to post a live photo on an Instagram story, go through the steps below:
That’s great! You have created your first Instagram Live Photo Story!
How To Take Live Photos On Instagram StoryAs mentioned before, Instagram doesn’t enable us to shoot Live photos yet. However, the Boomerang feature is excellent and allows us to share content that is similar to a live photo. So before we continue with how to ‘post’ a Live photo on Instagram, let’s cover how to take a Live photo on an Instagram story.
To use this feature, follow the instructions below:
Bear in mind that you can also edit your IG story after publishing it.
Generally, you can use this feature as a fantastic Instagram story idea to get more IG followers. So, don’t miss out on this excellent opportunity to spice up your Instagram account.
How To Post A Live Photo On Instagram From a PCInstagram only lets you post on your feed from a smartphone. That is, if you’re wondering how to post a live photo on Instagram from PC, we can assure you it’s impossible. However, you can quickly organize Instagram saved posts and collections on your desktop using a powerful Instagram tool. Many Instagram marketers have loaded files on their laptops or PCs and want to post them frequently and at the right time. How? Here are the best tools for posting a live photo on Instagram from a PC.
AiSchedul is an all-in-one Instagram management tool that lets you post to Instagram from your desktop. Therefore, you can scrap your phone’s tiny screen and efficiently run your Instagram from your PC.
With AiSchedul, you can create live photos and post them at the best time and grow your Instagram followers organically.
Post on Instagram at the Right TimeTo post from AiSchedul on your phone or desktop, you solely need to:
AiSchedul is an amazing platform with many features to offer. For instance, using this great platform, you can:
And much more!
So, go ahead and sign up on AiSchedule now and enjoy using it.
AiSchedul features#2 AiGrow; Let You Upload Your Live Photos From PC
AiGrow is the other platform you can use to manage your Instagram like a pro. You may select from a range of options with this growth tool to assist you to develop all sides of your Instagram account, including likes, followers, and comments, while keeping genuine engagement techniques.
The image below displays all of AiGrow’s features.
AiGrow; Let You Upload Your Live Photos From PCUsing AiGrow, you can create and post live photos on Instagram at any time and any place. AiGrow is a complete Instagram growth tool that will never leave you in the dark. The complete AiGrow review is available here.
So, don’t waste your precious time and start your journey with AiGrow.
FAQs on How to Post a Live Photo on InstagramWhile in this post, we tried to cover any questions on how to create and upload a live picture on Instagram, there may be unanswered questions. In this section, we answered a couple of questions about this.
To create looping images, you can use websites that provide users with the ability to convert their videos into gifs. One of them is the GIPHY website. Another website to create gifs is ezgif website that lets you adjust and convert your photos or videos into gifs.
You can make brief, engaging films by using Instagram reels, a new type of video. 15-second multi-clip videos can be recorded, edited, and embellished with effects, music, and other creative elements.
In terms of the length of videos, they are the same as live videos, but you can create more engaging content using Instagram reels.
Recap On How To Post A Live Photo On InstagramInstagram has not yet added a direct feature for posting ‘live photos’. Therefore, you’ll have to turn them into ‘boomerangs’, ‘gifs’, or ‘videos’ before you can upload them to Instagram. Hopefully, it will soon be a feature on the platform to ease users’ tasks.
Don’t forget, you can count on a third-party service like AiGrow or AiSchedule to save more time and energy for uploading Instagram live photos.
Hello friends! 🙋🏻
In this article, we will teach you how to make your photos stand out from the rest in the news feed and Instagram Stories. To do this, consider one of the most popular types of live moving photos - cinemagraphy . Below we will tell and show in detail what motion photography is and how you can create your own cinemagraphs without any special skills. We will also explain the difference between cinemagraphs and video/animation, as well as the difference between a live photo and boomerangs and GIFs.
Cinemagraphs are no longer a novelty on Instagram. However, for some reason, few people use it for commercial purposes, despite the fact that photos with a “moving” effect are more visible in the feed.
Perhaps this is due to the misconception that you need to be proficient in professional programs like Photoshop to create motion photos. Many users assume that this is too complicated, and they don’t want to allocate an extra budget for a designer. Although this is not true at all! In this article, we will tell you how to make cinemagraphs on your own, quickly, in some places for free or for a budget available to each user.
Cinemagraph is not a photo or video, as some people think. It doesn't even look like the familiar animation we're used to seeing. A live photo, as the name suggests, is a static photo in which only a certain part of the image is moving. For example, lights are flashing, hair is moving in the wind, and so on.
Live photo creates the impression of "multi-tiered" and this attracts the attention of the audience. The user views a live image much longer than a normal photo, as he tries to see all the moving objects. For this reason, cinemagraphs and live photography are a powerful tool for effective promotion. Global brands use the services of expensive photographers and operators who create not just animated images, but live advertising.
View this post on Instagram
Posted by Apple Music (@applemusic)
, galleries and so on. As you can see, their scope is quite extensive.
Cinemagraphs are the same photographs that you want to review several times. The looped combination of video and photo gives the impression of a “moving” photo. Such a photo stands out against the background of static content, but loads faster than a video.
There are two ways to take live photos : Photoshop and mobile applications for Android and iOS.
Below we describe in detail the process of creating cinemagraphs using these two methods.
To do this, of course, you need Photoshop. In fact, using Photoshop to create live photos is not as scary as it might seem at first glance. Moreover, if earlier this program cost a lot of money, now it can be purchased by subscription for a very reasonable price.
So, in the video below, an excellent specialist and master of his craft, Maxim Basmanov, will tell and show how to create a live photo in Photoshop. If you take the time to study this video tutorial and decide to install this wonderful program for yourself, you will acquire another great skill. By following all the steps from the instructions step by step, you can create your first cinemagraph in just a few minutes.
Well, we wish you patience and fast learning!
Make clouds float across the sky, make circles on the water, lift smoke into the sky, and more - all this is possible with the help of special applications and effects. The choice of applications is huge. Basically, this is, of course, a paid pleasure, but some applications also have free effects.
Best Cost Apps for iOS and Android:

Of the more expensive, but high-quality applications, with all sorts of "bells and whistles", I would like to highlight Cinemagraph. To install this program, you need to be a happy owner of a computer on Mac OS or iPhone.
This cinemagraph software was developed by Flixel, which won the 2014 Apple Design Award. Application features: user-friendly interface and unlimited opportunities for creating cinemagraphs. The cost of using it depends on the plan you choose.
One of the most popular, paid applications for creating cinemagraphs on the Android platform is Cinemagraph. It was developed by Factyle. The program has built-in training that will help the beginner. Following the instructions, you can easily create a cinemagraph in GIF format. To do this, the program can use a video clip up to 3 seconds.
You can't just create a cinemagraph from any photo in your archive. A number of rules must be followed. Cinemagraphs can be created from both photos and videos. But in both cases, the workpiece must be thought out and removed in advance. That is, you need script.
The framing must be decided in advance. Define a moving object and a frozen background, or vice versa. It is important that the moving object be cyclic. For example, a running river, flowing smoke from a fire or flames.
Watch for focus. Focus on one subject, especially if the live photo is being developed for marketing purposes. When shooting, you will need a tripod or a homemade device that will not allow the camera to shake during shooting.
Let's analyze the process of creating cinemagraphs on the example of one application. In other applications, the principle is relatively the same.
 To create a cinemagraph, you need to select "Plotagraph".
 Cinemagraphs are in video or animation format. The type of content depends on the purpose and location of the content. For example, cinemagraphs on Instagram need to be posted in video format.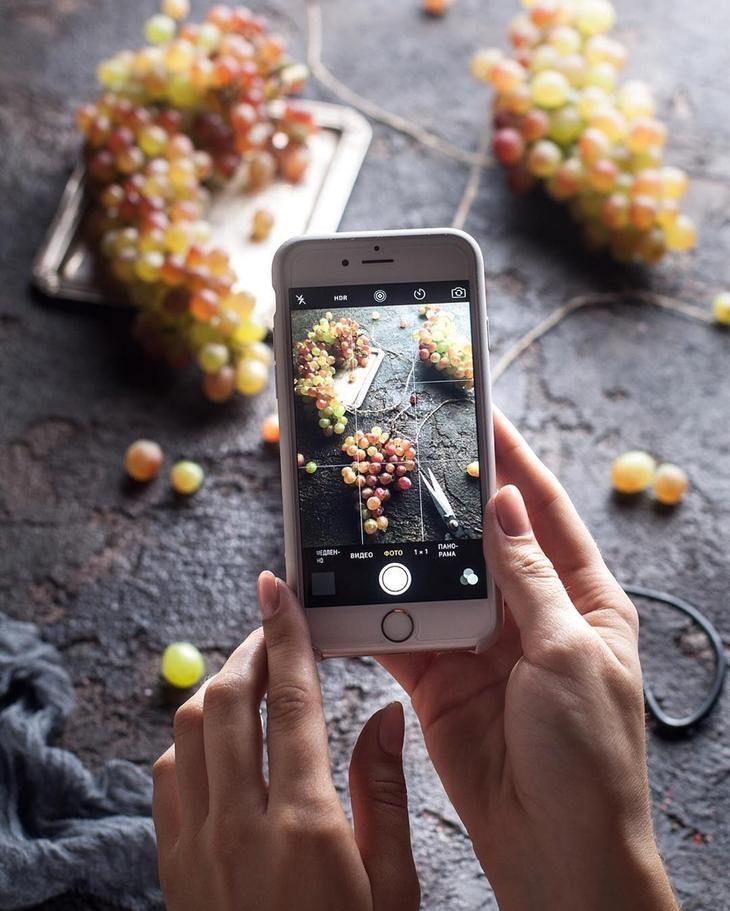 In Vkontakte, for example, you can also publish a GIF. For uploading to the site, it is better to use the GIF format.
Animated photographs differ from live photographs in that the animation contains additional visual effects that were not present at the time of shooting. Thus, these are, let's say, "finished" photos. Whereas in live photos, the moving parts of the image are real - they are just looped for a more interesting effect.
For free image animation apps, you can try Werble (iOS only). Werble has a large selection of animation effects, but most of them, unfortunately, are paid. Animation is a simple yet powerful way to capture the attention of your followers as they scroll through your social media feed.
For a better understanding, watch the video about the possibilities of the Werble app for creating creative photo effects.
Live photos usually have only one or a few moving subjects in a loop. It can be dripping drops of melting ice cream, water moving in the wind, and so on.
View this post on Instagram
Posted by Flixel Cinemagraph® Pro (@flixelphotos)
View this post on Instagram
Posted by @mirrormememorables
everything is repeated in a circle.
View this post on Instagram
Posted by Shefali Jariwala (@shefalijariwala)
But the video is a completely different story. The video has a non-looping visual sequence that has a beginning and an end.
So we have sorted out cinemagraphy and superficial animation point by point. As you can see, "cinemagraphy is not as scary as the fables about it." All it takes is a little patience, a healthy curiosity, and a small budget to make your photos start to catch the eye. Good luck with your promotion.
Click to enlargeHow to take and post a live photo on Instagram: 5 ways
Live photo is a short video where part of the picture or all elements move. There are several ways to take a live photo for Instagram - using programs and applications.
Table of Contents
- How to Take a Live Photo on Instagram
- Free Way to Take a Live Photo
- Third-Party Live Photo Applications
- Turn a Video into a Live Photo for Instagram
- How to Move Parts of a Photo
- 0076
- Sharing Live Photos from iPhone without Losing Motion
- Difference between Live Photos and GIFs
How to Take Live Photos on Instagram
Cinemagraphs have become a popular trend on Instagram.
Such photos are similar to static ones, but some parts are moving. Usually, a minor part of an image, like clouds in the sky or hair in a portrait shot.
Applications are divided by functionality: with a dedicated area, with automatic selection and pre-prepared templates. Also, a standard Photoshop graphics editor on a computer will help you take a live photo.
But the version must be higher than CS6 to download the video (instruction below).
How to take a live photo:
- use a digital camera or smartphone with high resolution pictures;
- tripod or other tool for holding the camera;
- select the subject in advance.
You can create a cinemagraph for free using trial applications. Most of the tools are offered on a paid subscription basis. To create, you need a short video or photo, where all the details are clearly visible.
Free way to take a live photo
To take a "live photo", the user has access to applications from the Play Market and iTunes.
The StoryZ tool will help in creating the first snapshot, with detailed editing of each selected element.
The application is available for free, but with separate paid features: movement acceleration, filters and movements.
Free way to create a cinematic shot:
- Download and install the StoryZ app.
- Press "Open photo" - select any of the Gallery.
- Using the section: Movement, indicate the direction with arrows.
- Slow down with stabilization - in the tools, select music and filters.
- Press "Save" - specify the quality - wait until the video is saved to the device.
You can create GIFs in the app to use on other social networks. StoryZ is limited in functionality: there are only three types of movements that the user must specify manually. In this case, only the necessary objects and parts of the picture are selected. Of the advantages - the separation of the active and inactive parts.
That is, if the user needs to leave the human figure static in the image, they need to switch to the Mask tool.
The area that will not be set in motion is highlighted.
Third Party Live Photo Applications
There are other tools available in content stores that are designed to edit certain objects. For example, taking a live photo is simple through the applications below, with different settings for materials and objects.
List of live photo applications:
- Ploraverse. With paid editing tools and templates. There is a trial version with a set of five different movements;
- Kira Kira. Adds twinkling stars to your photo. You can specify the area, density and brightness of the elements;
- Vimage. With pre-set parameters and examples. The user only needs to specify the filter to be added to the snapshot.
Over 100 different filters and GIFs are available for free in Vimage. The templates include: northern lights, coffee grounds, sunlight, old photo effect and others.
The live photo application is also available for part selection, editing and cropping.
In the free package, a watermark will appear at the bottom. With the purchase of a paid set - the number of templates is increased to 1000, the "Remove Signature" function is added.
Turn Video into Live Photo for Instagram
One way to make live portrait photo from video is to use Photoshop software. Shooting should last no more than 10 seconds, after which - editing the footage. Unlike pictures, video should tend to be static - changes only in the area that moves in the photo.
How to create a live photo from video:
- Download footage to your computer.
- Open in Photoshop - select a segment for a live photo.
- Remove unwanted fragments - use the pointer to highlight the best moment in the video. That is, the face of the model.
- Click on the video layer Ctrl+A – Copy and Paste (Ctrl-C -> Ctrl-V).
- Create a new group of objects - move the track with a static photo to the top layer.
- Select the tool "Eraser" - specify the area that should move.

- File - Export - Save for Web.
- In the settings menu, specify: Repeat settings - Always.
- Select the save folder.
Another PC program for working with live images is Fixel Cinemagraph. But it is only available for a paid subscription and for Mac OS. A mobile version is available, with limited functionality for the free version.
How to set the individual sections in motion photo
Separate zones are available in applications and programs. In Vimage, you will have to select and erase, without previewing the result.
Instructions on how to highlight in Vimage:
- Open the application - upload a photo.
- Edit photo: crop, add filter, rotate.
- Next - go to "Effects" - select and download the appropriate one.
- Use the "Mask" button to specify a place that will be fixed.
- Save result.
In the application, you can stretch the effect, add up to two at once.
To add more - you need to buy a paid subscription.
To stretch the brush, pinch it with two fingers and make a “Zoom Out” motion. The same applies to the second brush, which allows you to erase unwanted elements from the photo.
The only downside to the free versions is that the photo quality and resolution gets smaller. When posting on Instagram, sharpness and pixelation of individual areas are noticeable.
Publishing Live Photos from iPhone without loss of movement
Video format is used for posting on a social network. If the picture was saved as a GIF, it can be edited using video editors and converters. Instagram only allows one type of video - MP4.
How not to lose quality:
- do not use additional filters. Standard effects from Instagram are not suitable for working with such a video file;
- reduce size using cropping;
- edit only in one application. Using two identical tools will result in quality degradation due to additional processing;
- If possible, use a high resolution or use a high quality source.
A front camera below 5 MP is not suitable for shooting, and it is much more difficult to take an interesting live photo with a shaky frame. The user will have to select only high-quality fragments and glue them together.
Post to Instagram:
- Log in to the social network.
- Press: "Create publication" - select the created material from the Gallery.
- Adjust position - Share with friends.
Direct posting from the Instagram app is available for Vimage and Story Z. Entries are also shared in Stories, where stickers and a text part are available.
Difference between Live Photo and GIF
Unlike standard GIF, Live Photo must be converted to MP4 format and is only three seconds long. Changes occur in the foreground or background, rarely - a complete "revival" of the picture. Only certain tools are available to users, which does not include:
- complete movement of the object in the photo. The background remains, only effects are added;
- Replace with other images during playback.