By Joe Keeley
You can make the videos on your Instagram feed more accessible by enabling auto-generated captions.
If you post videos to your Instagram feed, you should consider enabling auto-generated captions. Before March 2022, you had to manually transcribe captions for your Instagram videos, which was time-consuming and sometimes costly. That's no longer the case and you can enable captions as a creator and a viewer.
Enabling automatic captions helps those who are deaf or hard-of-hearing, or for those who prefer scrolling with audio off—it's a no-brainer.
We're going to show you how to enable or disable auto-generated captions for Instagram feed videos that you create or watch.
Your Instagram feed is a great place to share videos with your followers. But have you considered the accessibility of these videos? Those in the deaf and hard-of-hearing communities may struggle to understand what's said in them. Equally, sometimes people can't enable audio on a video, perhaps if they're in a public place.
As such, you should enable Instagram's auto-generated captions feature. While it won't transcribe accurately 100% of the time, the AI continues to learn. It saves you time from manually transcribing.
According to TechCrunch, at the time of writing auto-generated captions are available in the following languages, with more to come: English, Arabic, French, German, Hindi, Indonesian, Japanese, Italian, Malay, Portuguese, Russian, Spanish, Tagalog, Thai, Turkish, Urdu, and Vietnamese.
This feature is different from the one available on Instagram Stories, which lets you overlay captions on your video via the sticker functionality. Here, we're going to focus purely on captions for the Instagram feed.
By default, auto-transcribed captions on videos you post to your Instagram feed is disabled.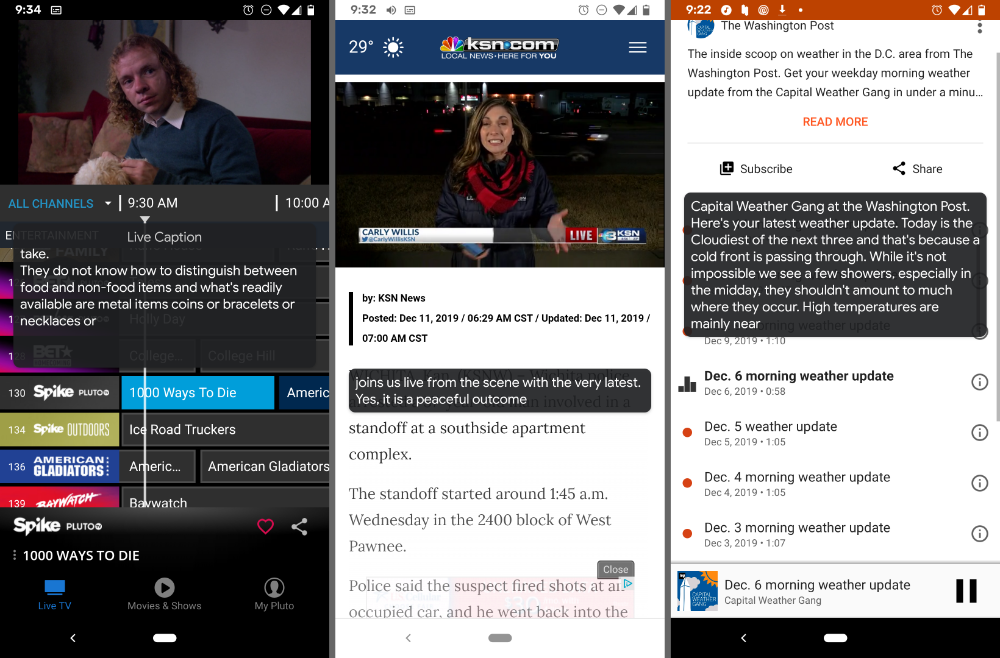 Here's how to enable it:
2 Images
This is Instagram finally catching up with the pack. You've been able to add captions to TikTok videos for a long time.
If you post a video and want to remove the captions, you can. Here's how:
3 Images
 To proceed, press Remove Captions.
 If you're scrolling your Instagram feed and want to enable auto-generated captions for a video, it's easy:
2 Images
To disable captions, simply reverse the process.
This enables captions universally, if the uploader has chosen to use them, so you don't need to do this for every video. At first, you might find that not many people use this feature, but in time it should grow in popularity.
Adding auto-generated captions to your Instagram videos is a wise move because it's great for accessibility and engagement. It means more people can watch and understand your videos, even if they can't hear the audio. Plus, Instagram lets the viewers know that the captions are AI generated, so any mistakes won't reflect poorly on you.
Instagram is rolling out a new accessibility feature that allows you to add captions, or subtitles, to Instagram Stories and soon, Instagram Reels.
With the captions sticker, brands and creators can work toward building a more inclusive experience for their community.
Here’s everything you need to know about Instagram’s newest feature and how you can use it for your business:
How to Automatically Add Captions to Your Instagram StoriesUsing Instagram’s new captions sticker is quite similar to using any other Instagram Stories sticker. Here’s how to add captions to your Instagram story:
Step #1: Head to the Instagram Stories or Reels camera and either record or upload a video from your camera roll.
Step #2: Once uploaded or recorded, tap the sticker icon.
Step #3: Select the “Captions” sticker.
Step #4: At this stage, you can choose from four different text formats, move the text around the screen, and change the color.
And that’s it! Your captions should now be generated on your Instagram story.
Be sure to watch and read the captions before posting as Instagram may not accurately transcribe your audio. Currently, users are unable to edit the captions after the fact.
NOTE: The Instagram captions sticker is only available in English and English-speaking countries.
Don’t Have Access? Here Are Other Ways to Add Instagram Story CaptionsIf you don’t have access to the new captions sticker, no need to panic.
According to TechCrunch, Instagram is “rolling out the captions sticker first to Stories and will then begin testing it in Reels, with a broader launch to follow.”
Luckily, there are other ways to add captions in the meantime.
The first is to manually add text overlays in Instagram to summarize your key talking points:
Alternatively, you can use third-party apps to generate captions for your Instagram stories. The following apps are helpful resources:
Clipomatic
CaptionMax
To make Instagram Stories creation and planning easier, save time and schedule your Instagram Stories with Later.
It’s simple — upload your videos to the Later Media Library and select when you want them to go live on your profile.
You’ll get a notification on your phone as soon as it’s time to post your stories, and all of your links and text will be copied to your clipboard.
The best part? Since you’re manually uploading the stories, you can apply the captions sticker before it goes live to ensure you’re sharing accessible stories.
Start scheduling your Instagram Stories with Later today, available on all paid plans!
Why Instagram Stories and Reels Captions Are ImportantInstagram Stories captions are easy-to-read subtitles for your videos, making it easier for your community to digest your content.
New feature 📣
Now you can add a captions sticker to Stories that automatically turns what you say into text.
"Sound off" is a request we get a lot so I'm excited that it’s coming to Reels too. We also hope to expand beyond a handful of countries soon. pic.twitter.com/4eMczUoj4x
— Adam Mosseri 😷 (@mosseri) May 4, 2021
It’s been one of the most highly anticipated features on Instagram — and for good reason!
As a brand, your Instagram content should be as inclusive as possible, and the new Instagram captions sticker helps with that.
Not only are Instagram video captions important for people who are watching without sound, but they’re essential for those with hearing difficulties. Especially since over 5% of the population — 466M people — have disabled hearing loss.
If a user is scrolling through Instagram Stories or Reels in a quiet public place without headphones, there’s a chance they may exit your video.
But, if that very same story had subtitles — it suddenly becomes easier for your audience to stop, watch, and understand the video.
TIP: If you want to level-up your accessibility beyond Instagram Stories and Reels captions, discover 5 Ways to Make Your Instagram Account More Accessible Right Now.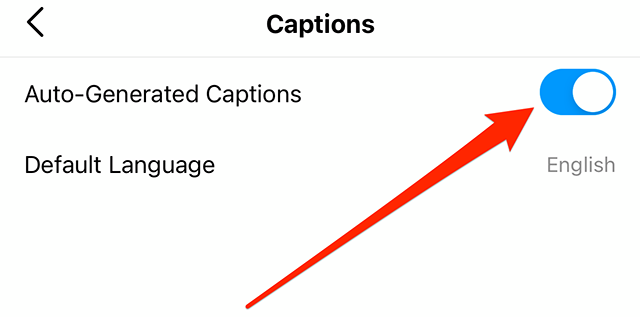
Including captions in your Instagram stories and reels can massively help create a more accessible space for everyone in your community — proving to be a no brainer for your brand or business.
Sign up for the Later newsletter and get the latest Instagram trends, tips, and tricks delivered straight to your inbox:
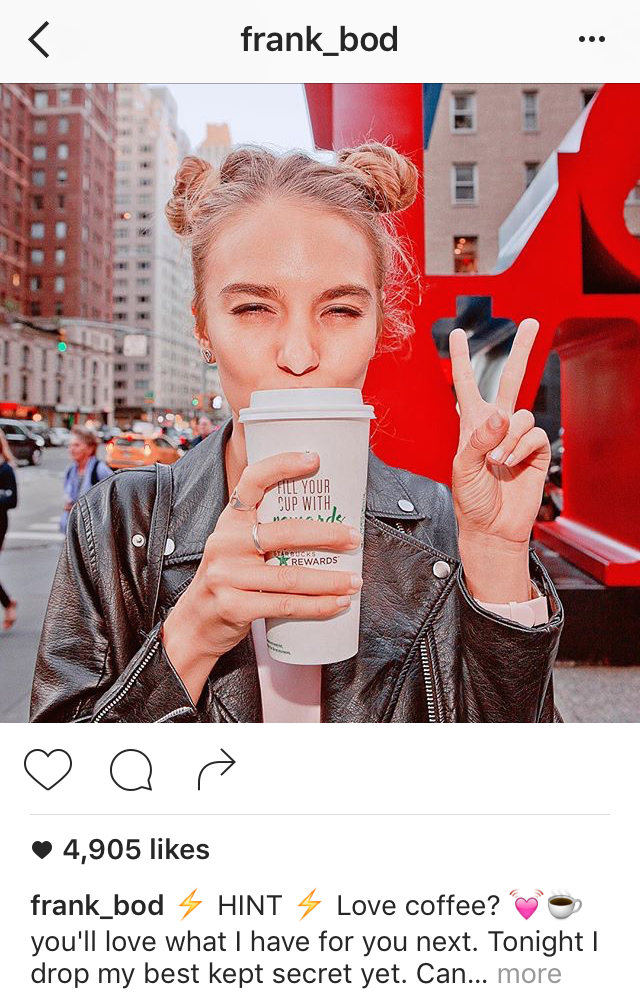
Social networks have long served as a platform for users to earn money. An ad placed here has a huge chance of getting into the eyes of thousands of people. However, whether they read it or not depends not on WHAT is written, but on HOW it looks. The texts are solid gray canvases, few people read them. A good post, like a good book, must be well-formed.
Unfortunately, Instagram does not allow you to use formatting techniques, as in Word. So that what is written does not merge into a gray mass, you need ...
Let's talk about how to divide text into paragraphs, insert headlines and lists on Instagram so that your posts attract people's attention.
Content
headlines of publications is customary large and noticeable. font, but there is no such option on Instagram - in this social network there is one font for any need, and get out as you want.
And you can get out like this:
In the meantime, using what is at hand, you can get something like this:
Next comes the main part of the post, which is usually separated from the title by an empty line.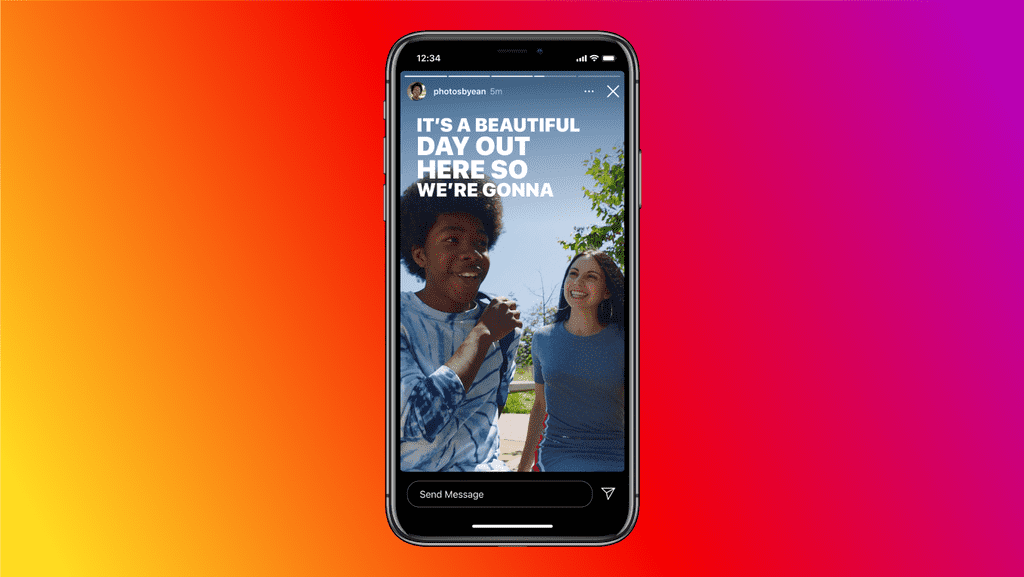 If you simply move the cursor down twice, as in Notepad, Word and other text editors, after publication, the empty space will be removed and the text will “stick together”.
Agree, it doesn't look very good:
To add separator lines after the title and paragraphs, Insta-users use the following tricks:
As you can see, it turned out better, but it's still far from ideal:
To move to a new line in the Instagram editor, press the Enter key when it looks like a back arrow.
On different devices in different versions of virtual keyboards, the enter key can perform two functions - move the cursor to a new line and send messages. How exactly it will work on the next click can be determined by its appearance.
A paper airplane, envelope, forward (right) arrow, etc. icon on the enter key indicates that the typed text will go straight to publication. To switch the key to newline mode, on the standard Android keyboard, press Shift (the up arrow button that changes the case of letters).
And yet, if you notice, there are a lot of posts on Instagram that are divided into paragraphs with empty lines. How did their authors succeed? Very simple: they use a "tricky" space. This one:
"⠀"
Insert it without quotes after the last character of the paragraph, and then boldly press the line break button - the text will no longer stick together!
Now it looks like this:
It turned out what we needed. And in order not to copy the space manually every time, save it in the autocorrect list in the keyboard settings. Of course, if she supports such an opportunity.
Well-formed texts often contain bulleted and numbered lists. But the creators of Instagram have cheated their adherents here too: the function of inserting and formatting lists, as you guessed it, is also missing! But now we are not afraid of this.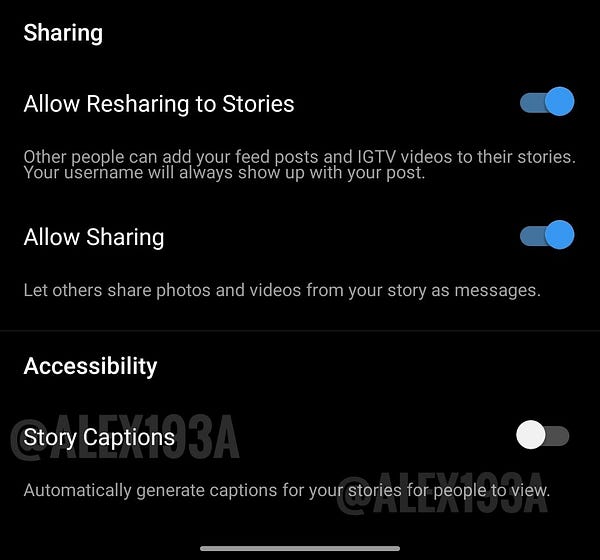
Let's arm ourselves with a "tricky" gap and continue the experiments. In the following example, it adds an empty line after the title, as well as indents and hyphenation of list items:
Finally, we have achieved what we wanted. It remains to simplify the task.
Short posts are easy to edit manually, but formatting large amounts of text using manual operations is too laborious. And there is no need to waste time on this if there are helper services:
 plus . This service is even more convenient than the previous one: you just write or paste a post into the window, and Picture.plus adds paragraphs to it that Instagram understands. In addition to text, it is permissible to use emoticons and hashtags here.
 Writing posts on Instagram is not as difficult and incomprehensible as it might seem at first glance. Although it is unusual, but even this passes with time.
Successful publications!
Page layout
Page layout
Page layout
Inserting a table of contents
Further: Insert tables, pictures, and watermarks
Word for Microsoft 365 Word for Microsoft 365 for Mac Word for the web Word 2021 Word 2021 for Mac Word 2019 Word 2019 for Mac Word 2016 Word 2016 for Mac Word 2013 Word 2010 Word 2007 More. ..Less
Table of contents in Word is based on document headings.
Place the cursor where you want to add a table of contents.
Select References > Table of Contents . and choose an automatic style.
If you make changes to the document that affect the table of contents, update the table of contents by right-clicking the table of contents and selecting Update field .
For instructions on manually updating content, see the Update Content guide.
Missing entries are often due to headers not being formatted as headers.
You can select the title text for each title.
Go to > main and select Heading 1 .
Update Possessed.
For instructions on manually updating content, see the Update Content guide.
Based on headings, Word automatically generates a table of contents that can be updated when the text, order, or heading level changes.
Click where you want to insert the table of contents, usually at the beginning of the document.
Click Links > Table of Contents and then select the style Automatic Table of Contents from the list.
Note: For style Manual TOC Word does not generate a table of contents based on headings and cannot update it automatically. Instead, Word creates a table of contents view with alt text that you can manually type in each section instead. For instructions on manually updating content, see the Update Content guide.
The table of contents can be formatted and customized. For example, you can change the font, the number of heading levels, and whether dashed lines should be displayed between section titles and page numbers.
Missing entries are often due to headers not being formatted as headers.
You can select the title text for each title.
Go to > main and select Heading 1 .
Update Possessed.
For instructions on manually updating content, see the Update Content guide.
Based on headings, Word automatically generates a table of contents that can be updated when the text, order, or heading level changes.
Click where you want to insert the content (usually at the beginning of the document).