Apart from Instagram‘s Story, Posts, and IGTV, the Live video feature has recently gained tremendous popularity. Using this feature, you can instantly interact with all your followers from a single screen. If you’ve missed watching one, then worry not for we have listed 3 ways to save live video on Instagram or download it later for replay. Meanwhile, you should learn to schedule a live video on Instagram.
Also, Read | How to Stop Instagram Live Notifications for One Person
Table of Contents
Instagram offers you the capability to save your Live Instagram session directly to your device or your Instagram profile by sharing it as a video post. If you’ve hosted a live Instagram video on your profile and wish to save or rewatch it later, then you need to follow these simple steps to achieve the same.
Now that you’ve learned to save your own Instagram Live using the app, it is time to save the live video of someone else on Instagram. With that being said, let’s look at two different methods to download someone else’s live video on Instagram.
One of the most effective ways to save someone else’s live Instagram session is to record it using the Screen Recorder app. While most smartphones come pre-equipped with a screen recording tool, you can also try some third-party Android apps to record screens on your device. Follow these easy steps to quickly record someone else’s live Instagram session.
The second method to download someone else’s Instagram Live is to use certain third-party Android apps to download it by pasting the live video link. Follow these steps to achieve the same.

That’s it. You’ve successfully saved someone else’s live Instagram video to your device.
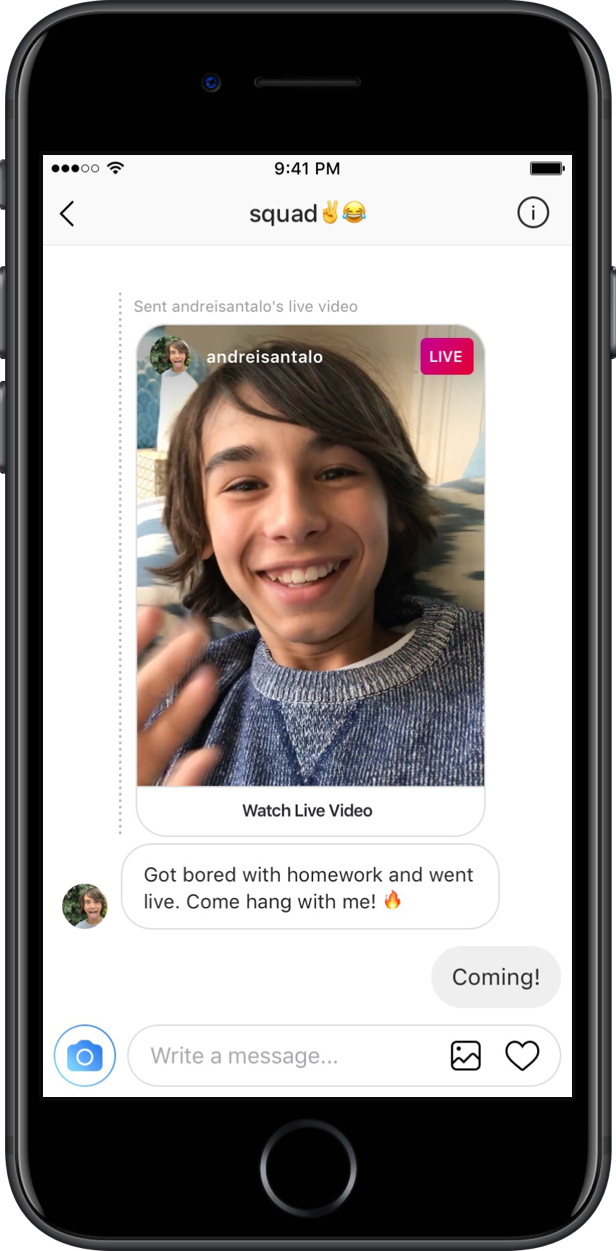
If you have missed joining the live Instagram video session of someone you were interested in, you can follow these steps to replay and view it using their profile. Do note that for this trick to work, the host must have shared his live session on their Instagram profile. Usually, when Instagram Live ends, the host gets an option to share it on their profile using a video post. Follow these steps to save their live video using this simple trick.
Now that you’ve learned to save yours or someone else’s Instagram Live video, you should learn to watch someone’s Instagram Story without them knowing about it. Follow this detailed guide to watching someone’s Instagram Story Secretly.
That’s a wrap for the 3 best ways to save your or someone else’s live Instagram video and download it later for replay. If this article has helped you in downloading or rewatching the live video then, hit the Like button and share this read among your friends to assist them while using Instagram.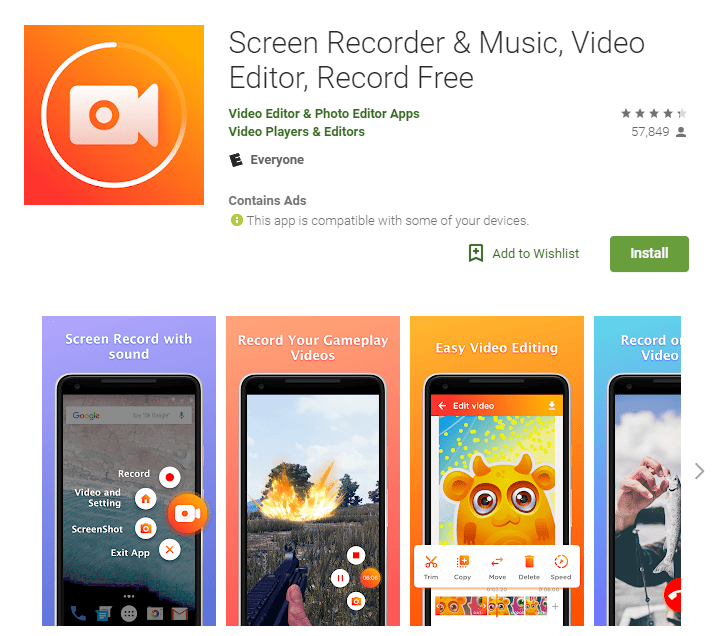 Stay tuned for more jaw-dropping reads.
You can also follow us for instant tech news at Google News or for tips and tricks, smartphones & gadgets reviews, join GadgetsToUse Telegram Group, or for the latest review videos subscribe GadgetsToUse Youtube Channel.
Live streaming has become a mainstream way for influencers to reach out and connect with their audience. All of the major social media platforms offer it as a future, and Instagram is no different. That being said, if you don't act fast, you won't be able to keep your Instagram Live videos long-term as they will be removed from your profile after 24 hours.
This article will cover how to download Instagram Live videos that you have created as well as the videos of your favorite influencers.
Downloading your own live videos is very simple and can be done from within the Instagram app.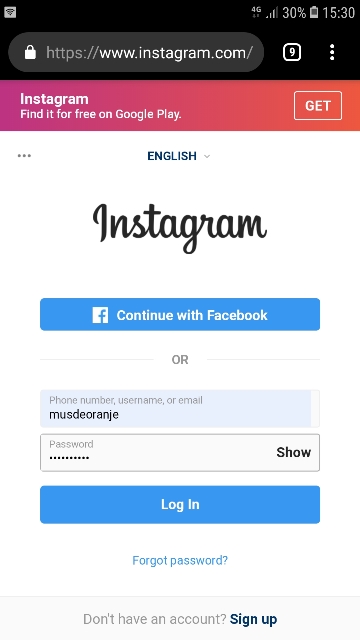 All you need to do is complete the following after you end a live stream on Instagram:
Step 1
As you end the video, Instagram will prompt you with the option to share the video (as a story on your feed) or to save it.
Step 2
In the top-right corner of the screen, you will see the ‘Save’ button. Tap it to download the live stream to your device.
Step 3
If you accidentally didn’t click the save button, you should be able to access the live stream on your feed for the next 24 hours. You can still download the video, but you will need to take a few extra steps, which will be covered in the next section.
Whether you didn’t save your live stream before you shared it or you want to download someone else’s shared stream, you will need to use a third-party app. You should note that it is common courtesy to ask permission from the person who shared the stream before downloading it. Here’s what you need to do:
Step 1
On the App Store or the Google Play Store, find and download the app called Story Saver. There are two different ones with slightly different names depending on whether you have an iPhone or Android. Log in with your Instagram account.
Step 2
Find the story you want to save while you are still on the app.
Step 3
Follow the steps to save the live stream to your device. The app should also allow you to repost Instagram stories.
Not every influencer will share their Instagram Live video when they have finished streaming. If you are concerned that you will miss something they are saying, you can record it from your own device
All you need to do to record the video is to use a screen recorder. Most new iPhones and Androids have built-in screen recorders included with their devices. If yours doesn’t have one, there are many apps on the App Store or the Google Play Store that will work.
Once you start the screen recorder, you will be able to watch the video live and
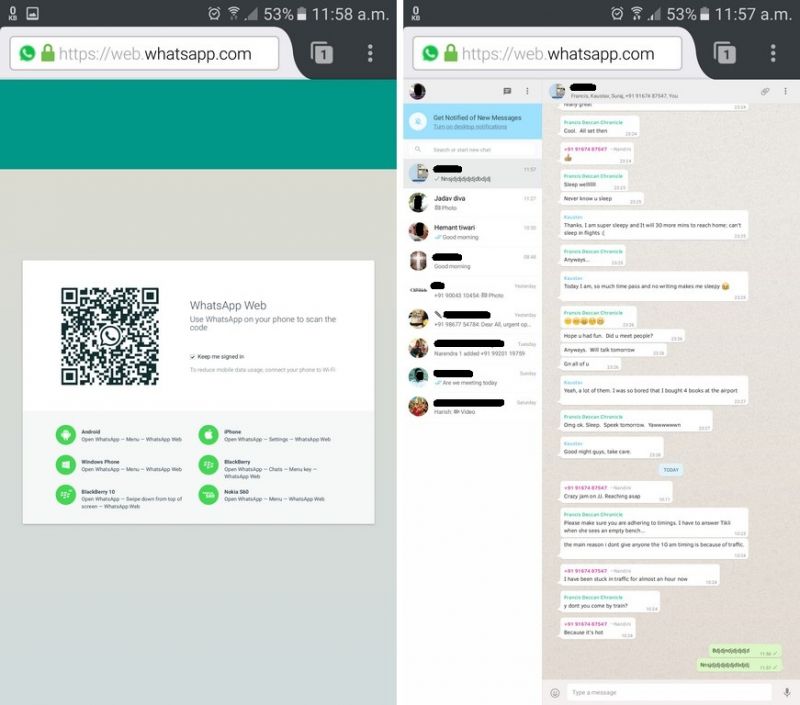
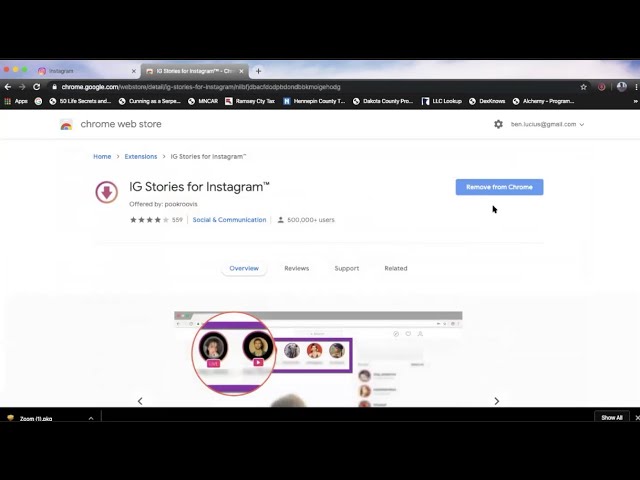
If you aren’t using a mobile device, you can still download your Insta Live videos from a PC using a Google Chrome plugin called “Chrome Instagram Story.” After searching for it and adding the extension to your browser, you will need to complete the following:
Step 1
Log in to Instagram through the extension.
Step 2
Find the story you wish to download to your computer.
Step 3
Click the “Download” button on the top-left corner to save the video to your desktop.
Unlike other social platforms that allow live streaming (such as YouTube, Facebook, or Twitch), your broadcast will disappear from your feed as soon as you end the broadcast.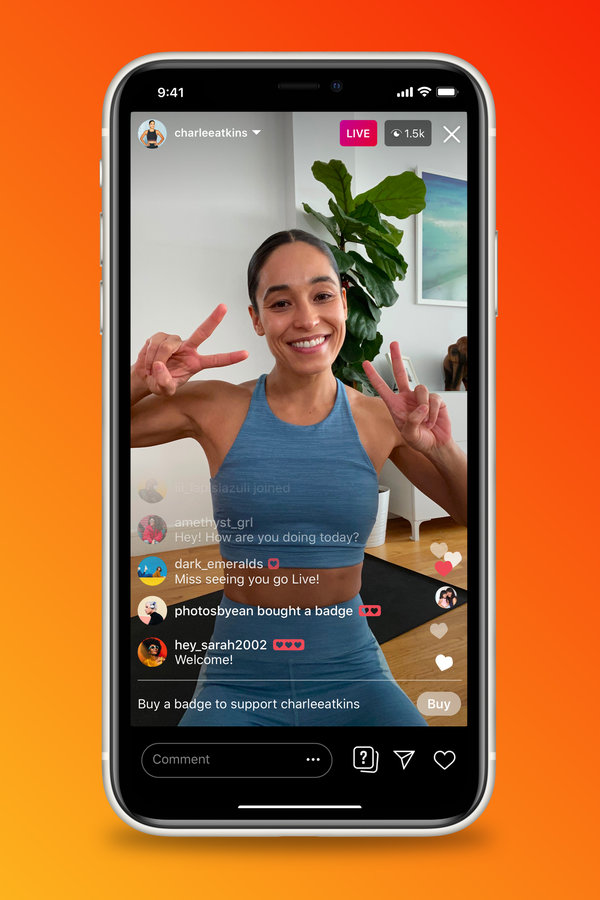 You can get around this issue by sharing the stream, but it will only stay on your feed for 24 hours like any other story.
You can share an Instagram Live video to your feed, where it will remain for 24 hours before it is removed.
While you can’t currently download shared Instagram videos from the app, it may be added as an in-built feature in the future. The platform is very good about updating its features and releasing new ways to interact with the content.
Live photo is a short video where part of the picture or all elements moves. There are several ways to take a live photo for Instagram - using programs and applications.
Table of Contents
Cinemagraphy has become a popular trend on Instagram. Such photos are similar to static ones, but some parts are moving. Usually, a minor part of an image, like clouds in the sky or hair in a portrait shot.
Applications are divided by functionality: with a dedicated area, with automatic selection and pre-prepared templates. Also, a standard Photoshop graphics editor on a computer will help you take a live photo.
But the version must be higher than CS6 to download the video (instruction below).
How to take a live photo:
You can create a cinemagraph for free using trial applications. Most of the tools are offered on a paid subscription basis. To create, you need a short video or photo, where all the details are clearly visible.
To take a "live photo", the user has access to applications from the Play Market and iTunes. The StoryZ tool will help in creating the first snapshot, with detailed editing of each selected element.
The application is available for free, but with separate paid features: movement acceleration, filters and movements.
Free way to create a cinematic shot:
You can create GIFs in the app to use on other social networks. StoryZ is limited in functionality: there are only three types of movements that the user must specify manually. In this case, only the necessary objects and parts of the picture are selected. Of the advantages - the separation of the active and inactive parts.
That is, if the user needs to leave the human figure static in the image, they need to switch to the Mask tool.
The area that will not be set in motion is highlighted.
There are other tools available in content stores that are designed to edit certain objects. For example, taking a live photo is simple through the applications below, with different settings for materials and objects.
List of live photo applications:
Over 100 different filters and GIFs are available for free in Vimage. The templates include: northern lights, coffee grounds, sunlight, old photo effect and others.
The live photo application is also available for part selection, editing and cropping. In the free package, a watermark will appear at the bottom. With the purchase of a paid set - the number of templates is increased to 1000, the "Remove Signature" function is added.
One way to make a live portrait photo from a video is to use the computer program Photoshop. Shooting should last no more than 10 seconds, after which - editing the footage. Unlike pictures, video should tend to be static - changes only in the area that moves in the photo.
How to create a live photo from video:

Another PC program for working with live images is Fixel Cinemagraph. But it is only available for a paid subscription and for Mac OS. A mobile version is available, with limited functionality for the free version.
Separate zones are available in applications and programs. In Vimage, you will have to select and erase, without previewing the result.
Instructions on how to highlight in Vimage:
In the application, you can stretch the effect, add up to two at once.
To add more - you need to buy a paid subscription.
To stretch the brush, pinch it with two fingers and make a "Zoom out" motion. The same applies to the second brush, which allows you to erase unwanted elements from the photo.
The only downside to the free versions is that the photo quality and resolution gets smaller. When posting on Instagram, sharpness and pixelation of individual areas are noticeable.
Video format is used for posting on a social network. If the picture was saved as a GIF, it can be edited using video editors and converters. Instagram only allows one type of video - MP4.
How not to lose quality:

A front camera below 5 MP is not suitable for shooting, and it is much more difficult to take an interesting live photo with a shaky frame. The user will have to select only high-quality fragments and glue them together.
Post to Instagram:
Direct posting from the Instagram app is available for Vimage and Story Z. Entries are also shared in Stories, where stickers and a text part are available.
Unlike a standard GIF, a live photo must be converted to MP4 format and is only three seconds long. Changes occur in the foreground or background, rarely - a complete "revival" of the picture. Only certain tools are available to users, which does not include:
 The background remains, only effects are added;
 If you put a whole filter on the picture, the changes will occur only on the top layer. That is, to set in motion a certain part, use masks and layer editing.
Cinemagraphic images came into vogue not so long ago, and first of all, they were twinkling stars, inscriptions or rays of the sun. The catalog of available editing tools has also been limited. The maximum weight of a "live photo" is no more than 2 MB, which is suitable for posting on a social network.
With these instructions, creating a live photo for Instagram will be easy. Visitors to the page click on the "Start" button and movement appears on the photo. When automatically loading video in the feed, the recording will be constantly played on repeat.
Mojo is a content editor that helps you create great Instagram stories, TikTok videos, and social media posts. Here you will find over 400 animated templates, unique text styles, background music and more.
More than 20 million users have already installed mojo. Popular bloggers, copywriters, small businesses, online stores successfully use our templates and advanced editing features to create content. Fashion, fitness, photography and more, mojo has everything you need to make your posts look beautiful.
Mojo is a new, easy way to create professional social media content. With this application, you can prepare a bright, memorable publication in a couple of minutes. mojo has hundreds of animated templates, music and text effects. You just take a template and add your photos and videos to it. The finished project can either be saved to the media library, or immediately published to Instagram, TikTok, YouTube, Snapchat or another social network. If you have long wanted to supplement your channel with quality publications, then the mojo app is exactly what you need.
MOJO FEATURES - CREATE ANIMATED STORIES FOR INSTAGRAM
Pre-made templates: Instagram story, TikTok video, social media post
Stylish templates prepared by our designers will help you create professional-level publications. The application has blanks for any occasion.
·Video Editing
mojo has handy video editing tools: collages, special effects, filters and more.
Unique text styles and effects
Instagram has very few options for text formatting, but with mojo you can choose the design that will help you fully bring the idea to life. Use different styles, overlays, effects and delight your subscribers with beautiful posts.
· Photo & Video
Want to diversify your publications? Add your own photos and videos or use stock images from our collection.
· Animated stickers
Everyone loves stickers. This is a great way to add personality to your stories. We have a whole collection of funny stickers for Instagram.
·Multi-page stories
In the app, you can create stories with multiple pages and add audio tracks from our collection to them.
Some of the templates and features are available for free, but we'd love it if you decide to support the app and purchase mojo Pro. The full version includes more features:
. Full access to all templates and text styles.
. One touch background removal.
. Templates for online stores.
. Templates for brand promotion, expanding online sales, increasing awareness of your business.
. The ability to add your own fonts, logos, corporate colors and apply animation to the added objects.
. New templates and text styles every month.
. Format change (square, horizontal post, vertical post).
See what Instagram story templates we have in our editor.
We welcome your feedback and suggestions. Email us at [email protected].
Visit our website: https://www.mojo-app.com/
Follow @mojo.video for exclusive tips, news and more.
Terms of use: https://www.mojo-app.com/terms-of-use.php
From Paris with love. Yours sincerely, mojo team.
Oct 18
Version 1.101.1
We’re always making changes and improvements to Mojo. To make sure you don't miss a thing, just keep your updates turned on.
Find us on Instagram: @mojo.video
Ratings: 78.3 thousand
Accidentally downloaded this program. Then, without warning, they charged 3k for a year's use. The money is said to be non-refundable. I don't need this program! Why couldn’t it be written off at least for 1 month, and not for annual use !!! Give me back my money. I have the right to return if I do not need this program!!!
Accidentally downloaded this program. Then, without warning, they removed 3k for annual use.Money supposedly cannot be returned. I don't need this program! Why it was impossible to write off at least 1 month at first, and not for annual use !!! Return my money. I am entitled to a refund if I do not need this program !!!
Hi Bubu8, Thank you for your feedback and I'm very sorry about this issue! Could you send us a message from within the app using the help button? We will help you get your refund if you haven't received it yet. Thank you very much, Jean.
You were told "try a month for free, then the subscription will automatically renew." They didn’t give me a month and immediately debited the money, although I just wanted to try the application! Please cancel your subscription and get your money back! The amount is not small!
I have written off from the account 3900 rubles, for an annual subscription, although I did not want to! You have been written "Try 1 month for free and then automatically renew your subscription for a year for 3900! Free months I was not immediately charged 3900! Is it possible to cancel and get the money back?
Hello Purrpaa123,
Thank you for your review and I am very sorry about it!
Could you send us a message from the application using the help button?
We will help you solve this problem!
Many thanks,
Jean.
Took a trial, but immediately removed 1900 like a year without giving trial days! I beg you to return at least part of the payment🙏🏻
Hello. We are really sorry about this. On iOS, payments related to mojo pro subscriptions are directly made to Apple. To ask Apple for a refund, please go to this link and connect with your Apple ID: https://reportaproblem.apple.com/ To ask for a refund related to a subscription to "mojo pro", tap on the "Report" button. Then, select the option called "I'd like to request a refund". We also invite you to cancel your subscription to avoid this happening again. To do so, you need to go to this link from your iPhone or iPad: https://apps.apple.com/account/subscriptions You will be able to modify the active subscriptions of your Apple account
mojo Pro • yearly plan
Access all templates & editing features
Trial subscription
Developer Archery Inc. indicated that, in accordance with the application's privacy policy, data may be processed as described below. Detailed information is available in the developer's privacy policy.
The following data may be used to track user information in apps and websites owned by other companies:
The following data may be collected that are related to the user's identity:
The following data may be collected, which is not related to the user's identity:
Sensitive data may be used differently depending on your age, features involved, or other factors.