| Listen to this post |
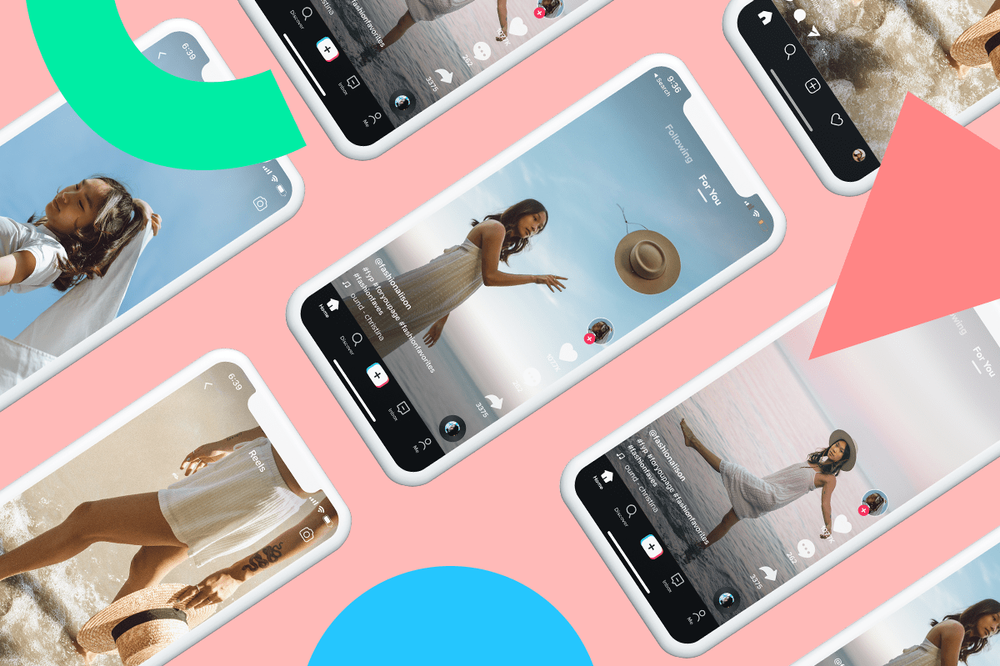
You can make the best Instagram reel that looks aesthetic has a piece of trendy music paired with and still not get good results if they are not high-quality Instagram reels.
After a recent update, now you can post 90-second reels on Instagram.
Although I feel the longer a reel gets, the harder it is to retain a viewer. Shorter reels have always worked better for me.
And if you spend time scrolling through reels on the explore tab, you might have come across the theory that a 7-second Instagram reel is more likely to go viral.
This worked for me a couple of times, give it a try!
High-quality Instagram reels stand out instantly and are bound to get more views compared to a less-sharper Instagram reel.
The tips that I’ll be sharing with you today for ensuring that you post high-quality Instagram reels are for users who shoot & edit the videos on their phones.
Instagram compresses the video when it gets posted, but there are some things you can do to make sure the sharpest version of your Instagram reel is published.
It is quite frustrating to have a high-quality video and then end up with a less-than-awesome reel in the end.
Table Of Contents
Don’t use the filters available on video editing apps. They generally compromise the quality of the video.
Use only the recommended video editing apps like InShot, VN, Capcut.
Instead of applying a given filter in the app, alter the colors by making adjustments in the highlights, shadows, and split toning.
InShot has the option of split toning in its free version as well.
For adding a cinematic look and feel to your video, I’d recommend adding yellow to your highlights and a tad bit of green to your shadows.
Here’s how it is done:
Adding color to shadowsAdding color to highlightsI did the same in this Instagram reel I posted on my account @garimashares-
View this post on Instagram
A post shared by Garima • Product Photographer (@garimashares)
Also Read: Viral travel reels ideas you should save right away
It might seem simple but it can happen quite often. Before shooting video from your phone, double-check that your camera lens is spotless.
Blow on it and clean it with a soft cotton cloth.
Don’t use the filters in-built into your phone’s camera. Record videos from your phone as is, in the highest quality possible.
Go to camera settings and see if the maximum possible resolution and fps are enabled.
On OnePlus Nord: The resolution is displayed on the top of the camera screen. Here it’s 4k and 30fps. 60fps is generally supported with 1080p videos.Also, remember to keep the aspect ratio of the video as 9:16.
I can’t guarantee you this 100% but I and some of my friends have experienced this.
Reels that were edited and compiled on Instagram itself performed better and were high-quality Instagram reels.
What do I mean by edited on Instagram itself?
Open the music you want to use, add your clips one by one, trim them if needed, and compile all of the clips on the app.
Also Read: Video editing tools available on Google Photos App
If your hands aren’t that stable while recording a video, you need a bit of help.
For shooting a sit-down video of yourself where you’re talking about a topic, a mobile tripod will come in handy.
This Digitek tripod comes with a strong ring light which will make sure your face is evenly lit in videos.
The Zhiyun Smooth Q3 is the perfect choice for an advanced phone gimbal. It will give you super stable phone videos, especially if you’re a travel content creator.
Also Read: What Is SEO On Instagram? Let Me Break It Down For You In 5 Minutes
Did you know there’s a setting in Instagram using which you can enable high-quality uploads?.
Go to settings > account > cellular data use > high resolution media and enable it for both cellular + WiFi.
If the video clips you want to use in your reel are on your desktop/laptop, transfer them to your phone without losing their original quality.
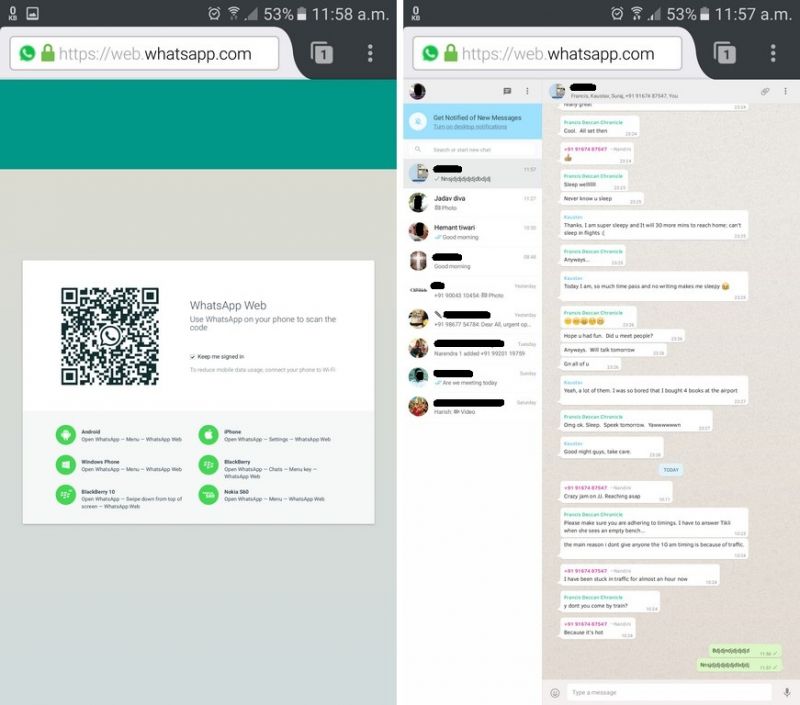
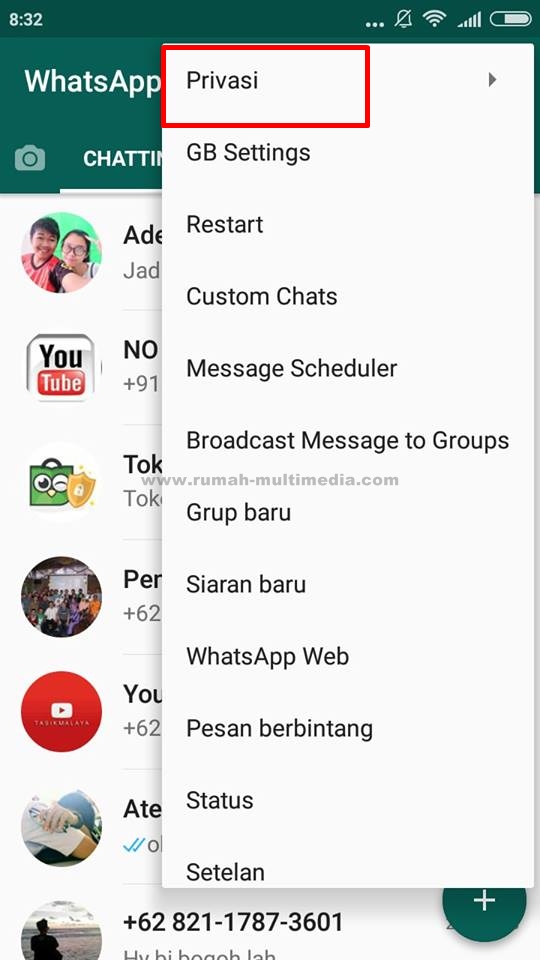
Don’t send them over Whatsapp.
Here’s how to share media files such as photos and videos as documents on Whatsapp so that they don’t lose their quality-
Press on the attach icon and click on documentSelect images/videos to be sentIf you own an iPhone and Mac, I recommend using AirDrop. And if you’re an Android user, either send them over Whatsapp as documents or use free tools like WeTranser, Google Drive, Gmail, etc.
The Instagram app on your iPhone or Android smartphone device is set to save data when uploading videos, for that reason, Instagram lowers the quality. The way to avoid this is by activating the high-quality upload option.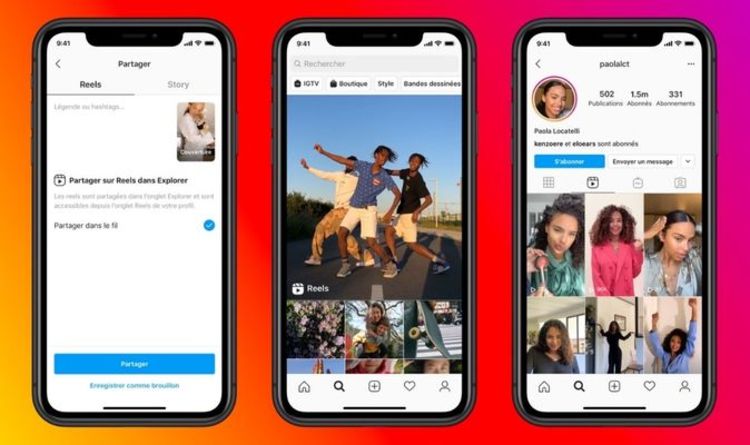
In order to do this, go to the settings menu, then to account, data usage, and there activate the option of High-quality uploads. It may take a little longer to upload your videos, but it will be worth it.
On iPhoneLet’s connect on Facebook, Twitter, and Instagram
Subscribe to never miss a post!
Email Address
Join 983 other subscribers
Spread the love
Instagram has quickly become the favorite platform for content creators. One can post reels, videos, and photos on Instagram. But while uploading any kind of content Instagram compresses the quality of photos and videos. Such situations upset creators especially after clicking pictures or making videos of high quality. No one will ever want the quality to be reduced and the best content reaches out to the audience.
If you are a creator and worried about how can you post pictures or reels on Instagram without losing quality, don’t worry as there are some methods that allow to upload and post high-quality photos and videos with little to zero compression.
Instagram compresses high-resolution files during upload to make users feel faster while using the app. If it uploads high-quality files from each and every user from its one billion user base, the load on the servers will be tremendous. Hence, users will face slow loading of feed and scrolling won’t be smooth as it is now. To tackle all such problems, Instagram compresses the quality of the pictures or videos that you upload.
But there are some methods, by which you can bypass the compression and upload high-quality content on the Meta-owned platform. Let us check out the working methods by which you can upload high-quality reels, pictures, and videos on Instagram.
Most Instagram users are unaware of the fact that the high-quality uploads option is disabled by default. If you are using only mobile data, then the option will be turned off. You can enable it through the app settings. Let us check out the steps for the same.
Instagram will crop the image if it does not matches the required aspect ratio. For example, when the photo has a width between 320 and 1,080 pixels, the app keeps that photo at its original resolution. The only condition here is the aspect ratio must be between 1.91:1 and 4:5. Here is what you can do to upload a high-quality picture.
To compress the images or resize them, you can use various tools available on both PC and smartphones. Here are some of them which you can try out.
You can upload videos in the story, in-feed as well as on IGTV. To maintain the highest resolution of the video, you need to frame the video according to the recommended settings. By following this, you can upload a high-resolution video.
Also Read: Instagram Reels: 3 best Apps to download Reels on Android
 Ensure Lossless Transfer of Files (Photos, Videos)
When you are transferring a video or photo between devices (from PC to phone)/(phone to phone) make sure the transfer is lossless. Let’s assume you have taken a good picture on some phone, now you want to transfer the picture to your phone. Now if you use WhatsApp for transferring the picture, there will be a loss of data hence reducing the quality of a good image.
The solution? Well, you can use Google Drive or Gmail for transferring the files both videos and pictures, or use other cloud platforms to upload and then download the files. You can check out some free cloud platforms from here. If you want to transfer through WhatsApp, make sure you send them as Documents. While Apple users can use Airdrop for seamless transfers between Mac and iPhone.
There are a multiple phones currently offering good camera features. Check out the smartphones which can shoot videos at 4K 30FPS because that will ensure shooting at the highest resolution but at the recommended FPS. If you have good camera sensors but the stock camera is unable to click good pictures, you can use GCam. Check out the link below to download the latest GCam.
Also Read: Google Camera 8.3 APK From Pixel 6 Series: Download And Install on Any Android Phone
We recommend you to use an iPhone or a premium flagship phone such as Samsung Galaxy S21 Ultra, Mi 11 Ultra, OnePlus 9 Pro, or such phones. These phones upload pictures on Instagram without losing any quality.
These were the working ways by which you can upload high-quality videos, photos on Instagram without compromising quality. As a creator, you want to deliver the best content to your followers but the content also matters. If you make some good content and deliver it regularly, then you will definitely grow on the platform. Do let us know in the comments section if there is a change after following the methods.
Also Read: How to Grow Rapidly on Instagram?
To receive more tips & tricks, tech news, and product launches, fill the form below to subscribe to our newsletter.
Name *
Email *
Name
If you shoot Instagram videos with a digital camera instead of a smartphone, you will most likely need to edit them on your computer before posting. And if you need to save the same file in several formats - for example, for the feed and for stories - cropping can take a lot of time.
To make it easier, we've prepared detailed instructions on what Instagram video sizes are considered optimal, how different aspect ratios look in the feed, and how to quickly save an Instagram video in the correct size and format.
We use VSDC as the editing program. It is a free video editor for Windows that is suitable for both simple operations such as trimming and adding audio, as well as for more complex tasks such as creating a picture-in-picture effect, color correction, and working with sound.
Looking for a convenient and free video editor for PC?
Download VSDC
VSDC has special video export profiles for Instagram and other social networks in the required size. This means that you can automatically apply the optimal settings for each social platform, and adjust them if necessary.
We will show how this works in detail below. But first, let's talk about the optimal video size for Instagram.
The answer to this question depends on what type of post you are planning. Currently, you can post on Instagram:
The general requirements for any video on Instagram are as follows: MP4 format, H.264 codec, 30 frames per second - maximum frequency, resolution - 1080 pixels wide. Lower quality videos - 600 pixels wide - are allowed, however, you should understand that on a visual platform like Instagram, you should always strive for maximum image quality.
Let's move on to the aspect ratio of the video for Instagram. Here you have several options.
If your video for is a regular post in feed , you can choose any aspect ratio between 1.91:1 (horizontal video) and 4:5 (portrait/vertical mode). Naturally, if your goal is to draw attention to the publication as much as possible, we advise you to choose the second option, because it takes up much more space on the smartphone screen. The recommended settings for vertical video on Instagram are 1080 x 1350 and 864 x 1080 pixels. However, if you shot the original video in a non-portrait mode, it will be difficult to apply the optimal aspect ratio. In such cases, it is worth using square videos with a standard 1:1 ratio. The optimal resolution here would be 1080 x 1080 pixels.
The best video resolution for Instagram Stories is 1080 x 1920 pixels. And, of course, for maximum organicity, shoot video initially in portrait mode.
Finally, if you're editing a video for IGTV , you can save both a 9:16 vertical video and a 16:9 horizontal video. It is worth remembering that when an IGTV video is viewed in the feed, it is loaded in portrait mode, so it is again recommended to shoot vertically for optimal results.
After you have finished editing, you can save the video in the desired format and size as follows:
To change any of the video parameters - width, height or frame rate - use the "Change profile" option, this button is located below the preview window. If you need to create and save your own video export profile, see this guide.
If your video is longer than allowed, you can quickly split it into parts and post sequentially to the carousel or stories. The easiest way to do this is with cropping markers:
Saving videos in the optimal size for Instagram is not difficult if you use a program with preset export options. Maintaining maximum quality, however, can be more difficult. We recommend that you try the following tips:

Questions about video size settings for Instagram? Write to us on the Facebook page or send an email to This email address is being protected from spambots. You need JavaScript enabled to view it..
Download Free
Video Editor
You can learn more about the program on the product description page Free Video Editor
Below we will figure out how to upload a video to Instagram without losing quality. Stay with us and check out useful tips on how to easily share your favorite video with your friends.
The first thing you should pay attention to before uploading a video to a common feed is the technical characteristics of the file. Ideally, they should fully comply with those set by the social network service. Namely:
Movie playback time is important:
The social network system will most likely not let you download the video:
Good to know. You can attach widescreen clips with a 16:9 aspect ratio to the post, but then white frames will appear on top and bottom of the film, and the video itself will be reduced.
So why does Instagram ruin video quality? The reason for this may be several things:
It is from this that the “picture” of the clip can deteriorate.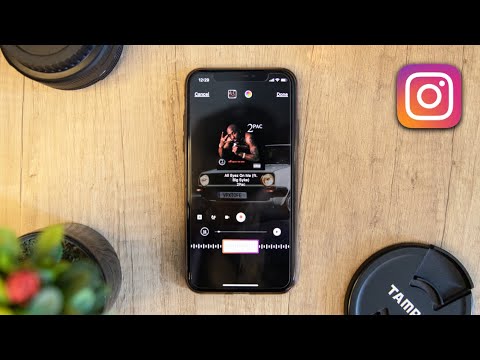 What to do in this situation? It's simple:
So, how to keep good quality video files when uploading to Instagram? Follow the standard algorithm of actions. And since it will be slightly different for iPhone and Android owners, we will consider them separately.
To publish a video clip with the best resolution on a smartphone with the Android operating system, you will need:
If the Instagram video is still uploading in poor quality, then install the auxiliary utility FilmoraGo on your smartphone. With it, you can:
Note. FilmoraGo is a free Android app.
For Apple owners, the step-by-step instructions are almost the same.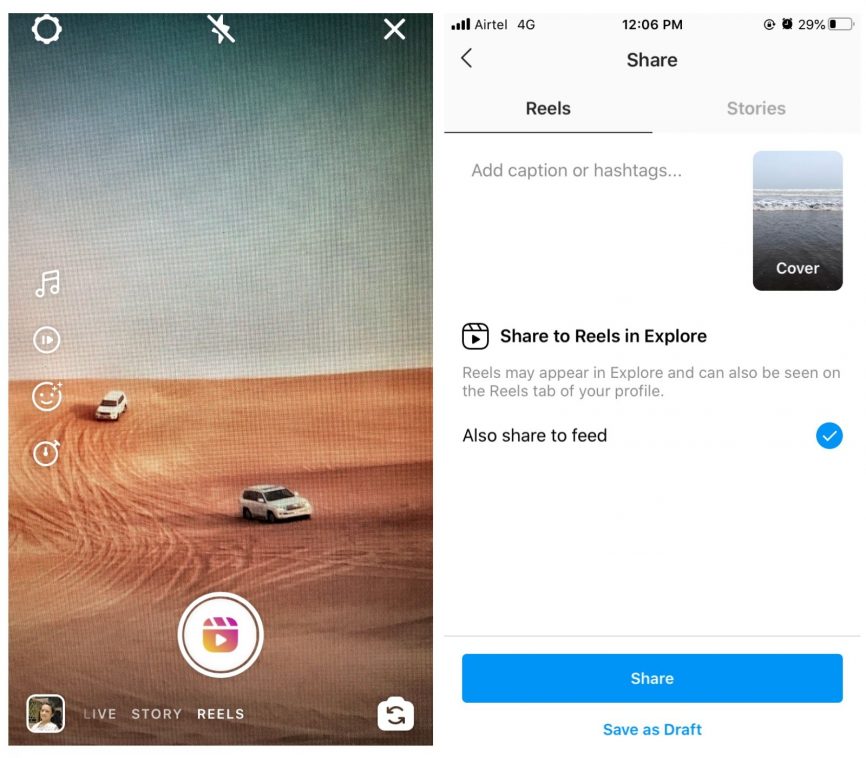 Only the location of icons and options in the application can differ. All you need is:
If the resolution deteriorates, then you need to upload such a video with pre-processing. To do this, install the InShot editor on your phone. It will help:
Note. To improve the quality, install only official and user-tested programs from the Market. Utilities from unknown sites in the browser can be malicious.

Another way to avoid poor quality video on Instagram is to convert it. After all, an incorrect file format can lead to the fact that the clip will either not be added to the post, or it will “compress” greatly.
To improve the quality or restore the sharp "picture" of the movie, follow the step-by-step instructions below:
Done.