How to add video and photo together on instagram story
How To Add Images or Video to an Existing Instagram Story
Instagram is one of the most popular social media platforms that allow users to share photos and videos with their friends and followers. To enhance user satisfaction, Instagram constantly adds new and cool features that make the app even more fun and interesting. In 2016, Instagram launched its own version of Stories, modeled from a similar element in Snapchat.
Instagram Stories allows you to share multiple photos and videos to document your day, whether you’re on an adventure or just chilling out. These stories can be viewed by your followers within 24 hours, after which, they are saved in your archive. The photos and videos in your Stories are uploaded separately from your Instagram posts.
Instagram Stories Explained
Instagram Stories last for 24 hours (although you can Highlight them to keep them longer) and can be viewed by the world or just by your followers, depending on your privacy settings. For private accounts, only your followers can view your story; however, everyone can see your stories on public accounts.
Instagram Stories appear on your followers’ Instagram feed (at the top). Unlike standard Instagram Posts, users can add images and videos to their Stories.
Creating an Instagram Story is relatively simple. Here’s what you need to do:
- Open Instagram and tap the + icon in the upper right corner.
- Tap Story at the bottom of the page.
- Tap the image or video you’d like to add to upload. Then, tap Next.
Note: If you want to add more than one image or video to your Story, tap the Select multiple option and make your selections.
- Select the option where you want to share your Story. Then, tap the arrow icon.
Now, your Story will appear for all of your chosen friends to see it. But, what happens when you realize you forgot to add a few images? What if your Story is an actual story and you need to add more context throughout the day?
Fortunately, the next section explains how you can easily add to your existing Instagram Story.
Adding Photos to Your Story
Adding photos and videos to your Instagram story is easy. The steps are nearly identical to those creating a Story. But, there are a few things you should know to make sure the updated videos and images are added correctly.
To add content, follow these steps to add images to a Story you’ve already published:
- Open Instagram and tap the + icon in the upper right corner.
- Tap Story at the bottom of the page.
- Tap the image or video you’d like to add to your existing Instagram Story.
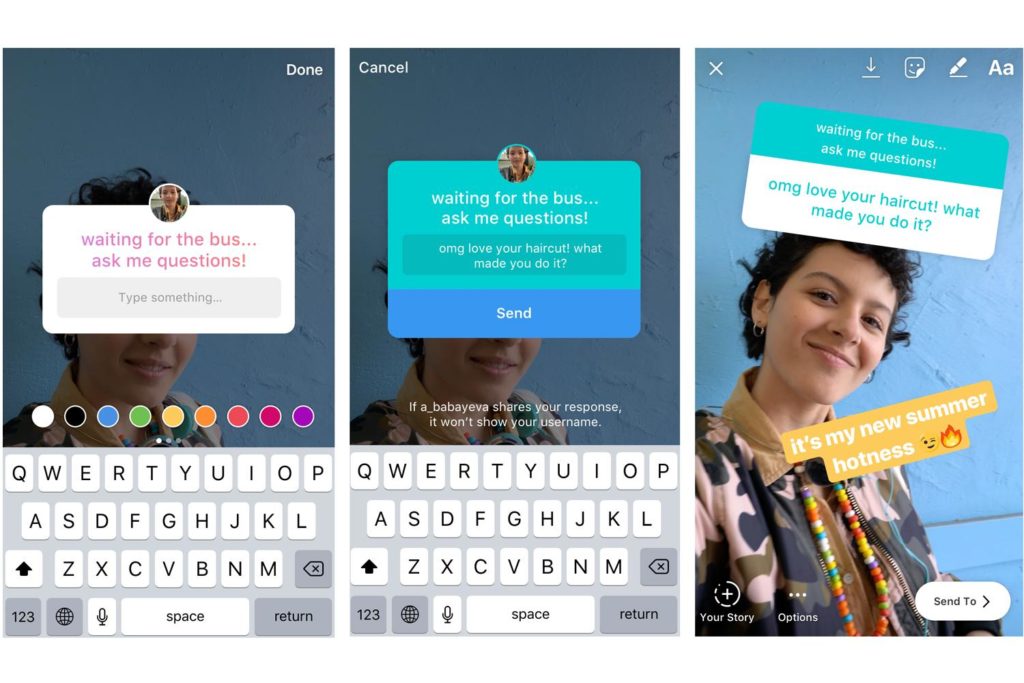 Then, tap Next.
 - Select the option for who you want to share your updated Story. Then, tap the arrow icon.
Note: This must be the same option you selected with your original Story.
You can add any filters or text before selecting the arrow icon to personalize your Story. After uploading your updates to your Story, users can tap your Story icon at the top of their feed and the Story will roll from the original images and videos to the newer ones.
You can repeat the same steps if you want to add more photos and videos to your Instagram Story.
Where does my Instagram Story Appear?
Once you’ve uploaded your stories to Instagram, they will appear in these places:
- At the top of the feed: You will see your profile picture along with the people you follow.
- On your profile: A colorful ring will show around your profile photo, and people can tap on it to reveal your Story.
- In your feed next to the post you share: A colorful ring will show around your profile picture when you share a post; people can tap this to view your story.

- In Direct inbox: In your Instagram Direct inbox, a colorful ring will appear around your profile picture. Your friends can tap this to view your stories.
Deleting a Photo or Video from Instagram Story
Just in case you have added the wrong photo to your Instagram story, or you just changed your mind about it, you can always delete it from your Story. Here’s how:
- Open your Story.
- Select the More icon (three dots) at the bottom right of your screen.
- Then, tap delete.
What Else Can You Do After Posting Your Story?
Aside from simply adding more to your Story, Instagram limits your ability to make edits once you’ve sent it to all of your friends or posted it. If you want to make edits to filters or add the text you will run into some difficulty. Unfortunately, you’ll need to re-upload your Story.
But, if you want your story to live on forever, you can add it to your Highlights. A Highlight in Instagram will live on forever in your profile (or at least until you delete it).
Frequently Asked Questions
Whether you’re an Instagram expert or a novice, we’ve heard your questions! Here are some more answers to the questions our readers have asked about Instagram!
Can you add images to an Instagram post?
Unfortunately, no. An Instagram post is different from an Instagram Story. The former is a permanent fixture on your Instagram account until you delete it, but it doesn’t have the same options as a Story for editing and updating. Once you publish a regular Instagram post, there aren’t a lot of options to edit or add content. You will have to delete the entire post and upload it all over again.
Can you add content to your Instagram Highlights?
Yes, you can edit and add content to your Highlights. Highlights are a more permanent option to display your Story on your profile. If you’d like to add more content, you can visit your profile page and click on the highlight under the ‘Edit Profile’ button.
How can I add multiple images to my Instagram Story?
The Stories are usually short snips with a video or only one image.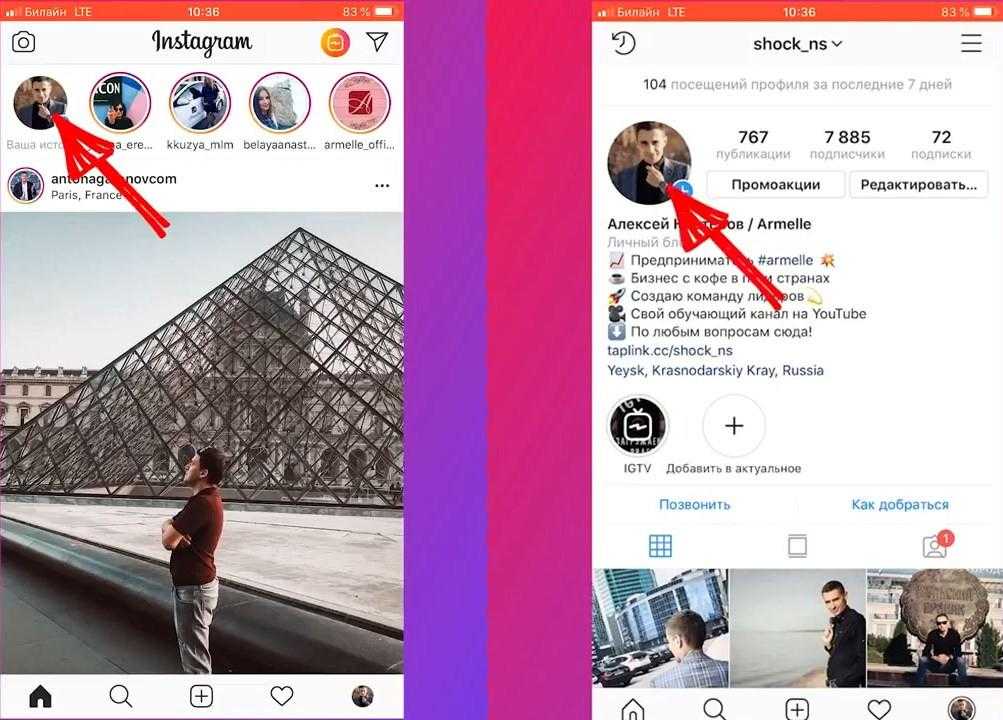 One option is to use your phone’s screen record feature to scroll through multiple images and upload the video. For this to look good, you may need to create an album on your phone just for those photos you want to upload to your story, but also be mindful of the video’s length. The other option is to set a photo as the background and use one of Snapchat’s stickers that allow you to upload more photos. When posting, take, or select your photo and swipe up from the bottom to access the stickers.
Instagram Stories are a neat feature of the app that makes it just that little bit more interesting. The time-limited nature of them is both a benefit and a bane of the system but forces you to be creative quickly. It also means you don’t have to scroll through weeks’ worth of other stories to get to the most recent.
How to Make a Picture and Video Collage for Instagram
Posting engaging photo and video collages on Instagram has become increasingly popular. It is a great way to show your audience your latest work from different angles, share photos from an event, or even give a sneak peek at what’s coming up.
That’s why we’ve put together this post where we cover everything you need to know about picture and video collages for Instagram.
Not just that, but if you stick around till the end, we also show you how you can create engaging video collages for Instagram in minutes using InVideo’s online editor. Do make sure to also check out the InVideo Instagram channel where we share useful tips & tricks to simplify video creation.
Here’s what you’ll learn:
1. How the Instagram collage trend blew up?
2. How to make a video collage on Instagram?
3. How to create engaging video collages for Instagram using InVideo?
Let’s jump right in!
1. How the Instagram Collage Trend Blew Up
Realizing that Instagram collages have become a huge phenomenon, plenty of developers started creating apps to help users come up with creative solutions with little effort. With the right tool, you can make stunning Instagram collages in the form of images and videos and upload your creations to Instagram as posts and stories.
As a response to the trend, Instagram came up with their solutions. Not only can you create collages using the Story feature, but the platform also created a standalone app called Layout. One of the most notable downsides of both options is that you can only create collages using images. If you want to get more creative and craft a multimedia collage, you’re going to have to look for a different solution, such as a handy video editing app.
If you’ve got the basic knowledge on how to edit videos, you can come up with amazing Instagram collages using all kinds of features and media file types. And in case you’re someone who’s always on the lookout for inspiration & ideas, do follow InVideo’s Instagram channel. Before we get down to how you can craft attention-grabbing collage videos, let’s take a look at how you can create a collage using Instagram’s solutions.
Source: Pexels
2. How To Make a Video Collage on Instagram
Realizing how big of a trend collages have become, Instagram came up with two solutions:
(1) Layout Feature for Instagram Stories
With the Layout feature for Instagram Stories, you can choose from one of the available grids and upload images for each portion.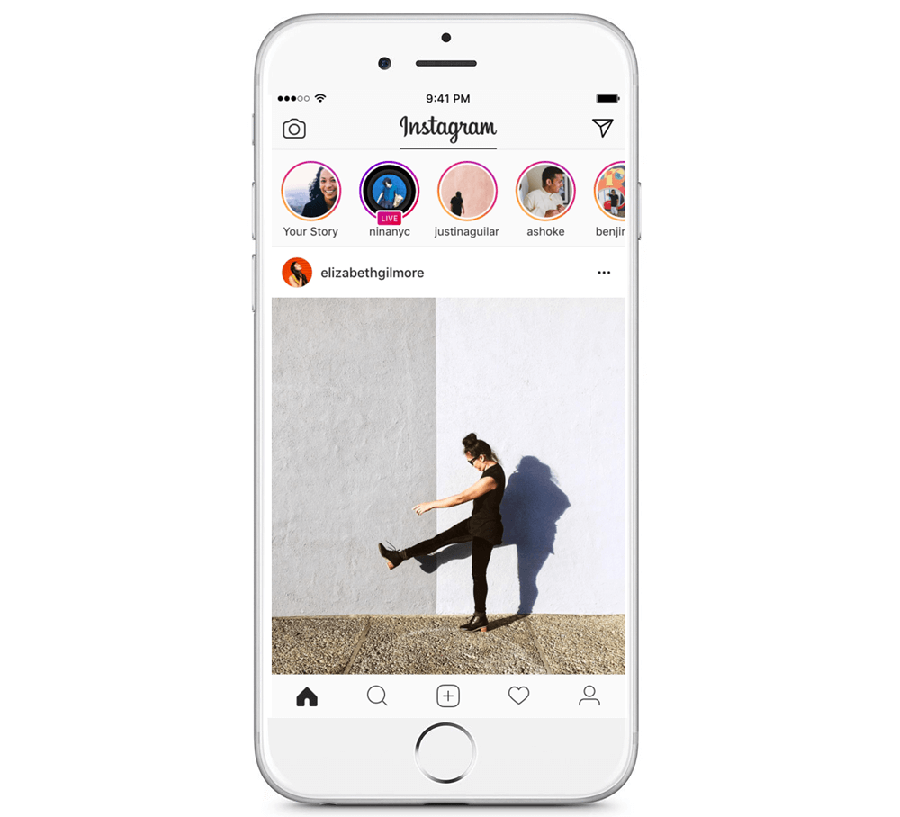 To create a collage using this solution, you need to:
- Open Instagram on your mobile device
- Go to Your Story in the top-left corner
- Pick the Layout option from the menu on the left
- Tap the Grid icon and pick the kind of grid you want to use
- Take pictures for each portion or upload them from your gallery
The same as when creating a regular story, you can pick an appropriate Instagram filter for each picture that you add to the collage. You can also add text and Instagram stickers.
Create engaging video collages for Instagram
With 1000+ ready-to-use video collage templates
Unlock for free
(2) Standalone Layout App
You can download the Layout app from the Google Play store. When you open the app, you’ll see all the images in your gallery. To create a layout out of them, you need to:
- Select all the images that you want to include by tapping them
- Choose one of the suggested layouts from the top of the screen
- Customize the size and positioning for every image
- Tap the Save button
The app enables you to flip and mirror the images. You can also take photos using the Photo Booth option. Press the capture button that looks like a clock, and Layout will take four photos in an interval of one second between the shots. You can customize the layout the same as with the photos from your gallery.
The Disadvantages of Using Instagram’s Layout App and Feature
While both options provided by Instagram may be fast and easy solutions for making collages and uploading them to your profile, they are made for quick and simple creations. You can’t set up your photos to be outside the grid or add an enticing background.
The most notable disadvantage of the Layout app and feature is that you can’t add videos to your Instagram collages. If you want to come up with fascinating mixed-media creations, you’re going to have to turn to a more feature-rich solution.
The good news is that InVideo has got you covered. You can use our browser-based video editing platform to create an attention-grabbing Instagram collage video in no time.
3. How to create engaging video collages for Instagram using InVideo?
InVideo is a powerful video editing platform that provides plenty of features for creating professional-looking videos. It’s one of the best video editing software solutions that you can find because it enables you to come up with fantastic creations with little effort.
You can create a video from photos, add music to an Instagram video, and much more. If you want to craft stunning multimedia Instagram collages for your followers, you can do so using InVideo in under ten minutes.
There are three ways that you can make videos using our platform. Each method was made to provide you with a distinct approach and a specific set of options.
(1) Text-To-Video
The Text-to-Video option provides you with a template that has some premade elements you can use as the basis for your video. It focuses on creating a series of scenes from a script, website link, or media files that you upload.
Once InVideo generates your scenes, you can customize them any way you like using two modes—Storyboard and Advanced Editor. You can pay special attention to each scene using the Storyboard and work with all the features that InVideo has to offer in the Advanced Editor.
Turn your text into engaging social media videos
With InVideo’s AI text to video editor
Try InVideo for free
(2) Premade Templates
If you want to start making your video using professionally designed elements, you can choose from our library of over 5000 premade templates made for all kinds of purposes. Aside from top-notch Instagram collages, we’ve got templates that can help you make high-quality YouTube videos and Facebook stories.
Even though this method focuses on working with premade assets, you can customize each element to the fullest extent. It’s a fantastic option for combining professional-looking templates with your creative efforts.
(3) Blank Templates
The Blank Templates option is the closest to more traditional video editing software solutions. You can choose this option if you want to start creating your project from square one. You start off with a bare template that you can add any elements and features that you like to.
This method is perfect if you want to have complete freedom over your creative process. While it may not provide premade assets as a starting point, it’s as easy to use as the other options that InVideo offers.
If you want to have complete creative freedom with your Instagram collage, you can create a video using the Blank Templates option. This way, you can add a background, different media files, and a variety of amazing elements.
To start using this option, you need to:
1. Log in to your InVideo account
2. Click on Create in the top-right corner
3. Open the Blank Templates tab
4. Choose the aspect ratio for your collage video
5. Click on Start Editing
Uploading Media Files to Your Instagram Collage Project
When you open up the project in the InVideo editor, you need to start by uploading your media files. Go to the Uploads tab in the panel on the left and click on the Upload button at the bottom of the menu. It’s important to note that InVideo doesn’t allow uploading files bigger than 200MB to ensure that you can work on your project without experiencing any performance issues.
InVideo supports a variety of media formats, including:
| InVideo Supported Formats | ||
| Video | Image | Audio |
| MP4 AVI MKV WMV MOV | JPG BMP PNG RAW GIF | MP3 WAV OGG M4A FLAC |
Setting Up the Media Files for Your Collage
All the files you import will appear in the menu on the left. You can click on any of them to preview them in a pop-up window. To add them to your video, all you need to do is drag and drop them onto a scene.
Start by setting up a background image. It can also be a video that doesn’t draw attention away from the main elements of your collage.
When you drop the file onto your scene, you need to resize it. Click on the media element and grab any of the dots along the grid. Drag them around to make the media fit the dimensions of your collage video. Now that you’ve got a background, you can start adding other media files.
Add your images and videos to the scene the same way you did with your background. Each time, InVideo will ask whether you want to add the file as a layer or replace the existing background. Pick the former option.
Resize your media elements and move them around until they fit your concept for the collage. You can rotate any element by clicking and holding the Rotate button above the element. Move your mouse around and let go when the media file is in the desired position.
You should decide if you want your collage video to have sound. You can focus on the audio from your video files or use a song for the entire collage.
Go to the Music tab, where you can choose from our collection of royalty-free songs or upload music from your device. Click on the + symbol next to any audio file to add it to your video.
Editing the Images and Videos for Your Collage
While you can add videos and animated GIFs to your project, it’s important to note that the collage shouldn’t have a lot happening at the same time.
If you’re creating a video for an Instagram story, you should keep in mind that it’s fairly short. This is why you should ensure that there aren’t too many elements that demand attention. Not everyone is going to pause your story or watch it multiple times.
An Instagram post isn’t limited by time, but you still shouldn’t overcrowd it with animated elements.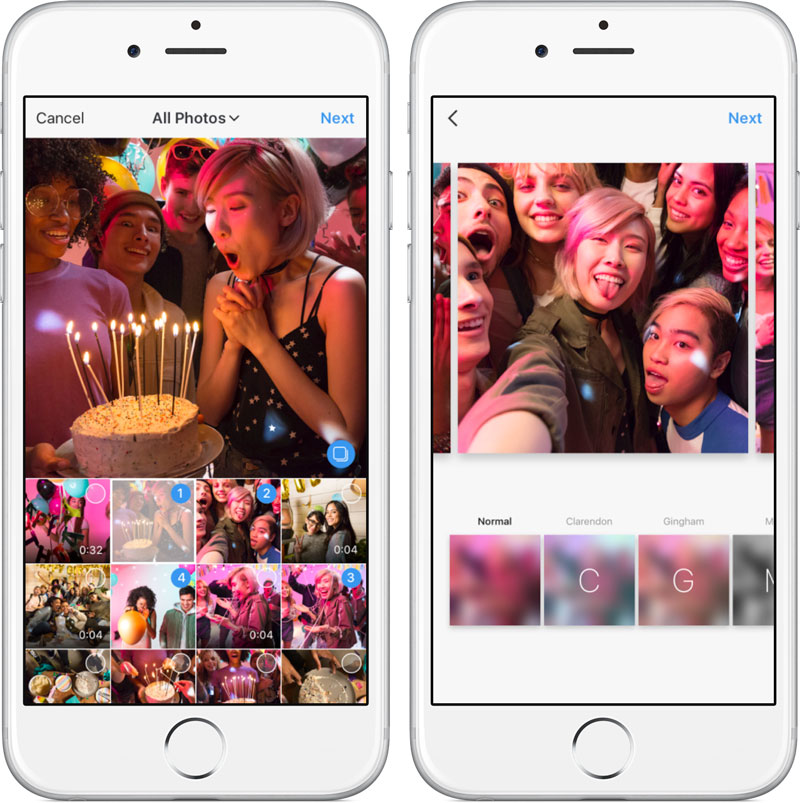 If you want to use multiple videos for the collage, you can animate them so that they appear in succession.
Video Editing Options
To animate any video element in your collage, click on it and go to the Edit menu on the right. When you go to the Video Animation tab, you can set up the in and out animations for the element. Pick an animation from the menu and set up the duration using the slider below.
You can check out the other tabs for various video editing options, including:
- Video Edit: Crop and trim the video element, change the volume, and set up a blur effect
- Playback Speed: Use the slider to change the speed of the video element
- Volume: Change the volume for the video element and the background music
- Fade: Set up a fade in and fade out effect for the video element
Image Editing Options
You can also set up a variety of options for any image element.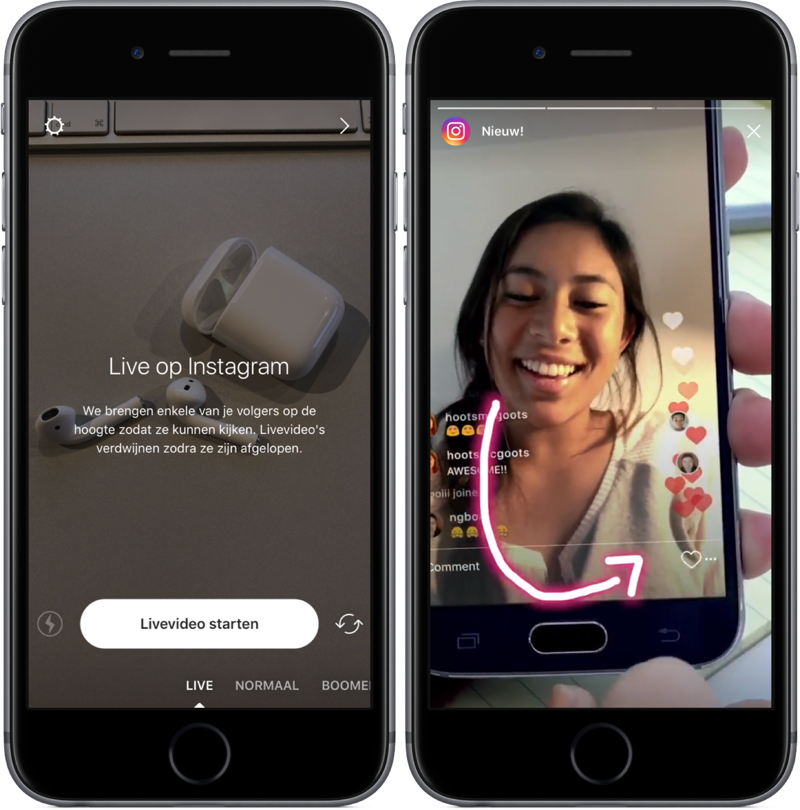 Click on the image and go to the Edit menu. When you open the Filters tab, you can find an extensive selection of filter options, such as Aden, Mayfair, Brooklyn, Amaro, Valencia, etc.
If you want to animate your image element, go to the Image Animation tab. Aside from adding the in and out animations, you can also pick one for when the image is in place. The picture can roll in from the left, zoom in while it’s in place, and then roll out to the right.
You can crop the image and add a blur effect by going to the Image Edit tab.
Using the Timeline To Edit Your Collage Video
You can set up the duration of your collage video using the timeline. Grab the edge and drag it until the video is as long as you need it to be. The length of the collage depends on whether you want to upload it to Instagram as a post or story. Here’s how long both of the options are:
Click on the Advanced Timeline button in the top-right corner of the timeline to get a more traditional overview of your project. Here, you can see all the elements as layers. You can change their duration by dragging the edges and move them around to alter how they appear in contrast with one another.
The blue button with a triangle activates our Intelligent Video Assistant (IVA). You can use it to ensure that your video is flawless. IVA scans your scenes for mistakes and provides suggestions for fixing them. It pays special attention to project colors, text alignment, and animation speeds.
Leverage the power of AI to create your videos
With the world’s most intuitive online video editor
Try InVideo for free
Why You Should Use InVideo To Create a Video Collage for Instagram
InVideo is the perfect solution for your video editing needs because it’s a feature-rich and easy-to-use platform. Instead of spending hours making a video in a complex video editing program, you can come up with professional-looking results with InVideo in a matter of minutes. The navigation is as user-friendly as they come, so you will get acquainted with all of the platform’s features in no time.
If you have any questions, you can rely on our 24/7 customer support. Open up the chat by clicking the button in the bottom-right corner of the screen, and one of our agents will be with you as soon as possible. You can also check out our extensive collection of video tutorials.
Another huge benefit of using InVideo is how affordable the platform is. You can choose one of two paid plans:
(1) Business Plan
If you opt for the Business plan, you can use InVideo with only two monthly limitations. The export limit is up to 60 videos. If you want to use the premium files from our media library in your video, the number is restricted to 300.
The Business plan costs $20 per month, but you can get it for $10 if you sign up for the annual arrangement.
(2) Unlimited Plan
Unlike the Business plan, the Unlimited plan—as the name implies—has no restrictions.
You can use all the features that InVideo has to offer for $60 per month. If you choose the annual option, the price is $30.
If you want to try out our platform for free, we’ve got good news. We provide a free version of our platform that you can use for as long as InVideo exists. This version comes with the same limitations as the Business plan, with the inclusion of a watermark on all your exported videos.
Sign up for InVideo as soon as today, and start creating top-notch videos that will amaze your audience!
chips, quick and unusual ways
Do you want your Stories to be really cool and stand out from the competition? Just adding a photo is not so difficult, we will tell you about it. But you can turn stories into a real masterpiece, and our article will help you with this.
Let's figure out what gadgets and chips on Instagram* will help you post several photos at once in the Story and make it attractive to the audience.
And to learn how to plan content for a section, read the article "How to create a content plan for Instagram Stories*". nine0003
How to add a few photos to Instagram Story*
We will tell you in detail how to do it and what additional effects can be added to make your story stand out in the main mass :–)
If you are going to add photos to Instagram Story* in the standard way , we have just prepared detailed instructions. We tell you how to proceed step by step.
Open your Instagram profile*. Click on the blue plus sign on your profile icon (1) and select the photos you want to add to your story (2). nine0003 Remember that you can upload no more than 10 photos or videos to one story
To select multiple images, you need to click on the photo that will be displayed first and hold it down (3). A blue circle with the number 1 will appear in the upper right corner of the photo. Select the rest of the photos without a long press, set the number and order.
So, we found and chose the ones we wanted. Now it's time to add effects to them. To do this, call up the effects menu by clicking on the stars (3). nine0003 After clicking on the stars, we get to the effects menu
After going to the effects menu, you can select them. Find the effects that best suit your stories by swiping left (6).
We settled on the Iridescent Glitter effect (7). He gave more shine to the garlands on the tree, but this does not mean that he is suitable only for such photos. Experiment and check :–)
You have to choose the effect separately for each photo. After choosing an effect for one photo, you need to click the checkmark in the upper right corner, confirming the choice, and select the next image at the bottom of the menu. For him, also select the effect and move on. nine0003
You can also add a drawing or an inscription made by your own hand to the photo.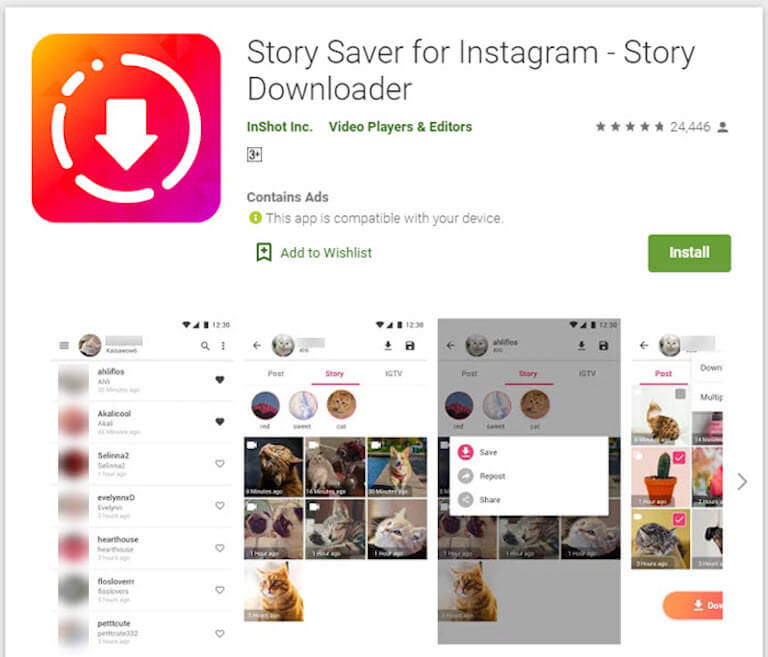 In addition, you can save to the gallery what you have already done. If you like the caption idea, click on the three dots to the right of the stars and select "drawing" (8).
In the top line of the menu you can choose the tools with which you will draw, and in the bottom line you can choose the color. The thickness of the pencil or brush is set by the vertical slider on the left. nine0003
If the drawing is ready, in our case it is an abbreviated New Year's greeting, click on the checkmark at the top right (9). You will move on and be able to share your completed Story (10).
Drawing is, of course, more difficult than typing. But with your own hand :–)By the way, if your story is for a narrow circle of people, you can publish it for the Close Friends list or send it in a message to one of your friends personally.
But since we are talking about public stories, feel free to click "done" (11) and wait for our Story to be published. When it is ready and visible to people, a new story will appear on top of your profile (12). nine0003 You can choose to additionally send to individual users by selecting under "where else to share"
The story is ready (13), but it's not over yet.
Stories can be shared as a post or added to the FeaturedWe can add stories to the Featured. You can store the most important and interesting Stories there, they will be available to your subscribers until you remove them from your profile.
The button for adding to the Topical is located at the bottom of the finished Story (14). We click on it, a tab opens with a plus sign in a circle (15). By clicking on the plus sign, you create a new selection of Actual Stories. Don't forget to give this collection a title so that it will be easier to find later if you have many such collections. nine0003 Click on “Add”, give a name and admire the result
Click “Add” (16), and now our History is saved in a new selection of Actual (17) - we look, admire, remember at any time.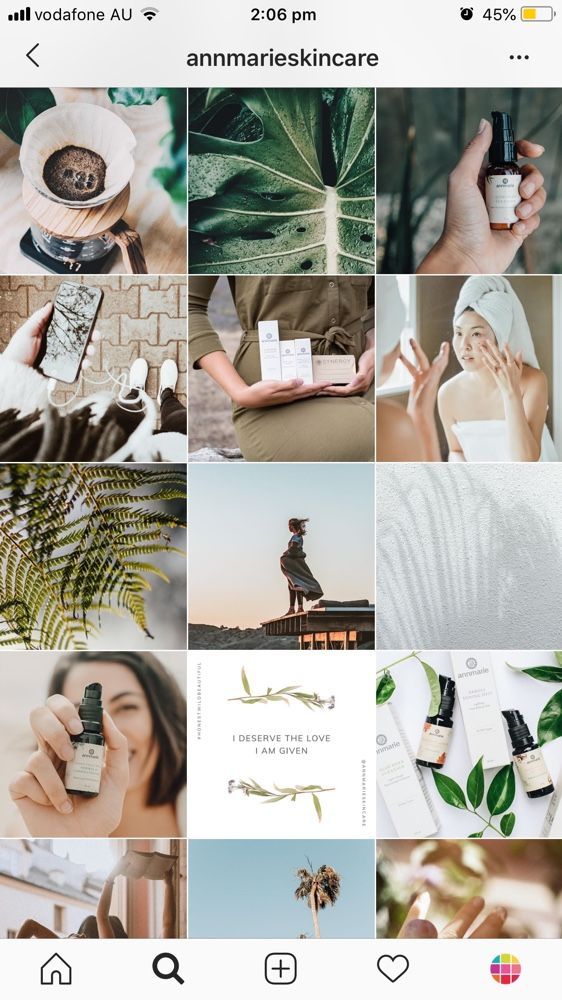
To prepare stories for several days at once, we recommend using the SMMplanner scheduling posting service. With it, you can prepare stories or posts, plan dates and times for them to be published, and take care of other important things or projects. When registering via the link to SMMplanner, you will get free access to all functionality for 2 weeks. A great option to try all the amenities of the service and start saving your time and nerves. nine0003
How to add multiple photos to Instagram Stories* using the camera and the “Collage” function
How to post multiple photos to Instagram Stories* if you plan to choose from the gallery, you already know from the block above. Now let's see how to post multiple photos to Instagram Story* using the camera.
How to upload multiple photos to Instagram Story* at the same time? Click on the camera and go ahead, take new shots Click on the plus sign on the profile icon and select the "Camera" tab.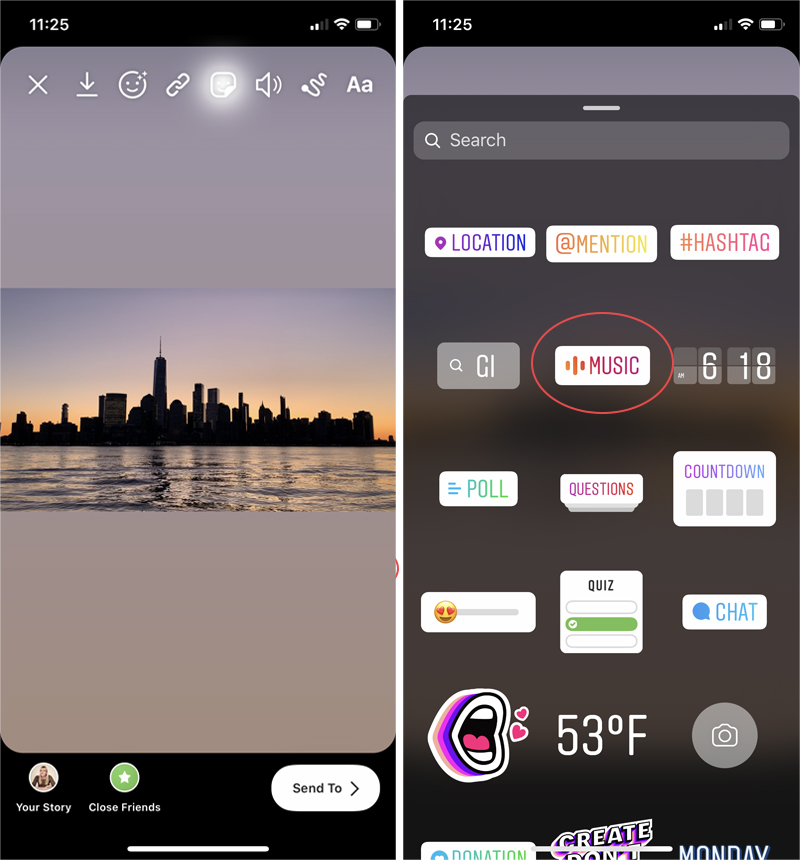 You will see a menu with different functions, but we are interested in the "Collage" function (2). nine0003 You will see a frame divided into 4 parts. This means that you can take or select up to 4 photos
By clicking on the "Take photo" button (3), you can also see how many more shots you can take (4).
You can also add different effects and drawings to the collage, following the block above.
If you don't like any of the photos, for example, I don't like the carpet, you can change it to another one by simply clicking on it. When the collage contains the number of photos you need, and they are edited, click on the checkmark in the circle (5). nine0003Next, click on the arrow in the white circle (6) to go to the "Share" menu.
We send to stories for everyone, only for relatives or a personal message Click "Share" (7), the system will offer you to share in a message with your subscribers personally - it's all up to you. You can just post stories.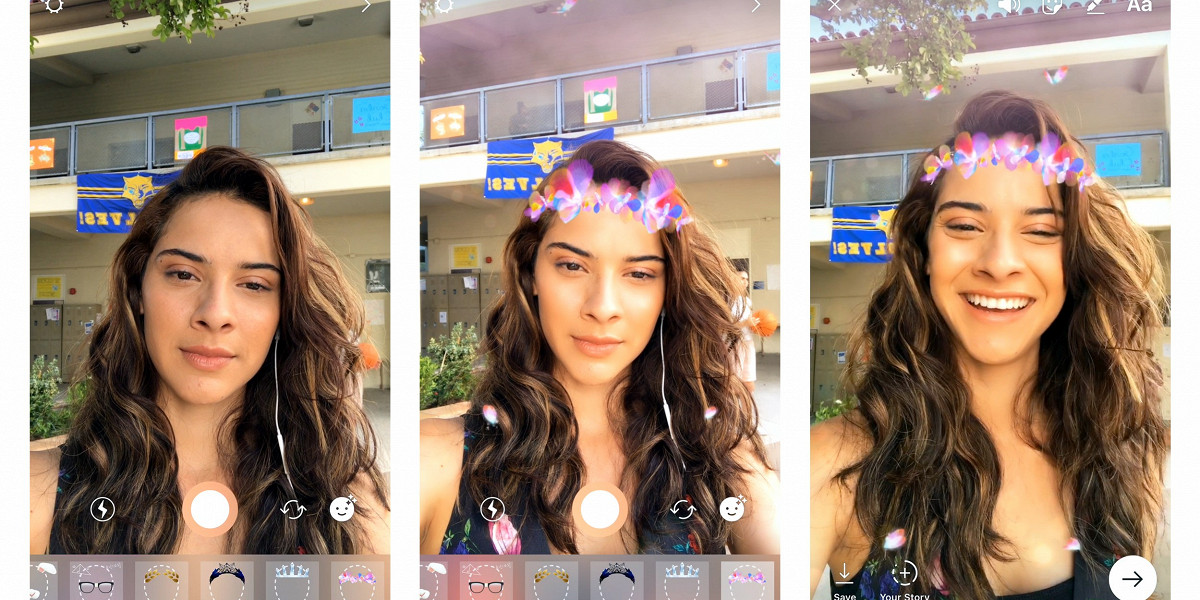
When you're done and you're ready to submit your Story for publication, click the Done button. Your Story is published. We wait. Everything will be ready within a minute. nine0003
By the way, about the "Share" button and how subscribers share your posts. Our blog has an article "Forward" metric in Instagram* Stories statistics: what it is, why and how to track it. In it, we tell you why to track this indicator, what it affects and how to increase it.
Functions for editing photos in stories
So, we have added some photos to stories. And how to make the story look cooler and more interesting for users? We've put together a few tricks you can use to create a poll, add music or hashtags, and more. Each of these techniques in its own way will help increase the activity and involvement of the audience. nine0003
For example, you have already selected the photos you want to publish. It's time to give your story a more interesting look, you can post some question to subscribers - click on the smiley (1) and select the function you are interested in (2).
You can also add a hashtag to get into the search for a potential follower or recommendation. We talk a lot about hashtags and show them on the blog. Many companies ignore them, and in vain. With their help, you can try to increase sales, the number of subscribers or comments. One of the latest articles is “We select hashtags to increase sales on Instagram*”. In it, we tell you which hashtags should be used if you want to increase sales. nine0003
What other features are there for Instagram Stories*? We tell below.
Add music to Story
What is a story without suitable music in 2022?In the menu under the emoticon, select the "Music" section. In the line "Search for music" (3) enter the name of the song or melody that you would like to use. In our case, this is “A Christmas tree was born in the forest” (4).
Melody added to History. It will play simultaneously with stories.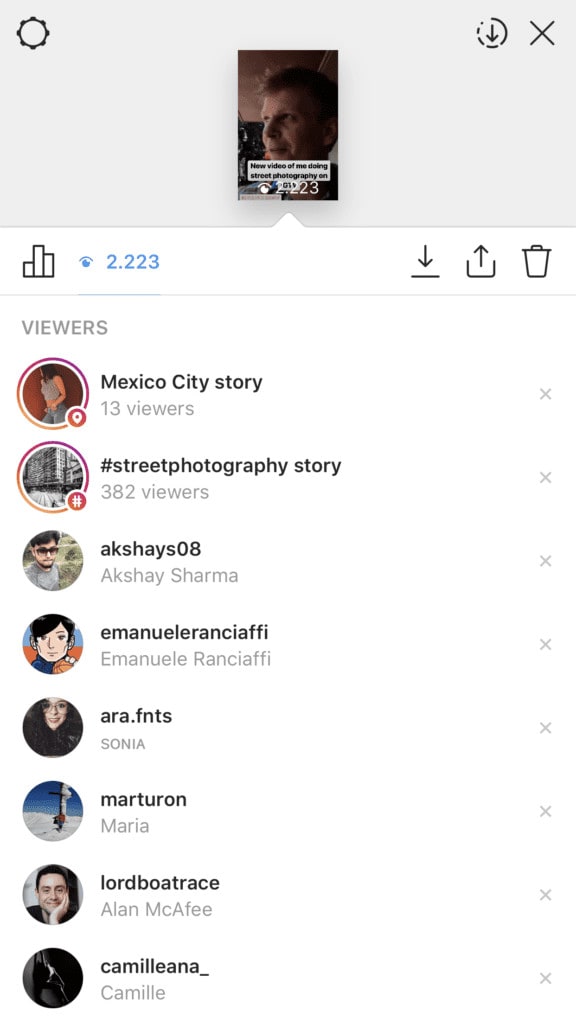
Learn more about this feature in our article "How to Add Music to Instagram* Stories". It tells in detail how to add high-quality tracks or recordings from a voice recorder. nine0003
Add a hashtag to History
Hashtags are a separate art formIn the menu under the emoticon, select the "#HASHTAG" section. In the input line, enter a keyword or phrase without a hash mark (5). The hashtag #NEWYEAR is the most suitable for our stories (6), but you choose the ones that fit the theme.
You can read more about hashtags and their benefits in stories and posts in our articles:
- How to use hashtags to promote on Instagram*: examples, opportunities, mistakes
- Hashtags for recruiting followers: how to choose and use
- How many hashtags can be put on Instagram* - answer
Ask your audience a question in stories
Ask your audience something and raise activity In the menu under the emoticon, select the “Poll” section.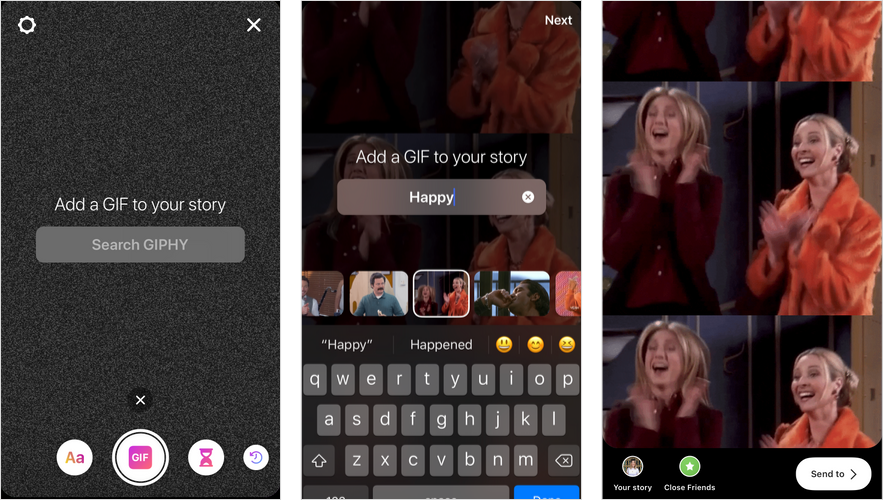 In the input line, ask your audience a question (7). Our question is about the New Year (8), your question may be the same or different.
We talked more about polls in the idea for the "Polls" story. There, we provided examples of questions to ask the audience and cautions, along with a story about what kind of business such surveys are suitable for. nine0003
What the finished Story looks like with functions applied
Now we can admire the finished Story with interesting features. We just have to publish it.
So, added everything that came up to the storyMusic, question and hashtag added. You can see what it looks like in the picture. Click "Next" (9) and share the Story with subscribers (10).
The story is ready and looks quite good :–)Let's move on to the feature
Instagram* never ceases to amaze with its updates and new features. Impressive is the “Image Sticker” feature for creating stories from multiple photos.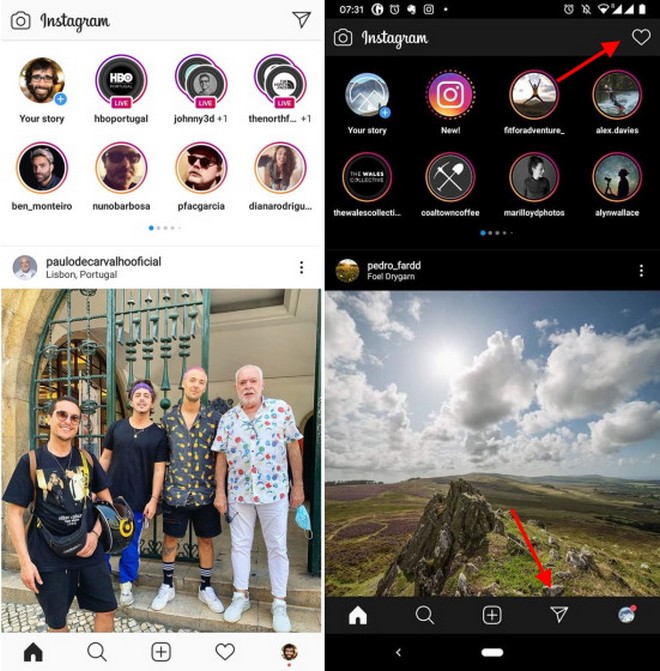 Previously, this option was only available for iOS, but in 2021, Instagram* allowed Android users to use this feature.
Choose one photo from the gallery (1) or take a picture. Click on the smiley (2). A menu with functions and tools will open (3). nine0003 On some devices you may have to scroll down a bit to find the sticker you want
Use the Image Sticker feature (4) to create a Story from multiple photos.
Choosing a photo, acting according to the planOverlay a photo of a Christmas tree (6) on the selected photo. Snow was used as a background, as we associate it with the New Year.
A photo of a Christmas tree can be turned into a star or another sticker We make an asterisk from a photo of a Christmas tree (7). Each time you click, the shape of the photo changes. Spread the photo apart with your fingers if you want to resize. We chose 4 photos with different shapes (8).
Add text to your Story by clicking "Aa" to the left of the smiley face. You can change the color, font and size of the text by choosing the settings at the bottom and at the top (9). You can also animate text.
And we share in the standard way with those subscribers with whom we wantStory ready for publication (11 and 12). Click "Share" and enjoy our cool Story.
Even more about the new stickers on Instagram*, we talked in the article "Overview of new stickers on Instagram* 2021 + fresh ideas for use." There we took a detailed look at all the ideas and stickers that can be used in Instagram Stories in 2022*.
We looked at different ways to upload multiple photos to your Instagram Story*. We talked about unusual effects, shapes and features available for Stories. We’ve broken down the entire publishing process step by step – everything for you and your new creative stories.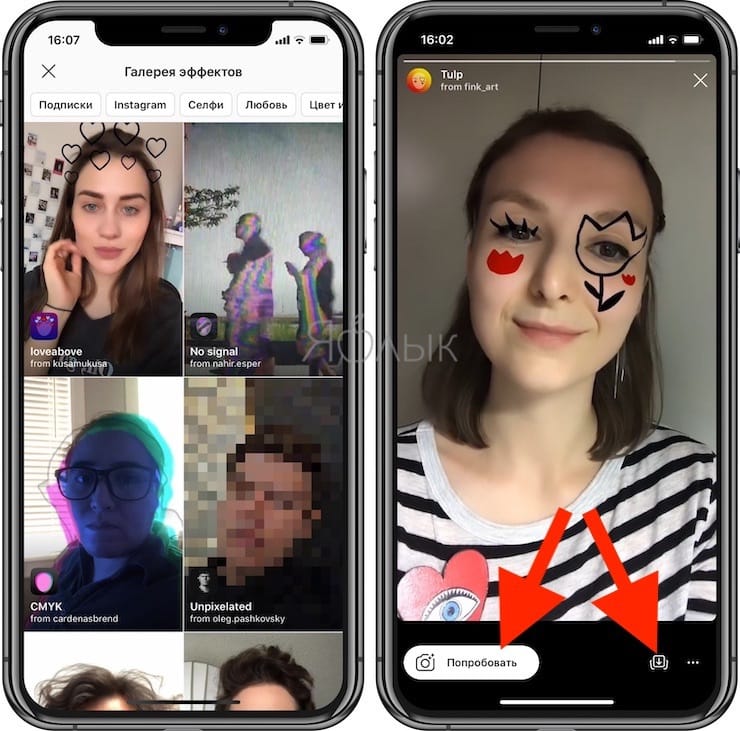 More information about promotion, development of accounts and business in general - in our blog. Fly in to read :–)
How to make a collage in Instagram Stories: from photos and videos
Share!
A collage is a great way to spice up your Instagram Stories. Subscribers who notice monotony in stories will skip an uninteresting profile in the feed. Don't let this happen!
Making a photo or video collage in Stories is not that difficult. It is most convenient to use special applications or services. nine0003
What is useful about this article? Step-by-step layout of collages using applications from the TOP AppStore and PlayMarket. An overview of the best apps for collages in Stories.
Program for promotion on Instagram - SocialKit:
- Collecting and filtering the target audience
- Masslooking, massfollowing, massliking
- Delayed posting of photos, videos and stories
- Mailing in Direct, autoresponder
Registration >>>
See also : How to set up scheduled Stories posting
How to make a collage in Instagram stories from a photo
Any application for working with stories has a gallery of templates for creating collages.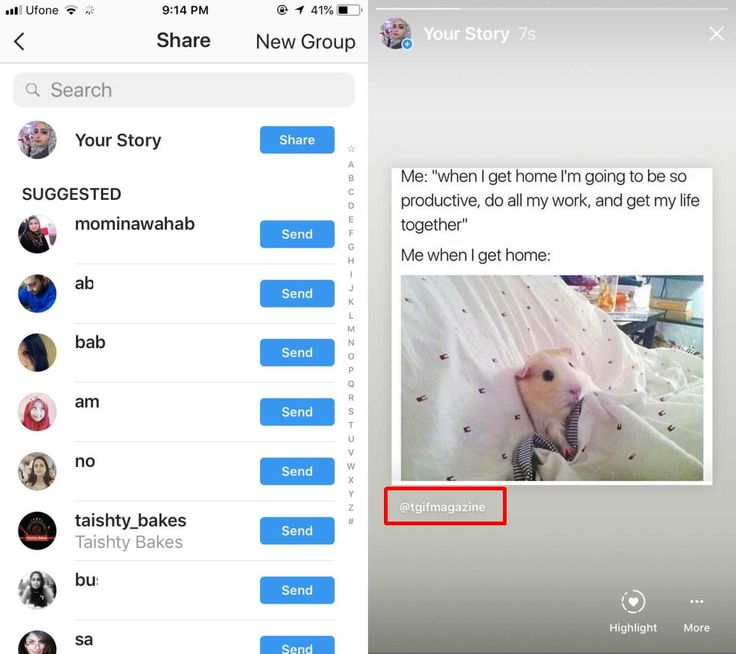 The algorithm of actions is the same everywhere, only the interface and some details differ:
- Launch the application
- Select template
- Add required photos
- Save the resulting collage to the gallery, share it or upload it to Instagram
What does it look like? For example, in the "Instories: Story Editor" app for iOS:
- Right after the app logo is displayed, select the appropriate template. To do this, click on it.
- An editable template is displayed. You can make changes to it. For example, add text by clicking on the sample.
- Select a font. Type your text. nine0132
- The inscription will appear on the template. Next, start adding photos. Click on the area labeled "Add a photo or video."
- Select the photos you want to collage.
- A collage will automatically be generated, which can be viewed by clicking on the "View" button.
 It will be displayed in its final form. If the template is animated, then the animation will also play. You can go back and make more changes if needed. nine0127
 - If all the necessary changes have been made and the collage is ready, you can click on the "Export" button. The app will offer to share the post, upload it directly to Instagram, or save it to the gallery. Choose what you need to do.
- Launch application
- Find a suitable template in the application gallery
- Add required video files
- Save the resulting collage to the gallery or upload to Instagram
- Once the application logo is displayed, select the appropriate template. To do this, click on it.
- An editable template is displayed. You can make changes to it. For example, add text. There is a button at the bottom of the screen for this.
- Type text. Confirm the changes with the button on the right above the keyboard.
- The text is added to the collage. You can proceed to download video files. Click on the zone with the "+" sign and select the required file from the gallery. nine0127
- The video file can be trimmed if necessary. When you're done editing, click on the "tick" in the lower right corner. It will take some time to process the file, after which the image will appear in the collage.
- Add a second photo in the same way.
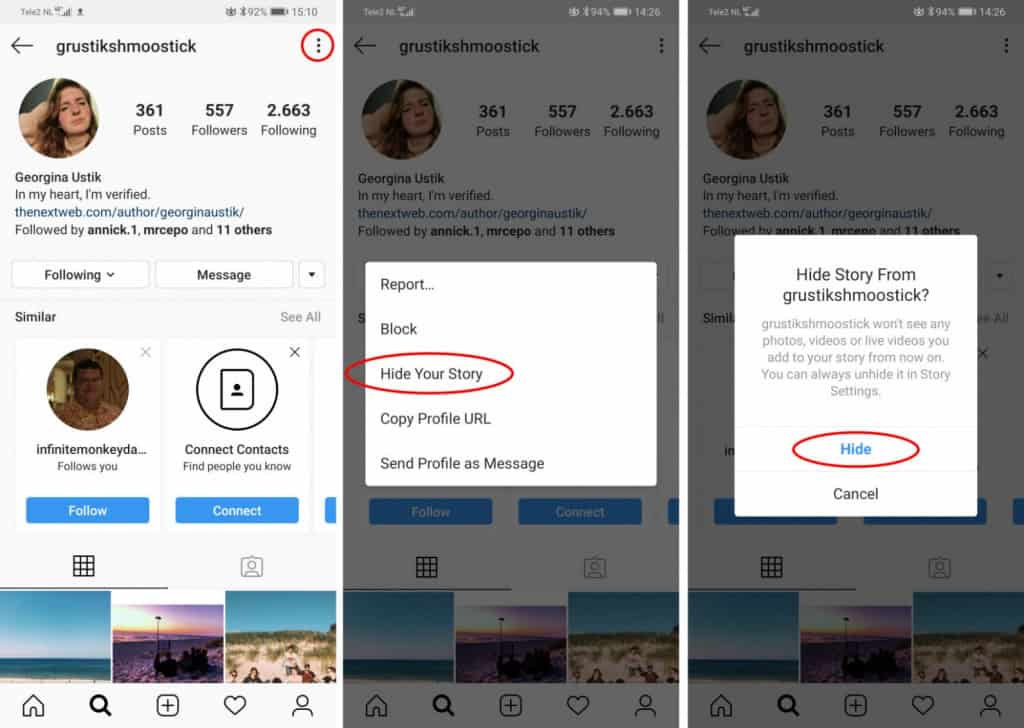 When the collage is complete, click "Save" in the lower right corner to send it to the gallery.
 - As a result, through the Instagram application, you can upload the created collage from the gallery to your stories. nine0127
- Story Maker - Instagram Story Maker
- StoryChic - Instagram story maker, Insta story art
- Canva - design graphics, photos, templates, logos
- Instories: story editor
- Storyluxe Templates & Filters nine0132
- Unfold - create stories
Article in the topic : How to make an Instagram Stories template
How to make an Instagram Stories collage from a video
The process of laying out stories from a video is very similar to working with photos. The sequence of actions is actually the same:
The process can differ only in that adding video to the template can take significantly longer, because the file is formatted and processed for inclusion in future stories.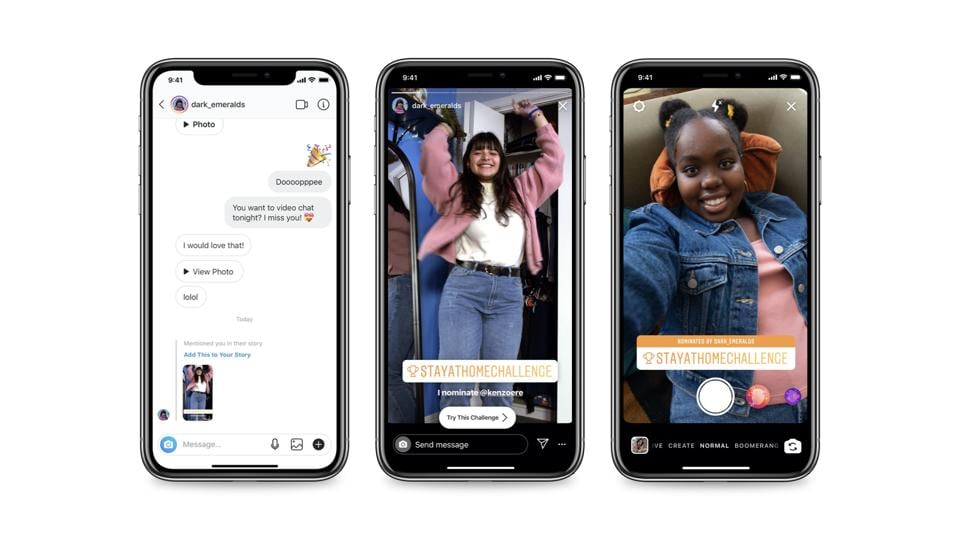
Let's take a look at the process using "Story Maker - Story Maker for Instagram" app for Android as an example:
Interesting : How to Bulk View Instagram Stories
Collage Apps
Collages for Instagram Stories can be created in a variety of apps.
Applications work in the same way. The differences are only in whether the application is paid or free and in various features, tools, and interface elements. The number of templates in the gallery is important. Often in paid versions there are much more of them. nine0003
Consider the TOP 5 best applications according to Play Market and AppStore.
Android
Free application. 50+ templates, 100+ fonts. Allows you to create collages from photos / videos.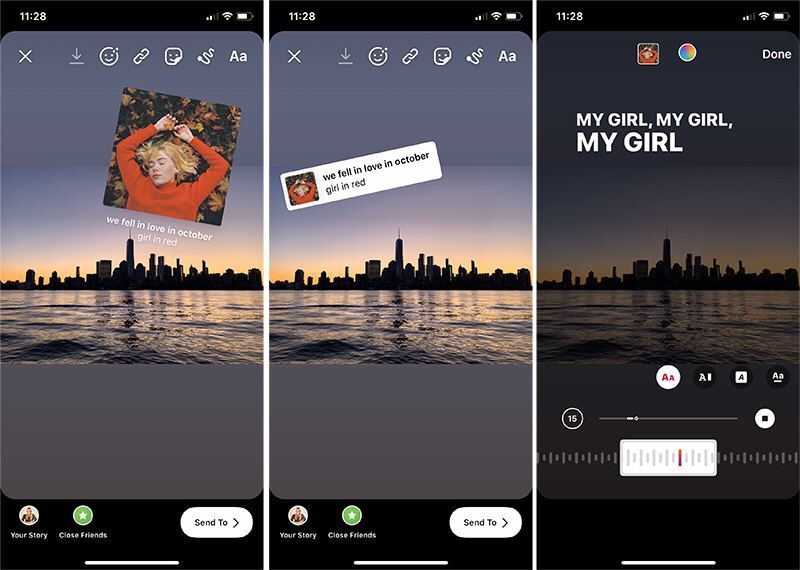 The stories created in it are uploaded to Instagram, Snapchat, Facebook, and more. You don't need to create an account to use it. Minus: few Cyrillic fonts. Doesn't have an iOS version.
The application is free, but there is paid content. 500+ templates, including animated ones. Templates are divided into more than 30 thematic categories: Love, Travel, etc. and are updated every week. Edits photos and videos. Minus: trims video files for 15 seconds. There is a version for iOS.
The service is free, but there is paid content. Presented as apps for Android and iOS, and there is also a web version, which makes it easy to export if necessary. 60 thousand free templates (among them thematic ones) and 180+ fonts. Search functions by keywords. Collaboration on layout. Edits both photos and videos. nine0003
iOS
There is a trial period for 3 days.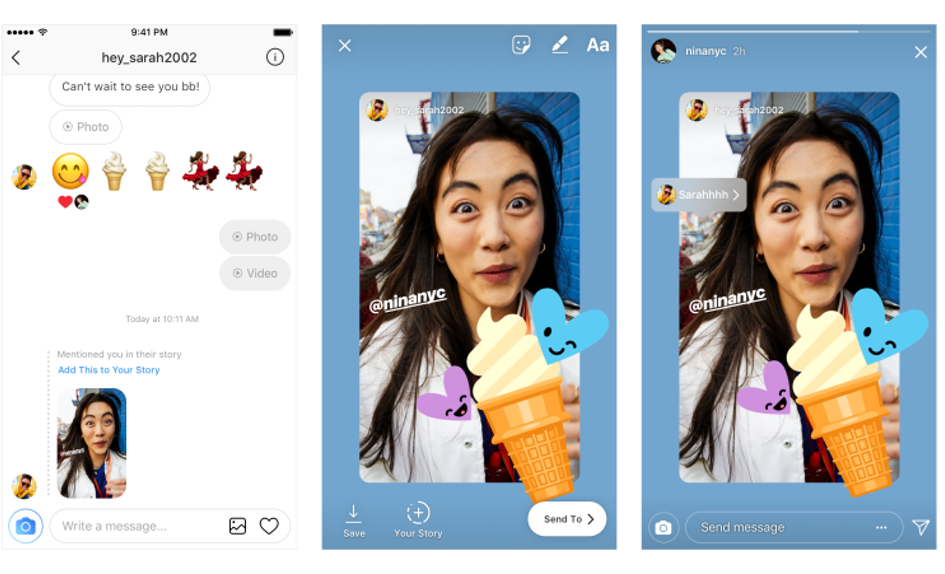 After that, you will need to purchase a subscription. There is a function to convert animation to video. 60+ customizable templates. Creates collages from photos/videos. An account is not required to use. Minus: after 3 trial days, all functions are limited. Doesn't have an Android version.
Free app. It is possible to purchase an extended paid subscription. 560 unique templates for photos and videos (including dynamic ones). Lots of background textures, collage layouts. Advanced export options. Minus: a limited number of filters for processing video files. Doesn't have an Android version.
Free app with in-app purchases. 25 free and 75 premium templates (including collage, animated). 5 fonts and many tools for working with text. Export stories to Instagram and other services. There is a version for Android. Cons: Unable to sync purchases when used across platforms.