With over 1 billion active users, Instagram is one of the best social media networks to advertise your business, reach new audiences, and grow brand awareness. So even if you aren’t active on the website yet, it’s never too late to adopt an Instagram strategy in your marketing plan.
If you're ready to start sharing content through this channel, we've got you covered. Here, we're sharing a quick-and-easy guide to posting on Instagram, to ensure you can begin attracting the attention of your audience with Instagram marketing.
Posting to Instagram consistently can help businesses find resonance with their audience and grow better, but doing it right is just as important. Here's how to post to your Instagram account step-by-step.
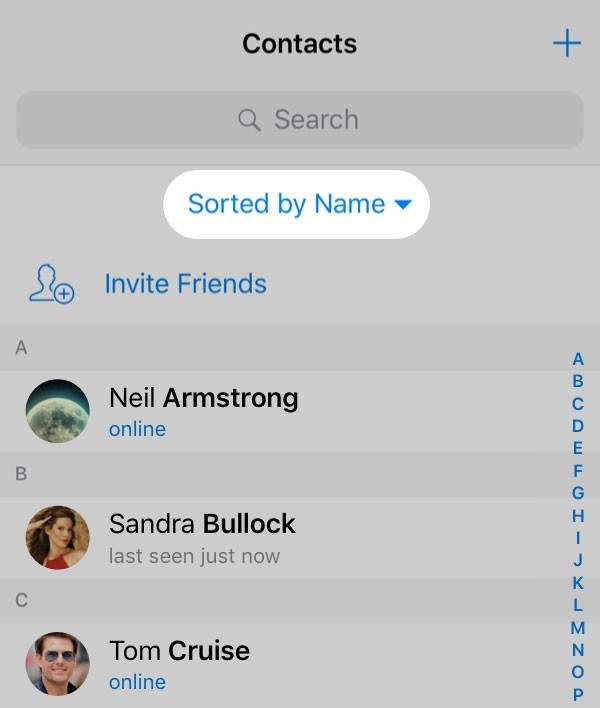
See that plus sign [+] in the image above? That's your starting point. Click that plus sign and you'll be ready for the next step, below.
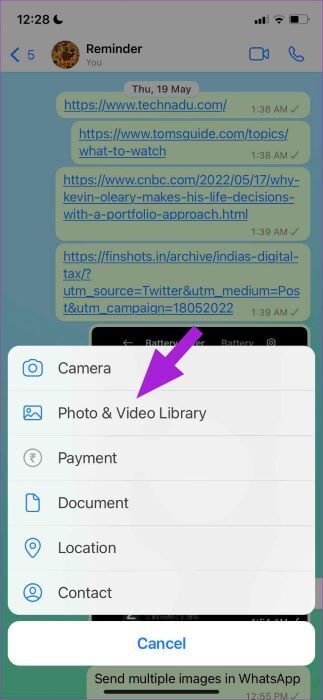
Instagram will show you the photos already saved to your phone. Choose one of those to post. Alternatively, you can click on the camera icon to take a photo or video within the Instagram app itself, if you don't already have an image you want to use.
Once you select and crop an image (or carousel of multiple images), click the Next button in the top right corner of the app.
Do you have multiple photos and want to highlight them all? Instagram allows you to do this with its carousel feature.
As you go to tap a photo or video, first tap the icon just above your photos to the right that looks like stacked squares. Once you tap this, you'll see a number on the corner of every image or video you tap. This number notes where the content will show up in the carousel.
You aren't limited to just a square image on Instagram. You can actually share horizontal or vertical images as well. To get more of your image seen, pinch the screen of the photo you've selected on the Library screen (play the video below to see it in action).
However, while Instagram does allow vertical and horizontal options, the images still need to fit into some specific dimensions. So, you might still need to crop a tiny bit of your photo to get it to fit.
Instagram offers a wide variety of filters — scroll to the right to peruse your options, and click on one to preview how it will look on your photo.
By default, the filter will be applied by full strength. However, if you want to scale back the intensity of the filter, double-click the filter tile once it's been applied, and a scale selector will appear, allowing you to downplay the effect.
You can also tap the magic wand at the top of the screen to adjust the photo further.
(Take a look at our Ultimate Guide to Instagram Filters to learn more).
You can also click "Edit" at the bottom right to adjust the image to your specifications.
Here are the editing options that come built into Instagram for you:

 Drag the selector to the left to desaturate the image (all the way to the left if you want a monochrome look), or drag the selector to the right for extremely saturated colors.
 Dragging the selector to the left will darken the shadows in your image while dragging the selector to the right will lighten the shadows in your image.
Featured Resource
Get creative and write a nice, interesting Instagram caption to go with your photo. Since text can help optimize your post in Instagram's search, writing something can only benefit you.
With Instagram's search feature, users can search by hashtags. So, you should make sure to write relevant hashtags in your caption. If someone does a search of a hashtag you placed in your caption, they might find your post as well as others that included the same one.
Want your friend or their followers to see a photo that you posted of the two of you? Tag them!
On the new post page, you can click "Tag People" to tag other Instagram accounts in your post. Alternatively, you can include their handle (or their username beginning with an @ symbol) in your caption.
If you're on a fun vacation or at a neat event and you don't feel like including that information in your caption, you can mark where you are in another way. On the new post page, tap "Add Location" to put a location on your image (which makes it easier for people to find your post).
When you post an image or video with a location, it will show up between your name and the block of content on the feed.
Emojis are fun and can make your caption more eye-catching. If you know of a few relevant emojis that could fit with your post, stick them in the caption area. For example, if you're posting a vacation photo, you could include a palm tree 🌴 or a plane ✈️ to show you flew somewhere.
Here are the top Instagram emojis you can use:
However, keep in mind that there's a multitude of choices to add flair to your posts, from keeping it real 💯 to the cringe face 😬.
Be sure not to go overboard and post emojis just for the sake of posting them. If you post a bowling emoji along with a photo of a beach, that obviously won't make sense to people.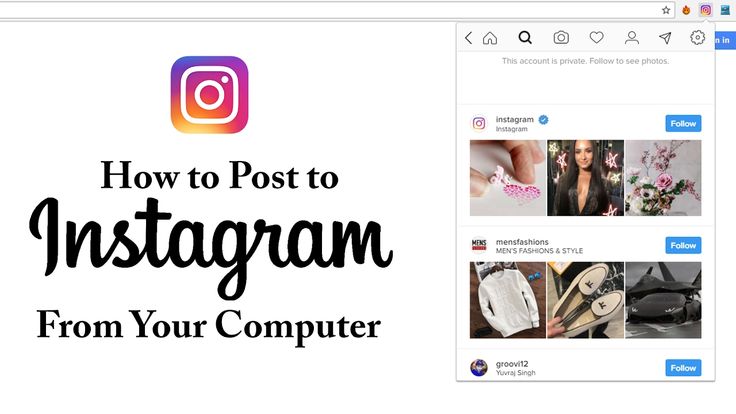 Similarly, if you post 20 emojis that loosely relate to a post, you might just annoy your followers or come off as desperate.
Finally, if you want to share your content on your other, connected social media sites (like Facebook or Twitter), simply toggle the button from the left to the right.
When you're ready to post, click "Share" in the top right.
Instagram Saved DraftsIf you're not ready to post right away, you can also save it to your Instagram Saved Drafts. Simply go back to the filtering and editing step, tap the back arrow in the top left, and select "Save Draft."
Typos happen to everyone! If you just posted something and notice a glaring spelling error, don't panic. Simply tap the three dots that appear on the right across from your name, then tap "Edit."
Make the adjustments you see fit and save them so it reflects on your Instagram.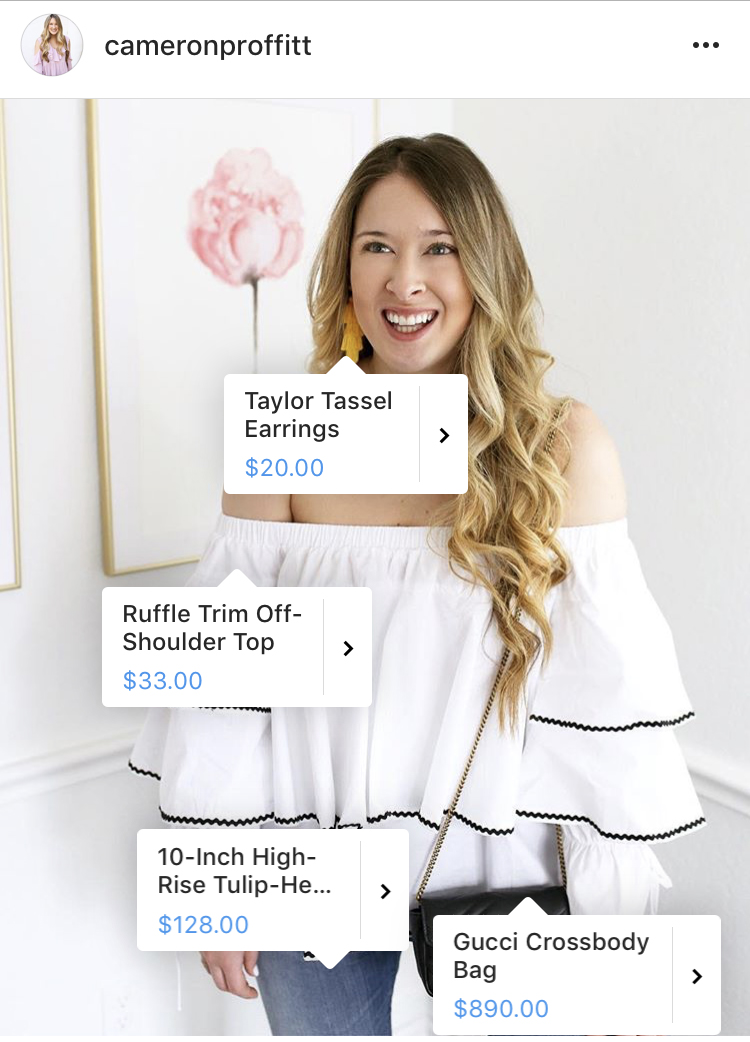 Otherwise, your post is complete and live for everyone to see.
Now that you know how to post to Instagram, you can begin creating content for the platform and connecting with your audience. If you're a business or brand, you'll want a solid strategy for earning engagement and awareness.
Editor's note: This post was originally published in November 2019 and has been updated for comprehensiveness.
Topics: Instagram Marketing
If you've ever seen text-only images on other people's Instagram stories or or posts, you may have wondered exactly how they made those. Are those images made by a third-party app? Or are they something you can do within Instagram?
The answer is text-only images are actually a built-in, if not immediately obvious, feature on the platform. You just have to know where to find it.
Here's how to post images with text on Instagram, either in a story or a post.
1. Open the Instagram app on your phone.
2. Tap the camera icon in the top-left corner of the home screen.
Use the camera icon to generate a story text post. Devon Delfino/Business Insider3. Slide the bottom toolbar from "Normal" until you see "Create."
4. Tap the screen to add your text. If needed, you can cycle through different font options by tapping the top middle button, or change the size via the slide bar on the left-hand side. When completed to your liking, click "Next"
Adjust and customize your text. Devon Delfino/Business Insider5. You'll now be able to edit your text image as you would normally do with a story. Another helpful hint: You can tap the colorful circle toward the top-left side of the screen to change the background color.
6. When the text and image is to your liking, you can either tap the "Send to" button to add it to your stories, or select the "Save" icon at the top of the screen to save it to your phone's camera roll.
If you save the image, you will be able to see and select it when you go through the usual posting process for a standard grid post.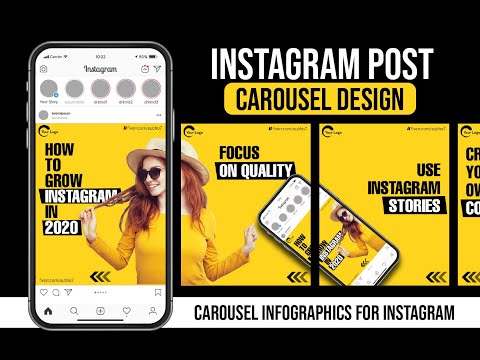
Devon Delfino
Devon Delfino is a Brooklyn-based freelance journalist specializing in personal finance, culture, politics, and identity. Her work has been featured in publications such as The Los Angeles Times, Teen Vogue, Business Insider, and CNBC. Follow her on Twitter at @devondelfino.
Read moreRead less
The Instagram application will allow users to post their photos and videos in Portrait and Landscape modes. Representatives of the company announced this yesterday, August 27. In this way, Instagram intends to expand on the all-encompassing square format that the service is so well known for.
| Apple in Telegram and YouTube. Subscribe! |
According to Instagram's official statement, about one in five posts does not follow the accepted format, so the company decided to prioritize the "visual story" of users, rather than the parameters in which it is told.
Extract from Instagram statement:
“The square format has been and will continue to be a part of us. However, the visual story you are trying to tell needs to be at the forefront, and we intend to make this process as easy and fun as possible. nine0007
Approximately one in five photos or videos posted by users are found to be out of square format, and we know how difficult it is to share this type of content on Instagram. Friends are often cropped out of a group photo, objects in videos are compressed, and the Golden Gate Bridge fails to capture the full picture.
Now, when you select a video or image, you can click on the format icon and adjust the orientation in portrait or landscape mode. After you share a photo, it will appear in full size in the feed. nine0007
Step 1. Make sure you have the latest version of the application. To do this, in the App Store, select the " Updates " tab and, if necessary, update your version of Instagram.
Step 2. Launch the app and click the camera icon to select the photo or video you want to share on the service.
Step 3. By default, Instagram will display content in a square format. In order to change it, click on the icon " Format " and correct the orientation in " Portrait " or " Landscape " modes.
Step 4. Click on the " Next " button and continue posting images or videos as usual.
The update is now available to all Instagram users. If you haven't downloaded the app yet, you can do it for free using the App Store.
Download Instagram for iPhone (App Store)
See also:

Please rate the article
Average rating / 5. Number of ratings:
No ratings yet. Rate first.
Good afternoon.
117 036 views
There is an idea to create an Instagram account, where the main content will consist of photos already published by other users.
There are many Instagram accounts that invite users to use their photo hashtag in order to be featured on this page. nine0007
Thus, the community takes and places someone else's photo in its account with a link to the author. Is it legal? Can the author sue, since posting a hashtag does not at all mean consent to the use of a photo?
There is nothing useful in the help of Instagram and Facebook.
Question: Is it safe to post other people's photos with a link to the author's profile?
Hello.
In short, no, you can't - you can use someone else's content either on the basis of the law or by agreement. nine0007
Legislation provides for a certain number of ways to obtain the right to use someone else's content. For example, article 1273 of the Civil Code of the Russian Federation allows the use of photographic or video works without the consent of the copyright holder, if the use is non-commercial in nature and solely for personal purposes to satisfy [1]: a) one's own needs; b) the needs of the ordinary circle of the family of this citizen.
Obviously, reposting someone else's photos or videos to your account does not fit the definition of personal use. nine0007
Other legal uses are described in the answer "How to legally use someone else's intellectual property on your site" - I suggest reading it.
In addition, it is possible to use photos under a license agreement. The law provides that the license agreement is concluded in writing and must contain the following information: