To make a Facebook page private, you'll have to unpublish it — this will give you time to make changes without the public seeing. To unpublish a Facebook business page, you'll have to head to its settings on either your mobile app or desktop browser.
Unpublishing it will render it temporarily private, and you can publish it again at any time. You may find this feature helpful when you need to make edits — whether they are quick fixes or major updates to the page.
Unfortunately, there's no option to make a Facebook business page permanently private to only certain people, as the point of a business page is to promote something to the public. If you're interested in making a more exclusive space, you may want to create a private event or group instead.
It's also important to note that people who have roles on the business page will still be able to view it, regardless of whether it's unpublished or not.
Here's how to unpublish your Facebook business page using the Facebook website on your Mac or PC, or the Facebook app on your iPhone or Android device.
Check out the products mentioned in this article:Apple Macbook Pro (From $1,299.00 at Apple)Acer Chromebook 15 (From $179.99 at Walmart)1.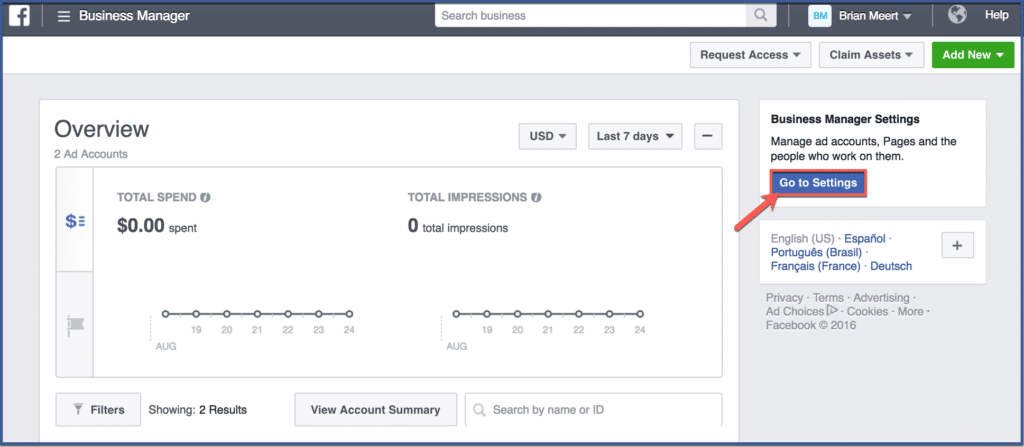 Open Facebook in your preferred browser.
2. Click "Pages" on the left side panel of your homepage. If it's a page you view often, it may even pop up in the "Shortcuts" section. You may need to click the "See More" dropdown arrow if "Pages" doesn't appear in the first few options.
Click on "Pages" on the left. Grace Eliza Goodwin/Business Insider3. A list of pages you manage will appear on the next screen. Click the page you'd like to unpublish.
4. Once you're on your business page, a "Manage Page" panel will appear on the left side of your screen.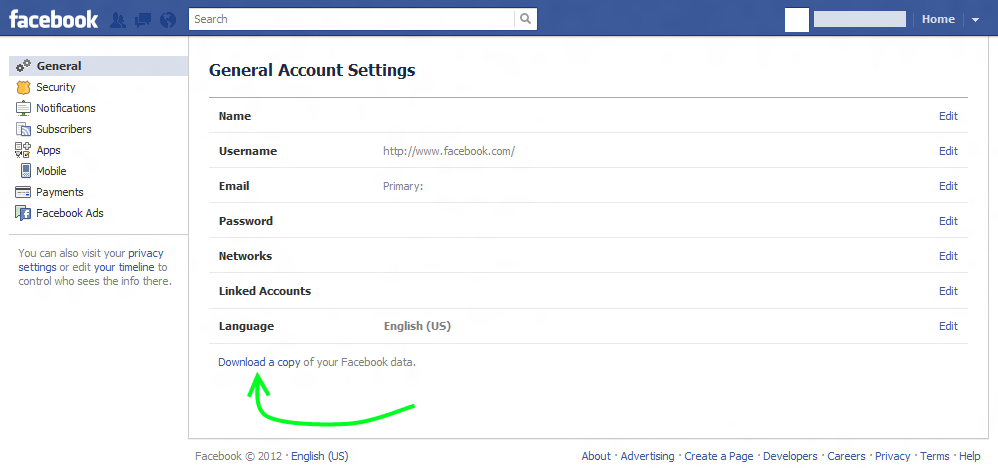 Scroll to the bottom and select "Settings."
5. The top option in the "General" tab will be "Page visibility." If the page is public, it will say "Page published." Click the blue "Edit" option to change this.
Click "Edit" next to "Page visibility." Grace Eliza Goodwin/Business Insider6. Select "Page unpublished" and then click the blue "Save Changes" button.
7. This will open a pop-up asking you to share your reason for unpublishing the page. Select your reason from the list of options.
8. Click the blue "Next" button to continue.
Select a reason and click "Next." Grace Eliza Goodwin/Business Insider9. Facebook will then ask you what you need to do in order to properly finish your page. Check any of the boxes that apply.
10. Click the blue "Unpublish" button.
Click "Unpublish." Grace Eliza Goodwin/Business Insider11. Facebook will confirm this decision. Click the blue "Close" button to return to your page settings.
Click "Close" to complete the process. Grace Eliza Goodwin/Business Insider How to make a Facebook business page private on your phone or tablet1. Open the Facebook app on your mobile device.
2. Tap the three bars in the bottom-right hand corner of your screen.
3. Tap "Pages" below the orange flag icon.
Find and tap "Pages." Grace Eliza Goodwin/Business Insider4. Select the page you wish to unpublish from the list.
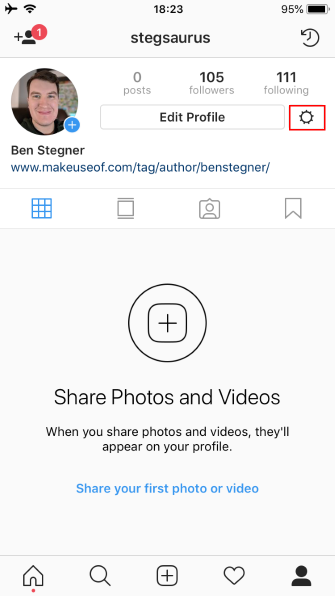
Find and select your page. Grace Eliza Goodwin/Business Insider5. On your page, tap the gear icon in the upper right hand corner to open your settings.
6. Tap "General" at the top of the list.
Tap "General" at the top. Grace Eliza Goodwin/Business Insider7.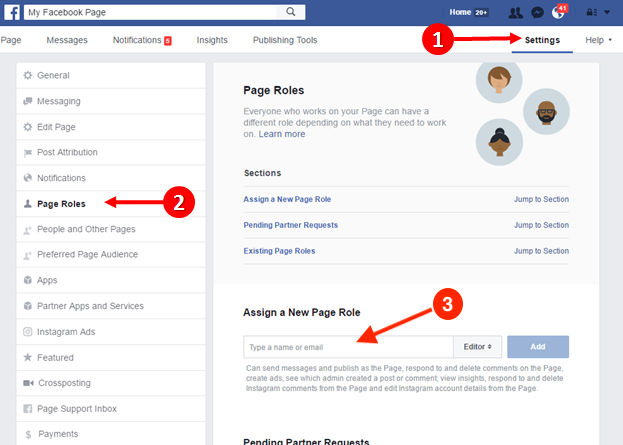 Scroll down until you find the "Page Visibility" section.
8. Tap "Unpublish" and you'll see the blue checkmark appear next to it instead.
Select "Unpublish" and a blue check mark will appear. Grace Eliza Goodwin/Business Insider9. When you return to your page, you may see an option to "Publish Page." You can tap this blue button to make your page public again, or you can access the settings menu again at any time.
You can re-publish your page whenever you're ready. Grace Eliza Goodwin/Business InsiderMarissa Perino
Marissa Perino is a former editorial intern covering executive lifestyle.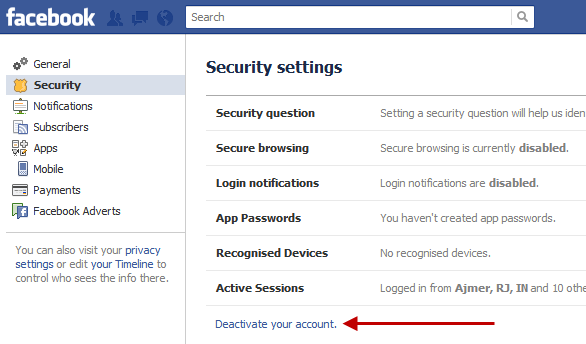 She previously worked at Cold Lips in London and Creative Nonfiction in Pittsburgh. She studied journalism and communications at the University of Pittsburgh, along with creative writing. Find her on Twitter: @mlperino.
Read moreRead less
A Facebook business page is one of the most essential social media tools that you can have for your online business. This page should be thought of as an extension to your home page, which is very open to the public. However if there are photos, comments, posts and other aspects of your business page that you want to keep private, there are settings on Facebook that allow you to maintain control of your page at all times. This guide goes through how to access these settings and an explanation of how these privacy settings affect your page’s visibility.
1. Getting Started
2. Manage Settings
3. Page Visibility
4. Posting Ability and Visibility
5. What Should You Restrict?
6. Moderating Your Page
7. Allow Comment Replies on Your Page
Update 2018
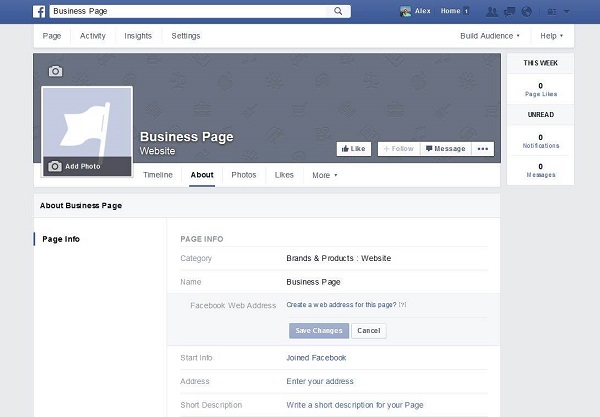
Once you’ve set up your business page, you’ll see it on the left side of your home Facebook login screen under “Pages.” Click on your business page’s name to load it in your browser. In the top right corner, click on “Edit Page” to bring up a drop down menu and select “Edit Settings.”
Your Facebook business page’s settings will now load. This page handles all of the privacy control features for your Facebook page. You’ll see different ways to restrict groups of people from seeing your page or posts and limit posting to your business page.
At the top, the page visibility function controls whether your entire Facebook business is public or private. When your Facebook business page is public, anyone can view it. If you click on “Page published” or “Page unpublished,” a check box will come up. If you place a check in “Unpublish Page,” then only you and other admins who control the page can see your business page. This should only be checked if you are taking down your Facebook business page for a temporary period of time or you want to completely disable views for your business on Facebook. Generally you should never unpublish your Facebook page even if you are making significant changes.
This feature controls who can post to your page’s timeline. If you want to be the only one posting on your timeline, then click inside the box and uncheck “Everyone can post to [your business page’s name]’s timeline.” You can also uncheck “Everyone can add photos and videos to [your business page’s name]’s timeline.” Most businesses want to limit the amount of posts on their Facebook business page, so it is a good idea to restrict people from posting on your timeline.
You can also set allowances for posts under “Post Visibility.” You can choose to allow posts from others on your page timeline or hide posts. You can also place a check mark in “Highlight recent posts by others in a box at the top of my Page timeline” if you want more recent posts to be visible. People like to know their voices are head, so if you do choose to allow posts by others, then you’ll want the newest posts to be highlighted.
Once you publish a page, it’s as open as the homepage of your business until you change these settings. You can control who can message you under “Messages,” but you can also be more selective about what visitors are allowed to view your page with “Country Restrictions” and “Age Restrictions.” If you are getting a lot of spam or don’t have support for a certain country, it may be beneficial to block certain countries. With age restriction, you can limit underage viewers from viewing adult content. Even if you plan on keeping your Facebook page clean, if you have an adult business, it may be best to limit certain age groups.
The “Page Moderation” feature allows you to pick how to blog comments or posts that contain certain phrases or keywords. For instance, if someone is constantly harassing your page, you can choose a frequently key word to help you moderate comments. These posts will now be blocked automatically. You can also set a filter on adult language using “Profanity Filter” settings underneath page moderation.
It’s best if you do allow replies to comments on your page. This gets people talking about your content and sharing different media.
Once you set up your privacy settings, you can always go back and make changes later. The best option for getting the most views and likes is to keep your page completely open. However if your business is targeted by malicious commentators, then you have these settings to fix the problem.
Facebook now has a section for search engines in your privacy settings as of 2018. Here’s the area that you’ll be looking for:
Make sure this section is checked in your privacy settings; if it’s unchecked, then anybody who isn’t logged into Facebook won’t see your page, which includes search engines. Unless you want most people not to see your page, except for close friends, you’ll want this setting unchecked.
Help Center
We are updating the mobile version of Facebook.com. More
Open profile
This feature is currently only available in some countries and on certain devices.
If you see the icon on a person's profile, it means they have closed their profile and restricted access to their content to people who are not on their Facebook friends list.
When a person closes their profile, only their friends see the following content:
Profile photos and publications.
Full size profile and cover photos.
Stories.
New publications and photos.
Also:
Any public posts that this person has previously shared will only be visible to their friends.
The profile and label verification function will be enabled.
Information from the "Information" section of his profile will only be partially visible.
Other ways to manage privacy
If you are unable to close your profile, manage your privacy using your privacy settings:
Use the privacy check.
Select the audience for the publication.
Edit basic profile information and choose who will see it.
Change history privacy settings.
Enable the profile check feature.
Apply the mark check function.
Enable profile photo protection.
Manage settings for adding friends and subscriptions.
Choose who can find your profile using your email address and mobile phone number.
Was the article helpful?
How do I enable Facebook profile photo protection?
Can I see who is viewing my Facebook profile?
Blocking profiles on Facebook
"Profile transparency" section in professional mode
How do I report a Facebook profile?
Information
Confidentiality
Conditions and rules
Advertising preferences
Vacancies
COOKIE
Creation
Create page
90,000 how to hide all information about yourself in Facebook • Ain. ua
ua 18 18, 18000 18 18,0002 18 March, 2015, 15:00
219585
Social networks know much more about the habits and lives of their users than their parents or even spouses. This is not a very pleasant fact, because all this information is available not only to advertisers, but also to your competitors and enemies. In the lives of many people, there are situations when it is necessary for some time to disappear from the public space and go into the shadows. Facebook does not have a built-in ability to delete all your posts and photos, but you can hide them from prying eyes for a while. Business Insider journalists described a sequence of actions, as a result of which you can hide Facebook information, and the user's previous activity will be hidden.
In 2021, the editors of AIN.UA updated this text. 6 years after its publication, Facebook has simplified the procedure for hiding all information about yourself from Facebook and switching to "invisible mode". In addition, there was also a function to delete posts for a certain period. In the updated material, we tell you how to do it.
 Be sure to turn off the ability to find us by email address and phone number.
 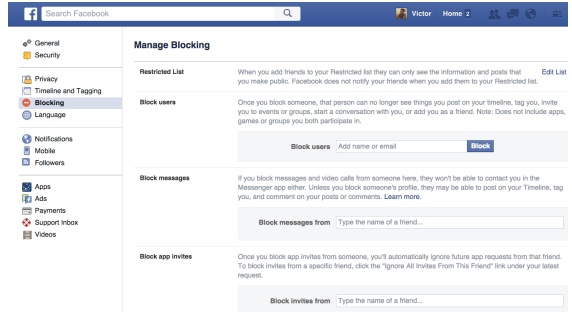 Turn off the Off-Facebook Preview option.
 Recall that recently Facebook has seriously taken care of the problem of cheating likes on brand pages and announced changes to their counting system. Soon the social network will remove "likes" from users whose accounts have been deactivated.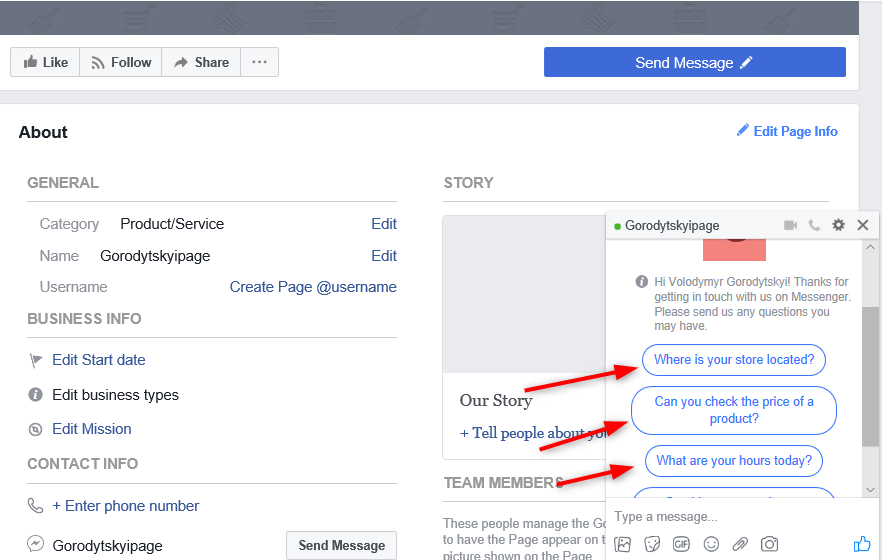 This applies to deceased users and to those whose profiles have been deleted for violating the terms of use of the social network or due to prolonged inactivity.
Projector Creative&Tech Online Institute
Login / register
or
To remember me
By clicking "Login/Register" you agree to the terms "User Agreement" AIN.UA
Forgot your password?
Password recovery
Please enter your e-mail.