With over 1 billion active users, Instagram is one of the best social media networks to advertise your business, reach new audiences, and grow brand awareness. So even if you aren’t active on the website yet, it’s never too late to adopt an Instagram strategy in your marketing plan.
If you're ready to start sharing content through this channel, we've got you covered. Here, we've cultivated a quick-and-easy guide to posting on Instagram, to ensure you can begin attracting the attention of your audience with Instagram marketing.
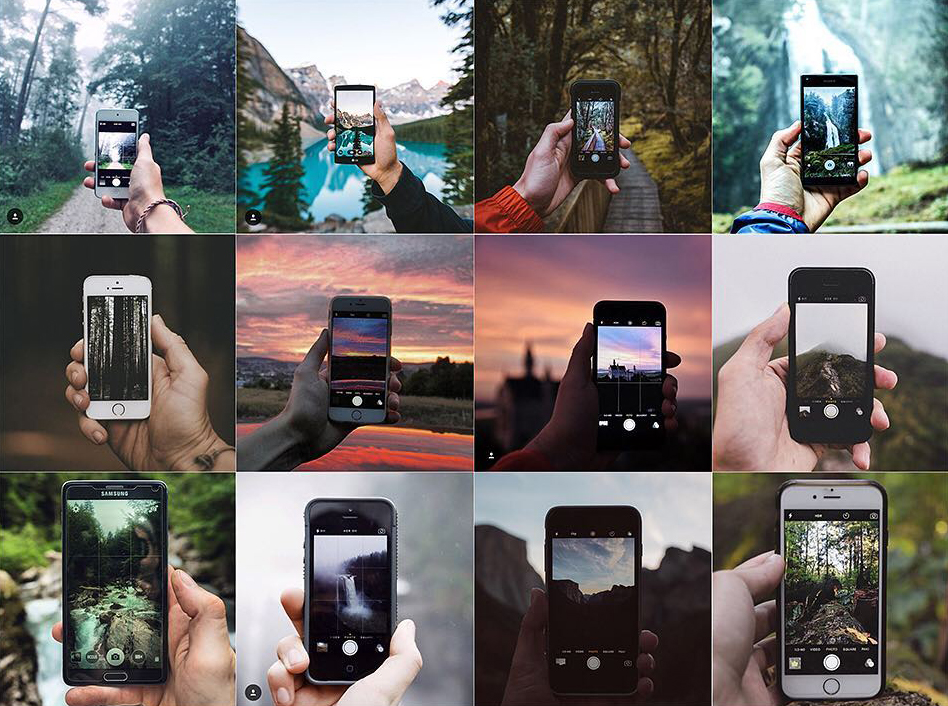
Posting to Instagram consistently can help businesses find resonance with their audience and grow better, but doing it right is just as important. Here's how to post to your Instagram account step-by-step.
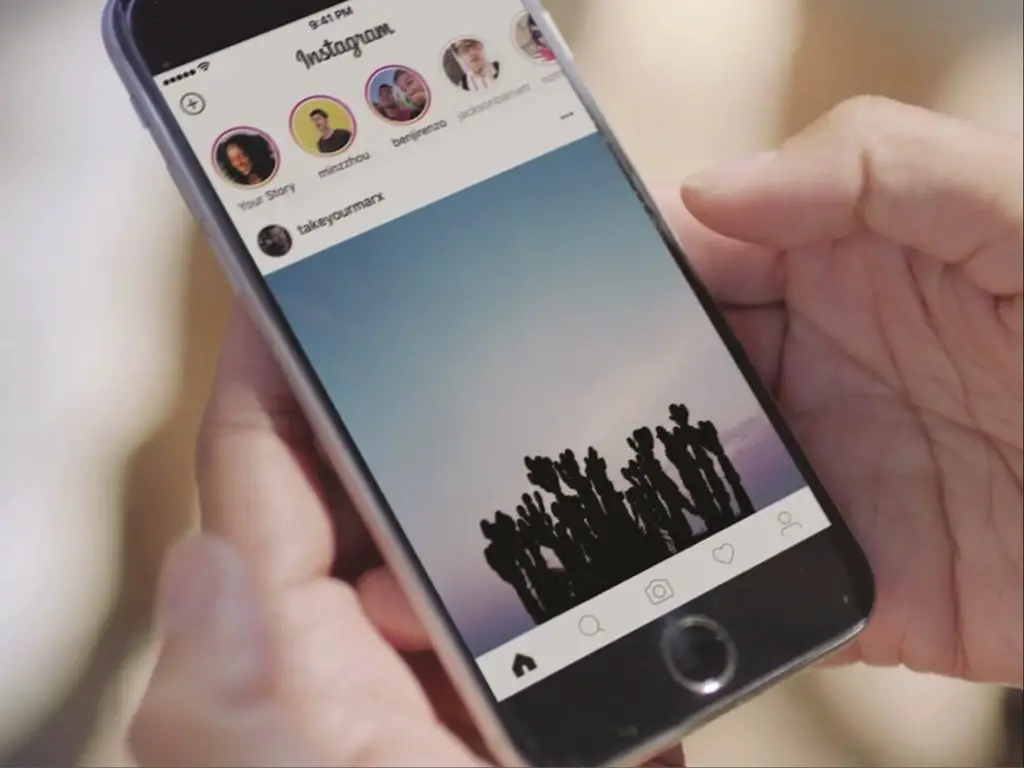
See that plus sign [+] in the image above? That's your starting point. See that post from our culture account? That's your endpoint. Click that plus sign and you'll be ready for the next step, below.
Instagram will show you the photos already saved to your phone. Choose one of those to post. Alternatively, you can click on the camera icon to take a photo or video within the Instagram app itself, if you don't already have an image you want to use.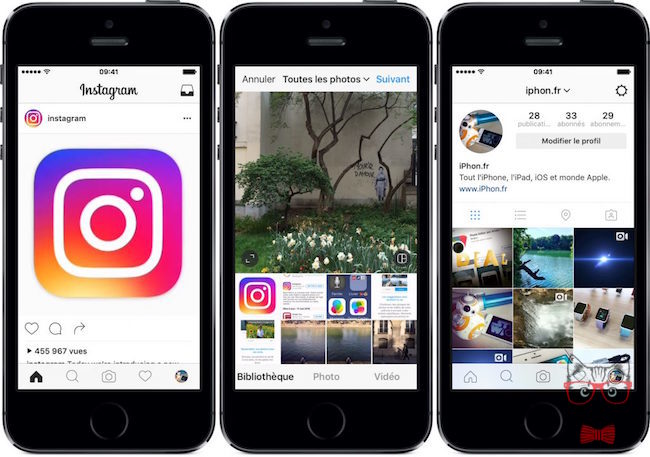
Once you select and crop an image (or carousel of multiple images), click the arrow button in the top right corner of the app.
Do you have multiple photos and want to highlight them all? Instagram allows you to do this with its carousel feature.
As you go to tap a photo or video, first tap the icon just above your photos to the right that looks like stacked squares. Once you tap this, you'll see a number on the corner of every image or video you tap. This number notes where the content will show up in the carousel.
You aren't limited to just a square image on Instagram. You can actually share horizontal or vertical images as well. To get more of your image seen, pinch the screen of the photo you've selected on the Library screen.
However, while Instagram does allow vertical and horizontal options, the images still need to fit into some specific dimensions. So, you might still need to crop a tiny bit of your photo to get it to fit.
Instagram offers 24 filters — scroll to the right to peruse your options, and click on one to preview how it will look on your photo.
By default, the filter will be applied by full strength. However, if you want to scale back the intensity of the filter, double click the filter tile once it's been applied, and a scale selector will appear, allowing you to downplay the effect.
You can also tap the magic wand at the top of the screen to adjust the photo further.
(Take a look at our Ultimate Guide to Instagram Filters to learn more).
You can also click "Edit" at the bottom right to adjust the image to your specifications.
Here are the editing options that come built into Instagram for you:

 Drag the selector to the left to desaturate the image (all the way to the left if you want a monochrome look), or drag the selector to the right for extremely saturated colors.
 Dragging the selector to the left will darken the shadows in your image while dragging the selector to the right will lighten the shadows in your image.
Featured Resource
Get creative and write a nice, interesting caption to go with your photo. Since text can help optimize your post in Instagram's search, writing something can only benefit you.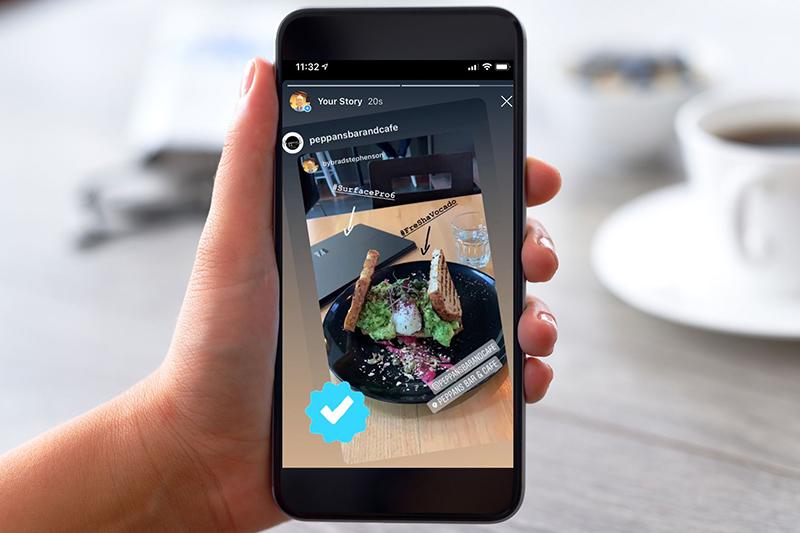
With Instagram's search feature, users can search by hashtags. So, you should make sure to write relevant hashtags in your caption. If someone does a search of a hashtag you placed in your caption, they might find your post as well as others that included the same one.
Want your friend or their followers to see a photo that you posted of the two of you? Tag them!
On the new post page, you can click "Tag People" to tag other Instagram accounts in your post. Alternatively, you can include their handle (or their username beginning with an @ symbol) in your caption.
If you're on a fun vacation or at a neat event and you don't feel like including that information in your caption, you can mark where you are in another way. On the new post page, tap "Add Location" to put a location on your image (which makes it easier for people to find your post).
When you post an image or video with a location, it will show up between your name and the block of content on the feed.
Emojis are fun and can make your caption more eye-catching. If you know of a few relevant emojis that could fit with your post, stick them in the caption area. For example, if you're posting a vacation photo, you could include a palm tree 🌴 or a plane ✈️ to show you flew somewhere.
Here are the top Instagram emojis you can use:
However, keep in mind that there's a multitude of choices to add flair to your posts, from keeping it real 💯 to the cringe face 😬.
Be sure not to go overboard and post emojis just for the sake of posting them. If you post a bowling emoji along with a photo of a beach, that obviously won't make sense to people. Similarly, if you post 20 emojis that loosely relate to a post, you might just annoy your followers or come off as desperate.
Finally, if you want to share your content on your other, connected social media sites (like Facebook or Twitter), simply slide the bar from the left to the right.
When you're ready to post, click "Share" in the top right.
Instagram Saved DraftsIf you're not ready to post right away, you can also save it to your Instagram Saved Drafts. Simply go back to the filtering and editing step, tap the back arrow in the top left, and select "Save Draft."
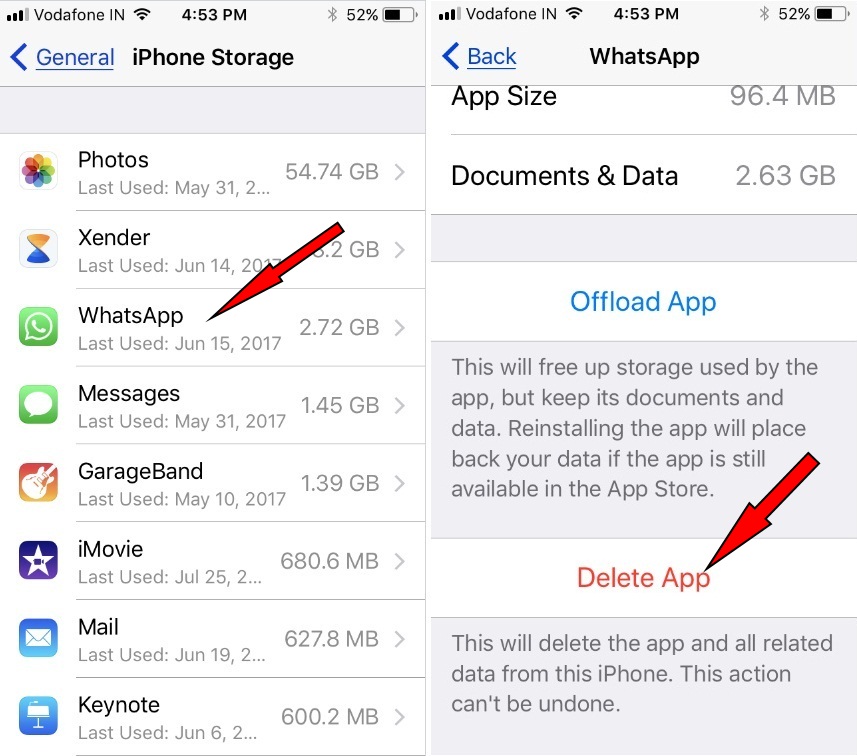
Typos happen to everyone! If you just posted something and notice a glaring spelling error, don't panic. Simply tap the three dots that appear on the right across from your name, then tap "Edit."
Make the adjustments you see fit and save them so it reflects on your Instagram.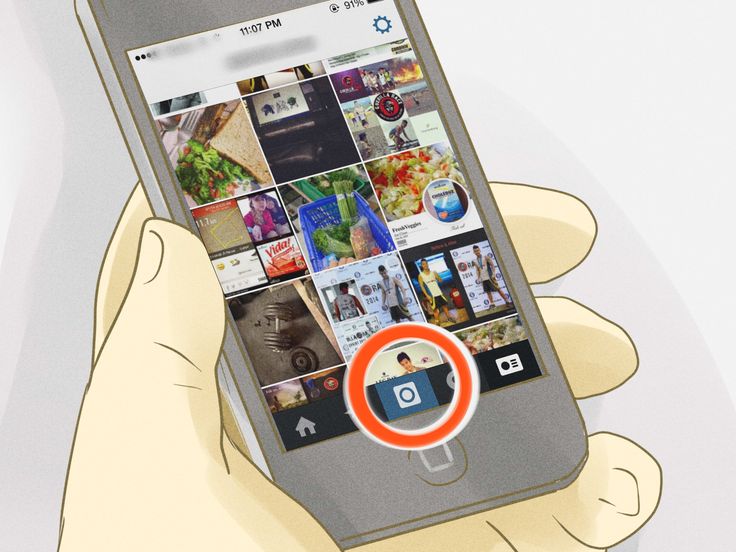 Otherwise, your post is complete and live for everyone to see.
Now that you know how to post to Instagram, you can begin creating content for the platform and connecting with your audience. If you're a business or brand, you'll want a solid strategy for earning engagement and awareness.
Editor's note: This post was originally published in November 2019 and has been updated for comprehensiveness.
Topics: Instagram Marketing
Instagram is undoubtedly one of the most powerful social media platforms to increase brand reach and drive new business — but it can be time-consuming and expensive to consistently create the type of high-quality content you need to see long-term results.
Which is why reposting on Instagram is a powerful option for brands.
But, unlike other social platforms, Instagram doesn't offer a native tool to repost.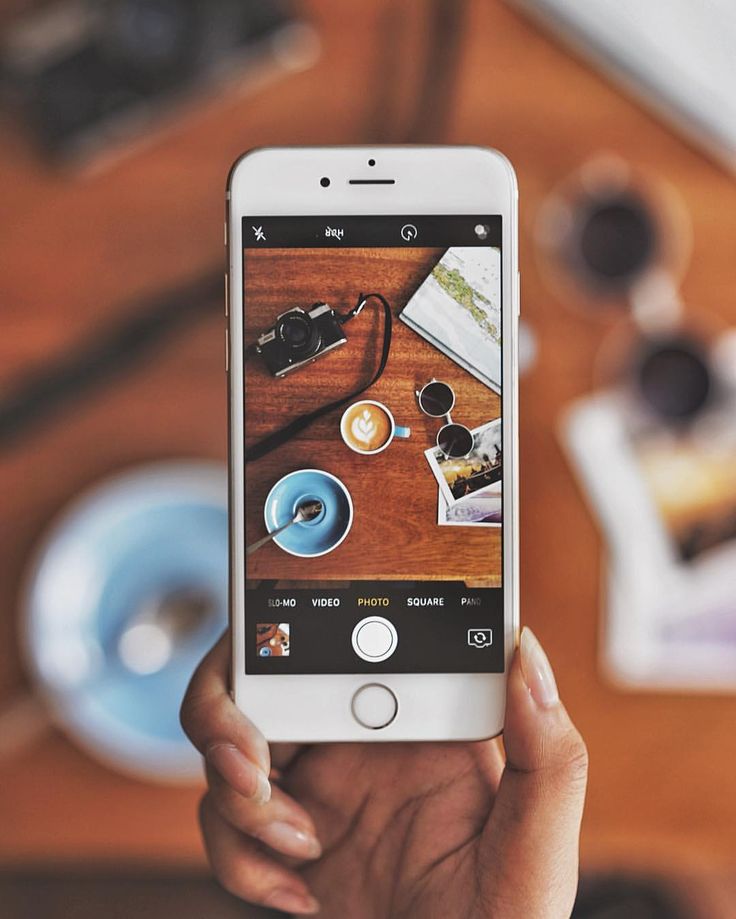 Fortunately, we've got you covered. Here, we'll show you four different free ways to repost on Instagram in a few simple steps. Let's dive in. (Interested in why brands should repost on Instagram? Skip ahead to that section.)
(Note: While these reposting apps are all free, some require you to download the app from the iOS App Store or Google Play.)
Free Templates
To repost someone else's Instagram post, it’s best to obtain permission first to ensure you are not infringing on someone else’s copyright or license.
Additionally, giving the creator credit for their work is recommended. Once permissions are squared away, repost using one of the methods below.
The screenshot method doesn't require other websites to repost on Instagram. It's worth nothing that this method only works for reposting photos, not videos.
Here's how to do it.
Once you've got your screenshot, return to your Instagram account. Tap the "new post button" in the top right of your Instagram screen (the plus sign inside a square).
Then select "Post" (other options include "Story" "Reels" or "Live").
Keep in mind that your phone will take a screenshot of everything on your screen, not just the photo you want to repost. So, be prepared to crop the sides of the screenshot to capture just the image you want to share with your followers.
After you've cropped or resized the photo to your liking (by pinching the image and then widening your fingers apart), click "Next" in the top-right of your screen.
Edit and filter the post like you would any other Instagram post.
The repost won't include a citation, so we suggest adding one by typing "@ + [username]" to credit the original poster with the photo you're reposting.
 Add a caption.
At the top you'll see a preview of your post along with space for a caption. You can choose to tag people or organizations, and add a location.
Once you've finished customizing the post with the options above, click share at the top right corner. The post will be live.
Here's how the finished product looks:
In addition to using the screenshot method, you can also use a third-party app. The options below are our favorite apps for reposting on Instagram.
Download Repost: For Instagram for iOS or Android. The app integrates directly with Instagram so you can share content from other Instagram users from your mobile device.
Open your Instagram app and find a photo or video you'd like to repost from your own Instagram account. Tap your chosen photo from the original poster's photo gallery to see its full view, as shown below.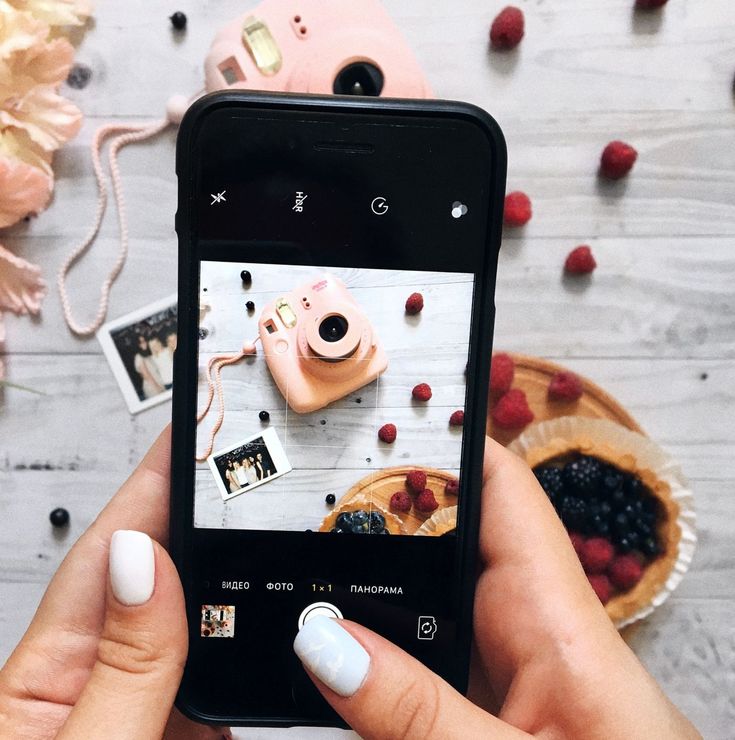
(Psst — do you follow HubSpot on Instagram?)
Once you're on the photo's or video's landing page, tap the "..." icon in the upper-righthand corner of the post. Then, tap "Copy Link."
4. Open Repost: For Instagram.Once the photo is copied to your phone's clipboard, open Repost: For Instagram. The post you copied will automatically be on the app's inbox, as shown below.
Tap the arrow on the right hand side of the post. There, you can edit how you want the repost icon to appear on Instagram. The app also allows you to add an Attribution mark directly on the image.
You can choose to copy the original caption to your post or add a new one later.
Next, tap "Share."
For our purposes, we'll click "Post".

Write a caption and click "OK" when finished.
When you're ready to share the post, tap "Share" as you would a regular Instagram post.
Download Reposta for Android or Apple devices to get started.
Open your Instagram and copy-and-paste the URL like you did for the instructions for Repost: For Instagram (Step #3, above).
Reposta automatically opens a URL once you've copied it. Now, in Reposta, you can edit the attribution (including the color and positioning), as well as the caption itself.
You'll see a few options below your image. For our purposes, choose "Post to Instagram". (Alternatively, you can save the image to use on a different date.)
You have two options here: Story or Feed. Click "Feed".
Feel free to adjust the size or cropping of your image in this step. When you're ready, click "Next".
Here, you'll choose a filter and edit the image like you would any other Instagram image. When you're ready, click "Next".
Feel free to give credit to the image owner in your caption — but remember you've also given them credit in the image itself. Add a location and tag people if you'd like, and then click "Share" when you're ready.
Here's how the post appears on your Instagram profile:
DownloadGram lets Instagram users download high-resolution copies of Instagram photos and videos to repost from their own accounts.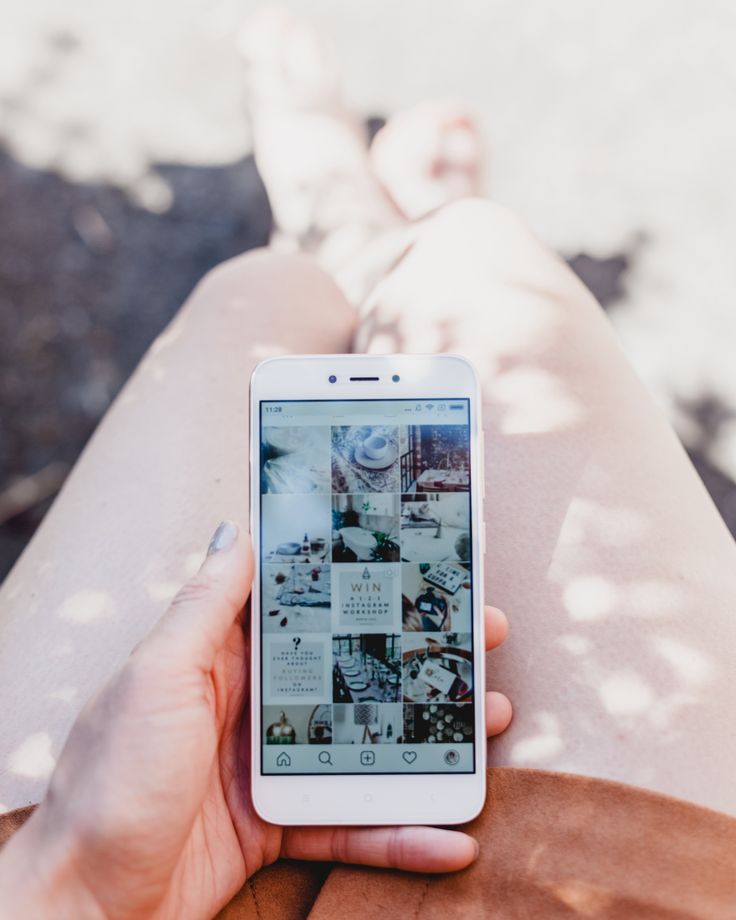 Luckily, there isn't an app you need to download to repost using this process. Here's how to do it:
Open your Instagram app and find the post you want to repost. Tap the "..." icon in the upper righthand corner of the post and click "Copy Share URL" (this button will be the same for both iOS and Android mobile devices).
Open your mobile internet browser and navigate to DownloadGram — or simply, downloadgram.org. Paste the URL into the text box that appears on the website's homepage. Then, tap "Download."
Tap the "Download Image" button that appears further down DownloadGram's homepage.
You'll be directed to a new webpage with the content ready to download. Tap the download icon — the box with an upward-facing arrow, as shown below — then tap "save image. "
"
Return to your Instagram app. The image will be saved to your phone's native camera roll, so edit it as you would any other Instagram post.
The repost won't include a citation, so we suggest adding one by typing "@ + [username]" to credit the original poster with the photo or video. Then, press "Share." Here's how the post appears on your Instagram profile:
You should see a draft of your story. Use the icons at the top to modify text, color, stickers and other animations.
You also have the option to click "close friends" on the right, bottom corner (shown above) if you only want a select group to view your story.
Once you click "Your story" you'll see the option to click "Share" to repost your image to your Instagram Story.
With stories, the same best practices should be followed as for sharing a post. If you don’t know the person and suspect the content you’d like to re-share might be licensed material, ask for permission first. Give credit to the original posters whenever possible.
First of all, it's important to understand the benefits of reposting images and videos.
Simply put, it takes a lot of time, effort, and resources to consistently create high-quality social content. And since most marketers post between 3-4 times per week, it's vital you have a backlog of content to keep up with demand.
Additionally, user-generated content (UGC) performs exceptionally well. In fact, 90% of consumers say UGC holds more influence over their buying decisions than promotional emails and even search engine results.
Reposting to Instagram can help you highlight brand endorsements from your customers, brand loyalists, and employees. UGC is typically considered more trustworthy, since a consumer isn't gaining anything by promoting your product or service (unless it's an advertisement) — they're just doing it to tell their audiences that they like your product.
For instance, consider the power of Warby Parker reposting this funny image from one of its customers, @cjronson:
View this post on Instagram
A post shared by Warby Parker (@warbyparker)
Not only does the image likely appeal to Warby Parker customers, but it ultimately makes Warby Parker marketers' jobs easier — now they don't need to create all their own content in-house.
Now that you've learned how to repost on Instagram, you can diversify your profile with content sourced from friends, family, and brands. Use the methods above — being sure to cite the source of the original post — to quickly and easily reshare your favorite content.
This article was originally published November 18, 2020 and has been updated for comprehensiveness.
Topics: Instagram Marketing
This information is gathering dust in the archive - suddenly outdated.
How to send photos only to selected people, use filters without posting photos, add hashtags - 10 useful tips on how to use Instagram.
Woman sells balloons on Nevsky Prospekt, St. Petersburg, Russia. / People as people. What only in St.
Petersburg you will not meet. You shouldn't be surprised. The city has become dynamic and is changing under the influence of the weather and fashion for souvenirs. It is raining and umbrellas are immediately laid out on the counters in the first rows. The sun comes out - glasses, mood balls, openwork walking umbrellas. And every summer there is something new in the tourist entertainment program. This year there were live statues and wild birds for a souvenir photo...0003
Photo posted by Oleg Gant I Oleg Gant (@oleggant)
Instagram is a popular app and social network for sharing photos. With ease of use and filters that make beautiful photos even more beautiful, Instagram has quickly become popular.
Now you can share any photo or video not with all your followers, but only with those of your Instagram friends with whom you want to share it.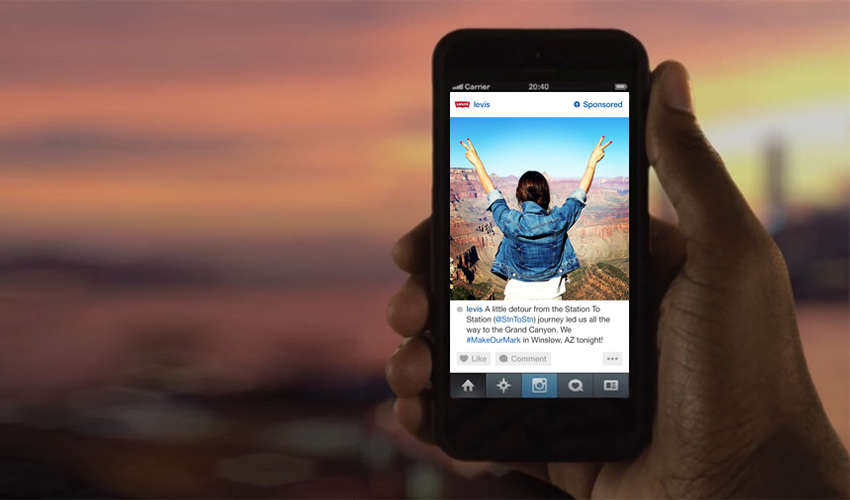 This can be done using the Direct function, the icon of which is located in the upper right corner.
When you post a photo, you need to choose Direct and tag who you want to share the photo with (up to 15 people). Your friends will be able to like the photo and write comments as if it were a regular Instagram photo.
If you have friends who send you a photo of every dinner they have or every sunset they see, you may have a strong urge to block them.
To do this, you need to open any private message from this person, click on the button with three horizontal (iPhone) or vertical (Android) dots and select "Ignore all messages from the user."
You can ignore private messages from other users When someone tags you in a photo, it appears in the Photos of You section of your profile.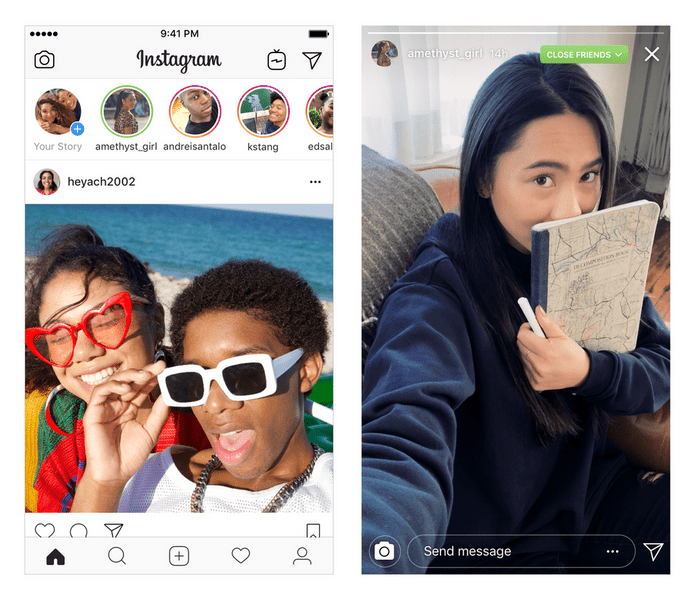 If you've been tagged in a photo but don't want anyone to see it, you can choose to hide it or remove the tag.
In order to do this, you need to open the photo in which you were marked, click on the button with dots and select "Actions" from the menu that opens.
You can then choose whether or not to show this photo on your profile. In the same menu, you can select "Advanced options" if you want to remove the mark altogether.
If you want to first view the photos you've been tagged in, in the Photos of You section, click the menu icon in the top right corner and select Add Manually.
If you don't like a photo you've been tagged in, you can remove the tagIf you want to apply an Instagram filter to any of your photos, but don't want to publish it, you can do that too. You will need to use your phone's airplane mode.
Once you put your phone into airplane mode, follow the steps for uploading photos to Instagram as you normally would. The photo cannot be posted because you are not connected to the Internet.
When a message appears saying that the upload failed, just delete the photo - don't worry, it will be saved in your photo gallery on your phone and you can use it like any other photo of yours.
You can use any filter without adding a photo to InstagramIf you select "Add to photo card" when uploading a photo, this photo will appear on the map in your profile. In order to remove geotags and remove photos from the map, you need to go to this section in your profile, click "Edit" and select those photos that you do not want to see on the map.
To prevent new photos from appearing on the card, you need to remove the slider from Add to Photo Card when you add a new photo.
Add to Photo Card option puts all your photos on the card. If you posted a photo and realized that you forgot to add hashtags, don't worry. You can add them to comments so other users can find your photos.
In addition, the advantage of this method is that then the hashtags will not be visible when you share the photo on social media.
You can always write (or delete) a comment with hashtagsIf you didn't want to share it on other social media when posting a new photo on Instagram, and then decided that you still want to, that's okay too. You can share a published photo at any time.
To do this, you need to click on the button with dots under your photo and select "Share". In the window that appears, you need to choose which social media you want to post this photo on.
You can share your photo to other social media at any time Instagram automatically saves all your published photos to your phone's photo gallery - until you disable this feature. To do this, in the settings in your profile, you need to toggle the slider next to the "Keep original photos" option.
You can also save selected photos manually. To do this, you need to open the photo menu (the button with three dots) and select "Copy photo URL". After that, you can open the photo in the browser and save it. In the menu you will also find the option to send a photo by email.
You can save photos both automatically and manuallyWhen you view your Instagram feed and a video appears there, it starts playing automatically. You can change your video download settings so that it only starts playing when you're connected to Wi-Fi.
You can do this in your profile settings by changing Video Preload from Always to Wi-Fi Only.
You can change the video download settings Next to the video preload settings are also the sound settings for the video - you can either turn off the sound for all videos by default or turn it on. In this case, if you have the sound turned off, but you want to watch some video with sound (and vice versa), you can simply click on the sound icon in the upper right corner of the video.
Listed as one of the most popular networks of the moment, Instagram allows millions of its users to share moments and adventures with their followers through photos and posts. Now, both private and open to the public, there are only these two modalities as an option for your profile. In this sense, I know Who can see my photos on Instagram? This question can be answered in many ways, with the new modalities that this social network offers and which we will explain to you later.
Postcode
 3 Protect who can see my photos on Instagram
 As we mentioned, there are only these two options to have your Instagram profile, and if you don't know what it is about, we will explain each of them.
In order for someone to see your content, you will first need to submit a request, After you approve it, you will be able to monitor and visualize your photos. On the other hand, this account type allows you to visualize who is accessing your content.
Anyone who wants to can follow you without prior permission and view all your photos.
To set up an account type, you only need to access your Instagram profile and Settings. select whether to activate or deactivate "private" mode.
This is a new way to test Instagram, referred to the list of favorite people within which you can choose who you want to show your photos and all the content that you generate, so the rest you not selected will not be able to see posts.
Another advantage of this new feature is the control over the content you upload to the social network, so private photos of only our closest friends can see them and besides, they will be the only ones who can comment on it.
According to sources such as The Verge, this mode is being tested on a group of people. If you are one of the favorites, you will know about it, because when you upload a new post, icon indicating the selection of favorites in the top right corner.
On the other hand, the profile should also have a new tab that shows the selected group that can view and comment on your photos. Also, there is no limit to the number of people you can choose from, although it is statistically estimated that the number of favorites will be between 20 and 50 users.
The reason this modality was launched is because several Instagram users used an additional account to upload more intimate photos to which they only added them to close friends or on their own. Thus, it was found that people use Instagram for Share certain posts with a small audience.
While this feature is still in trial, if successful, it can be applied globally.
Once we learn about public versus private mode and the strategies Instagram uses to innovate and keep its users happy, it's time to learn how you can control the privacy of your content.
If you have chosen your profile to be private instead of public, the people you accept are the only ones who can see your photos. But if you want to go further, you have several options to choose from.
We're asking again about strictness. Who can see my photos on Instagram? When you want to block a person for any reason, you can do so by going to their profile and pressing the options button, when the menu is cleared select "Block". Thus, they will not be able to access your content or leave comments.
In addition to displaying the photos you upload to the app, you can also see those in which you have been tagged and may not want to appear in some of them. But you can control which photos you want to tag and which you don't.
First You have to go to Instagram configuration window , below is a section that says "photos you appear in", after you click it you will have two options.
On the other hand, you can also hide photos that you have been tagged in before. And for this you need to go to section "photos in which you appear" and click the option to "hide photos" , After that, it remains only to choose which photos you do not want to see them, and click "Hide".
Since its inception, it has been one of the most popular variants of this platform, as it allows you to spontaneously share a special moment or give information quickly.
But if you don't want anyone to see this , you can go to the settings or configuration menu and below you will find the "account" section, select "history settings" or "history management", in it you will see the option "hide story" When you get there, you can choose the name of who or whom you don't want to see in your stories.
You can also Choose who can reply to your stories and whether or not to enable other people to share their stories via private message with others.
Similarly, you can customize the content of comments made on your photos, meaning you can automatically block offensive words, determine the words you want or not in your comments, among other options.
Many of these tips will make your Instagram photo experience better and more comfortable. It is also possible that you have heard some of them before but don't know how to use them.
It's very safe that you scroll through the content of the people and pages you read you've come across something you'd like to save. This is possible because Instagram has a feature that allows you to store content in a place where only you can access it.
To make them, you must navigate to the publication you would like to save. Then you have to click on the marker icon located in the lower right corner of . Finally, go to your profile and click on the marker icon again to see your saved photos.
Adjusting brightness, contrast, saturation and filter intensity is what Instagram allows. So, if you want to edit a photo without uploading it to this platform, you can do it like this:0003
Go to your Instagram profile, go to options, scroll down and activate option "keep original photos". Later, you have to activate "airplane mode" on your phone, then open the photo you want to edit and do it as usual. When you have finished the design you want, just click "Share" without adding any comments or any other additional information.
Of course, the publication will fail, that's when you have to Click on the "X" next to the error notification. Then the photo will be saved in your device's camera, then turn off the airplane mode and you can use the photo where you want.
The secret to a good edition lies in the personalization you can give your photo. And if combining filters is a good option, you can do it by doing the following:
First you have to edit your photo like you always do. then You can follow the steps I mentioned earlier save the photo without sharing it Then you have to open the photo from the phone's camera memory, you can make other editions, including the second filter.
Then you just need to repeat the operation if you want to add another filter. Once you're ready, you can share it , comment or tag as usual.
If you want to post some Instagram content on another platform, the process is a bit tedious as it involves screen capture, cropping, editing and a few more steps. But with the help of the Hootsuite app, it will be easier.
To do this, open Hootsuite and find the photo you want to share on Instagram. Then click the arrow icon to upload new content, then a window will open and original photo content will be automatically attached In addition to photo credits.