So you’re stuck at home with nowhere to go and you’re running out of photos to post on Instagram. Creating fresh content can be a struggle when you’re confined to your house or apartment, but even when you can’t hit the road and travel or even explore new places locally, there are ways to stay active on your social channels and keep your audience engaged. Read on for 11 simple photos that can all be taken from the comfort of your own home.
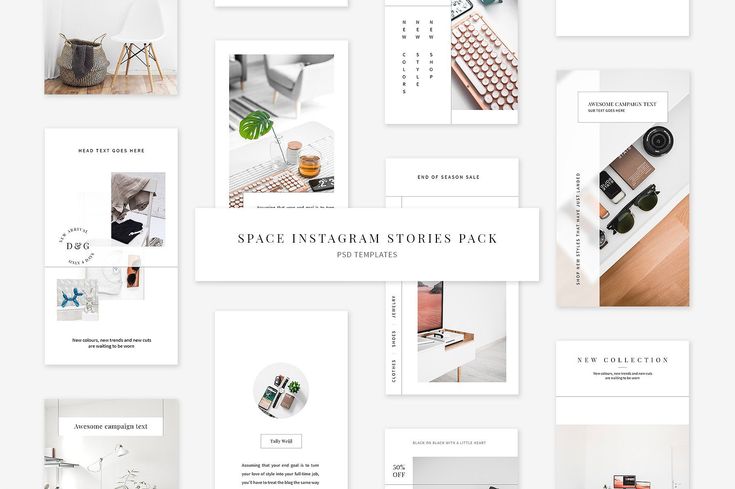
1. Create a flat layA nice surface, some flowers, a cup of tea, my glasses, and a few pretty magazines are all it took to make this shot happen. Flat lays are really fun to create with any assortment of items you find laying around the house. Try working a laptop into the photo, a pen and notebook, books, clothes and accessories, or even items from your makeup bag. Experiment with different arrangements and see which looks best from a top-down view.
First of all, it’ll do you a world of good to get out of your sweats and look like you’ve got somewhere to be. Set up a tripod and work on some portrait photography. Outside, inside, wherever. Wine helps.
Pro tip: The photos above are also known as “advanced selfies”. Meaning, I took them myself. Many cameras, including my Sony a7R III, have built-in WiFi these days. First, I set my camera up on my Manfrotto tripod and then connect the camera to Sony’s Imaging Edge Mobile app on my phone. This allows me to:
1. See the frame my camera sees.
2. Use my phone as a remote.
I then set the timer to 2 or 5 seconds, press the shutter, and hide my phone. If you’re using a mobile phone, you can also use a tripod or prop it up against something. This requires a lot more back and forth than the first option, but it is effective nonetheless!
3. Shoot your culinary creationsFound yourself cooking more at home? Great! Not only are you saving money and eating healthier, you’ve also created the perfect content opportunity.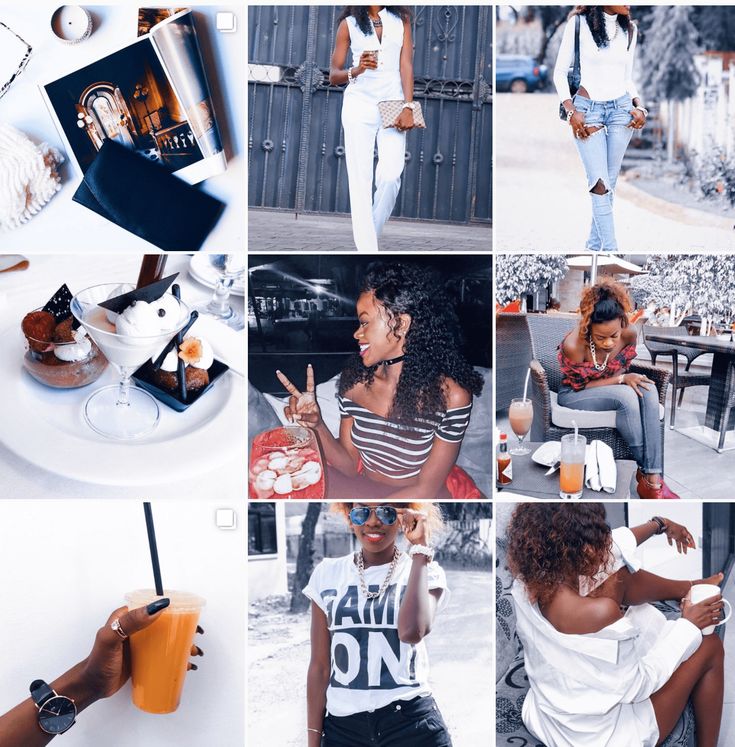 Who doesn’t love to see photos of drool-worthy dishes? Get clever in the kitchen and set up a shot with your food at the center of it. Use a beverage or a vase of flowers to make it extra aesthetically pleasing.
Pro tip: If you’re without a DSLR but have an iPhone, Portrait Mode on all recent models is perfect for food photography. By focusing on the food and blurring the background, this mode manages to give phone images the professional quality of a real camera.
4. Focus on interior detailsGet creative with cozy nooks and items from around the house. Got a pretty bookshelf? How about a nice fireplace or mantle? You’d be surprised what photographs well, especially when you focus on a single subject and blur out the background, like the coffee mug above. Sometimes, simple moments make for extraordinary images.
5. Take a bathPhotograph an everyday, relaxing moment. If you don’t have a photographer around to help you out, this is another chance to practice your advanced selfie skills! Some bubbles, candles, a beverage, a book, and even a couple of Bengal cats can help set the scene.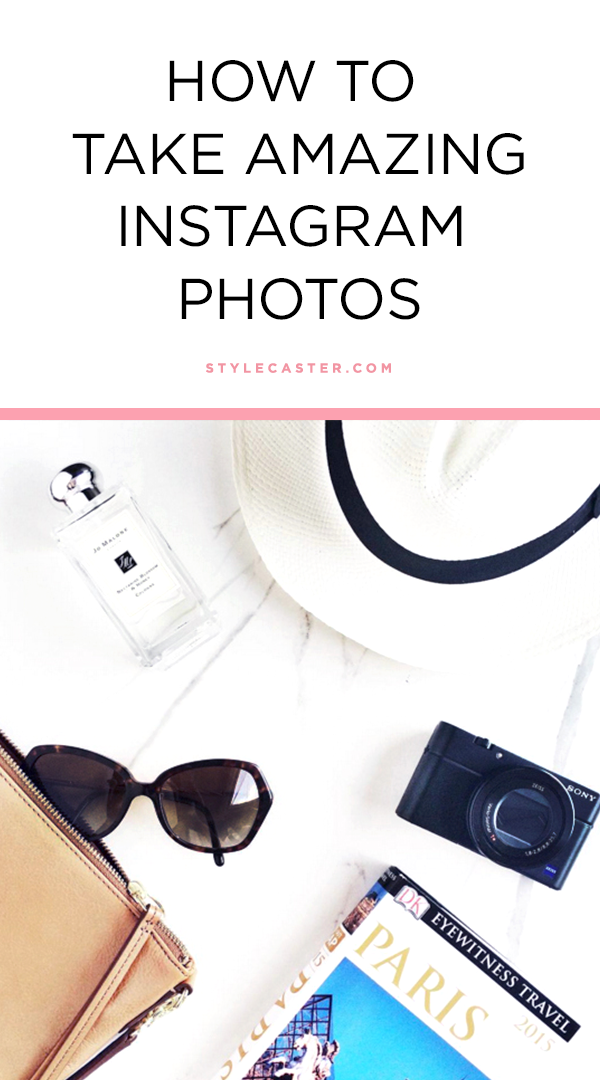 Just don’t drop your phone, cat, or wine in the water. (I’ve had a few close calls.)
Taking pictures of animals is HARD. As it turns out, they don’t always like to stay still. They also seem to have a sixth sense- the second a camera turns on them they stop doing whatever cute thing they were doing just a moment ago. Use your free time to practice, and capture that elusive moment!
Pro tip: If you’re shooting with a DSLR, put your camera on a high speed shooting mode, and make sure you’re in a bright, well-lit place. This will reduce the chance of blur and hopefully result in a crisp, action shot! If you’re shooting with a mobile phone, burst mode should do the trick. Simply get the subject in frame and hold your finger down on the shutter button. It will continuously shoot until you let go. It’s highly likely that there will be at least one good photo in there!
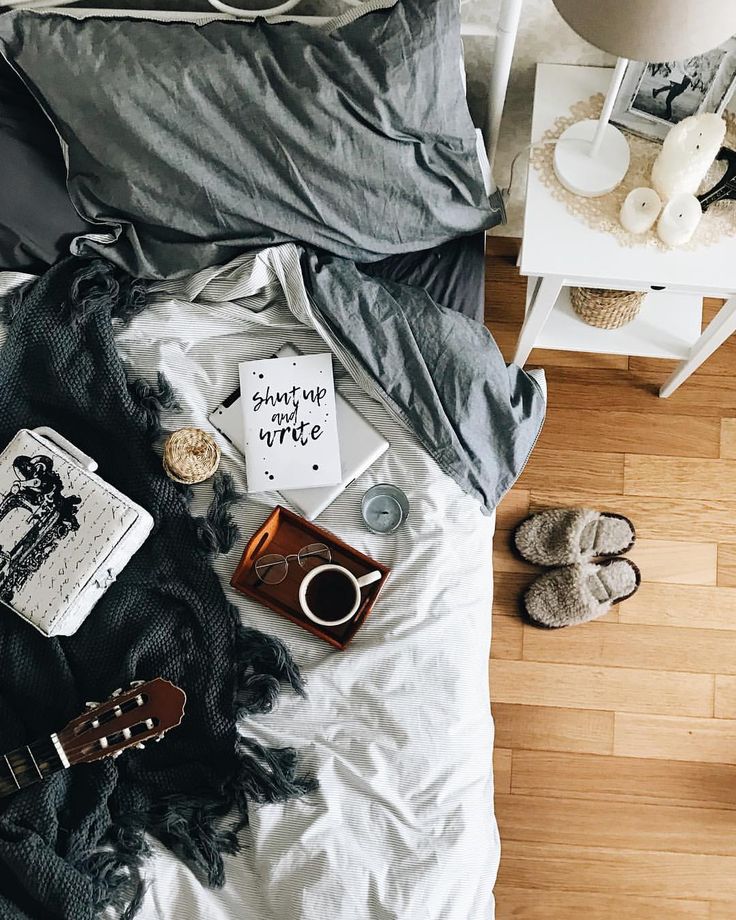
7. Get the lazy bed shot
We’re all spending a lot of time in bed, anyways- may as well get some content out of it. The photo can be as simple as sitting in bed in your favorite pjs with a cup of coffee, organizing a breakfast in bed setup, reading a newspaper, or, you could get a little more cheeky with it…
If you’re spending a lot of time at home, it’s important to be happy in the space that you’re in. Take the time to clean up, redecorate, and then show it off with an interior shot. Color coding the bookshelves, working in flowers and plants, choosing accent pillows with pops of color, and lighting some candles helped bring this room together. Because of the identical bookcases, framing the shot symmetrically with the the fireplace in the center was the best angle for shooting this space.
9. Get Cozy in a windowI fully recognize that you’re most likely not shacked up in an apartment with views of Florence’s amazing Duomo, but a window is always a great place to cozy up and take a pic.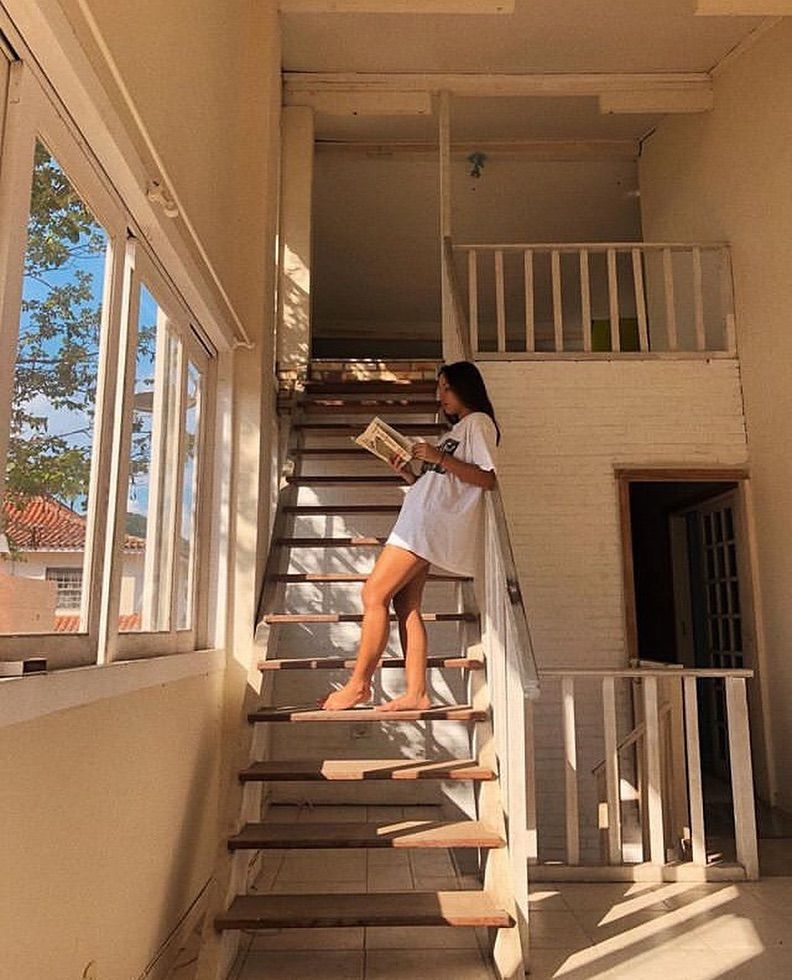 Or, if you have assistance and two windows along the same wall, you can try poking your head out and having your photographer do the same. This will change the perspective from inside to outside.
https://unsplash.com/@impatrickt
Magazines, newspapers, and books are great for creating an impromptu background. Try taping the pages of a newspaper or magazine to the wall to create an in-home photoshoot backdrop, or even something as simple as some open books on the floor can make for a beautiful image in itself. If you want to be in the book shot, rest your head on top of them and have someone shoot over you for an artsy headshot.
11. Hit the archivesAnd when you’ve run completely dry and photographed every possible corner of your home, both inside and out, it may be time to revisit old photos.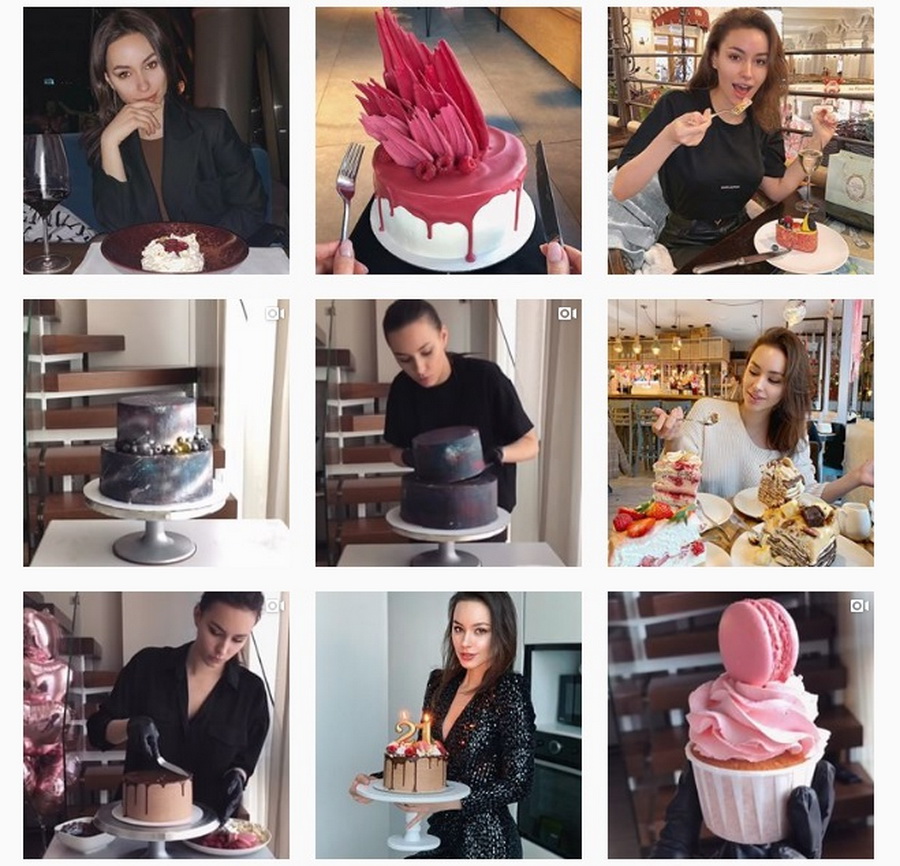 Choose some of your favorites and take your audience for a walk down memory lane. For example, I decided to post photos from Southeast Asia, where my full-time travel adventure first started 5+ years ago. Until I can start traveling again, I will highlight destinations alongside little anecdotes that will eventually loop back to the present.
Let me know if that was helpful! Happy content shooting!
Photography TipsGirl Gone AbroadInstagram photos, content ideas, stay at home content, photography tips, photography ideas for home, flat lay photography, flat lay, advanced selfie, Sony a7riii photography, iphone photography, portrait mode, food photography, interior photography, pet photography, interior design, in-home photoshoot, backdrop, photo background, DIY photo background, DIY backdrop, content creation2 Comments
0 LikesLong gone are the days of lugging around a DSLR to take gorgeous Instagram photos.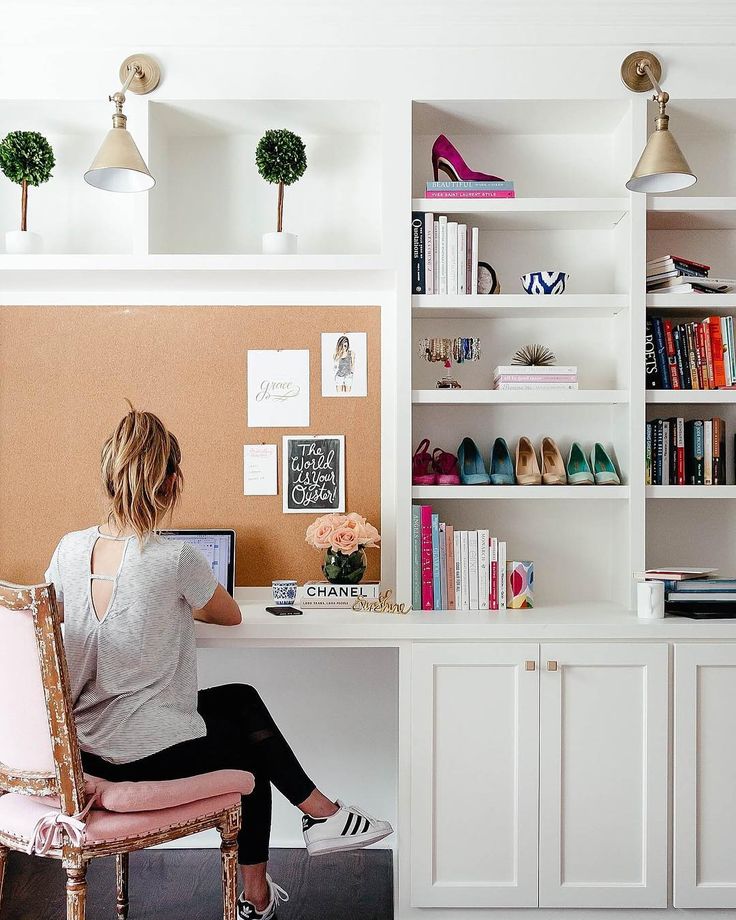
You can get the perfect Instagram shot by using what you already have on you at all times — your phone!
We’ve put together this handy guide to taking, editing, and sharing Instagram photos all from your phone. With our tips and tricks, you’ll be getting that A+ content in no time.
Step #1: Check Your Camera Settings for Higher Quality Instagram PhotosBefore anything else, in order to level up your Instagram photos, you have to check your camera settings.
Most phone cameras are super-powerful, with a 12-megapixel front-facing camera and a ƒ/2.2 aperture, but the tricky part is learning how to use them.
So the first rule of Instagram photography is to always look at what you’re working with before you begin shooting.
#1: Turn HDR OffHDR — or High Dynamic Range — is a feature on both iPhone and Androids and it’s basically there to help you take better-looking photos.
It takes a few of the same photo at different exposures and puts them together in one, so the final photo has a ton of detail.
If you’re confident in working with HDR, it can be awesome. But, it’s hard to get right and can sometimes actually make your photos look unnatural and off.
To make things easier, let the camera do the heavy lifting and turn your camera’s HDR setting off. You’ll still get high-quality images without the need to think too deeply on your exposure levels.
#2: Check the Photo ModeThere are so many different settings on phone cameras these days that sometimes it’s hard to know what settings are useful and which ones aren’t.
One popular photo mode is “portrait mode”, which automatically detects a well-lit subject within a certain distance from the camera and creates a bokeh effect (depth of field).
Portrait mode is great when you’re taking — you named it — portraits. But that’s not all it’s good for! Many bloggers and influencers use portrait mode for food or product shots too!
View this post on Instagram
A post shared by Later: Visual Social Marketing (@latermedia)
Now, let’s talk about the photography pitfalls — portrait mode isn’t great when you’re shooting inside or in low light.
This photo mode also requires a subject that is still. For example, if you’re shooting someone jumping or walking, you’re going to want to turn off portrait mode and switch to another mode.
But don’t let that dishearten you, portrait mode should still have a place in your photography arsenal — just be selective on when you use it!
TIP: If you’re using an iPhone and are shooting a moving object like someone posing against an Instagrammable wall, try shooting in live photo mode or holding down the shoot button to enable burst.
With burst, your iPhone will shoot up to 10 photos allowing you to sift through and choose the best one after.
Don’t worry, if you’re using an Android, you can also enable the burst feature by holding the shutter down.
Step #2: How to Capture the Perfect Instagram Photo on Your Phone#1: Understanding Depth of FieldCreating DOF (or depth of field) with your phone camera is a really cool way to up your Instagram photo game.
It’s not too difficult and once you get the hang of it, your followers will be asking what camera you use to take your photos!
View this post on Instagram
A post shared by Later: Visual Social Marketing (@latermedia)
Let’s say you’re taking a picture of a person facing the water and you want the person in focus and the background blurry, tap your subject and wait for a yellow square to appear (if using an Android, tapping the screen to focus works too!)
Where you see the yellow square shows who/what is in focus.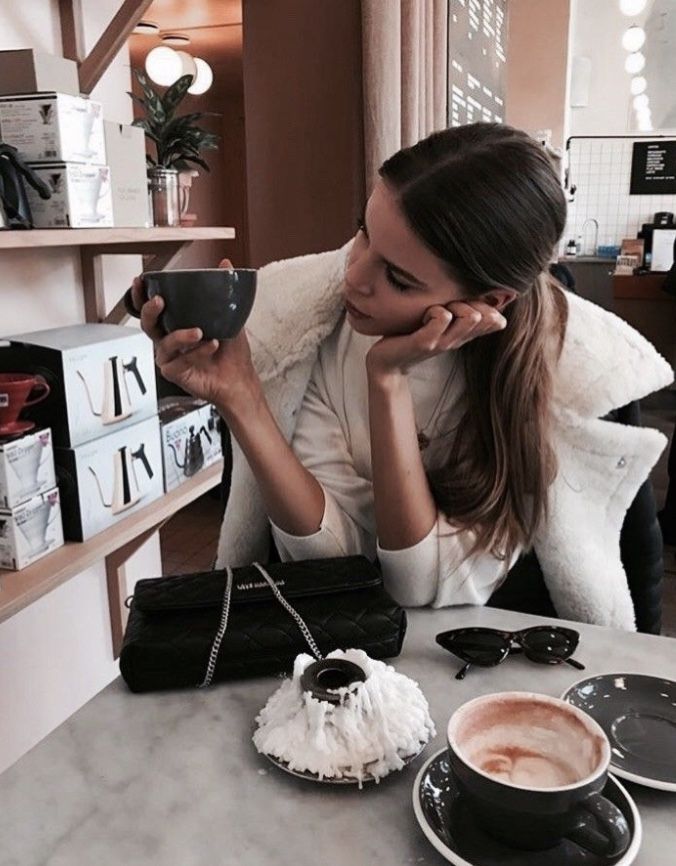 You’ll have to move around to get that perfect DOF.
The best photos take trial and error, but we’ve no doubt you’ll find your mojo soon enough.
#2: Get Your Composition RightGorgeous Instagram photos direct viewers to the subject of the photo while capturing an emotion or a story.
When you’re taking a photo with your phone camera, the composition is what will help your picture go from “good” to “great”.
So, how do you get the composition on point? With something called the rule of thirds.
Known as the golden rule of photography, the rule of thirds helps break down your image into (you guessed it) 3 portions or sections.
The goal is to put the most interesting aspects of the photo in the intersections of the grid to create a balanced and natural-looking photo.
If you can’t imagine the grid yourself, both iPhone and Android cameras have an option to turn the grid on when shooting.
Note: If you’re working with an Android phone, go to your Camera Settings, and select Grid Lines
Like any rule, they are made to be broken, right? You don’t need to follow the rule of thirds when taking Instagram photos with your phone camera.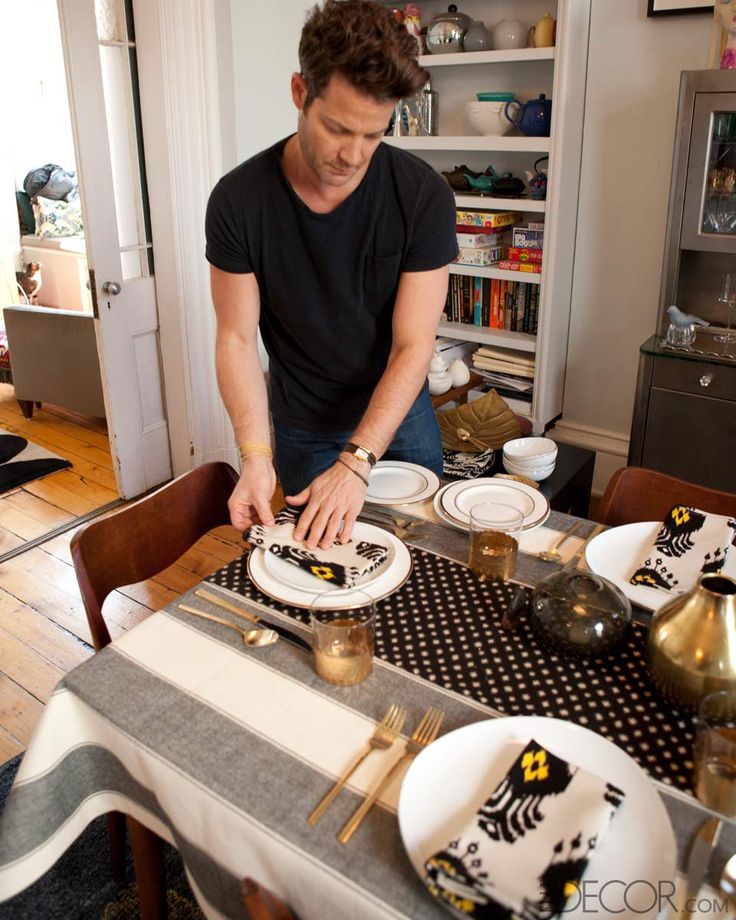 But it’s just there to help you as a guide if you need it.
You know when you take a photo outside you’re excited to post it, only to realize later that it’s totally overexposed? It can happen to the best of us!
One of our favorite photography hacks is to combat this: underexpose your camera!
View this post on Instagram
A post shared by Later: Visual Social Marketing (@latermedia)
When you’re shooting, it’s always better to have an underexposed shot to fix in post, rather than having a blown-out photo.
This is super easy to do on both iPhone and Android. If you’re using an iPhone, tap your phone screen when you’re taking the shot and wait till the yellow box appears.
Once it’s there, move the little sun on the right of the box and you’ll see the exposure lowering and keep moving the yellow sundown until your liking.
It’s basically the same deal on Android — just tap the screen on darker and lighter parts of the shot and it’ll manually balance the exposure.
TIP: The absolute best way to get a killer Instagram photo is to shoot in natural light! If you’re able to use natural sunlight or actually be outside, do it. You’ll notice your photos will look so much more professional than shooting inside or with flash.
View this post on Instagram
A post shared by Later: Visual Social Marketing (@latermedia)
Once you’re ready to post the photos, you want them to stand out on your feed, right? Plan and re-arrange your feed posts with Later’s Instagram Visual Planner.
Later’s Visual Instagram Planner is the best way to plan your Instagram feed and make sure all of your photos are flowing together — it’s an aesthetic game-changer!
Use Later’s Visual Instagram Planner to see where your new photos will sit in your Instagram Feed.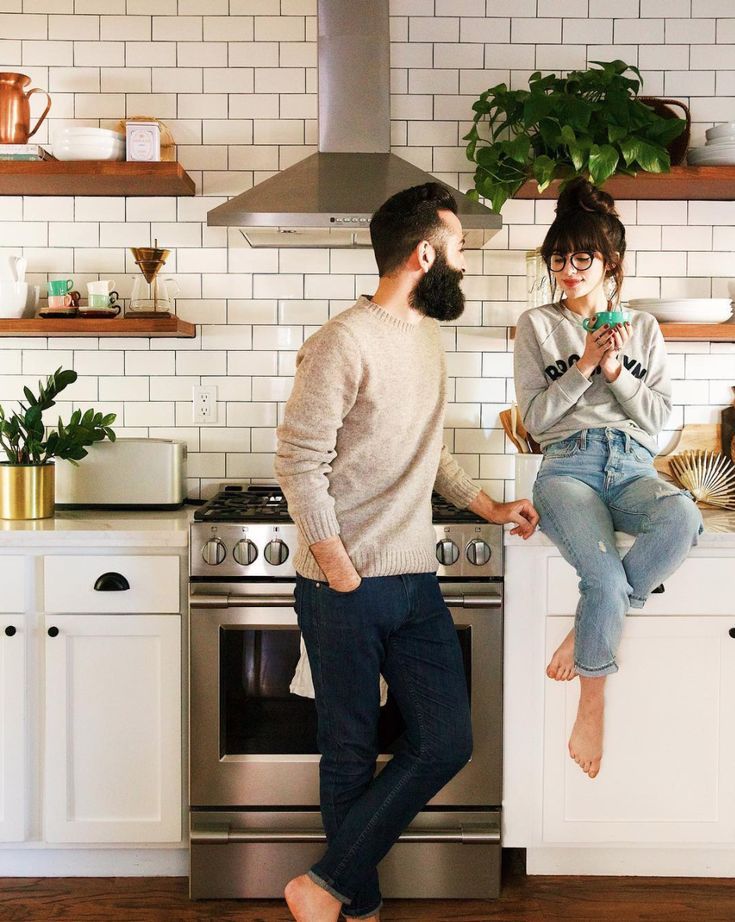
Plus, you can do it right on mobile (iOS and Android).
With Later’s Visual Instagram Planner, you can Quick Schedule new posts, see what your scheduled posts will look like on the feed, and drag and drop scheduled posts to rearrange them.
Ready to nail down your Instagram aesthetic? Design, curate, and plan your feed with Later!
Step #3: Learn How to Set Up the ShotYou’ve got your camera settings down and now it’s actually time to take the photo.
Whether you’re taking a selfie, a flat lay, a picture of your lunch or a picture of a blogger in front of a mural wall, it’s important to consider the art direction of your shot!
On Android, you can set up and capture your shot with voice control. Take a photo by saying “smile”, “cheese”, “capture”, or “shoot”.
The voice control feature can be helpful for selfies and those moments when you have the perfect shot but don’t want to push the button and ruin the moment.
Mastering The Flay Lay:Flat lays have always been super-popular on Instagram, but nothing looks better than food in a dreamy flat lay set up!
When you’re taking pictures of food, there are a few things you have to remember.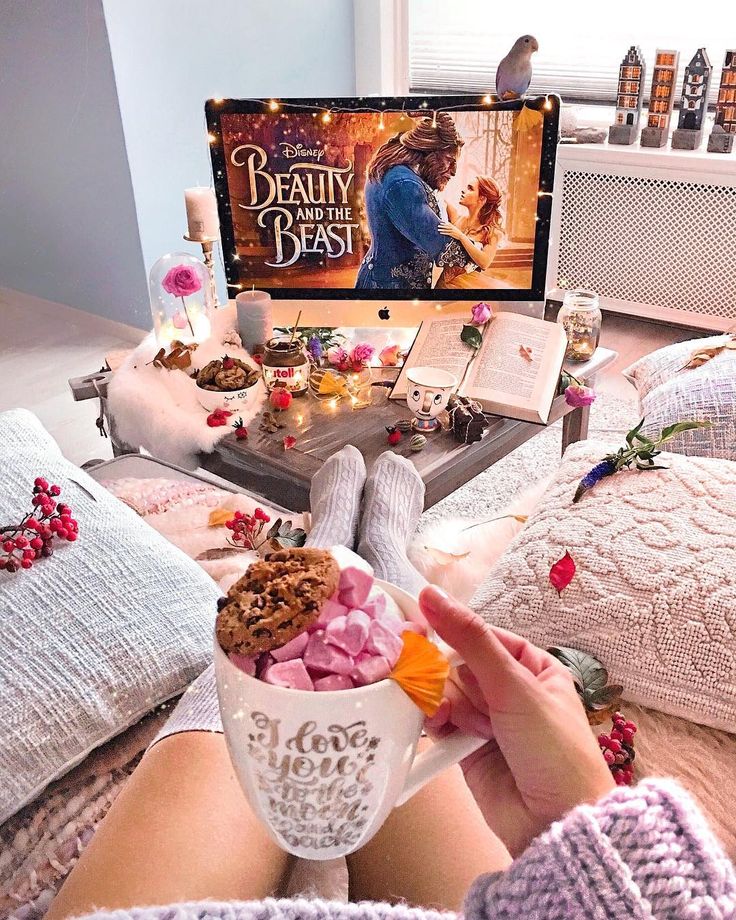 Food looks best from above and with natural light.
View this post on Instagram
A post shared by Later: Visual Social Marketing (@latermedia)
Think of using textured backgrounds when you’re planning your shot. Whites, light concrete, marble, wooden tables, and pastels are great options.
Jenna Rae Cakes, the cute aesthetically pleasing Canadian bakery, does a great job of photographing their baked goods.
View this post on Instagram
A post shared by Later: Visual Social Marketing (@latermedia)
Of course, it’s not just food that works in flay lay setups — product shots, and the fun “deskie” always works well in your grid!
View this post on Instagram
A post shared by Later: Visual Social Marketing (@latermedia)
You don’t need to have a professional photo studio or photoshoot to take killer content for your brand or business. With a minimal budget, you can set up your own at-home photography studio.
Ready to take beautiful product shots at home? Check out all of our tips and tricks here.
Finding the Perfect Backdrop:If you’re looking to capture scroll-stopping Instagram photos, you’ve got to find the best photo spots. But, remember, you can make any spot Instagrammable using your creative eye.
View this post on Instagram
A post shared by Later: Visual Social Marketing (@latermedia)
Whether it’s the city you live in or are traveling, you can browse locations and hashtags on Instagram for inspo!
Studio DIY Wall Crawl is a great place to start to find those awesome backdrop walls for your next shot!
View this post on Instagram
A post shared by Later: Visual Social Marketing (@latermedia)
Tip: Posing in front of the camera is hard, instead, ask your photographer friend to take bursts of you and just keep moving in front of the camera — some of the best shots are taken while in motion.
Whether you’re going to be the subject of your photos, or you’re capturing some product shots, a prop or two can go along way in building a better photo.
From holding a cute coffee cup, to green foliage and plantlife, having something “extra” to your frame can bring it to life.
Step #4: Editing and Post ProductionView this post on Instagram
A post shared by Later: Visual Social Marketing (@latermedia)
You’ve captured the photo and you know it’s the one, but now it’s time you bring it to the next level.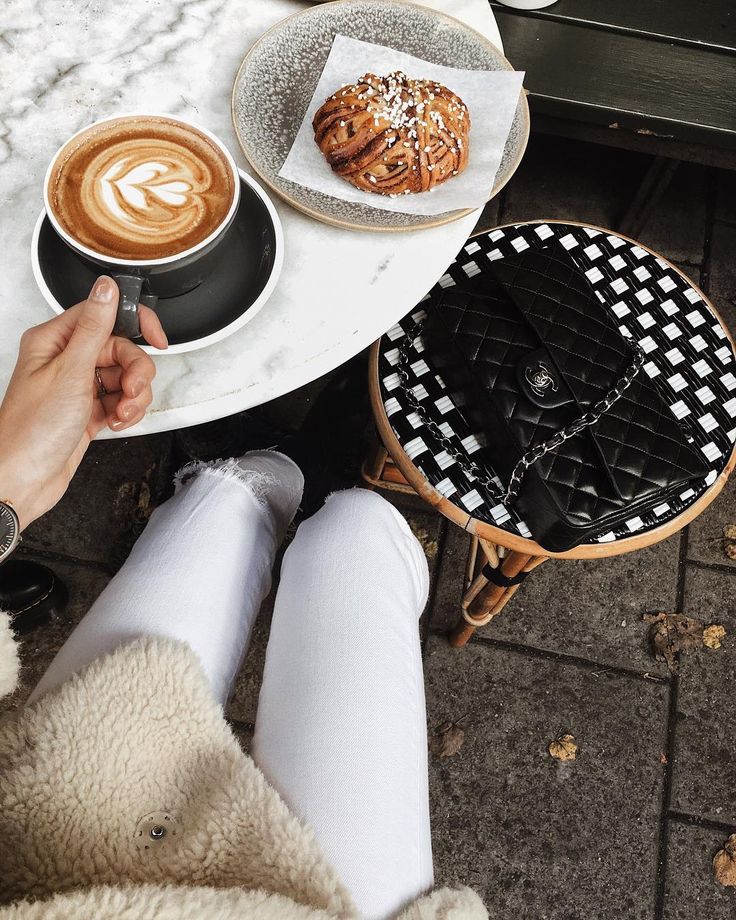
Using Lightroom to edit your photos is one of the best ways to get your photos looking beautiful for Instagram. And, on top of achieving super trendy beautiful photos, Lightroom presets make the editing process super easy and fast.
Plus, you can edit with Lightroom CC on your phone for free!
Once you start editing with Lightroom, even just by using the in-built Lightroom presets (which are like “filters”), you’ll start to see your image quality drastically improve, and you’ll start to develop a style that is unique to you and your Instagram feed!
View this post on Instagram
A post shared by Later: Visual Social Marketing (@latermedia)
When you’re happy with your content and feel ready to post, save time by scheduling, and auto-publishing your content with Later.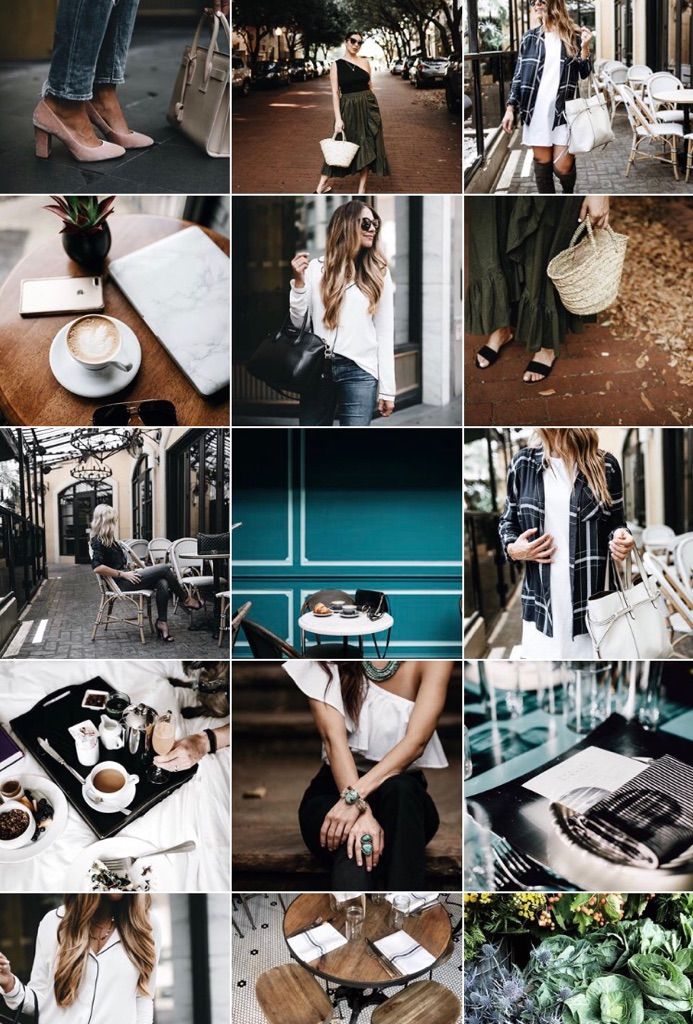
Taking the time to schedule a few days’ posts all at once is a great way to batch posts at the beginning of each week so you can spend more time shooting and planing your content without having to spend so much time on your social channels each day!
On mobile, view your scheduled Instagram posts in a list, preview, or on a calendar (iOS only).
With Later’s Visual Instagram Planner, you can Quick Schedule new posts, see what your scheduled posts will look like on the feed, and drag and drop scheduled posts to rearrange them.
Ready to nail down your Instagram aesthetic? Design, curate, and plan your feed with Later!
#2: Edit Using Editing AppsLooking for quick-as-a-flash edits to help you level up your photos? There are tons of apps that can help you do that — with on-trend filters, clever editing, and perfect color correction tools.
These are some of our favorite photo editing apps to try.
VSCO
Tezza
Snapseed
A Color Story
But the editing fun doesn’t stop there, check out our 12 Best Photo Editing Apps for Instagram blog post for more great photo editing tips and tools!
#3: Stand out from the Rest with Collages and StickersInstagram overlay stickers and collages are the new creative trend on Instagram.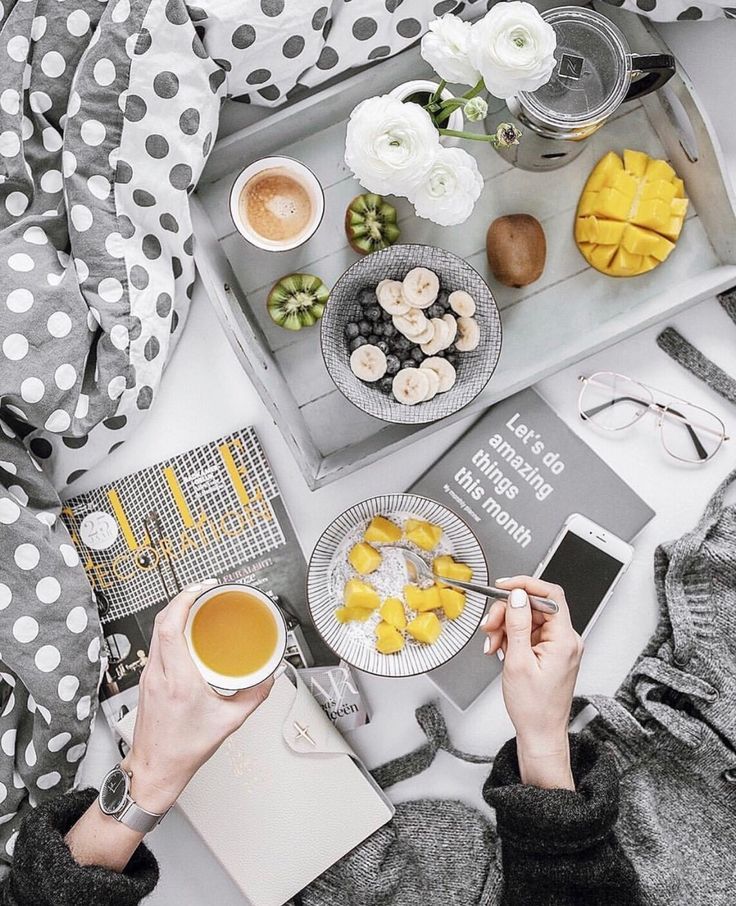
Many users are hopping on the trend and it’s working! If it’s in line with your brand, consider adding overlay stickers to your photos for a little fun touch.
View this post on Instagram
A post shared by Later: Visual Social Marketing (@latermedia)
In fact, we love the Instagram overlay sticker trend that much, that we created our very own stickers for you to use on your posts!
Instagram photography shouldn’t feel overwhelming, or out of your reach — with just a phone you have all the tools you need to create standout images and posts for your profile.
But the first step to getting that gorgeous grid is to getting out and snapping your content!
To spend more time shooting and planning your photos, Auto Publish your content with Later!
Plus — if you have an Instagram business profile — you can enable Auto Publish right on your mobile (for both iOS and Android).
If you’re a beginner, stick to these tips and you’ll soon be feeling confident in your photography skills.
Ready to start posting your gorgeous Instagram photos to your grid?
Don’t forget you can plan, schedule, and automatically post to your Instagram account with Later for FREE. Sign up today!
Like This Post? Pin It! ????
The article has been updated. First posted September 24, 2018
If for some reason your posts aren't getting likes, don't think you're hopeless. Perhaps you should work on a content plan, strategy, promotion, etc. Start by improving the quality of your photos. How to do this, if you never held a camera, read our detailed guide for homegrown photographers.
If you are a regular on Instagram*, you probably know them all. Now we will not remember the famous #worldshouldknowwhatwe are, #followme, #bedstagram or #liftlooks.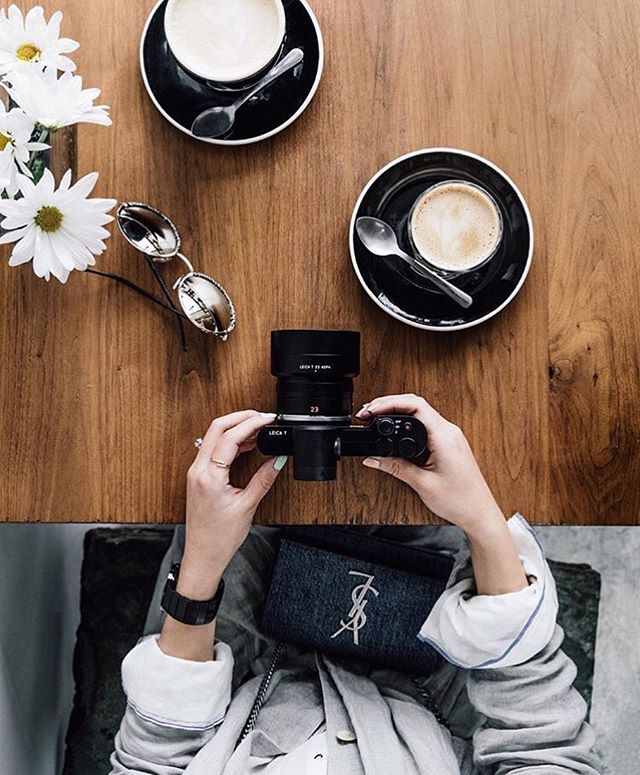 The emphasis is not on what is in the frame, but on how it is photographed.
Lay everything artistically/disorderly, or Flat Lay . The bottom line is that you need to shoot strictly from above or at an angle of 90 degrees. And so - we lay out any objects (for example, goods) on a table, window sill or other surface. It is desirable that the background be plain, but you can "play around" with the texture. For example:
All kinds of selfies . And it turns out that there are a lot of them: #belfi, #melfi, #beefy, #felfi. They differ depending on what is captured in the front camera frame: you with a friend, your soft spot or the gym. The essence does not change:
Macro . You can shoot insects and flowers, or you can take a photo of an item* on Instagram* using a light cube. This is a kind of mini-studio with a white background. Some make them on their own, others order on Aliexpress or look for them on Instagram*.
The most favorite places are the floor, table and window sill. Their invariable whiteness and texture attract all beginners in the Flat Lay style. However, you won’t be full for a long time with a white background - you have to invent yourself in various ways. How can you diversify the location of the photo shoot on Instagram*?
Use colored backgrounds . For example, cardboard, or professional backdrops from photography stores.
Get beautiful textiles . For example, a couple of blankets, knitted sweaters or beautiful tablecloths - this is now in vogue.
Turn on your imagination and start looking for texture in everything . In a refurbished wallpaper roll, in wrapping paper, in construction boards, in children's mosaics, in bath rugs and on clean sheets.
For filming with a lightbox, as well as for a selfie, the place is not important.
Let's talk about shooting time. For flat lay photos, artificial light is detrimental - it gives harsh shadows and makes the content unattractive. Therefore, this should be removed only in daylight and near windows.
But for high-quality selfies, artificial light directed at the face will come in handy - it will hide wrinkles and smooth the skin. It is better not to use the flash - it kills the frame and collapses the space, making it flat.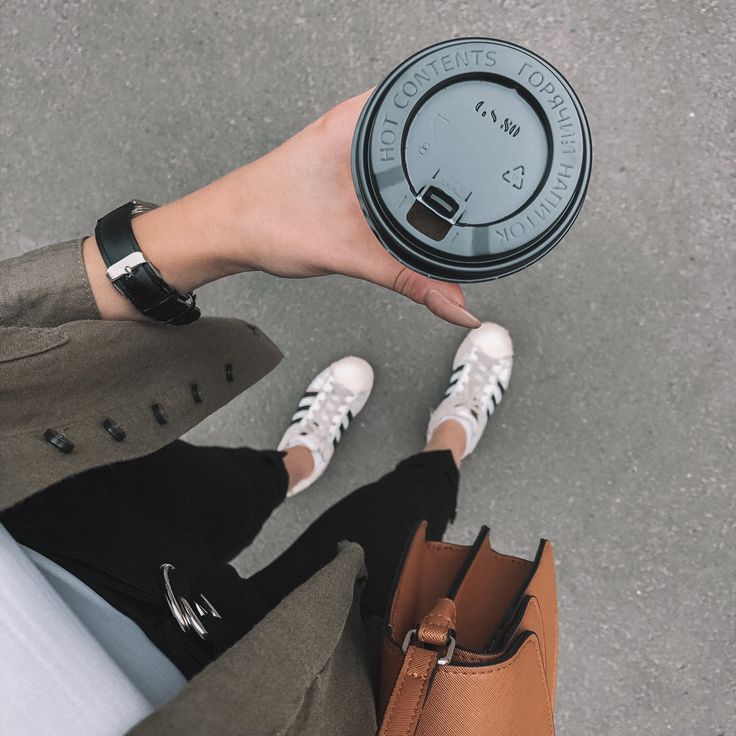
To work with the lightbox, you will need luminaires with energy-saving white light bulbs. And it is better to forget about the yellow light forever.
Find inspiration on Pinterest and, of course, on Instagram itself*. Just type word flatlay in the search bar - you will be bombarded with a lot of content with and without a hashtag; with food, clothing and even people.
Recently, by the way, it is very fashionable among brands to have legs, arms or other separate parts of the body in the frame, which look great in products.
Of course, you can always cheat and get by with less blood. But let's look at the ideal set of a young photographer.
 It's a light cube. It will help to take beautiful pictures of individual items, for example, for shops.
 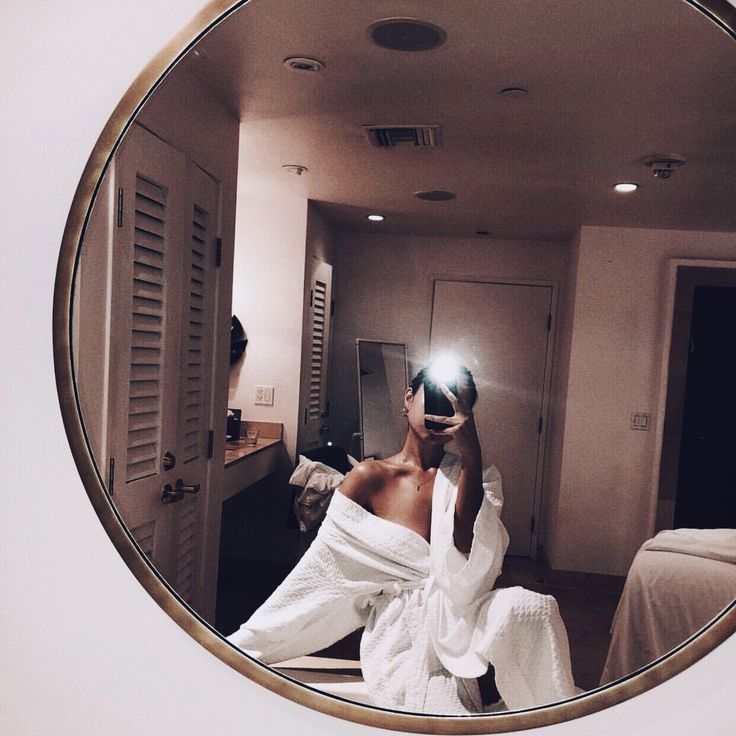 Then "fillers" come to the rescue. And if you dig into the New Year theme ... Well, you understand!
 Always remember what you are shooting and try to make sure that the subject is well "read" in the photo. If you have captured too much, do not worry - framing will come to the rescue. This tool can not only save the picture, but also ruin it. To prevent this from happening, use one of the schemes described below.
Fibonacci Spiral . This is a scheme borrowed from nature, which is positively perceived by the eye. If you use it when composing the frame, then the composition will turn out to be very harmonious.
Rule of thirds . In general, this is a simplified version of the golden ratio. What do you need to know about it? By placing the main objects of the frame in the nodes of the grid, you will draw the attention of subscribers to them as much as possible.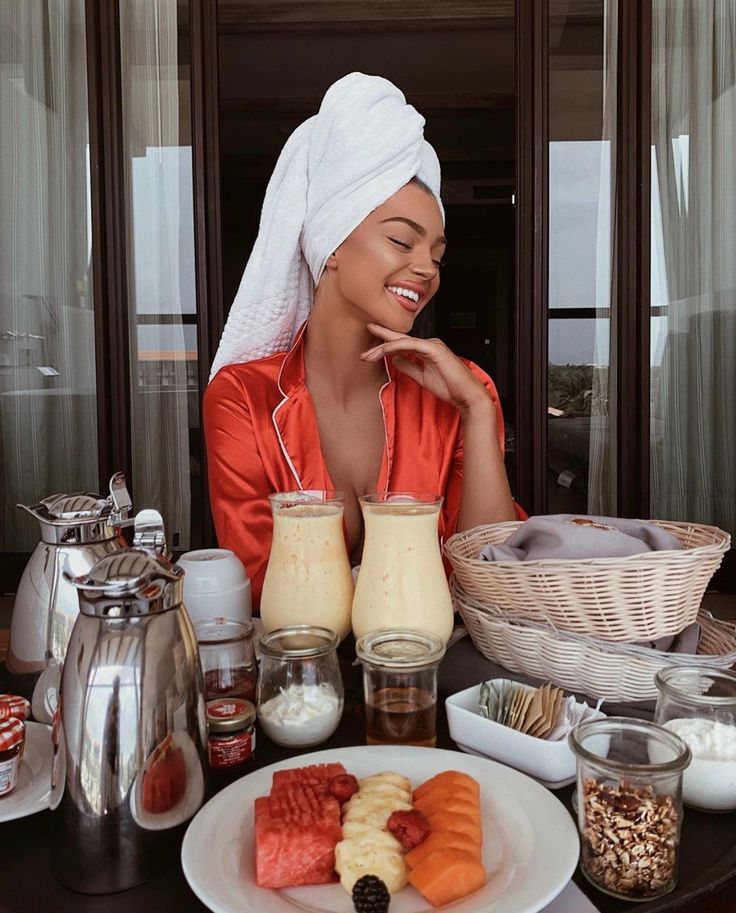 And it is this grid that is in the camera of every smartphone. You just need to turn it on.
We have already written about this in the blog. So just catch links and create good selling content:
And do not forget to think over the scenes for shooting in advance, or better even sketch them on paper. So you save yourself a lot of time if you need to shoot several topics in one sitting.
Remember, in order to learn something, you just need to start. And it is not necessary to reinvent the wheel. You can always use someone else's idea by implementing it with your own objects, backgrounds, etc. You can also upload photos to Instagram* from your PC - the most convenient way to do this is through the SMMplanner scheduling posting service.
You must have heard that Instagram* is a social network for visuals, and photos are of paramount importance here.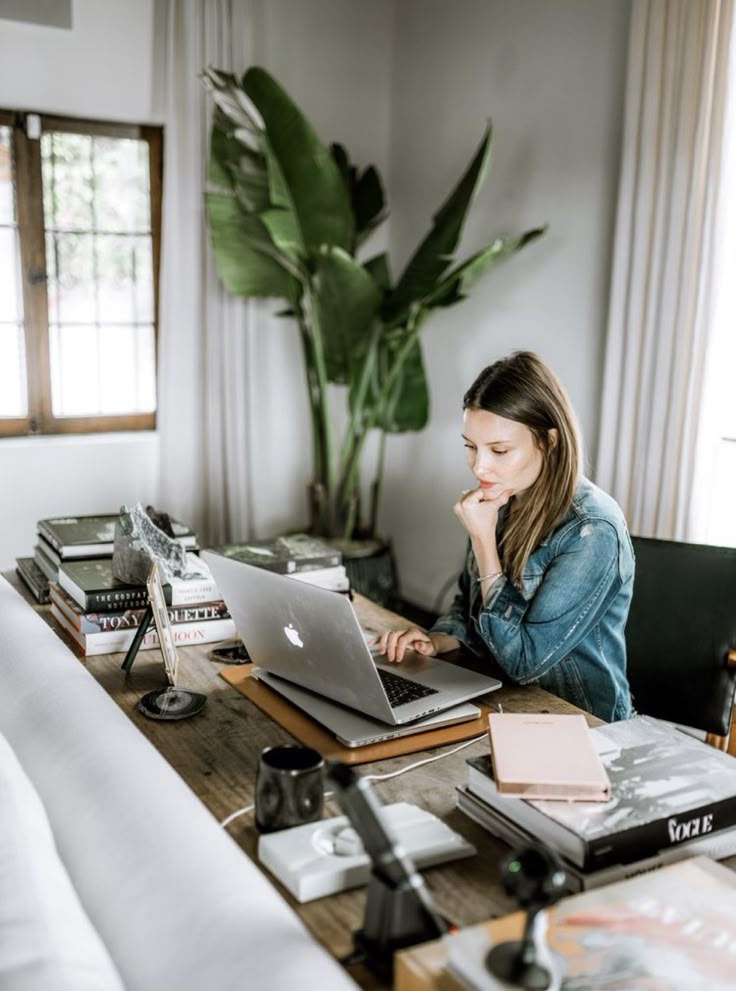 Not without exceptions, but that's how it is. What to do if you want to conquer Instagram *, but you have never been a photographer? How to take cool photos on Instagram*? Don't be upset, believe in yourself and read this article!
If you have long been attracted by the art of photography, but are frightened by the number of complex words, technical nuances and lengthy processing, your time has come - Instagram* will solve problems and wake up dormant creative potential. After all, everyone can take cool photos on Instagram* and upload normal, high-quality content to their profile!
You don't have to buy a big expensive camera to take cool photos for your Instagram account*. You can get by with a smartphone with a good camera.
By default, there are two types of photos on Instagram*: square and rectangular. This means you don't have to worry about cropping, weight, or photo size. The social network will think about it for you. Catch cool shots and upload to your account by publishing a post or story.
Read our blog about the nuances of uploading photos to Instagram* without cropping.
If you make it a rule that your profile will contain only Instagram* format photos, that is, square ones, you can do it in the following ways:
set the frame format to 1:1 in the camera settings of the phone when publishing a post, crop the photo to a square format The application itself has a shooting function. You can edit brightness, contrast, saturation and other parameters in the application by moving your finger along the scale. Here, on Instagram*, there are many filters that are superimposed on the photo with a touch, even a child can handle it.
When standard photo editing tools are no longer enough, check out our articles for more applications:
- photo and video editing for Instagram*;
- top 25 services for working on Instagram*.
Tip: If you don't want to share a photo taken and edited with Instagram*, save it to your smartphone.
After applying the filters, click "Download"When deciding how to take good photos on Instagram * on your phone, follow a few simple rules.
Light from a chandelier and lamp makes a photo yellow and distorts colors, so if you are new to photography, shoot only in daylight - it is the most advantageous. Daylight doesn't mean sunny day, it's just daylight hours. In this light, the photo turns out “as if alive”: with natural colors and shadows.
You don't have to go outside to take a photo on Instagram* in daylight, you can also take pictures at home.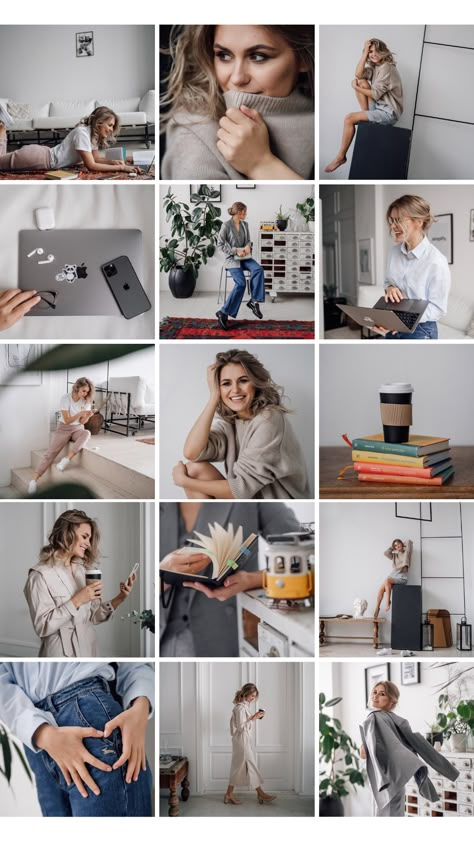 If it's dark at home, get closer to the window, shoot on the windowsill, or set up a photo zone next to the window.
The social network is not an online store, and photos of items on an etched white background that look great in a store window on Instagram * usually do not arouse much interest. Here they love photos with details and textures that are interesting to consider. In this case, you can use a white background, but if it is a sheet or a blanket, the frame will become more interesting. In addition to them, you can use a special photophone. Backgrounds come in different textures and colors: under the tree, under the concrete, under the brick - choose any.
The photophone itself, of course, is not very interesting. To make it interesting, you need to put something on it. It can be postcards, books, magazines, cookies, flowers, travel magnets - all that junk that gathers dust on the shelves and it's a pity to throw it away.
But if you are thinking about creating an online store, read “How to take a professional photo for Instagram *”, “Hand-Made.
How to make a selling photo of a product” on our blog.
It may be obvious and funny, but it is the smudged lens that often prevents you from taking normal photos on Instagram*. One day I decided that my phone was broken: all the photos turned out to be cloudy. A few hours separated me from buying a new phone, when I realized that I just needed to wipe the lens.
Wipe the lens. Always clean the lens.
There may be more than one subject in the frame. The most clear should be the main one. To "catch the focus" it is enough to poke your finger into the desired object on the phone screen.
Back when everything was shot with film cameras, every shot was worth its weight in gold. Now, in the digital age, we can click the shutter until our phone runs out of space. Then remove the excess and click again. This is good, because it is not always possible to "see the frames" the first time.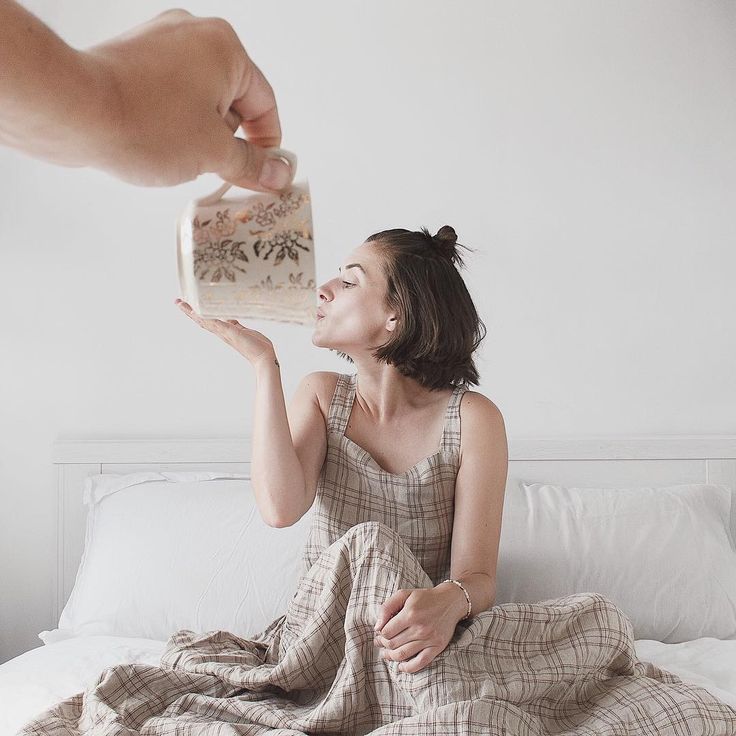
Tip: Take multiple shots at once. Swap items in places, add new ones, remove unnecessary ones. Then choose the best option and publish a post or story.
In theory, everything is simple and clear, but in practice, accounts are full of trash pictures. Why? Because after the lecture it is necessary to work out seminars to consolidate the material. And if “just a photo” in stories is still somehow appropriate, then beautiful photos should always be taken for posts on Instagram *.
Taste can be trained like a muscle. Perhaps now you don’t know what a “beautiful photograph” is, how to build a frame, how to lay out small things on a photo background. But there are many who know and post cool photos on Instagram* - find them! Subscribe to accounts that you like, whose style is close to you. Let their photos constantly flash in your feed.
Do not use other people's photos. But you can take your photos "based on".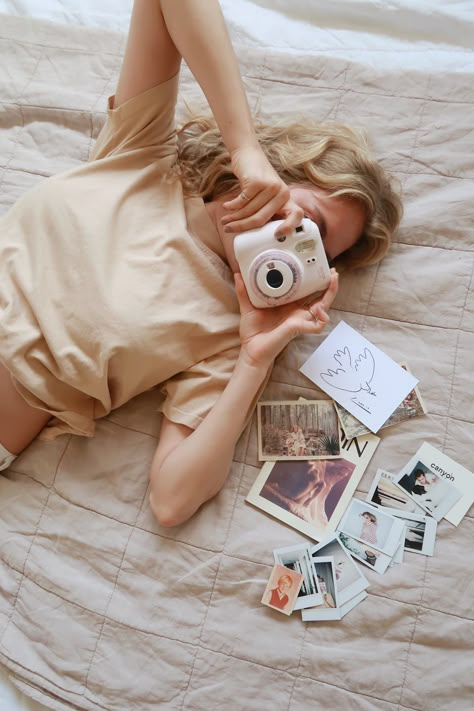 At first, this will help you to “fill your hand” and feel the insta-style in photography. Do not worry that you are repeating, because you are unlikely to get exactly the same photo.
Over time, you yourself will learn to invent and see shots, and the need for repetition will disappear by itself. Repetition is only needed at the very beginning while you are learning. I myself went through this, learning to photograph from other people's photographs.
Friend / foeAmong the pictures you look at, there are likely to be those that you can hypothetically repeat for your profile. Surely you also have beautiful bedding, or a cool mug, or you can also lay out dry leaves in a book, or it’s interesting to gut a bouquet. If you like the frame and you understand that it is not difficult to recreate it, take a print screen and save the idea for creating a photo in the Instagram format*.
Change your angle.
The simplest thing you can do. What is the point? You are asked to take a picture of a person. You take your smartphone, stand in front of it and press the button. Do not do it this way.
Squat or stand up so that your faces are at the same level to prevent the person in the photo from turning out to be short-legged. For the next shot, climb somewhere higher and take a picture from above. Squat down and take a picture from below. Come closer and again from below. Take a photo from the side. Go behind the tree and take a couple more shots through the leaves. This is called changing perspective.
lissa.zn and _lsvln_ just put a smartphone in an unusual place for shooting, and the result was not “just a photo”When you look at cool pictures on social networks, not necessarily people, think for a second where was the photographer at the time of the shoot. And how would the frame turn out if the photo was taken in a standard way, from a height of human growth.
You can't say better about the importance of the angle.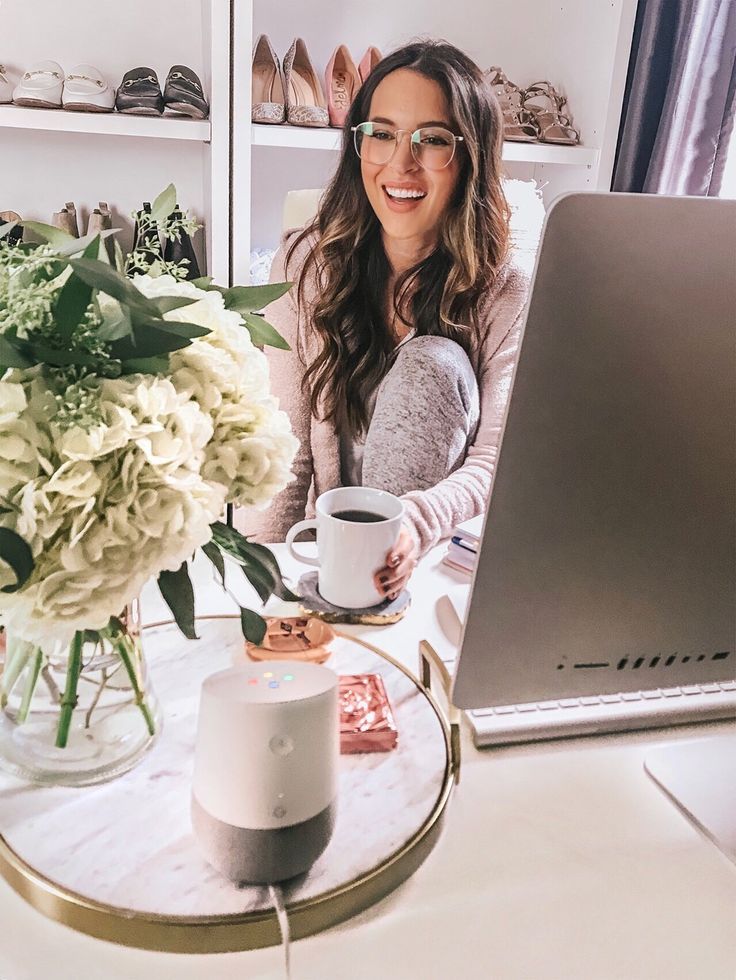
The technique is also suitable for subject shooting. You can take a beautiful photo of a mug on a table on Instagram* from a dozen angles: from the side, placing the smartphone on the table, just from the side, from the side of the handle, from the top in the center, slightly tilting the smartphone from above, and so on.
Reflection.
Also an easy trick. Look for reflections: in shop windows, in puddles, in mirrors, in sunglasses, and even in broken glass, if you're not superstitious.
irenaponaroshku and kristikut experimenting while relaxing on the beach and taking Instagram photos* for posts and storiesGet deeper.
Cool trees, flowers, grass, children's climbing frames? Don't stand in the background, go inside if possible.
akmaral_bekmaganbetova and analim_oni were not afraid to go deeper into the thickets Seasonal photos.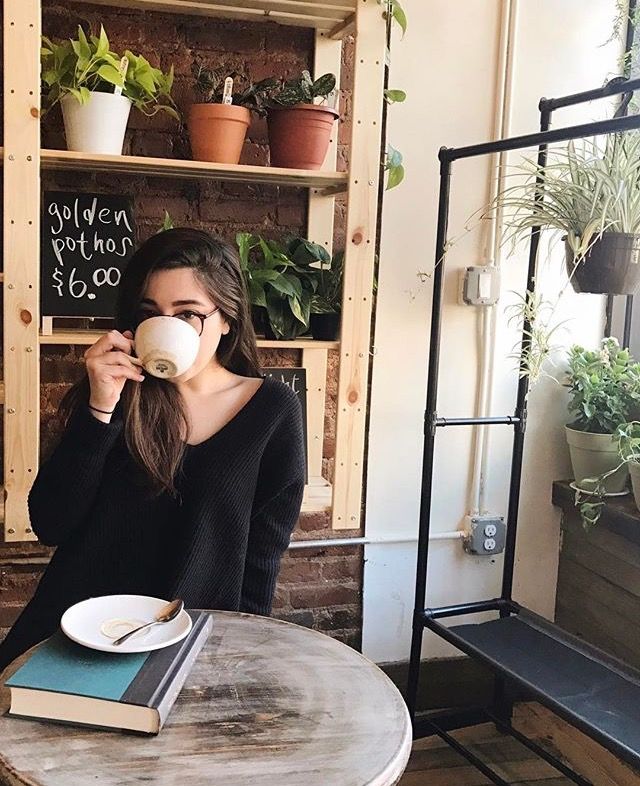
There is something beautiful in every season. If you get stuck with ideas, remember what is now, what will not be later, and take a picture with it. In winter, it is snow, snowmen, a fairytale forest, garlands in the city and cool shop windows, snow fun. In the fall ... yes, you yourself will continue this list better than me!
In spring, nature wakes up and photographer.victoria28 takes a photo with everything that woke up, filling the feed with spring contentFocus on one subject .
Often, seeing something cool, we take and take a photo thoughtlessly. Tip: Your shots will look more professional if only a small part of the beauty is in focus, and the rest goes into the background.
An example from my dacha. Pay attention to the grid - the main object is better placed along the lines or at the intersection points of the lines. The eye is so pleasingA part of myself.
The picture will attract more attention if you shoot not just an interesting street or forest, but insert a part of yourself into the frame. Let it be your legs, or a hand with a hat or ice cream, it doesn't matter.
Shoot life .
When you blog and look for footage, walk the streets of the city and take a closer look at your surroundings. We all often hurry somewhere, and do not notice many curious things. You can also ask to take a picture of you "in the crowd." Here you are going somewhere, or sitting on a bench thinking, and people, bicycles, cars are hurrying around. Just make sure the focus is on you.
Tip: if it's difficult, imagine that you are a reportage photographer, and your task as a newspaper editor is to capture the life of the city :-)Natural frames .
Arches, a large mesh fence, an art object, even an inflatable swimming ring can become a kind of photo frame.
When shooting outdoors, just think about what could serve as a frame for a photo, and most likely, you will quickly find the right one.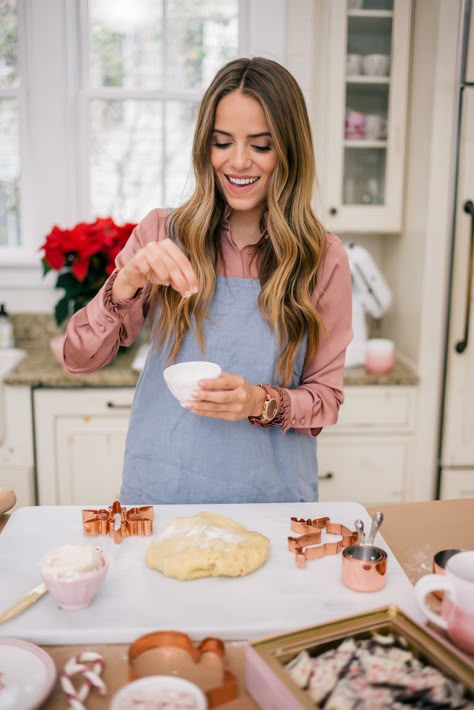 v.olga3 and krutikova_yana found Instagram photo ideas*
 Repeating objects, symmetry .
A row of identical cars, a long fence, even identical white sneakers lined up - all this attracts attention with its repetitions. The same with symmetry: the eye automatically begins to look for inconsistencies in ideality, and you have earned attention to your photo.
monika0305 sees symmetry in architecture, red_apple_photo in nature. When there is no symmetry around, create it yourself like ya.shedowUse shadow .
Difficult but interesting technique. An ugly shadow will spoil even a beautiful shot. Do you want chic? Train your eyesight and repeat like a pro.
little_studio and irenaponaroshku and their shadow gamesFunny shots .
The main rule is not to overwork.