Home Tech News Bored of your Instagram Explore feed? Here’s how you can change, reset it
Instagram Explore feed is a valuable feature for most users, but those who like to change things frequently and diversify the things they see, can definitely push the reset button. Here is how to reset Instagram Explore feed.
Instagram is one of the most popular image and video sharing platforms on the planet. It not only enables users to share their creative content and shop from its platform, but it also enables them to follow their favourite artists and creators. This in turn starts a cycle wherein users see suggestions on Instagram that are tailored to their likes and dislikes. These suggestions appear in Instagram's Explore section. While these suggestions are great, sometimes they can also prevent Instagram users from exploring new things and more diverse content.
Thankfully, Instagram has settings that can enable its users to reset or even change the Explore section in the app. However, do remember that Instagram Explore is all about personalising content for you and ultimately, the feed will start curating and reflecting exactly what it interprets is to your liking.
Also read: Looking for a smartphone? Check Mobile Finder here.
How to reset Instagram Explore section - a step-by-step guide:
Step 1: Open the Instagram app on Android or iOS.
Step 2: Tap on your profile icon on the bottom right corner of the app.
Step 3: Now, tap on the burger menu icon on the top right corner of the app.
Step 4: At the bottom, tap on the Settings option.
Step 5: Now tap on the Security option.
Step 6: Under the Data and History section, look for the Search History option and tap on it.
Step 7: Now tap on the Clear All option.
Step 8: Now, you will get a prompt asking if you want to clear your search history. Tap on the Clear All option.
How to change the Explore section on Instagram
Step 1: Open the Instagram app on your Android or iOS smartphone.
Step 2: Tap on the magnifying glass search icon in the bottom row of the app.
Step 3: Next, select a post that you do not like.
Step 4: Now, tap the three-dot menu icon of the particular post.
Step 5: Now, tap on the Not Interested button and the post will be removed from the feed.
Follow HT Tech for the latest tech news and reviews , also keep up with us on Twitter, Facebook, Google News, and Instagram. For our latest videos, subscribe to our YouTube channel.
First Published Date: 09 Jul, 17:03 IST
Tags: instagram
NEXT ARTICLE BEGINS
What is WhatsApp proxy? How to use it on Android Phones?
Have iPhone 14, iPhone 13 or iPhone 12? Send invisible messages, try it this way
Privacy matters! Hide WhatsApp messages with these tricks
How to use Windows 11 Search feature for lost files
Run two WhatsApp accounts on your Android smartphone; here is how
iPhone 14 Quick review: Worth it? Camera, Crash Detection to Gaming- You BETCHA!
Realme 10 Pro+ 5G Review: Packs curved display and is a little pricey. But is the phone worth it?
Lenovo Yoga 9 14IAP7 Review: As a convertible laptop, it breaks through all the negativity
Dynamic Island on iPhone 14 Pro gets more useful; Should all phones have it?
Lenovo Legion 5i Pro (2022) Review: ‘Stylish’ gaming laptop
Amazon Prime Lite for Rs. 999 coming soon! New annual plan with many TWISTS
iOS 16.3 for iPhone users is here; know what has changed for you
Dell XPS 13 9315 2-in-1 review: Best convertible laptop to buy
Elon Musk’s Tesla hype machine breaks down
Explainer-Why U.S flights were grounded by a FAA system outage
'The Last of Us' -- a new test for video game adaptations
Microsoft Rolls Out Automatic Energy-Saving Mode for Select XBox Users
Free PlayStation Plus Games for January 2023: Star Wars Jedi, Fallout 76 and more
War-themed Arma 3 video game fuels wave of misinformation
First pre-trial hearing in Microsoft-Activision case set for Jan. 3
3
Device Links
Instagram is a great platform to spot new trends. With an enormous number of users creating new content daily, there are endless photos and reels to view. You would think that the content available to you would be interesting and entertaining, but sometimes you just keep seeing the same old stuff.
Fortunately, there’s a way to kickstart Instagram, a way to get it to show you different content. In this article, we’ll cover how to reset your Instagram Explore page. If you’re tired of the same old thing, you’ve come to the right place.
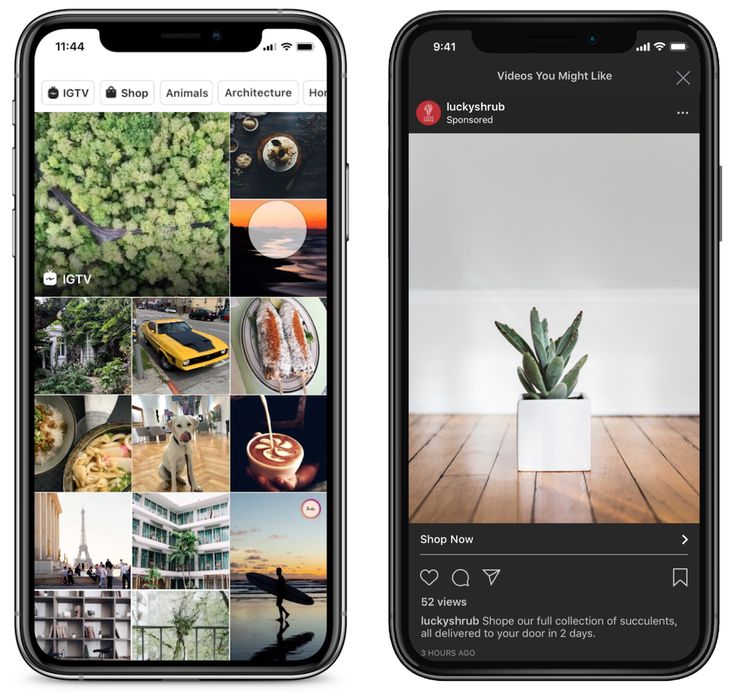
Daily users of Instagram are familiar with its Explore page. Instead of endless scrolling through your feed to see what those you follow have posted, the Explore page shows you varied content. What you’ll see is a mix of uploads from accounts you follow and some you don’t. This can make your entire Instagram experience much more enriching.
Sometimes, the Instagram algorithm can get stuck. Instead of varying the content daily on the Explore page, it shows you the same things, or perhaps content you aren’t interested in. If you’ve had this unpleasant experience, you’re not alone. Fortunately, you can reset your Explore page, resulting in new and varied content. There are two different methods you can use.
This first method can be time-consuming, but it’s the best way to teach the algorithm what your likes and dislikes are. Here’s how to do it.
There’s another method to reset your Instagram Explorer page to ensure you only see the type of content you’re interested in. Although not as accurate at retraining the algorithm, it will help to reset it. If you prefer this much faster way, follow the steps below.
Once you’ve done that, the algorithm will begin to base what it shows you on the Explore page on what type of content you view. This method clears the algorithm and starts the process over again.
If you’re a regular user of Instagram, then you’re familiar with the Explore page. This page is where you’ll find photos and videos from all different types of creators. Some will be from accounts you follow, others from users you may not know. What’s shown to you is based on what the Instagram algorithm thinks you would be interested in viewing.![]() It predicts your past viewing history and the different topics or hashtags you’ve searched for.
It predicts your past viewing history and the different topics or hashtags you’ve searched for.
This is not a perfect system, and your Explore page may not always show you content that interests you. There is a way to reset this and begin seeing content more to your liking. If you mostly see photos and videos that you have no interest in, you can make a few easy changes to begin seeing content that more fits your interests.
The first method is the best way to retrain the Instagram algorithm to teach it what you dislike. It is time-consuming but well worth the effort. Here’s how you do it.

There’s another way to achieve the same goal and is much quicker. It’s not as efficient as the above method, but it works fine. This process will wipe clean the algorithm, causing it to relearn your viewing and searching preferences. To use this technique, follow the steps outlined below.
You’ve now erased your search and view history. This will cause the algorithm to start fresh. You should see a difference in your Explore page posts. The more you search and view the types of posts you like, the better the chances are of your Explore page suggestions showing you appropriate content.
Instagram’s Explore page uses an algorithm that displays posts on your Explore page that it believes will interest you the most.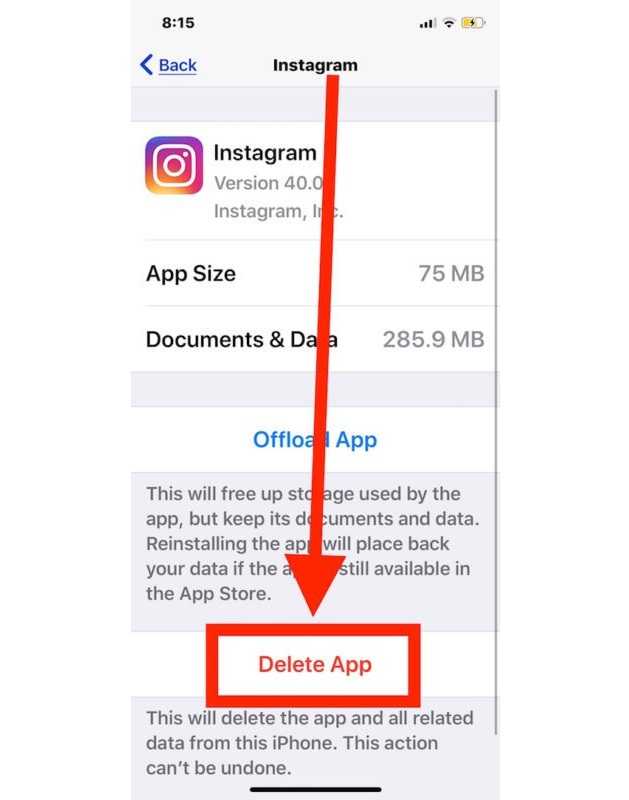 This is based on a number of different factors. It looks at things like how many likes and comments a post gets and how many times it’s been shared. Other factors include whom you follow, which types of posts you interact with the most, and your search history.
Yes, there’s a way to see this information, but it’s buried a bit deep in your settings. Instagram uses this data to determine which ads you’d be most interested in. There isn’t a way for you to modify this list, but you can view it. If you’d like to learn how to do this, follow these instructions.
1. Launch Instagram and tap on your profile photo.
2. Press the three vertical lines icon and then pick “Settings.”
3. Click on “Security” and then hit “Access data.”
4. Scroll down to the bottom and under the heading “Ads Interests,” tap “View All.”
5. You’ll see a long list of topics the algorithm thinks you are interested in.
6. To see them all, tap “View More” and the list will populate.
As part of Instagram’s User Agreement, it has the right to collect information about your account. Part of this information is to generate a list of users’ interests that it can use to sell to its advertisers.
If you’re not seeing posts on your Instagram Explore page that interest you, there’s a way to change it. You can reset the page by selecting the posts you don’t like and letting the app know that you don’t like them. Although it can take some time to select them one by one, this method is very efficient. The fastest method is to clear your viewing history, which wipes the algorithm slate clean.
Have you reset your Instagram Explore page so you’ll see more relevant posts? Did you use the same methods outlined in this article? Let us know in the comments section below.
menu
Content
social networks retain everything what you post in your account. The same applies to Instagram search history.
In this article, you will learn how to delete your Instagram search history and how to prevent individual accounts from showing up. After that, you will no longer be able to view the history directly. But on the other hand, you can easily find your favorite subscriptions and hashtags again. nine0003
The app saves your search results in the Overview tab to make it easier to find your favorite accounts and content. If you have previously used certain hashtags for posts, these hashtags will immediately pop up again when you search for similar ones.
Clearing your Instagram search history is an important part of your right to privacy. Saving your search history helps improve your experience, but it can compromise personal privacy and security on Instagram. nine0003
In addition, due to saving, pages of unwanted users often come across in the recommended ones. But, in any case, most often this feature makes it easier to follow the activity of a friend, acquaintance or celebrity.
Fortunately, the removal will take less than 5 minutes. This happens through the Instagram app, which is available for iOS, Android, and Windows.

If you have an iPhone, you can also easily delete history right from the Overview panel. In the line you will see your history (a list of accounts or hashtags that you have recently viewed). nine0003
In the upper right corner, click on the "All" button and then "Clear All", also located in the upper right corner. This will instantly erase results for accounts, locations, and hashtags in the Explore tab.
After this action, the feed will change because it is now based on:
Click this tab and it will no longer display the latest results. This is how easy and simple you can erase your search history. Now let's move on to how to hide individual accounts on Instagram. nine0003
You may notice that you often meet the same users in the recommended. If you don't like it, there is a way to hide accounts from your Instagram search history. Follow these simple steps:
If you still see your history even after clearing it, stay calm: there are other solutions to this problem.
Once you've erased your Instagram search history, reboot. Sometimes all it takes to fix a technical problem on your phone is to simply restart your smartphone and update Instagram. nine0003
Another way to solve this problem is to log out.
Are you an Android user? Then use another solution: try clearing Instagram cache and history.
When you clear the cache, only the application's temporary storage is cleared, where temporary images or data from the Internet reside.
But when you clear application data, you basically delete all data like username, password, etc. When this happens, the app returns to the state it was in when it was first installed. Therefore, read in our blog what to do if you forgot your profile password. nine0003
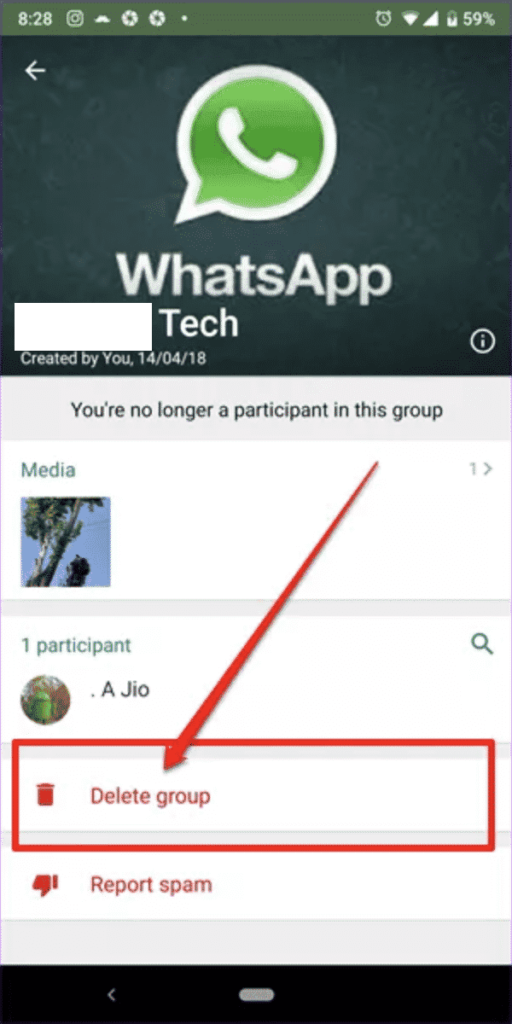
The worst thing is if all the solutions didn't work. In this case, another option worth trying is to remove Instagram from your device.
Follow these steps to remove Instagram from Android.
 Then click on Instagram.
 You can also:
But if the removal is not enough to achieve the desired result, at least there are 4 more solutions to help deal with the problem. nine0003
Share with friends:
Twice
Share
Share
Send
Grade
ADBLOCK
Detector
Temperation:
9000 9000 9000 9000 9000 9000 9000 9000 9000 9000 9000 9000 9000 9000 9000 9000 9000 9000 9000 9000 9000 9000 9000 9000 9000 9000 9000 9000 9000 9000 9000 9000 9000 9000 9000 ? 1 iOS
1 iOS The collection of statistical data is prescribed in the license agreement of most social networks. Want to know for sure if your favorite site does it? The most obvious indicator would be the presence of a “Recommendations” section. And the photoset is no different in this regard from its relatives. Let's talk about how to delete search on Instagram and erase all information not intended for prying eyes.
Sometimes it's useful to see what we've been looking for from our page. First of all, of course, I went to the Internet to look at articles on a similar topic. And there, alas, for the most part instructions for an outdated interface. We will look at the information that is current at the time of writing this article. The instruction on how to view the search history is closely related to how to clear the history. The algorithm of actions is the same, so we will consider a single instruction for both situations. nine0003
Of course, you can clear your requests regularly for account privacy purposes. To do this, do the following:
If you were just interested in seeing what you were looking for on Instagram, then the provided instructions are enough.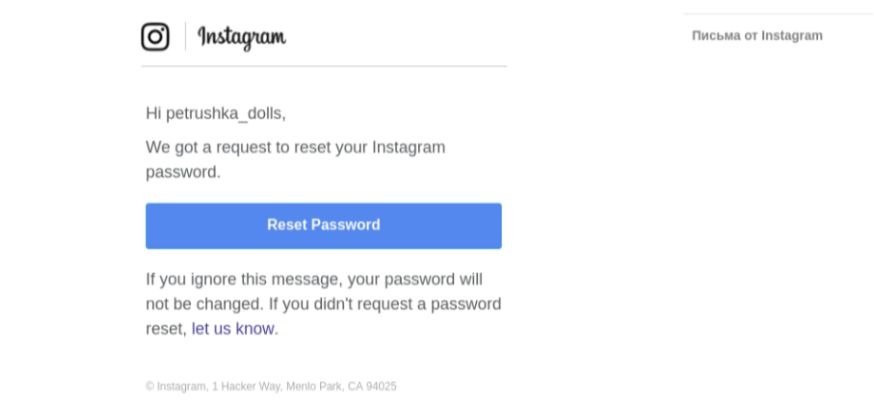 And to clear it, click on the appropriate button. Make no mistake, it is the only blue line on the screen. After, confirm your intentions by clicking on the "OK" button.
You can also clear the history in the second way. Stop at point 5 of the previous instruction and select the "Clear search history" button instead of "Data access". nine0003
Now how to hide recent requests. Yes, that's also possible. Moreover, it is even easier than in the case of the previous instruction. Let's get down to business.

Of course, the search interface is not the only part of Instagram that needs to be cleaned regularly. Now we will talk with you about the photoset cache. It takes up a lot of space in the device’s memory if you don’t clean it regularly. Naturally, people have different phones, and depending on the operating system, the algorithm of actions will be different. Let's take a closer look at it. nine0003
It would be better to use third-party software so as not to accidentally erase photos and profile data. Without these tools, you need to do the following:
We figured out how to remove the search for people, hashtags and all that on Instagram, but the issue of the cache on Android is a bit more complicated. And problems arise due to the fact that there are a lot of varieties of this operating system. In general, your device is unlikely to be very different from the one that was taken for instructions. So study it anyway.
We have dealt with many questions, but how to remove recommendations on Instagram in the search? It will be enough for you to follow each of the instructions above. I would highly recommend that you perform these procedures regularly. Both for privacy and to save space on your mobile device.
We must admit that with the changes in the Interface that appeared after the 2019 updateyear, the question of how to delete search history has become more popular. But we figured it out, and we can use the application to its fullest.