If you want to record a video, but don't want to hold the record button for minutes at a time, you can use the hands-free option on Instagram. It's easy to activate, and you can start and stop the video at any time.
You may find this option especially helpful if you plan to record a video that requires you to step away from your phone, like if you want to film at a distance or for an extended period of time.
Here's how to do it using the Instagram app for iPhone and Android devices.
1. Open the Instagram app.
2. From your newsfeed, access the camera by tapping the camera icon in the upper-left. You can also swipe right on your Instagram feed.
3. While on the "Normal" filter screen, swipe to the right through the filters on the bottom of the screen until you reach the hands-free option. It'll be labeled with an orange and pink recording button.
The hands-free record button is labeled with an orange and pink gradient record button. Marissa Perino/Business Insider4. Press this button when you're ready to start the recording.
5. Tap the stop button when you're done recording. Each 15-second chunk of your video will be displayed at the bottom of the screen — tap them to make changes.
6. Select "Next" to share this recording with your Story or send it to individual accounts via a direct message.
A completed recording using the hands-free option.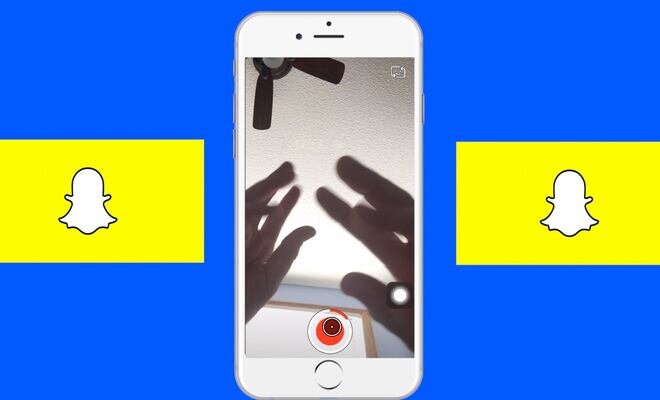 Marissa Perino/Business Insider
 Marissa Perino
Marissa Perino is a former editorial intern covering executive lifestyle.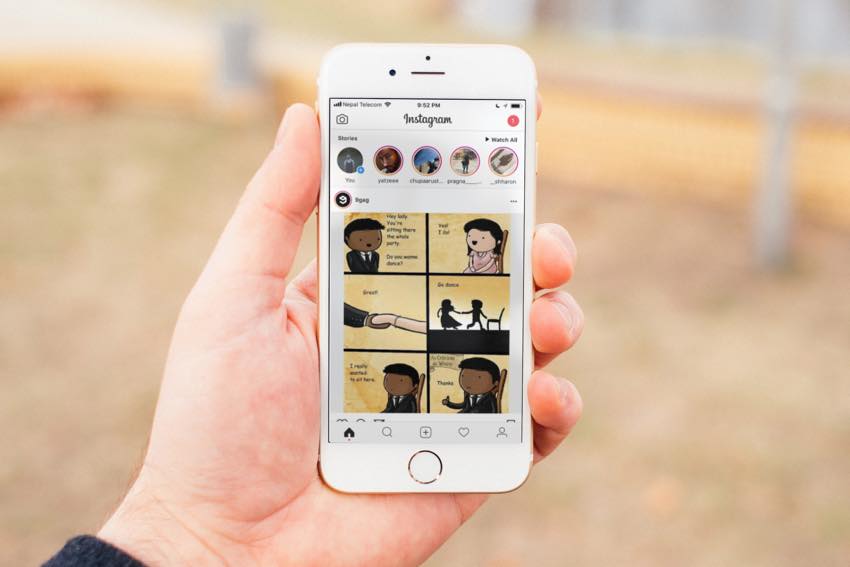 She previously worked at Cold Lips in London and Creative Nonfiction in Pittsburgh. She studied journalism and communications at the University of Pittsburgh, along with creative writing. Find her on Twitter: @mlperino.
Read moreRead less
Insider Inc. receives a commission when you buy through our links.
Social media nowadays is all about documenting. Where you travel, what you drink and eat, who you see, and what's most unforgettable are all common subjects for Instagram Stories/posts – brief peeks into people's lives published on Instagram.
Recently, Instagram has developed a new feature called hands free video. You may utilise Instagram's hands-free function to shoot a movie while not pressing the record button for minutes each time. It's simple to use, and you can pause and resume the movie at any moment.
This feature may come in handy if you really want to capture a footage that needs you to take a step away from your device, such as filming from a range or for a prolonged length of time.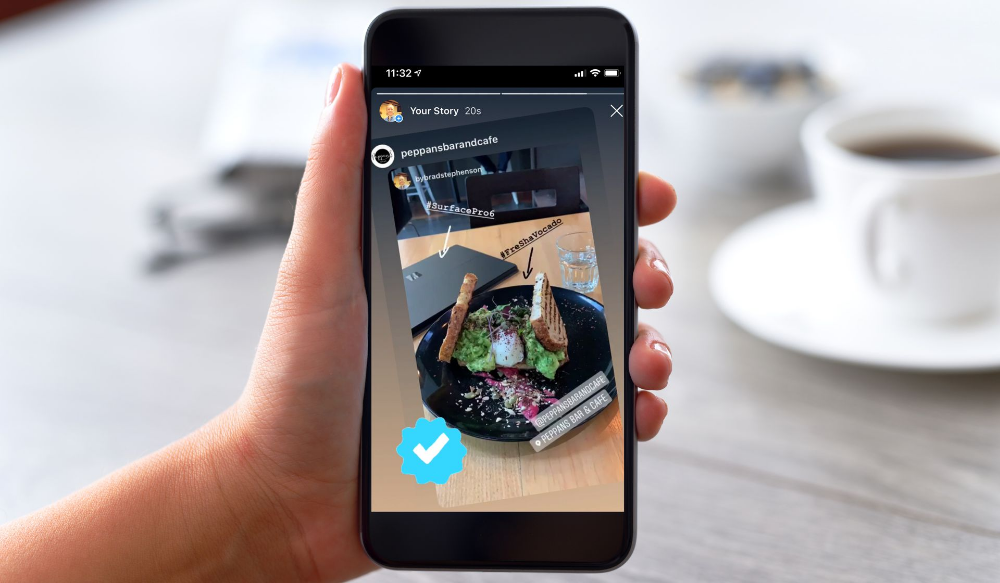 Furthermore, if you're shooting a lengthier clip and can't handle your device the rest of the time, Instagram's hands-free filming option comes in handy. At the bottom of Instagram's recording screen, with the other filters, you'll discover the hands-free option.
Can't Miss: How to Make Moving Pictures on Instagram Story>
Here are some popular Instagram Stories templates for you:
Preview
Truth and Lie Game for Instagram Story
Use This Template
Preview
Makeup Video Tutorial
Use This Template
Preview
Romantic Wedding Moments
Use This Template
There are a number of reasons why you might record your Instagram story without holding the button down; here are a few of the most important ones:
To Participate in The Instagram Story – If you're the one pressing the button, the only way to go inside the tale is to take a selfie or ask somebody else to do it for you. You may, though, incorporate yourself and others in your filming if you choose the hands-free option.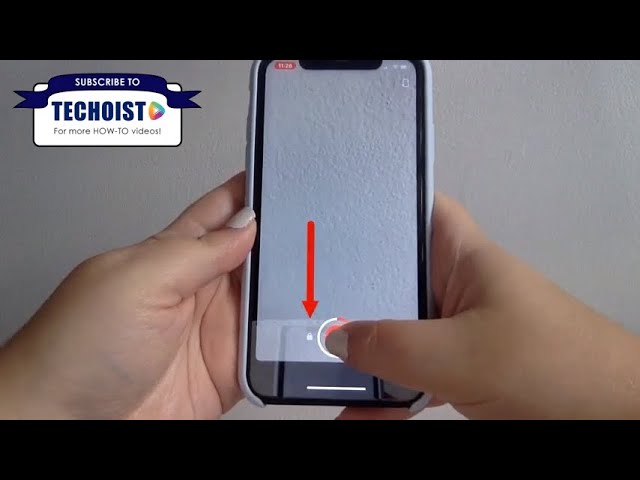
To Be More Unique - There are just a few things you can do when recording if you are pressing the button. You may perform a lot of unique Instagram Story for your viewers if you use a hands-free option and combine it with a nice phone holder.
To get you started, we'll show you how to produce a hands-free video on Instagram by breaking it down in particular stages below, so there are no roadblocks in your way.
Step 1
Launch the Instagram application.
Step 2
Click the camera symbol in the upper-left corner of your feed to open the cam. In addition, you may swipe right over your Instagram stream.
Step 3
While being on the "Normal" filter display, simply click through the lower half filters till you meet the hands-free feature. An orange and pink recording icon will be on it.
Swipe to the Hands-free Mode
Step 4
Once you're prepared to start filming, press this button.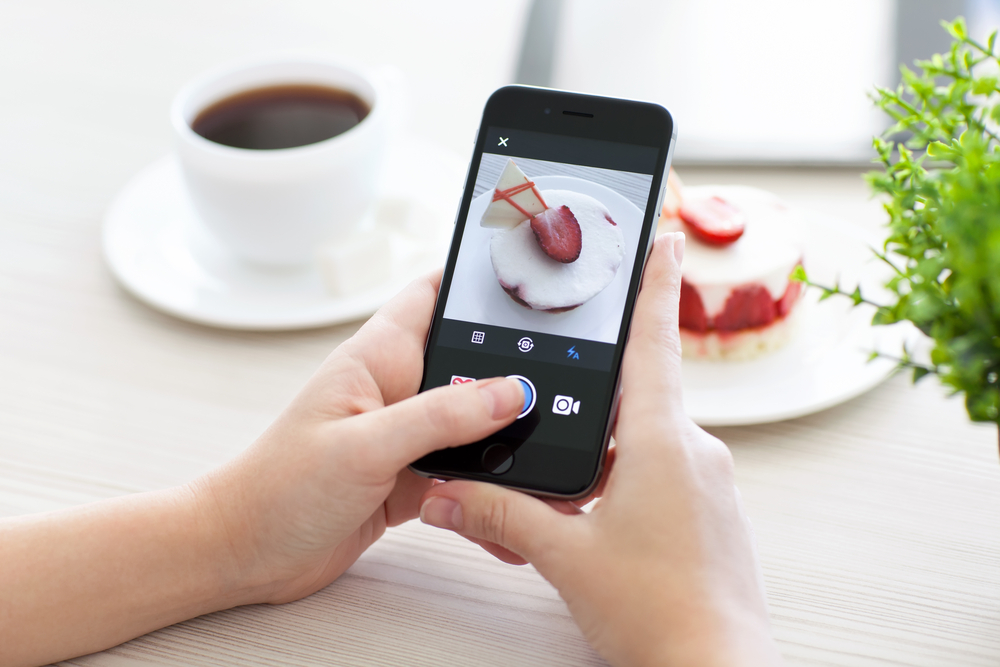
Step 5
While you're through recording, press the stop button. At the bottom of the display, each 15-second piece of your film will be presented; tap it to adjust edits.
Record a Video with Hands-free Mode
Step 6
Click "Next" to publish this clip with your Story or share it as a personal message to specific accounts.
Click on the Next Button to Publish Video
The Bottom Line
Instagram never ceases to amaze us. While the rest of the world struggles to remain afloat in these difficult economic times, it's great to watch how Instagram is swiftly creating new features and functions to address pressing business challenges and help people support their favourite firms.
Trying to keep up with what's fresh on Instagram has never been more difficult than it is now. Nearly every single week, Instagram introduces new functions.
Check out our more material of the newest upgrades you may not know about and don't know how to utilize to assist you remain up to speed with the latest Instagram upgrades and modify your company to them. Keep in mind that Instagram is always changing and introducing new features (now faster than ever). And I'm sure you want your business account to be popular. So don't worry if you don't have any of the things we highlighted yet — they're on their way!
FlexClip Editor /
Professional in video editing and video marketing, we’d love to give some constructive tips and tricks to help our users make fantastic videos.
October 31, 2014
Add to favorites Remove from favorites
PrintCategories: Children's party, Homemade fast food, Classics, Vegetables, DIY, Vegetarian dishes, Lenten dishes, Side dishes, Budget recipes
Who doesn't love french fries??? Harmfully you say! It's a pity to die healthy too :-) And sometimes you can afford something like that if you stick to a healthy diet most of the time!
First of all, I'll start by saying that it's not enough to buy an air fryer to make perfect french fries. A deep fryer helps, especially when a cooking thermometer is not available to check the temperature of the oil and the culinary sense is not yet developed to know when the oil is hot enough to add potatoes.
There are many more nuances outside of frying.
And so, to make great french fries at home:
1) Choose potatoes with a high starch content, that is, one that boils soft. It is from it that the most crispy crust and tender pulp are obtained, and it also has a lower natural water content, which in fact is of key importance.
2) As paradoxical as it sounds, potatoes should be soaked for 2-3 hours (up to 8 hours) in cold water before cooking to get rid of excess starch.
3) After straining, the potatoes must first be boiled until half cooked and then cooled completely. The potatoes should be soft in the middle but not falling apart. In order not to go into long scientific rants, I will write only briefly: this activates the necessary enzymes and changes the chemical characteristics of starch, helps the french fries retain their shape during frying, do not darken, and get the consistency that everyone loves, it is creamy in the middle and nicely crispy on the outside.
4) Fry in two stages, first at medium heat to make a crispy crust, and then at high heat to brown.
5) Do not put too many frying potatoes at once, they will not fry properly, but will only draw in oil. The same applies to thoroughly heating the oil before frying potatoes and maintaining a stable frying temperature.
6) Fry in vegetable oil, preferably rapeseed, corn, sunflower (although not the best for deep frying) or peanut oil, they keep the temperature very well. But some gourmets claim that there are no french fries tastier than fried on beef fat and they have a right to it! But I do not advise you to buy special fats for frying in a deep fryer, take pity on your health! It's full of trans fats!
7) Salt the potatoes at the very end! As well as adding various seasonings or herbs. Immediately after frying, when the potatoes are still hot and the oil is still a little gleaming on the surface.
Well, that's all! There are many more methods for making the "perfect" french fries, like double frying (no boiling), pre-freezing, the boiling and double frying method with cooling at each stage, and the like . .. But the method of cooking french fries described in this recipe is more to me everything fits and after numerous trials and errors justified itself!
Good luck with your experiments!
Ingredients
1) Peel the potatoes, cut into strips of the desired thickness. Rinse well under cold running water.
2) Place the potatoes in a deep bowl and fill to the top with water. Leave it like this for 2-3 hours (up to 8 hours). Drain, rinse well under cold running water.
3) Put the potatoes in a large saucepan and pour plenty of water and bring to a boil, cook for 3-4 minutes, depending on the size of the potatoes, until half cooked, the potatoes should be soft, but not disintegrate.
4) Drain and spread on a baking sheet or tray in a single layer. Leave until completely cool.
5) In a deep fryer, pot or deep frying pan, it is good to heat a large amount of vegetable oil, necessary for frying potatoes. The oil should crackle, and if a cooking thermometer is available, the oil temperature should be 180°C for the first stage of frying.
6) Dip the dried potatoes in batches, not adding too many at a time, so as not to lower the oil temperature too quickly, otherwise the potatoes, instead of starting to brown, will absorb the oil and as a result will be too oily. Fry over medium heat, keeping the oil temperature stable, until a crust forms on the surface of the potatoes.
7) Increase heat and oil to 200°C if you have a cooking thermometer, and fry until desired golden brown, transfer French fries to a plate lined with several layers of paper towel.
8) Salt to taste, if desired, add your favorite spices and serve immediately at the stage when both flavor and texture are at their peak.
Bon appetit!
See also
If you're having difficulty with hand shake, coordination, or fine motor skills, you can customize the iPhone's touch screen response to touch, swipe, and hold gestures. You can set iPhone to recognize faster or slower touches and ignore multiple touches. You can choose to keep iPhone from waking up when you touch the screen, or turn off Shake to Cancel in case you accidentally shake iPhone.
Go to Settings > Accessibility > Tap > Customize Touch, then turn on Customize Touch.
You can set up the following functions on iPhone.
Reaction to touches of a certain duration. Turn on Hold Time, then touch the button or button to set the duration. (The default duration is 0.10 seconds.)
Prevent unintentional swipe gestures. To increase the amount of movement needed to trigger a swipe gesture, tap Swipe Gestures, turn on Swipe Gestures, then adjust the amount of movement you want.
Treats multiple touches as one. Turn on Skip Repeat, then tap or to set the allowable intervals between multiple taps.
Response to the first or last touch. Select "First touch point" or "Last touch point".
When First Touch Point is selected, iPhone recognizes the location of your first touch—for example, when you tap an app on the Home screen. If you select Last Touch Point and iPhone recognizes where you lifted your finger, then iPhone performs the action after a period of time. Touch or to set the interval. The device will be able to respond to your other gestures, such as a drag and drop gesture, if you wait longer than the set delay time.