When Instagram was launched, it only allowed users to upload square photos. This meant that a substantial portion of your photos had to be cropped.
Instagram’s square photo dimensions became a major drawback to photographers and Instagram users as the image quality, content, and resolution of images were often be sacrificed.
Fortunately, Instagram has seen the need to resolve this major issue. Instagram has given its users more freedom to be creative with their images. Now, pictures can be uploaded in landscape or portrait orientation.
So how can you post portrait photos on Instagram without cropping?
The vast majority of Instagram images are squared off. That’s fine for the most part, but it does tend to impact the composition of a photo — especially if it’s a portrait or landscape subject.
When you upload an image or load it into Instagram, the image is automatically cropped to 4:5. No one wants to put a lot of time and effort into capturing the perfect photo only for Instagram to ruin it by cropping the image.
Instagram did add different orientations not long ago, but images still take a little tweaking to get right. Now, you can post images at a maximum size of 600 x 600 for square images, 1080 × 607 for landscapes, and 480 × 600 for portraits. The actual stored size differs slightly, but when you measure images within Instagram, these are what typically come up.
So, if you’re one of the many Instagram users that’s tired of having their photos cropped, let’s take a look at how you can post portrait or vertical photos on Instagram without cropping.
Depending on the size of your image, you may now be able to post a portrait image on Instagram without having to crop it.
Here’s how you can check:
Open Instagram and create a new post.
Select the image you want to upload from your photo gallery.
Select the small crop icon in the bottom left of the main image screen.
Adjust the image within the grid until it’s to your liking.
Using the crop icon shifts the shape from the usual square to its vertical or portrait orientation. This way, you won’t need to shave off the edges of your photos.
What if you want to post a landscape picture without cropping?
Well, fortunately, the same process above works in landscape orientation too. Since the two sizes were added to Instagram, it will pick up the shape and size of the image and let you post the most suitable size.
The same instructions apply for portrait and landscape photos, so you can simply refer to the above steps and select a landscape image that you want to upload.
Sometimes, the image just doesn’t look right with the new setup on Instagram and you need to do a little bit of manual editing first.
The new orientation feature is good but also has a few glitches, and if it won’t show your image off at its best. It may be better to manually edit the image and upload it as a square — even if it means sacrificing the composition.
There are a lot of photo editing apps that can help you edit your images first before uploading them to Instagram.
Just follow these simple steps to get started:
If that doesn’t quite work or leaves the image subject hanging out to dry, you can add a white border to either side of the image to create the 5:4 ratio.
This can often make the image look better. It has the advantage of leaving your image in its original form, but it will be slightly smaller than usual.
This method works great if you aren’t happy with the way your image looks when you upload it straight to Instagram without editing.
There are a number of third-party apps that can help prepare images for Instagram and help you resize an image with or without cropping. Even though you can now post portrait and landscape, these apps still make life a little easier when preparing something for publishing.
Two of the photo editing apps we can recommend are No Crop & Square for Instagram for Android and Whitagram for iPhone. Although, there are a lot more photo editing apps for you to explore.
Both of the apps mentioned above achieve the same goal as the manual editing method and will resize your images for Instagram. If you want to keep everything on your phone and not download it to your computer, these and other apps like it are well worth a try.
Most photographers find squaring off an image takes something away from the effect. Instagram users have been stuck on using the square dimension for years, but thanks to the app’s recent updates, there is now more flexibility in uploading photos.
Adding portrait and landscape orientation gives the professional photographers and those enthusiastic amateurs more options when composing their shots.
Want to find more apps to help you create eye-catching Instagram posts?
Check out our article on the Most Popular Instagram Apps.
It’s finally happened! Instagram now allows for the sharing of non-square photos. One of the key features that helped shape the early success of Instagram was the app’s dedication to the square aspect ratio. While this helped define the quintessential Instagram format, it’s also been a serious limitation because not all scenes are suited to a square format photo. In this article you’ll discover how to easily share your rectangular images on Instagram, improving your overall iPhone photography experience.
Up until now you had two options if you wanted to share a non-square photo. You could crop your photo into a square (typically resulting in the cutting-off of some important elements).
Or you could use a third-party app such as Squaready to add white, black or other colored “bars” to the long sides of your non-square photo, so that it would fit into the square space of the Instagram format.
But with the latest app update, you’re now free to simply upload your images without having to crop or add the bars along the edges. Instagram will display photos in their original aspect ratio whether horizontally (landscape) or vertically (portrait) oriented.
According to a recent Instagram blog post, “Square format has been and always will be part of who we are. That said, the visual story you’re trying to tell should always come first, and we want to make it simple and fun for you to share moments just the way you want to.
“It turns out that nearly one in five photos or videos people post aren’t in the square format, and we know that it hasn’t been easy to share this type of content on Instagram…”
When you upload a photo to Instagram, the app will automatically detect when an image isn’t square. In such cases it will display a new “format” icon (circle with two white arrows) in the lower left corner of the crop screen.
Tapping on this icon will toggle back and forth between the square-cropped version and the original full image. You can also pinch zoom in and out to crop or “un-crop” your photo for sharing. It’s that simple.
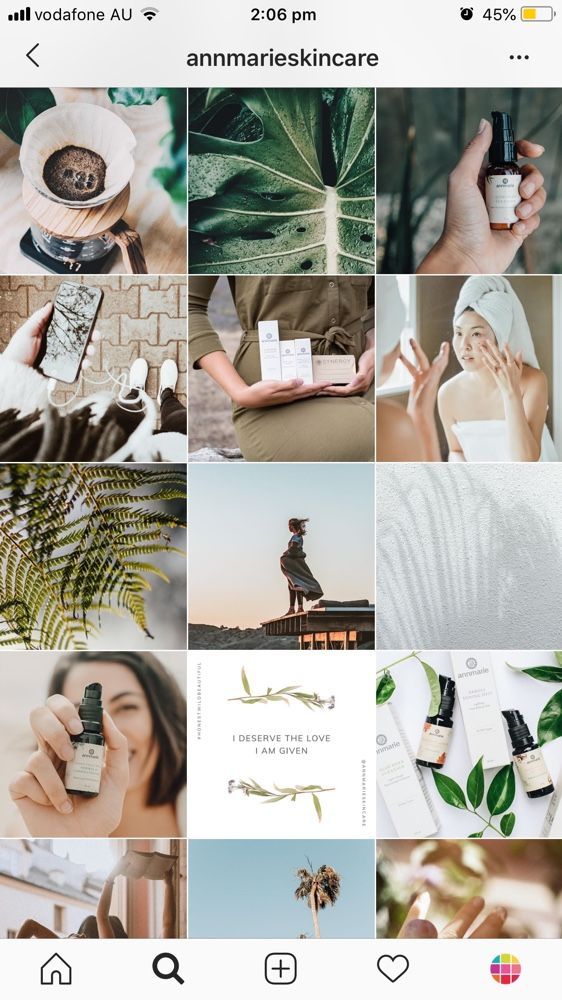
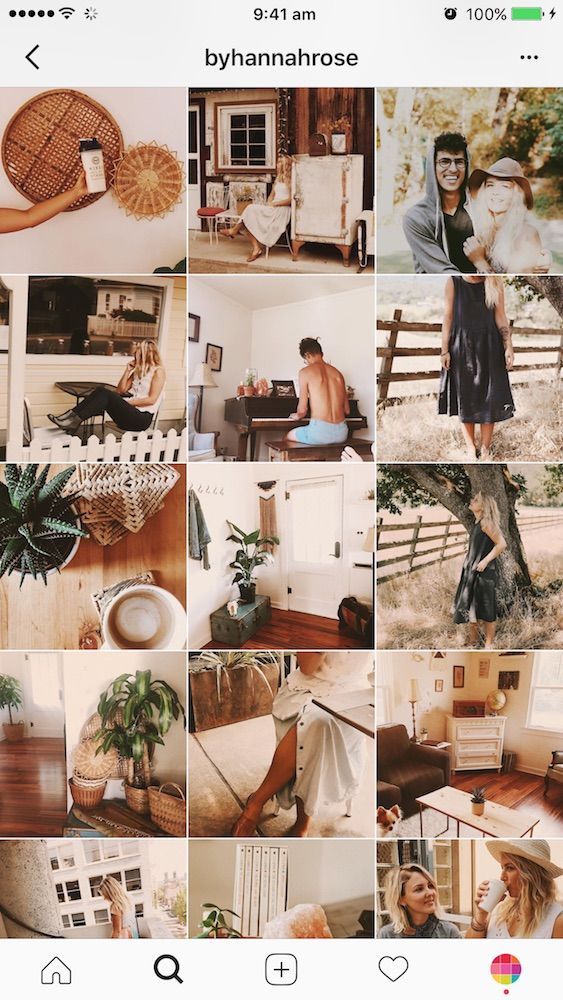
Please be aware that while your non-square photos will always display in rectangular format when viewed individually, they will all continue to be displayed as square thumbnails in your photo grid.
If you’ve generally stuck to sharing square photos up until now, this change presents a great opportunity for you to start experimenting with other types of crops.
The shape of a crop is traditionally called the “aspect ratio” and it’s commonly indicated in a proper ratio format. For example, a 1:1 aspect ratio would be a square image as the width and height are both represented by a “1”, therefore they would be the same length.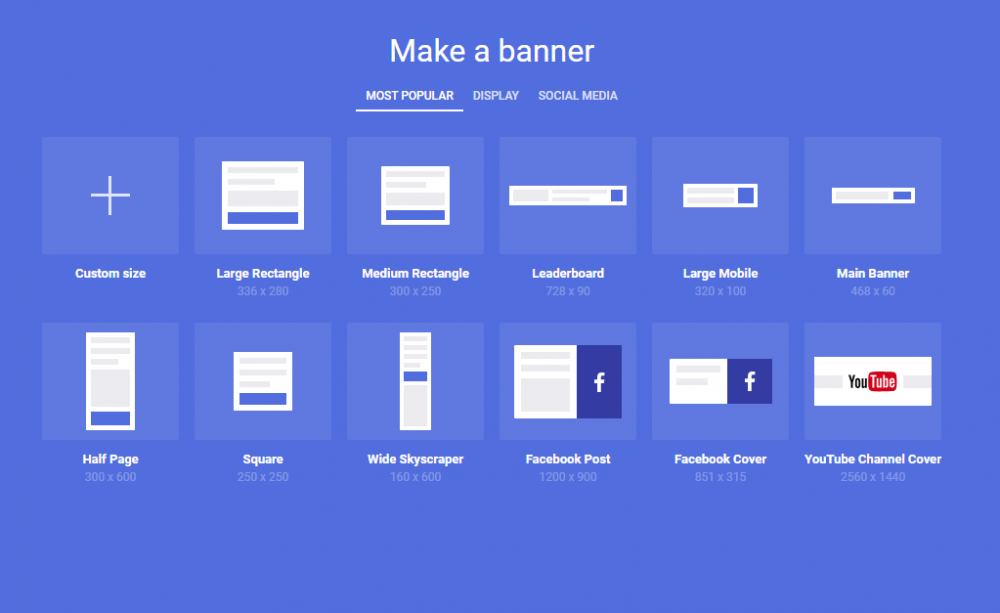
In a 3:2 aspect ratio, the “3” represents the width of the image and the “2” the height. To use a simple analogy, a landscape-oriented photo that is 300 pixels wide by 200 pixels high would be a perfect 3:2 crop.
On a related note, if you have an image of these same dimensions, but displayed in a “portrait” orientation, then technically the aspect ratio would be 2:3. Incidentally, the 3:2 (and therefore 2:3) aspect ratio is the same as a traditional 35mm film camera.
Some of the most popular aspect ratios for non-square photography include:
3:2 (35mm equivalent – very versatile for all styles of photography and works well for 4×6, 8×12, and 12×18 print sizes)
4:3 (the default aspect ratio of the native iPhone camera – also quite versatile, but not as print-friendly without some cropping)
16:9 (widescreen format – great for landscapes)
4:5 (a bit less popular than the others, but if you like to print your photos, this equates perfectly to an 8×10 print with no cropping)
As you can see, there are many different aspect ratios to consider.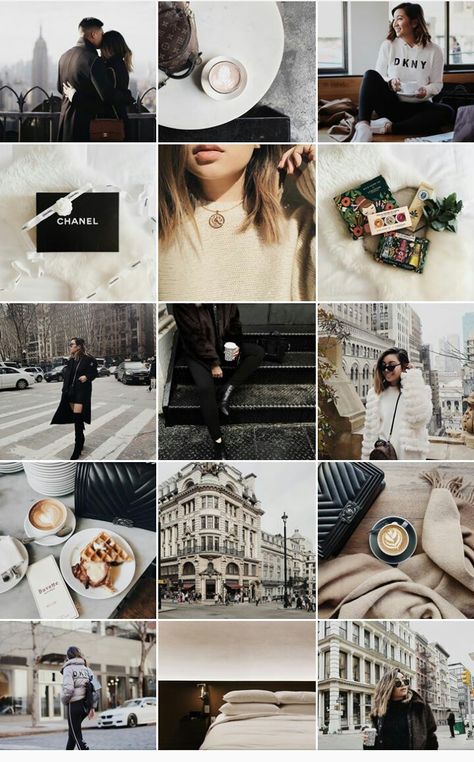 The above are only some of the most popular “standard” crop ratios available within photo editing apps such as Snapseed and VSCO Cam.
With today’s editing apps, you can technically crop your photos to any aspect ratio conceivable as long as the app offers a “free” crop tool which doesn’t constrain you to a certain aspect ratio.
You may want to use this change to Instagram’s display format to start experimenting with how different aspect ratios can affect your approach to photography – both in shooting and in editing.
If you still prefer to stick to square photos, then you can keep on shooting and sharing as you do now. What’s important is that we now have even more choices for sharing our photos, and that’s always a good thing!
Posting a photo on Instagram in full size without prior preparation is difficult. The social network diligently crops the edges of the picture, other people's and not only arms and legs, heads and parts of the landscape.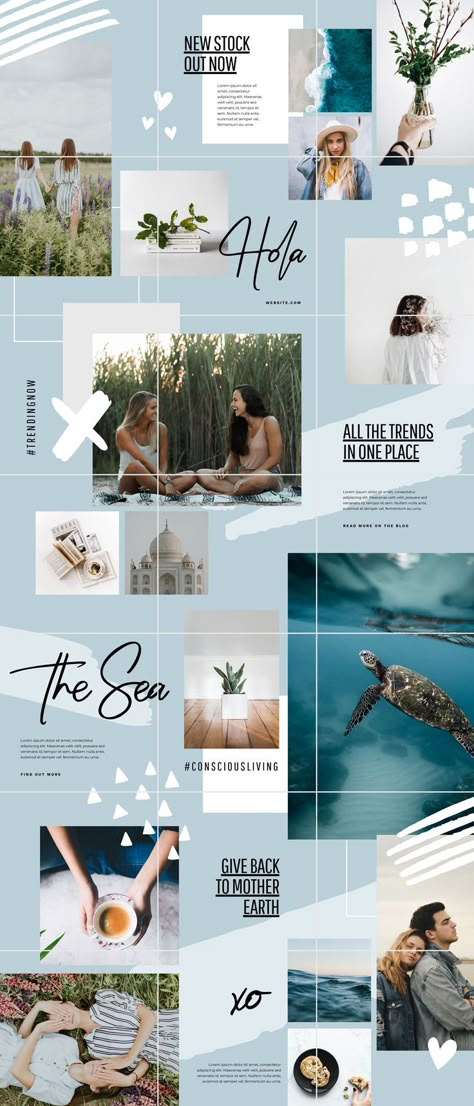 Previously, it was necessary to avoid difficult situations with the help of separate software, but now several local solutions have appeared that allow you to publish entries with almost no additional processing in graphic editors.
There are many reasons why Instagram crops a photo. Saving space on servers, the desire to fully adapt content to vertical screens of mobile technology (the key goal is to put users on an equal footing when scrolling pages is the same on the iPhone, and on Samsung, Xiaomi or Huawei), maintaining proportions for non-standard shots with a strange ratio sides.
Together, these factors make us look for ways to get around the restrictions so that Instagram does not cut off the excess.
You can add a full photo in the following ways:

It has long been possible to take a picture and immediately upload it to Instagram without a white background, previously used to get into standard proportions. An automatically arranged transparent margin will now appear around the edges. It is better to immediately follow the proportions of 16 d9and choose a resolution of 1067x600 pixels.
A full-length photo on Instagram is now added without much experimentation. Finally, a separate button appeared in the interface that allows you to stretch out a vertical shot and add everything in full size, but with frames on the sides.
You can upload a rectangular photo to Instagram, stretched horizontally and designed as a panorama, experimentally - using separate software. SwieablePanorama and InSwipe help you cut the image into pieces and load the pieces into a grid of 3 or 6 frames that are easy to scroll from left to right. The combination looks unusual and even advantageous against the background of the usual publications in the news feed.
Adjusting the original image to the proportions of a social network is a task, although annoying, not at all difficult - it is easy to find a bunch of software on the network that simplifies the task at times:
Even the graphic editors pre-installed in Windows or MacOS operating systems will help to achieve the full display of the image on the pages of the social network (the same Paint from Microsoft allows you to change the size in pixels or percentages). If Photoshop or Lightroom was at hand, then there will be no problems either.
It is important to remember only about the proportions - 16 to 9, and about the resolution of no more than 1067x600 pixels for publications that fall into the feed, and up to 1920x1080 for Stories.
An alternative to Paint, Photoshop and Lightroom is a tried and true tool that has been on the web for a long time - Canva. To upload a photo so that Instagram does not cut anything superfluous (and at the same time change some details, such as captions, filters, or even frames), Canva helps with the help of special templates pre-selected for different social networks.
In the realities of Instagram, there are special sets for publications, Stories, covers for the eternal "Stories", avatars and even grids.
As soon as you enter a suitable option in the search, the system will immediately select the missing details and help you move on to experiments, and also tell you what things you should not forget about, and what else is easy to impress the public with.
Special recommendations help you get inspired in minutes.
A whole collection of graphic editors - NoCrop, Square, Whitagram - can automatically adjust the proportions to the size of the Instagram news feed. The listed assistants adapt the content to both classic publications and Stories, and at the same time they will help with a superficial change in individual details. They will add text and effects, non-standard geometric shapes and visual elements that can emphasize the theme of the picture.
Posting a photo on the Instagram social network without cropping details around the edges will help both special software and manual adjustment of the resolution of photos or images downloaded from the network. You only have to remember the proportions. If the frame is wider or narrower than the system suggests, then white streaks will appear around the edges, and detail will immediately decrease.
Everyone needs to know how to upload a photo to Instagram. After all, it is one of the most popular social networks in the world. Such success of Instagram can be explained by the desire of people to share significant shots and the opportunity to observe the life of loved ones and famous personalities.
High-quality pictures will help make your account bright and memorable. Images with high definition, excellent color reproduction and a reasonable number of filters will inevitably please subscribers and bring well-deserved likes.
You can upload an image to the page from your smartphone or tablet. Instagram is a program designed for mobile devices. The PC version has significantly fewer features.
You can add a new publication in the following way:
It's no secret that Insta has long allowed users to post only square pictures. At the same time, the aesthetics of the images suffered, because the original backgrounds and beautiful landscapes simply did not fit into the frame completely.
The latest version of the application allows you to post a long photo.
To fully enjoy the ability to upload vertical frames, you need to:
If you have a desire to share the surrounding landscape with subscribers, then a horizontal shot will be a great way to show it.
Posting a panoramic photo so that it is not cropped can be guided by the same principles as when posting a vertical photo.
Click on the “ ” sign in the lower left corner of the selected image. After adjusting the size, click "Next" and continue editing.
The days when Instagram only allowed users to post square photos are long gone. Now the desire to publish a picture of a non-standard size arises very often.
Additional applications will help to decorate the page with a similar photo:
Some of the listed programs have editing capabilities, others will only add a frame, but all of these applications will allow you to achieve insta-format.
If you have any questions, let us know Ask a question
Static photos on social networks can be very beautiful and high-quality, but they cannot convey movement.
Previously, this problem was solved by publishing video files. Now iPhone7 and subsequent models of phones allow you to take life-photos. They convey dynamics, but weigh less than video recordings. You can also apply filters to them and edit them to your taste.
Insta allows you to post a live photo, but after posting the image will stop moving. To convey all the charm of a life-frame, applications that convert detailed pictures to gif-format allow:
All these programs work on the same principle - they change the image format in gif or video.
Now you can upload a live photo to a social network according to the standard scheme.
We found out that you can post images of different sizes on Instagram. It’s easy to add a publication if the picture was taken recently, but what to do if the frames have been in the smartphone’s archive for a long time, we’ll find out now.
After pressing “+”, the application automatically offers to publish the latest photo from the phone's memory. If the plans were to share another snapshot from history, then you can swipe up from the bottom of the screen, open the Gallery and select the desired image.
There is a way to find a frame faster. After clicking “+”, pay attention to the upper left corner. It can be seen that by default the application opens the largest folder "Gallery". By clicking on it, you can view all the folders on the device and select the one you need.
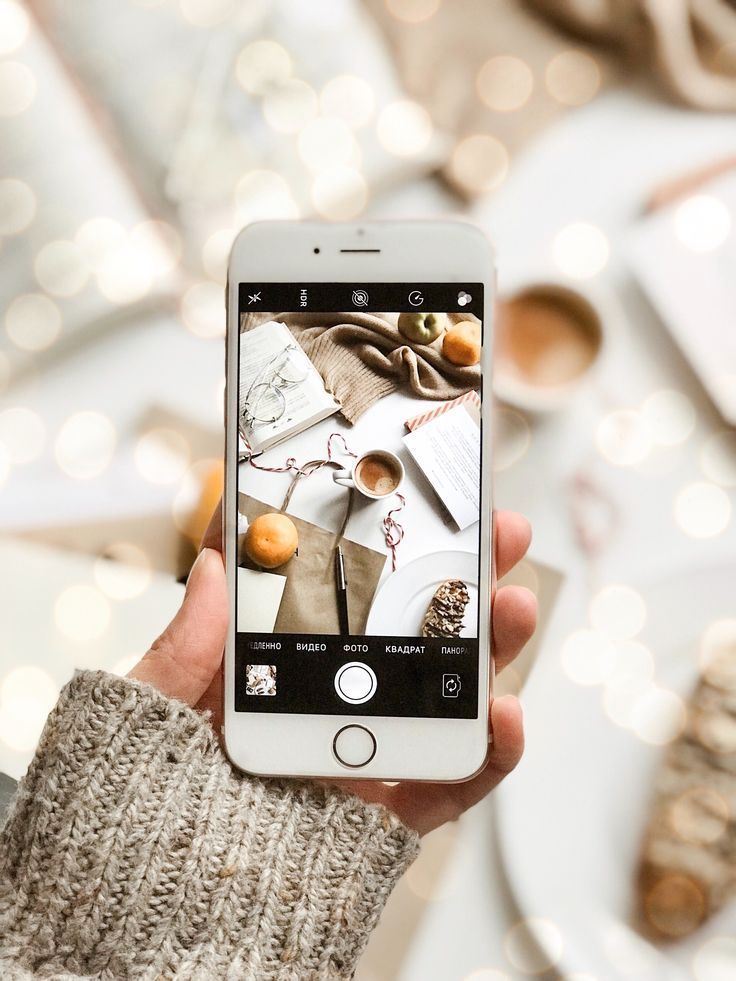
Social networks are created to share moments of your life here and now. Insta allows you to take pictures directly in the application, edit pictures there and show them to subscribers in a matter of minutes.
To take a picture online in the application:
Hashtags allow to show the photo to as many people as possible. This tag will allow you to attribute your picture to any topic and make it possible for interested users to find it.
You can correctly put the hashtag as follows:
There are millions of photos published on Instagram, which, after uploading, are sent to the server. To make the process as efficient as possible, the system compresses the frame. Photos with a small number of pixels are transmitted faster.
For a social network, a small image weight is an absolute plus, but for users this is not always the case. Often frames lose quality significantly, pixels become visible, colors are distorted.
To publish photos correctly and without loss of quality, the following tips will help:
 To do this, go to "Advanced settings" and select the option "Use high-quality processing".
It is possible to post a photo in full size on Instagram through third-party applications or using the function: "Carousel".
When posting a photo on a social network, the size decreases, the quality decreases. This posting format is applicable to any content on Instagram in order to increase download speed and reduce server load.
Other problems when posting on a social network:
Compression occurs if the user uploads a high quality image. Rectangular images are also cropped.
If the screen displays: “Unable to download.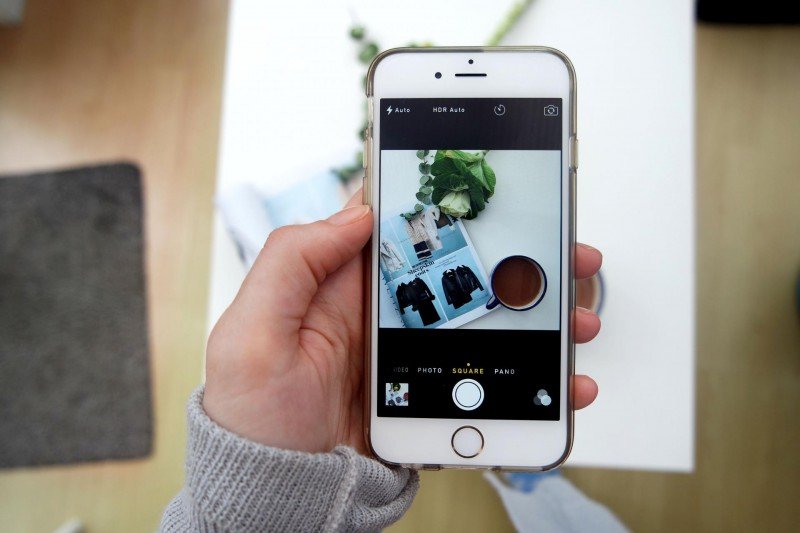 Please try again later”, then the problem is in the speed of the Internet or there was a failure in Instagram. You need to switch to a more stable connection and upload the snapshot again.
To upload photos to Instagram without losing quality, you need to use third-party applications.
Tips on how to post pictures in full size without losing quality:
In Inshot, the user can improve the quality using the button: "Save". You will be offered a choice of quality: from 240 to 1080. Maximum - increases the size of the photo, but reduces noise and removes pixels.
The Image Converter application is designed to change the format of pictures and videos. It is recommended to change the photo type from JPG to PNG. This format is applicable for raster images, but requires less resources to load and retains the initial quality.
If Instagram ruins the photo quality, then it is worth checking the compliance with the technical parameters.
The social network has requirements for posting materials:
Uploading a file that exceeds the size or resolution - the social network will show an error. For placing Stories: rectangular orientation, weight - no more than 300 MB. To avoid upload problems, the user should compress the photo themselves. In this case, the quality of the image is lost: pixels appear and the number of colors decreases. Find out all the reasons why Stories are of poor quality.
You can upload two to ten photos to the Carousel.
When adding to the collection, the user must reduce the size or Instagram will automatically crop the pictures to a square type.
If your photo doesn't fit on Instagram, you can crop it or share it through third party apps. For example, No Crop Instagram will help you post a full-size photo. In the settings there is cropping photos and editing the size, with the addition of frames.
The second way is to make a panorama from one picture. That is, placing a photo in the Carousel.
Other ways to place a photo and leave it in its original quality:
Filters and color changes are not recommended. Additional effects can spoil the quality: make the image soapy, cut off important details.
To post a photo without cropping, you can use the NoCrop application. It creates a picture frame that reduces the size of an image without losing quality. As a result, the user will receive a square image with the frame selected earlier.
How to keep the original quality:
By clicking on the button: "Share", the user will be prompted: to leave a photo on the device or send it to the Instagram Feed.
Uploading a photo to Instagram without losing quality is possible if the photo was taken in a panorama format or in a horizontal position.
How to share a photo:
In order for the image to look like a single image when turning over, you need to place the images in the order in which they were divided. That is, one part complements the next.
In this way, you can save the quality of the photo when uploading to Instagram and make interesting content. But it is worth cutting only high-quality images, with a resolution of more than 1980 horizontally.
Successful blogging on Instagram looks boring without photos. Even worse, when the author simply reposts a low-quality photo. By low quality, one should understand not the absence of filters, but their search. In order for the content to be useful and increase the rating, it is necessary to take into account several subtleties of Instagram, which will be discussed further.
Uploading photos to Instagram is possible only from mobile phones and tablets. The laptop version does not have this feature. The maximum resolution for images is 1080x1080. If you wish your blog good in the form of many likes and new subscriptions, then always choose a photo with about this resolution.
Another point concerns the format and editing of images. A typical storage format for a mobile camera is JPEG. Such photos have one drawback: the quality deteriorates when they are repeatedly modified and saved on different devices. Every time you save a photo, it is re-archived. Therefore, to preserve the quality, it is advisable to edit the photo and upload it in one go.
Everyone is familiar with the situation when a photo with an ideal background after loading does not look so ideal. All due to the fact that Instagram crops photos.
The frame for uploading photos in the Insta interface has a size of 1080x1080, and earlier it was 612x612. A typical cell phone camera produces images of 1100 and up. The excess part is mercilessly removed when downloading. What to do?
For those who are tormented by the question of how to upload photos in full size on Instagram, there are special applications. They are easy to download to your mobile phone and transfer photos through them. Here is a quick overview:

The reasons for the deterioration in the quality of photographs are due to technical reasons. To quickly send the uploaded photo to the server, the system automatically compresses the photo. Smaller pixels are better transmitted. The format is also of great importance. PNG is preferred over JPEG.
But all is not lost. For example, for Android devices. Once you set the necessary settings, you can forever forget about distorted photos and muddy pixels. How to do it? The algorithm is as follows:
There is also an opinion that photos taken on IOs are better displayed on Instagram than photos from Android. About the reasons for the deterioration in the quality of photos during publication, read the article at the link.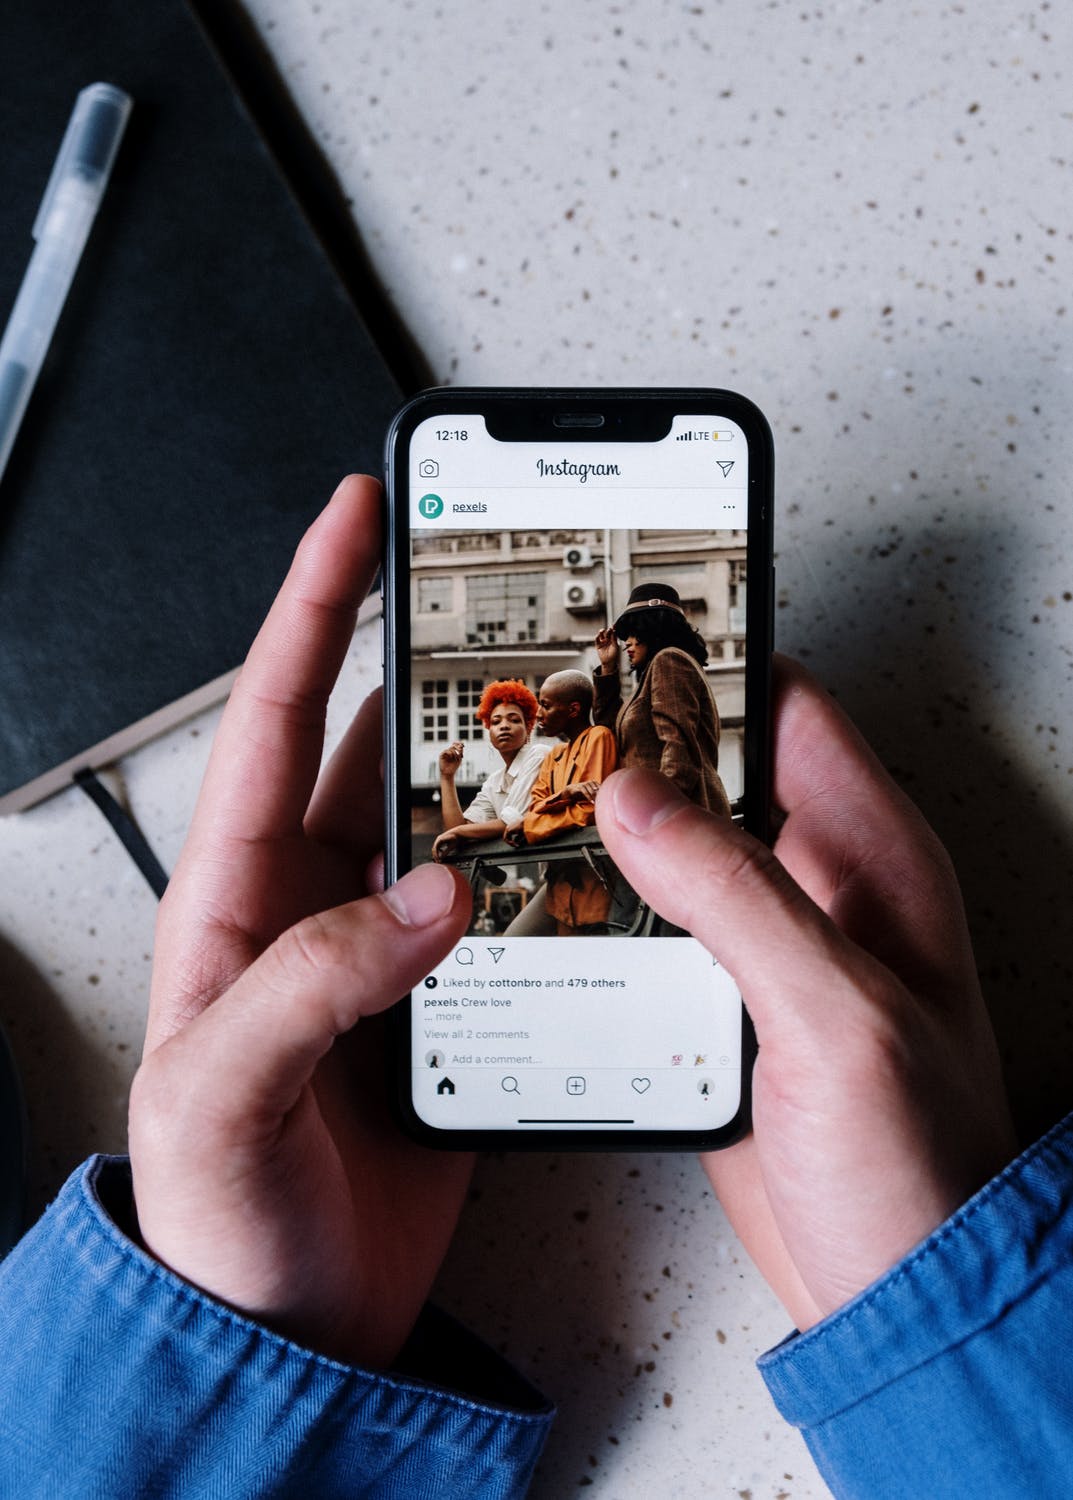
The introduction of the possibility of posting photos in a non-standard format is dictated by the behavioral factors of users. So, the system "noted" that some users cancel publications when they see that the photo does not look the same as in its original form. Thanks to the new feature, the blogger sets the proportionality of the photo at his discretion.
The function is very easy to use - just download the latest version of the application. Now, when uploading photos, an icon with two arrows appears in the lower left corner of the upload frame. You should click on them and set the photo parameters. The same rules apply to video files.
Disappearing photos and videos is one of the latest additions to Instagram functionality. The essence is simple: the user takes a picture that he cannot see beforehand and sends it to other users. You can only one or several at once.
All actions of the recipient will be displayed in private messages. For example: watched, replayed, took a screenshot, etc. After a while, such a photo or video disappears on its own. The author himself can see it, if only the recipient shares the screenshot.
Instructions how to do it:
The history of sent files and information about the actions of the recipient will be in the list of private messages. Such photos are sent in their “natural” form, without filters and without cropping.
Manufacturers of modern devices have succeeded in introducing the most impressive features. For example, the iPhone 7 is able to capture not only static frames, but also movement in a photo. In this case, the file will be saved not as a video or gif, but as a photo.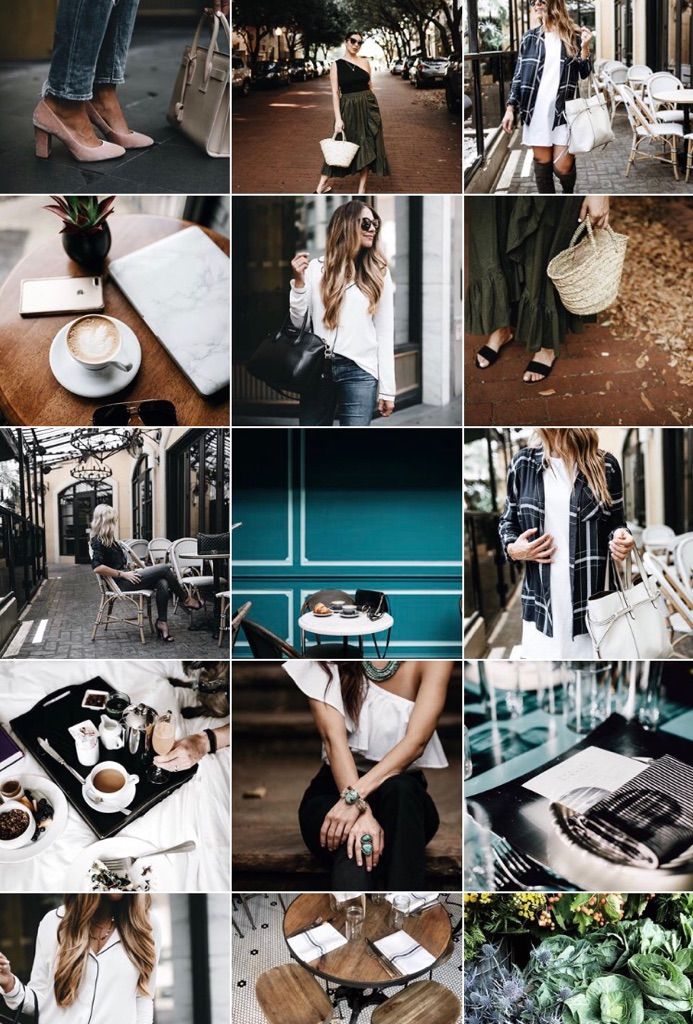 Such files weigh much less than other graphic files. You can edit and apply filters.
However, once uploaded to the feed, the Live Photo will look like a regular static photo. To convey the whole effect, you have to use third-party applications and turn the file into a gif. One of the following applications comes to the rescue:
Despite the difference in interface and names, all applications work on the same principle - they help you convert a file into a gif or as a video in good quality. The result is uploaded to Instagram in the usual way.
You can add a full photo in one of the above ways, since the content of the photo does not matter: you can take a full-length photo or capture the tip of the nose. In any case, it is enough to master the technical principles of downloading content.
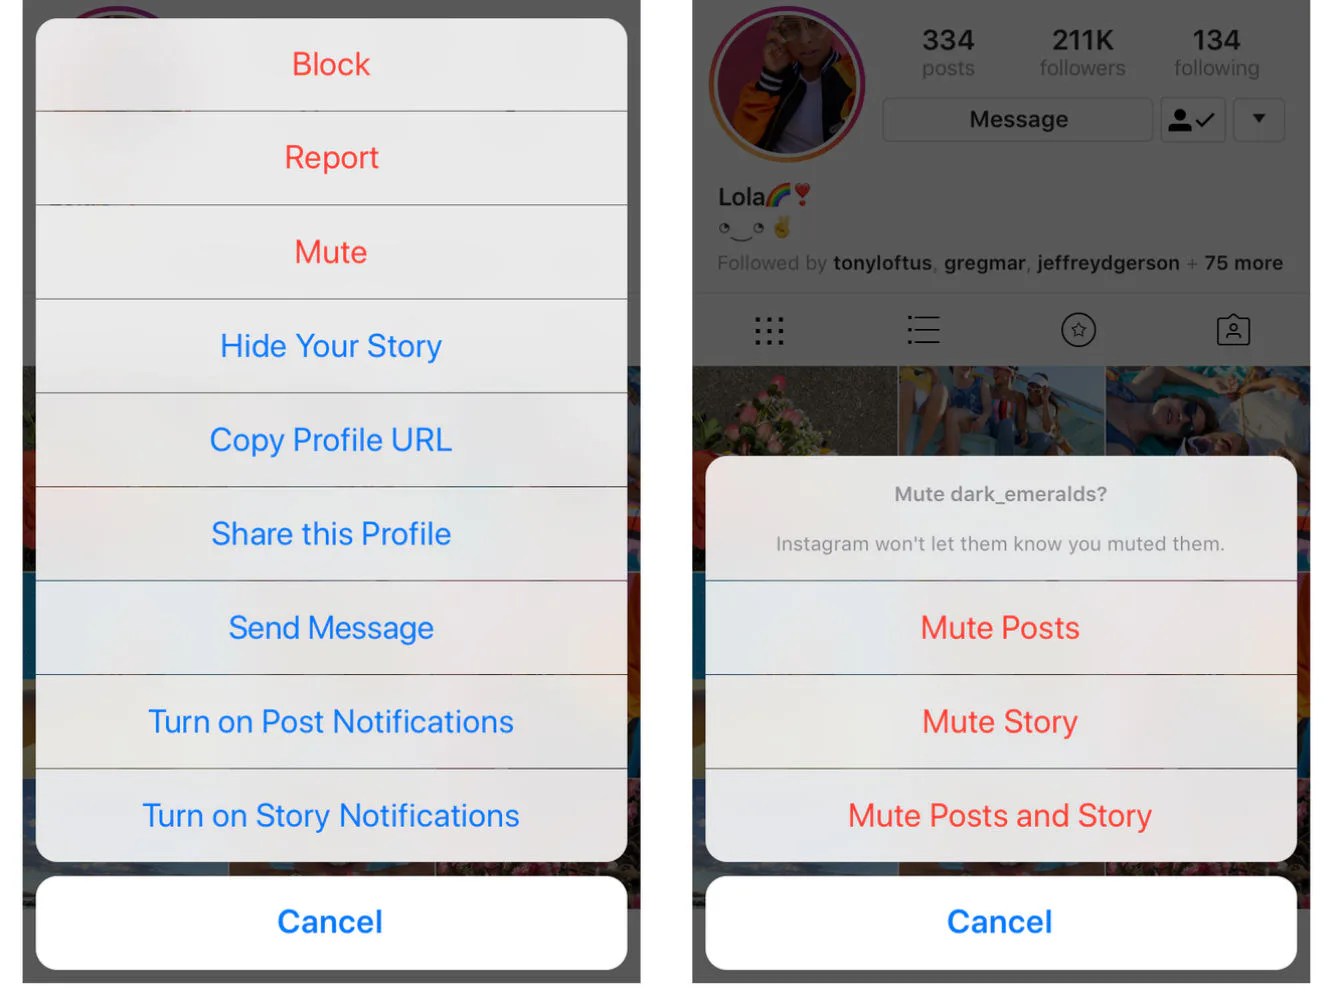
Do you want to keep an eye on your competitors? Instagram has all the tools for this. Study their content, look at the reaction of the public to a particular post. We do not recommend copying successful chips, since you should create them yourself. But learning from their mistakes is acceptable.
So, go to the competitor's profile, open his page and click on the three vertical dots on the right. There we find the item "Turn on post notifications" and go back. Now the system will first of all inform you about the actions of competitors in cyberspace.
If this is a photograph, then you have the opportunity to quickly determine its quality. A new Instagram feature will help with this: simply by spreading the photo with two fingers, you can look at each pixel. By the way, you are also not immune from such detailed viewing. Therefore, it is necessary to master all the tricks for uploading photos.
All the fuss about photo quality, filters and applications have one goal - to impress the audience. But for the full effect of technical solutions will not be enough.