My brother uploaded some of our old VHS home movies to youtube recently, and I can’t tell you how much fun it is to watch videos from my childhood. The little things that you miss in photos like the way my father’s voice sounds, the way my brother was so fidgety as a kid, how shy I was.
I decided that I wanted to document our summer with video. And it’s been so much fun.
I get a lot of questions about how I make my #fifteensecondsofsummer videos. So today, I’m giving you a peak inside of my process and how to make videos for Instagram stories.
Because it’s so fun and a great way to document your days.
So why the fifteen-second videos?I wanted something easy. Just simple videos that I didn’t have to put too much effort into. Something I could post fast in my Instagram stories and string together at the end of the project for one big video.
What I’m looking for: If there is something specific going on that day, like a trip to the pool, I get footage. But truly, every day, I’m looking for everyday moments.
Little things that make up our lives right now. Things like: I unload and load the dishwasher every morning. I work on my computer, dropping the kid off at camp, watering the plants, Pookah playing fortnite.
Little mundane everyday moments that are really extraordinary.
How I get clipsThis is the hardest part. LOL. What I did in the beginning, was to set an alarm every couple of hours to remind me to record whatever is going on right then in my day. I record in 5-second blocks so that it is easier to trim later.
Apps and EditingThe key to keep this simple is the fact that I do all of my editing on my phone. At the end of the day, or sometimes early in the morning, I pull all of my clips into an app called Video Show.
I’ve been using Video Show for a while for my coffee stories so it’s my go-to app for video editing on my phone.
I bring all of my little 5 second clips in and I make them flow. I usually trim them down between 1-2 seconds so that I typically have about 7 clips to fit our day into those 15 seconds. I then add music.
Video show lets you add in music that you have purchased from your iTunes and the paid and unpaid version has free music you can use. OR, you can just let the sounds of your day flow through. It’s up to you!
Sometimes, if I want to be really creative, or I need to edit my video a bit more, I like to use the Film App from the ladies of A Color Story. It’s great to add those filters to make it look like VHS tape or vintage film.
They just updated the app, and now you can add music too. Since a Color story is my go to app for editing the photos in my Instagram stories, I love it.
Dimensions and ExportingBefore you export your new video from whatever app you are using, make sure that it fits the Instagram story dimensions. Instagram Story dimensions are 1080px by 1920 px. This is also known as an aspect ratio of 9:16.
I then upload my video to Instagram stories, add, the hashtag #fifteensecondsofsummer and publish!
It has now become a part of my routine and I look forward to it every day. This is the same routine I use at the end of every week when I string all of these 15 seconds together to make my big video posted to my IGTV on Sunday evenings.
Now if you want to participate, there is still plenty of summer left!
And I plan on continuing it after our summer is over.
Stay tuned for a new hashtag!
So that’s it! That is how I make videos for Instagram Stories. Below I have included all the apps I use or have used while making these videos for Instagram.
Video Show to bring all of my clips together and to add music for IOS and Android
Filmm App ( for editing brightening clips and for fun filters) for IOS only
Spark Camera App lets you record many clips and then string them together. Apple only
Music
Soundstripe to add in licensed music. This is a monthly subscription service. I used this mainly on my longer videos.
Music through Video show
So that’s how I make my fifteen seconds of summer videos for Instagram stories! Questions?
Montage videos are a popular format on TikTok and Reels. They're great for capturing anything from the highlights of your recent trip to the glow up journey of your small business. The best video montages are a combination of photos and video clips, synced to a trending sound, like the Time Passing trend on TikTok.
Instead of trying to track down photos and video clips from your phone, the cloud, and various other places you may have stored them, one quick way to put together a montage is with Instagram Stories. This is particularly convenient if you use Stories to document special events but don't always save those Stories to your phone.
It's also a great way to repurpose content you've already created into a new format without much extra work.
There are two main methods for making a video montage with Instagram Stories:
Let's get into it.
Convert to Reel is a new feature that Instagram has rolled out to some users and it's pretty much exactly what it sounds like. This feature lets you turn a Stories Highlight into a Reel.
Here's how:
Step 1: Choose the Highlight you want to convert into a Reel.
The great thing about turning a Highlight into a Reel is that you've already curated the photos and videos included in the Highlight to tell a specific story. Pick the Highlight that best aligns with the type of video montage you're trying to make.
For example, as a small business owner, you might have a behind the scenes Highlight. That will make a great Reel.
Don't have a Highlight for the video montage you want to create yet? Or maybe you feel like you need to add a few more videos and photos to an existing Highlight for it to be montage-worthy? You can add Stories from your Stories Archive to a new or existing Highlight to curate the perfect montage.
Step 2: Click "Convert to Reel" in the Highlight menu
Once you've chosen the Highlight you want to feature, tap to open it. Select the three dot menu in the bottom right corner of the screen. If you have access to Convert to Reel, it will show up as an option in this menu. Click on it and let Instagram do its thing.
Step 3: Add music and edit your montage Reel
Convert to Reel will automatically sync the videos and photos from your Highlight to music. Select the song you'd like to use from the available library or upload a sound from your device.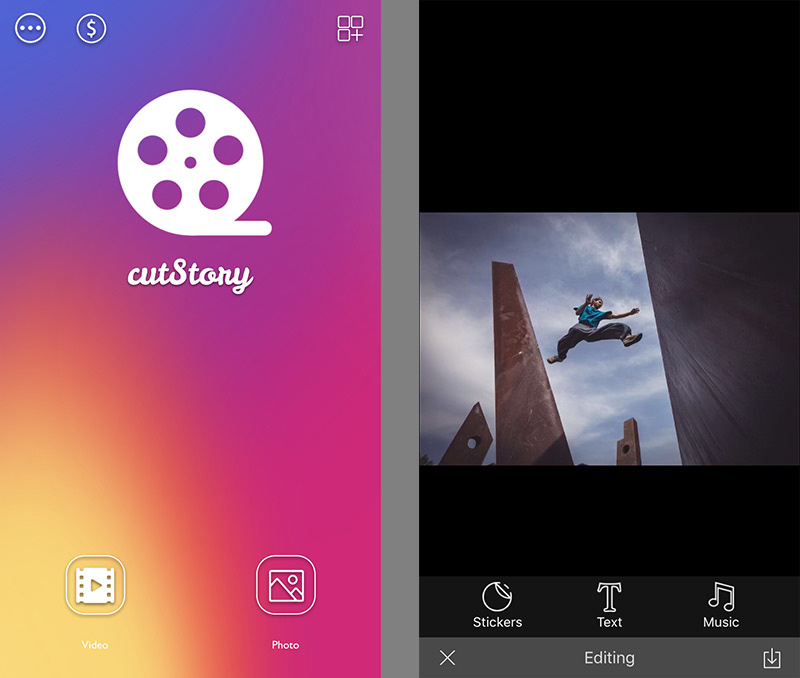
Finally, click continue and head to the main Reels editor to add any other desired edits to your montage like text, stickers, or voiceover. At this time, you can also rearrange and edit the length of each clip in the Reel to get the desired effect.
Step 4: Publish on Instagram (and other channels)
If you're happy with your video montage Reel, add your caption, thumbnail, and any hashtags then publish it to your feed.
If you'd like to share this Reel on other channels, like TikTok or YouTube Shorts, make sure you save it to your device from the editing screen.
Just keep in mind that if you're using audio from Instagram, that won't be saved with the file. You can either add trending audio back into the video natively on TikTok or you can use a video editing software online to add any audio you want.
Now, not everyone has access to the Convert to Reel feature yet. Here's how to make a video montage from IG Stories without Convert to Reel.
The general principal here is the same as making a montage using Convert to Reel. It's just a little more DIY. Instead of turning one Highlight into a Reel, you'll be downloading multiple photos and videos from your Stories Archive.
Here's how:
Step 1: Open your Instagram Stories Archive
You'll find the Stories Archive in the hamburger menu in the top right hand corner of your profile. There are three separate views to use to organize your search: the All Stories View, the Calendar View, and the Map View.
Depending on what you're looking for, you might find one more helpful than the other. If you know you want to make a montage about a specific event, you might use the Calendar View to quickly find the date. If you want to make a montage about a vacation you took, though, the Map View might be more helpful.
Step 2: Select and download the photos and videos for your montage
Scroll through the Stories Archive View that you selected and find the photos and videos you want.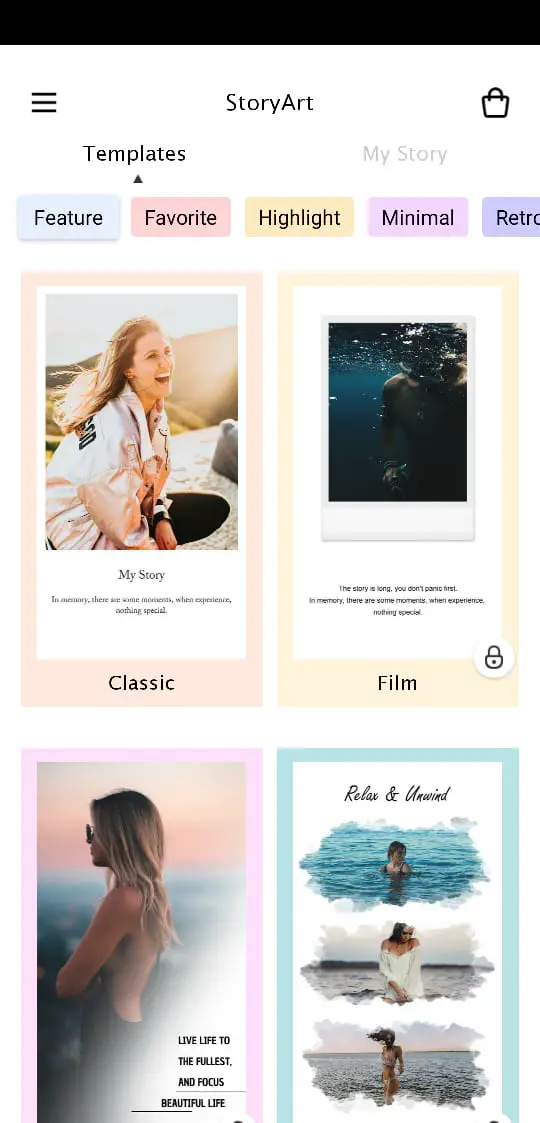 Click on the Story to view it, then click on the three dot "More" menu in the bottom right of your screen.
Select the option to "Save photo" or "Save video" to download the Story to your device. Rinse and repeat for all the photos and videos you want to add to your montage.
Step 3: Upload your photos and videos into a video editor
For this example, we'll be using Kapwing, which is an online video editor perfect for repurposing videos and photos for social media.
Drag and drop your files into the Kapwing Studio.
You'll want to set your canvas to 9:16, which is the aspect ratio for most of the platforms where you'll be sharing your video montage, like TikTok, Reels, and YouTube Shorts.
From here, add your clips and photos in whatever order you like. Don't worry about the duration; we'll edit that next to sync up with the audio.
Step 4: Add trending audio to your video montage and sync your clips
Even if you'll be uploading your montage to TikTok or Reels and want to use a trending audio on the app, we still recommend adding the audio into Kapwing. It'll be a lot easier to sync your photos and videos if the audio is in the project while you're editing.
Open the audio menu from the lefthand sidebar and import the trending sound by copy-pasting the URL.
Now you can set the duration for each photo to sync with the sound by using the Custom Duration option in the right hand side menu. You can also use the Timeline to edit duration. Just select the end of a clip and drag to the desired length.
Hack: We know some trending audios are trickier than others when it comes to getting the timing right. Try a template to get your clips to sync perfectly with the audio.
Customize this template for the Life Is Good photo dump trend on TikTokStep 5: Export and share your video montage online
Once everything's all synced up, hit Export Project then Download File.
And that's it! Your Instagram Stories video montage is ready to go. You can share it on Instagram Reels, TikTok, YouTube Shorts, or anywhere really.
Whether you have access to Convert to Reel or not, it's simple to create a video montage using your Instagram Stories. If you make your montage using Kapwing, tag us @KapwingApp on IG or @Kapwing on TikTok.
In the meantime, check out our Resources Library for more creator news, tips, and tricks. You can also visit our template library for inspiration and plug-and-play content creation.
You can upload a photo or video to a story. What are the advantages of video for Instagram Stories, and why you shouldn't ignore this format? Videos are more informative, they are remembered better than photos, it is easier to achieve a viral effect and high engagement with them. All this affects the reach and promotion of the account as a whole. The more people watched the story to the end and interacted with it, the better the account is perceived by the social network algorithms and promoted.
In this article, we will tell you how to upload a video to stories, what to shoot, and deal with problems that may arise when uploading a video.
Advertisement: 2VtzquY3wEz
Read also : Games for followers on Instagram stories
This is a fun way to promote a product and brand. You shoot several shots, moving objects manually, and then combine the photos into a video. In the example, the story turned out, as if the chips themselves crawl out of the can. Idea from YouTube channel Fancy smth.
Such stories attract attention with their originality, which means that they will definitely be watched to the end. Social media users generally love everything unusual, eye-catching. Collages are made using PNG files and animated GIFs. To create a collage, prepare PNG images with a transparent background in advance and download them to your phone. The rest (gifs, text) is done in the story editor.
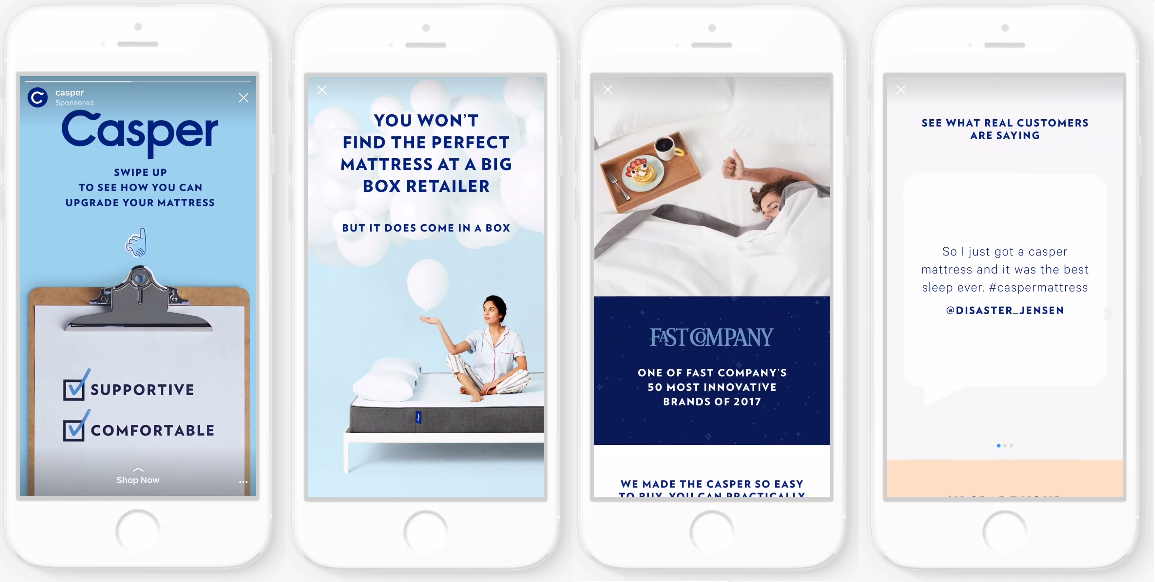
You are filming a story in two parts – the first part is not finished, but there is a call to action, for example, the word “click”. The subscriber clicks and gets to the second part of the story. Video in the example - a girl inflates a balloon, and a hand stretches with a needle behind the scenes. A call to press to explode the balloon is displayed, the follower clicks, and the balloon explodes. It seems that the subscriber can influence the story - this technique increases engagement.
Show your followers how to use your product correctly. This is how you draw their attention to your products. If you sell makeup, make a story about how to apply it. If you have a clothing store, show interesting images - how to combine outfits. We advise you to accompany the video with explanatory captions.
Q&A stories are good because you get feedback from subscribers. Make a video with answers to the most frequently asked questions and pin your story in Highlights so you don't have to answer the same question three hundred times in Direct.
Ask your followers to ask you questions in the comments, and then shoot the answers to them. The format is attractive because subscribers themselves offer ideas for content that is relevant to them, and you give them what they ask for. You can film yourself answering a question, a product, or a step-by-step guide with voice-over.
Capture what's left behind the scenes of your workflow. How the goods are made, how photos and videos are taken, what employees do in their free time, what the office looks like - subscribers are interested in this. Such stories increase the credibility of your business. Let's say you have a cafe - you can shoot how the chef prepares food. Or film how you make videos and photos for publication. Use dynamic backstage music.
These can be screenshots of reviews or photos / videos of subscribers with your product. Video reviews look more impressive. These stories increase engagement and motivate customers to share photos and videos of your products on Instagram. You can offer them a discount or a symbolic gift for leaving a review. The advantage of this method is that you get free content for your stories. Then they can be placed in Highlights to interest those who are still thinking about buying.
Very difficult to organize, but insanely exciting thing.
The audience gets acquainted with the task and answers the question. According to the hashtag, he goes to the next stage and answers again. The subscriber travels from one story to another. Well, when there are several plot lines, it gets even more interesting.
Create content with your subscribers. This will increase engagement. For example, shoot a video and stop it at the moment when you need to make a choice. Make a poll about what to shoot a sequel about and ask your subscribers to vote for one of the two options. Remove the second part, taking into account the choice of users. It will turn out a mini-series, where subscribers choose the plot themselves.
Even a static story can be made interesting and engaging by animating some objects. You can download Photoshop templates from marketplaces like Creative Market or use an online designer like Crello. We also recommend reading our article: 10 best video makers.
What else can you shoot: tips and life hacks, quizzes, an invitation to an event or webinar, the process of choosing a winner in a competition, funny videos with employees, a background video with the title of an article and a link leading to the site's blog.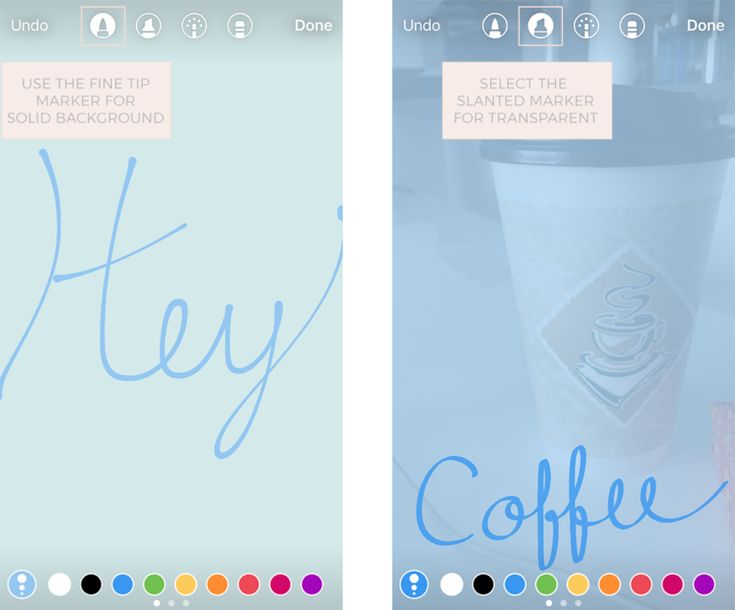 More Stories Themes : 27 Instagram Story Ideas.
Recommendations :

Video sizes and resolution for Instagram Stories
Let's move on to publishing the video in history.
Step 1 . We go into the application, click on your avatar with a plus sign where the latest stories are posted.
Step 2 . On the left is a square that will take us to the phone's gallery. Click on it and choose a video. Then we edit.
Step 3 . Choose a video from the gallery. Up to 10 videos can be uploaded at the same time.
Step 4 . If necessary, add a sticker to the video. They are located at the top of the editor - a square with a smile.
Step 5 . Click to share with everyone or with a list of best friends.
Which stickers to use in your commercial stories:
Long videos (more than 15 seconds) are cut automatically in the story editor immediately after uploading. Each part then needs to be processed separately - add stickers, text.
If you need to trim the video at a particular moment, it is better to do it in advance in any video editor, such as Sony Vegas or Movavi.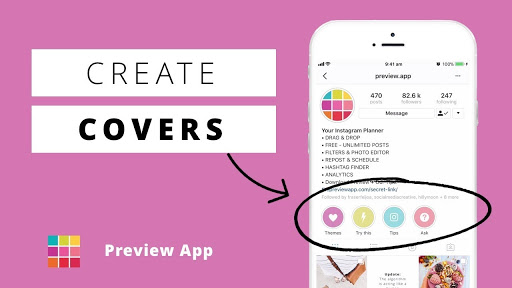 Crop and save each part as a separate piece to the gallery, and then upload to the story. There are online services for cropping - online-video-cutter, Clideo. And phone apps - InShot, YouCut, My Movie.
Sometimes Instagram does not upload videos to stories. We consider the causes and ways to solve them.
Comparison of online courses
Before you buy any course, compare conditions from different schools - tuition fees, discounts, duration, whether there is an employment program. Find an online course >>
Advertising
more articles on the topic:
Advertising
Advertising
9
In this article, we will tell you how to shoot videos on Instagram to advertise your business and promote your personal blog, and describe tools and tips for marketers and bloggers.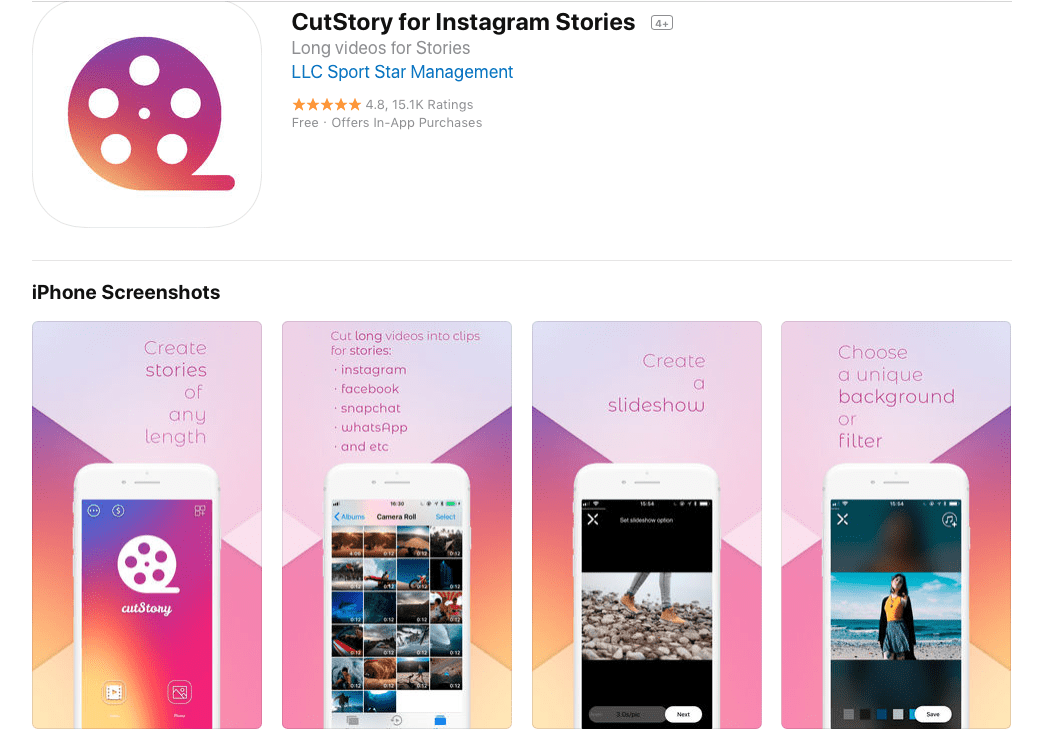
Videos work great for a variety of reasons.
Since 2020, Internet video content viewing statistics continue to grow. Marketers encourage blog authors to create more media content instead of text posts.
The reality is that social media users prefer video content, and it's important for creators to create content that subscribers want.
The problem that three out of five companies face is the psychological barrier of how to make an Instagram video without spending a lot of money.
However, Instagram video gives businesses the opportunity (or forces them) to focus on creating concise content. The video for the feed of posts is limited to 60 seconds, for stories, the video should not exceed 15 seconds. So there's no better way to dive into display marketing than to test concise content on Instagram!
We wrote more about the video size for Instagram in the feed and video resolution for Stories in the Standard Sizes review.
The social network is seeing a rapid increase in video views and watch time. The social network reports that algorithms have recorded an increase in 80% of the time spent watching videos in recent years. And we have seen a fourfold increase in the number of videos released since 2016.
With the popularity of video views and the many tools available for creating media, there's no better way to start making and posting videos to get your profile noticed!
When a blogger considers how to create a content plan for Instagram and add videos that are less than a minute long, it is important to write a script for everyone. Here are some tips for getting the most out of your videos:
 If you managed to formulate a message in 20, 30 or 40 seconds, then leave it like that.
 There are two ways to shoot videos on Instagram :
Recording through the application is used to shoot a realistic story. In this case, the video is uploaded immediately. For a feed of posts or an advertising clip in stories, blanks are taken from the gallery and decorated with effects.
To shoot a video story on Instagram through the application, press the + button on the main screen and select the “Video” option. To record a video, press and hold the round start button.
When you stop holding the button, the movie will stop shooting. This option is used to combine video fragments taken at different times in one video.
When finished recording, click the Next button to edit the clip. Choose from any of the filters to add branding to your post.
The author has access to options for editing the cover for Instagram stories and we recommend doing the design. The first frame of a post is rarely the best frame to post.
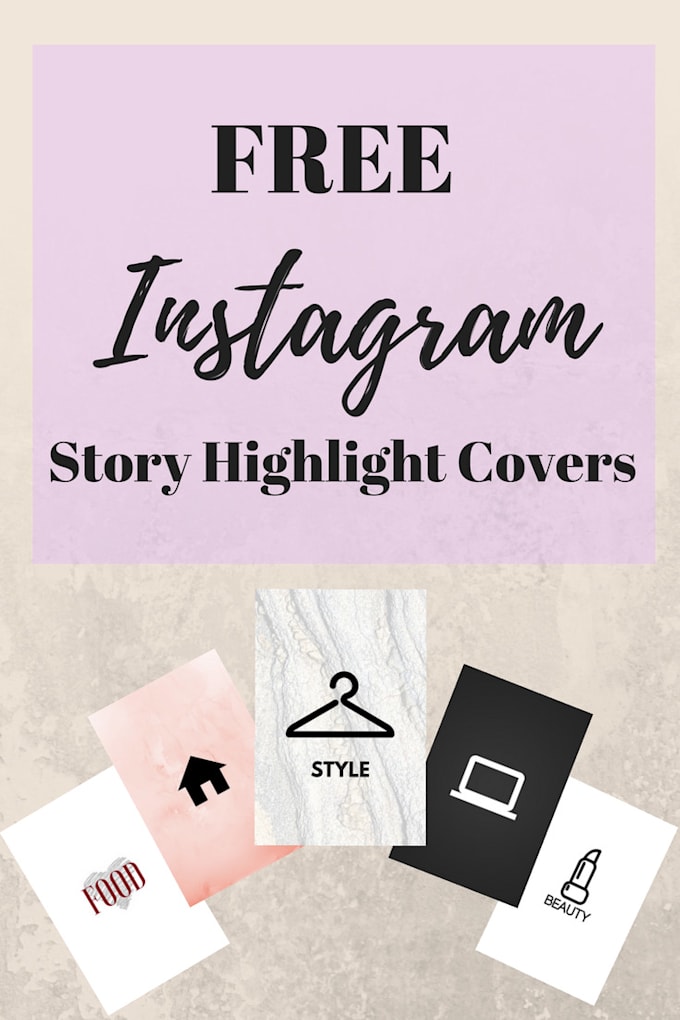
Free templates for Instagram stories in the same style can be downloaded in the "Story Covers" section.
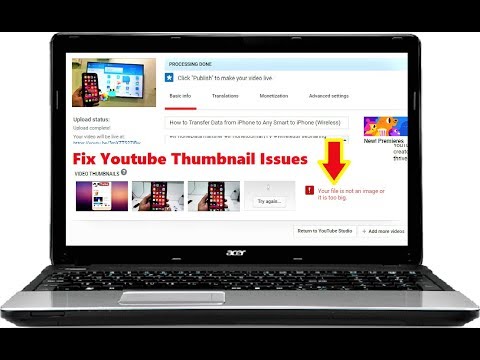
When viewers scroll through the feed, the first thing they see is the thumbnails for the video. Therefore, having a clickable cover image is much more effective than a blurry, awkward, or confusing image.
To make an intro for a video on Instagram, download the template on our website or foreign stocks. Customize the template in Adobe Photoshop or Canva and upload it to the app.
If you do not want to make a cover, then select a frame from the video to place a better quality image in the feed of posts or stories.
To add a recorded video to your Instagram story, select the "Gallery" option on the upload screen and select the video to upload.
Click Next to make an Instagram video frame or apply a color filter and video covers. Edit files by cutting off any part of the beginning or end of the clip.
Use the trim function to remove unwanted parts from the beginning or end of the downloaded file. To cut video in stories, use the built-in options of the application or download the Story Cutter program on your phone.
At the end of editing, add a concise caption to the file you are uploading. The text should talk about the content and motivate viewers to watch the clip without delay.
Before making a video on Instagram, pay attention to the recording features:
We wrote about ideas on how to design an Instagram page for business in the review “Stories for Instagram”.
To make a video with effects on Instagram, use the built-in tools to create funny animations:
These whimsical styles are fun and meant for short content.
In Instagram Stories, you must first choose to record in rewind, boomerang, or super zoom before shooting.
Boomerangs on Instagram is a shooting mode in stories, in which looped 1-second videos are recorded.
The story itself will be 4 seconds long, and the 1 second scene will repeat 4 times.
The super zoom zoom option is designed to bring the focus closer to the video subject.
Emotions revealed by the effect of an unexpected approach will not leave the audience indifferent and the author will earn subscribers likes.
Reverse video mode is a standard Instagram option. Defy the laws of physics, whether it's dropping a microphone and watching it fly into your hand, or filming a fountain's water moving backwards.
When shooting stories, select the "reverse shooting" option and record a clip. When the recording is ready, upload the video to the story.
In the process of uploading a video to Stories, the video is converted and the finished clip is played from end to beginning. In this example, the clip is recorded with a reverse filming effect.
The blogger can record 15 second clips by pressing the "Normal Mode" button.
Also, there is a "Hands free" option to shoot videos on instagram without holding down the start button. After clicking on Hands-Free, the author has 3 seconds to install the phone's camera before starting shooting in automatic mode.
Make clips for stories more realistic than posts in the feed, this is necessary to get live video and audio.
The app has an option to upload pre-recorded videos to Stories. Since most bloggers don't record videos in short bursts at a time, it's wise to cut tips or informational messages from a pre-recorded video.
If you have long stock that you want to cut at 15 second intervals to use in stories, download the Continuous cutting and editing app available for iOS.
After shooting or uploading a video, the author can add stickers, text, hashtags and other design elements to complete the design of Instagram stories.
When standard effects are not enough for posting, download applications for creating videos on Instagram on your smartphone.
VideoBoost Editor is a video creation application specially designed for business owners.
The program contains the tools that you will need to create advertising templates. Professionally designed color palettes, animation tools, a collection of musical options, all sorts of fonts and a library of stock images for decoration.
Please note that this app is for iOS users only.
The VideoBoost application is downloaded to create ads and increase traffic to a business account.
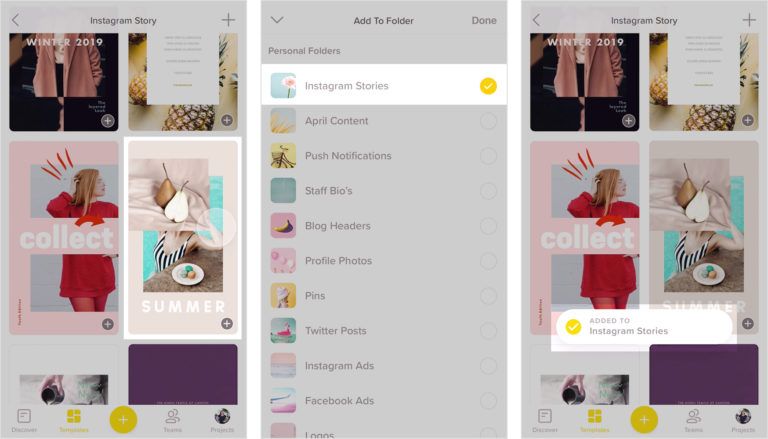
The Unfold app gives iOS and Android phone owners 150 beautiful templates that make stories look like a fashion magazine.
If you are looking for how to make video from Instagram photos, download Unfold.