April 15, 2021 William Worrall Recovery
YouTube is an important part of many people’s lives, so when hackers steal it, what should you do? People often leave their important YouTube accounts open and unsecured for hackers to break into. This guide will teach you exactly what to do to recover a hacked youtube account.
The first thing to bear in mind when you’ve been hacked is to act fast. Hackers can cause a lot of damage the longer they have access to your account. The second that YouTube sends you an account warning, respond and secure your account before regretting it.
Hackers’ first action while in your account will be to change your password. If you can still access your account, then you should change your password before a hacker can.
Log into your YouTube account through the Google login page.
Click your profile picture in the top-right corner, then click on ‘Settings.’
Image 1 of YouTube change password tutorial. | Source: Hacked/W.S.WorrallUnder the ‘Account’ heading, click ‘View or change your Google Account settings.’
Image 3 of YouTube change password tutorial. | Source: Hacked/W.S.WorrallOn the left-hand side of the screen, click ‘Security.’
Image 4 of YouTube change password tutorial. | Source: Hacked/W.S.WorrallClick on the ‘Password’ heading, and enter your current password to confirm your identity.
Image 5 of YouTube change password tutorial. | Source: Hacked/W.S.WorrallEnter your new password twice to confirm that you’ve spelled it correctly, and click ‘Change password’ to finalize the process.
Image 6 of YouTube change password tutorial. | Source: Hacked/W.S.WorrallPLEASE NOTE: We highly recommend that you use a password manager and generator. These services ensure that you have a strong and unique password for each new account that you make.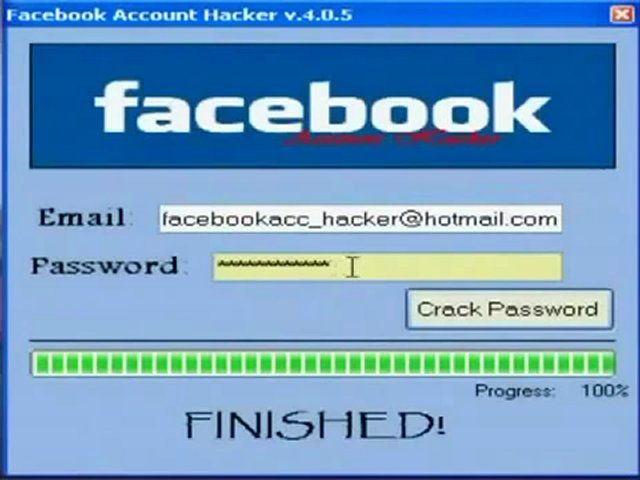 Browsers such as Google Chrome and Mozilla Firefox offer free password services.
If you no longer have access to your YouTube account, then you’ll need to recover it instead.
Go to the YouTube/Google login page, enter your email address and click ‘Next.’ Now select ‘Forgot password?’
Image 1 of YouTube recovery tutorial. | Source: Hacked/W.S.WorrallIf you have access to your mobile device, you will be prompted to click ‘yes’ on your phone to log into your account. If not, click ‘try another way’ instead.
Image 2 of YouTube recovery tutorial. | Source: Hacked/W.S.WorrallYou’ll be prompted to enter the most recent password that you can remember to confirm your identity. Enter your last-known password and click ‘Next.’ Enter any other identifying information Google requests to attempt to recover your account. If you don’t have a piece of information, click ‘try another way’ again.
Image 3 of YouTube recovery tutorial. | Source: Hacked/W.S.Worrall
If you have a recovery email address or phone number attached to your account, you can approve the log-in via phone call, text, or email address.
Image 4 of YouTube recovery tutorial. | Source: Hacked/W.S.WorrallOnce you’ve recovered your account, you should immediately change the password using the steps listed above.
If you’ve tried the above steps and cannot recover your account, we can help you. We have a different option to recover a hacked or hijacked Youtube account that is not described in this tutorial.
Our recovery sessions have helped thousands of people to regain access to their online accounts. These sessions are confidential and come with a money-back guarantee so you can buy in confidence.
Buy your recovery session today to regain control of your YouTube account. If you have any questions, contact us at [email protected]
Featured image by JuliusKielaitis from Shutterstock.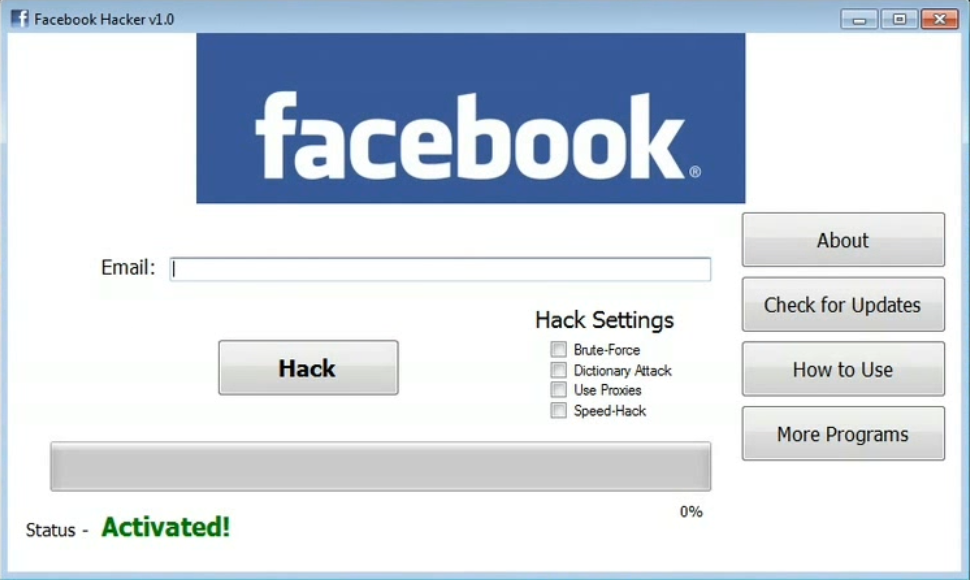 com
com
Tags:YouTube
A gaming and technology writer who has been building computers and tinkering with software since he was a teenager. Previously involved with various prestigious websites, including TechRaptor.net and CCN.COM. Now tutorial creator for Hacked.com.
by Josh Kirschner on May 25, 2021
in News, Computers and Software, Computer Safety & Support, Blog, Facebook, Privacy :: 98 comments
Techlicious editors independently review products. To help support our mission, we may earn affiliate commissions from links contained on this page.
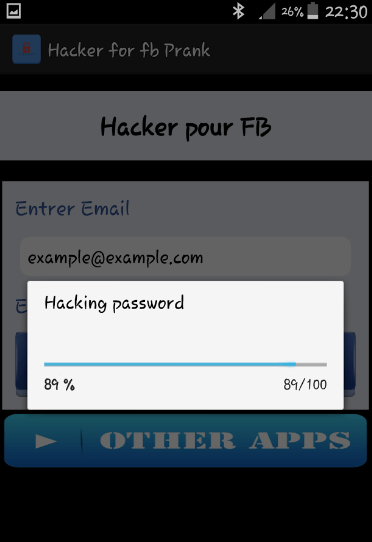
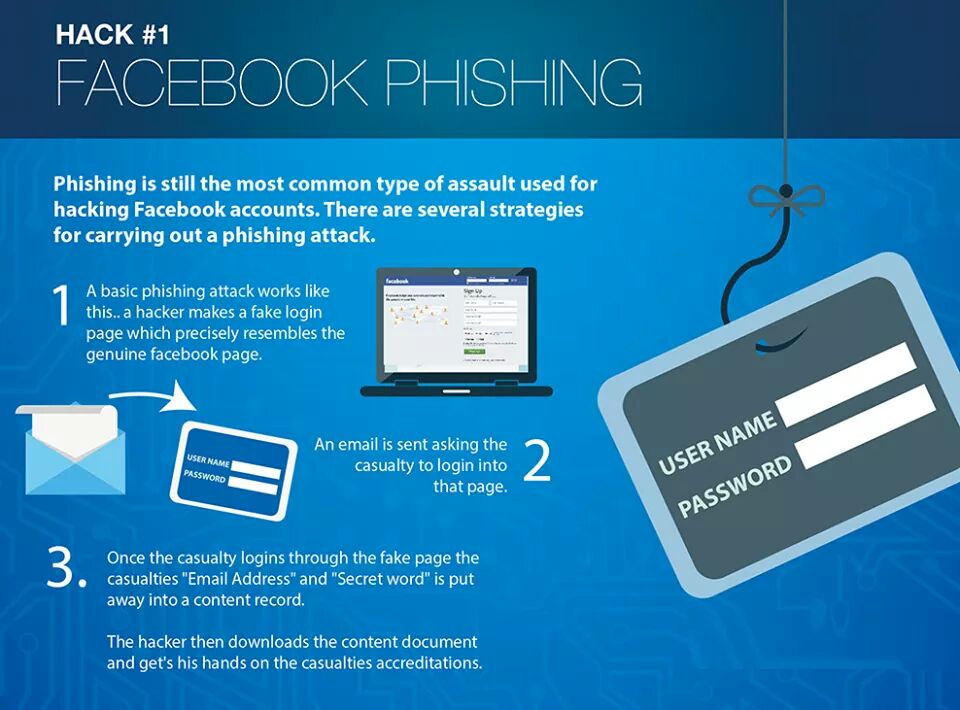
A Facebook scam that has been circulating for years seems to be making a comeback. And if you fall for it, you’ll have your Facebook login info stolen by the scammers, who can then hack your account and use it for a variety of nefarious purposes.
The scam works by tricking Facebook users into clicking a link to a video.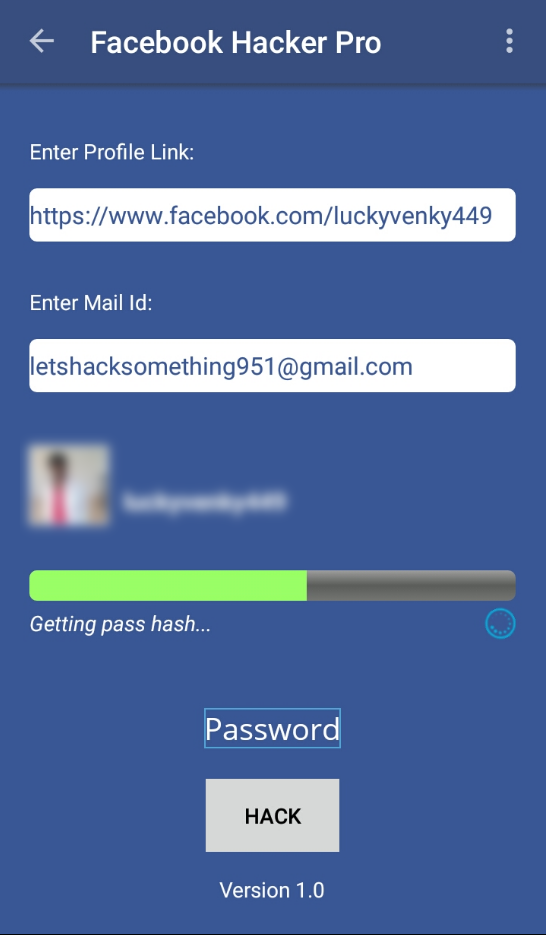 The video will often have some variation of “Is this you?” or “Did you make this video?” in the description to pique your interest, and will likely come from one of your friends (who already fell for this scam and had their credentials stolen).
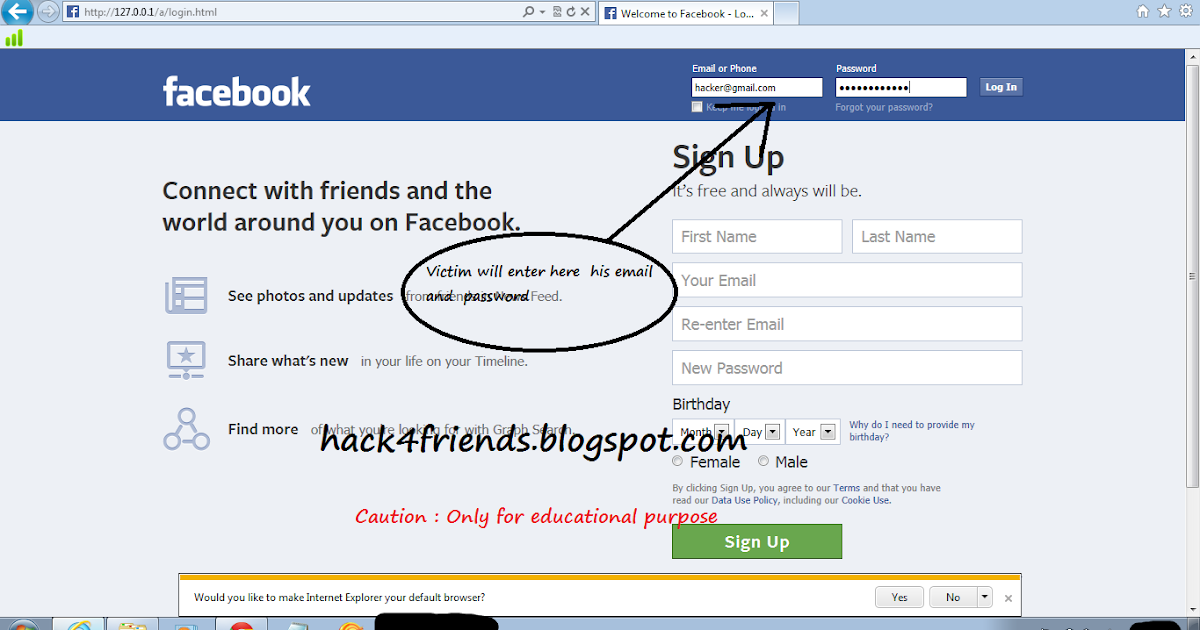
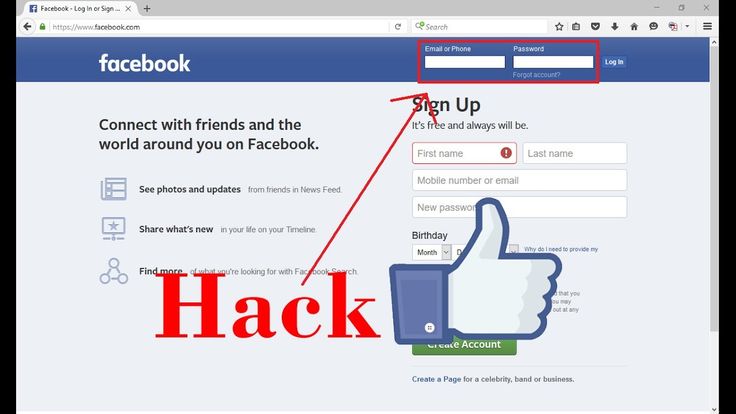
If you click on the link, you’ll be taken to a fake Facebook login page with a message about confirming your information before you can access the video. It is pretty obvious the page is fake if you notice the URL at the top. But if you're not paying attention and you enter your info here, you’ve just given the scammers what they need to take over your account.
As a final insult, you won’t be taken to the video (which never existed in the first place), but dumped into a spammy affiliate ad network for NSFW games, sketchy app downloads and survey scams. I’ve seen a few valid apps, too, such as Norton Secure VPN on Google Play, but these companies have no part in the scam (after I notified Symantec, Norton’s parent company, about the app’s inclusion, a spokesperson told me “Upon learning of this issue, we worked with our mobile advertising partner to quickly identify and blacklist the bad actor responsible for this threat. We are also working to identify consumers who may have been impacted to help them with any residual effects.”)
The best course of action if you get one of these video links from a friend is to not click it and notify your friend by phone or email, if possible, that their account may have been compromised. It’s also possible the video was sent from a friend’s cloned Facebook account that a scammer used to friend you in the past.
If you made the mistake of entering your credentials on that fake login page, you should immediately change your Facebook password before the scammers have a chance to get in. This would also be an excellent time to consider setting up Two-factor authentication for Facebook so you won’t lose access to your account if you fall for another phishing scam in the future.
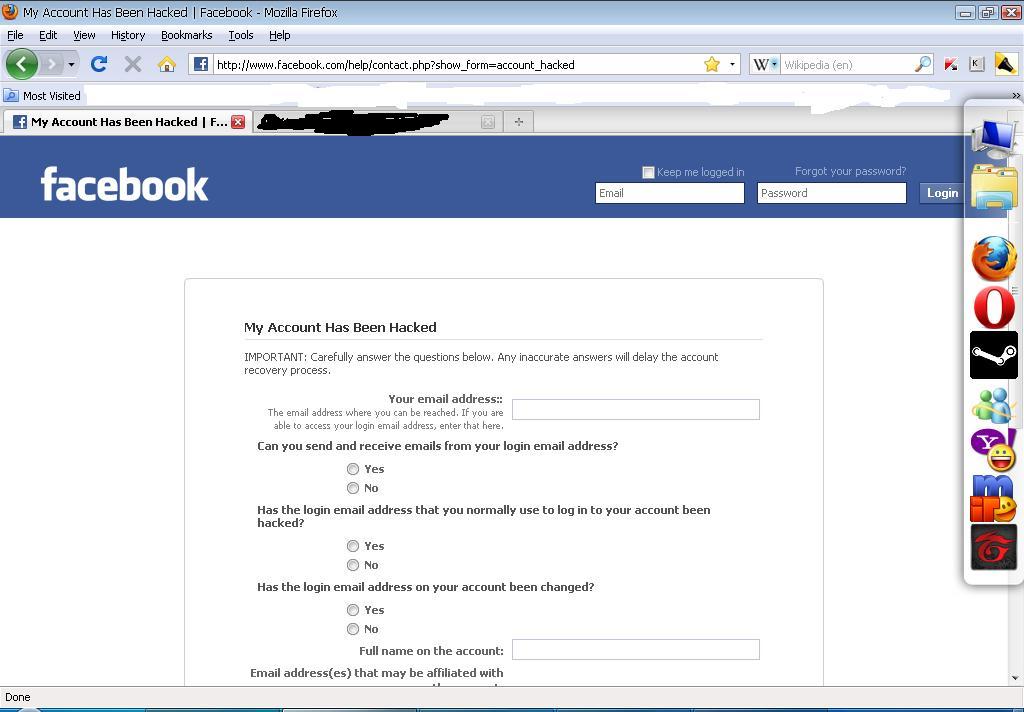
And if the scammers have already taken control of your Facebook account, you’ll need to go through Facebook’s account recovery process to regain access.
Author's note 5/25/2021: A number of comments have come in indicating that their accounts were compromised even though they didn't not attempt to log in.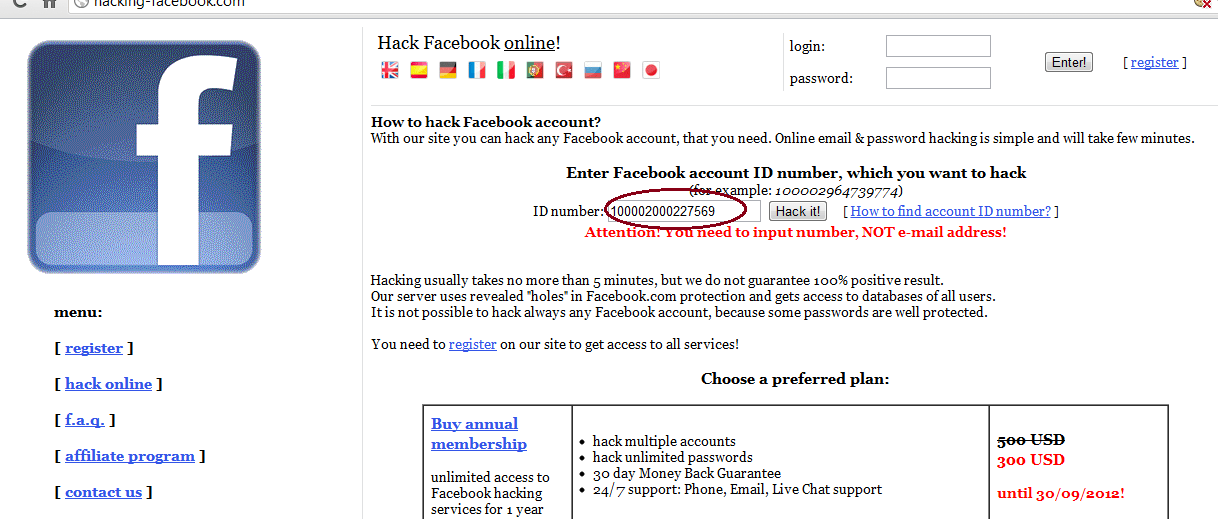 I've researched this issue quite a bit and, despite nearly two years having passed since I first wrote this story, I still haven't seen any credible evidence that malware or other hacks are being exploited to steal user credentials through this scam. Everything I've read from security research sources indicates that this is a pure phishing scam. And given how much press this has received, I'm sure it is also something that Facebook has researched and would have patched if it were a security hole on their end.
So how come all the reports of exploits where people didn't log in? Here's what I think may be happening:
1) People did log in, but it's such a natural action for them that they don't even remember that they did.
2) Your account was already compromised, either through a previous phishing attempt or because you have weak password security that allowed an attacker to access your account through a data breach from another source.
3) These requests are coming from cloned accounts
4) You didn't log in, but did click on a malware download (e. g., fake Flash update to view video) that compromised your system.
For more insight on what is happening, go to your Facebook Settings > Security and Login to see where and when you have been logged into your Facebook account.
If I uncover any new information about malware associated with this scam, I will update the article.
Facebook Wi-Fi
Starting work
Support
Search on the Facebook for Business 9000 Facebook Wi-FISTRY PROMENTS PROMENT minutes
All you need is a mobile phone and a Facebook Wi-Fi compatible router.
The setup process is quite simple. Special technical knowledge is not required.
Your business must have a Facebook Page with the physical address listed in the Page Info section. You must also be a Business Page admin.
Popular compatible models:
ECW220 (Engenius E-Commerce) (only in the USA)
6 Points of access Wi-Fi
5 Points Wi-Fi 9000 9000 9000
In setup manuals:
Youtube
Intelbras website
Setup instructions:
Popular compatible models (purchased here):
Popular compatible models:
EAP110 ver 4.0, 5.0
EAP115 ver 4.0 ,
Setup instructions:
TP-Link
Setup Guides:
Setup Guides:
Setup Guides:
Youtube
Intelbras
Setup Guides:
 0 in browser.0.0.
 Popular compatible models (purchased here):
AP 360
AP 310
AP 1210
AP 1350 AC
AP 1750 AC
AP 300
AP 1210 AC
Netgear
Setup Guides:
Youtube (English)
Youtube (Spanish)
Netgear
UniFi
Setup Instructions:
Popular compatible models:
All access points to the WiFi network from UNIFI
U6-Lite
Popular compatible models:
All access points of the series MR
MR20
MR33
PROMODUCTION:
0003
Youtube
Setup instructions:
Popular compatible models:
Contact D-Link
Zyxel
Setup Guides:
Zyxel
Setup Guides:
Popular compatible models:
NWA110AX
Popular compatible models (purchased here):
Instant On R2W95A
Popular compatible models:
Contact Ruckus
ASUS
Setup Guide:
ASUS
Setup Guide:
Popular Compatible Models:
Contact ASUS
Open Mesh
Setup Guides:
YouTube
Open Mesh
Setup instructions:
Popular compatible models:
Find the brand name on the box of your Wi-Fi router or on its settings page by searching for the router's IP address in your browser.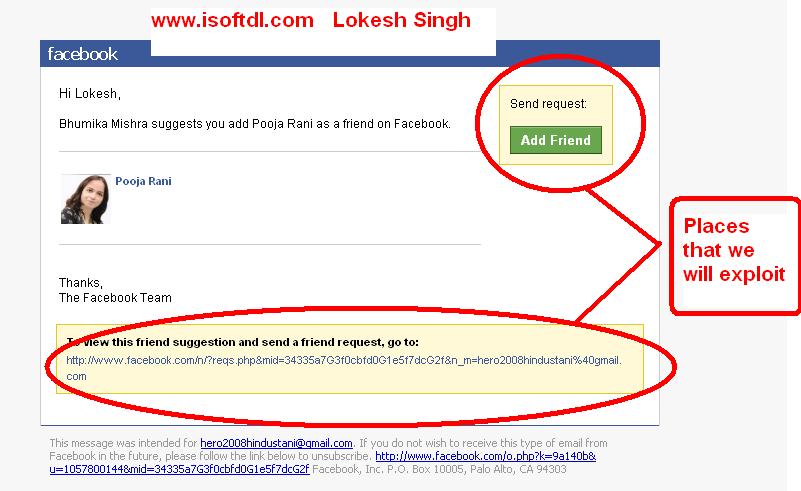 Then check if your router is on the list of supported brands above. If so, follow the video guides in the table to find Facebook Wi-Fi in your router settings.
Search your router's IP address in your browser to find your router's settings and brand. To learn how to find your router's IP address on any device, check out this guide. Make sure you enter the router's IP address and not just your IP address.
This information can be found on a sticker on your router. If this information is lost, you can reset your username and password.
Your router model may not support Facebook Wi-Fi. You can purchase a compatible router or ask a professional for help.
In this case, you will need to purchase a suitable router. For a list of popular routers that support Facebook Wi-Fi, click here. You can also contact a specialist, Internet service provider or router manufacturer for help.
Fill out this form if you are an ISP or this form if you are a router manufacturer. We will contact you shortly.
According to the latest data, the scandalous video of Artem Dziuba leaked online because the football player's phone was hacked. We tell you how to protect your device, social networks and instant messengers, even if there is nothing compromising there
Our phone or chats often contain personal information that attackers can use for their own purposes. For example, card numbers, access to online banks, home address or work correspondence. With a smartphone in hand, it is easy to get logins and passwords for applications, because they are often sent via SMS.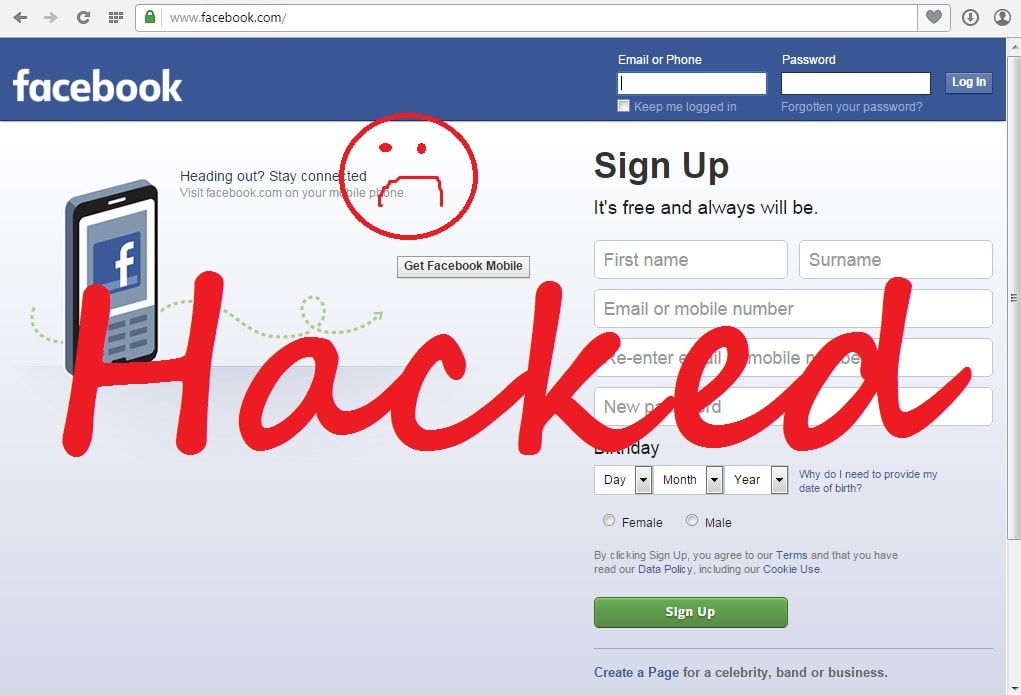 Also, scammers can find out about your elderly relatives and deceive them using all known information. Here's how to avoid all of this.
1. Use a complex password. It can be set instead of a four or six digit unlock PIN.
On iPhone: , go to "Settings" → "Touch ID and passcode" → "Require password: immediately"; "Change password" → "Custom code (letters + numbers)".
For enhanced security, enable reset all data after ten failed attempts.
On Android: "Settings" → "Security" → "Screen Lock", select "Password" as the screen lock method, and set a password of letters and numbers. Then "Settings" → "Security", uncheck "Show passwords".
2. Turn off lock screen notifications. This will prevent attackers from seeing emails and messages - including payment verification codes.
On iPhone: Settings → Passcode (Touch ID & Passcode) → Screen Lock Access and Settings → Notifications → Thumbnail Show → No Lock.
On Android: "Settings" → "Applications", select the application and uncheck "Show notifications".
3. Turn on two-factor verification on your phone and computer. With two-factor authentication, in addition to the password, you confirm the entry using an SMS code that is sent to the device you connected. This will prevent outsiders from gaining access to your account.
On iPhone: Apple ID website → "Two-Factor Authentication" → "On" Then: "Security" → "Verified phone numbers" → "Edit" → "Add phone number with texting capability".
On Android: Sign in to your Google Account and follow the instructions on the website.
4. Turn off automatic data synchronization. It is because of her that intimate photos of celebrities often get into the network: hackers hack into their cloud storage from other devices.
On iPhone: Settings → Apple ID, iCloud, Media (or just tap your first and last name at the very top) → iCloud → iCloud Drive and Photos - Off.
On Android: Google Settings → My Location - Tap Off. for Sharing Location Data and Location History. Search & Suggestions - Disable Google Now. "Google Photos" → "Settings" → "Auto upload" - turn off automatic uploading of photos to Google servers.
5. Disable automatic Wi-Fi connection. By default, your phone automatically connects to familiar Wi-Fi networks. However, public networks are often weakly secured and easy to hack. So scammers will get access to all the data on your smartphone.
On iPhone: Settings → Wi-Fi → Select a public network (for example, the one you connected to in the subway or cafe) → Forget this network, as well as Auto-connect and Auto-share - Off Then we return to the list of networks and click "Ask" next to "Request to connect" and "Auto access to the point. "
"
On Android: "Settings" → "Wi-Fi", hold down the desired network, delete it in the menu that appears. In the "Advanced settings" section, uncheck the "Always search for networks" checkbox.
6. Prevent applications from accessing photos / SMS / contacts. Many applications get access to location, photos, social networks, Internet traffic. This can be used by scammers.
On the iPhone: "Settings" → "Privacy": "Geolocation", "Tracking" and in all applications put Off.
On Android: "Google Settings" → "Connected Apps" - disable all unnecessary.
Other things you can do on iPhone:
1. Disable password autofill. This prevents outsiders from logging in to the apps and services you use frequently. "Settings" → "Passwords" → "Autofill passwords" - Off.
2. Disable cookies and autocomplete in browsers. This is the history of the browser, which stores all the sites that you visited, as well as logins, passwords and settings for them.
For Safari: "Settings" → "Safari" → "Privacy and security" → "No cross-tracking" and "Block all cookies" - On. And also "Autofill" - make sure that everything is Off: storage of data, contacts, credit cards.
For other browsers, check the settings.
What else can be done on Android:
1. Download applications only in the Google Play Store and Yandex.Store . Unlike iOS, Android is an open OS, and any suspicious software can infect a virus, steal your data, or download gigabytes of ads from the Internet. The official store has a Google Play Protect function: it scans 50 billion apps daily on more than 2 billion devices to protect them from viruses and intruders.
"Settings" → "Security", uncheck "Unknown sources" and check the box "Verify applications".
In the same place, in "Settings", make sure that "Play Protection" is active.
2. Encrypt your data. This will help keep them safe even if the phone falls into the wrong hands. To do this, you need to set a password instead of a PIN code and enter it every time you turn on your phone.
Settings → Security → Encrypt phone. Also check the "Encrypt SD card" box.
You can use your Android phone for two-factor authentication through your computer or laptop . This will pair your phone with your computer via Bluetooth to prevent you from visiting phishing sites. You need a computer running Windows 10, macOS, or Chrome OS to set up. Add a Google account to your phone by going to Settings → Accounts → Add Account → Google.
Then open the Google Chrome browser on your computer.
Go to the "Security" page in Chrome and click "2-Step Verification".
Select "Add Security Key" and then select your phone. You can now sign in to Gmail, Google Cloud, and other Google services using your phone as an additional verification method.
1. Set up two-factor authentication .
Go to "Settings" → "Security" → "Two-factor authentication" and select the method of protection: through a special application or via SMS. Now, each time you log into your accounts, you will receive additional codes for verification.
2. Prevent third-party applications from accessing your account.
"Settings" → "Security" → "Apps and sites". Disable all unnecessary applications.
3. Don't forget to remove access from former employees.
If you use Instagram for work, make sure that no former employee has access to your account.
Log in to the application and open your business page. "Settings" → "Roles on the page" → "Existing roles on the page": remove everyone who is no longer working with you.
4. Check who logged into your account.
Settings → Security → Logins. If you see suspicious locations in the list, change your password - someone else may be using your account.
5. Close the profile.
If this is not a work account and you don't earn money from advertising on the blog, it's better to make the profile private. This will at least protect you from spammers.
"Settings" → "Privacy" → "Closed account".
6. Hide your online status.
So no one will know when you are online.
"Settings" → "Privacy" → "Online status".
1. Delete personal information.
Facebook can show your age, where you work and where you live, marital status, information about relatives, and even all the places you have visited. If you do not want this information to be used by third-party companies and services, it is better to remove it from the page.
On a PC/laptop:
"Information" → select the desired section and information → "Delete".
In the mobile app:
“View information section” → select the desired section and information → press the pencil and then the cross.
2. Turn off face detection.
Facebook can recognize faces to tag you in photos. You can disable it.
PC/laptop:
In the upper right corner is a triangle, "Settings and privacy" → "Quick privacy settings" → "Manage face recognition" → select "No".
In the mobile application:
Click on the three lines in the lower right corner (the so-called burger menu), then do the same.
3. Restrict apps from accessing your data.
When you log in with Facebook to other services, they get access to your account data: photos, locations, preferences. Don't forget to remove access when you're already signed into the app. iPhone and MacBook users can select "Sign in with Apple" to sign in.
Computer/Laptop:
Settings and Privacy → Quick Privacy Settings → Privacy → Advanced Privacy Settings → Apps and Sites → check the boxes next to applications and click Remove.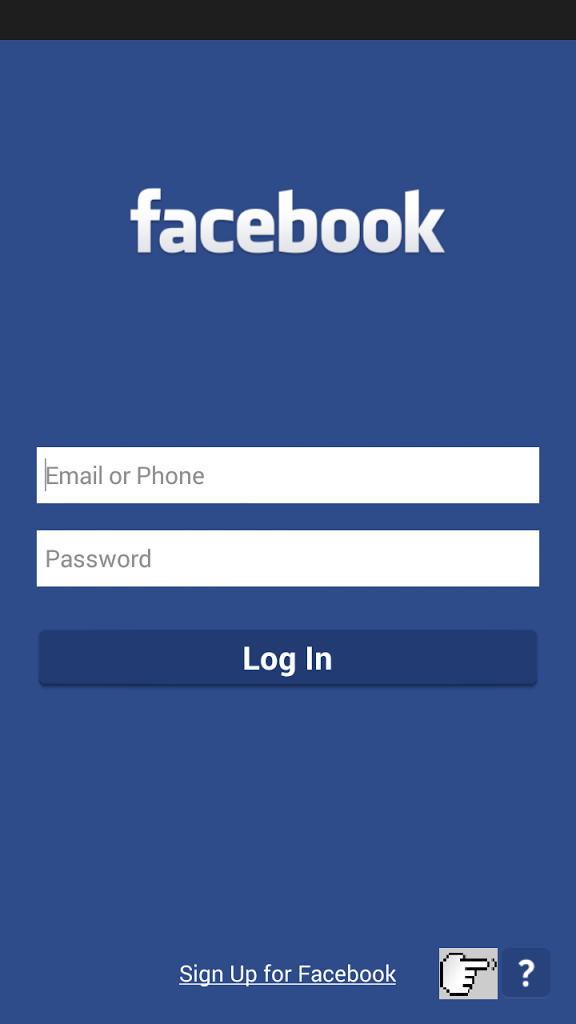
On the mobile app:
"Settings and privacy" → "Quick privacy settings" → "Privacy" → "Check basic privacy settings" →
“Your Facebook data settings” → “Apps and websites” → continue in the same way.
4. Restrict access to your posts and personal data.
If you share personal information on the page, it is better to hide it from strangers. Social media profiles are increasingly viewed by HR before interviews and by security before hiring you.
Computer/Laptop:
Settings & Privacy → Quick Privacy Settings → Advanced Privacy Settings → Your Activity → Who Can See Your Future Posts? → "Edit" → select "Friends only". There you can also select "Restrict access to old posts" for friends.
In the mobile app: the same.
Both WhatsApp and Instagram belong to the same Facebook. This means, firstly, that the principles of data exchange and account protection are similar. And secondly, that all your correspondence and personal data from chats and Facebook accounts can be used for its own purposes.
1. Do not share your six-digit verification code with anyone.
This is the code you receive via SMS to confirm you are logged into WhatsApp on your computer or laptop. This is often used by scammers who can send messages to any user from group chats.
2. Enable two-factor authentication.
Settings → Account → Two-Step Verification → Enable. Create a PIN and enter your email address so that you can restore or change it.
3. Hide online status, photos and geolocation.
"Settings" → "Account" → "Privacy" → select instead of "Was (a)" "My contacts" or "No one", do the same with "Photo", below - "Geolocation" and other data.
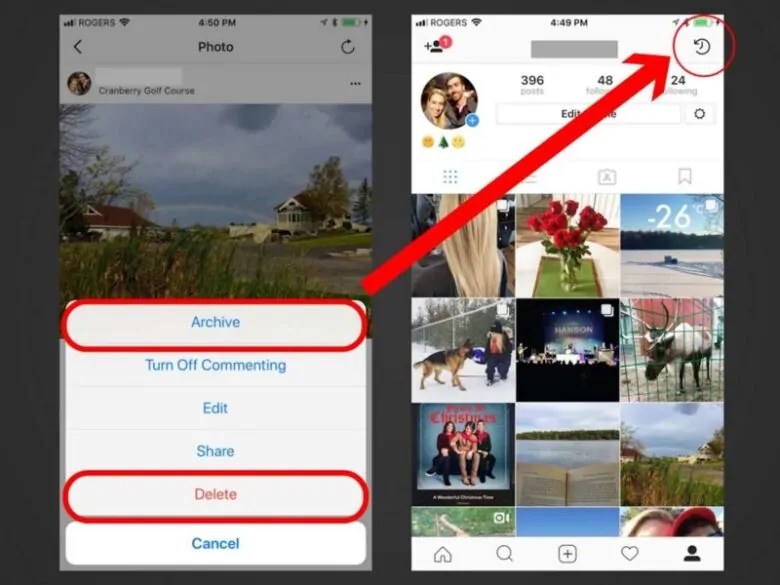
4. Archive chats where you share personal information.
To do this, drag the desired one in the list of chats to the left and select "Archive".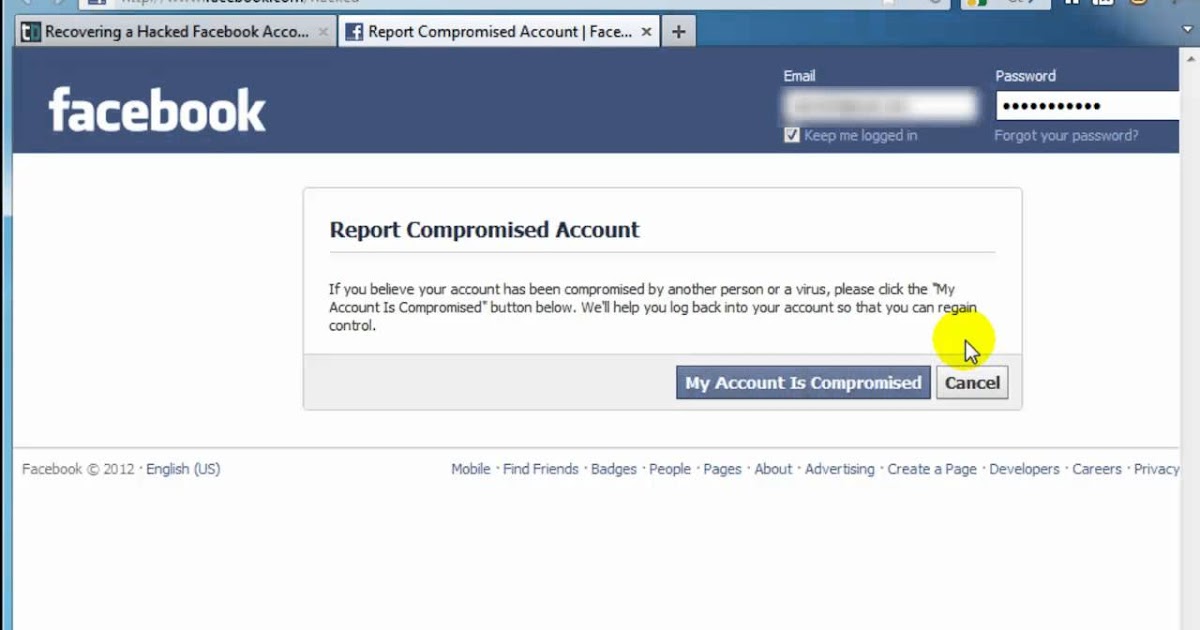 It will still be available in the archive, but outsiders will not know about it if they get access to your phone.
5. Turn off message backup
This will protect your communications if someone accesses your Apple or Google account on another device.
For iPhone: Settings → iCloud → WhatsApp - Select Off. Now in the messenger itself: "Settings" → "Chats" → "Backup" → "Automatically" → "Off".
1. Enable two-factor authentication and passcode.
Settings → Privacy → Cloud Password → Set Password. Then go back and select Passcode & Touch ID.
2. Do not click on suspicious links or provide personal information in chats.
Even if it's someone you know. If allegedly Telegram administrators write to you, the profile should have a blue verification checkmark.
3. Send personal data and passwords only in private chats.
Select the desired contact, press.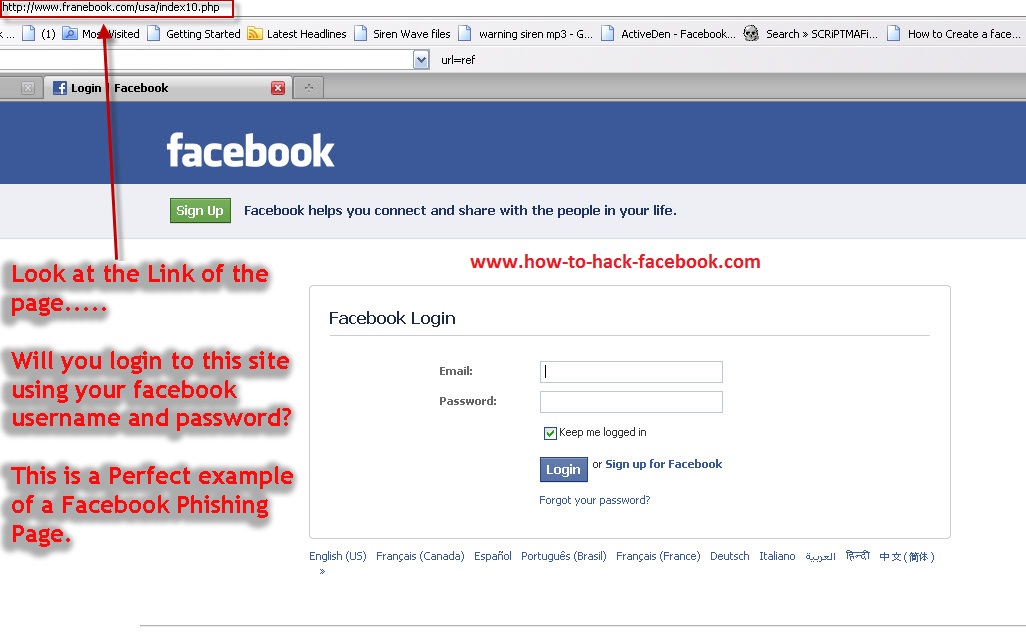 Then click on the profile, select "More" → "Start Secret Chat".
4. Do not forget to log out on your computer or laptop.
Every time you finish working on your personal or, moreover, work computer, log out of your Telegram account. Remember that anyone can access it.
5. Set up automatic deletion of data.
If you have not logged into Telegram for a long time, you can set up automatic deletion of all data after a certain time. “Settings” → “Privacy” → “If I don’t log in” → select the desired period.