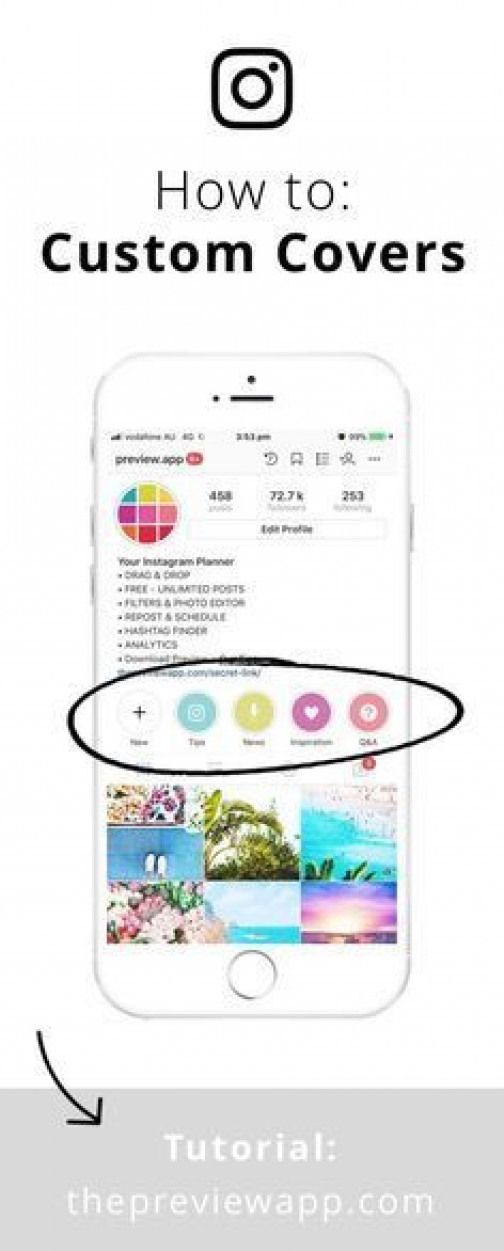
Instagram Stories are ephemeral pieces of content that get deleted from your profile after 24 hours. However, there’s a way to retain them through Highlights. In this post we explain what Highlights are and how you can add them on your profile.
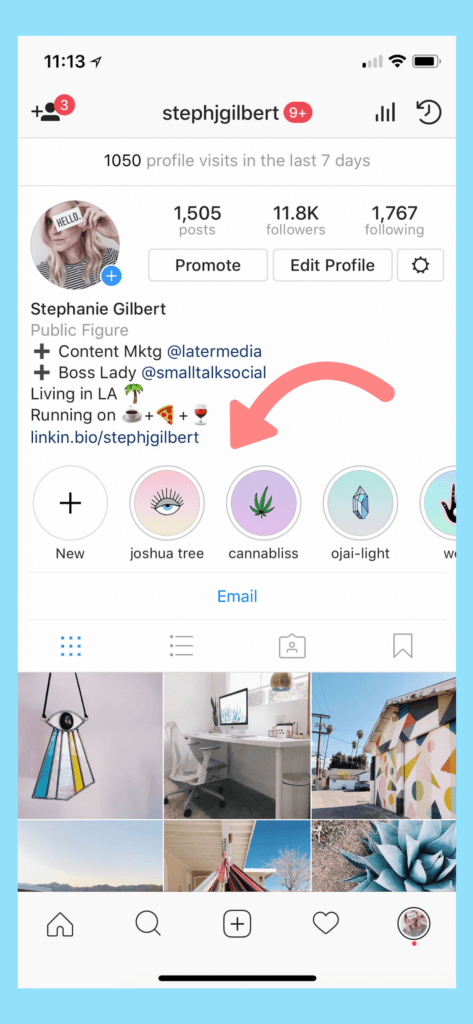
Highlights is a feature in Instagram that lets you group the Stories you’ve shared in the past and features them on your profile. You can find the Highlights section just underneath the bio section.
Even as Stories usually encompass less polished material compared to posts, you may still be proud of some of the Stories you’ve posted and would enjoy seeing them on your profile. This is where Highlights steps in.
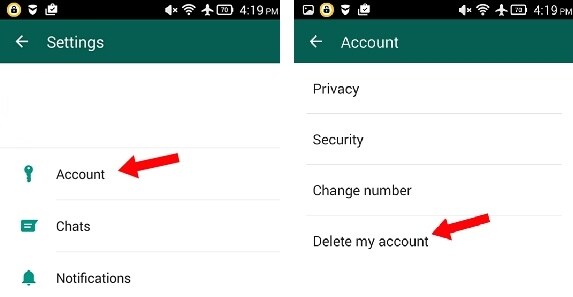
Adding Highlights to your profile is very easy, provided you have a library of past Stories to fall back on. This entails that you have the Stories Archive feature enabled. The option is usually on by default in your mobile app, but you can check to make sure that’s the case by following these steps.
Now that you’ve ensured that Archiving is on, you can go ahead and start creating Highlights.
The Highlight has now been added to your profile. The full collection of Stories will be visible once you press on the specific bubble underneath your profile information.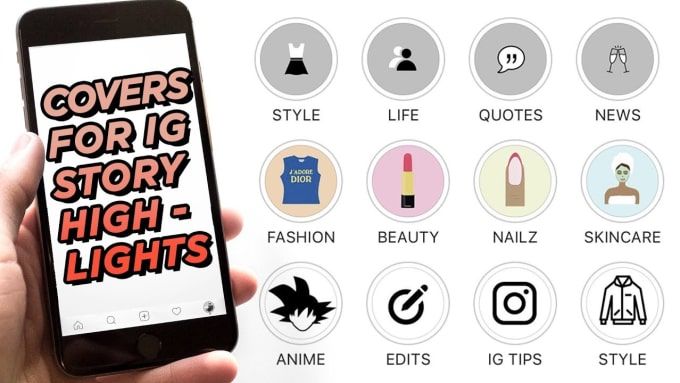
It’s worth noting that you can create Reels directly from your Highlights panel. Once a Highlight has been created, press on the respective bubble that shows up on your profile.
Tap “Create” at the bottom. You will be able to shoot a new Reel or use any older clips you have saved to your camera roll, but the results won’t be added to your Highlights. Instead, they will be posted to your Profile, as usual.
If you have a Story that is currently running and wish to add it to a Highlight group, you can do so without having to revert back to your Profile.
That’s it! The Story has been added to the targeted group.
Suppose you forgot to add a few Stories to one of your Highlights, or you had a recent Story running that perfectly fits one of the categories of your Highlights.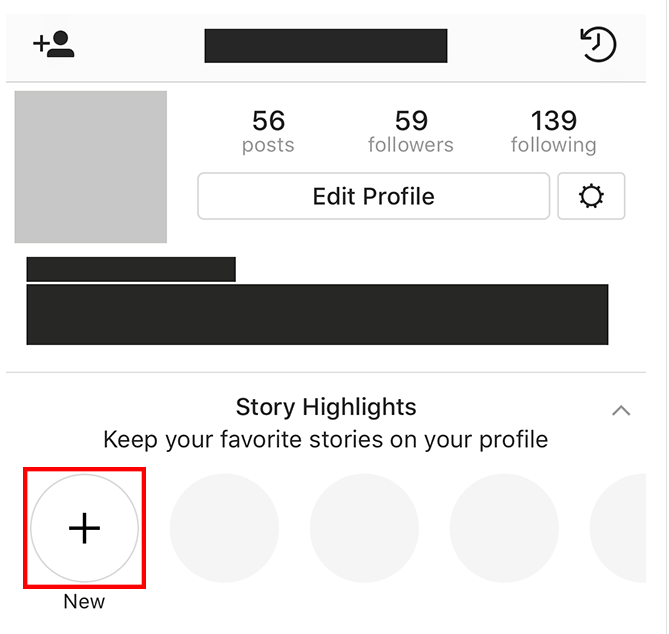 Not to worry, as you can easily add it to your profile.
The new Stories will be added to that specific Highlight.
If you want to remove a Highlight from your profile, that’s totally OK. You can do that very easily.
While you can’t create new Highlights from your PC or add any new Stories to the groups you’ve created, you can delete individual Stories from a Highlight.
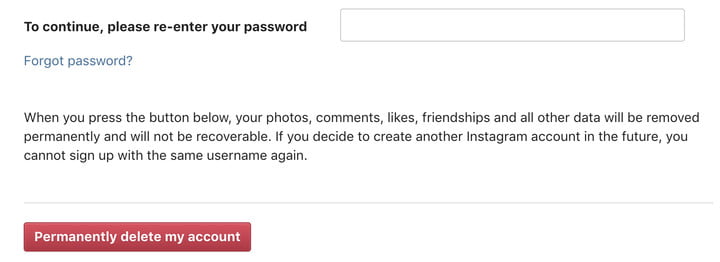
All you have to do is click on the Highlight, then select the three dots in the upper-right corner and select “Delete.”
Instagram Highlights is a great tool that allows you to organize your content based on topics and categories, then places it at the forefront of your profile. If you’re a brand, using this feature can be even more crucial, as it enables you to expand your interactions with your customer base. With this in mind, you can use Highlights to do a number of things:
By default, Instagram picks one of the photos included in Highlights to be the group’s cover image. If, however, you want to go for a more polished or artsy look, you should know that you can find and download unique Highlight cover templates online. Below we’ve listed three tools that allow you to download such templates for free:
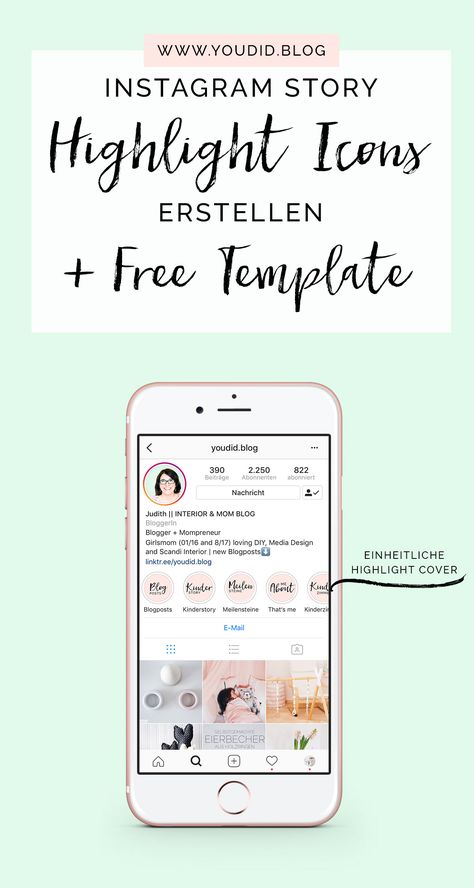 Users can download them as they are or quickly edit them.
If you don’t know where to start when it comes to setting up your Highlights, all you need to do is look around you for some inspiration. There are countless accounts doing Highlights right, and for the most part, they seem to match their Highlight covers with the general feel and look of the profile. Here are a couple of examples of profiles that impressed us. As you can see, they range from simple to the more complex.
Design Therapy
Francisco Fonseca
Instagram hasn’t imposed any limits, so in theory, you can add as many as you want. There’s a limit, however, to how many Stories you can include in a single Highlight: 100.
If you have a Story that is currently running and have included it in a Highlight, you’ll be able to see who has viewed it so far.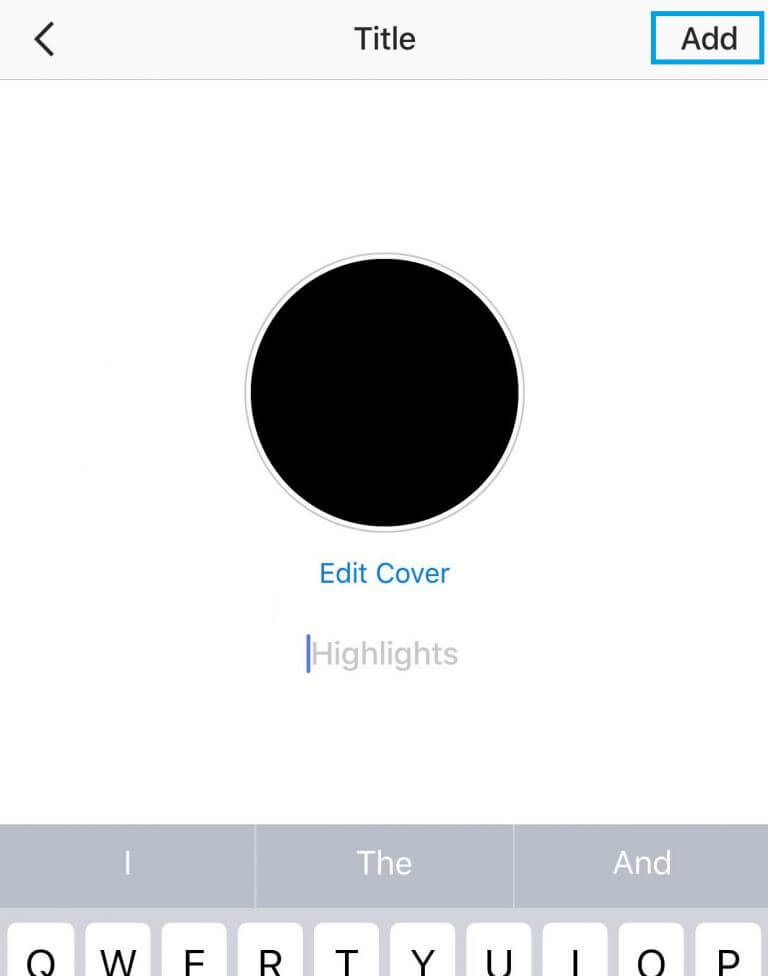 After 24 hours, this information will no longer be available. When it comes to older Highlights, it’s not possible to see who has viewed them.
No, you can keep them for as long as you like on your profile. If you’d like to get rid of them, you’ll have to manually delete them.
Now that you know how to keep Instagram Stories around for longer, maybe you’ll be more inclined to put more effort into creating your next ones. If that’s the case, then you should check out our list of the best apps for creating unique Instagram Stories. Additionally, knowing how to download Instagram Stories and Highlights may also come in handy.
Is this article useful?
Subscribe to our newsletter!
Our latest tutorials delivered straight to your inbox
Sign up for all newsletters.
By signing up, you agree to our Privacy Policy and European users agree to the data transfer policy. We will not share your data and you can unsubscribe at any time.
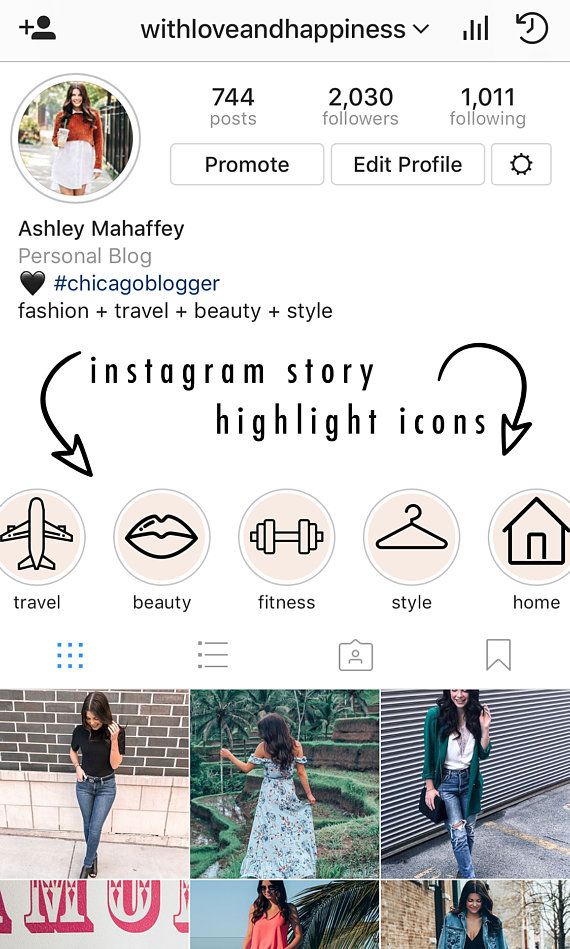
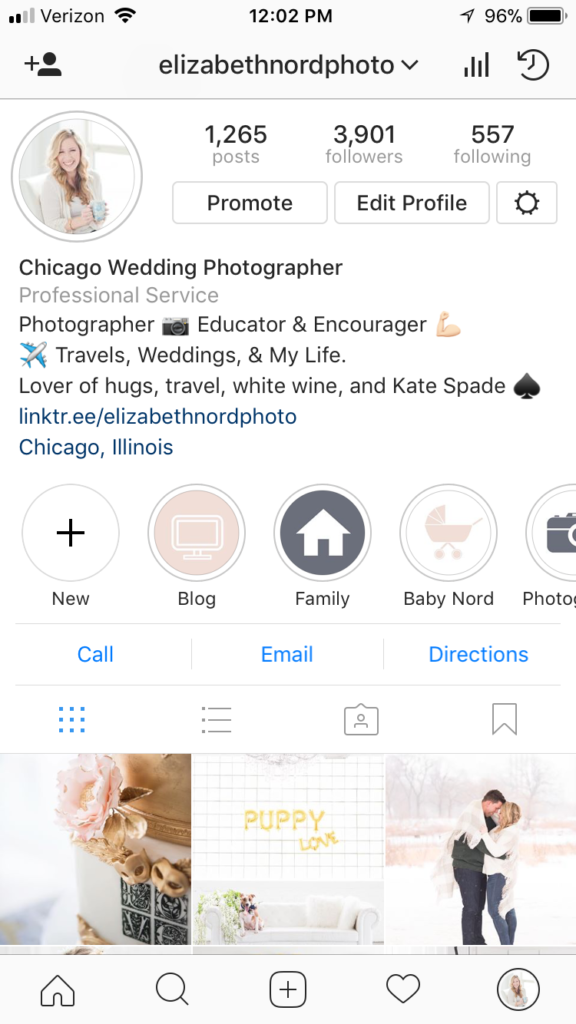
What do people see first when they open your Instagram profile?
Your bio information and of course right below one of the most useful Instagram features, the Instagram stories highlights!
They are front and center on your profile, serving as the perfect indicators to show users what your brand is all about. You can have the best Instagram stories that you re-share from your followers and build a perfect user-generated content highlight as social proof for your brand’s quality.
Unlike Instagram Stories that disappear after 24 hours, Instagram Stories Highlights can live permanently on your profile. This is why you should consider spending some time planning on how to apply them to showcase and promote your brand.
In this guide, you will learn all you need to know to create Instagram Highlights that will help you stand out from the crowd.
What’s inside:
show
We all know that Instagram stories disappear in 24 hours. And, in order to give the option for the users to save some of the stories and make them visible as a pin in their profile, Instagram has provided a feature called Highlights.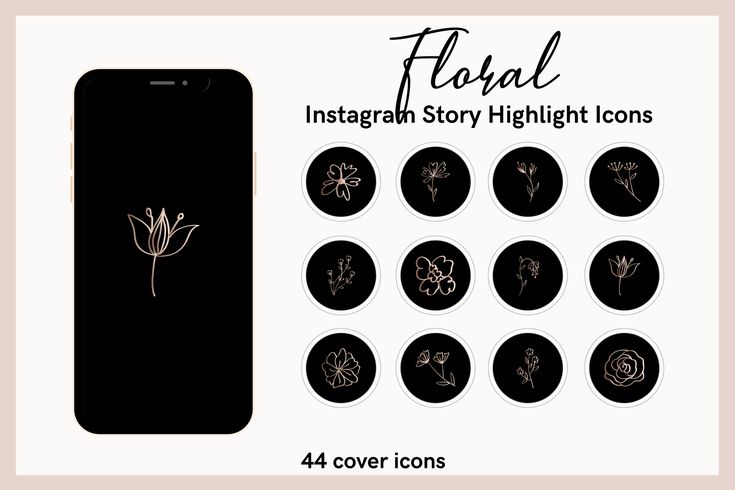 The feature allows you to keep your stories content on your Instagram feed as long as you want.
Instagram Highlights are groups of stories that you can create as folder sections on your Instagram profiles.
This means that once you post a story you can save it in a Highlight (like a folder) that will display on your Instagram profile, or you can activate the Archive option that will automatically save Instagram stories and in the future create highlights from the saved stories in your archive.
The main attributes of the Highlights are:
Note that, once you create the Highlights they appear in your Instagram profile screen right below your bio text and profile photo.
FYI: You can embed Instagram widget automatically with EmbedSocial’s UGC platform. Start a free trial and display your social media widgets now.
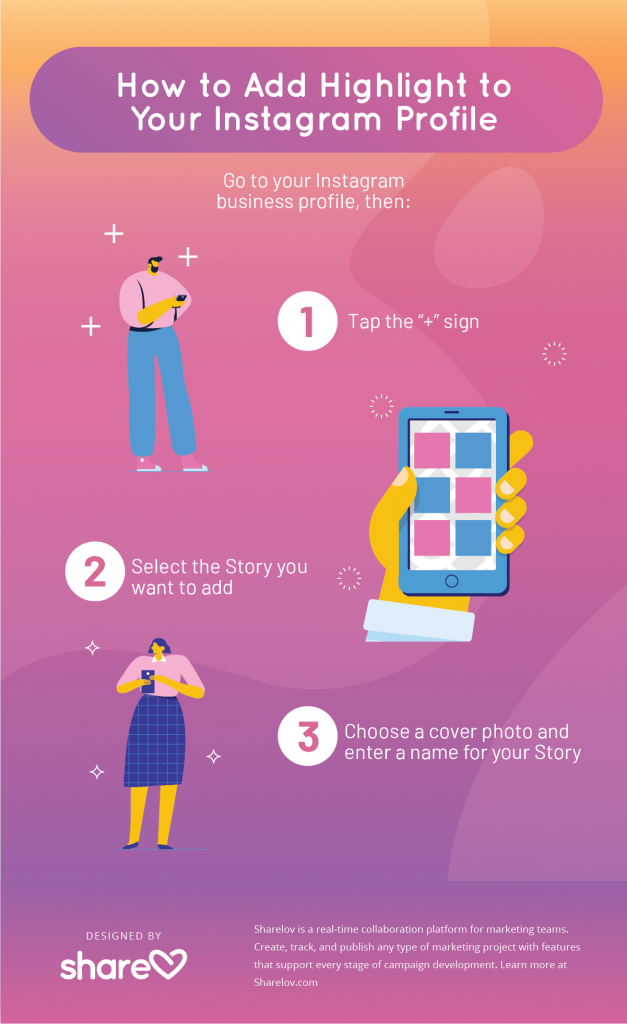
As mentioned above, you have two ways how to create an Instagram Story Highlights:
Let me show you how to create a Highlight with the first option:
If you have an active story and you want to make sure this story is added to a Highlight just follow these steps:
Once you do this, your new Highlight will appear on your profile photo and your followers will be able to view it even after the 24 hour story lifetime.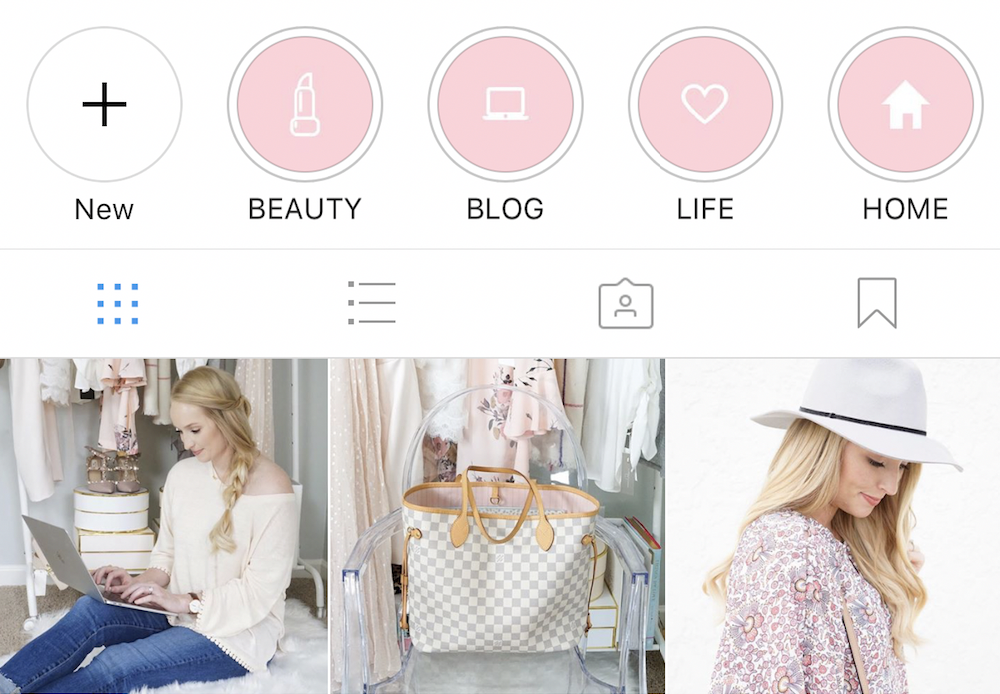
There is a possibility to create highlights from the stories archive as well. Using the story controls and options you can pull the stories you save to archive.
To add Instagram stories from your archive to a highlight and pin them on your profile, follow the steps below:
You can add more photos or videos to your highlight at any time by following these steps:
Also in this ‘Edit Highlight’ screen, it’s text and it’s the cover image. And if you want to delete the Highlight, just press and hold on to the Highlight you want to delete and choose the option ‘Delete Highlight’.
Instagram Stories have become one of the main channels for brands to connect, engage, and gain real results from their digital marketing activities. Understanding Instagram stories for business can be one of your main competitive advantages for your 2020 marketing activities.
Therefore, having hard-produced story videos or images, saved for future followers to view at any time, make the Highlights feature very important for the community managers and digital marketers.
The main reasons why you need to use Instagram Highlights, are the following:
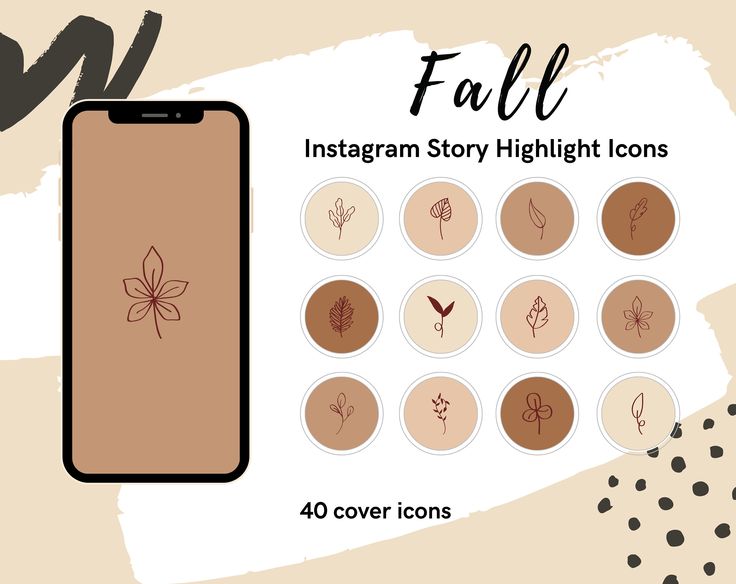
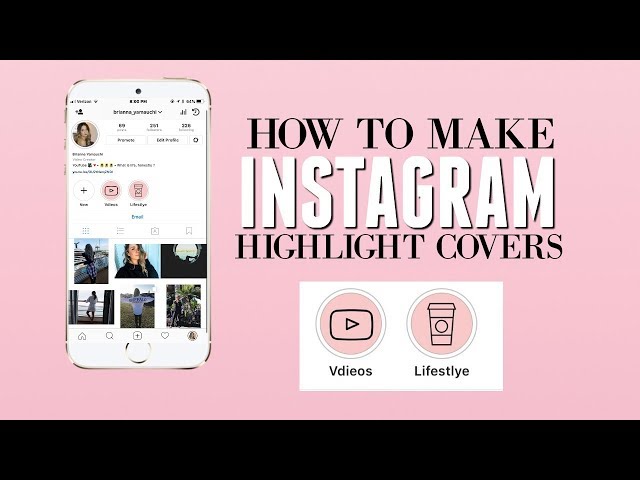
 How to add Instagram Highlights covers or icons?
The covers and the text of the Instagram Highlights are gaining huge popularity due to the fact that these small icons are the first thing a new visitor to your Instagram profile will see.
You will notice that the cover images are usually the images in the stories that you’ve selected for that particular Highlight. But, this tutorial, will show you how to change the Highlights covers without sharing them in a story.
Before you start, please add the icon images in your phone’s camera roll and follow these steps.
That’s it! Now you have your Instagram highlight covers!
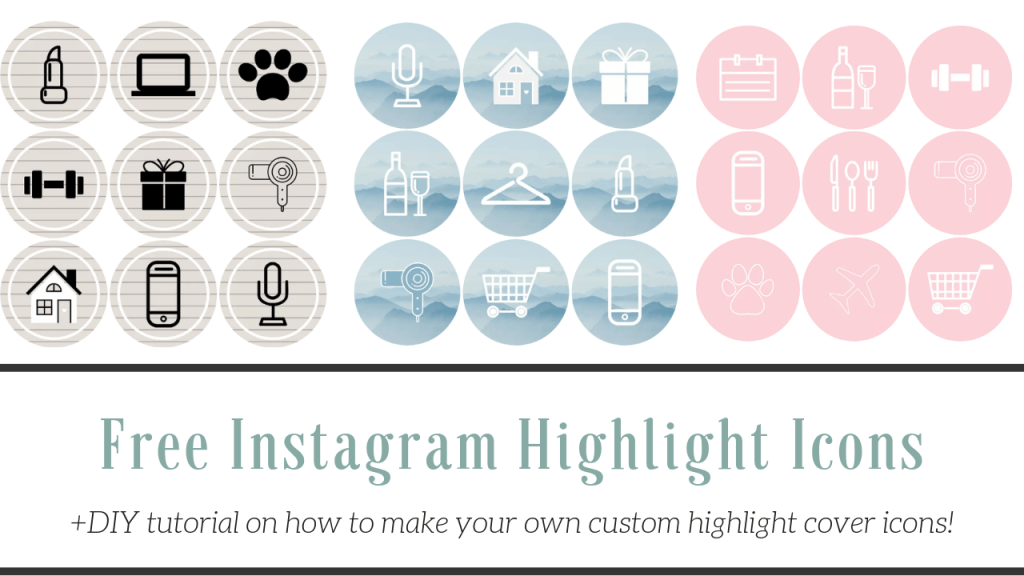
As for your other social media and Instagram feed, you can also design your own free icons for your Instagram stories.![]()
For this challenge, I will definitely recommend Canva.
It is a very easy tool and it already has predefined icons that you can easily re-use to make Instagram highlights covers.
You will only need to follow the steps below, and in a very fast time you will be able to create your highlight covers:
Once you want to change the cover, just choose this icon from your phone’s camera roll.
Once you know how you want to create the icons, you will need to make a plan for the overall design of the Highlights section.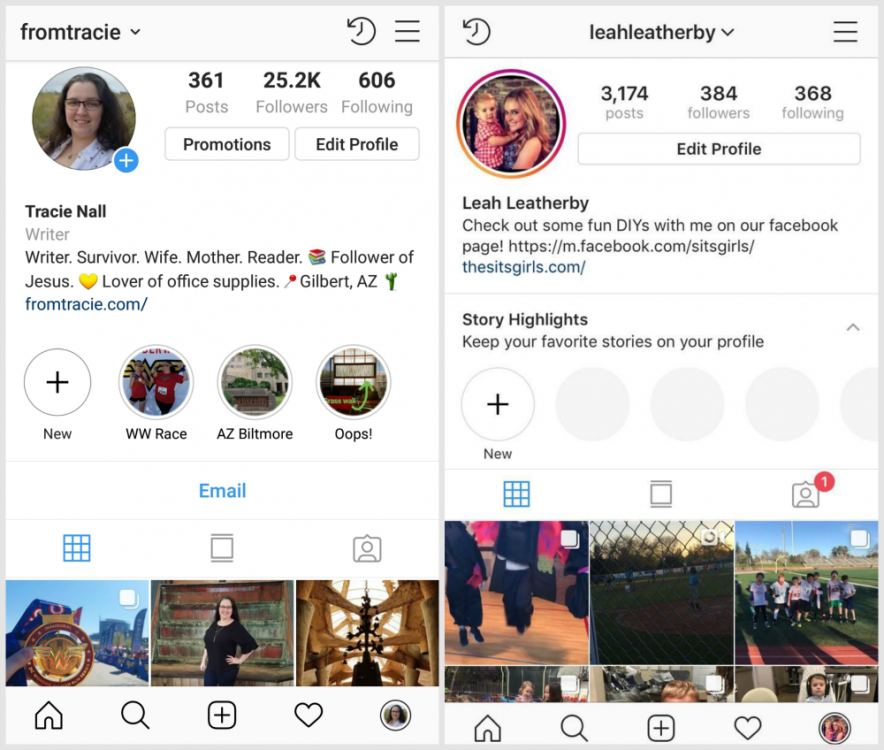
This is a current trend, and as you are probably aware you want to make sure people coming to your profile click on these icons and check your great Instagram stories.
In the following section, you can find some interesting ideas on how to organize the Instagram stories and design the Highlights covers.
Here are few Highlights covers for inspiration:
1. Glossier Inc. is a people-powered beauty ecosystem – they use pink color only for their profile image (not a logo) and for the Highlights covers they use only blank–white images or product-line images. Very minimalistic and very different than other accounts, which usually use icons or some product images.overs they use only blank–white images. Very minimalistic and very different than other accounts, which usually use icons or some product images.
2. Carrots n Cake Flexible Macro Plans & Coaching – provides a very indebted structure about their content published via Instagram stories and uses all light-orange icons with the same layout to represent all different categories of the Highlights.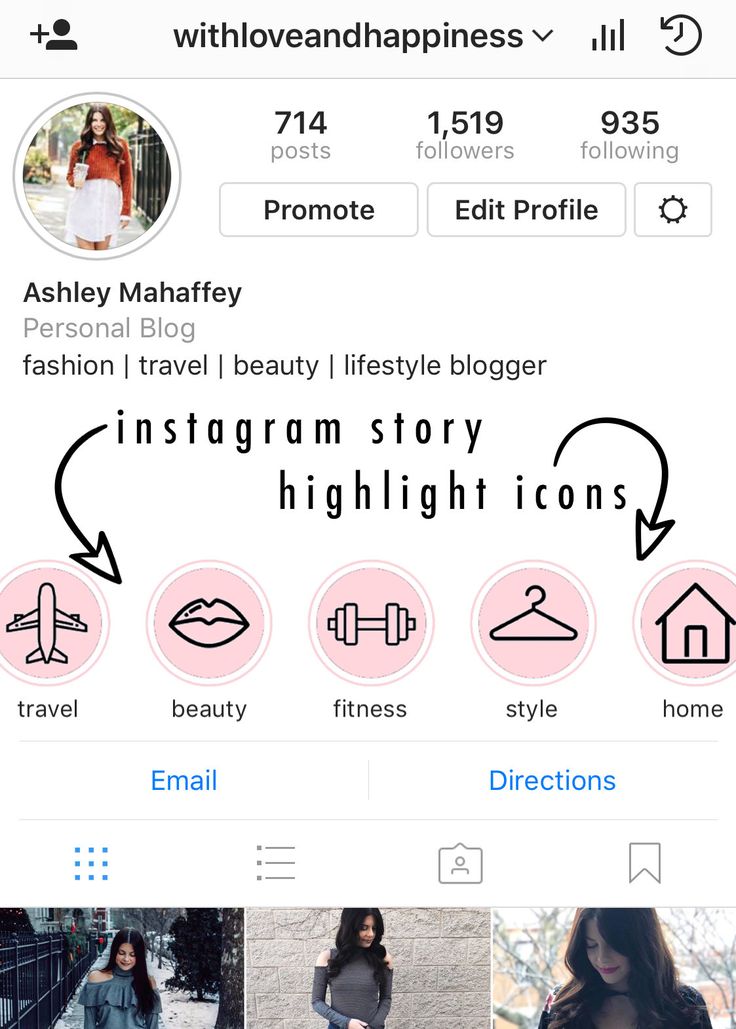
3. Starbucks Coffee – they use real people photos as they use real people photos or cute green product images as cover icons for the Highlights. This appeal brings the design of their profile to life and it makes the visitors feel the user-friendliness of the profile.
Instagram highlights popularity has definitely resulted in them being an essential element of every Instagram profile.
So, to make sure you keep up with the latest trends, we combined some tips with real examples to showcase how you can design the Highlight covers to get the best of this Instagram feature.
Tip 1: Be innovative. Use words instead of icons or vice versaWhen creating Highlight icons, make sure it is in line with your brand identity but still have fun, and try to be as innovative as possible to make that small space eyecatching.
For example, see how Instagram for business is doing this.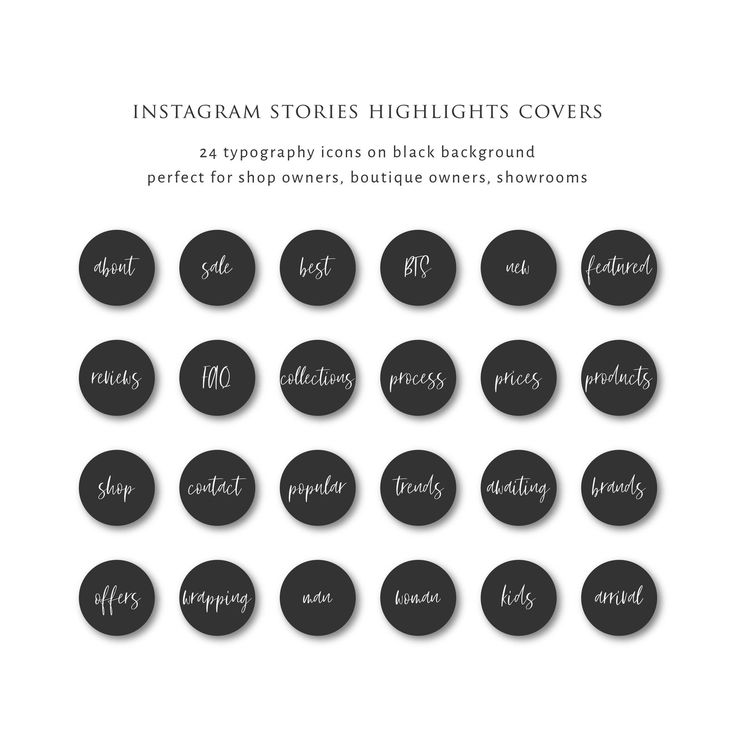
They use their colors but not for designing the cover icons.
They’ve literally swiped the spaces.
They use the actual icons for cover icons. Cool right?!
Tip 2: Use bold icons and text to emphasize your highlightsTake a look at how the French beauty chain Sephora is doing this.
They use simple, but cute icons to demonstrate their activities on Instagram, from posting stories about new products or categorizing these stories by a product type.
Tip 3: Use your brand colorsTo make your profile have a cohesive look and keep your brand voice, try including your brand kit in your Instagram highlights covers.
See how the American chain of restaurants Shake Shack is doing this.
They use simple icons with green graphics to present their company activities.
Tip 4: Showcase your product/servicesHighlights are a good way to show Instagram users what you offer.
Check out how Florence by Mills does this.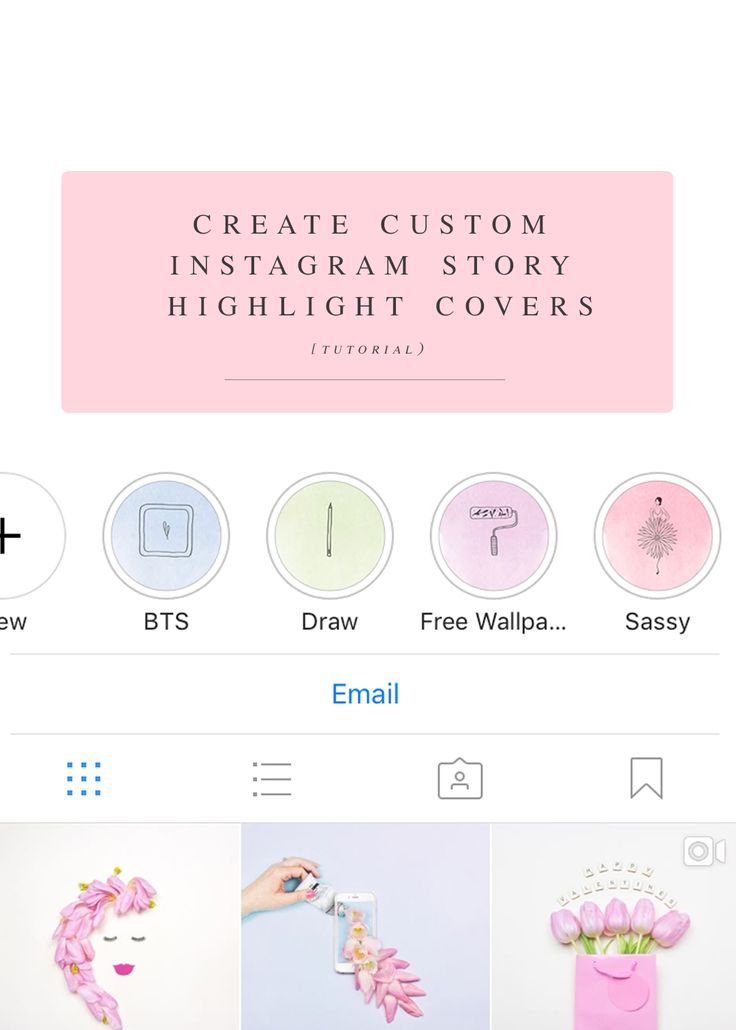 The cosmetics brand crafts eye-catching highlights (that also match their brand colors) to present their products and services.
See how Nike Women does that in practice.
The famous footwear corporation includes famous athletes as their brand ambassadors in their main story highlights covers.
The actual covers are a photo of the athlete and the name of the Highlight is her name.
Once you are done crafting your unique Instagram highlights, why not show your creativity on your website too?
Please note that at this moment Instagram does not have an API that will allow third-party tools to directly sync the websites with your Instagram Highlights.
The good news is that there are tools like EmbedStories that can display Instagram stories on any website.
This means that you can embed Instagram Highlights but only for the stories that are already generated in the EmbedStories platform.
The archived stories can be uploaded manually by using the upload option for a custom story that you can later add to your stories Highlights menu.
For any information on how to embed Instagram Highlights on your website, feel free to chat with us.
—
In summary, Instagram highlights help brands catch the eye of their followers and keep them engaged in a more creative way.
And from the looks of it, Instagram highlights popularity isn’t going to vanish anytime soon.
Use that wisely!
These Instagram Stories hacks will save you time and make you the best story maker in town (no kidding).
It's simple math: if a picture is worth a thousand words, a story post should be worth a million, right?
500 million people access Instagram Stories every day. And in 2021, companies will have more opportunities than ever before.
Some may say that there are too many functions.
That's why we've narrowed down our favorite tricks and little-known features to 32. These are the best time-saving tricks that will make you look like a pro at Stories and ensure you're taking full advantage of the platform.
Do I need to add a special background when you post a feed post in your story? God, of course not. But it's like putting on lipstick for a Zoom meeting. Sometimes it's just nice to add a little brightness to the ordinary.
How to:

Unfortunately, links are only available to users with more than 10,000 subscribers.
But once you hit that mark, you'll be able to add one link per story, and your lucky multiple followers will be able to swipe up to go to the URL.
link to scroll up. Web link. Users will be able to swipe up to go to this site. Go to preview. branded content. Tag a business partner. Allow business partner to advertise.
How to:
If you didn't pass the account verification and verification or you don't have 10,000 followers, don't worry. You can still add a link to your story with this workaround.
How to add a link to your story if you don't have 10000 followers:
That's it!
People will be able to swipe up to watch your video and click on the link in the IGTV header.
The default gradient backgrounds are nice, but sometimes you have something to say that can only be framed by a wall of stunning light green.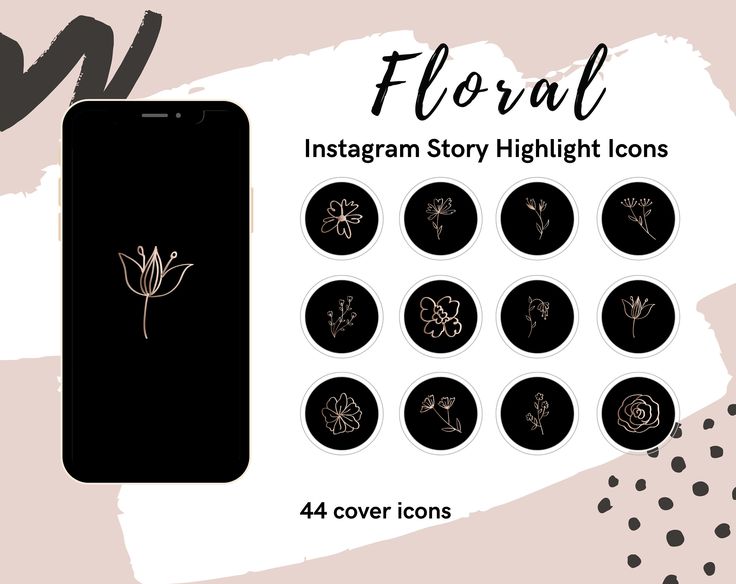
How to:
You are greedy, but we do not judge. In fact, you have access to all the colors of the rainbow and some of the Instagram stories. Find your brand's shades or have some fun with a dubious shade of lavender.
How to:
 Use a green screen in your Instagram story
 Green screen technology has changed the rules of the social media game. You can visit anywhere. Including the moon. Especially the moon.
How to do it:
Instagram's teleportation feature is also interesting ー it uses a green screen, but it only appears when you move the device, so you can create a funny effect. (You're in your bedroom... and then you're on tour with Destiny's Child! Wow!)
Now that your boss, your Uncle Steve, and your strategy board president follow you on Insta, the pressure of looking like a professional employee/niece/nice neighbor can really be holding back your very best.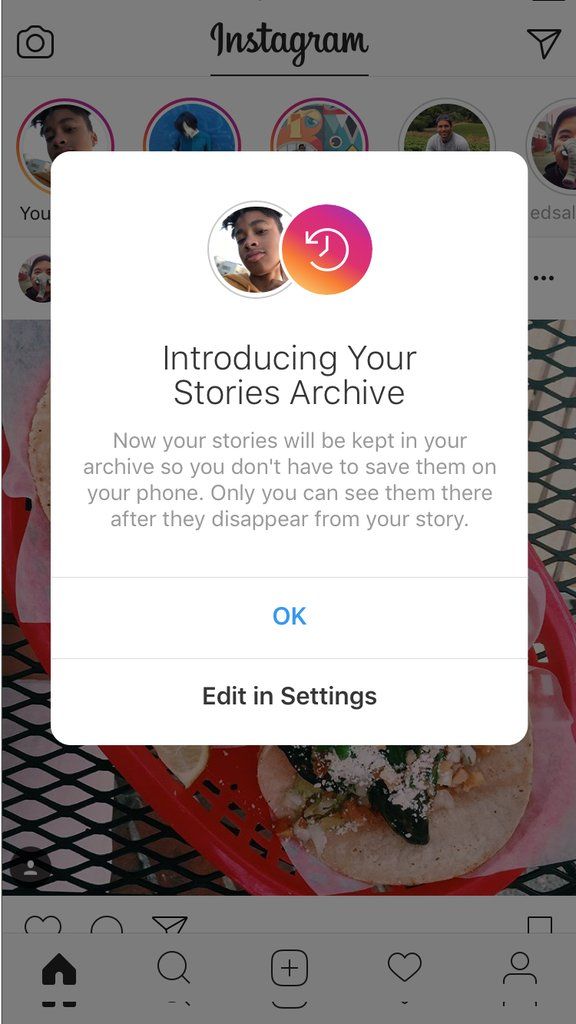 and stupid thoughts on Instagram.
Instagram's Close Friends feature ー is the ability to share more personal, exclusive content with a select group (sorry, Uncle Steve!). For businesses, this may be a way to offer special deals to attendees or VIPs (which, again, probably doesn't include Uncle Steve).
How to:
We know that Stories should be a spontaneous content format. But do you really sit at your desk or talk on the phone all day? Not! You live your life so that you have something to create Instagram stories about.
You can't actually schedule Stories directly on Instagram… but as of May 2021, you can schedule Instagram Stories through Facebook Business Suite!
How to: Check out a step-by-step guide to scheduling your stories with Hootsuite.
Maybe you see life through rose-colored glasses and want other people to see it too. It's as simple as that: use this quick trick to color your images or videos.
How to:
 Post multiple stories at once
 As any social media professional knows, properly preparing, editing, or selecting the elements of a multi-episode story can take some time. But maybe you don't want to leave your followers hanging while you're looking for the perfect background color or sticker combination for Part 2 of your local boat show coverage.
The solution is to prepare multiple story posts and post them all at the same time (in the order you choose, of course) using Instagram's Multishot tool.
How to:
Your story needs a soundtrack! Very needed.
How to:
 Create progressive posts from a single image
 Expand the drama across multiple Story posts by adding new elements to the same base image. Oooh, intrigue!
How to:
Use the eraser to unravel the mysterious image. This move incorporates the skills from #3 and #7 above.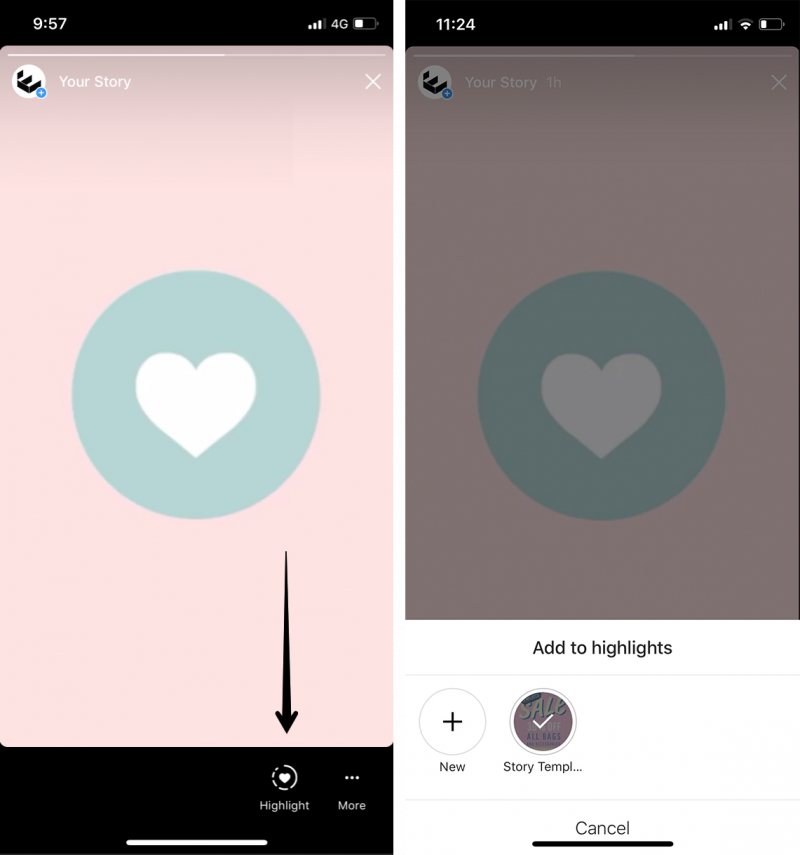 I hope you did your homework because it's a test.
How to:
Guess what I'm having for lunch
A few strategic strokes of the eraser can create the illusion of merging a photo and other elements into one. Harmoniously! Inspirational! This is art?
How to:
More pictures, more fun! Use the Insert tool to add as many photos as you want to your story. Who dares to stop you?!
How to do it:
You're a model, baby! Instagram's new Photobooth feature will take four shots in a row, which can then be shown in a variety of dynamic formats. (There are a lot of blinking camera flashes, we are warning you right now).
How to:
Have you captured a moment with your iPhone that you want to relive and then relive by rewinding? And then forward? And then back again?
If you have taken a photo in Live Photo format, this is possible. (If you don't know how to take a live photo, just open the camera app and tap the concentric circles at the top!)
How to:
Keep the posting aesthetic by removing non-glowing hashtags or tags from view. It's the digital equivalent of hiding electrical cords behind a mid-century modern desk before the guys from Architecture and Design magazine walk in on you.
How to:
Method 1
Method 2
Stories Standard Fonts ー this is just the tip of the typographic iceberg.
If the app's built-in typewriter font or Comic Sans imitation doesn't work, find something more interesting.
How to:
Pro Tip: If you have a branded font, add text directly to the image using Photoshop, Over, or another image editing app, then upload it to Instagram Stories from there.
How to:
Tinder skills can be put to good use here: a quick swipe of text will move it left, right, or back to center in the blink of an eye.
How to: While typing, quickly swipe left or right to change the alignment.
If you have an Instagram store, you can tag one product with a product sticker in each Instagram story.
When customers want to know more about the cool hamster print vest, they will simply click on the sticker and head to your store to start their shopping spree.
How to:
To match colors or not to match? That's the question...or rather, the question is what to do with the question sticker.
How to:
What color should I choose for this sticker?
If there are too many gifs, we don't want to hear it.
While Insta search lets you browse the Giphy library, using the Giphy app itself lets you create albums of your favorite GIFs for easy access ー and you can share them directly from Giphy.
How to:
Pro tip: If you have some gifs you made that you want to share in Stories, save them to your gallery, then just copy and paste directly into your story.
The built-in collage feature for Stories ー is the perfect way to share multiple images in various neatly organized collages formatted according to specific Stories sizes. Sometimes you just can't decide which photo of your sushi dinner is the cutest, we get it!
How to do it:

Answering subscribers' questions live is like having a fun interview with yourself.
How to:
This is one of the oldest tricks in the stories, but we are not too ashamed to admit that its mechanics have baffled us over the years. If you also really wanted to attach a sticker, emoji, GIF or text to a specific moment or movement in the video, here is a detailed description.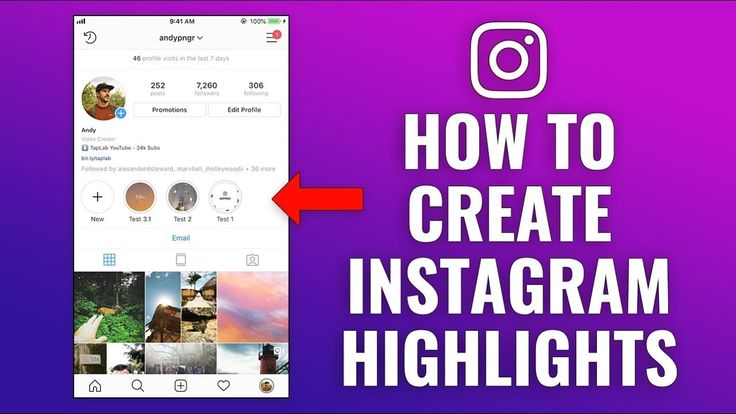
How to do it:
You don't have to be a programmer to create a filter for yourself or share it with the world. Spark AR Studio has plenty of guides and easy step-by-step tools to help you make your mark on the world (and in particular on the faces of your followers).
How to: Get a complete guide to creating your own AR filters for Instagram here.
You want your Elf Ears filter right at your fingertips, we get it. Fortunately, there is a way to create a library of your favorite effects with quick access.
How to:

Imagine this: a dynamic, moving background for a great selfie or boring product photo. There is only one word for this elegant combination of animated and still images: jazzy.
How to:
 Become an Instagram Reels master
 The Instagram Reels feature can be a bit of a TikTok imitation, but it's still fun.
Create a 15 or 30 second multi-clip video with music, special effects and stickers and surprise your followers with dancing. You can share videos in Stories, but they will also appear on the Explore page, so you can impress even more people with Celine Dion's backing track.
How to: Check out the Instagram Reels guide here! (in English)
Sure, a great cook can make delicious food with just a knife and a frying pan… but a kitchen full of tools makes it a lot easier cooking gourmet meals.
Likewise, moving away from the basic elements of Stories and adding design and editing apps to your creative process will open up a whole new world of possibilities.
Is this a good metaphor or am I just hungry? Download some apps and we'll check back after lunch.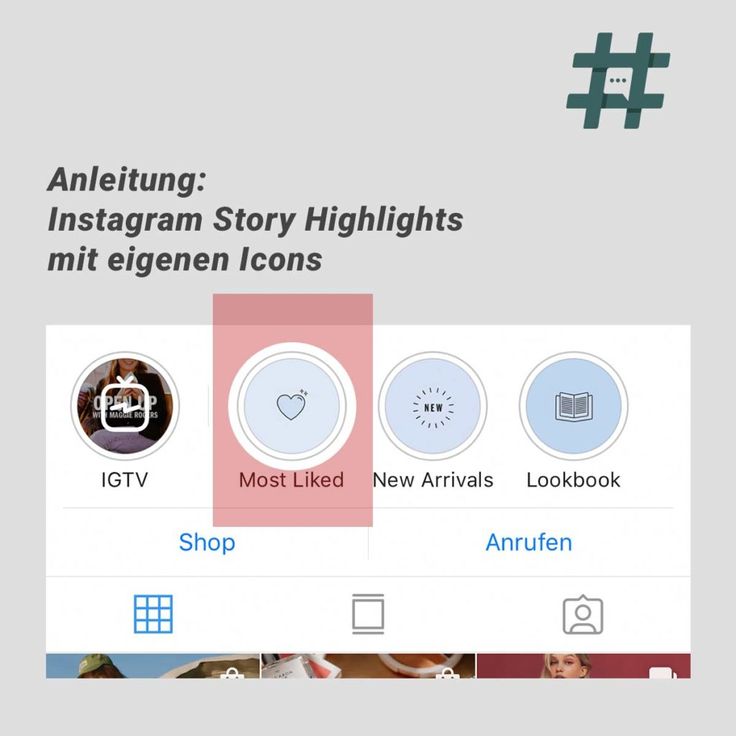
How to:
Source
Previous post Back next post Forward
Instagram stories seem to be as simple and intuitive as the social network itself.
However, not all of its features and functions are immediately visible, and even experienced SMM specialists do not know about some of them.
We've found 13 cool features that will make your job easier.
You can find out this data, which is not shown in the statistics, by going to the post itself and clicking on the three dots.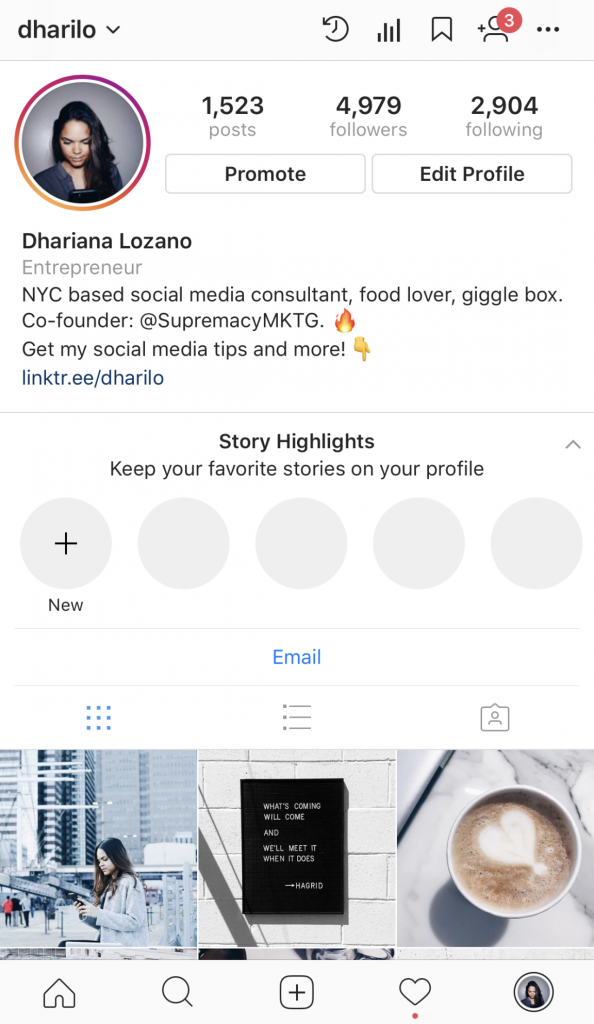 There should appear the item “view reposts of stories”.
If you don't see it, it means that there are currently no active stories with reposts of your publication.
This feature will help you understand how users react to content or determine how much they like a new product from their comments on the repost.
Copy images directly from the camera roll on your phone.
Just click “copy” and then go to instagram, open the story, press and hold your finger until the “paste” option appears.
Or download the Google Gboard keyboard and insert images directly from the search.
This life hack is the least known of our list.
But to make a boomerang, you just need to upload a live photo to your story, press hard on the screen and hold your finger until “boomerang” appears on the screen.
You can return a photo to a static original in the same way.
 Fill the font with a gradient
 Do you want the color of the text to stop being just monotonous?
It is enough to select the written text, select the initial color and at the same time (with both hands) swipe to the left over the text and the color scale.
Open the text tool and select the neon font. Then choose any emoji. All is ready!
In this simple way, you can make the story look more original and make emoji play in a new way.
To make this feature available, you will first need to download the Over application (available in the AppStore and Google play).
After installing the application, you can download fonts in OTF format to your phone from your computer by transferring them via Airdrop.
For some fonts, such as classic or typewriter fonts, this feature is available automatically.
But when you switch to a modern or neon font, this button disappears. However, a simple swipe across the screen to the left or right side will fix the situation.
Do you want to make a solid background? Easily!
Upload or take any photo, select the brush tool, click anywhere on the screen and hold until the screen is the color you want.
By the way, this problem can also be solved using the “marker” tool, however, then the background will be translucent.
And with the help of an eraser, you can later make an interesting pattern.
Hashtags in stories increase reach, but can spoil the overall picture. There are two ways to hide them:
This effect is very easy to achieve.
Write your text. Then copy the text, and make another inscription of the same size, but in a different color.
Lay them on top of each other with a slight offset. Ready!
To do so, click share the answer, download the story and upload it as an image when you share the next one.
Repeat until you have shared all the answers you want.
Did you know that you can not only overlay elements on the video in the story, but also choose the moment when they appear?
To do this, click on the text (gif) and hold it until a slider appears at the bottom.
Place the element where you would like it and click “attach”.
We all know that Instagram is already working with this service. Actually, all the gifs that can be attached to the story come from there.
However, it is rather difficult to find the one among those offered.
Therefore, we offer another option: go to the application, find the gif you like and copy the link to it.