How to activate facebook on mobile
How to Reactivate a Facebook Account to Get Back on Facebook
Making the decision to leave Facebook can be a tough one. Maybe you’re tired of being on social media, worried about your privacy, or thinking about switching to an alternative to Facebook. If you’ve chosen to deactivate your account, and then later realized you had made a mistake and wanted to get your account back, it can be confusing to figure out if and how you can reactivate Facebook. Luckily, we’re here to clear that up for you. Here’s what we’ll be covering in our tutorial:
- Can you reactivate a Facebook account?
- How to reactivate a deactivated Facebook account
- How to recover a Facebook account when you forget your password
- Tips to make it easier to get back on Facebook
Want to get started learning about Facebook account recovery? Let’s start by talking about whether or not you can reactivate a Facebook account after you’ve deleted it.
Can you reactivate a Facebook account?
Yes, you can reactivate your Facebook account if you deactivated it in the last 14 days. Your account cannot be recovered if you deactivated it more than 14 days ago, as it will have already been deleted permanently. If you’re still within the 14-day period after deactivation, it can be reactivated.
If you’ve forgotten your password and want to get back into your account, you can recover your account as long as you still have access to the email address that’s linked with the account. This holds true regardless of how old the account is, as long as you have not deleted the account.
Now that we know it’s possible to do it, we’re going to show you how to reactivate Facebook if you’ve deactivated your account in the next section.
How to reactivate a deactivated Facebook account
1. Open your favorite web browser and go to Facebook.com.
To start out, open whichever web browser you prefer to use, and enter Facebook.com in the address bar.
2. Log in to your account using the same email address and password as before you deactivated Facebook.

As you normally would, enter your email address or phone number, and your password to sign in to your account. If your account is still within the time period to be reactivated, signing in as normal will automatically reactivate your Facebook account.
3. Use your Facebook account the same way as you could before deactivation.
Now you’ll be able to use the site just as you did before you deactivated your account. Your profile, posts, photos, friends, and information will all appear the same as it did prior to deactivation. This makes it easy for you to go back to Facebook, as you don’t have to worry about setting up your profile as if it was new.
4. Make any necessary changes to your Facebook account settings.
When you deactivated your account, there may have been a reason for doing so. If you were concerned about privacy, security, or other concerns, we’d recommend changing your account settings to match up with your personal preferences.
Those four steps are all it takes to reactivate a deactivated Facebook account. If you’re looking to find old accounts, or are wondering, “how can I get my old Facebook account back?” keep on reading. We’ll be showing you how to recover a Facebook account next.
How to recover a Facebook account when you forget your password
1. Go to Facebook.com and attempt to sign in to your account.
As you normally would when you’re trying to use Facebook, open the site and enter your email address and what you think your password might be. Try this a few times and see if you’re able to get into your account. If you don’t have any luck logging in, you’ll be presented with a message about account recovery. Click Recover Your Account.
2. Click
Continue to have an account recovery code sent to your email address.On your screen now, you should see a message offering you the option to send a verification code to your email address, so you can recover your account. If you still have access to the account listed under “Send Code via Email,” click Continue to be sent a code.
If you don’t have access to that email address anymore, click No Longer Have Access to These to see what other options Facebook can offer you for methods to verify your account.
3. Check your inbox for the code, and enter it on Facebook.
After a few minutes, sign in to your email account and see if you’ve received any messages from Facebook. Be sure to check your Junk/Spam folders as well, in case the email was mistakenly filtered out of your main inbox. When you find the message in your inbox, open it and take note of the code inside. Then switch back to Facebook, click in the box labeled “Enter Code” and type the code in. Then click Continue.
4. Enter a new password for your account.
Now that you’ve verified your account recovery with the 6-digit code you were sent, you can type in whatever you’d like your new password to be.
5. Log out of other devices.
To make sure your account is secure, Facebook will give you the option to automatically have your account logged out of any other devices that may be currently signed in. This will ensure that if anyone hacked your account, they will no longer be able to use it. If you’d like to take advantage of this safety feature, select Log Out of Other Devices, then click Continue.
6. Get back to using Facebook.
Now you can get back into using your account however you normally would. Your profile, friends lists, and all your posts should still be intact. If you have any issues, get in touch with Facebook customer support.
That’s all you have to do to get back on Facebook. We hope our tutorial was useful for you! Now that we’ve helped you out, we have a few tips you might want to consider so you can help yourself out in the future. Here are some things we recommend doing to make it easier for you to get back on your account should you ever need to recover or reactivate your Facebook account again later.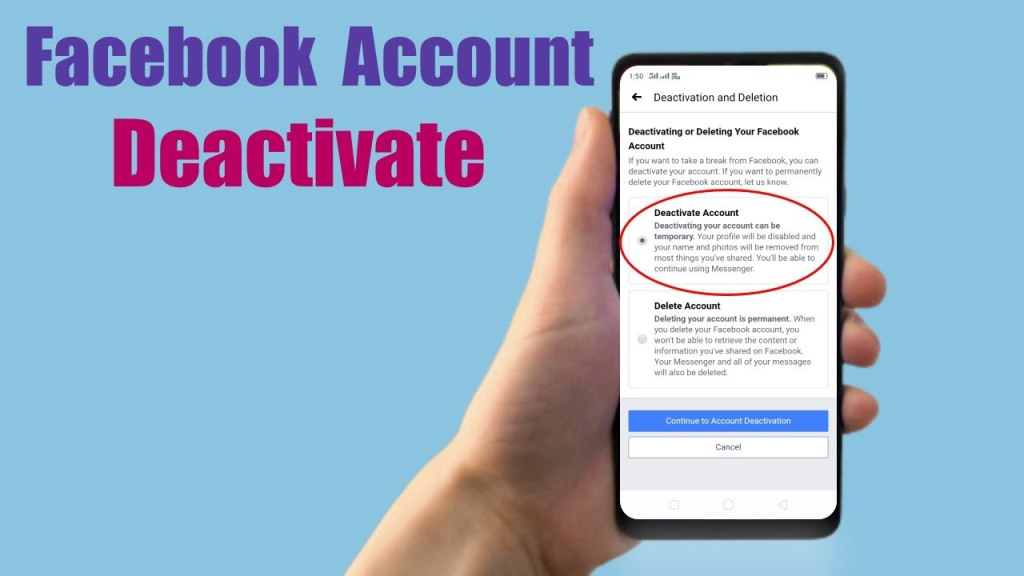
Tips to make it easier to get back on Facebook
1. Keep track of your login credentials somewhere so you don’t forget them.
It’s always a good idea to come up with new, unique passwords for each account you have on every website you use to make it harder for someone to hack into your accounts. If you find it hard to remember all the passwords and codes you use for various accounts, you might want to consider using a password manager, or keeping a physical list of all the passwords you have for accounts you’ve signed up for. Check out our passwords course to learn more about creating and keeping high-security passwords.
2. Change your privacy settings instead of deactivating.
If you’re considering deactivating your account just because you’re worried about someone obtaining your personal information, we’d recommend making changes to your Facebook account settings instead of deactivating your account. Facebook gives lots of options when it comes to how much you’re okay with sharing on your profile, so you only have to share as much as you’re comfortable with.
3. On your calendar, mark the deadline for reactivating your account.
To make sure you don’t miss the deadline after which you will no longer be able to reactivate your account, make a note on your calendar or in your cell phone to remind yourself that 14 days after deactivation, your account will be permanently deleted.
4. Tell Facebook which friends you trust to help you get into your account if you get locked out.
In case your account somehow ends up being hacked, despite your efforts to keep your account secure, you can set up a feature where the friends you trust most can help you get your account back in case you ever lose access to it.
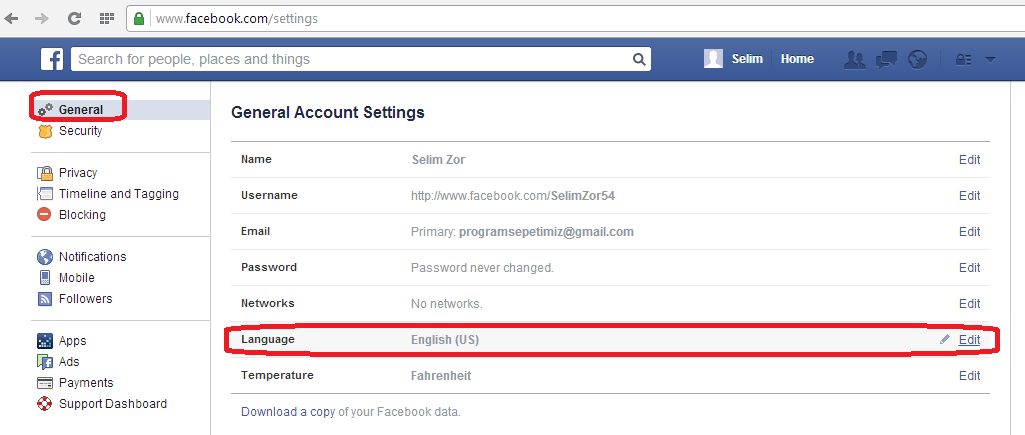
To set your trusted contacts, first go to your Facebook settings. Click the downwards arrow in the top right, then select Settings from the menu.
Then, choose Security and Login from the categories on the left side.
Under the “Setting Up Extra Security” section, you’ll see an option labelled “Choose 3 to 5 friends to contact if you get locked out. ” Beside this setting, click Edit.
Now, click Choose Friends.
Type in the names of the friends you trust to help you get your account back; click on each to select them from the list of suggestions that appear. When you’re done selecting friends, click Confirm.
Now the friends you’ve selected will have the authority to help you get back into your Facebook account if and when you get locked out of your account later. This was a great security feature for Facebook to create!
That’s all you need to know about how to reactivate your Facebook account and how to recover your Facebook account. If you’d like to learn more about the site’s other features, head on over to our Facebook course. Have fun getting back on Facebook!
How to Deactivate Facebook Account – 4 Steps [2022 Guide]
- MiniTool
- MiniTool News Center
- How to Deactivate Facebook Account – 4 Steps [2022 Guide]
By Alisa | Follow | Last Updated
This post teaches you how to deactivate Facebook with the step-by-step guide. You can reactivate your Facebook account later after you temporarily deactivate it. If you want to deactivate your Facebook account permanently, you can also find a guide here. For lost or deleted file recovery, try MiniTool Power Data Recovery.
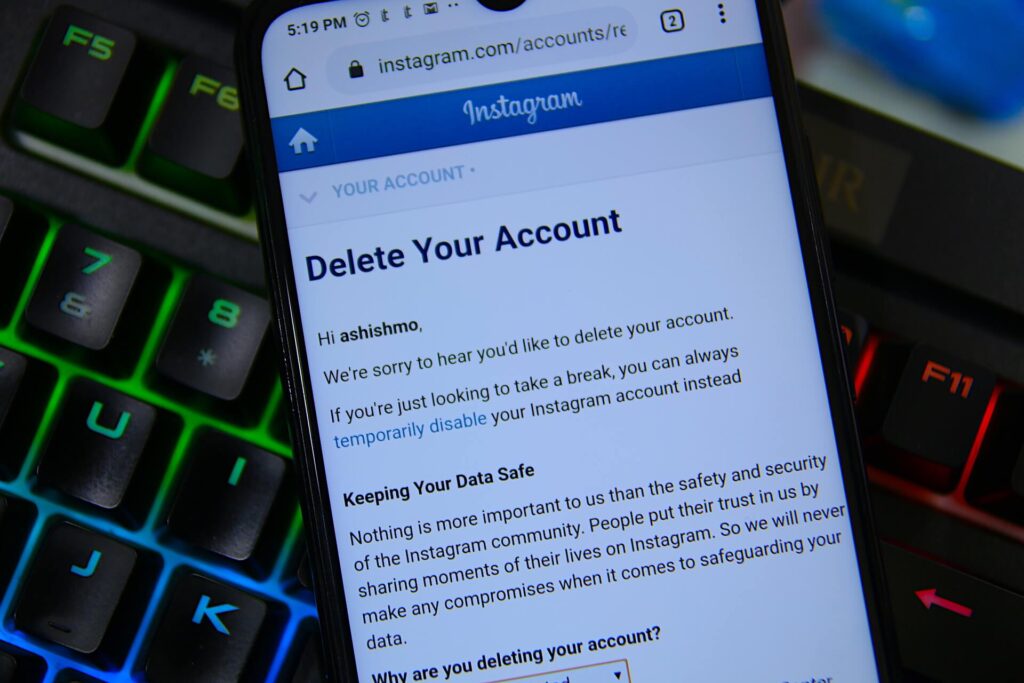
No matter why you decide to deactivate your Facebook account, for privacy concern or other reasons, you can check the 4 steps below with picture instruction for how to deactivate Facebook account temporarily. When you want, you can easily reactivate your account later to recover your information. Still, if you don’t want to use Facebook any longer and want to permanently deactivate your Facebook, a simple guide is also included.
How to Deactivate Facebook Account Temporarily
How to Deactivate Your Facebook on Computer – 4 Steps
Step 1. Go to Facebook official website and log in to your account.
Step 2. Click the down-arrow icon at the top-right corner of Facebook page. Click Settings & Privacy -> Settings.
Step 3. Click Your Facebook Information in the left column in Facebook Settings window. Click the Deactivation and Deletion option in the right window.
Step 4. Choose Deactivate Account and click Continue to Account Deactivation. Then follow the instructions to temporarily deactivate your Facebook account.
How to Deactivate Facebook Account on iPhone/Android
Step 1. Launch Facebook app on your phone. Log into your account.
Step 2. Tap the three-line menu icon at the bottom-right corner of Facebook. Tap Settings & Privacy and tap Settings.
Step 3. Next tap Account Ownership and Control. Tap Deactivation and Deletion.
Step 4. Tap Deactivate Account and tap Continue to Account Deactivation button to follow the instructions to disable Facebook temporarily.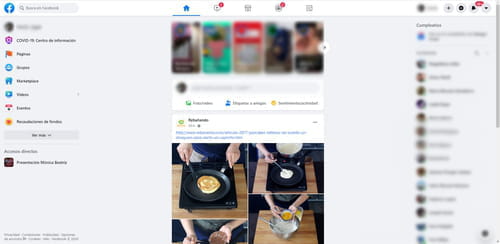
What Happens When You Deactivate Facebook?
Non-visible information:
- Other people can’t see your Facebook profile.
- Your account won’t appear in searches.
- Your activities include your timeline, posts, photos, friends lists, and About personal information are hidden from the public.
- Facebook will archive your account information and let you reactivate your account and recover the information with ease.
Information still visible:
- Private messages you sent to your friends before may be still visible.
- Your Facebook account name may be still seen in your friends list.
- Your posts and comments on other people's accounts.
- If you keep the Facebook Messenger active when deactivating, you can still chat with your friends on Messenger after deactivating your Facebook account.
How to Reactivate Your Facebook Account
To regain your Facebook account after deactivation, you can log back into Facebook again or log in to your Facebook account on another device.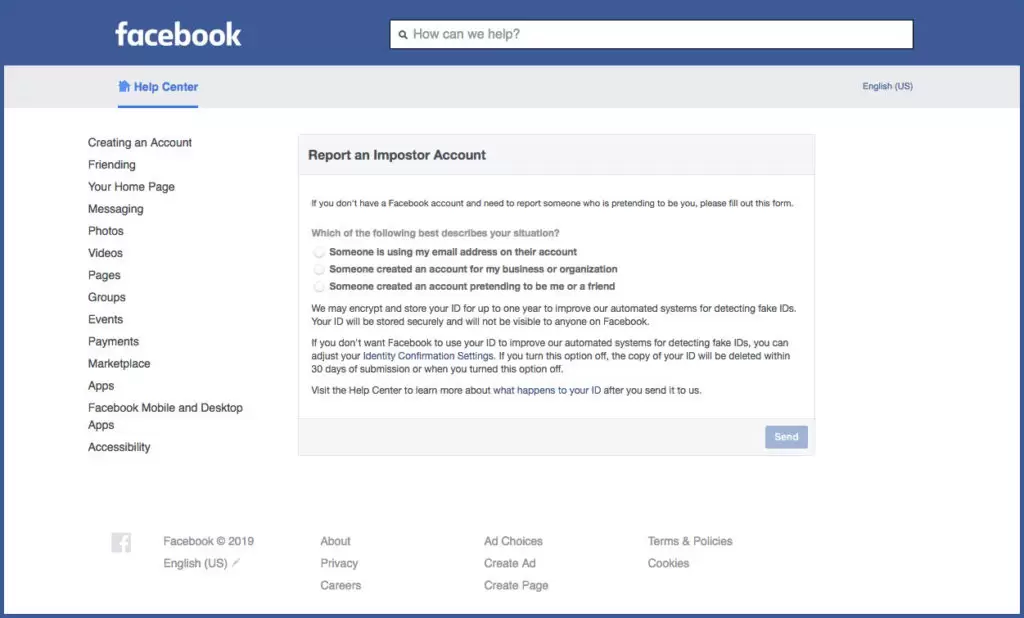 You will be asked to enter your email or mobile phone number that you use for your account to reactivate Facebook.
How to Deactivate Facebook Account Permanently
If you want to fully get rid of Facebook, you can choose to delete your Facebook account.
- Click the down-arrow icon at the upper-right corner of Facebook. Click Settings & Privacy -> Settings.
- Click Your Facebook Information on the left and click Deactivation and Deletion on the right.
- Click Delete Account to permanently remove your Facebook account.
Note: By deleting the Facebook account permanently, all your information incl. your profile, photos, posts, videos, etc. will be permanently removed. If you regret it, you can recover your Facebook account and information within 30 days after the permanent deletion.
How Long Can You Deactivate Facebook?
There is no limit on how long you can deactivate Facebook. If you want to quit Facebook permanently, you can choose to delete Facebook account.
What’s the Difference between Deactivating and Deleting Facebook Account?
If you deactivate Facebook account temporarily, you can retrieve your account whenever you want. Your information still exists and is archived by Facebook.
By deleting Facebook account, you’ll lose access to your account and all your account data & information will be deleted.
So, if you want to get rid of Facebook for some time, it’s advised that you choose the account deactivation but not deletion.
To Sum Up
Now you should know how to deactivate Facebook account temporarily or permanently. Hope the step-by-step guide in this tutorial helps.
About The Author
User Comments :
How to reactivate your Facebook account ▷ ➡️ Creative Stop ▷ ➡️
After reading my article on how to unsubscribe from Facebook, I decided to temporarily deactivate my account in order to be able to “detoxify” from using the social network for a while. However, if you are here now and reading this guide, it seems more than obvious to me that, despite your efforts, your attempt was not successful, and therefore you decided to repeat your steps. How do you say? Everything is exactly like this, but you did not understand how to do it. re-enable Facebook account ? No problem, I'll help you. Read this tutorial of mine on the subject and you will see that in no time your Mark Zuckerberg social media account will be active again as if nothing had happened.
Like? Due to erroneous messages from someone who wanted to scam you, your Facebook account has been deactivated and you don't know how to get it back? That's why you've come to the right place too, don't worry. Facebook offers solutions for both of the cases I just mentioned, and I'm here today to explain how to get the most out of them.
Come on, give yourself five minutes of free time and find out what to do without making life too difficult for yourself. I assure you that you will not have to do anything particularly difficult, and in fact I am sure that if necessary you will also be ready to give all the necessary explanations to your friends who need similar advice. What do you say, we bet?
- Re-enable voluntarily deactivated Facebook account
- From PC
- From mobile phones and tablets
- re -enable the arbitrarily disconnected account Facebook
- in the case of problems
Index
- 1 re -enable Facebook
- 1 with PC
- 1.2 with mobile phone and planning enable arbitrarily disabled Facebook account
- 3 In case of problems
Re-enable voluntarily disabled Facebook account
Reactivating a Facebook account is an operation that can be performed without problems both from a computer (and therefore from a web browser) and from smartphones and tablets (both through the official application of the social network, and through the application that is usually used to view web pages from a mobile phone).
 In both cases, the actions are very similar. Read on for more details.
 From PC
If you want to know how to re-activate your Facebook account because you voluntarily deactivated it and have now changed your mind, all you have to do is log into the social network - it's really hard to imagine something simpler !
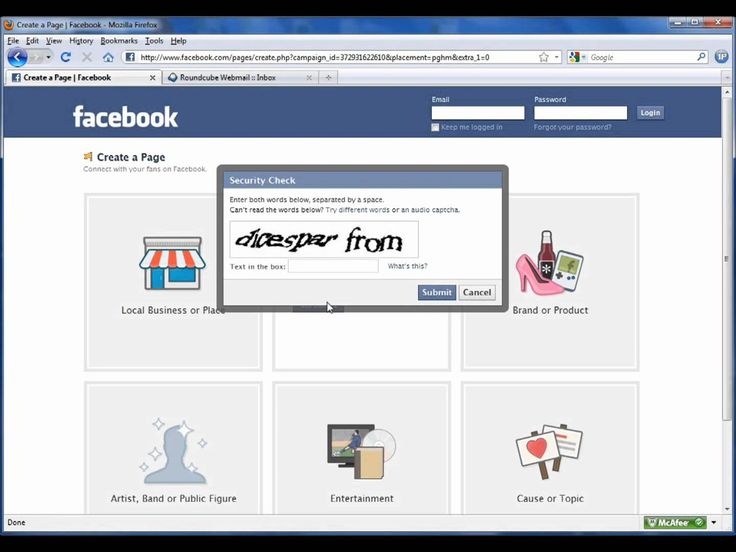
So all you have to do is launch the web browser you normally use to surf the web from your computer (for example Firefox ), type www.facebook.com in the address bar and click the button SEND to the keyboard to connect to the main page of the social network. Then fill in the forms By e-mail or phone es Password placed in the upper right side by writing respectively the email or phone number under which you have chosen to register in the social network and the corresponding password, and then press the button Enter and that's it.
 It takes more time to explain than to do.
 Once you log in, you'll be in front of the Facebook home with all your friends, others' posts, yours, etc. like nothing happened.
From mobile phones and tablets
Do you want your Facebook account to act as a mobile account? No problem, it can be done. You ask me how I can explain this to you right away. Take your mobile phone or tablet, open the screen of the device where all the applications are, click the Facebook app icon (it's blue with a white "F" in the center), and then fill out the forms associated with the username and password that you see on the screen, and click the button to login.
Once this is done, you will be taken to the main screen of the social networking application and will be able to use your account again as if you had never deactivated it.
Haven't downloaded the Facebook app on your mobile phone or tablet yet? Don't worry, you can also re-enable your Facebook account from within the app, which is usually useful for surfing the web from your device.
 Then open the screen of the same screen where all apps are grouped, tap the icon of the web browser app you usually use (for example, Chrome en Android y Safari en iOS) then write www.facebook.com in the address bar and press the SEND button on the on-screen keyboard.
 Now fill out the forms displayed on the screen by entering the email address you registered with Facebook or the corresponding phone number and password, and then press the Login button. Very simple, right?
Re-enable randomly disabled Facebook account
The situation is somewhat more complicated when you want to re-enable a Facebook account after an arbitrary deactivation by those responsible for the social network, as this usually happens after a violation of the terms of use of the service. A person may have flagged your profile accusing you of using a fake name, of harassing someone, or of posting serious insults against certain groups of people.

If the report was made incorrectly or out of spite, you can recover your account by connecting to this Facebook page and filling out the form provided. Then enter your name, email address and a brief description of what happened (along with reasons why your account should be reactivated), then provide your ID by uploading it using button Select file , Then click on the button SUBMIT located in the lower right corner, and give the Facebook administrators the opportunity to consider your request for reactivation within 24/28 hours.
If your reactivation request is accepted, you will receive a message from the social network informing you that your account has been restored. This way you will have access to your profile again and will be able to chat with your friends on the most famous social network in the world.
In case of problems
Did you follow the simple steps above to reactivate your Facebook account, but are having trouble completing the process successfully? Then try looking at the relevant help page that Facebook provides with information on how to reactivate an account.
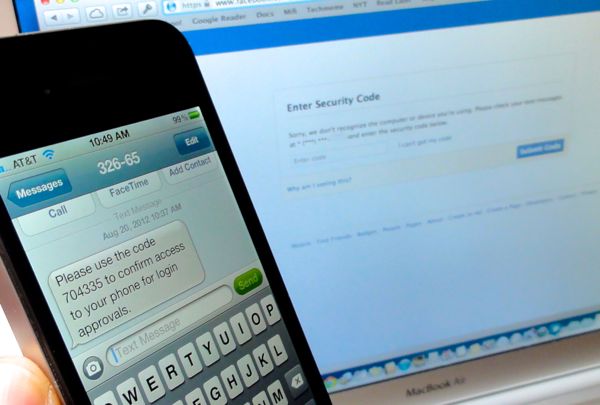 You may also be able to find the one that suits you among these solutions.
 If even among the above suggestions you cannot find a solution to your problems, I suggest you do a more extensive search in Facebook Help Center . To do this, click here, and then use the search bar at the top to enter the keyword associated with your problem and select one of the available options from the displayed list.
You can also select one of the most popular topics at the moment by clicking on the topic that interests you in the Popular topics section of or use the menu at the top to select a topic of interest on which you would like more information.
On the other hand, if your problem is that you filled out the Facebook contact form, but a few days have passed and you still haven't received a response, you can try to raise your concern with Facebook by sending them an email.
 in the relevant language. English at [email protected] . Try to explain that your account has been suspended, but you are convinced that you have not violated Facebook policy. Send a message from the same email address with which you registered with the social network.
 If you receive an automated response explaining that the address you entered is only available to US users, try forwarding the message to [secure email] or [secure email] . But only use this method if the first one doesn't produce the desired results!
Note: All the operations that can be put into practice in case of problems with re-enabling the Facebook account, which I have indicated above, can be performed the same way both from a computer and from a smartphone and tablet using a web browser. the procedure is almost identical.
How to activate Facebook notifications on your mobile phone ▷ ➡️ Creative Stop ▷ ➡️
Facebook This is the social network you use the most, and therefore you would like to always be aware of the content posted on the pages you follow, as well as content shared by people in the groups you follow.
 Also, you want to use the social network to get notifications about your friends birthdays so you don't forget them and avoid bad numbers.
 If so, and therefore you are wondering how to activate Facebook notifications on mobile phone , you will be happy to know that in this guide of mine I will provide you with all the useful information on this subject. That's why I'll show you step by step all the steps you need to follow to activate famous social network notifications in Android e iOS. Also, if you change your mind, I will also explain in detail how to turn them off.
Then? Ready to start? Yes? Excellent! So let's not get lost in this chat anymore and let's see together how to proceed to activate and deactivate Facebook notifications on your device. Just take a few minutes of free time and carefully read what I am about to explain so that you can easily and quickly perform the proposed operation. Enjoy reading.

- 2.2 iPhone
Enable Facebook notifications on your mobile phone
consent to activate notifications, you must correct this by activating them in the operating system settings. Once this is done, you can choose in the Facebook settings which notifications to receive, and whether you want to receive them only after push on your smartphone or even away email y SMS . You will find all the details below.
Android
If you have a smartphone Android , to activate notifications push de Facebook , go to the configuration menu of your device (by pressing the gear icon or located on the main screen and /).
Then tap Apps & Notifications > Apps > Facebook > Notifications and make sure it is set to EN lever positioned in accordance with the wording of Permitir notificaciones .
At this point, in order to customize the notifications that you receive and activate, in addition to notifications push those far SMS or far email you must act through the app Facebook . Then, to begin with, launch the respective application by clicking on its icon located on the home screen and / or in the drawer of your device, then sign in to your account (if necessary).
Now click on the ☰ icon located in the top right corner and in the menu that appears, click on the items Settings & Privacy > Settings > Notification Settings . At this point, select the type of notifications to customize by clicking on one of the items displayed to you.
For example, to receive email and SMS notifications of new comments, tap on comments then go EN wording lever email es SMS .
You can repeat this operation and set up notifications. push , notifications via email you ve SMS regarding other Facebook features such as i Label , el friendship , el events y birthday Easier than that?
iPhone
En iPhone to activate notifications for Facebook , first run app configuration by pressing it gear icon located on the main screen. Then touch the elements Notifications > Facebook and make sure it is set to EN the lever is located according to the wording Permitir notificaciones .
You can then set up notifications. push and eventually get them through email you ve SMS launch Facebook and tap the ☰ icon located in the lower right corner of the main screen. Now in the menu displayed to you, click on the items Settings & privacy > Settings > notification settings.
In this step, select the type of notification to be configured by clicking on the corresponding item (for example, comments ), then move the lever up if you want EN according to the words email es SMS to also receive notifications of this type.
Disable Facebook notifications on mobile
Would you like to be able to completely disable Facebook notifications on mobile? In this case, follow the instructions I am about to give you and you will easily succeed.
Android
En Android , you can turn off notifications from Facebook act first through configuration of your device.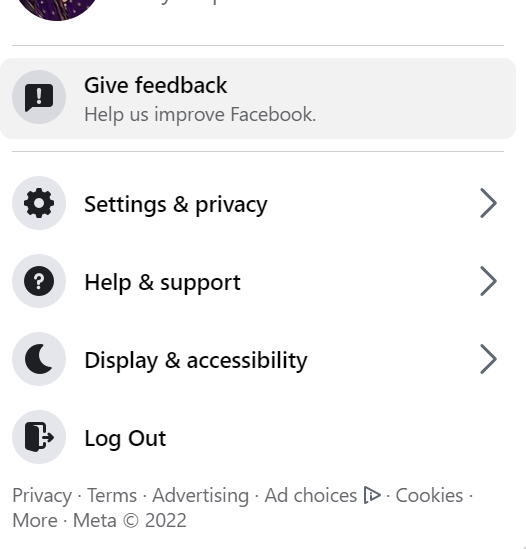 With that said, first launch the application. configuration by pressing its gear icon located on the home screen and / or in the drawer of your mobile phone, Then go to Apps and notifications > Apps > Facebook > Notifications and go up OFF wording lever Permitir notificaciones .
Alternatively, if you only want to turn off notifications for a limited period of time, you can proceed via Facebook . To do this, launch the corresponding application, then click the ☰ icon located in the upper right corner of the main menu and go to section Settings and privacy > Settings > Notification settings .
At the moment, go up OFF the lever is located according to the wording Disable push notifications and select the period of time for which you want to disable them, between 15 minutes es 8 hours .
Of course, you can also go back to the instructions I gave you earlier and only turn off notifications for certain types of content (like comments).
iPhone
In addition, in iPhone you can turn off notifications permanently in the device settings or temporarily through the app. Facebook .
With that said, to start, enter the configuration of your device through the app with the gear symbol present on the main screen. After that go to section Notifications> Facebook and go up OFF the lever is located in accordance with wording Permit notifications .
Or, if you want to turn off notifications only temporarily, open Facebook , press the ☰ icon located on the home screen and go to Settings & privacy > Settings > notification settings .




.png)