Verify your business in business settings | Help Center
Do you want to log in or join Facebook?
Verify your business in business settings
You can start the business verification process in Business settings by going to Security Center. In Security Center, you can see your business verification status. You may also be required to start business verification in the app dashboard if your app is required to go through App Review.
Note: Not every business needs to go through business verification. You’ll only need to verify your business if you want to access certain Meta technologies or developer features. Learn more about when you need to complete business verification.
Before you begin
Note the following:
Note: Business Account roles are gradually changing. Instead of roles, we will describe people’s access or the tasks they perform. For instance, Everything will replace Business admin, Basic will replace Employee, and Apps and integrations will replace Developer. The access itself will remain the same.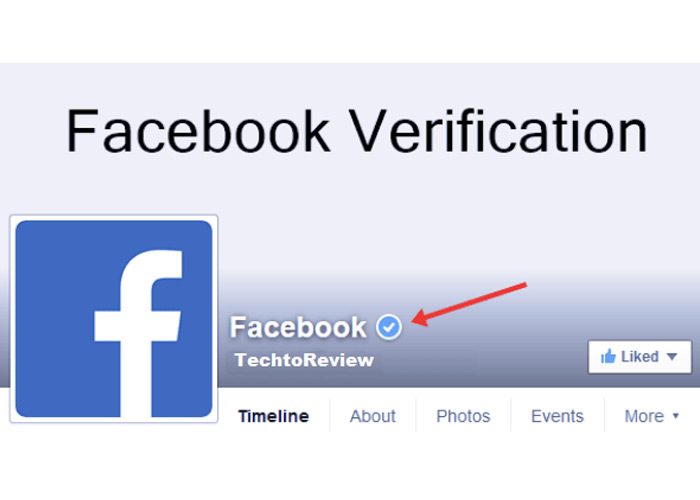
To start the verification process:
If you receive confirmation that your business is verified, there’s nothing more you need to do. You’ll receive a notification when the review is complete. You can also check your status in Security Center.
Once you've completed business verification, you can return to Security Center to edit your details at any time. However, any changes will require you to complete the business verification process again.
If we’re unable to verify your business, we may ask you to submit your ID before we attempt to verify again. Learn more about when to submit your ID for business verification and what types of IDs Meta accepts. If we weren’t able to verify your business in your initial submission, we may ask you to upload additional documentation, such as a certificate of incorporation or a business license to prove that your business is registered. See what types of official documents you can upload to verify your business.
Note that if you provide false or misleading information during your verification process, attempt to claim and verify a business you aren’t authorized to represent, or otherwise attempt to circumvent our verification review systems, Meta may prevent your business from being verified, remove your business's verification status or take additional action on the account.
Learn more
Related Articles
Get help for other devices:
Ads Help - Desktop
Want to know how to verify your Business Manager account on Facebook? Or how long does business verification take on Facebook? We have all the answers for you! This article will explain the Facebook Business verification process and how to verify Facebook Business Manager account to get WhatsApp Business API.
Following the introduction of Meta, you would have noticed that Facebook Business Manager has been rebranded to Meta Business Manager. However, to avoid any confusion, we will use the most common phrase, Facebook Business Manager.
Facebook Business verification is the process of verifying a Facebook Business Manager account to confirm that it belongs to a legitimate organization. Your business must be registered with local authorities and have an official phone number and postal address.
You’re probably on this blog because Facebook has determined that your business is required to verify your Facebook Business Manager account to increase the messaging limits of your WhatsApp Business API account.
If you have previously verified your Facebook Business Manager for other reasons, like running Facebook Ads, you don't have to go through the verification process again.
Difference between Facebook Business verification and Facebook Business Page verificationKeep in mind that Facebook Business verification differs from Facebook Business Page verification. Hence, you will not get a blue badge if you verify your Facebook Business Manager account. Refer to the image above to understand the difference.
In the next section, we will briefly talk about the new WhatsApp Business API process and why you need to verify your Facebook Business Manager account for WhatsApp Business API.
As of 2 May 2022, businesses signing up for WhatsApp Business API no longer have to go through Facebook Business verification, display name review and commerce policy checks.
Instead, they will be added to the Limited Access Tier where a compliance check against the WhatsApp Platform Policy will be auto-triggered and conducted in the background, allowing businesses to message customers immediately after signing up.
Facebook Business verification for WhatsApp Business APIIn the Limited Access Tier, businesses can:
If you want to increase the number of business-initiated conversations and upgrade to Tier 1 or request to be an Official Business Account (OBA), you’ll have to verify your Facebook Business Manager account.
Let's take a look at what you first need to prepare for the Facebook Business verification process.
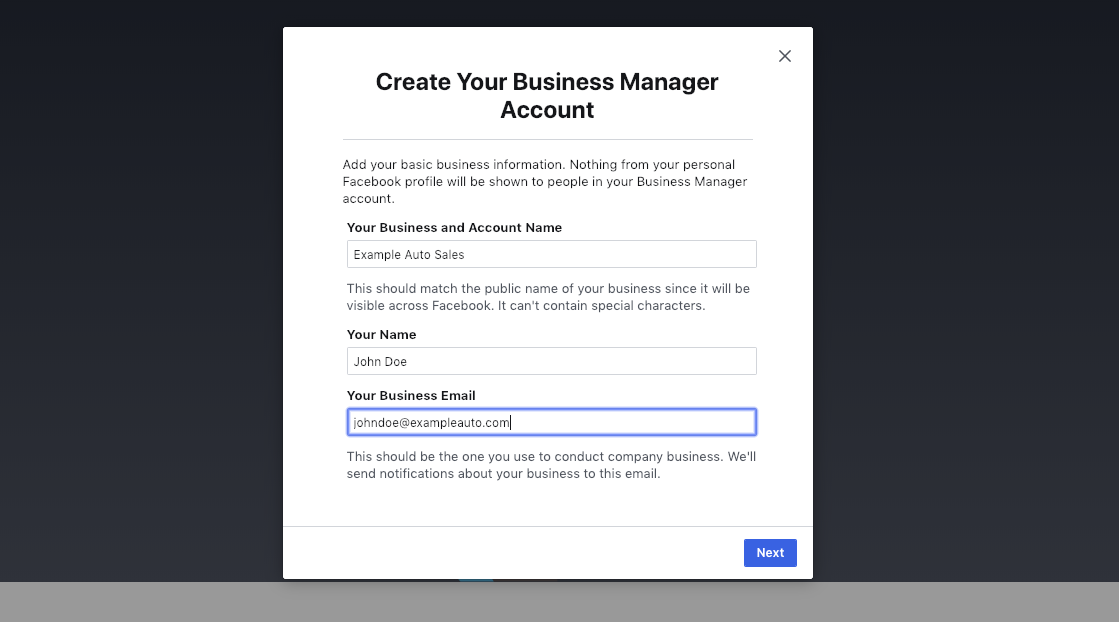
Before starting the verification process, you need to fill in the Business Info section of your Facebook Business Manager. In this section, you have to provide organizational details such as legal name, address, phone number, email address and website.
Make sure the information provided aligns with the details registered with local authorities. As long as Facebook can verify your organization from the info given, there is no need to provide supporting documents for verification.
Business Info section of your Facebook Business ManagerIf Facebook cannot identify your business, you need to provide evidence of the following legal details with the right documents:
After submitting the documents, you need to go through two-factor authentication to prove that you have access to your company’s phone or email. You may also need to provide your personal details to verify your business in some cases.
Do not provide false information, verify businesses you are not authorized to represent or circumvent the verification review system. These actions will result in Facebook rejecting your verification request and even taking further action against your account.
Now that you have your business information filled and supporting documents ready, let's verify your Facebook Business Manager account.
1. Go to Facebook Business Settings and navigate to Security Centre. You can see the business verification option once you’ve signed up for WhatsApp Business API. Click on the Start Verification button. If you’re unable to see the business verification option, contact us.
Navigate to the Security Centre of your Facebook Business Manager and click on Start Verification2. Add your organization’s details. If you’ve filled in your company details in the Business Info section, this section will be auto-filled. Double-check the information to ensure that they are accurate.
3. Add supporting documents to prove your business' legal details and submit.
Add supporting documents to prove your business' legal details4. Select your preferred contact method for a confirmation code to verify your Facebook Business Manager account. If you’ve verified your domain, you can submit your application right away, without having to receive a confirmation code.
Select your preferred contact method5. Confirm your phone number and click Text Me Now to get a confirmation code. This step depends on the contact method you’ve selected in the previous step.
Confirm your phone number and click Text Me Now6. Input the confirmation code and click Next.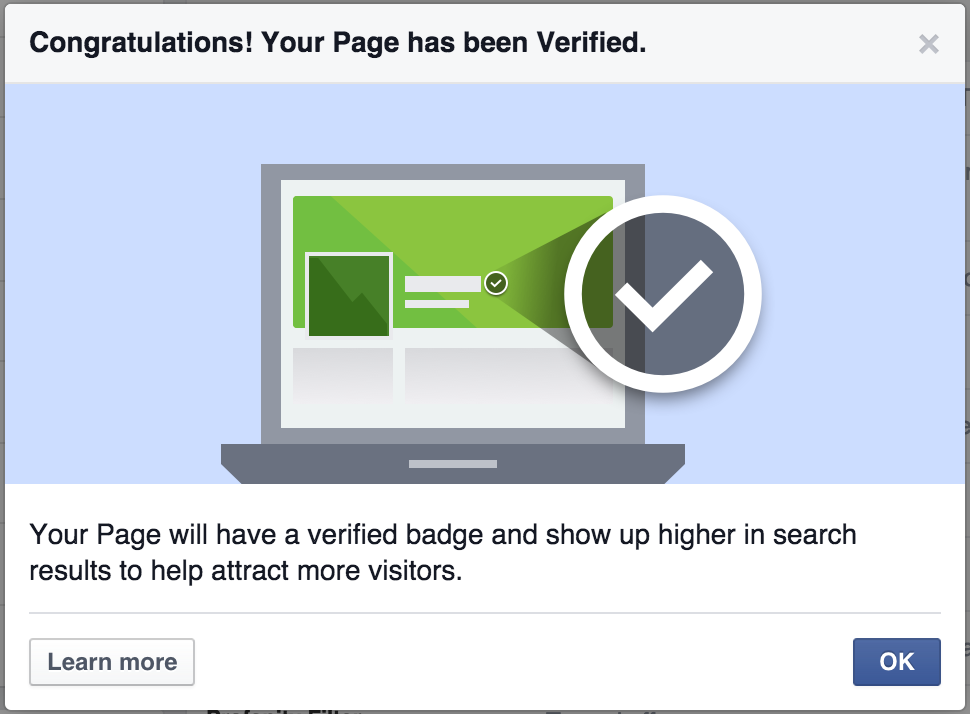 If you did not receive a verification code, click on Resend Code. You can also change your preferred contact method if your chosen method isn't working.
Once you’ve completed the verification process, you will receive your verification status via email and Facebook within 2-3 business days. You can also check the status in the Business Info section or the Security Centre of your Facebook Business Manager.
If Facebook did not grant your business the verified status, you could appeal its decision by submitting additional documents to confirm your business details. In this case, Facebook will ask for your Government ID and two other supporting documents at their discretion.
Make sure that you show all the information on your ID and all four corners of the ID. Keep the ID flat and use a dark background for the photo. Note that Facebook will not accept images that have been digitally modified.
If you still face issues with your verification process, it may be because your submission is incomplete, documents are not viewable, business details on legal documents don't match the details you provided or more.
Go to Meta Business help Centre for more information or contact us if you have issues verifying your ID and business details.
Did you find this article helpful? If so, here are some readings that might interest you.
Favorites nine0017
Facebook Business Manager is an advanced tool for managing Facebook Ads. It is suitable for those who have already mastered the advertising system and deploy large-scale campaigns. Aleksey Bitsoev, an expert in targeted advertising at MediaGuru, tells how to overcome the stage of company confirmation through Business Manager.
Alexey Bitsoev MediaGuru nine0017
Verifying your company on Facebook will increase the credibility of your account and reduce the likelihood of blocking.
In addition, new products and tools will become available. For example, only verified businesses can use WhatsApp Business, add their apps to Instant Games, and index their news feed. Verified companies can also indicate the owner of the page - this will make it easier to remove the ban from it if necessary.
To verify a company in Facebook Business Manager:
To do this, go to " Company settings " and select the section " Security Center ".
In it, enable two-factor authentication for all employees and add a fallback administrator.
Click on the " Start confirmation " button.
You will be redirected to the first company confirmation screen.
Fill in all fields with real legal data according to company documents. Click the " Next " button.
Facebook will prompt you to select an organization from the list. If no one has confirmed the company before, it will not be on the list. In this case, select " None of these fit " and press " Next ".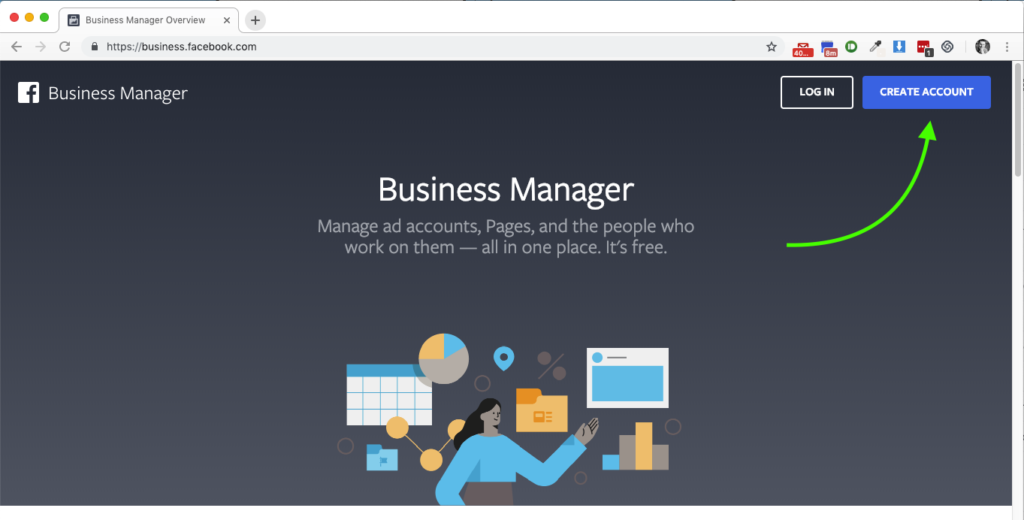
The name you entered now needs to be verified.
To do this, download one of the documents:
Be sure to indicate the language in which the documents are drawn up. nine0017
Press " Next ".
Now you need to confirm the company address and phone number that you specified earlier.
To do this, upload one of the documents:
When you have uploaded the documents, click " Next ".
Select the verification method.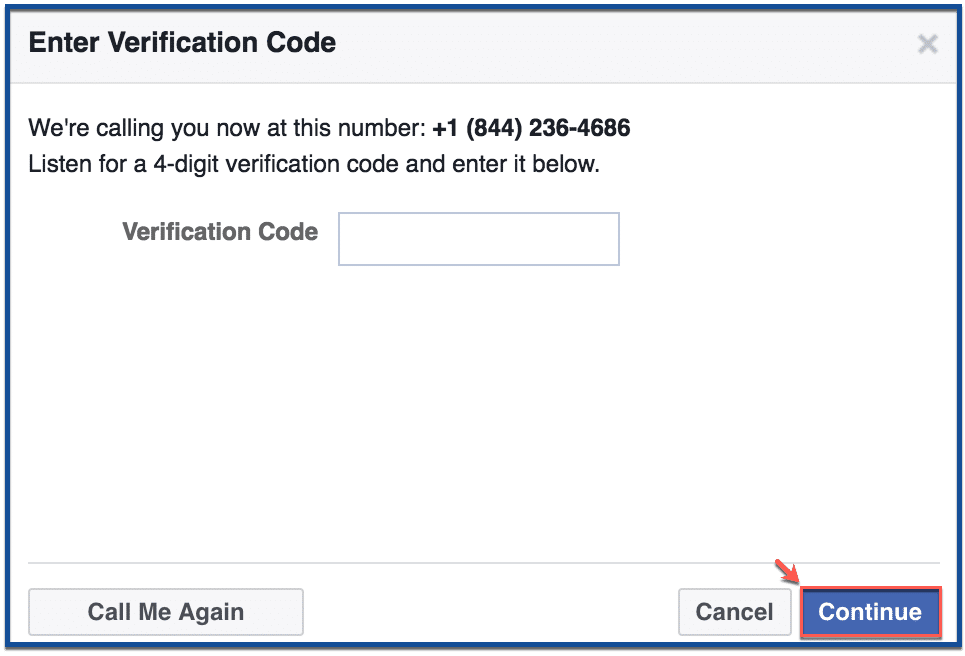
There are three options:
Choose the most convenient option and click the button on the right.
Company verification may take several days. You will be notified of the decision by email. If the company does not pass confirmation, the letter will indicate the reasons. Once you have corrected them, please resubmit your request.
Everything is easier than it seems. Successful advertising campaigns!
Subscribe to receive useful materials about paid traffic
By clicking the button, you consent to the processing of personal data
Go to all articles
You can verify your company in Facebook Business Manager to access certain products and tools for your business and fully use the WhatsApp Business API channel to create chatbots. Also, a verified company inspires more trust among users. nine0017
Company Verification differs by region and business type, but is generally documented proof of information entered in a Facebook Business Manager (FBM) profile.
Go to the "Company Settings" of the selected company page in FBM and select the "Security Center" tab.
Click on the "Start Confirmation" button.
Please note: if your "Start Verification" button is not active, then you have recently created a company page or it is inactive. Also check the items at the beginning of the step: the page is active, the presence of two administrators, and the presence of the application. Read more about company verification on Facebook. nine0017
Enter contact information for your company: legal name, country, registration address, phone number and website.
Please note that all information must exactly match the information in the documents that you will upload to verify the company. Think in advance on whose behalf (full name or legal entity) you will be verified before specifying the company name and uploading documents. Also make sure that the legal name of your company is indicated on the pages of the added site (in the footer or on the "Contacts" page). nine0017
The domain name of the site will be used to validate the added corporate email address for communication.
If information about your company is already in public records (the information was filled in somewhere), then FBM will pull up this data. If the pull-up entries do not suit you, select "None of this suits" and click "Next".
To verify your company name, select the language of your document and upload a PDF document containing your company's legal name. For example, it can be a company registration certificate or other document with a seal. nine0017
Enter the company's legal address and phone number.
To verify your address, please upload a document that contains the full legal address of the company with a zip code and the phone number you entered. See the example documents in the third step.
You can specify an email address created on your corporate domain, where you will receive a password for confirmation, or a company mobile phone number to confirm via SMS or call. nine0017
Please note that confirmation with a phone number is not available in all countries. The email address must be specified on the domain on which your website is verified.
If you have a website, you can verify your company using an existing domain.
If your domain is already verified, click Use Verification. Otherwise, complete domain verification. nine0017
After confirmation through the domain or contact details (email, phone), click "Submit".
Next, the application will be sent to Facebook.