If you know anything about Instagram, you know that it lets you put all sorts of filters on your photos. But filters aren't the only photo-editing tools that Instagram offers.
Here's a quick guide on how to add both filters and effects to your Instagram posts.
How to use filters on InstagramFilters are basic overlays that change the colors and shading of your photos. Some might make the picture brighter, while others might strengthen the shadows. Some remove all the color completely, giving your photo a grayscale makeover.
You can use filters when you're posting a photo or video to your feed, or when you're adding to your Instagram Story.
To use filters on a post, tap the plus sign icon at the top of your homepage or profile, then tap Post. Select the photo or video you want to upload and tap Next in the top-right.
You'll be brought to a page where you can add all sorts of preset filters to your photo. Tap any of the filters to overlay them on the post, and then tap the filter again to manage how strong it is. And if you don't like any of the available filters, you can tap Edit in the bottom-right to make your own.
When you're done, tap Next in the top-right to save your filtered post.
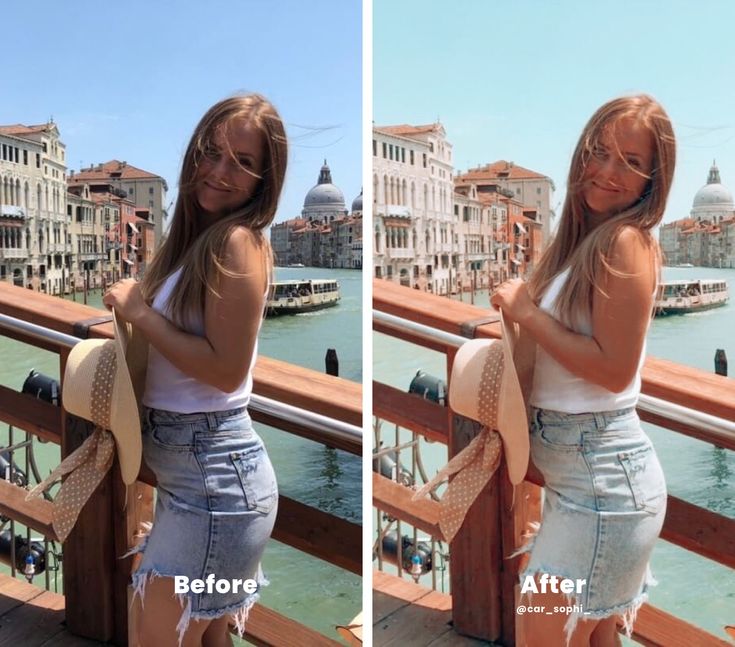
The same photo, with (right) and without (left) a filter. Instagram; William Antonelli/Insider
 Adding filters to your Story is simpler, but doesn't give you as much control. First, make a Story, either by taking a new picture/video or by uploading something from your phone's camera roll. When you're on the preview page that lets you add stickers and text, swipe left or right to switch between about a dozen different filters.
How to use effects on InstagramEffects are very different from filters. While filters just change the colors, effects add entirely new aspects, from stickers to animations. If you've ever used effects on TikTok, these are the same thing.
Also unlike filters, you can only use effects when you're making a Story, a Reels video, or when you're using Instagram Live.
To do it, open Instagram and swipe right to turn on the camera. At the bottom of the screen, next to the record button, you should see some circular icons with designs inside. These are all effects, and you can tap any of them to put them on your post.
Two recommended effects on Instagram. Instagram; William Antonelli/InsiderIf you don't like the effects you're offered, scroll to the far-right of the list and tap the Browse effects bubble. You'll get a full library of all the effects on Instagram, which you can scroll through or search from.
Quick tip: Some augmented reality (AR) effects that scan your surroundings aren't available if you're living in Illinois or Texas, due to local laws about AR on social media.
You can only use one effect at a time, and you can't combine them with filters.
William Antonelli
Tech Reporter for Insider Reviews
William Antonelli (he/she/they) is a writer, editor, and organizer based in New York City. As a founding member of the Reference team, he helped grow Tech Reference (now part of Insider Reviews) from humble beginnings into a juggernaut that attracts over 20 million visits a month. Outside of Insider, his writing has appeared in publications like Polygon, The Outline, Kotaku, and more. He's also a go-to source for tech analysis on channels like Newsy, Cheddar, and NewsNation. You can find him on Twitter @DubsRewatcher, or reach him by email at [email protected].
Read moreRead less
Aug 30, 2022• Proven solutions
With the new Instagram update, many individuals have noticed that the layout has become a bit complex. Similarly, the feature to apply filters has also become complicated, making the users wonder how to use filters on Insta? If you are experiencing the same issue, then don't worry! You have strolled upon the right article. In this article, you'll discover how to use Instagram filters on feed posts, stories, and reels. So, make sure to skim through the whole article to apply filters on Instagram successfully.
The Instagram filter is a valuable tool that enables you to alter your picture with a single click by making relevant adjustments to the photo on Instagram. The feature for the Instagram filter was released in 2011 with a few basic choices for filtering your image. It provides the user with multiple ways to edit a picture with more excellent quality, an extra border, and even some significant tilt-shift effects. Because of the easy and friendly layout of Instagram, it is much easier for the user to apply filters. And, it is better to keep your application updated as Instagram is constantly releasing new layouts for the convenience of its users.
This feature, although user-friendly, might be confusing for some. That is why we will show you how to enhance your posts and stories in a few simple steps.
With the easy layout provided by Instagram, it is incredibly easy to edit your pictures. Specifically, talking about adding filters to a photo or video on the Instagram story is probably the easiest thing to do on Instagram, and it does not even take much time. Adding filters to your photo or video can take a maximum of five minutes to do so.
Following are the steps to add filters to a photo and video on Instagram Story, so you no longer have to worry about how to use filters on Insta. Make sure you follow every step so you can successfully get the job done.
Step 1: Select or Capture a Photo/Video
The initial step is to open your camera on Instagram and swipe up to select an existing picture/video or capture a photo/video to apply a filter.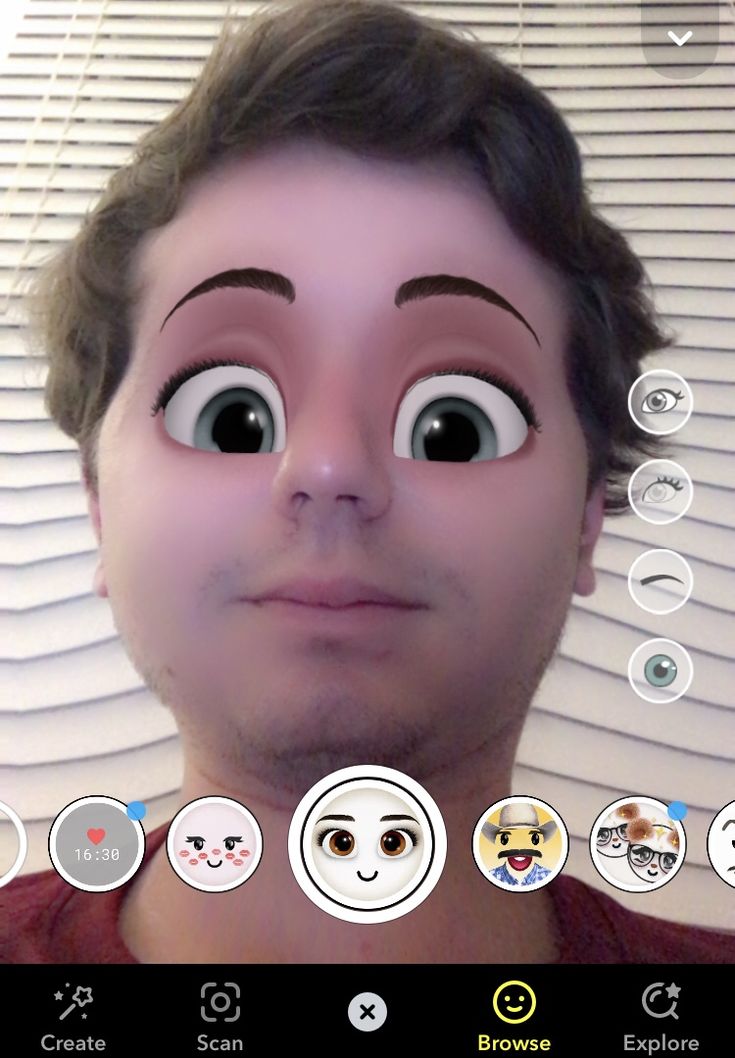
Note: Another way to add an existing picture is to tap on the bottom left corner, where you can see the photo gallery icon. Next, tap on the image you want to apply the filter on.
Step 2: Tap on a Filter
Now that you have selected a photo, an editing screen will be displayed on your device. Tap on a specific filter of your choice by swiping through the effects displayed on the editing screen to add effects to your existing picture/video.
Note: If you do not like the effects displayed on the screen, browse other filters by tapping on the search option.
Step 3: Add the Picture/Video to Story
Tap on Done once you have chosen a filter. And then, add the picture/video to your Instagram story by clicking on the icon labeled Your Story.
Applying filters to your Instagram posts is just as easy as adding filters to an Instagram story. Adding filters to your posts can make your profile look more attractive and thus improve engagement. Though the method is different for both cases, they have the same effect. Applying filters to your posts can enhance their quality and result in more likes and comments.
Follow the steps given below to add filters to your Instagram post or carousel post effortlessly.
Step 1: Tap on the Plus Icon
The initial step is to tap on the Plus icon at the bottom of the screen. Then select an existing picture or capture a photo for further editing.
Note: For a carousel post, long press on a picture and select other pictures you want to add to your Instagram post.
Step 2: Tap on Next Post
Next, tap on the Next icon present at the top right corner to apply filters to your photo. Then tap on the specific picture you want to apply a filter on and tap on a filter to add it. You can even further edit by tapping on the option to Edit at the bottom right corner.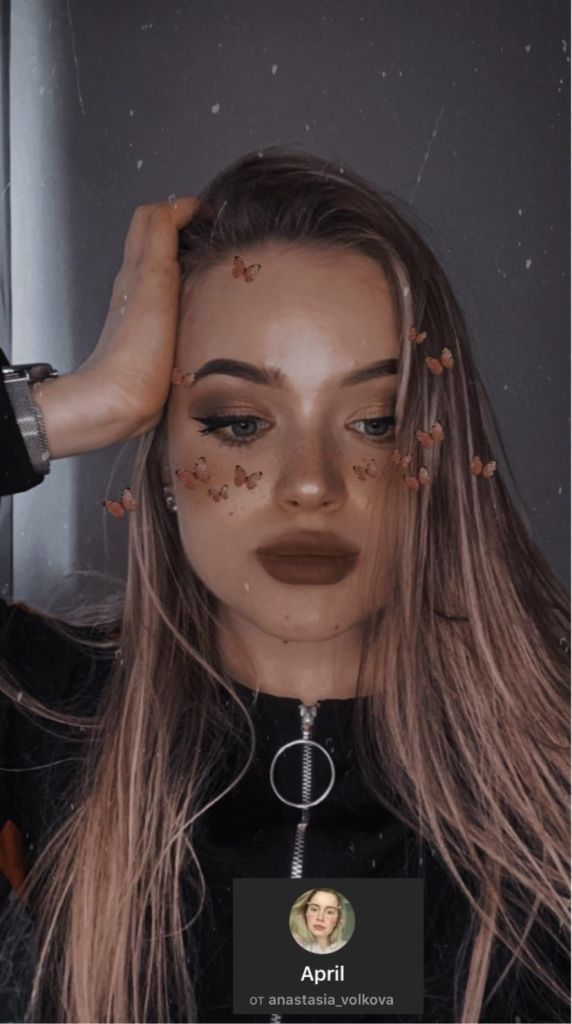
Note: If you tap on the filter for the second time, an option to control the filter's intensity will be shown. Adjust it accordingly to your preference.
Step 3: Share your Post
Once you are done with all the relevant editing needed, tap on the Done. A screen will be displayed to add a caption and location. Once you have completed editing your photo, tap on the Share option at the top right corner.
Instagram Reels are very similar to TikTok videos, with the iconic feature of uploading entertaining short fifteen-second videos as Instagram Reels. Instagram reels are one of the most prominent features of the new updated version of the Instagram Application.
This method is quite similar to that of applying filters to Instagram stories. For your ease, we have listed a step-by-step guide below to add filters on Instagram reels.
Step 1: Go to Create Mode
Tap on the camera icon on the top left corner of the screen. And then, tap on the Reels option to go to Instagram reels create mode.
Note: Another way to create an Instagram Reel is to go to the reels explore page and tap on the camera icon present at the top right corner of the screen.
Step 2: Tap on the Smiley Face Icon
Next, tap on the Smiley Face Icon to add filters. Choose from the variety of available filters. Then tap on the chosen filter to apply it to your Instagram reel.
Step 3: Start Recording
Once you are done selecting the desired filter for your Instagram reel, start recording. After the recording is done, you will notice the filter added to the whole Instagram reel you just shot.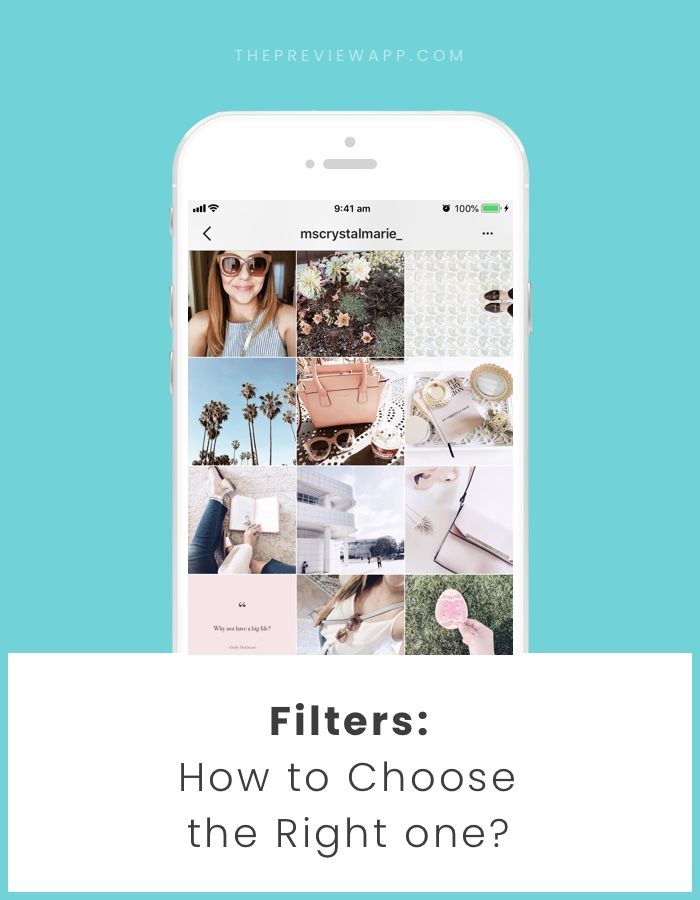
Instagram is a great application that offers a wide range of filters to its users. Even though it's a great feature and very beneficial for the users to choose among the variety, it can be annoying to skim through the long list to find a specific filter. For that sole reason, Instagram provides the user with the option to hide certain filters or rearrange them to find a filter of your preference easily.
The steps below are a guide to organizing the filters for your Instagram Post/Reels/Feed.
Step 1: Tap on Manage Option
The initial step is to select or capture a photo/video. Go to the filters screen and scroll to the end of the list to tap on the Manage option. It is a settings option specifically for the filters feature.
Step 2: Rearrange or Hide Filters
For rearranging your filters, hold and drag the three lines on the left side of the specified filter to wherever you want it to be. As for hiding a specific filter, tap on the circle present at the right side of the filter. When the tick sign disappears and the color of the title of the filter fades, it means that the filter has been hidden.
Note: Another way to rearrange or hide filters is to do it from the filters screen. Long press on the specified filter and drag it to the position you want it to be. And drop the filter on the Drag to hide option to hide the selected filter. You can always turn off this feature from the manage menu.
Step 3: Tap Done
Once you have made the required adjustments, tap on the Done option present at the top right corner of the screen. And you are done rearranging the filters!
Conclusion
For many individuals, using Instagram might not be as easy as it is for the new generation. It could be because some individuals find the layout to be a bit complicated, which might be the reason why they are not able to apply filters.
But don't panic! In this article, we have talked about the nitty-gritty on how to use filters on Insta. And that's about it on how to use filters on Instagram.
Even though keeping the application updated is crucial, it is also essential to follow each step thoroughly to add filters to your Instagram Post/Feed/Story effortlessly. You won't face any issue if you follow the steps exactly as mentioned.
Shanoon Cox
Shanoon Cox is a writer and a lover of all things video.
Follow @Shanoon Cox
There are about 40 different color correction options on Instagram. Those that have been added to Stories deserve special attention. There is one way to turn on all filters on Instagram and remove unnecessary ones from the list.
When creating a publication for the first time, the user is offered a basic set consisting of the first ten effects.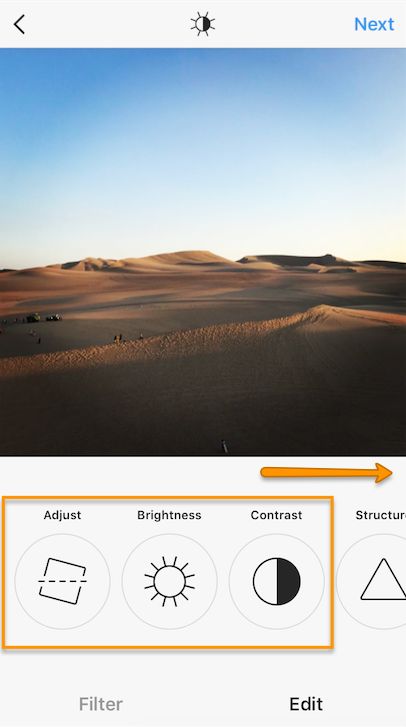 Installing third-party filters on Instagram will not work, but you can go to the whole catalog with editing.
Where to find the standard ones:
How to find additional filters on Instagram:
The list can be returned to its original form if you go back to the "Management" category and indicate the first ten positions.
Unlike the posts section, you can't set transparency percentage in Stories.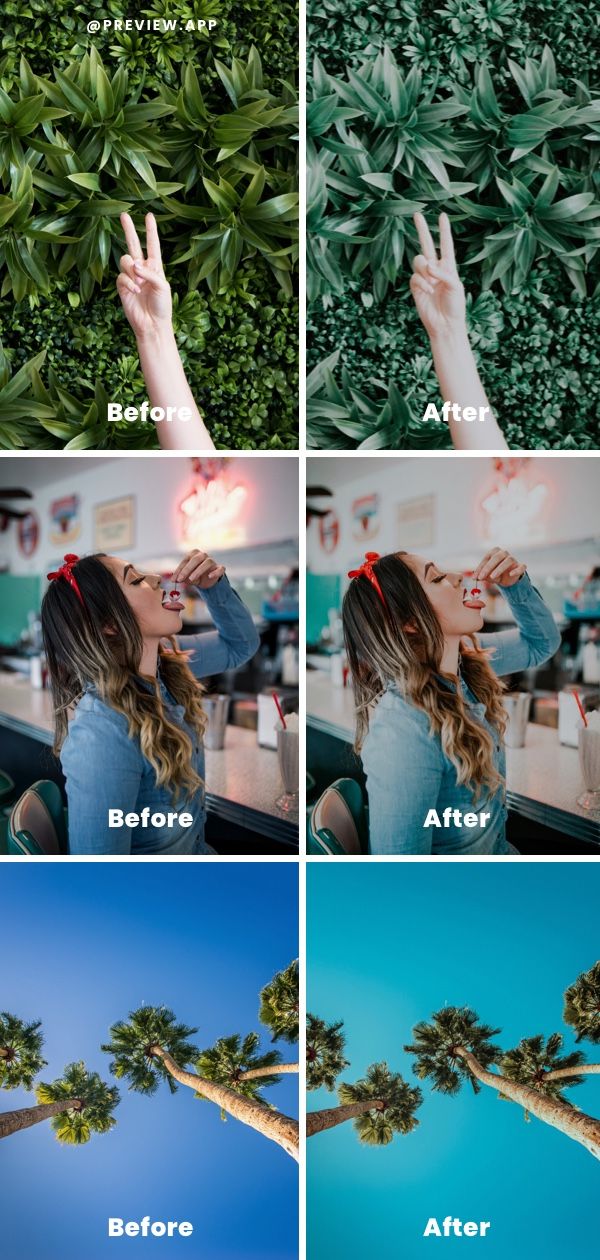 Also, it is impossible to edit only individual elements of the image: color correction is applied to all images, including text. The collection of effects is limited, so users are more likely to use editing elements from third-party applications.
Instructions on how to add filters to Instagram Stories:
To select one, the user only needs to stop scrolling. The editing settings are reset by the "Cancel" button or by switching to the first, original one.
While creating a Story and adding an effect, other functions are also available: working with stickers, captions, downloading videos. The filter will be applied to photos and videos added to the Stories section.
The catalog is regularly updated in the "Management" section. To test new ones, you need to visit the section again and see the available options. The user can create personal add-ons by specifying certain settings for editing.
But applying the same settings to other images will not work - the preset will not be saved as a separate adjustment layer.
If all filters on Instagram have disappeared:
Such a problem is rare: even in the first version of the social network, there were already effects for pictures. When adding a new photo, you need to check its size and resolution. The photo may not upload if it doesn't meet Instagram's requirements. Also, the problem of why there are no filters on Instagram is related to adding new ones.
If the user hasn't updated in time, some of the options will be displayed as a black square. By clicking on them, an error will appear: “There were problems uploading photos.
The request has been submitted to Instagram.
All effects can be edited and changed via the menu " Tools ". To automatically correct the picture, the user needs to click on the icon in the form of " sun " from the top. After - use the instructions on how to enable all filters on Instagram and add an additional effect.
Today Instagram occupies a worthy place among the most popular social networks. This service is used by hundreds of millions of people around the world. Instagram is loved for visual profiles, which contain many photos and videos, for a convenient system of user interactions with the help of likes and subscriptions. Of particular interest and some innovativeness are masks based on augmented reality technologies. Many have heard of their existence, but they do not know where to get them.
| Apple in Telegram and YouTube. |
To make your Instagram Stories even more colorful, use virtual filters (masks) to process faces. You can only post edited photos to your Instagram Story, or you can also save them and then post them to Instagram, Vkontakte, or Facebook.
Instagram animated masks work on both iPhone and Android.
BY TOPIC: Instagram secrets: 20 tricks that every user of the service should know.
Chances are you already know how to work with selfie filters. The MSQRD app (and many others) offer a similar feature that many users love. Instagram Face Filters work in a very similar way, but are activated a little differently. So, how to use filters.
1. Open Instagram on your mobile device.
2. Open the Instagram camera (tap the camera icon in the top left corner or swipe the screen from left to right).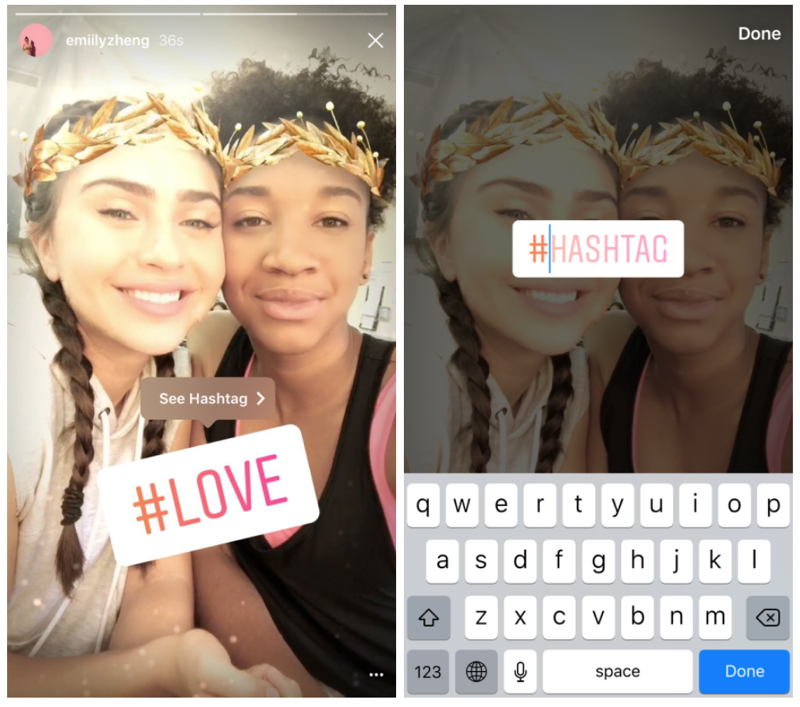
3. Click on the smiley icon in the lower right corner.
4. Touch one of the patterns at the bottom of the screen.
5. Swipe left and right on the screen to view all faces.
6. Raise your eyebrows or open your mouth to activate some masks.
7. Press the shutter button to take a photo, or long press to take a video.
8. You can use the buttons in the upper right corner to add stickers, pictures or text.
9. Click the " Save " button or the plus sign to add the photo to your story.
The filters work with both the front and back cameras of your mobile device. You do not need to touch the display to brighten a face or activate a function. After saving the photo in the gallery, you can add it to Instagram like any other photo.
In addition to the templates suggested by the Instagram developers, there are many great masks and filters created by users.
To go to the gallery of custom effects, scroll all available masks to the right to the button More effects .
The same can be done by clicking on any mask and in the menu that appears, select the option View effects .
The effects gallery is divided into many thematic categories that will help you easily find the desired option.
Here you can also view the effect of each effect and, if you wish, try it out by pressing the corresponding button. To save the effect in the camera (in the menu where the default masks are located), press the button with the down arrow in the square.
The masks we are talking about are also offered by users completely free of charge on their pages. If a user's profile page has an emoji section, they are an Instagram effects designer.
Go to the effects section on the user page and select the suggested mask.
If you liked someone's work, we recommend that you subscribe to the account you like, so you will receive new masks immediately after they are published.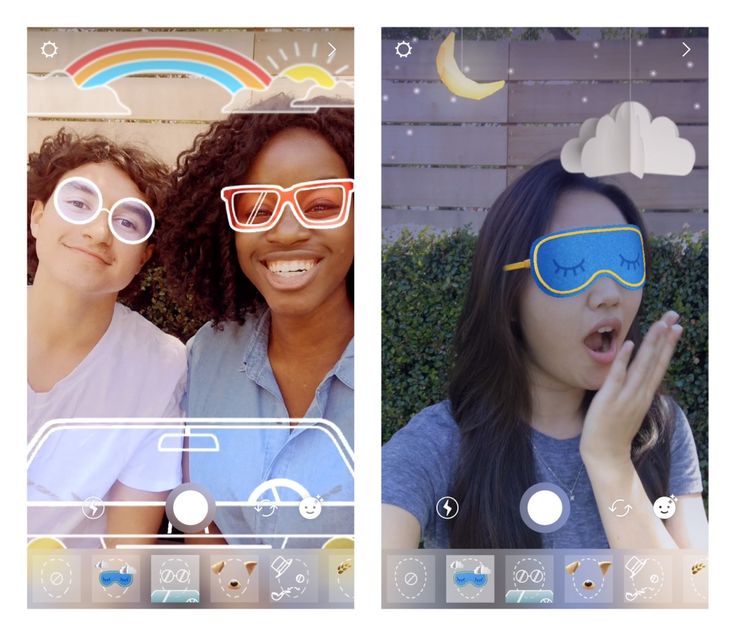
Popular filter developers for Instagram
In the assortment of each of them you can find more than a dozen rather interesting AR masks.
In addition, you can try to find masks manually by searching for some specific hashtags. You may find the following useful:
See also:

 Subscribe!