View this post on Instagram
Throwback to a couple of years ago when the Northern Lights were on display in Northumberland, UK. Here you can see them off the coast by Bamburgh Castle.
A post shared by Will Nicholls (@willnphoto) on
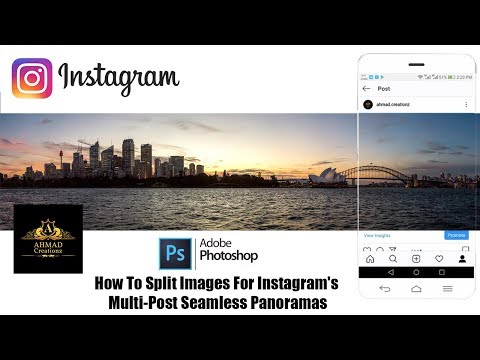
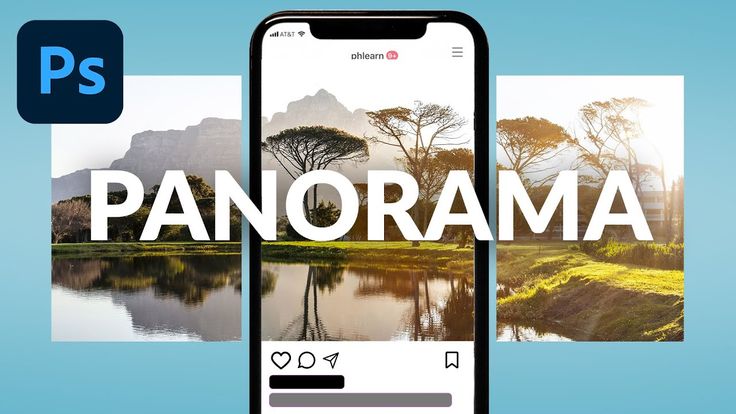
Panoramic photos never did well on Instagram; the mobile format does not lend itself kindly to very wide images. But with the ability to post a chain of photos, it is now possible to post “swipeable” panoramas to Instagram. Suddenly, panoramas look great on the platform! Cutting up a panoramic photo into a few “pieces,” you can post them altogether so that your followers can seamlessly explore the scene.
To do it, you need to make use of an app on your smartphone. It ensures that the cropped sections of your photo are perfectly sized and lined-up to allow for the seamless transition. Here’s an example of how it works once the panorama is posted to Instagram:
View this post on Instagram
Throwback to a couple of years ago when the Northern Lights were on display in Northumberland, UK.
Here you can see them off the coast by Bamburgh Castle.
A post shared by Will Nicholls (@willnphoto) on
It’s really simple to post a panorama to Instagram – all you need to do is:
Now, let’s take a look in more depth at how exactly to do it.
There are a number of different apps to use, some of which are almost useless. So it’s important to choose the right one to make the process as smooth as possible, and to avoid any unwanted watermarks being added to your photos.
For Android users, an app called InSwipe seems to be the clear choice. There are no watermarks added to your image, and you can cut up a photo into as many as 10 pieces (should you so wish).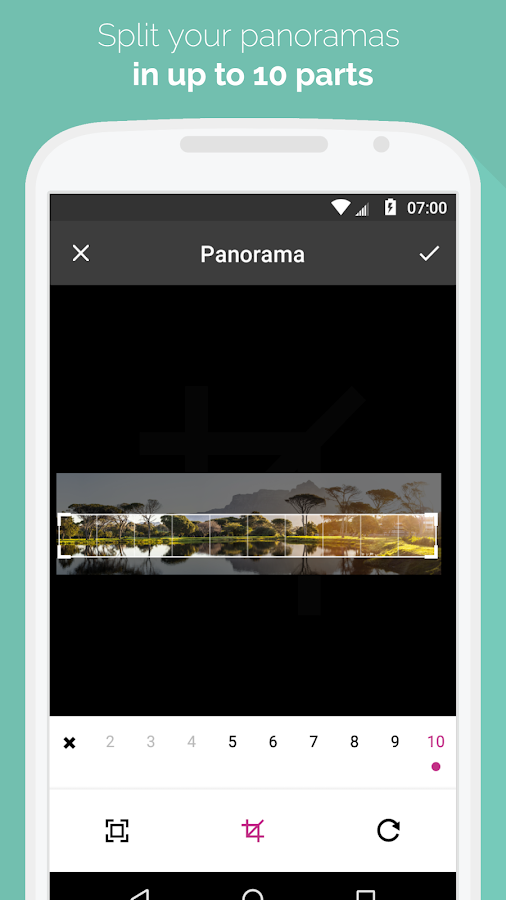
For iOS users, the choices are not so great. I’ve had most success with Panorang. It has no annoying adverts, and it doesn’t add watermarks to the cropped versions. It also supplies a zoomed out version of your panorama, showing the full image in one square – however this slide does have a watermark, but you’re under no obligation to actually post it.
Once you’ve got the sections cropped successfully and saved into your phone’s photo album, head on over to Instagram. Click the new post icon, and then tap on the button that allows you to select multiple images. Starting from the left of the image, tap on the sections in order.
Once you’ve done that, press next and enter your caption as your would normally. Once posted, you’ll be able to seamlessly swipe between all the different sections! Here is how it looks when you’re posting it:
It’s as simple as that! It’s a really fun and interactive way to post panoramas to Instagram, and hopefully your followers will appreciate the effort too.
If you’re looking for top tips on how to take great panoramic photos, make sure to check out our full tutorial here. Also, don’t forget to check out the best hashtags for nature photography on Instagram.
When Instagram first hit smartphones, every image uploaded had to be shaped like a perfect square.
This is all well and good for selfies and pictures of your kids, but for those majestic panorama shots of the Grand Canyon, Instagram's always struggled.
Nowadays, you can upload any sort of photo to Instagram. However, they don't always look so good.
Here's the best way to post panorama shots to Instagram on your iPhone or Android device, along with an app for iPhones that will help them look better.
Check out the products mentioned in this article:The simplest way to post panoramas is:
1. Open Instagram on your iPhone or Android and tap the plus icon at the bottom of the screen to upload a photo.
2. Once in your photo gallery, select the panorama shot you want to use.
3. Touch the image preview at the top with two fingers, then squeeze them together to zoom out.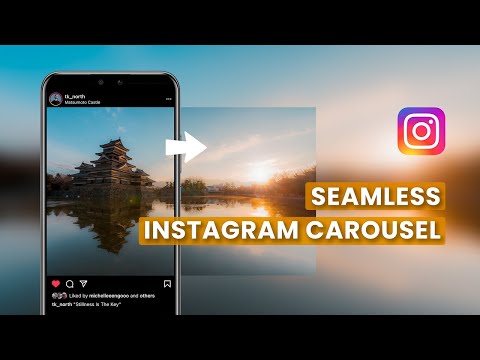 Zoom out until as much of the panorama as possible is visible.
4. Add filters and post it as usual.
The result here is a rectangular picture with large blank spaces on the top and bottom. This will do your photo some justice, but for full-sized panoramas, you likely still won't be able to fit the whole photo.
For the full effect, you'll need to use a program like Photoshop to cut the panorama into smaller, square images. If you have an iPhone, there's an app that will do this for you automatically: "Unsquared for Instagram.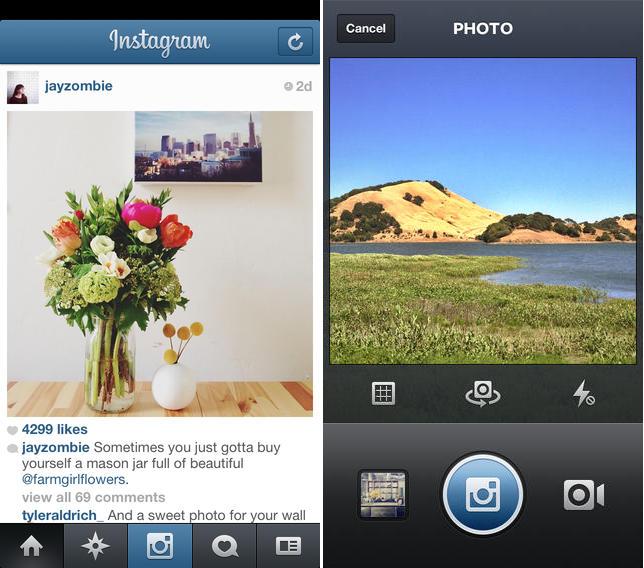 "
"
Download the Unsquared app on the Apple App Store and give it the permissions it needs to access your photos. Then, follow these steps to cut up your photos.
1. Open the Unsquared app and tap the image of a stack of photos at bottom right.
2. Tap the pano image from your library that you want to use, then tap the blue check mark.
3. Your image will appear with the Unsquared watermark on it. Tap the blue icon that looks like a series of squares at the bottom of the screen, and you can pick how many photos you'd like the panorama shot to be split into — once you choose an option, the watermark will shrink.
Tap this icon to choose how many pictures you'd like to split your pano shot into. Steven John/Business InsiderNote that the more pieces you cut it into, the more of the top and bottom of the shot that will be cut off. In general, if you want to include every part of the photo, try to pick "3 Pieces."
4. Once you're satisfied, tap "Done." The split-up photos will be saved to your phone, and you can post them to Instagram.
You'll be able to post the split photos as a series to Instagram. Steven John/Business InsiderSteven John
Freelance Writer
Steven John is a freelance writer living near New York City by way of 12 years in Los Angeles, four in Boston, and the first 18 near DC.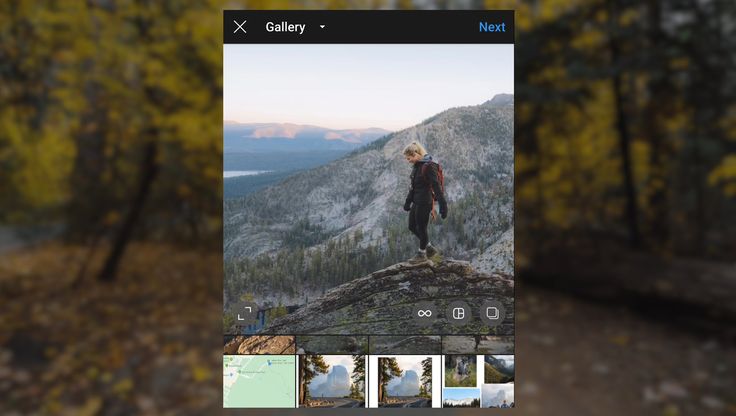 When not writing or spending time with his wife and kids, he can occasionally be found climbing mountains. His writing is spread across the web, and his books can be found at www.stevenjohnbooks.com.
Read moreRead less
Insider Inc. receives a commission when you buy through our links.
November 12, 2017 Web Services
A little trick will allow you to bypass the Instagram* limitation on photo width.
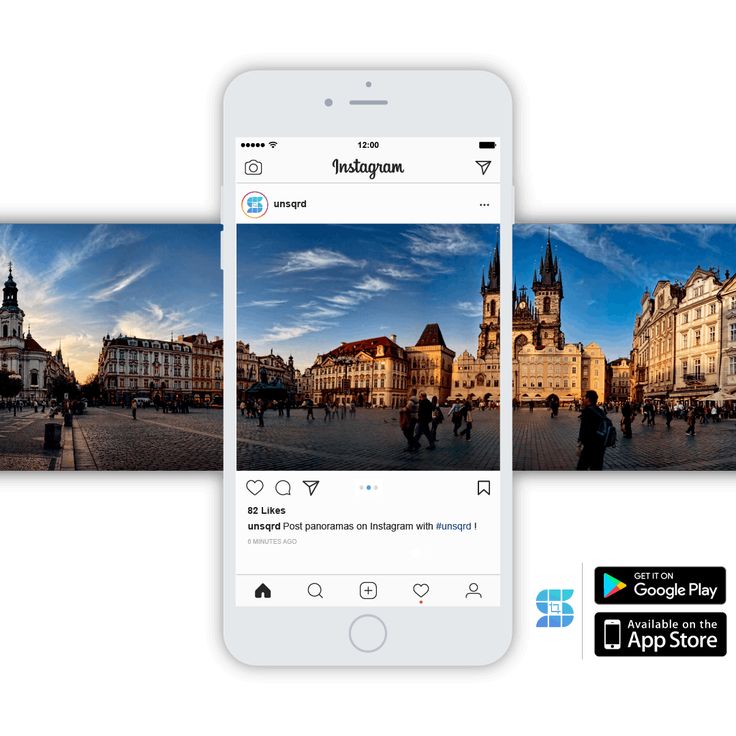
Uploading a panoramic photo to Instagram* is easy. You can create an Instagram post* with multiple photos blending into one another. It will look something like this.
Panoramic photos on Instagram* are no different from regular posts with multiple shots. They can be made manually or using mobile applications. Here's how it's done.
 Keep in mind that you may need a tripod to get really good panoramic photos.
 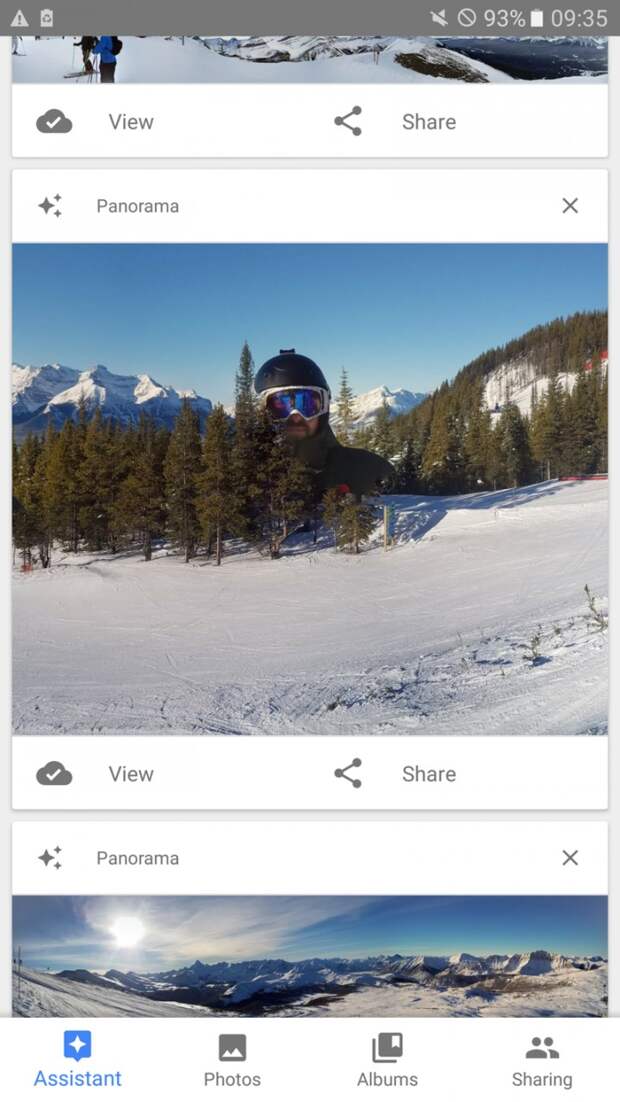 Or you can upload photos directly from your computer through the mobile version of the site. To make a panorama, you need to place the photos from left to right so that the leftmost part of the photo is the first, and the rightmost is the last.
 Take a panoramic photo for Instagram* with apps like Swipeable for iOS and InSwipe for Android. They are free, and with them you do not have to bother fussing in graphic editors.
The iOS app lets you create panoramic and even 360° loop photos for Instagram*. Just select a panoramic photo, and the application will divide it into square segments and apply the necessary filters.
appbox fallback https://apps.apple.com/ru/app/id12096
Powered by Android and has similar functionality - creates seamless panoramas for Instagram*. Photos can be scaled or resized. A grid that adapts to the size of the panorama will allow you to cut images in exactly the right places.
appbox fallback https://play.google.com/store/apps/details?id=livehappy.instaswipe&hl=en&gl=en
Panoramic shots on Instagram* look pretty impressive. In addition, in mobile applications, sliding from shot to shot in one post is quite smooth, so that several photos seem to be a single whole.
*Activities of Meta Platforms Inc. and its social networks Facebook and Instagram are prohibited in the territory of the Russian Federation.
Menu
Contents
Do you like panoramic shots or cityscapes? Don't know how to share them on Instagram? Let's talk about useful applications that will help you create an attractive visual for your feed.
First you need to take a photo in panorama mode. Use digital cameras or phone. Many modern smartphones have this feature in their cameras.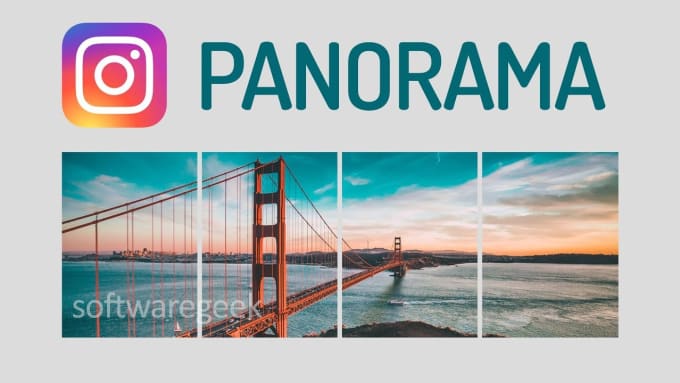
Use a tripod to get the perfect picture. Next, you will need the help of programs to create spectacular material for Instagram.
 com. imgonline.com. The result will have multiple images with the same size.
 You will be interested: how to take cool photos for Instagram.
Developers love to make life easier for users, so they are constantly working on creating new content features. We will introduce you to useful applications for automatically uploading large-format photos to Instagram.
Try some of the programs presented and choose the one that suits you.
 For free. Automatically makes video from photo cuts. You can post it on your feed.
 Panoramic photography is only gaining momentum. You can benefit from their application. By posting pieces of the picture in the carousel, you will surprise your subscribers.