How to take good hair pictures for instagram
How to Take a Killer Client Hair Photo for Instagram | SALT Society
By: Sarah Fasolo (@sarah.fasolo) SALT Marketing Manager
Instagram is an important channel for a lot of stylists and hair artists, which only makes sense—a visual platform naturally fits well with a visual industry like hair!
Because it’s such a visual platform, stylists need to get good at creating and posting high-quality, compelling, inspirational photos that show off their work. Done correctly, this can help you attract new clients, build your brand, highlight your salon’s culture and voice, and fill your appointment book. But poorly-shot or boring photos can do just the opposite, sending potential clients running into the hands of a competitor.
Has this ever happened to you? Are you simply unsure of how you can improve your hair photo abilities so that you’re posting a gorgeous pic each and every time?
Below, we outline tips that you can use to up your instagram game and take better client hair photos for your social media strategy.
1. Make it an experience for your guests.
The best photos that you’re ever going to get are going to be from your actual clients right after you’ve finished performing an amazing service on them. After all, that’s your target audience right there—the person sitting in your chair! And that means that you need to ask your clients to take their photos each and every time you see them.
Worried about being awkward? Do your best to get them pumped. Tell them how great their hair looks, get a few snaps, and show them the pictures so they can actually see how perfect their hair looks. Nine out of ten times, they’ll respond like, “WOW, that's MY hair? Can you send that photo to me?"
2. Focus on the hair, not the face.
A lot of your clients and customers are going to feel self-conscious about their photos being blasted out all over social media. In fact, 90% of your guests will not want to have their faces posted all over the internet, and you need to respect that.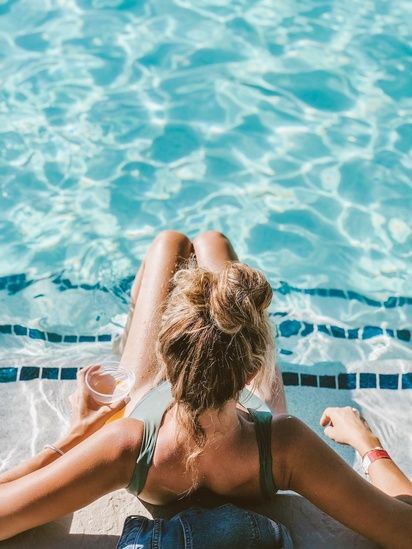
Once you're done with the service and they are still in the chair, this is what you could say, "Your hair looks amazing! Would you mind if I snapped a few photos? I promise we won't show any face, JUST HAIR!" Usually, this works, especially after you’ve already shown them how amazing they look.
3. Use natural lighting.
One mistake a lot of stylists make when taking client photos is they take the photo right in the chair after the service is finished. Unfortunately, the lighting in many salons isn’t great for photos—especially if there’s a lot of harsh lighting or shadows going on. The result is that the photo does not accurately reflect how the color actually looks in person.
We always recommend that you take pictures with indirect, natural lighting. It does wonders!
4. Take photos against a solid background.
With any client hair photo, you want the focus to be on your client’s hair—not anything else! Photos where the client is still in the chair, or where the salon can be seen in the background can cause the hair to get lost amongst all the other details. And that’s no good.
Don’t have a plain wall in your salon you can shoot photos against? Luckily, you don’t need to just use a white wall. Buy a backdrop or scope out a perfect place to get indirect lighting, even if it's outside or down the hall!
5. Take a LOT of photos.
Once you’ve had a client agree to let you take their photo, you want to get as many usable photos as possible. So take more than a couple of pictures! Take 20; take 50,000 if your client will let you! This will come in incredibly handy when you need fresh content to post to your social channels on a rainy day.
Of course, you can’t just take the same photo over and over again. Try different angles, different poses, different styles (like braids), or quick hair accessories and hats so that you can get as much content out of each guest.
If your client doesn't mind her face being shown and she's a good representation of your brand, you can turn your phone around into selfie mode and have her pose in the camera.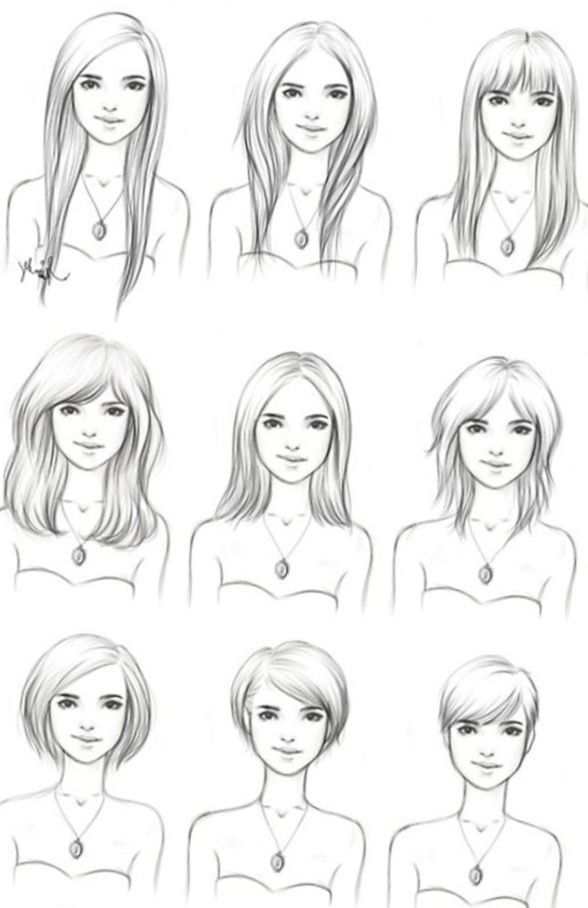 (We learned this from our collab master class with @mane_ivy).
6. Make the time.
We hear so often that people "don't have the time" to take pictures. It’s time we all stop with the excuses and make the time! If you want to bring in more customers and grow your business, you need to invest time and effort into your social marketing. If you are trying to bring more clientele to your chair, make time!
Tend to go right from one client to the next? Talk to your salon owner or booking staff about allotting 10-15 minutes extra at the end of your service to take photos.
7. Don’t be afraid to edit your photos.
A lot of stylists think that it’s cheating if they edit their photos before posting to social media, but we’re here to tell you that it’s perfectly fine. Not only does virtually everyone edit their photos—it is, simply put, a powerful tool in your arsenal.
We use an app called Facetune, which you’ve probably heard of, for most of our editing. One of the great tools in this app is the “whiten” feature, which lets you very quickly and easily clear up and bright background of any photo that you’ve taken to sort of smudge away any dinginess so the hair really pops and stands out. Similarly, if your client or model has any imperfections that they’re self-conscious about, you can use the tool to soften those, which can go far in helping her feel more at ease about you using her photos.
Facetune is the tool that we use, but there are a lot of others out there that you can try. If you’re particularly savvy, FaceTune can let you get a lot more granular and specific in your edits, for example.
The one important thing to note here is that you’re not editing the photo in order to lie to your audience (for example, by altering your client’s hair). You’re simply editing the photo in order to help the hair itself pop more and really show off your skill.
How to Take Perfect Instagram Hair Pictures of your Clients
Latest
by kate woods / last updated October 2, 2020
We’re all after that perfect Instagram shot of our client’s brand new look, but how exactly do you take the a good photo of your client’s hair for Instagram? Here, the experts share their top tips for getting the shot.
How to take perfect Instagram hair pictures
1. Use natural light
To get perfect Instagram hair pictures, it all starts with your lighting. “We find it is always best to use natural light when shooting our clients hair. Fortunately we have windows going all around our property,” says Joseph Ferraro of Joseph Ferraro, Harrogate.
“Use ‘portrait’ mode or apps to blur the background so the hair is the main focus. Try different angles and videos to mix it up a bit. And take plenty of photos – you can never have too many!”
2. Enhance with products
“To get the best pictures we can of our clients hair for our Instagram posts we stick with the following,” says Nicola Crossley of Clipso
“Our stylists using smoothing products before blow drying when the hair is still wet to smooth the cuticle and give a better finish on the blow dry,” she says.
“Use a shine spray mist on the finished hair to enhance the colour, style or cut on the finished look,” she says.
Products are essential for styling, however, they don’t always look right on camera and can create oily spots if you’re not careful, says Guy Tang, who has over 2 million followers on Instagram.
“Never spray the shine spray on the hair after the hairspray. All the hold has been broken down by the oils,” he says. “Mist the shine spray onto the hair, but never too close. If you mist it too close you will have clusters all in one place.”
“Brush the hair and back-brush it to swell it. Spray it with hairspray. Mist it and define it with your fingers,” he says. “If you want to create more definition you can use the can to push it back.”
3. Use a ring light
If you’re not using natural light, a ring light is essential to get perfect photos of your clients hair for Instagram.
“Using a ring light is also a must,” says Nicola. “Either using the ‘cool’ or ‘warm’ light setting depending on the client’s hair colour to make the hair look the best it can.”
” Turn off any orange light in your salon. It will give the hair a warm glow,” says Guy. “Don’t have a window nearby with natural light coming in. If you have a ring light and a window it will look uneven.”
“Have a white wall or something that looks clean and make sure you wipe the lens before you take the photograph,” he says.
4. Style the hair for Instagram
Big, voluminous curls and understated beachy waves are the styling favourites for Instagram, but getting them right for the ‘Gram takes slightly different techniques to getting them right for the salon.
Here, Guy shares how to style two of the best styles for getting perfect hair photos for Instagram; big, voluminous curls and beauty waves.
“Start by clamping hair on the base and then wrap to the ends, because if you start at the ends you’ll have to remove the heat or else you are going to burn the hair,” he says.
Big and voluminous curls
- Make sure the heat is on low to medium to protect the hair and the colour
- Start at the nape and then work outwards in a pyramid.
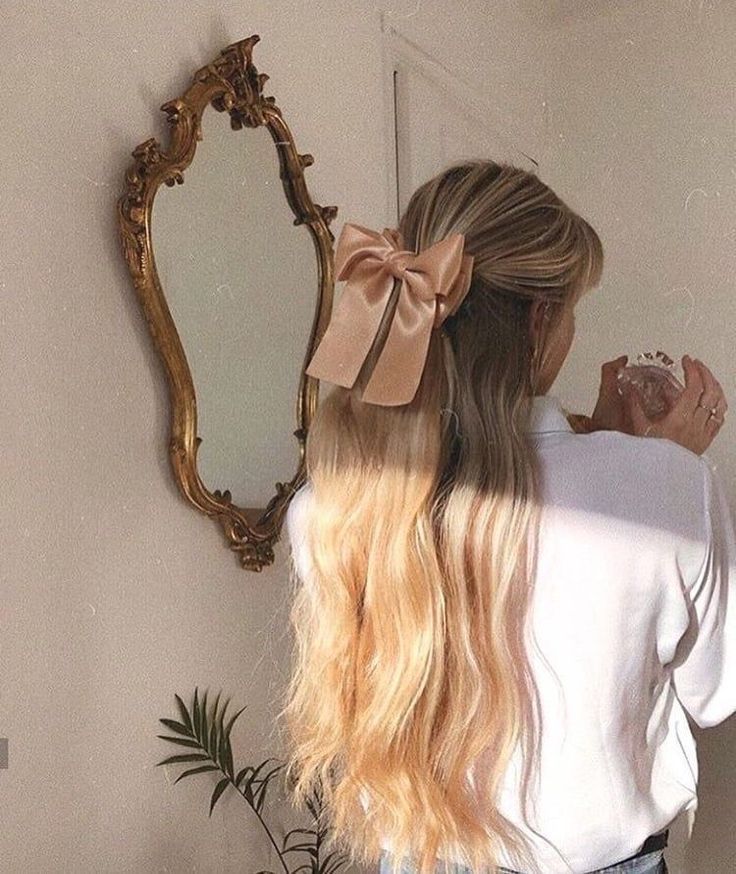 Try pulling the hair out and taking it away from the head.
 - Don’t rope the hair round your styler. Pull it out like a flat panel. Put it flat onto the iron then wrap it around to ensure you get even heat distribution.
- Repeat all the way round to create a feathered look.
- Put the ends in last, then swirl and let them drop to create a relaxed finish. You don’t want to end up with fish hooks!
- Keep stacking and overlaying the curls. Put light colours on top and dark behind to create dimension.
Beachy waves
- Start at the front for a casual and relaxed look
- Spiral the hair around the irons and leave the ends out. Don’t curl it too tight or you will create a spiral.
- You want it to look loose and then pull out. Repeat until you get to the back of the occipital. Direct forward, but pull away because when you over-direct it stretches back to its normal curling position
- As you get towards the ear you should start pulling it towards you instead.
- If your client’s hair doesn’t curl properly, you will need to do a second revolution to make it tighter.
- Use your fingers to control the waves and fan the hair open. You should grab it and expand it to swell it open then spray it.
5. Try these tips and tricks
Sometimes, a helping hand from your client can help get those perfect instagram hair pictures, says Guy. ” Ask your client to put one hand up at the front of the head to fan the hair out,” he says. “If you can’t see the perfect shot with one hand lifted, ask the client to lift both hands to change the shape.”
Playing with distance and settings on your phone can also enhance the photo. “Look through the camera lens rather than at the hair. Sometimes you will see things you can’t see on the hair,” he says. “Choose the right setting on your iPhone. I like to use the close up, but then take a step back.”
How to photograph hair for Instagram
To make quality content you need to remember 2 rules:
- We always take BEFORE and AFTER photos
- If the work is interesting, we shoot a video
Let your masters and administrator always take pictures. And your smm manager will already choose which photo is suitable for the target audience and which is not.
Sophisticated coloring, trendy, creative, transformation from blonde to brunette - this is an interesting and exciting content. You can make a video for this. And such a video can become viral and scatter over the network without your participation.
Photo lighting
This is the hardest part of photography. The quality of the photo depends on the lighting.
The ideal light for shooting is daylight. And to take a great photo in daylight, the client has to stand with their back to the light source. Neither sideways, nor semi-sideways, namely the back!
Do not shoot in a dark room. It is better to go outside and take a photo there.
The quality of the photo depends on the lighting, whether you shoot with a SLR camera or a phone. Bad light will not convey the beauty of the work, but on the contrary, it will worsen it.
[photo]
Before – After
The feature of these photos is to show how dull it used to be, and how beautifully the masters did it.
Take the first photo before the procedures, do not comb the client, let the hair be dirty and tousled. This is just a plus for us.
The second photo is the work of the master. This is the “face” of your salon in social networks, so the work must be perfect.
Why “before-after”? Why can't you just take a picture of the work after the procedure?
Look at the first and second examples:
Now tell me, did the first photo make the same impression as the second?
Nobody knows what kind of hair the blonde had. Maybe they were even better? It is important to show the contrast here.
The job may be simple, but it will have a WOW effect on potential customers on social media.
The “before-after” photo shows what a difficult job the master did and what results he achieved. The client can appreciate this only by seeing what happened before.
Photo quality
Photo quality depends not only on the device, but also on the light. If everything is fine with the light in the cabin, then you can safely shoot work on your phone. Only the phone camera must be at least 8 megapixels.
If you have a digital or SLR camera, that's great. But not necessarily.
Examples
We've scoured the web and found examples for you to follow in your salon. We believe in visual memory that when viewing such photos, your masters will be inspired and want to make similar ones
Angle
The main angle is from the back of the client, when it comes to coloring, care. Even for some haircuts, this angle is best suited.
This is not difficult: you can ask the client to turn his back if necessary.
For haircuts, it is worth doing several angles. If it's a pixie cut, bob, or complex styling with asymmetrical sides, then several angles will show the work in full.
What to do right now:
- Make sure you have a suitable place for photos;
- Show your masters and administrators the examples in this article;
- Take a few pictures and compare the photos with the examples.

April 23-24 at the Salon Marketing Conference in Moscow, our Instagram expert Valeria Pavlikova talks about cases, tricks and latest developments in promoting beauty salons on Instagram
Subscribe to newsletter
We make a selection of the best articles and send you once a month! [contact-form-7 404 "Not Found"]How to photograph hair. 10 tips and ideas
Salon owners and private hairdressers are looking for different ways to attract the attention of clients. Instagram, Facebook and other social networks are a great way to showcase your skills. People search social networks for the hairstyles they want for themselves, and the hairdressers themselves find ideas in stories.
Whether you're a hairdresser in a beauty salon or a photographer, you want to get great hair shots. After all, it is not uncommon for an amazing hairstyle, photographed incorrectly, to look average at best.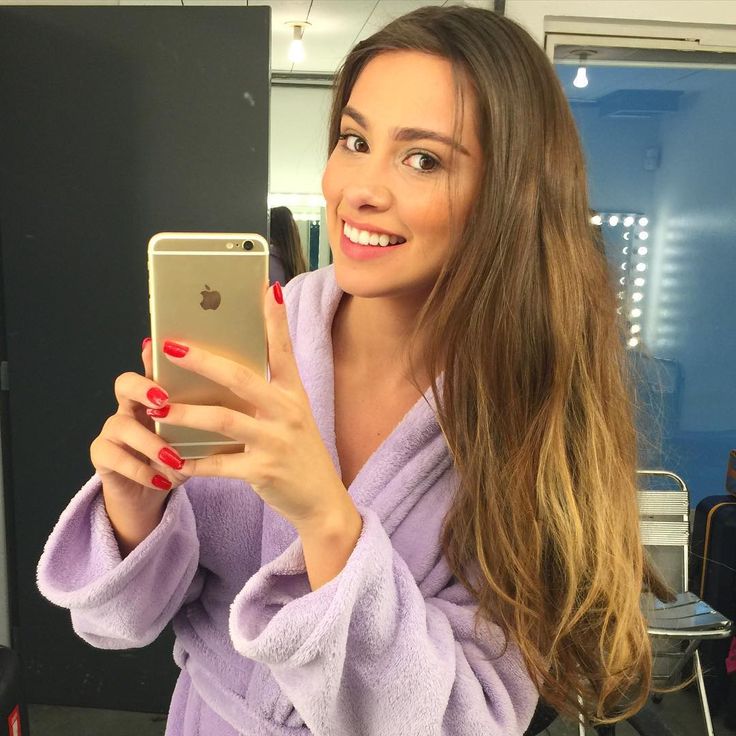
Many people mistakenly classify hair photography in the same category as beauty photography. However, there are many nuances to photographing hair that are very different from photographing people or clothing. We will tell you how to take pictures of hair correctly and beautifully and show some cool ideas for a photo with hair.
1. Select a clean background.
When you photograph an intricate hairstyle, create a balance with a simple background so that it doesn't clash with the details that are in the hair. Use a plain white or block wall to place the model.
2. Blonde hair is easier to photograph.
Have you ever wondered why there are so many photos with blond hair or highlights in the portfolio of hairdressers? This is because it is much easier to photograph styles with it.
In dark hair it is more difficult to see the shape of the hairstyle and braids. To highlight the details in dark hair, you can use hair powder or chalk to make the hairstyle an accent. This makes a big difference in the finished style and makes it easy to balance the color in your photo.
3. Technique for photographing dark hair.
If you still need to shoot dark hair against a light background, we highly recommend shooting in HDR mode. This is high dynamic range, which means you can capture details in the shadows without blurring the highlights.
4. Extremely shallow depth of field.
When shooting a detailed braid, shoot with a shallow depth of field. Choosing an aperture of f2.8 or lower, if possible, will bring the main part of the hairstyle into focus, while the rest of the hair and background will be blurred.
5. Highlight with light.
Use reflections or highlights to bring out the details of the hairstyle. A reflector can really help lighten up the hair.
6. Consider back lighting.
The position of the light creates a completely different mood. When shooting hair and haircuts, use side light.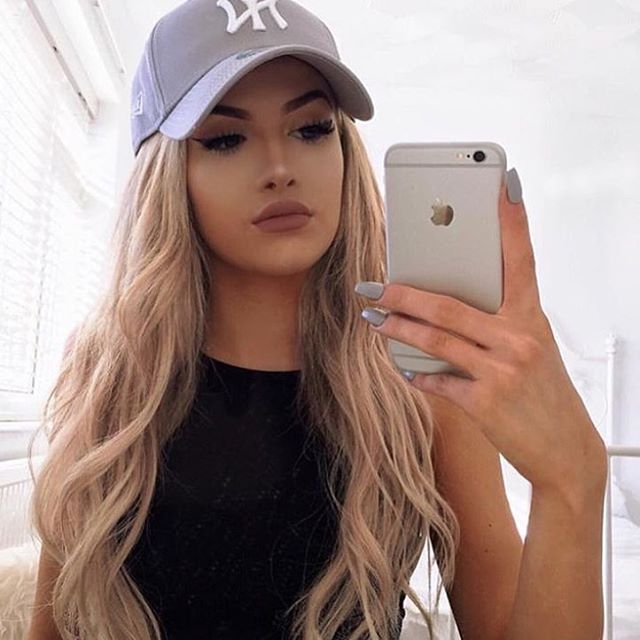 This helps to add more light around the hairstyle and is especially good for dark hair.
7. Shine and more shine.
In real life, too much glitter spray seems a little greasy, but it can be photographed cool. On fine hair, a light hairspray adds just the right amount of shine without weighing down the style. All of these hair products reflect light back into the camera.
Make an album Light out of cool photos. You don't need to print the photos separately for this. We will print your photos directly on the Light album pages. Choose a Portfolio design. Upload images to the free Mapi7 editor and create a Light themed album. You can upload photos from your phone.
Make Album Lite
8. Clean hair is not always the best.
Often clean hair is too soft for many hairstyles. If you need to photograph clean hair, use dry shampoo to add some volume and texture to the hair and make it easier to style.
9. Plan the order of styles.
If you need to photograph several hairstyles and styling on the same day, it is important to plan them in the right order. Start with haircuts, then move on to hairstyles, styling, and finally move on to braids. Gradually, each of the styles will hide any imperfections in the hair. This simplifies and speeds up the work and keeps the hair in good condition longer.
10. Examine your hands.
When you're photographing hair for a portfolio or Instagram, think about how you position your hands in the photo. Remember that anything closer to the camera will appear larger. Keep your arms at an angle so they appear smaller and don't obscure your view for shooting.
Use minimal photo editing. Remove some small spots, but don't change the hair. In professional photo shoots for advertising and for portfolios of hairstyles and haircuts, you can see a huge amount of photoshopped hair. Resist the temptation to wishful thinking. Be proud to try a new style and rock it with confidence.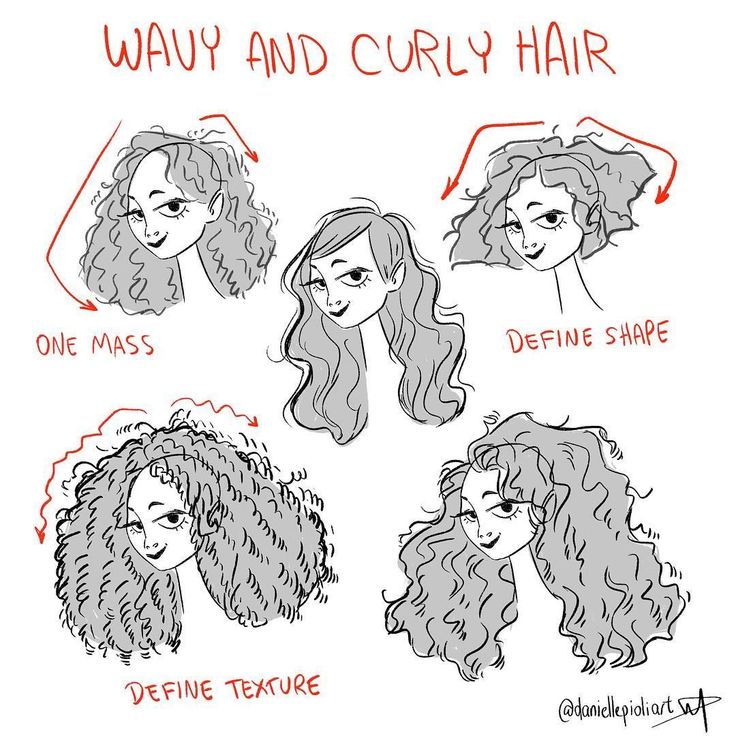
What is the best way to photograph hair?
Use a light source from above that hits the model's hair. Let the hair take up most of the image. Remove anything from the frame that can distract the viewer's attention from the hair. Try some of our hair photography tips and ideas:
Mirror highlights. Photographers use the so-called mirror highlighting to make the hair really look good. Specular highlighting means that the light source you are using will create a kind of reflection from the object you are photographing. To set up the lighting, place the light source 30-90cm higher than your model's hair.
Play with the distance to the light source to get the perfect hair reflection. The reflection from the hair really makes hair photos look great. If possible, use a slightly diffused light source. In the studio, use a reflector on the bottom of the model to even out any dark shadows that may appear on her face.
Less is more. The second important thing to remember when photographing hair is that less is more when it comes to your model. Never try to add anything to a photo.
If you're photographing the back of someone's head, it's pretty easy, as there's nothing else to look at. Make sure there are no clips or bows at the back of the head, unless that's what you want to highlight.
If photographing a person from the front, remove any earrings, nose rings, necklaces, and any other jewelry that may be in the frame. Ask the model to close her eyes or look the other way. Otherwise, the viewer will look ... straight in the eyes.
Professional photographers go even further. They remove all clothes from the frame, and the viewer sees only bare shoulders and hair. It draws all the attention to the hair.
Avoid clutter in the frame. Try to remove as many things and objects as possible around the object, such as furniture, plants, art, etc. You can do this:
- with camera,
- moving closer to subject's hair,
- zooming in (try to avoid zooming in too much on a camera phone),
- physically removing objects from the frame.

If these objects are removed from the frame, the focus will be on the hair and not on other random objects in the frame. Therefore, remove everything from the frame that can distract from the hair.
Cool photos deserve an unusual frame. Print your cool Polaroid style photos. Instant Photo Fans of 90's can experience familiar feelings when holding a Polaroid-style photo. For those unfamiliar with the traditional Polaroid, the square images with a caption box will be to your liking.
Take
Polaroid style photos
Shoot from above.
Shooting slightly above your subject gives the best results. Stand on your toes or on a stool. Shooting from above will make the light bounce off the hair better and also give you the ability to catch the shadows where you want them. Before and after
Photograph the client's hair before cutting, styling or dyeing. And take a photo after the procedure. The trick of this technique is the contrast between “before” and “after”.