How to share video in facebook story
Sharing a Clip to Facebook Stories or Reels
How to create a clip of a Switcher Studio video and share to Facebook as a Story or Reel
The Clips feature in Switcher Studio makes it easy to trim your video recording and share the clip directly to Facebook Stories or Reels. Sharing to Facebook Reels from Switcher Studio is limited to vertical (9:16) videos (it's not required for Stories, but it's highly recommended), and sharing to Facebook Reels is limited to iPhones.
There are two steps to share a clip to Facebook Stories or Reels:
Create a Clip in Switcher Studio
Share to Facebook Stories or Reels
Jump to:
Creating a Clip in Switcher Studio
Sharing a Clip to Facebook Stories or Reels
Important Notes about Facebook Stories and Reels
Step 1: Creating a Clip in Switcher Studio
You can create a clip immediately after recording a video, or you can go back to a previous recording and create a clip. For either scenario, you will first go to the Clip Editor and then make any adjustments.
Accessing the Clip Editor
To create a clip immediately after you have stopped streaming/recording:
The Video Completion Panel will appear when you’ve ended your video. At the top of the panel you will see the message, "Congratulations! Your Video is complete.”
In the lower right, tap More (below the three dots).
Tap Create Clip (Edit) to open the Clip Editor.
The Editor window will include a preview window and editing options. As you make adjustments, you can tap play in the video preview to watch the clip.
To Create a Clip From a Previous Recording:
Trimming a Video
The Clips Editor has several options, but the most commonly used tool is Adjust, which allows you to shorten/trim the video. From the Clip Editor:
To change where the clip starts, swipe across the timeline to the desired starting location.
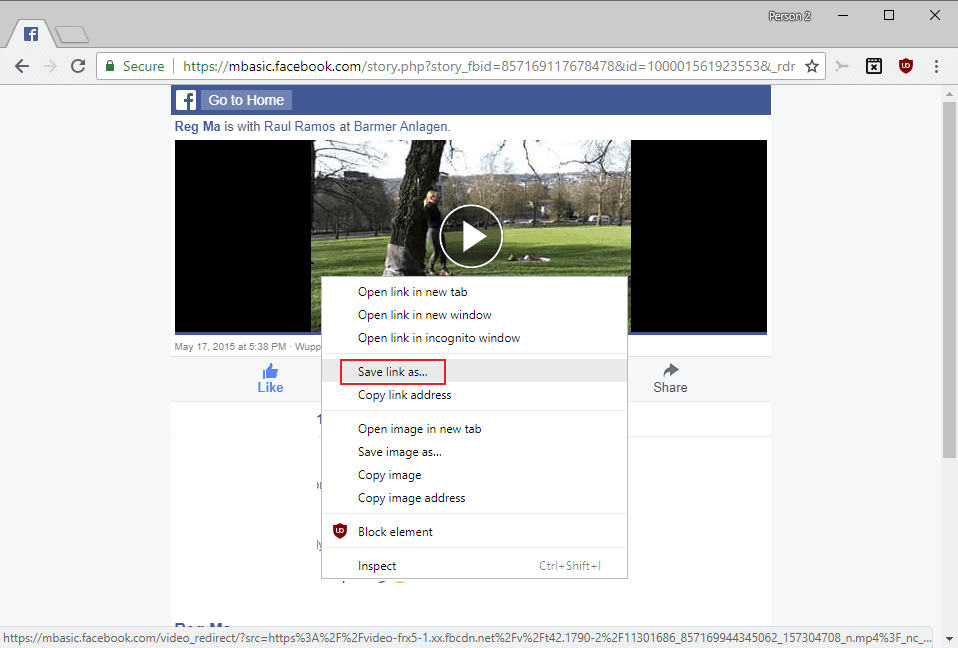
To change where the clip ends, swipe across the timeline to the desired ending location.
At any time, you can tap the Play button in the center of the clip preview window to watch the clip.
Make adjustments to the start and end locations as needed.
Tap Save at the bottom of the Editor window when you are finished.
If you do not want to make any other changes to the clip, tap Create in the top right corner. Otherwise, tap through any of the other Editor options (e.g. Format, Layers, Captions) to continue customizing the clip.
For step-by-step instructions on using any of the other Clip Editor options, check out the article Creating a Video Clip.
Step 2: Sharing a Clip to Facebook Reels or Stories
If you just went through the steps above to create a clip, sharing is only a couple of taps away. After you tap Create to save the clip, you will be taken back to a screen that shows details for the clip you just created.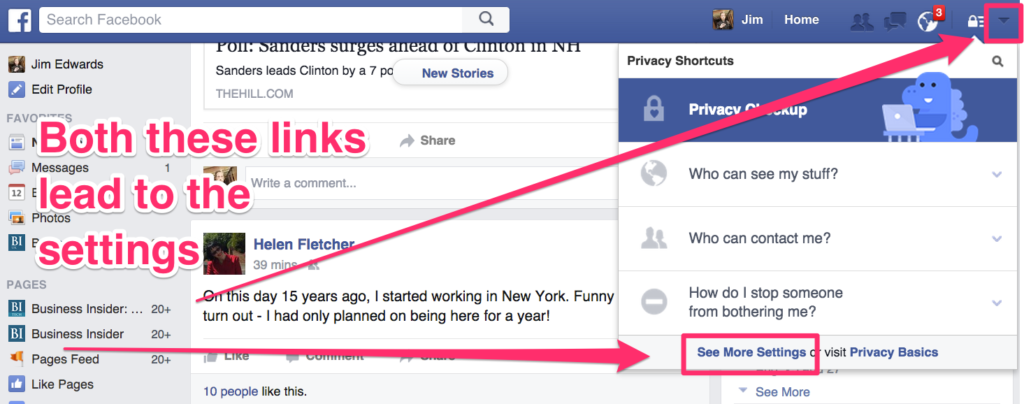
From this Clip screen:
Note: If you are using an iPad to run Switcher Studio, sharing to Reels will not appear in the Export/Share menu.
Publishing to Facebook Reels
After tapping Share to Facebook Reels, Facebook will open, with a preview of the video.
Tap Edit in the lower-left, or use any of the edit options on the right to further customize the clip using Facebook's tools.
Tap Next when you're done editing the clip.
You'll be taken to the final screen where you can add a description, adjust the audience visibility, and enable or disable sharing to Instagram.
Publishing to Facebook Stories
After tapping Share to Facebook Stories, Facebook will open, with a preview of the clip.
Tap any of the edit options on the top or lower-left to further customize the clip using Facebook's tools.
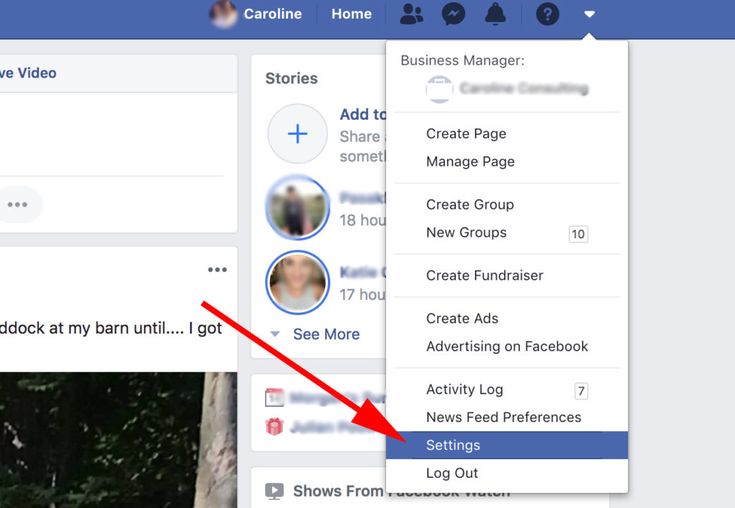
Tap Privacy in the lower-left to confirm or change who can see your story.
When you are ready to publish the video, tap Share to Story in the lower right.
The instructions above are for sharing a clip immediately after creating it. If you want to share a clip you created in the past, the steps are similar to the above, but you have to get to the clip you want to share first.
Important Notes about Facebook Stories and Reels
Facebook Reels
For users 18 and older, by default the audience visibility for Reels is set to public, but you can change the audience prior to publishing any individual Reel.
Reels must be between 3 seconds and 60 seconds.
Reels will be available for playback in your Reels profile.
Your Friends may see your Reels in their Facebook Feed.
You can see the full list of technical and content requirements on Facebook's support page here: https://www.
 facebook.com/business/help/1197310377458196?id=376980407544978
Facebook Stories
How to Post Long Video on Facebook Story
If you always upload videos to Facebook, you probably come across the 26-second limitation. It means no matter how long the video you post, Facebook automatically cut it into a clip with a maximum duration of 26-second.
This is workable for short-length videos. What if you want to post long videos on Facebook story? How to upload longer videos on Facebook story? Well, that's why we write this blog - help you learn how to do it effortlessly. Let's go ahead!
Can't Miss: Detailed Steps & Advanced Tips to Make a Video on Facebook
Method One: Cut the Long Video into Several Clips
Method Two: Upload Full Length Video on Facebook Story
Bonus Tool for Creating Stunning Facebook Videos
Method One: Cut the Long Video into Several Clips
If the long video tells a story with a clue, you can cut the long video into several clips. A series of hints in different videos will hook more people to watch videos and consequently, it increases Facebook story views. Hence, let's see how to cut videos.
Step 1
Open the photo album on your mobile and find the wanted video.
Step 2
Use the in-built editor to split the long video into a series of clips. Control the shorter video duration within 26 seconds.
Step 3
Upload video clips to the Facebook story one after another.
Method Two: Upload Full Length Video on Facebook Story
What happens if you want to upload a full-length Facebook story video? There is a tactic to upload full-length videos for up to 43 minutes. So here is how to upload a full-length video on a Facebook story.
Step 1
To begin with, open the Messenger on your device and enter a chat page of your friends.
Open Messenger on Your Device
Step 2
Tap the Gallery icon and click on the desired video. After that, select the "Edit" option.
Find the Video on Gallery and Edit it
Step 3
When the new page appears, click on the "Your Story" and the "Add" option. Now you've added the long video to the Facebook story.
Upload Video to Facebook Story
The uploaded video will be visible on Facebook and Messenger for 24 hours.
Bonus Tool for Creating Stunning Facebook Videos
Making videos on Facebook has many restrictions like limited background music, which restrain your creativity. To get rid of limitations and create viral Facebook videos, you'd better turn to third-party editing programs. Here FlexClip is our recommendation.
Create a Video View Templates
1. FlexClip helps you create stunning videos in clicks and it requires no editing experience.
2. It helps you smooth the creation by editing, like adding dynamic text, cool background music, professional transition and more.
3. FlexClip has a resource-rich media stock that contains free sounds, photos and videos.
4. It supports 480p, 720p, 1080p and HD videos to meet your needs without quality loss.
5. It's a watermark-free and handy online video editor
How to Create a Facebook Video with FlexClip
Step 1
Upload all the video footage and drag them to the storyboard.
Upload Video Footage to FlexClip
Step 2
Go to the left panel to add dynamic text and choose stirring music you like.
Add Text and Music to Video
Step 3
Animate the video and add stickers if necessary. Then save and export the video.
Save and Export Video
If you don't want to waste time uploading Facebook videos, you can save the video as link, then share the link to your Facebook.
The Bottom Line
Well that's all for how to upload a long video on Facebook story. I hope this article is helpful for you to upload videos longer than 26 seconds. FlexClip is ready to help you with powerful editing tools and a clean interface if you need a Facebook video now. Now it's time to post a long video on Facebook story.
Preview
Facebook Cover Slideshow
Use This Template
Preview
Facebook Slideshow Ad
Use This Template
FlexClip Editor /
Professional in video editing and video marketing, we’d love to give some constructive tips and tricks to help our users make fantastic videos.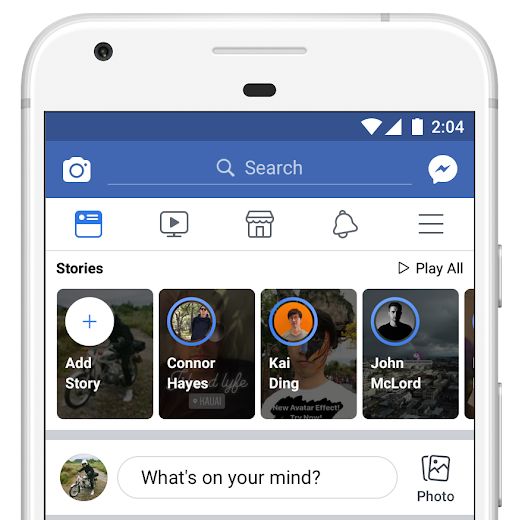
How do I share a photo or video in a Page's story on Facebook?
Pages you manage may use the new version. More.
Your Page Story is a way to share content with your followers that will be available for 24 hours.
You can also share photos or videos in your personal profile story.
To share a photo or video to your Page's story, sign in to the Facebook app for iOS or Android.
Android
New Version of Pages
If you have access to a Page at the Facebook level, you can post photos to your Page stories on Facebook. People with Facebook Page or task access can create and manage stories using the Meta Business Suite mobile app.
To post a photo or video to your Page's story (requires Facebook level access):
Sign in to Facebook and click your profile photo in the upper right corner of the screen.
Click All Profiles and select the Page you want to switch to.
Click the icon at the top of the screen and select History.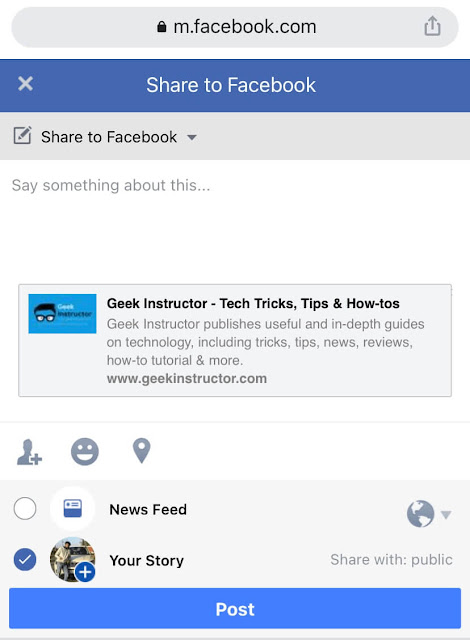
Select a photo or video from your camera roll, or tap the icon to take a new photo or video.
Click to add a sticker, Aa to add text, or to draw on a photo or video you have taken or uploaded. Select Effects to add other creative effects or Save to save the photo or video to your Camera Roll.
Click Done and then Share Now to post the photo or video to your story.
Classic Pages
Only a Page administrator or editor can post content to a Page's history.
To post content to your Pages story:
Tap the icon in the top right corner of your Facebook screen.
Click Pages and select your Page.
Click on your profile picture.
Click Create Story.
Select a photo or video from your camera roll, or tap the icon to take a new photo or video. On this screen, you can:
Tap the bottom of the screen to take a photo, or tap and hold this icon to record a video.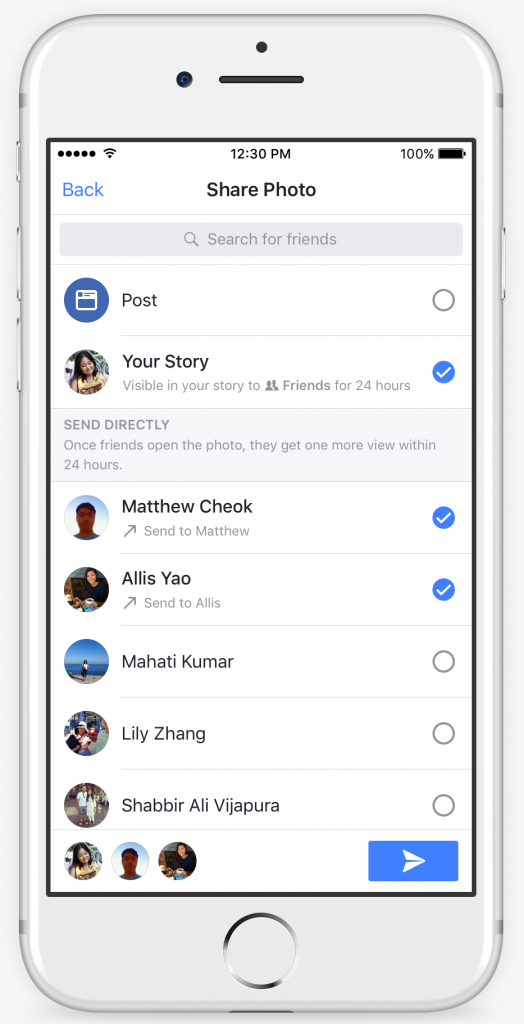
Press BOOMERANG to loop through a series of individual photos that can be scrolled back and forth.
Click to change camera settings for history.
Swipe left to add a photo or video with a camera effect.
Press to upload a photo from your camera roll.
Click to add a sticker, Aa to add text, or to draw on a photo or video you have taken or uploaded. Select Effects to add other creative effects or Save to save the photo or video to your Camera Roll.
Click Done and then Share Now to post the photo or video to your story.
iPhone
New version of Pages
If you have access to a Page at the Facebook level, you can post photos to your Page stories on Facebook. People with Facebook Page or task access can also create and manage stories using the Meta Business Suite mobile app.
To post a photo to your Page's story (requires Facebook level access):
Click your profile photo or icon at the bottom of the Facebook window.
Select your Page. You may need to click Change Profile or Select Profile first.
Click the icon at the top of the screen and select History.
Select a photo or video from your camera roll, or tap the icon to take a new photo or video.
Click to add a sticker, Aa to add text, or to draw on a photo or video you have taken or uploaded. Select Effects to add other creative effects or Save to save the photo or video to your Camera Roll.
Click Done and then Share Now to post the photo or video to your story.
Classic Pages
Only a Page administrator or editor can post content to a Page's history.
To post content to your Pages story:
Tap the icon in the bottom right corner of your Facebook screen.
Click Pages and select your Page.
Click on your profile picture.
Click Create Story.
Select a photo or video from your camera roll, or tap the icon to take a new photo or video. On this screen, you can:
Tap the bottom of the screen to take a photo, or tap and hold this icon to record a video.
Press BOOMERANG to loop through a series of individual photos that can be scrolled back and forth.
Click to change camera settings for history.
Swipe left to take a photo or video with the camera effect.
Press to upload a photo from your camera roll.
Click to add a sticker, Aa to add text, or to draw on a photo or video you have taken or uploaded. Select Effects to add other creative effects or Save to save the photo or video to your Camera Roll.
Click Done and then Share to Story to post the photo or video to the story.
How to share a video on Facebook ▷ ➡️ Creative Stop ▷ ➡️
1587
9
9 Read Min
How to share a video on Facebook
During a family dinner, you prepared funny videos that you showed to all your relatives. At the end of the evening, some of them asked you to post a video on Facebook so that relatives who could not attend the dinner could see them. You gladly accepted their request, but since you don't use the famous social network much, you don't know how to upload videos to it. I figured it out, didn't I? So I don't see what the problem is: if you like, I'm here to help you and explain how to succeed in your attempt.
If you give me a few minutes of your time, I can tell you how to share a video on Facebook acting like a mobile phone, tablet and PC without missing any details: in the following paragraphs, I will not only show you the complete procedure for posting a video on your profile, but also how to share videos on any Facebook page you manage and in groups. social networks, even those that you are not the administrator of. In addition, you will also find instructions on how to add a video to your Facebook story.
If you can't wait to get more information, don't wait and dive straight into the topic. Sit back, take the time you need, and dedicate yourself to reading the following paragraphs. Carefully follow the instructions that I am about to give you, try to put them into practice, and I assure you that sharing a video on Facebook will be as easy as drinking a glass of water. Enjoy reading!
- Share video on Facebook profile
- Share video on Facebook page
- Share video to Facebook group
- Share video to Facebook story
Share video to Facebook profile
to Share video to Facebook de mobile phone and tablet Android and iOS. If it's not already on your device, you can read my guide to downloading the Facebook app.
After logging into your account, to continue posting videos to your profile, tap What do you think? and select the option Photo / Video , then select the video you want to share by touching preview image and press the button final .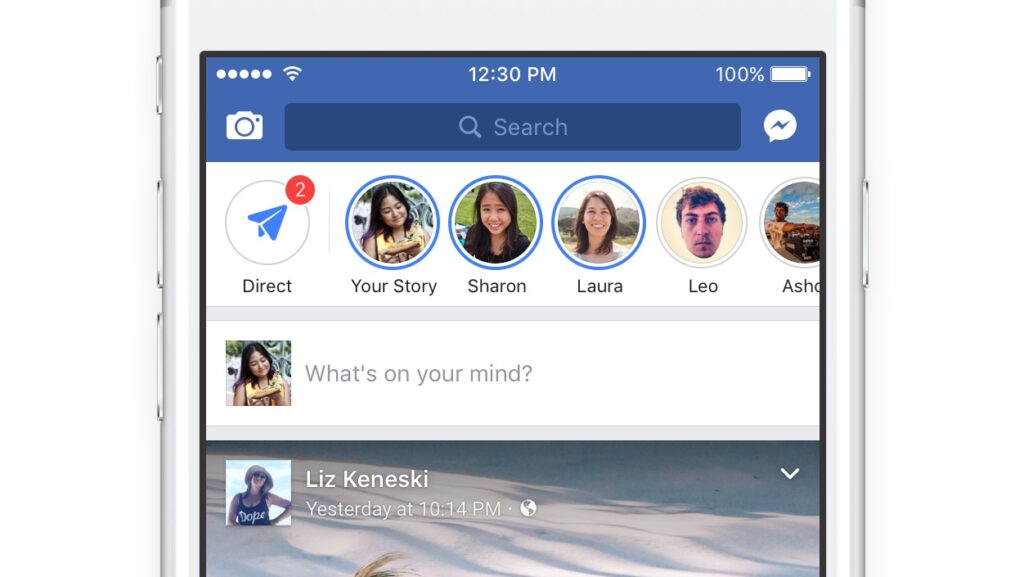
Now, if you like, click on the item edit to apply effects, stickers and settings to the movie, and click the button Venga . Also by clicking on the Add to your post item, you can tag other people, indicate where the video was taken, and more. Then enter a description of the movie in field Write something about this video and click on the article Share to start charging. Wait until the progress bar reaches 100% and that's it.
If, on the contrary, you prefer to share videos on Facebook from Pc , connected to the main page of a well-known social network and, if you do not have automatic access configured, log in by entering your data in the fields By email or phone es Password , present in the upper right corner. For details, you can read my guide on how to login to Facebook.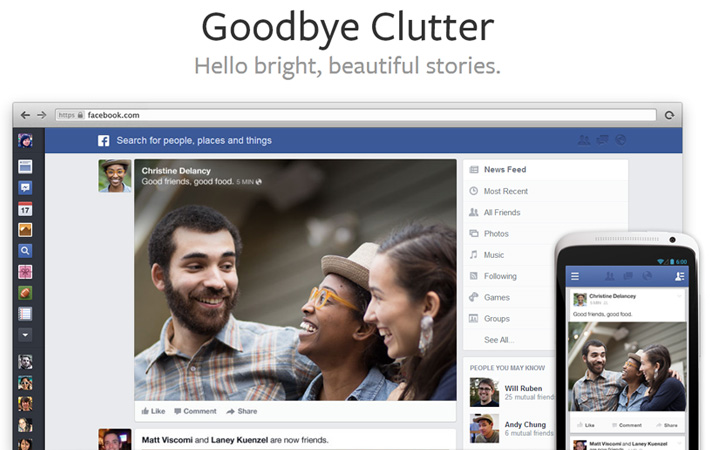
Now click on the option Photo / Video is present in the box Write posts and select the movie you want to publish on Facebook. click on the button opens to start downloading and optionally enter a message in the field Write something about this video . If you want to tag a friend to notify them of the download, click the Tag Friends button and select your name in the Who were you with? , then make sure the element has a 9 checkmark next to it0119 News section and set the video privacy by selecting one of the available options ( Toda , Friends , Only me , personalizado etc.) via the drop-down menu Who can see this content .
If you are wondering how to share a video on Facebook with just one person, all you need to do is select the option Specific friends in the video privacy mode, then check the box next to the friend you want to share the video with and click button save cambios .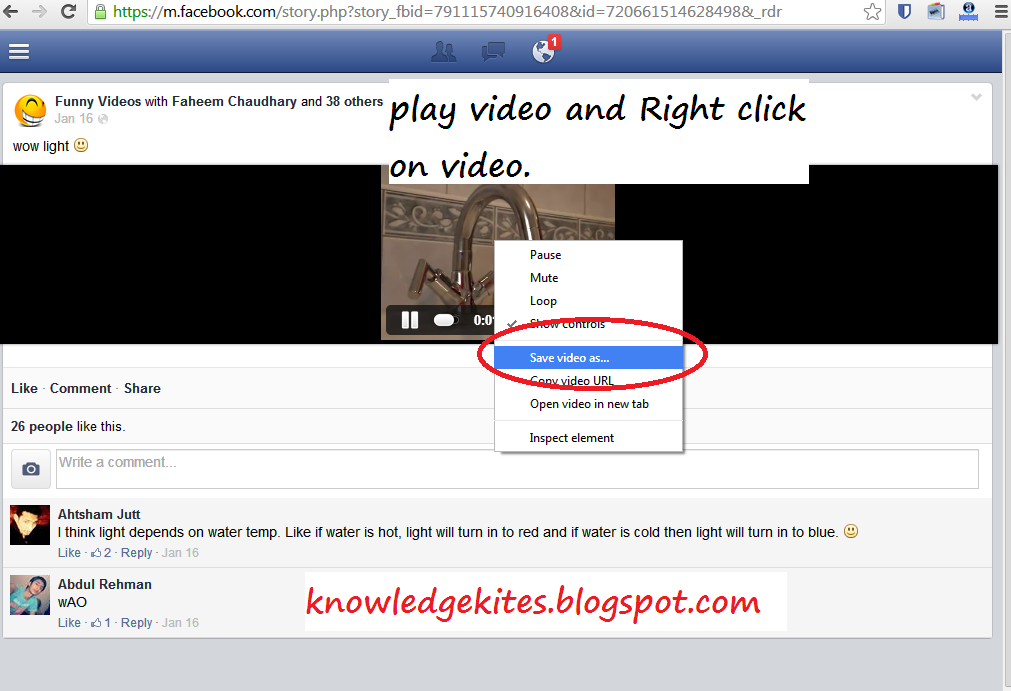
After the video is uploaded, click the Share button to start processing the movie on Facebook. As soon as you receive notification Your video is ready. You can see it now , the video will be visible on your Facebook profile.
Share video to Facebook page
to share video to Facebook page On your mobile phone or tablet, launch the social network application, press the 9 button0119 ≡ located at the top right (or bottom right if you have an iPhone or iPad) and click on your page's name .
On the new screen that is displayed, press the button Public select the option Photo / Video and touches video to charge, then press the buttons final es Share to start charging. If, on the other hand, before posting the video, you want to add settings to the video or add a title, tap edit and choose if you want to add effects , adhesives o draw freehand with the function draw .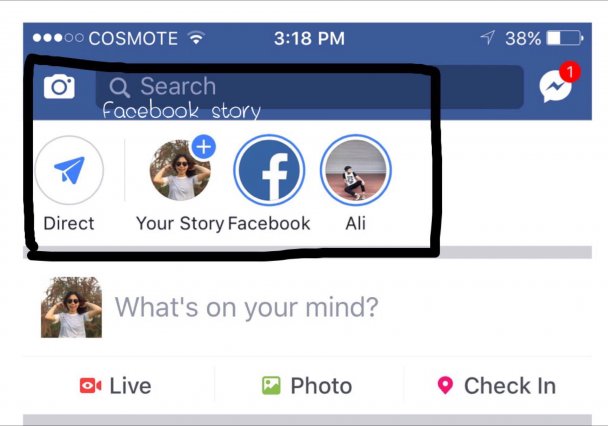
To add a title or description to the video, tap the item instead. Write something about this video , enter the text of interest and click the Share button (top right) to post it on your page.
To share a movie on a Facebook page you manage with your computer, click the 9 icon0119 arrow pointing down present in the upper right corner, select your Facebook page visible under the heading Your pages and on the page that opens click on the option Photo / Video present in the box Create a post , Then select the option Upload photo / video , select the movie to download and press the button. opens start download.
On the page that opens, enter the name of the video and its description in the fields. Name your video here es Describe your video so people know what it's about.![]() , then enter the keywords in the field Label to help people find their movie and set the preview image by clicking the item Image preview is present on the right.
, then enter the keywords in the field Label to help people find their movie and set the preview image by clicking the item Image preview is present on the right.
If you wish, you can further customize the video by selecting one of the options displayed on the right: Distribución choose where to show the video, whether to allow embedding, and whether to disable comments and reactions; Subtítulos set video language and add subtitles; Surveillance to add tags and make it easier to find videos and Director's Tools 360 to activate 360-degree mode and allow the viewer to control the direction of the view.
When you've finished setting up your video, click the premiere button if you want to set the video to be published as a first view, specifying the date and time of transmission. In this case, a notification will be immediately published that your video will be broadcast on the set day and time.
If, on the other hand, you want to publish the movie normally, press the button Public select one of the available options Publish now , precede es Program It is. In the latter case, my guide on how to schedule Facebook posts may come in handy.
Share the video in the Facebook group
If you are wondering if it is possible share the video in the Facebook group , the answer is yes, even if you are not the administrator of the group you are interested in. To continue using your mobile phone or tablet, launch the Facebook app, press the ≡ button and select an item. Groups to see all the groups you follow.
After identifying the group of interest, tap its name and on the new screen that appears, tap the item. Write something , Then select option Photo / Video , click on preview image of the video you are interested in to select it and press the button final . Or click the camera icon to record live video. click on the button edit if you are going to apply filters, stickers or pictures to the video and if you want, enter text in the field Write something about this video .
Finally, click the Public button in the upper right corner to immediately publish the video; otherwise, click item Program , move the lever next to element Publication schedule de OFF a EN (Android only), specify date es calendar publish and press the button Program .
To share a video in a Facebook group from a PC connected to the main page of the social network, click on the element Groups present in the sidebar on the left under the option Explorar and select the group in which you want to share the video.
Now tap the item Photo / Video present under the option Write something , select the movie to download and press the button. opens . Optionally enter a title or description for your video in the field Write something about this video and click the Public button.
You should know that if you are a group administrator, you can also schedule a movie to be published by clicking on the icon hours is present next to the button Public . On the new screen that appears, enter date es calendar publish and press the button Program .
Share videos to Facebook stories
los Facebook stories These are collections of photos and videos that each user can share on a well-known social network and will remain visible for 24 hours in accordance with the privacy set at the time of publication.
To share the video in the story, click the button + is present in your photo at the top left under the heading of the story and select the article Video to record live video, otherwise click the icon two rectangles in the right bottom corner to download the video to your device. Then select video share with Facebook story and choose whether to apply settings like effects ( magic wand ), written (A.A. badge top right) or stickers ( emoticon ).
After completing the video setup, press the button Venga , make sure that next to the element there is a check mark Your story (you can also set its visibility by touching the element Toda o Friends submit in writing Your story ) and press the button Share now .

