There are a lot of good reasons to delete photos from Facebook, so knowing how to do it as efficiently as possible is a useful skill if you want to make best use of the giant social media platform.
You might simply have uploaded an image in error, or you might simply come to dislike a given picture. And cleaning up your social media persona is important to do before you apply for a new job or to a new school, both of which require putting your best foot forward.
First, log into your Facebook account and find the photo in question, whether it's in an album or just in "Your Photos," and don't click on the picture to open it.
1. Hover over the image to be deleted; a gray box with a pencil icon will appear in the top right corner of the thumbnail image.
2. Click the pencil icon, which will display a popup message "Edit or Remove."
Hover over a picture to reveal the edit icon. Steven John/Business Insider3. At the bottom of the menu that appears, click "Delete This Photo. "
"
4. On the next popup window, click the blue box that reads "Delete."
Click "Delete" to finish the process. Steven John/Business InsiderAnd like that, it's gone from Facebook.
How to delete your Facebook photos from a mobile browserGo to the Facebook website on mobile and make sure you're logged in.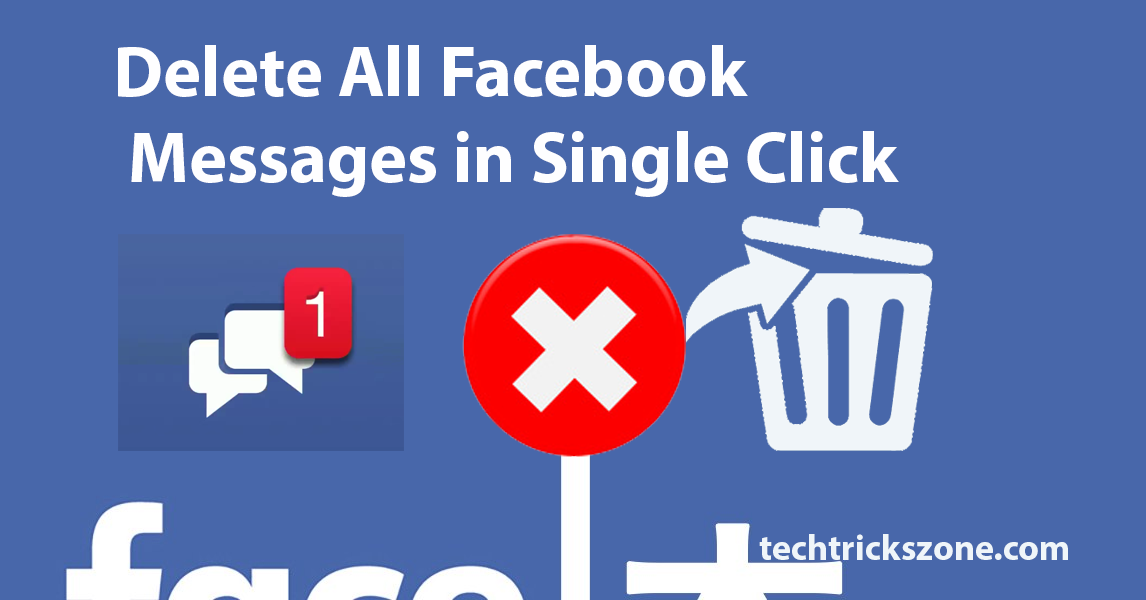
1. Locate the photo to be removed (remembering you can only delete images you uploaded) and tap on the photo to select it.
2. Under the image, tap the words "More Options."
Open the image to find the "More Options" button. Steven John/Business Insider3. Tap "Edit Photo."
4. Tap "Delete."
Tap "Delete." Steven John/Business Insider5. Under "Are you sure you want to delete this photo?" tap "Delete" to do so permanently.
And with that your picture is gone, deleted from Facebook on mobile, desktop, and everywhere else.
How to delete your Facebook photos from the mobile appThe process of deleting a photo from Facebook's mobile app differs slightly from a mobile browser deletion.
1. Open the Facebook app.
2. Go to your photos and tap the photo you'd like to delete.
3. Tap the three-dot menu in the top right corner of the photo's page.
4. Tap "Delete Photo" from the menu that pops up.
Tap "Delete Photo." Facebook; Business Insider5. Confirm your deletion on the next screen.
Tap "Delete" to confirm.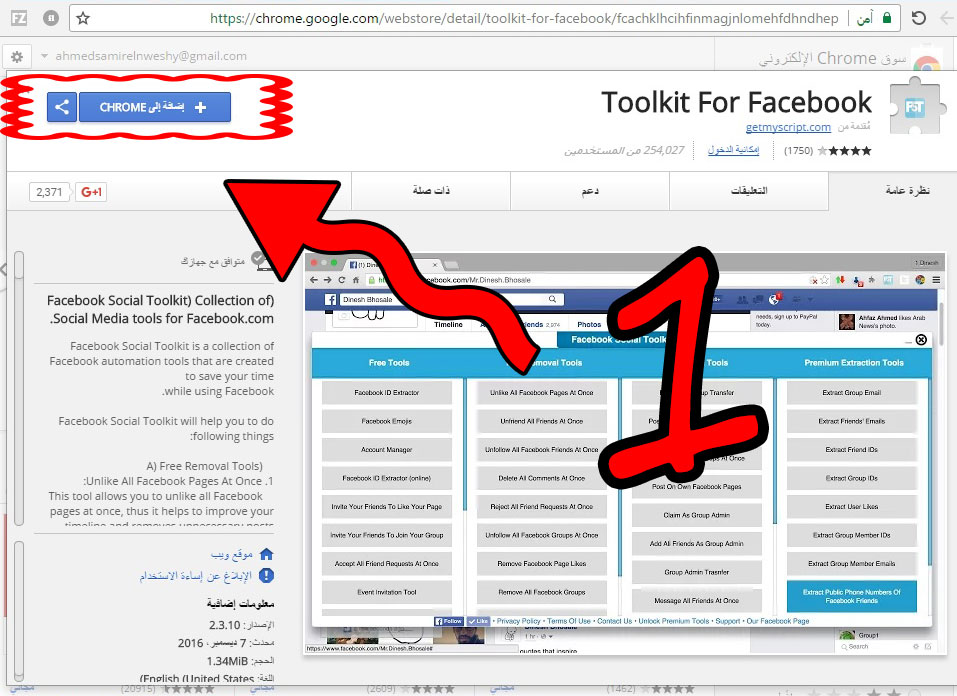 Facebook; Business Insider
 Steven John
Freelance Writer
Steven John is a freelance writer living near New York City by way of 12 years in Los Angeles, four in Boston, and the first 18 near DC. When not writing or spending time with his wife and kids, he can occasionally be found climbing mountains. His writing is spread across the web, and his books can be found at www.stevenjohnbooks.com.
Read moreRead less
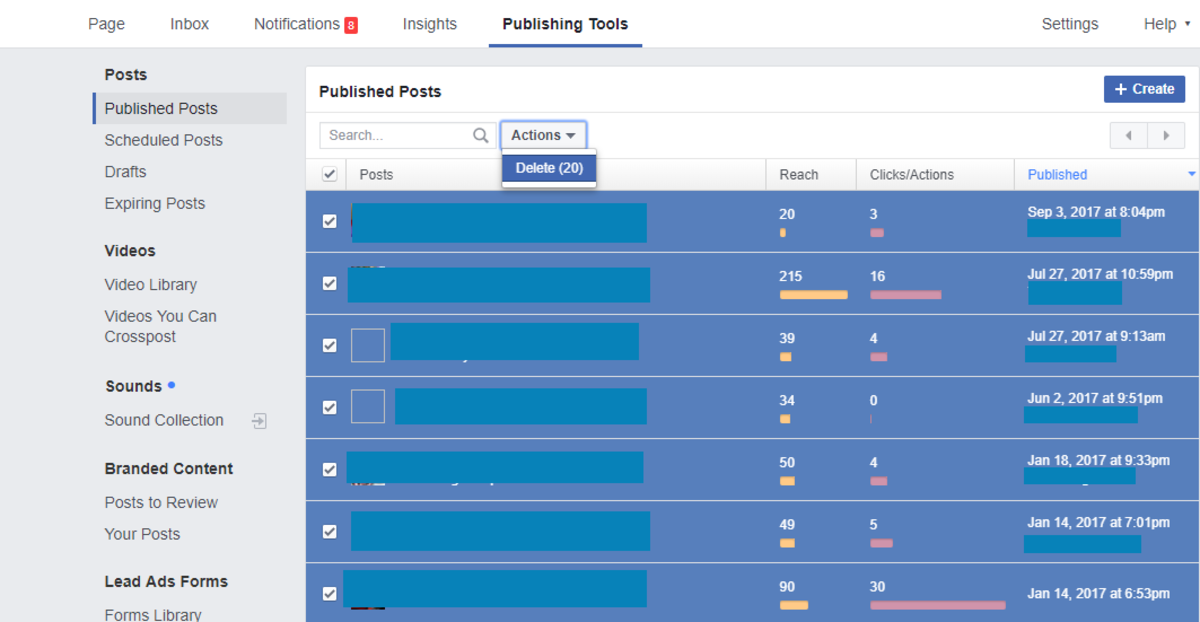
Facebook is the world’s largest social media website. People are on it all the time, and they upload a metric ton of photos. Hundreds of millions of photos go up every day. That means eventually, you may want to delete a few of them. After all, potential employers may look through your photos, and there are probably some old memories you don’t want to relive. We can show you how to delete Facebook photos on almost any platform.
Read more: How to use Facebook — everything you need to know
QUICK ANSWER
To delete Facebook photos, go to the photo you wish to delete. Select the three-dot icon and in the drop-down menu, select Delete Photo. You can also do the same to delete whole albums.
JUMP TO KEY SECTIONS
There are some minor caveats, though. You cannot delete photos you did not upload to Facebook yourself. You can, however, remove the tag, and that removes the photo from your profile. Additionally, you can ask friends to remove Facebook photos from their profiles. If the photo is particularly egregious, you can also report the photo and hope that Facebook takes it down for violating the terms of service. This tutorial only works for the Facebook photos you uploaded.
The mobile Facebook app isn’t quite as powerful as it used to be. It’s actually a fairly poor place to manage all of your Facebook photos. However, you can do some basic pruning with the mobile app if you really need to.
Individual photos are fairly easy to delete. Simply open the photo you want to delete and then hit the menu (three-dot) button. Select the Delete photo option and confirm. It will delete your Facebook photo after that. This works for profile photos and cover photos as well.
This one is a bit tricky but totally doable on Facebook’s current app. You can’t mass select photos as you do in your gallery app or anything. However, there are ways to delete lots of photos all at once.
Open Facebook, navigate to your profile page, and then select Photos.
On this screen, swipe left until you reach the Albums tab.
Click on an album’s main page and tap the three-dot menu button in the top right corner. From there, select the Edit album option and tap Delete album to delete it along with every photo inside of the album.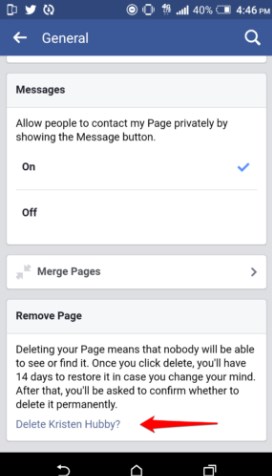
You can use this little trick to mass-delete Facebook photos as well. Simply create a new throwaway album and add all of the photos you don’t want anymore to the album. Afterward, delete the album and with it, all of the photos you don’t want anymore. It’s a bit tedious, but it works quite well.
We should also note here that you cannot delete some albums, including Profile Pictures, Featured Photos, Videos, or Cover Photos. The three-dot option does not appear for those albums.
The website version works almost exactly like the apps do these days. You can delete single photos or photo albums much like the mobile versions. Also, since this does work the same on any web browser, this method works for Windows, Mac, and Linux.
It’s easy to delete individual Facebook photos on the web, and there are two ways to do it. Thankfully, both methods are short and quick to access.
Method one A menu will appear.
Unfortunately, there is no easy way to mass delete photos on Facebook on the web. However, with a little creativity and the album deletion method, you can, in fact, mass delete Facebook photos fairly quickly.
 Select Albums.
Deleting a Facebook album deletes all of the photos in the album. Thus, to mass delete photos, create a new album and dump all the photos you don’t want into it. After that, simply delete the album, and the photos in it are gone as well. You still cannot delete some Facebook-created albums (like Profile Pictures) this way, but you should be able to delete all of the ones you made.
This method isn’t too different from any of the other ones, but it is a little different, so we thought we would include it in this tutorial.
There are a couple of minor methods. To be honest, this version of Facebook feels a lot more disorganized than the desktop website or the mobile app.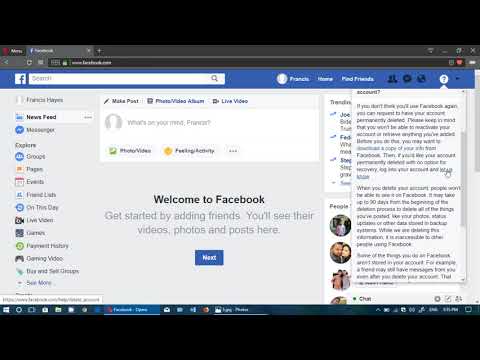 Anyway, here we go.
Again, this is only slightly different from the regular website and mobile apps. However, it’s different enough to be potentially confusing. Please note you cannot delete Facebook-made albums such as Profile Photos or Cover Photos this way. It only works with albums you created.
You can use this to mass delete photos the same way as the mobile apps and desktop website. Create a throwaway album, add the photos you don’t want, and delete the album afterward to delete all of those photos.
There are a few other ways you can do this. Google Chrome extensions like this one delete your entire Facebook history, although it can take a few tries. However, that’s a lot more than deleting a few old photos, so we only recommend the nuclear option if you plan on disabling Facebook for good.
Read more: How to delete all your Facebook posts
Before deleting a profile picture on Facebook, the user needs to prepare the following in advance. The social network has established requirements for pictures that can be posted.
Table of contents
From mobile and computer versions, it is possible to delete photos from Facebook: in albums, in the Feed or profile. The account owner needs to proceed to edit personal information in order to set a new picture or change the previous one.
Standard options include:

When deleting an avatar, it is recommended to immediately install a new one: your own photo or a temporary picture.
In the web version, there are two options for editing the main photo: through the avatar settings or go to profile editing. If the owner has previously installed any photos, you can choose one of them.
How to edit the main picture:
Or delete, but do not install another:
If you remove the set image, the previous one will be added.
To leave the main photo empty, you need to erase all previously uploaded pictures.
Both mobile and desktop versions have two options for setting the master image. The profile owner can use the design tools to make an already installed avatar more interesting.
How to delete:
To add a frame to the main photo:
On Facebook, you can choose a design that has been uploaded by other users, dedicated to events or holidays. There is an option to set the time frame: by specifying the time when it should be removed from the original image.
The user was prompted to take a photo through the Facebook menu or use the materials that are already in the Gallery of a smartphone or computer.
Set a new Facebook profile picture:
Before placing, you need to select which part will be shown to visitors, scale and select stickers. The user can customize the image so that only a certain area is shown.
When uploading a picture, you need to remember: the social network does not support pictures depicting discrimination, pornographic nature, advertising or spam. Such photos will be deleted automatically - the author will receive a notification and a warning about the possibility of blocking the account.
 How to do it? — Aitarget One blog
 *Meta Platforms Inc., which owns the social networks Facebook and Instagram, was recognized as an extremist organization by a court decision of March 21, 2022, and its activities in Russia are prohibited.
First, let's get the terminology out of the way: Facebook Ads Manager ad accounts need to be closed when you stop marketing. You can permanently delete the Business Manager itself if you want to keep only your personal profile.
In this article, we will analyze in detail all the options for deactivation, talk about the preliminary preparation for it and solving possible problems.
Unused accounts are best closed to avoid hacking or accidental actions.
First, check that:

Upon deactivation, all information about linked cards and other payment methods will be deleted, and debts will be checked. It is better to end promotions in advance, or wait for them to end, and only then close your account.
So, step by step instructions:
We recommend hiding closed accounts in the list, just click on the corresponding button.
— Assistance with launching ads on Instagram*, Facebook*, Telegram Ads, TikTok and other sites
- Cashback for advertisers and agencies
- Targeting constructor with ready-made settings for audience search
- Expert support every step of the way
connect
If you don't plan to create and manage campaigns, close your ad account. Here are a few important things to consider before you start:
Let's get started:
There are times when a debt has nevertheless formed and the account is not closed.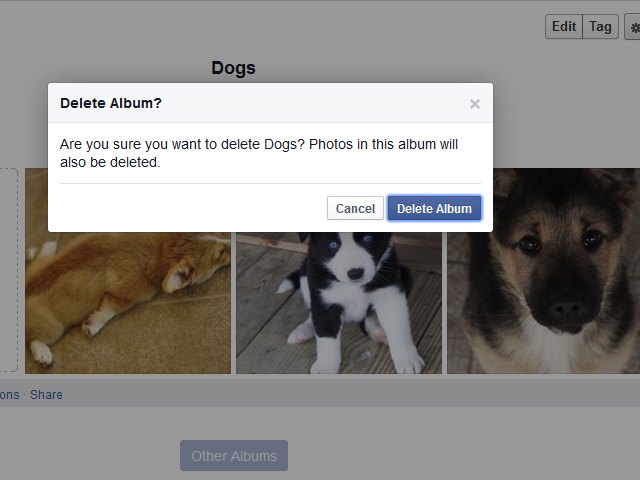 For example, the card has expired and the system cannot write off the funds. Add a new payment method and as soon as the debt is written off, the account will be deactivated.
After deleting advertising accounts, you can change your business profile to a personal one, for example, to close the blog for users who do not follow you.

Remember that all photos, videos, comments and followers are deleted along with your account.
Deleting an account is a drastic measure. If you think that you may still need the profile in the future, it's better to just temporarily disable it. How to do this, read the help of Instagram.
Here it is important to understand that there will be a complete destruction of all data, pixels, content without the possibility of recovery. For example, all advertising accounts will disappear forever. It is better to transfer the pages to the personal profiles of the owners in advance. If you created them yourself, they will return to your profile.
People who have been given roles will save them to their pages or ad accounts.
It is important to remember that only the administrator has the right to uninstall Business Manager.
To uninstall Business Manager, open the company information in the settings. Select "Permanently delete the company" - this will start the deactivation process, which can take up to 24 hours. During this time, you will have the opportunity to cancel your decision, but after that you will not be able to return the office.
If problems occur that prevent the cabinet from being deleted, a warning window will appear on the screen. The Facebook help information details all cases in which deactivation will not be possible. Let's designate the main ones:

Facebook can disable your ad account without your knowledge. This is usually due to violations of Facebook Policies. You will not be able to activate a disabled account on your own, you must send a request to the technical support of the site to appeal the decision. Before doing this, be sure to check that you have administrator access configured.
Go to the "Account Quality" section and in the "Here's what you can do" section, request a review. The instruction will appear. Study it and clearly follow all the points to send your account for verification.
If an ad account has been disabled and this decision is not subject to appeal, close the account and create a new one in the same Business Manager.
By the way, advertisers who do not comply with Facebook policies and publish content that violates the terms of the community may also face the deactivation of their personal account.