Asked
Modified 1 year, 4 months ago
Viewed 22k times
As soon as I upload my art to Instagram, the quality decreases. I have tried everything I can think of. I have used 1080x1080 image resolution, and larger, exported it in many different files (JPG, EPS, SVG). The quality never changes and always ends up the same.
If anyone knows how to fix this problem, it would be much appreciated!
3
Instagram will, just like many other social media sites, convert your image into a . jpg and then compress the living daylights out of it. They have to store huge amounts of images on their servers, and those need being paid as well. Hence, they compress as much as they can.
The only thing you can do about this is taking care that compression doesn't hurt your image too much. In your case, it is most probably the blue / magenta contrast in a tilted shape that causes the problems. In cases like these, the .jpg artefacts really show.
Try and optimise your image as a low-quality .jpg to see what will end up on instagram. That way, you know what's coming. A small change in colour or even cropping can make a huge difference.
The problem with your example image is jpeg artefacts. Social media sites like twitter/facebook/instagram rescale (resample) and turn all images into jpeg and add lots of compression. This is to keep the file size small so that images can be quickly downloaded on mobile devices with slow internet connections, and also to save bandwidth to reduce the strain on their servers.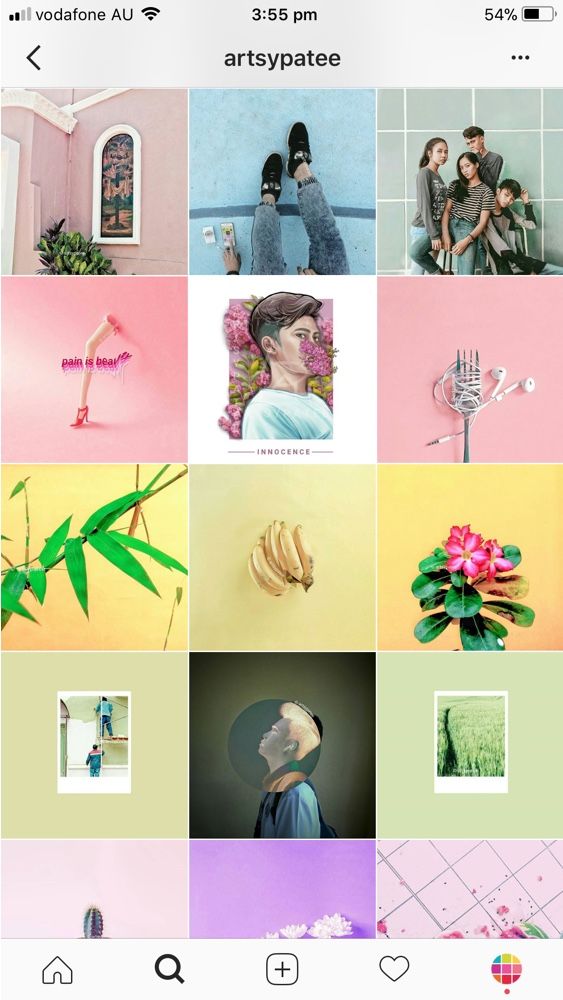
The only real fix is to optimise the images to jpeg yourself, rather than allow these sites to do it for you. Try to rescale your images to the exact size they will be displayed at, save as jpeg, and add as much compression as you dare while trying to keep the file size at 100kb or less.
Facebook has a page that explains how to get the best out of your images - link here
Alternatively, don't use these social media sites to share your images. Use other services which don't mess with your images so much.
I found this workflow that seems pretty good. As others have said, the problem is compression and working between PC-WEB-Mobile. To avoid further compression from Instagram, you have to upload your images directly from your phone. I used Google Drive but you can use any online storage solution.
My workflow as follows worked fine for my Instagram Avatar, but It seems to work with all (write me back if it suits you or not):
 You have to work with the native specifications of destination, in order to avoid any trouble.
I hope it helps.
Cheers!
PD: I am not a native speaker, so excuse me if there is some errors.
Asked
Modified 1 year, 3 months ago
Viewed 442 times
I have some graphic design stuff to post on Instagram but no matter what I try, the image comes out blurry.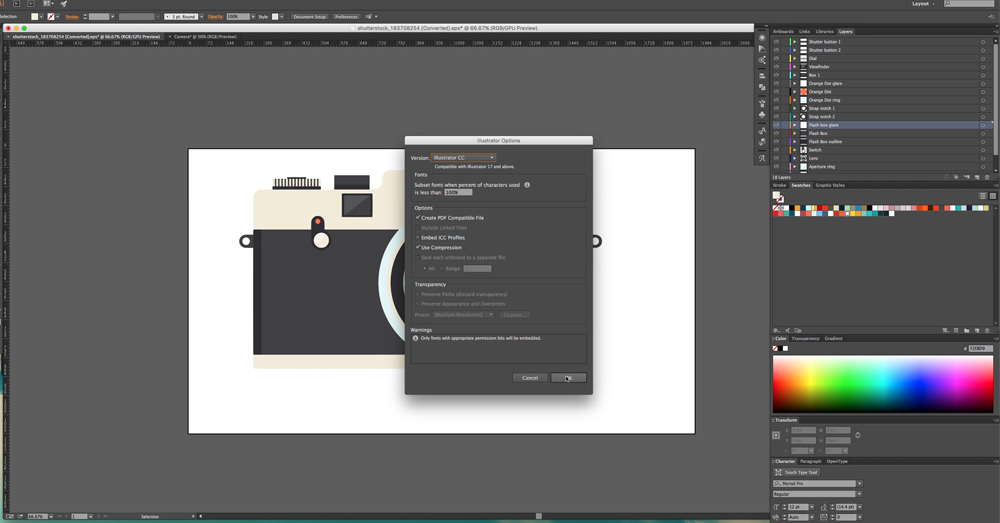 I'd started with a file size of 1080x1080px when making in (currently using InDesign). I tried many export formats (JPEG and PNG in multiple different resolutions/ppis and quality). I even tried exporting to PDF and converting to JPEG but no luck. I've browsed some of the questions on here but I wasn't able to find a solution that worked for my problem. Can anyone help me?
Original image:
Screenshots from Instagram (they look a lot worse on my phone btw):
7
You literally need to deal with it, as it is, and there's some guidance on this, here: https://www.adobe.com/express/discover/sizes/instagram.
Instagram and pretty much every social media app, will process photos & videos based on whatever sizing/cropping/compression/etc rules they've built into the app at that particular moment. Not just your photos, everybody's photos.
Then, they could update the image rules with every new update of the app.
*Not really an answer to the question but interesting in this context:
I was wondering if @Billy Kerr could be right and highly compressed images wont be re-saved and compressed further. Would have surprised me if that would have been the case. But the result is even more surprising than this.
Just tried:
Left before upload: 1080x1080px img compressed at worst quality in photoshop is 32kb.
Right After upload: Now only 14kb size? How is that even possible? They must have some insane compression algorithm or does photoshop add something else to the file that insta removes?
6
Sign up using Google
Sign up using Facebook
Sign up using Email and Password
Required, but never shown
Required, but never shown
By clicking “Post Your Answer”, you agree to our terms of service, privacy policy and cookie policy
In the SVG Options dialog box, set the options you want and click OK:
SVG profiles
Specifies the SVG XML document type definition for the exported file.
SVG 1.0 and SVG 1.1
Suitable for SVG files intended to be viewed on a desktop computer. SVG 1.1 is the full version of the SVG specification, and SVG Tiny 1.1, SVG Tiny 1.1 Plus, and SVG Basic 1.1 are its subsets.
SVG Basic 1.1
Suitable for SVG files intended to be viewed on medium power devices such as handheld devices. Keep in mind that not all handheld devices support the SVG Basic profile. This means that selecting this option does not guarantee that the SVG file will be viewable on all handheld devices. SVG Basic does not support non-rectangular clipping and some SVG filters.
SVG Tiny 1.1 and SVG Tiny 1.1+
Suitable for SVG files intended to be viewed on small devices such as cell phones. Please note that not all cell phones support the SVG Tiny and SVG Tiny Plus profiles. This means that selecting any of these options is not guaranteed to be able to view the SVG file on all small devices.
SVG Tiny 1.2
Suitable for SVG files intended to be viewed on devices ranging from PDAs and cell phones to laptops and desktops.
SVG Tiny does not support gradients, transparency, clipping, masks, symbols, patterns, underlined, strikethrough, vertical text, or SVG filters. SVG Tiny Plus provides the ability to display gradients and transparency, but does not support clipping, masks, symbols, or SVG filters.
Tip . For more information about SVG profiles, see the SVG specification on the World Wide Web Consortium (W3C) website at www.w3.org.
Font type
Specifies font export options:
Adobe CEF
Uses font hints for better rendering of small fonts. This font type is supported by the Adobe SVG Viewer, but may not be supported by other SVG viewers.
SVG
Does not use font hints. This font type is supported by all SVG viewers.
Convert to Outlines
Converts text to vector paths. Use this setting to ensure that the appearance of text is consistent across all SVG viewers.
Reduction of the iconic composition
Controls which glyphs (characters of a particular font) are embedded in the exported SVG file. Select "None" from the Character Reduction menu if you are sure that all required fonts are installed on end users' computers. Select the Used glyphs only option to include only glyphs for text that exists in the current artwork. Other values ("English characters", "English characters + used glyphs", "Roman characters", "Roman characters + used glyphs", "All glyphs") are useful in cases where the text content of the SVG file is dynamic (for example, text generated by the server, or text resulting from user interaction).
Image location
Specifies whether to embed bitmaps directly in the file or link them to exported PEG or PNG images from an Illustrator source file.![]() Embedding images increases the file size, but ensures that bitmaps are unconditionally available.
Embedding images increases the file size, but ensures that bitmaps are unconditionally available.
Retain Editability in Illustrator
Preserves Illustrator-specific data by embedding the AI file in the SVG (which results in a larger file size). Select this option if you intend to re-open and edit the SVG file in Illustrator. Note that manual changes to the SVG data are not reflected when the file is reopened. This is because Illustrator is reading the AI part of the file, not the SVG part.
CSS properties
Determines how style attributes are stored in SVG code. The default method, Presentation Attributes, applies properties at the highest level of the hierarchy, thus providing the best flexibility when making specific changes and performing transformations. The Style Attributes method creates files of the best quality, but their size may increase. Select this method if the SVG code will be used in transformations, such as transformations using Extensible Stylesheet Language Transformation (XSLT). The
The
Decimals
Specifies the precision of the vector data in the SVG file. A value from 1 to 7 decimal places can be specified. A higher value results in a larger file size and better image quality.
Encoding
Specifies how characters are encoded in the SVG file. UTF (Unicode Transformation Format) encoding is supported by all XML processors (UTF8 is an 8-bit format and UTF16 is a 16-bit format). ISO 8859 encodings-1 and UTF-16 do not preserve file metadata.
Optimize for Adobe SVG Viewer
Keeps as much Illustrator data as possible while allowing you to manually edit the SVG file.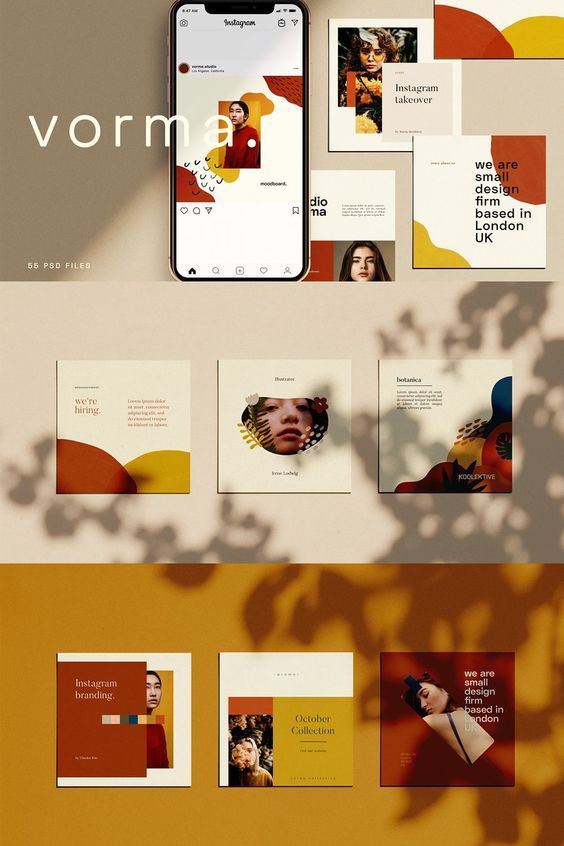 Select this option to take advantage of faster rendering for features such as SVG filters.
Include Adobe Graphics Server Data
Includes all information needed for variable substitution in an SVG 9 file0003
Include fragment data
Includes fragment locations and optimization settings.
Enable XMP
Includes XMP metadata in the SVG file. Choose File > Info, or use the Bridge browser to enter metadata.
Output with fewer
Allows Illustrator to skip auto-kerning settings during export, resulting in a file with fewer
Use the
Exports the text along the path as a  Note, however, that text may look different in the SVG Viewer than in Illustrator because this export mode does not always maintain visual consistency. In particular, text overflow will be visible in the SVG Viewer.
Show SVG Code
Displays the SVG file code in a browser window.
Web browsing
Displays the SVG file in a browser window.
Device Central
Opens a file in Device Central for preview on a specific cell phone or device.
Select File > Export.
Specify the file location and enter the file name.
Choose a format from the Save as Text (Windows) or Format (Mac OS) pop-up menu.
Click Save (Windows) or Export (Mac OS).
For a video on how to export content from illustrator, see Save Files for Output.
When exporting resources from a file using the command File > Export > Export for cross-screen sharing Illustrator exports in the background. You can continue working even if the export is in progress. If the file is small, you may not even notice the background export process. However, in the case of large files, it saves a lot of time and increases productivity.
You can check the progress of the export in the background by clicking the corresponding icon in the menu bar.
If several files are exported in the background at the same time, the progress is displayed for each of them individually. You will receive a message when the export is completed.
To stop exporting a file, click the Cancel button (x) next to the progress bar.
By default, files are always exported in the background. To disable background export, select Preferences > File Handling and Clipboard > Background Export .
Tip
Because you can continue to work on a file even while it's being exported, be sure to save or export the latest changes to the file.
Multiple artboards can only be exported to the following formats: SWF, JPEG, PSD, PNG, and TIFF.
AutoCAD Drawing and AutoCAD Interchange File (DWG and DXF)
AutoCAD Drawing is a standard file format for saving vector graphics created in AutoCAD. AutoCAD Interchange File is a drawing data interchange format for exporting AutoCAD drawings to or importing drawings from other applications. For more information, see AutoCAD Export Options. By default, white strokes or fills in Illustrator artwork are exported to AutoCAD as black strokes or fills. This exports black strokes or fills in Illustrator as white in AutoCAD.
BMP
Standard Windows image format. You can set the color model, resolution, and anti-aliasing options for rasterizing your artwork, as well as the format (Windows or OS/2) and bit depth to determine the total number of colors (or grayscale) that an image can contain. For 4-bit and 8-bit images using the Windows format, you can also specify RLE compression.
Enhanced Metafile (EMF)
Widely used in Windows applications as a data interchange format for exporting vector graphics data. Illustrator may rasterize some vector data when exporting an EMF artwork.
JPEG format (compressed still image file format)
Typically used for photographs. The JPEG format retains all of the color information in an image, but reduces file size by selectively removing data. JPEG is the standard image format on the Internet. For more information, see JPEG Export Options. You can also save the image as a JPEG file using the Save for Web & Devices command. Note. Distortions, such as wavy patterns or stepped stripes, are added to the file each time an image is saved as a JPEG. JPEG files should always only be saved from the original image and not from a previously saved JPEG image.
Macintosh PICT format
Used in Mac OS graphics and layout applications to transfer images between applications. The PICT format is especially effective for compressing images with large areas of the same color.
Photoshop (PSD)
Standard Photoshop format. If an artwork contains data that cannot be exported in Photoshop format, Illustrator preserves the appearance of the artwork by merging layers in the document or rasterizing the artwork. Thus, sometimes layers, sublayers, compound shapes, and editable text are not saved in the Photoshop file, although they were saved by the options selected during export. For more information, see Photoshop Export Options.
PNG format (Portable Network Graphics Format)
Used for lossless compression and display of graphics on the web. Unlike GIF, PNG supports 24-bit images and provides transparent backgrounds without jagged edges. However, some web browsers do not support PNG images. The PNG format preserves transparency in RGB and grayscale images. For more information, see PNG export options. You can also save a PNG image using the Save for Web & Devices command.
Targa (TGA)
Designed for systems using a Truevision® video card. You can set the color model, resolution, and anti-aliasing options for rasterizing your artwork, as well as the bit depth to determine the total number of colors (or grayscale) that an image can contain.
Text format (.txt)
Used to export text from an illustration to a text file (see Export text to a text file).
TIFF (Tagged Image File Format)
Used to exchange files between applications and computer platforms. TIFF is a highly customizable bitmap format supported by almost all drawing, imaging, and layout applications. Most desktop scanners can produce TIFF files. For more information, see TIFF Export Options.
Windows Metafile (WMF)
An intermediate data exchange format for 16-bit Windows applications. The WMF format is supported by almost all Windows drawing and layout programs. However, it has limited support for vector graphics, and wherever possible, the EMF format should be used instead of the WMF format.
When exporting artwork to DXF or DWG format, you can set the following options.
AutoCAD Version
Specifies the version of AutoCAD that supports the exported file.
Scale
Enter values for scale units to determine how Illustrator interprets length data when writing an AutoCAD file.
Line weight scale
Changes the line thickness along with the rest of the drawing in the exported file.
Number of colors
Specifies the color depth of the exported file.
Raster file format
Specifies whether images and objects that are rasterized on export should be saved in PNG or JPEG. Only the PNG format supports transparency. If you want to preserve the appearance of the image as much as possible, choose the PNG format.
Keep the design
Select this option if you want to preserve the appearance of the image and do not intend to make changes to the exported file. Selecting this option can result in a significant loss of editing capabilities. For example, text can be converted to curves and effects rasterized. You can select this option or the Maximum Editing Options option, but not both.
Maximum editing possibilities
Select this option if the need to edit the file in AutoCAD is more important than maintaining the appearance. Selecting this option can result in significant image distortion, especially if style effects have been applied. You can choose this option or the Keep Appearance option, but not both.
Export only selected objects
Exports only the artwork in the file selected at the time of export. If there are no selected illustrations, an empty file is exported.
Change outlines to display
Modifies outlines in AutoCAD as needed to maintain the original appearance. For example, if during export the outline overlaps other objects and changes their appearance, selecting this option will change the outline so that the appearance of the objects is preserved.
Convert Text to Outlines
Converts all text to outlines before exporting to preserve appearance. Illustrator and AutoCAD may interpret text attributes differently. Select this option to preserve the look as much as possible (at the cost of losing editing capabilities). If you want to edit text in AutoCAD, do not select this option.
Styles
Specifies the style file to use when exporting. If the default settings have been changed, the Custom option is selected instead. You can save custom settings as a new style for reuse with other files. To save the settings as a preset, click the Save Style button.
Export as
Specifies how Illustrator layers are converted:
AI file to SWF file
Exports the artwork in one frame. Select this option to keep the layer clipping masks.
AI layers to SWF frames
Exports the artwork on each layer to a separate SWF frame, creating an animated SWF.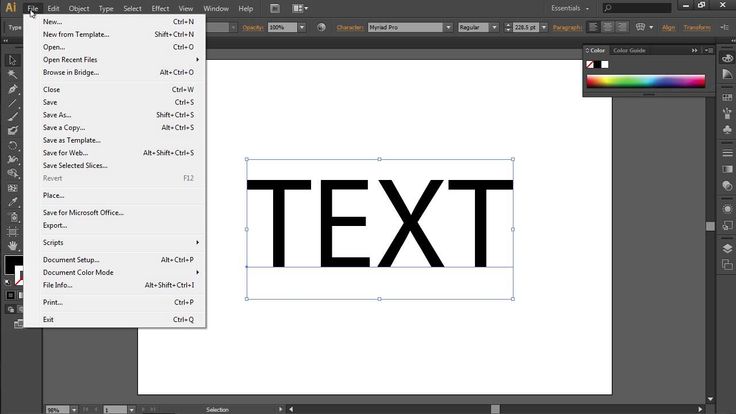
AI layers to SWF files
Exports the artwork on each layer to a separate SWF file. The result is multiple SWF files, each containing a single frame containing an illustration from a single Illustrator layer.
AI layers to SWF symbols
Converts the artwork on each layer to a symbol and exports it as a separate SWF file. AI layers are exported as SWF Movie Clip symbols. Symbols are named using the names of their respective layers.
AI artboards to SWF files
Exports each of the selected artboards to a separate SWF file. This is the only option available if you want to save multiple artboards in the Save As... dialog box. If you select this option when saving this preset, you can only use this saved preset with files with multiple artboards.
Crop to Artboard Size
Exports an Illustrator artwork that is within the bounds of the artboard to a SWF file.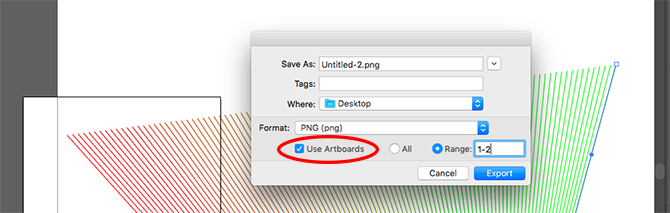 Artwork that extends beyond the bounds of the area will be clipped. This option is not available when exporting multiple artboards.
Keep the design
Select this option to flatten your artwork to a single layer before exporting. If this option is selected, the file's editing capabilities will be limited.
Ignore kerning information in text
Exports text without regard to kerning values.
Enable metadata
Exports the metadata associated with the file. The exported XMP data is minified to reduce the file size. For example, thumbnails are not included.
Import Protection
Prevents users from making changes to the exported SWF file.
Curve Quality
Specifies the precision of Bezier curves. Using a lower value will reduce the size of the exported file at the cost of a slight loss in curve quality.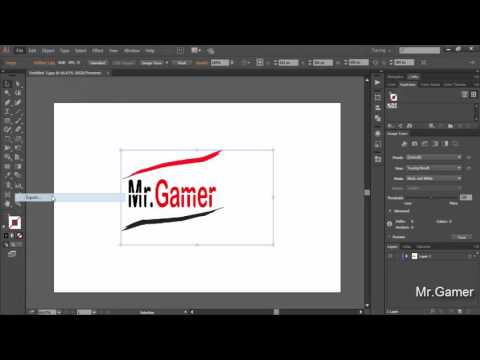 Using a higher value improves the fidelity of Bezier curves, but creates a larger file.
Background color
Specifies the background color for the exported SWF file.
Local Playback Security
Specifies whether the file is allowed to access only local files or network files during playback.
To set advanced options, click the Advanced button and provide a value for any of the following options.
JPEG quality
Specifies the amount of detail in the exported image. The higher the quality, the larger the file size (this option is available only when Lossy compression is selected).
Method
Specifies the type of JPEG compression to use. "Basic (Standard)" means the standard type of compression, while "Basic (Optimized)" provides additional optimization (these options are only available if Lossy compression is selected).
Permission
Changes the screen resolution for bitmaps. Exported SWF files can use resolutions between 72 and 600 pixels per inch (ppi). Higher resolutions provide better image quality, but the file size is larger.
Animate transitions
Specifies whether animation of transitions between objects should be performed. When this option is selected, the same results are achieved as when disassembling objects with the transition to layers manually before export. Transitions always animate from start to finish regardless of the layer order.
If you select Animate Transitions, you must specify a method to export the transition.
In sequence
Exports each transition object to a separate animation frame.
In assembly
Arranges objects in animation frames in an ordered sequence. For example, the bottommost object in a transition is displayed in every frame, while the topmost object in a transition is only displayed in the last frame.
Layer order
Specifies the animation playback timeline. Select the Bottom Up option to export layers starting from the lowest layer in the Layers palette. Select the Top Down option to export layers starting from the topmost layer in the Layers palette (this option is only available for the AI Layers to SWF Frames command).
Export Static Layers
Specifies one or more layers or sublayers to use as static content in all exported SWF frames. The content of the selected layers or sublayers will be displayed as a background image in each of the exported SWF frames (this option is only available for the AI Layers to SWF Frames command).
If your document contains multiple artboards, specify the order in which you want to export them before clicking the Save (Windows) or Export (Mac OS) button in the Export dialog box. To export each artboard as a separate JPEG file, select Use Artboards in the Export dialog box. To export only a few artboards, specify the desired range. Then click Save (Windows) or Export (Mac OS), specify the following options.
Quality
Specifies the quality and size of the JPEG file. Choose a value from the Quality menu or enter a value between 0 and 10 in the Quality text box.
color model
Specifies the color model of the JPEG file.
Method and number of steps
Select Basic (Standard) to use a format recognized by most web browsers, Basic (Optimized) to optimize color and reduce file size slightly, or Progressive to display successively more detailed versions of the entire image ( the number of steps is set) as it loads. JPEG images with Basic (Optimized) and Progressive methods are not supported by all web browsers.
Depth
Specifies the resolution of the JPEG file. Select the Custom option to set the resolution.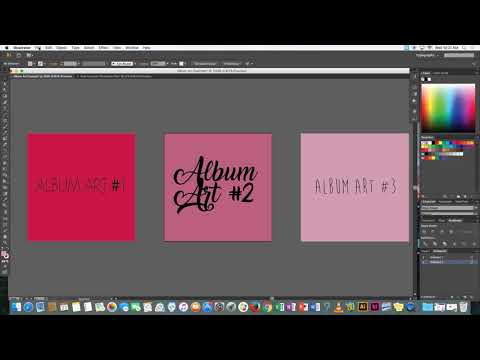
Smoothing
Removes jagged edges from an illustration by supersampling. Deselecting this option preserves the sharp edges of line art when rasterized.
Link map
Generates code for link maps. When you select this option, specify "Client side" (.html) or "Server side" (.map) to specify the type of generated file.
Embed ICC profiles
Stores ICC profiles in a JPEG file.
If your document contains multiple artboards, specify the order in which you want to export them before clicking the Save (Windows) or Export (Mac OS) button in the Export dialog box. To export each artboard as a separate PSD file, select Use Artboards in the Export dialog box. To export only a few artboards, specify the desired range. Then click Save (Windows) or Export (Mac OS), specify the following options.
color model
Specifies the color model of the exported file. Exporting a CMYK document as an RGB document, or vice versa, can result in unexpected changes in the appearance of transparent areas, especially those with blend modes. If the color model has been changed, the artwork must be exported as a flattened image (and the Save Layers option is not available).
Permission
Specifies the resolution of the exported file.
Flattened Image
Merges all layers and exports the Illustrator artwork as a bitmap. Selecting this option preserves the appearance of the artwork.
Burn layers
Exports groups, compound shapes, nested layers, and slices as separate, editable Photoshop layers. Nested layers deeper than the top five levels are merged into a single Photoshop layer. Select the Maximum Editing Experience option to export transparent objects (that is, objects with an opacity mask, a constant opacity of less than 100%, or a blend mode other than Normal) as Photoshop Interactive Editable Layers.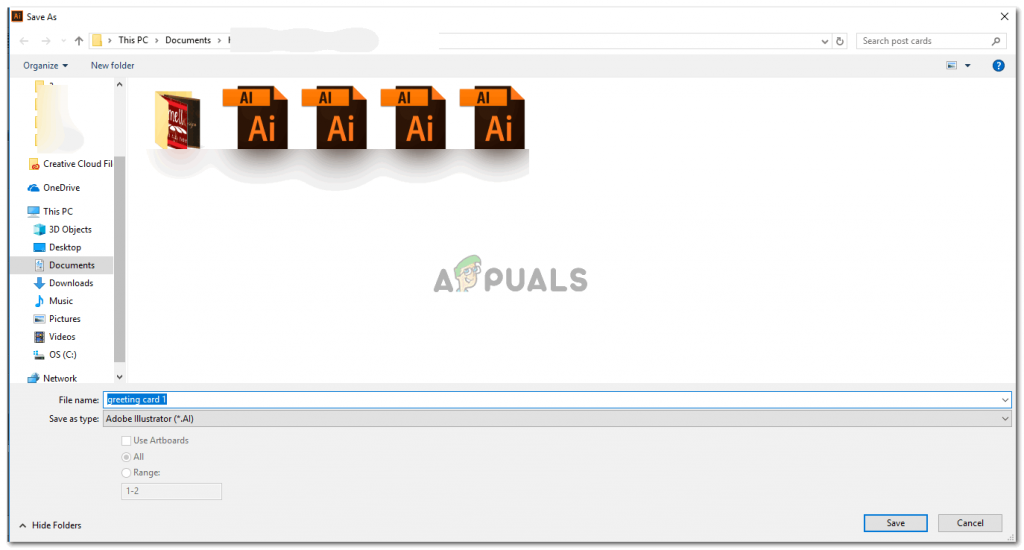
Keep text editable
Exports horizontal and vertical dotted text from layers (including nested layers up to five layers deep) to editable Photoshop text. If this distorts the appearance of your illustration, you can deselect this option so that the text is rasterized instead of being exported in layers.
Maximum editing possibilities
Writes each top-level sublayer to a separate Photoshop layer, as long as it does not distort the appearance of the artwork. Top-level layers become Photoshop layer sets. Transparent objects remain editable transparent objects. It also creates a Photoshop shape layer for each compound shape in the top-level layer, as long as it doesn't distort the appearance of the artwork. To write compound shapes with solid strokes, set the Seam Type to Rounded. Regardless of this option, all layers deeper than the top five levels are merged into a single Photoshop layer. Note. Illustrator does not have the ability to export compound shapes that have graphic styles, dashed strokes, or brush effects applied to them. Such composite shapes are rasterized.
Smoothing
Removes jagged edges from an illustration by supersampling. Deselecting this option preserves the sharp edges of line art when rasterized.
Embed ICC profiles
Creates a document that uses color management.
If your document contains multiple artboards, specify the order in which you want to export them before clicking the Save (Windows) or Export (Mac OS) button in the Export dialog box. To export each artboard as a separate PNG file, select Use Artboards in the Export dialog box. To export only a few artboards, specify the desired range. Then click Save (Windows) or Export (Mac OS), specify the following options.
Permission
Specifies the resolution of the bitmap. Higher resolutions provide better image quality, but the file size is larger. Some applications open PNG files at 72 ppi regardless of the user-specified resolution. In such applications, the image dimensions are changed. (For example, an artwork saved at 150 ppi will be twice the size of an artwork saved at 72 ppi.) Therefore, you should change the resolution only if you know for sure that the target application supports resolutions other than 72 ppi.
Color
Sets the color for the transparency fill. Select Transparent to maintain transparency, White to fill transparent areas with white, Black to fill transparent areas with black, or Custom to specify a different color for the transparency fill.
Smoothing
Removes jagged edges from an illustration by supersampling. Deselecting this option preserves the sharp edges of line art when rasterized.
interlaced
Displays low resolution versions of the image in the browser as data is received during file download. Using this option reduces the download time but increases the file size.
If your document contains multiple artboards, specify the order in which you want to export them before clicking the Save (Windows) or Export (Mac OS) button in the Export dialog box. To export each artboard as a separate TIFF file, select Use Artboards in the Export dialog box. To export only a few artboards, specify the desired range. Then click Save (Windows) or Export (Mac OS), specify the following options.
color model
Specifies the color model of the exported file.
Permission
Specifies the resolution of the bitmap. Higher resolutions provide better image quality, but the file size is larger.
Smoothing
Removes jagged edges from an illustration by supersampling. Deselecting this option preserves the sharp edges of line art when rasterized.
LZW compression
Applies LZW compression, a lossless compression method that does not remove image details.