How to put vertical and horizontal pictures on instagram
How To Post Portrait or Vertical Photos on Instagram Without Cropping
When Instagram was launched, it only allowed users to upload square photos. This meant that a substantial portion of your photos had to be cropped.
Instagram’s square photo dimensions became a major drawback to photographers and Instagram users as the image quality, content, and resolution of images were often be sacrificed.
Fortunately, Instagram has seen the need to resolve this major issue. Instagram has given its users more freedom to be creative with their images. Now, pictures can be uploaded in landscape or portrait orientation.
Understanding Instagram Images
So how can you post portrait photos on Instagram without cropping?
The vast majority of Instagram images are squared off. That’s fine for the most part, but it does tend to impact the composition of a photo — especially if it’s a portrait or landscape subject.
When you upload an image or load it into Instagram, the image is automatically cropped to 4:5. No one wants to put a lot of time and effort into capturing the perfect photo only for Instagram to ruin it by cropping the image.
Instagram did add different orientations not long ago, but images still take a little tweaking to get right. Now, you can post images at a maximum size of 600 x 600 for square images, 1080 × 607 for landscapes, and 480 × 600 for portraits. The actual stored size differs slightly, but when you measure images within Instagram, these are what typically come up.
So, if you’re one of the many Instagram users that’s tired of having their photos cropped, let’s take a look at how you can post portrait or vertical photos on Instagram without cropping.
How to Post Portrait Photos on Instagram
Depending on the size of your image, you may now be able to post a portrait image on Instagram without having to crop it.
Here’s how you can check:
Step 1
Open Instagram and create a new post.
Step 2
Select the image you want to upload from your photo gallery.
Step 3
Select the small crop icon in the bottom left of the main image screen.
Step 4
Adjust the image within the grid until it’s to your liking.
Using the crop icon shifts the shape from the usual square to its vertical or portrait orientation. This way, you won’t need to shave off the edges of your photos.
How to Post Landscape Images on Instagram
What if you want to post a landscape picture without cropping?
Well, fortunately, the same process above works in landscape orientation too. Since the two sizes were added to Instagram, it will pick up the shape and size of the image and let you post the most suitable size.
The same instructions apply for portrait and landscape photos, so you can simply refer to the above steps and select a landscape image that you want to upload.
Manually Cropping Instagram Images
Sometimes, the image just doesn’t look right with the new setup on Instagram and you need to do a little bit of manual editing first.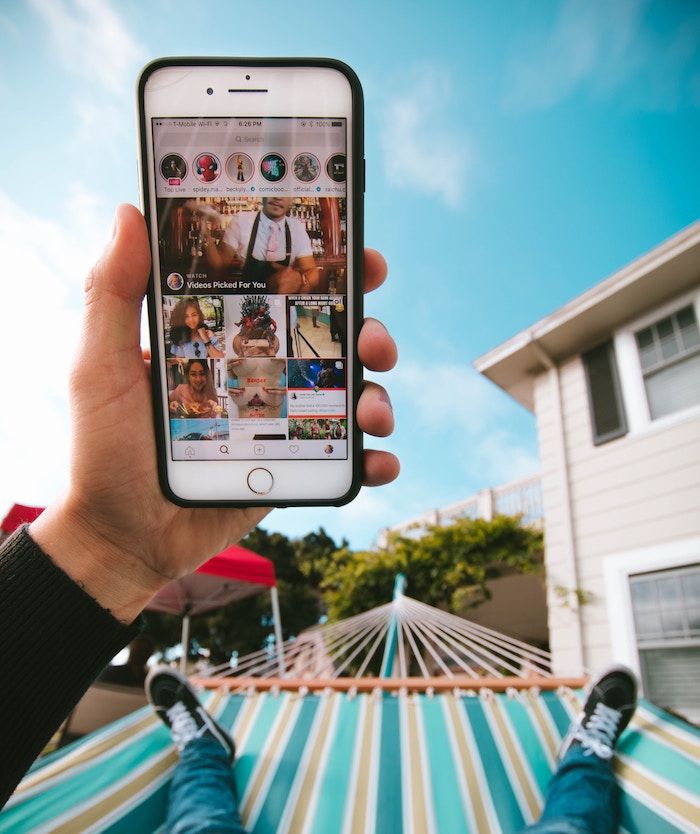
The new orientation feature is good but also has a few glitches, and if it won’t show your image off at its best. It may be better to manually edit the image and upload it as a square — even if it means sacrificing the composition.
There are a lot of photo editing apps that can help you edit your images first before uploading them to Instagram.
Just follow these simple steps to get started:
- Download the image to your computer and load it into your image editor.
- Crop your image to 5:4 using the image editor, and edit the photo so the subject is front and center.
- Upload the image to Instagram.
If that doesn’t quite work or leaves the image subject hanging out to dry, you can add a white border to either side of the image to create the 5:4 ratio.
This can often make the image look better. It has the advantage of leaving your image in its original form, but it will be slightly smaller than usual.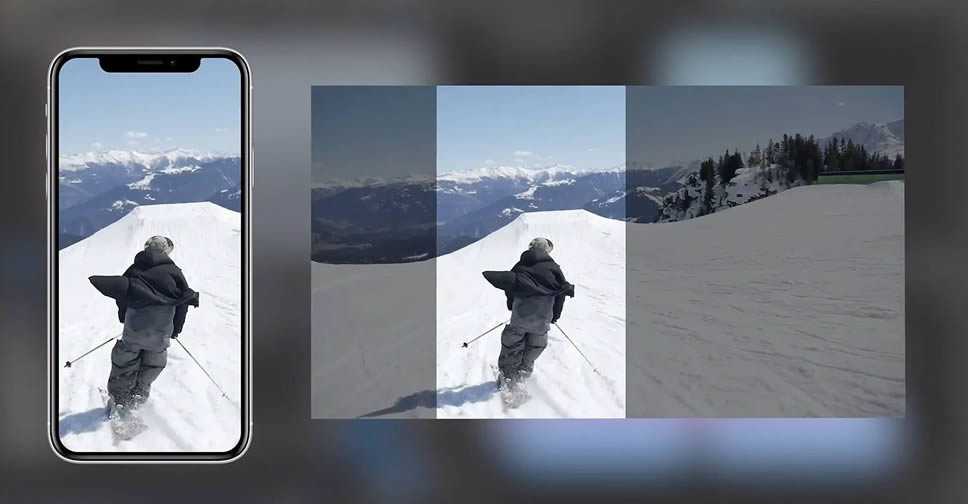
This method works great if you aren’t happy with the way your image looks when you upload it straight to Instagram without editing.
Third-Party Image Editors for Instagram
There are a number of third-party apps that can help prepare images for Instagram and help you resize an image with or without cropping. Even though you can now post portrait and landscape, these apps still make life a little easier when preparing something for publishing.
Two of the photo editing apps we can recommend are No Crop & Square for Instagram for Android and Whitagram for iPhone. Although, there are a lot more photo editing apps for you to explore.
Both of the apps mentioned above achieve the same goal as the manual editing method and will resize your images for Instagram. If you want to keep everything on your phone and not download it to your computer, these and other apps like it are well worth a try.
Final Thoughts
Most photographers find squaring off an image takes something away from the effect. Instagram users have been stuck on using the square dimension for years, but thanks to the app’s recent updates, there is now more flexibility in uploading photos.
Adding portrait and landscape orientation gives the professional photographers and those enthusiastic amateurs more options when composing their shots.
Want to find more apps to help you create eye-catching Instagram posts?
Check out our article on the Most Popular Instagram Apps.
How to Post Multiple Images With Different Sizes to Instagram
InstagramJulia Enthoven
3 min
On Instagram, it’s impossible to post an album — multiple photos or videos in one post that you swipe through — with multiple different aspect ratios. In this article, I'll show you how to do it for free and online.
When posting an album, Instagram requires that the images have the same aspect ratio. In this post, I’ll describe how you can post multiple photos or videos with different sizes by first resizing them to square.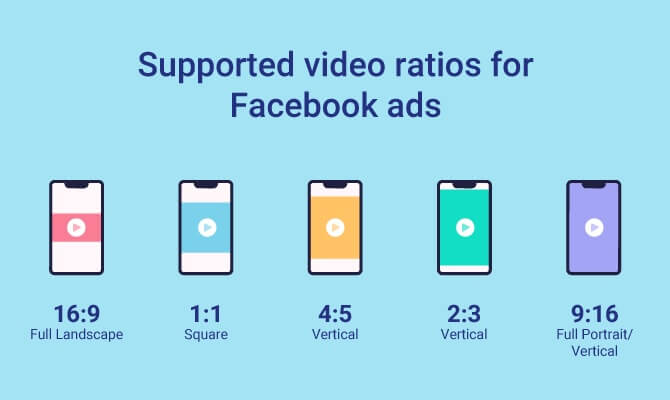
On Instagram, it’s impossible to post an album — multiple photos or videos in one post that you swipe through — with multiple different aspect ratios. For example, if you want to post a landscape image and a portrait image at the same time, you need to crop one or the other (or you could crop both to square). Instagram requires that your photos have the same aspect ratio.
When posting multiple photos or videos, all are cropped to squareTo post multiple different photos or videos with different sizes on Instagram, you need to use a tool to resize them first. To avoid cropping out content, add a white background to make each photo or video in to a square. Then, you can post the album without cropping out or changing the size of your image.
Here’s a step-by-step tutorial:
1. Upload your photos/videos to Kapwing
Open the Kapwing Studio and start with a square 1:1 canvas (or 4:5 or 5:4, which are both accepted by Instagram).
One at a time, upload the photos or videos you want to post. Kapwing is free to use and online, so you don’t need to download an app. It supports images, GIFs and videos.
2. Add a white background behind each post
If needed, tap the photo or video and resize the canvas to the right aspect ratio. On mobile, use the "Edit Background" button to find the Resize Canvas button.
1:1 for an Instagram Post appears under the "Size" dropdown (Kapwing also supports 9:16 sizing for Stories and other formats). Turn off "Canvas Blur" and select white for your background color. You can use Kapwing’s zoom and positioning tools to zoom in, crop, or add a border. Double tap to crop the image or video, and use the Play button to watch a preview of what your post will look like. Click Export once the preview matches what you want your post to look like.
3. Export, download, and postAfter resizing your posts, you can download them and share them on Instagram as an album. Since each photo/video now has a 1:1 aspect ratio, you can publish them without cropping.
On an iPhone, use the "Downloads" gallery to find the file you just made and save it to your camera roll.
If you're not signed into a Kapwing account, sign in or sign up using your Google or Facebook account. Once you're signed in, each of your exports will be saved in your workspace so that you can download them later.
Repeat these steps for each of the photos and videos that you want to share in your Instagram carousel. After you've downloaded each of the square posts, open the Instagram app and upload them as an album.
For more ideas, tutorials, and features, check back in at the Kapwing Resources page or our YouTube channel! And remember to tag us @KapwingApp whenever you share your content on social media– we love to see what our creators are passionate about!
Related Articles:
• How to Caption Videos Using Instagram Threads
• How to Download Anyone's Instagram Stories
• How to Make Social Justice Slideshows for Instagram
• How to Download Instagram Reels
How to post vertical photos on Instagram without cropping
Recently, Instagram announced support for both landscape and portrait formats, but only when you post multiple images and videos in one post. It soon became allowed for individual downloads as well. While welcomed, this move is still limiting as I can't post vertical photos to Instagram unless they have a specific aspect ratio.
I've put together a few methods for adjusting your photos to the correct aspect ratio. These are multi-platform applications and tools that will allow you to upload Instagram vertical images in a few clicks.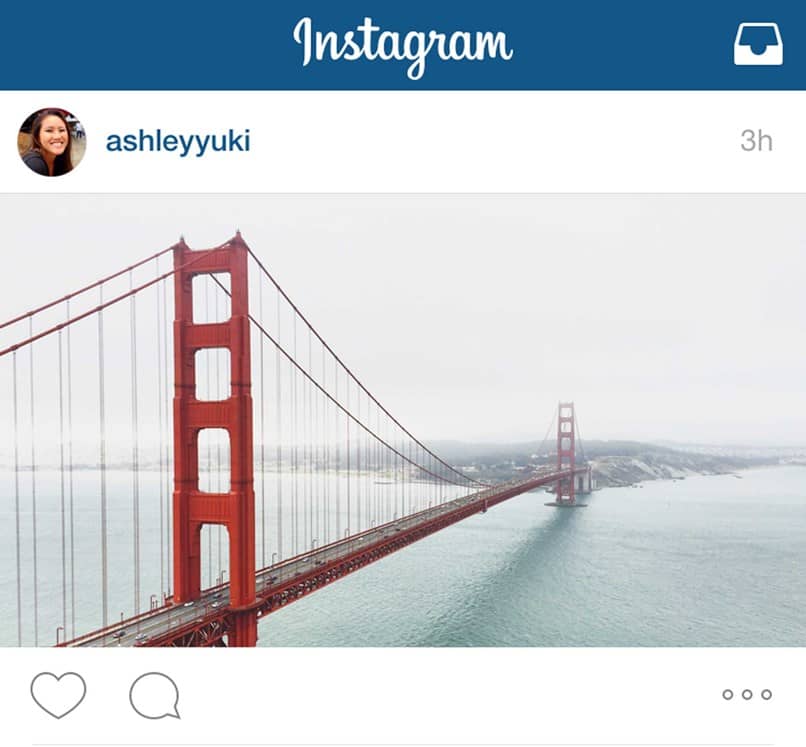 Let's start.
Read: Make a photo square without cropping - online tool
Vertical photos on Instagram
Windows programs, mobile applications, games - EVERYTHING is FREE, in our closed telegram channel - Subscribe :)
There are two options for cropping images for Instagram:
- Portrait: 4:5
- Landscape: 1.91:1
While Instagram isn't perfect, there are ways to fix this problem. Some tools and applications allow you to post vertical photos with a few clicks. Let's see how.
1. No Crop & Square (Android)
A strange and curious name, but a very popular app for those who want to upload vertical images to Instagram without cropping them. No Crop and Square won't let you post vertical photos like the one you see below.
The process is quite simple. You open the app and select the image you want to share on Instagram. There are a number of filters and effects to choose from. You can apply whatever you like.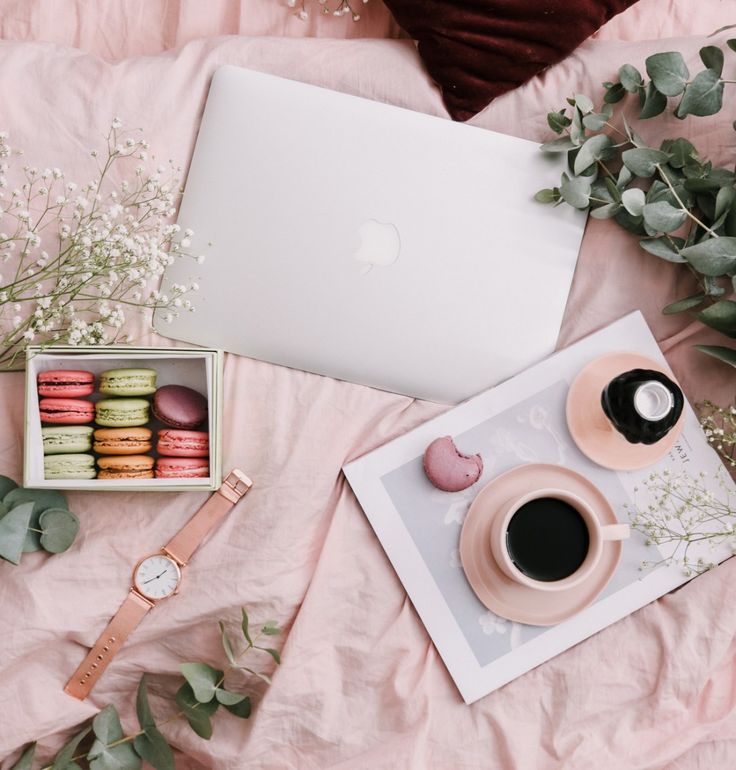 There are also emoji, stickers, emoji, and 3D emoji if that's what you're looking for.
You can create a collage in no time. Just add all the images you want to add with the collage tile button. The ability to add text with different fonts, patterns, resize and rotate images makes No Crop and Square a complete Instagram app.
The app is free to use, but with ads that can be removed with a $0.99 upgrade. In my experience, the ads were unobtrusive, with the exception of full-screen pop-ups.
Download No Crop and Square (Freemium)
2. Whitagram (iOS)
Whitegram does for iOS devices what No Crop does for Android. It allows you to post full size images and photos to Instagram without having to crop or resize them. Simply select the image you want to upload in vertical mode and the app will automatically crop it to perfection against a white background.
You see the beauty of this. By adding a white background, it misleads Instagram into thinking the image is square. There are other apps in the App Store that will give you the results you want.
Tip: Always choose the highest resolution when working with a vertical image.
Download Whiteagram (Free)
Pixlr (online)
Here is the easiest trick from the book. Instagram has a hidden option that will let you upload vertical images if you know how to crop images to the right size. You can do this on any platform because it is an online tool. Pixlr is a free and powerful image editor.
You start by selecting an image and cropping it to a 4:5 aspect ratio. Pretty easy, right? Now, in order to upload an image to Instagram using your PC's browser, you will have to fake it. Follow this guide. It will tell you how to make Instagram think that you are posting from your mobile phone, when in fact you are using your computer.
This is what your screen should like when you faked your browser. You should see the familiar "+" icon at the bottom to add a new image.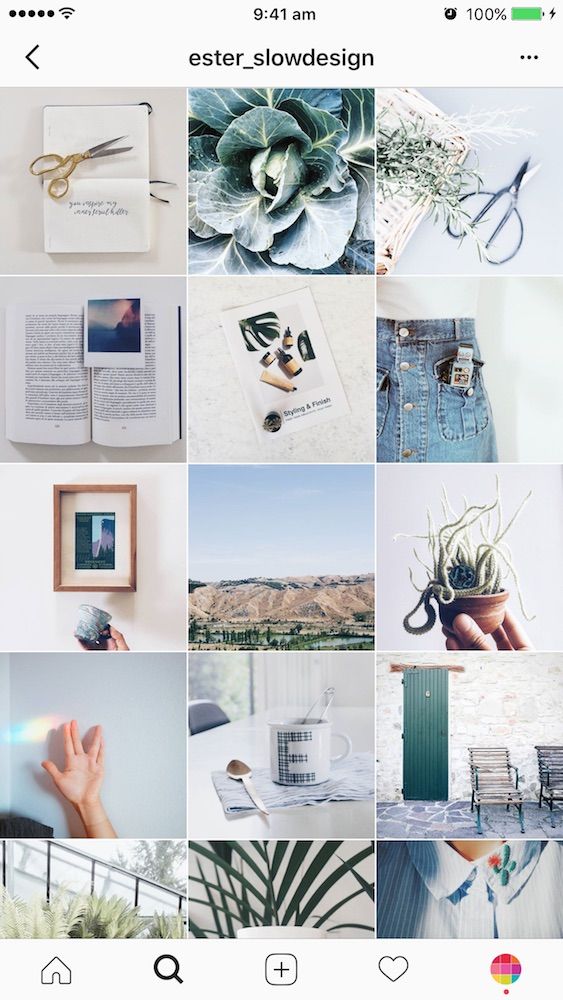
Read: 8 (+1 new) ways to post to Instagram from your computer
When you click the plus icon and add an image, you should see an expand button that looks like an arrow from either end.
Clicking this button will place your image in its original portrait mode with a 4:5 aspect ratio. You will also notice that there are no borders on a white or black background. No more square images that can be annoying as hell when they're crisp, portrait should be the obvious choice.
Note that the developer mode trick mentioned in the tutorial above will also work on Mac OS using the Safari browser. In fact, it works in all browsers on all platforms.
Visit Pixlr (Free)
4. Entry Staircase
I can't stress enough how annoying Instagram rules are. I agree that this gives a uniform look to the whole platform, but the tools that do this are not in the application. Instapadder is a web service that completely solves this problem.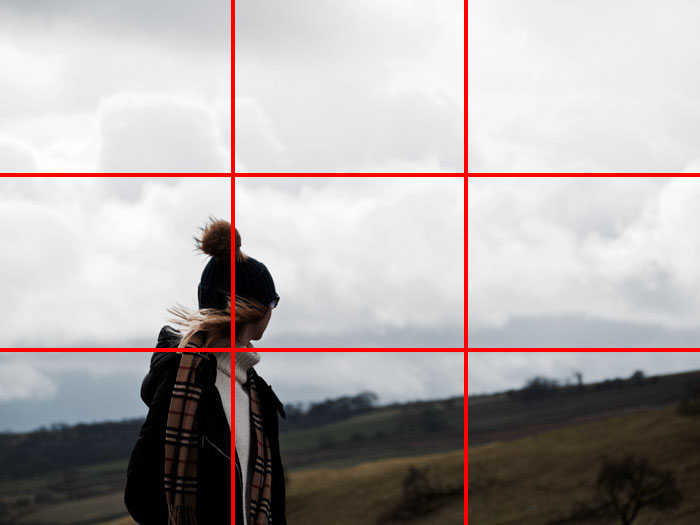 You can use it on your computer and Android devices to quickly adjust images to match Instagram without cropping content. iOS users cannot get a piece of this particular cake due to their own rules, but they can try the iOS specific method above.
To add padding around images, simply go to the website in your web browser, click the download button and select all files. It uploads images to a server and converts the images to an Instagram compatible format. The best part about this method is that you can upload and process images right away.
It accepts most image formats and outputs converted images fairly quickly. The only limitation I found with this service is the lack of a preview option before uploading augmented images, so you can't choose which images to upload. Otherwise, Instapadder is pretty good.
Visit Entrance Staircase
5. Polarr Photo Editor (Mac)
Polarr Photo Editor is available from the MacOS App Store and can be used as an integration with the iPhoto editor or as a standalone editing tool.
Once you have downloaded the Polarr Photo Editor (link below), just open it and import the photo you want to edit for Instagram.
Once you enter the editor application, click the settings tab on the right side of the screen. Scroll down and click "Border" '. Now select the aspect ratio and border color from the available custom menu. When you click on the Save button, the changes to the photo will be saved and the iPhoto library will be updated immediately. If you're using an iPhone, it's probably also in your iPhone Photo Library.
Download Polarr Photo Editor (Free, $24 per year)
6. Gramblr (Windows)
If you're using a Windows tablet with touchscreen support, Instagram has announced an app just for you. The app is available on the Windows Store, but what about other users? This is where Gramblr comes into play.
Gramblr didn't support vertical images before, but I think they made some changes to their API since the current version supports it. Here is a screenshot.
As you can see, Gramblr does its job. The application is free and works on all Windows computers, including 32-bit versions. You will need to create a free account, but there is no need to verify your email address. Just select, crop, add filters, add a caption and post it to your Instagram.
Download Grambler (Free)
Post vertical photos on Instagram
Instagram was originally designed to be used on mobile devices such as Android and iOS. But that doesn't mean you can't use it on your PC or Macbook. Whether you need an online tool or offline software, we take care of your Instagram needs.
Also read: How to turn off the last activity feature on Instagram
Programs for Windows, mobile applications, games - EVERYTHING is FREE, in our closed telegram channel - Subscribe :)
Sizes and scales of photos on Instagram 2022
many other formats. These features provide excellent opportunities for creating new content; however, navigating through IGTV, stories, videos, and other posts can be difficult.
This guide will help you understand the optimal sizes and scales for different Instagram formats. We hope this helps you and makes things easier. Once you learn the basic rules, you will be able to create high quality content and your social media page will grow faster and more efficiently.
Instagram Image Basics: Size and Aspect Ratio
Before we get into the technical specifications of Instagram, there are a couple of terms you need to know - size and aspect ratio. Although at first glance they describe the same thing, you need to understand the difference, especially in units of measurement.
Size
Size, also referred to as resolution, refers to how many pixels are contained across the width and height of the image. It is expressed in two numbers; for example: 320px by 1080px. The width is indicated by the first number, and the second is the height.
Resolution is important when taking and uploading high quality photos and images. If the resolution is high, then it contains more pixels - in other words, more data. Thus, the higher the resolution, the higher the image quality. A pixel-limited screen or platform modifies the source material to fit within the specified dimensions.
Aspect Ratio
The aspect ratio is the ratio between the width and height of an image. This dimension is referred to as x:y. For example, it could be 9:16 where 9 is how wide the picture is and 16 is how tall it is.
The importance of aspect ratio comes down to resizing images without distortion. Some users make the mistake of changing images - they ignore the recommended aspect ratio. As a result, they get strange photos, although this could be easily avoided.
Instagram Image Size: Best Tricks in 2021
Even if you want to post sharp photos, uploading images in high resolution, such as 5400px by 5400px, will not achieve the desired result. On the contrary, it will negatively affect the image quality. Therefore, you should take the time to study and follow the recommended sizes.
The table below will give you a basic idea of common ratios and sizes for various Instagram photos.
| Instagram image format | Aspect ratio | Size |
| Avatar | 1:1 | 180 x 180 px |
| Square photo | 1:1 | 1080x1080px |
| Landscape photo | 1.91:1 | 1080 x 566 px (608 px) |
| Portrait/vertical photo | 4:5 | 1080x1350px |
| Carousel posts | 1:1 | 1080x1080px |
| Stories | 9:16 | 1080x1920px |
Instagram avatar size
The avatar is located next to the username and profile header, so you should take it seriously. The requirements for an Instagram avatar for mobile and desktop versions are slightly different, so it’s better to choose larger images so that they fit well under both versions.
- Aspect ratio: 1:1
- Optimal size: between 110 x 110 px and 180 x 180 px
- Maximum resolution: 180 x 180 px
Note: The rules do not imply that your avatar must be exactly 180x180px when uploaded. Theoretically, you can upload images much larger than this. More importantly, they must be square in order for the system to display them correctly.
Before uploading a photo, crop it into a square shape to see what details will be cut off and what will remain visible. The finished avatar will be in the shape of a circle, so you should check that there are no important elements around the edges of the image. You should also remember that the photo will be very small, so it makes sense to enlarge it a little and crop it.
Instagram square image size
Square is the original format that all Instagram users are well aware of. It is still the choice of many users, especially when you consider the fact that posts are displayed in this ratio in the profile grid.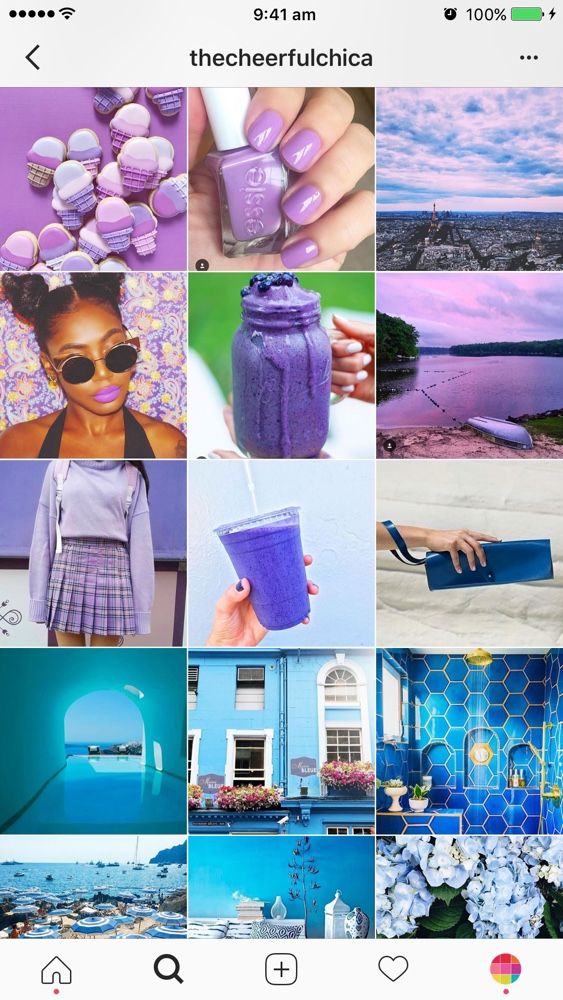
- Aspect ratio: 1:1
- Optimal size: between 600 x 600 px and 1080 x 1080 px
- Maximum resolution: 1080 x 1080 px
Note: When you're composing a square photo, it's best to center the main element. Since there is not much working space on the sides, crop the photo so that the focus is in the center.
Another working method is symmetrical composition. Even if it breaks the rule of thirds that everyone in the world of photography talks about, it works great for Instagram. Symmetrical composition creates harmony and a sense of aesthetic satisfaction, balance and proportion. Play with lines, mirroring and patterns.
Instagram horizontal (landscape) photo size
Landscape photo orientation is not the best choice for most profiles, but some use it to maintain the look of a professional photo. The standard will still be a square, but you can easily change it with the edit button.
- Aspect ratio: 1.
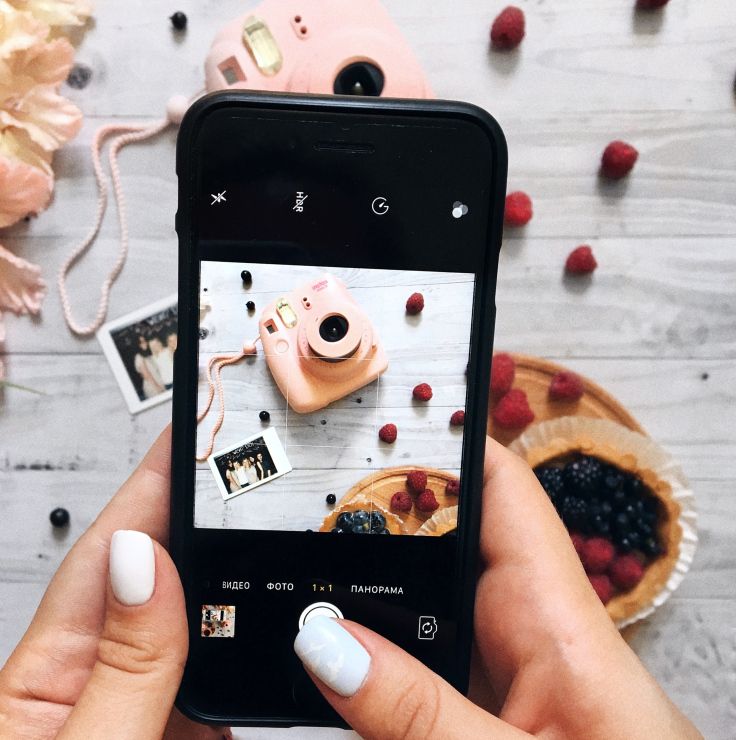 91:1
91:1 - Optimal size: between 600 x 315 px and 1080 x 608 px
- Maximum resolution: 1080 x 608 px
Note: Most cameras shoot in 16:9 ratio, not 1.91:1. If you don't resize the photos, they will either be loaded with black edges or the sides of the image will be cut off. Black edges are highly undesirable as they change the look of the image and make the tape look inconsistent.
There are several advantages to creating landscape photos or cropping them to this format. This ratio seems more natural to the human eye and conveys a sense of space or panoramic perception. Landscape orientation is great for horizontal or horizontally moving objects. And in conclusion - this format is most suitable for viewing from a computer.
Instagram vertical (portrait) photo size
Portrait is a favorite format for marketers as it takes up more real estate on users' screens whenever they're not opening the app. While Instagram gives users room to get creative with non-square formats, there are some limitations.
- Aspect ratio: 4:5
- Optimal size: between 480 x 600 px and 1080 x 1350 px
- Maximum size: 1080 x 1350 px
Note: As we mentioned earlier, the reason portrait photos are prioritized is the most common: they fill almost the entire user's display space. This means that it catches the eye more and gives more chances that the photo will be noticed. In addition, this format literally gives you more physical space to place your brand.
In this case, the rule of thirds comes into play. Vertical lines can be divided into foreground, middle and background. Ideally, it's best to place something eye-catching in all three parts. As a last resort, there should be at least one main focus point.
Instagram carousel post size
The carousel allows users to upload up to 10 images that match the same aspect ratio. Sometimes it's not easy to align all the photos properly, but it's handy for posting multiple images, close-ups, and other pictures in one post.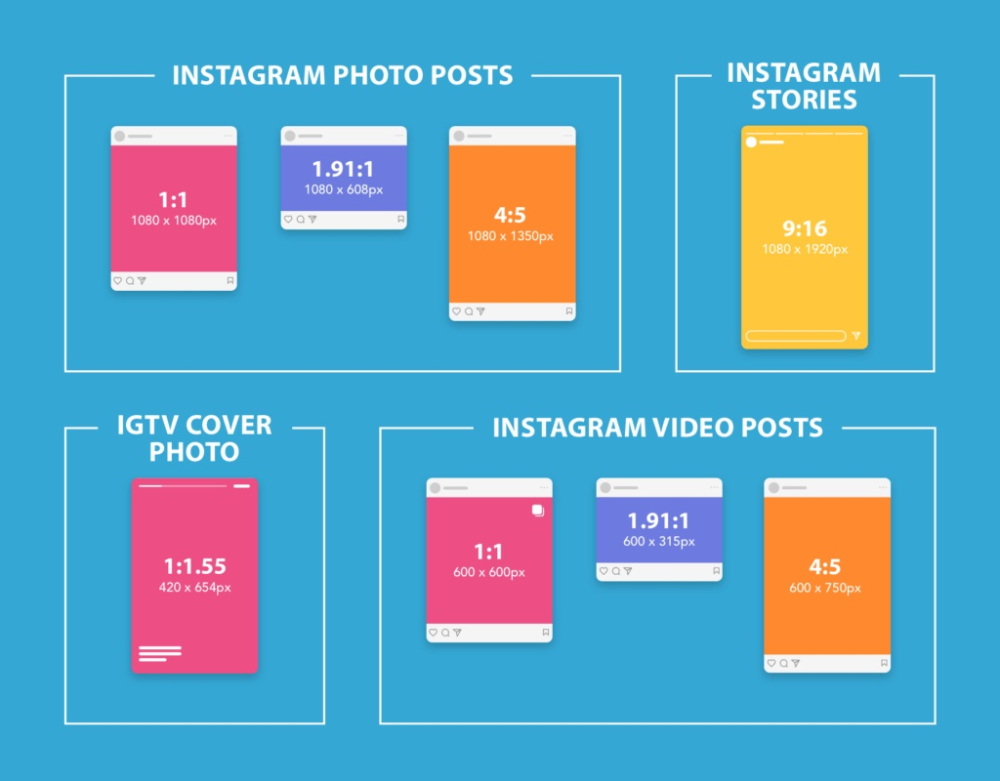
- Aspect ratio: 1:1
- Optimal size: between 600 x 600 px and 1080 x 1080 px
- Maximum resolution: 1080 x 1080 px
Note: If you have very high resolution product photos, you should consider uploading these photos in slices in the carousel, ie. you need to enlarge each part of the photo and divide it into parts. In this way, you can showcase the product with all the details, as well as give a general idea of it.
You can also try posting additional items that complement or are part of the set. This way, you won't clutter your feed with multiple posts that might annoy some users. You can even achieve a panoramic effect by posting a layout carousel, where each photo is a suggestion of the previous one.
Instagram Stories Size
Instagram Stories are very engaging, accessible and easy to follow. Since stories are an effective way to increase reach, engagement, and conversions, you can't afford to upload content in an incomprehensible way.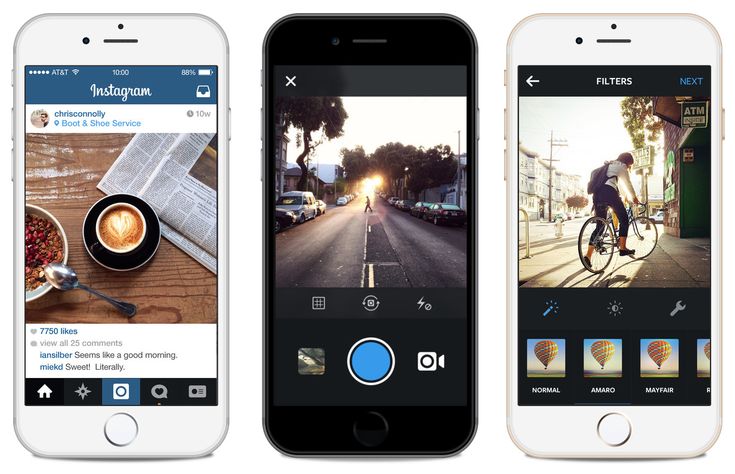
- Aspect ratio: 9:16
- Optimal size: between 600 x 1067 px and 1080 x 1920 px
- Maximum resolution: 1080 x 1920 px
Note: Instagram provides specific options for different ratios. Photos that do not meet the recommended parameters will not be stretched; instead, the app will add a border around the edges to match the main color scheme of the image. This option allows you to upload even horizontal photos (however, they will be much smaller than vertical ones).
However, you should still opt for a vertical format in Stories. People use their smartphones vertically, so you don't have to force them to rotate their phones to see the full size image. If you do without using a frame to fill the entire screen, and also rotate the photo vertically, then you will be pleased with the end result.
Instagram video size
If you want to create the perfect Instagram video, then you need to consider the features of the platform. Check out our guide on how to post videos to Instagram and try playing around with different formats. There are many nuances in the publication of videos that are worth getting to know.
Here is a short table of allowed video formats and their features.
| Instagram video format | Aspect ratio | Size |
| Square video | 1:1 | 1080x1080px |
| Horizontal video | 16:9 | 1080x608px |
| Vertical video | 4:5 | 1080 x 1350px |
| IGTV | 9:16 | 1080x1350px |
| Storys | 9:16 | 1080x1920px |
Just like with photos, Instagram provides the ability to work with square videos. This format is standard and universal for all kinds of devices. The technical requirements for square videos are almost the same as those for photos.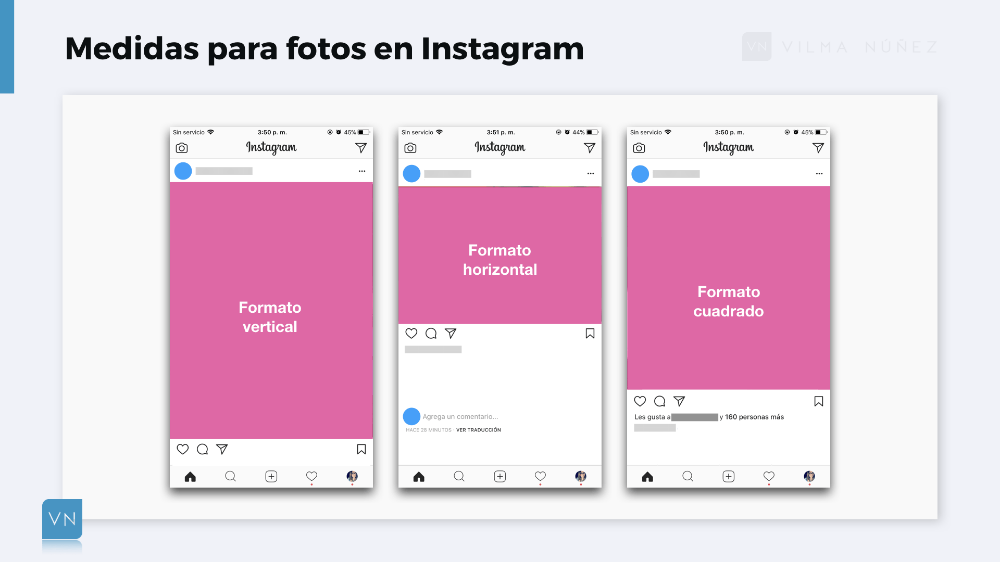
- Square video aspect ratio: 1:1
- Minimum and maximum resolution: 600 x 600 px and 1080 x 1080 px
- Duration: up to 60 seconds
- File size: up to 4 GB
Our recommendations for horizontal videos are almost identical to those we gave for photos. The reason why we recommend using a different aspect ratio is that it's too complicated to convert a video to 1.9:1. In addition, most people are used to watching videos in 16:9 format.
- Aspect ratio for horizontal videos: 16:9
- Minimum and maximum resolution: 600 x 315 px and 1080 x 608 px
- Duration: up to 60 seconds
- File size: up to 4 GB
Vertical video and full screen are not the same thing. If you're filming a clip on your phone, or recording a video on TikTok or Snapchat, then you'll need to resize the video before posting it to your feed.
- Aspect ratio for vertical videos: 4:5
- Minimum and maximum resolution: 600 x 750 px and 1080 x 1350 px
- Duration: up to 60 seconds
- File size: up to 4 GB
IGTV is Instagram's first attempt at adding a longer video option.