This is a very frequent question among those who are just taking their first steps in analog photography and realize the need to share photos from our disposable camera to instagram.
Basically there are 4 ways to digitize an analog photograph, we will review from the most basic methods to the most advanced and professional ones.
Table of Contents
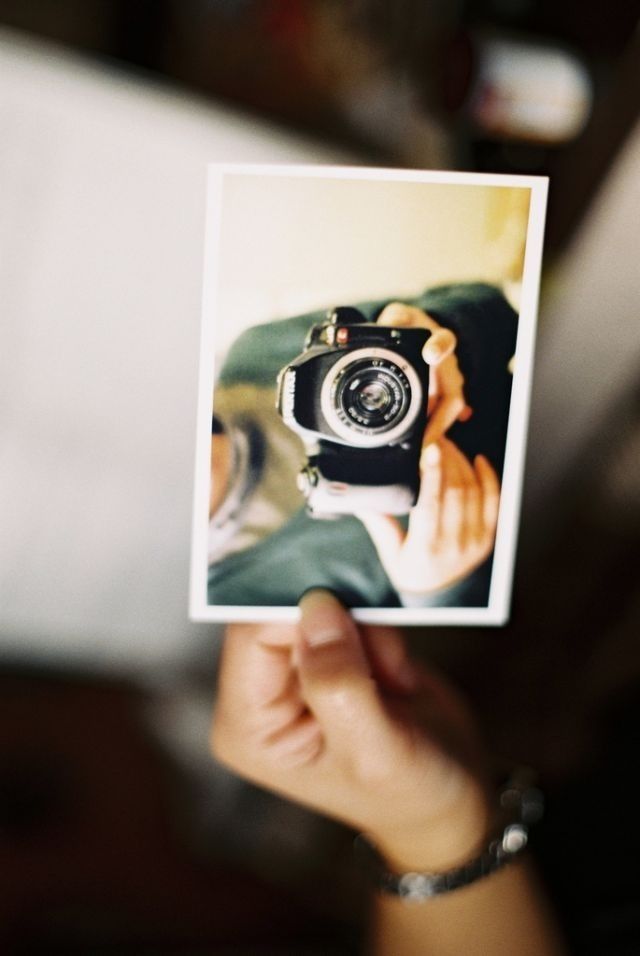
This is the simplest method to digitize our photos on film. It consists of simply taking a picture of the photograph itself. Something like the photo takes a selfie… (bad joke).
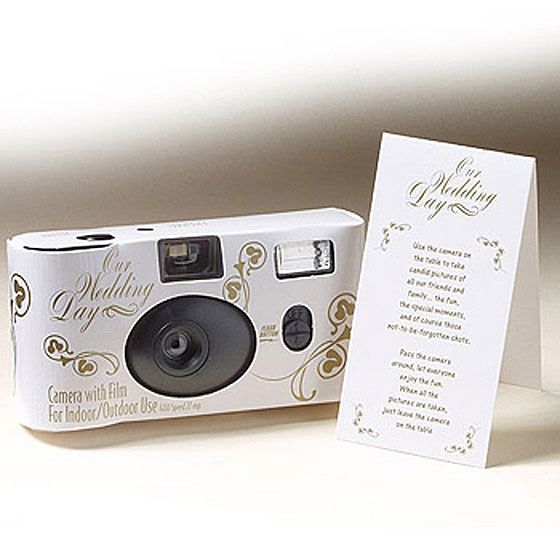
The first step is to send to the lab to develop our negative, and then also request the service of printing copies, preferably on matte paper type, so that at the time of photographing them we do not reflect glare in the camera.
The most basic service is the printing of our photos in 13×10 cm, which is the standard size of all life. You can use your mobile phone or a digital reflex camera.
We can also use a conventional desktop scanner instead of a camera, the only thing we have to do is to insert our paper copy on the surface of the scanner, and scan using the scanner software or also using an image software such as Photoshop.
Alternatively you can use a photo scanner dedicated solely to scanning printed images such as Plustek ePhoto Z300. It is a highly recommended scanner if you also take instant pictures like Polaroids or similar.
Plustek ePhoto Z300This is one of the cheapest and simplest scanners that exist and it works using our smartphone to capture the image, we are talking about the Kodak Mobile Film Scanner. The device itself is not a scanner, since what it really does is use your phone to act as a scanner.
It is simply a small box with a backlit background where you insert the negative into it (which is also sealed from outside light), and with the cell phone placed in position, you take a picture using the app that the manufacturer recommends.
It is a simple and practical method, but not at all professional, because if in the future you want to make a printed copy, you will not get a very decent quality.
It is only recommended for uploading it to Instagram, or any other social network. What is basically what you want right? share the film to instagram. But keep reading because there are more interesting methods to see.
Buy on Amazon
There are a number of dedicated scanners on the market, which can serve as a quick alternative to scan your photos. One of them comes from a classic and reliable company such as Kodak, with the Kodak Scanza.
This is a simple scanner, with which we can use only our negative to perform an optimized and efficient digitalization.
We will be able to make prints of sizes not exceeding 25×20 cm, since probably if we go beyond that, we will notice the limitations that by default are given in basic dedicated scanners like this one.
It is a great alternative for digitizing negatives that we are going to use on the web, or social networks.
It is also great for rescuing family photos, which as usual, we do not need too much detail in terms of color and contrast for the use they will have. But it is useful to rescue and update our photo albums that over the years are getting damaged.
Find on Amazon
Through this system we would already be entering in a more serious plane in the digitalization of our photographies. Since we are talking about a scanner as such, which is dedicated to digitize film negatives.
We will capture the image using the holders that the manufacturer offers us for the negative format we have. In most cases they will come for 35mm and 120 format. For larger formats they are usually offered separately.
If we talk about a specific scanner or brand, we recommend a scanner from the Epson line, the Epson V850, since they have been the reference among amateur photographers for years for the purpose of digitizing film.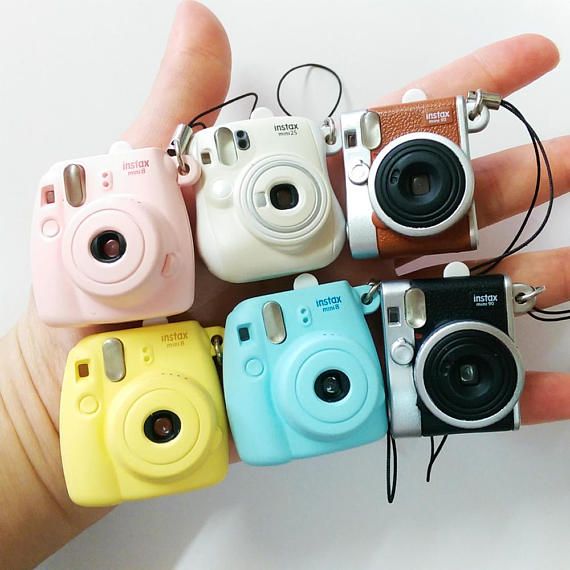
You will obtain a very optimal quality and worthy of being exhibited in a gallery. Of course, what we recommend here is that you do not exceed dimensions above 30×40 cm. Since we believe that beyond that, it is probably better that you consider buying the scanner that we will see next.
View prices on Amazon
If you shoot 135 (35mm) photographs in a more advanced way, and not only want to post them on social networks like Instagram or Facebook in the best possible quality, but also plan to use the digital image for hard copies, this is the ideal scanner.
Since in addition to a good pixel per inch size, it is capable of extracting very high tonal ranges, offering great quality contrast and color data taken directly from our negative.
You will no longer have to worry about saving the negative once you have digitized it, as long as you have the file backed up and other safeguards in place.
The particular brand that we recommend for advanced amateurs is the Plustek OpticFilm 8200i SE, there will be even more professional ones, but you will have to spend a couple of thousand dollars.
For some people this method is the best of all, since on the one hand, once we set up a suitable setup for this purpose, we will make the process very fast and efficient.
We will achieve the same image quality or even more, depending on the camera and lens, than a dedicated scanner like the Plustek.
 This is to make sure we have the best possible definition.
Below we leave you a video of how to invert the colors in Photoshop, so that our photo is no longer a negative.
And that’s it! You have your photo ready to be published on Instagram, Tumblr, or any social network.
For the last step we leave you a video in case you want to learn how to do it well step by step.
Answer
Can you upload pictures from a disposable camera?
Yes, you can upload pictures from a disposable camera.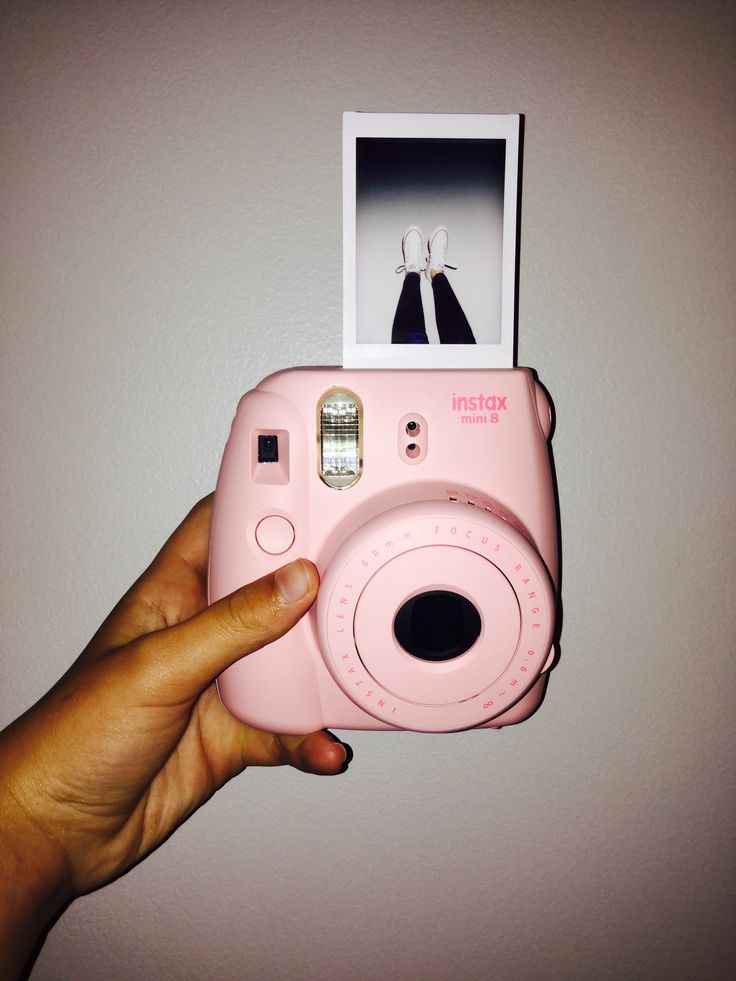 Just make sure that you have the photos printed out before you discard the camera.
How do you get pictures from a disposable camera to your phone?
Most disposable cameras have a USB port that you can use to transfer the photos to your computer. From there, you can email them to yourself or upload them to a cloud storage service. If your disposable camera doesn’t have a USB port, you can remove the SD card and insert it into your phone’s SD card reader.
How do people post disposable pictures?
People post disposable pictures by taking a picture with their phone and uploading it to a website or app that allows for disposable pictures.
How do you get pictures from a disposable camera?
To get pictures from a disposable camera, you will need to develop the film. You can do this at a photo lab, or if you have the equipment, you can do it at home.
Are disposable cameras digital?
Yes, disposable cameras are digital. They use a digital imaging sensor to capture the image, rather than traditional film. This allows you to view the photo immediately after it’s taken, and also allows you to delete it and take another photo if you don’t like it.
How do you get pictures off a Fujifilm disposable camera?
To get pictures off a Fujifilm disposable camera, you first need to remove the film cartridge. To do this, locate the notch on the bottom of the cartridge and use your thumbs to pry it open. Once the cartridge is open, you can extract the film. Be very careful not to touch the film itself, as fingerprints will cause images to be blurry. Next, load the film into a developing tank and process it according to the instructions that came with your tank.
How do you take disposable photos on iPhone?
To take disposable photos on your iPhone, open the Camera app and tap the little square at the bottom-left corner of the screen. This will switch to the “square mode” which is perfect for taking disposable photos. Then, point your camera at your subject and tap the shutter button.
How can I develop disposable photos?
There are a few ways to develop disposable photos. One way is to use a photo developing kiosk. These are machines that can be found in many stores, and they allow you to develop your photos without having to send them away. Another way to develop disposable photos is to use an online service. There are several services that will develop your photos for you, and most of them are very affordable. The final way to develop disposable photos is to do it yourself.
Is Davids disposable free?
Yes, Davids disposable is free. You can get a free trial of the service by visiting the website and signing up.
How do you use a disposable camera?
To use a disposable camera, first remove the film cartridge from the camera. Next, open the film cartridge and insert the film into the slots. Make sure to remove the red safety tab before taking any pictures. Then, close the cartridge and replace it in the camera. Finally, press down on the shutter button to take your photos.
Does Kmart do film processing?
Yes, Kmart does film processing. You can either drop off your film at a store or have it shipped to the Kmart photo lab.
Do disposable cameras take good pictures?
Yes, disposable cameras can take good pictures. They are easy to use and don’t require any special skills or knowledge. Plus, they are affordable and convenient, making them a great option for capturing memories on the go.
Can I develop my own disposable camera?
Yes, you can develop your own disposable camera. However, it is not a simple process and requires some specialized equipment and chemicals.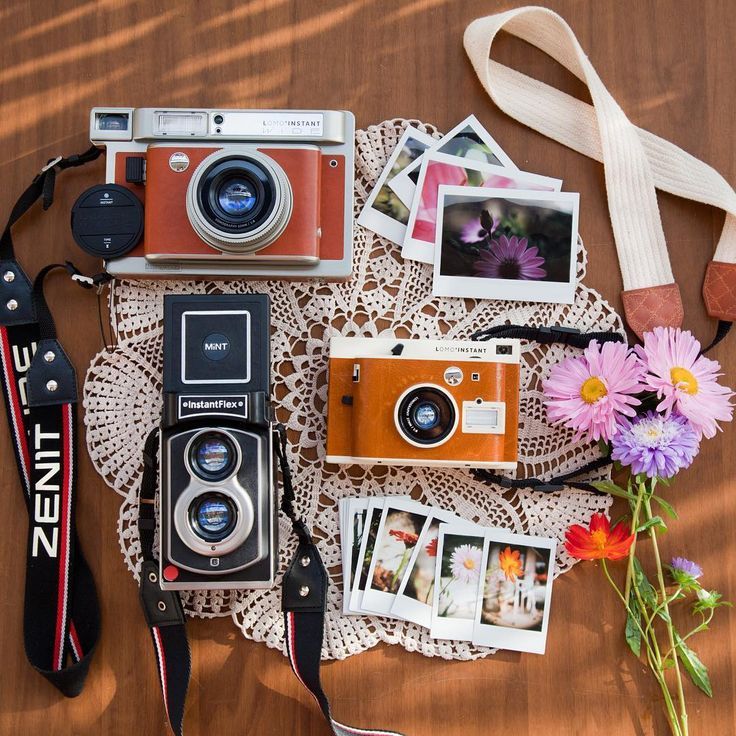 If you are not familiar with photography or film development, it is probably best to leave this task to a professional.
Can you refill disposable camera?
Yes, you can refill disposable cameras. To do so, remove the film cartridge from the camera and open it. Then, carefully rewind the film onto the take-up spool. Make sure that the film is properly wound onto the spool, and then close the film cartridge. Finally, reinsert the cartridge into the camera and take your pictures!
How do I develop pictures from my Kodak disposable camera?
To develop your Kodak disposable camera pictures, you will need to take the film out of the camera and into a photo lab. Most drug stores and big box stores like Walmart or Target have in-store photo labs that can develop your pictures for you. Simply follow the instructions on the film packaging and your photos will be ready in a few minutes.
There are 3 main ways to add a photo to Instagram* from your phone: upload via the Instagram* mobile app, from your phone gallery, or via third-party apps. We will analyze separately how to publish a photo in a post and a story.
Download the Instagram app* from the AppStore or Google Play. After registering or logging into your account, you will see the [+] icon in the upper right corner, click on it, and then in the menu that appears, click on the "Publish" button.
Interface for adding a new post to the feedNext, you will open the interface for adding a post, you need to go through several steps:
Let's take a closer look at how to post photos on Instagram* from your phone.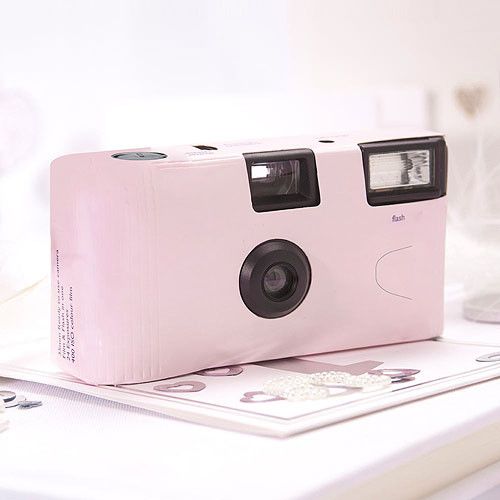
Select media files. After pressing the "Publish" button, you will be taken to the gallery on your phone. Select the photos or videos you want to post. At this stage, you can also change the resolution or select multiple files for one post.
Basic buttons for setting up a future publicationEditing files. After selecting all the settings, click the "Next" button in the upper right corner and go to the editing interface - here you can apply filters, adjust contrast, add sharpness, level the horizon, and so on.
Photo and video editing toolsAdd text and labels. Once you've finished editing your media, click the Next button again and the last settings will open: select other social networks for publication, add text, geotag, user tags. Read more in our article “Instagram tags*: how and why to use”.
Final settings for posting to the feed Big text cannot be posted on Instagram*, the limit is 2200 characters. But if you really need it, we have an article with recommendations for the design of such publications.
Publication . When you're done with the settings, click "Share" in the upper right corner and the post will appear in your account feed and in the news feed of your followers. Hooray!
The process of loading a post and its display in the news feedThis is a quick way when you just need to post one file with a caption, because this way you can not customize the display format, add multiple files to one post, edit media files, add geotags and tag other users.
How to post photos on Instagram* from your phone using the gallery:
That's it - the publication has been uploaded to your profile!
Step-by-step process of publishing a photo in the feed through the phone galleryIf you do not know what, why, why to publish and how to design, I recommend our free course "7 Steps of Content Marketing". In the course, we tell you what content marketing is, how to create, design and promote content on the Internet. All this will help you understand how content works, why publish posts and how to make them beautiful and interesting.
You can upload photos to Instagram* from photo and video editing apps, feed maker, and so on. Almost all of these applications have the ability to automatically add media files to Instagram*.
For example, the Canva photo and video editor app has a Share button in the top right corner. In the additional menu, the Instagram icon appears *, when clicked, it transfers to the social network application with the option to select a placement: Stories or feed.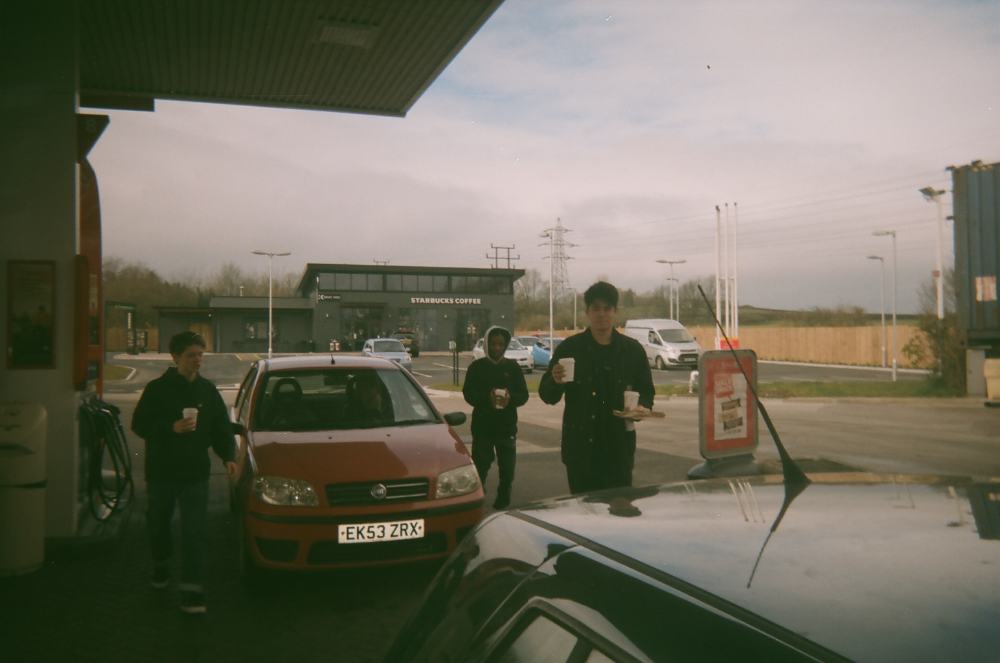 After clicking on the "Feed" button, the standard Instagram interface * opens to add a post to the feed.
You can upload a photo to Instagram stories* from your phone both directly from the Instagram application* and through third-party applications.
There are 3 ways to post a Story via the Instagram app*:
After clicking, the interface for creating Stories will open. By default, the camera opens, and you can immediately take a picture or video for stories. If you want to add files from your phone's gallery, tap the button in the bottom left corner of the screen or swipe up from the bottom of the screen.
The story editing interface also has many useful features:
 There are masks both from Instagram* itself and from users. To get as many creative masks as possible, subscribe to major bloggers who create such masks. For example, bloggers ya.molli or georska.
 Once you're done with your stories, select the publish option at the bottom of the screen:
Stories, like posts, can be posted from other applications, only when choosing a placement, you need to click "Stories".
Check out the Instagram Stories* section of our blog for inspiration on how to use Stories on both your personal blog and brand account.
If you feel uncomfortable publishing posts and stories from your phone, use services for publishing from your computer, such as SMMplanner. With it, you can design and post posts and stories from your computer and specify the time at which they will be automatically published.
Scheduling a new post on Instagram* from a computer via SMMplannerWhat is the convenience of delayed posting and how to post on Instagram* from SMMplanner, read in our article "Delayed posting services on Instagram*: why they are needed and how they work".
Universal algorithm of actions for posting photos on Instagram* from the phone:
Done! Your first story or post is already in the feed.
Mobile apps
What is Dispo, a photo app that brings back the good old Instagram
Nikolai Udintsev
March 17, 2021 13:39
One of the most discussed applications of recent times (after Clubhouse, of course) is Dispo. This is a social network where photos are posted without processing. We tell you who invented it and how it attracts users.
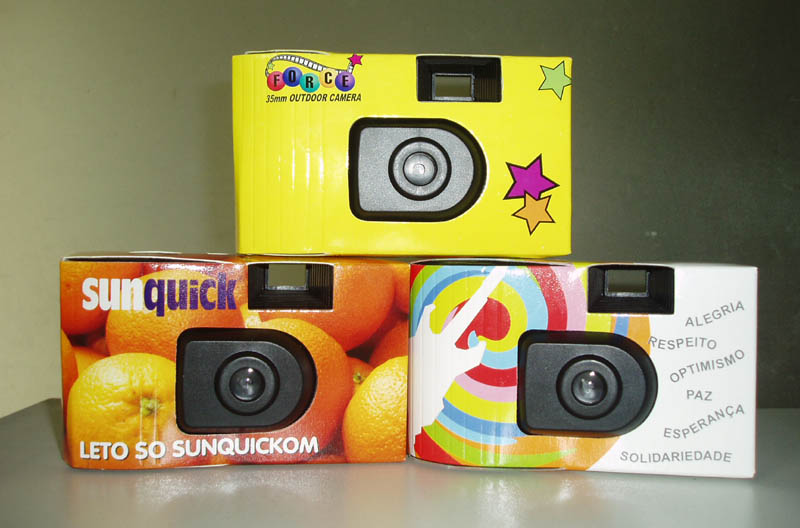
Dispo is short for Disposable Camera, that is, from the English name for a disposable film camera. This is a small plastic camera that costs $10-$30 and can shoot only one film or cartridge. Obviously, the disposable camera does not have a rich set of features: it only has a shutter button and a flash.
The application attempts to replicate this concise approach to capturing. It does not have editing tools, filters (only one is built-in), there are not even signatures and hashtags. Pictures are taken not using the large screen of the phone, but through a small window in which it is difficult to see the objects being photographed. Probably, with this interface, Dispo imitates shooting through a small viewfinder of a disposable camera.
All this makes Dispo look like Instagram at the very beginning of the last decade, when it was still a photo app with filters, where everyone posted everything.
Recently, access to Dispo was only by invitation, but on March 9 they were canceled - anyone can use the application , but only on iPhone.
Another limitation of Dispo, which turned out to be the most unusual feature of the application: photos are not published immediately, but the next day, at 9:00. You can’t even look at a newly taken photo - you can only send it to the publication, and see it the next morning. Thus, Dispo again imitates shooting on a film camera - users, as it were, are waiting for the photos to develop.
The founder of the application, 24-year-old blogger David Dobrik, who first gained popularity in Vine, said that the idea to publish pictures only the next morning came from his friends' parties.
"Every morning was like the final scene of The Hangover."
David Dobrik
Founder of Dispo (interviewed by The New York Times)
"At my friends' parties, disposable cameras were placed all over the house, and they asked guests to film them all night long," Dobrik explained in an interview with The New York Times. “In the morning they would gather all the cameras, look at the footage and wonder, “What the **** [hell] happened last night?”
In December 2019, under his leadership, the first version of the application was released under the name David's Disposable, and a year later it was relaunched under a new name - Dispo. There are only eight people on the team, but the startup has already received a $4 million investment from Reddit co-founder Alexis Ohanian's fund and a $200 million valuation.
In the summer of 2019, Dobrik himself began to take photos in the style of film cameras and upload them to a separate “disposable” Instagram @davidsdisposable. Around the same time, other bloggers and celebrities also opened secret Instagrams where they posted spontaneous, raw photos taken as if taken on film or through the “film” Huji Cam app. Such accounts appeared with models Gigi Hadid and Tana Mango, actress Diana Silvers and singer Joe Jonas.
An example of the creativity of the Dispo-boy, which journalist Joseph Longo cites in his article
The growth of interest in photographs taken as if taken on film can be seen on Instagram and the App Store in recent years: users often posted pictures from Huji Cam, which stylized them under film cameras from the 1990s-2000s, developers released many clones of this successful application, photo equipment sellers noticed an increase in sales of film cameras, Polaroid resumed production.
By 2019, it was decided to capture the mass interest in the film picture with the help of a new subculture - Dispo-boys, which was named after the application - by analogy with VSCO-girls.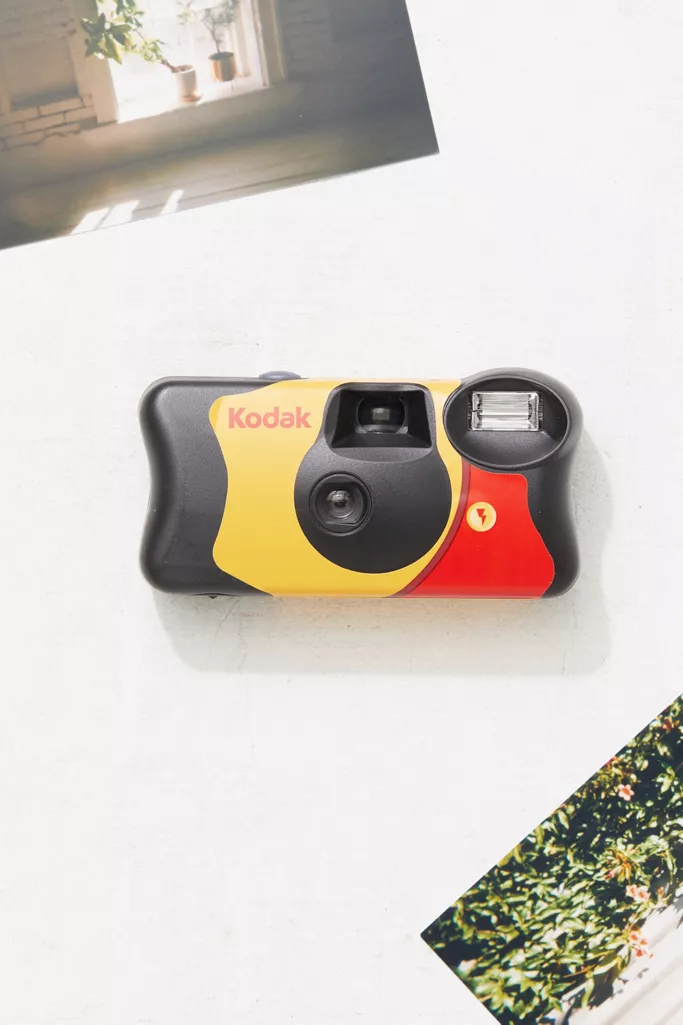 A typical Dispo Boy is a person in their 20s or 30s, but not necessarily a man. On Instagram, he does not show his face, but posts desert landscapes of his native provincial town. “Their aesthetic is low-resolution photos on an old iPhone,” said Joseph Longo, one of the authors of the term and Mel Magazine journalist.
Dispo lacks many elements traditional for modern social networks: update feeds, reposts, the ability to upload a screenshot from Twitter. The main social tool in Dispo is shared films. All photos are published in thematic folders: you can put pictures from a trip around Moscow into one, invite friends to another to collect photos from the party, and make the third open to everyone and call, for example, to show your quarantine routine.
On Twitter, people share their open tapes and invite to see, for example, cats - their own and their friends
It is updates of the tapes that you subscribe to that appear on the main screen, and not new posts from people.