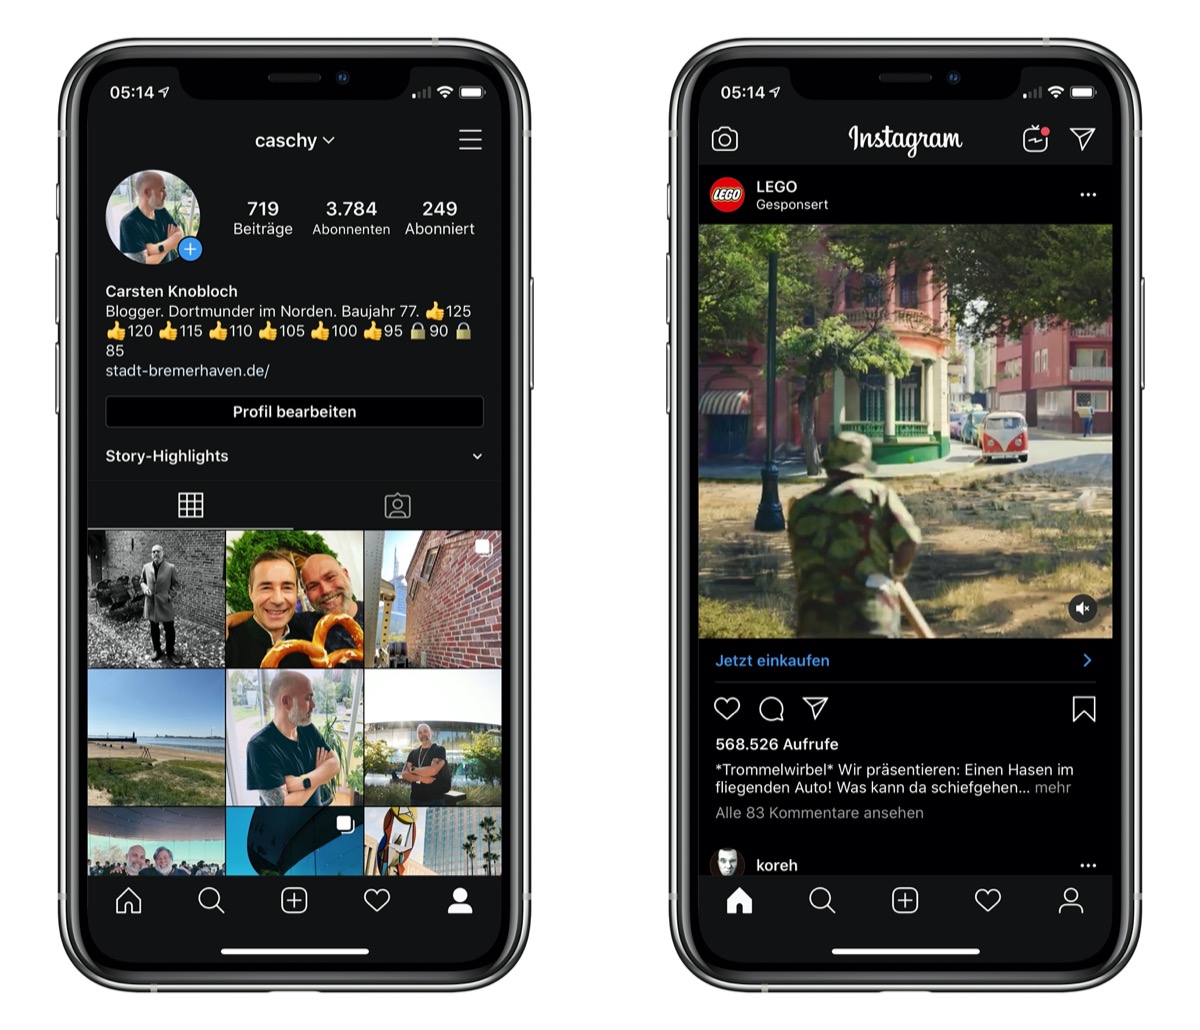
You’ve got to give Instagram credit for staying the course. They have always been dedicated to being an app exclusively for mobile devices. Photographers who shoot with cameras have always been at a disadvantage — having to use an array of workarounds to edit photos on their computers before sharing them to a mobile device.
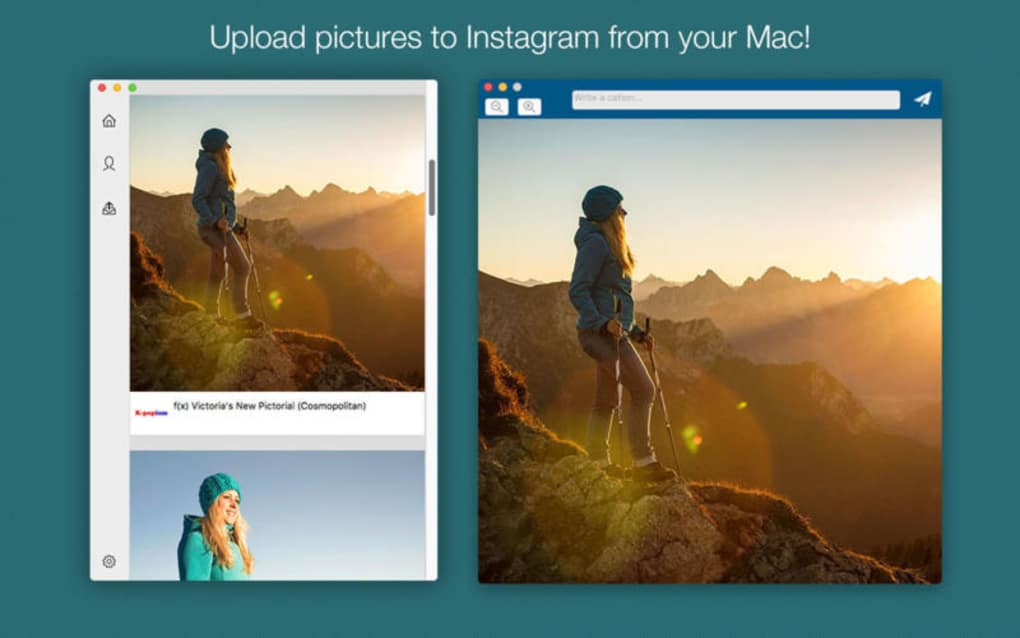
One of those workarounds involves sharing your photos to Instagram from your Mac. Unfortunately, it’s not as straightforward as using the mobile app, but once you get the steps down, it almost becomes second nature.
There is not an Instagram app for posting photos to Instagram from your Mac. You can, however, go to Instagram.com on any computer and log in to your account to view and comment on photos. Uploading photos is another story altogether.
Depending on which browser you use on your Mac, the technique for uploading photos to Instagram will be slightly different. In this article, we’ll provide instructions for using the two most popular Mac browsers: Safari and Google Chrome.
If Safari is your browser of choice, you can use it to upload a photo to Instagram using developer tools, which will allow you to view Instagram exactly as if you were using the mobile app on your phone:

If you’re using the Chrome browser with your Mac, there’s an equally easy way to upload your photos to Instagram on your computer:

Using Developer Tools in Chrome and the Develop menu in Safari is relatively straightforward, but it does require a few extra steps. If you want to set something up that you can use over and over again without any hassle, consider using a third-party app for Instagram.
Two Instagram posting apps stand out for their ease of use and beautiful interface — Flume and PhotoDesk. Here’s how to post to Instagram using both of them.
Flume makes it possible to navigate Instagram from your Mac and includes the ability to like and comment on photos, follow and unfollow accounts, and direct message accounts. In order to use the upload feature, you will have to purchase the premium version of the app.
Here’s how to use Flume to upload a post to Instagram from your Mac:

PhotoDesk is another feature-packed app that is perfect for doing all of your Instagram tasks from the comfort of your Mac. It even provides detailed statistics so you can see how your posts are doing within the app. You can start by accessing a free trial, but after that, you’ll have to purchase the premium version.
Here’s how to upload to Instagram using PhotoDesk.

Whether you choose to upload photos to Instagram using your browser or a third-party app will depend on the features you want to use. If you’re using a browser, you will have limited functionality and won’t be able to post videos or gallery posts. Using one of the apps mentioned above will give you more features, but, of course, you’ll have to pay for them. While neither method is perfect, they’ll have to do until Instagram adds the ability to upload from its web browser or develops an app just for Mac users.
Travel writer. Photographer. Lover of dogs and the outdoors.
Michael Potuck
- Jun. 24th 2021 8:11 am PT
@michaelpotuck
After we got a sneak peek at the feature last month, Instagram has quietly rolled out the option to create and publish posts from its website on desktop (but not on iPad). The new functionality includes the ability to use filters and edit photos and videos as well. Check out a closer look below including how to post to Instagram on Mac and PC.
Spotted by Matt Navarra, the new feature is live on Instagram’s website and we are seeing the functionality available here at 9to5Mac as well. It’s unclear how widely available the new feature is but it is rolling out now for Mac and PC.
If the feature is available for you, you’ll see a new pop-up alert at the top of your screen on the Instagram homepage after logging in that says: “Now you can create and share posts directly from your computer. ”
”
Almost hilariously, Instagram continues to ignore iPad. We tried to access the new desktop feature on iPad by requesting Instagram’s desktop site in Safari and the ability to post is not available for now.
Here’s a closer look at the desktop UI:
NEW! @Instagram lets you create + publish posts via desktop! pic.twitter.com/JWzwKg1kyO
— Matt Navarra (@MattNavarra) June 24, 2021
More screenshots of creating + publishing posts via https://t.
co/3QaHTLlqBE pic.twitter.com/G5mptOhN06
— Matt Navarra (@MattNavarra) June 24, 2021
Other recent Instagram changes include the platform testing Suggested Posts in users’ main feed, the ability to hide like counts, and the Live feature gaining options for muting and disabling video:
FTC: We use income earning auto affiliate links. More.
Check out 9to5Mac on YouTube for more Apple news:
You’re reading 9to5Mac — experts who break news about Apple and its surrounding ecosystem, day after day. Be sure to check out our homepage for all the latest news, and follow 9to5Mac on Twitter, Facebook, and LinkedIn to stay in the loop. Don’t know where to start? Check out our exclusive stories, reviews, how-tos, and subscribe to our YouTube channel
@michaelpotuck
Michael is an editor for 9to5Mac. Since joining in 2016 he has written more than 3,000 articles including breaking news, reviews, and detailed comparisons and tutorials.
Really useful USB-C + USB-A charger for home/work and travel.
My slim wallet of choice for iPhone 12
While Instagram developers are ignoring the launch of the official multi-functional client for macOS and Windows, with which you could edit and upload your favorite photos and videos to a well-known network, third-party developers and enthusiasts will use every opportunity to create workarounds. Today we will talk about several ways to add photos to Instagram from any computer.
| Apple in Telegram and YouTube. Subscribe! |
♥ BY TOPIC: How to unfollow a person on Instagram so that they don’t find out (so as not to offend). Unfortunately, at the moment there is no official Instagram client for computers, but this does not mean that the service cannot be used on Windows and Mac.
♥ BY TOPIC: The most followed people on Instagram are the 35 accounts with the most followers.
How to view photos and videos on Instagram using Safari, Google Chrome, Yandex Browser, Mozilla Firefox and Opera
photos and videos, stories (stories), profile information, leave comments, etc. on any computer.
♥ RELATED: How to see when a user is logged into Instagram and how to turn it off.

How to upload photos and videos to Instagram for free on a computer using the Safari browser on Mac (macOS)
Almost all modern desktop browsers provide the ability to change the option "User Agent" - an application that tells the site which device used. That is, even if you are working on a laptop or a desktop computer, you can make the site “think” that it is a smartphone and show a mobile version. This is what we are to do.
In the case of Apple's browser, everything is quite simple. Go to Safari → Settings → Add-ons and check the box next to the option " Show menu " Development " in menu bar ".
♥ RELATED: How to open the Develop menu (Developer Console) in Safari on Mac and what it is for.
Next, open a new window. Select Development → User agent → Safari – iPhone and go to Instagram.
com.
Log into your account and click on the " + " button at the bottom of the screen.
Now you can easily upload images to Instagram directly from your computer.
♥ RELATED: Masks and effects on Instagram photos and videos: how to enable and add new ones.
How to upload photos and videos to Instagram on a Windows or Mac computer using Google Chrome, Yandex Browser, Opera or Firefox
The method for Google Chrome, Yandex Browser, Opera or Firefox is identical to the above and is also based on using the mobile web version of the social network Instagram.
In Google Chrome
Click on the icon with three vertical dots in the upper right corner of Google Chrome and follow the path: Additional tools → Developer tools .
Click the icon to enable the display of web pages in the mobile version.

Reload the page and upload photos or videos to Instagram by clicking the "+" button in the bottom bar.
In Yandex Browser
Click on the icon with three vertical lines in the upper right corner of Yandex Browser and follow the path: Advanced → Additional tools → Developer tools .
Click the icon to enable the display of web pages in the mobile version.
Reload the page and upload photos or videos to Instagram by clicking the "+" button in the bottom bar.
In the Opera browser
Open the menu Developer → Developer Tools.
Click the icon to enable the display of web pages in the mobile version.
Reload the page and upload photos or videos to Instagram by clicking the "+" button in the bottom bar.
In Firefox browser
Click on the icon with three vertical lines in the upper right corner of the Firefox browser and navigate to the path: Web development → Responsive design .

Select iPhone from the mobile selection menu. Reload the page and upload photos or videos to Instagram by clicking the "+" button in the bottom bar.
♥ RELATED: How to create albums from photos or videos on Instagram.
Programs for uploading photos and videos to Instagram from a computer , process pictures on desktop computers and only then publish to Instagram. In this case, you have to upload processed images from a computer to a mobile device (for example, via AirDrop or email) - a very troublesome task. We will talk about the most popular applications that allow you to upload photos and videos to Instagram from a computer below.
♥ RELATED: How to set up (enable / disable) any notifications on Instagram.
How to upload photos to Instagram from a Windows or Mac computer using the Windowed app
One day, a young photographer and developer found out that Instagram cannot upload photos from a computer.
He got upset and decided to fix the problem. This is how the Windowed application was born, which is a web application disguised as a mobile browser that supports the interface of the mobile browser version of Instagram.
Windowed allows you to do everything on Instagram that you can do in the browser versions described earlier.
What about security? The developer assures that all important information from the user, including login and password, goes through Instagram, and he does not have access to them. Anyone who is willing (and able) can check his words at any time - the code is posted on GitHub.
Another useful feature of Windowed is support for up to five different Instagram accounts. Quick switching between them is carried out by pressing the button Profile at the top of the screen.
Helpful Hint: if your Mac won't open Windowed and says "The application cannot be opened because the developer could not be verified" or "The program cannot be opened because its author is an unidentified developer" .
follow the steps in this manual.
Free Download Windowed for Windows and Mac .
♥ RELATED: Instagram blue checkmark: how to get verified status on Instagram.
How to upload photos and videos to Instagram from a Mac or Windows computer using the Uplet application you need to upload a photo or video from your computer to the Instagram feed with a minimum number of settings. After starting the program, you must go through the standard authorization procedure in the account. And here you can observe the first drawback of the client - the lack of support for working with multiple accounts, which, by the way, is available in mobile clients. The function would be relevant for those who promote two or more accounts or several family members work in one Mac account. Next, a super-minimalistic window appears, prompting you to add images to upload. You can do this by clicking on the button and selecting files in the explorer, but a much more convenient way would be to simply drag and drop (Drag-and-drop) photos into the Uplet window.
By pressing the button " Send all ” you will immediately send the content to the network, but there is an opportunity to pre-perform several relevant actions available in the button “Add signature” . Here you can choose a square or leave the original size of the image (for all at the same time or for each separately). The photo can only be tiled over the entire width of the square, and then move the image left and right. But you can’t zoom in on the image and select a specific area (it would be relevant for high-resolution photos).
Before sending, it remains to add comments, hashtags and emoticons (through the built-in tools of the operating system). After pressing " Share all " we wait for the end of the publishing process and notification from Uplet. Uploading to the network takes some time, of course, not comparable in speed with the regular Instagram client for iOS.
Uplet is purely a tool for uploading images and videos. You cannot edit or delete images that have already been posted.
Support for multiple accounts is present. The main disadvantage of the application is its cost. At the same time, a demo version of the application is available on the site, which allows you to make 5 downloads.
Download Uplet for Windows and Mac
Related video: Instagram Secrets: 35 tricks you might not know
How to see when a user is logged into Instagram and how to turn it off. How to merge several videos into one (up to 1 min) on Instagram on iPhone. Please rate article
Average rating / 5. Number of ratings:
No ratings yet. Rate first.
How to upload photos to Instagram from a Mac ▷ ➡️ Creative Stop ▷ ➡️
He's back from a vacation he's wanted to do for a long time, and after uploading all the digital camera photos to his Mac, I want to upload them to Instagram to share them with friends, family and acquaintances. However, the problem is that you are well aware that uploading photos to a social network is “officially” only possible from mobile phones and tablets: however, you really don’t like this option, because there are really too many photos, so the thought of to throw in the towel and use other sharing methods is already playing in your head.

And if I tell you it's possible to upload photos to Instagram from Mac with some more tricks? Yes, I'm not joking, and after carefully reading this guide, you will also notice: below I want to explain how to upload images from Mac to Instagram using the most popular browsers (Safari, Google Chrome and macOS) and a few small shopping trick . Also I will show you how to perform the same operation using the Android emulator for Mac and hence the official Instagram app. However, before proceeding, I want this to be a prerequisite, not a requirement: if you choose to upload photos through a browser,0019 you will not have filters and effects in Instagram so the images will be loaded exactly as they are.
Is everything clear? Well, then sit back, take some time for yourself and carefully read everything I tell you about this: I am sure that by the end of reading you will be able to perfectly choose the solution that best suits your need.
case and easily transfer the photos you prefer to one of the social networks most used at the moment. With that said, I can only wish everyone a good read and have fun! spoof the Internet site and pretend that said browser is being used by a mobile phone or tablet by modifying the user agent call inside the PC navigation program: next I will show you how to put this trick into practice with safari , Google Chrome y Mozilla Firefox .
safari
About safari , the current "standard" browser in MacOS User agent modification is integrated into the development functions and does not require additional software. To activate this option, first go to menu Safari > Preferences... is located in the top left corner, click on the tab advanced in the window that opens and check the box next to the item Show development menu in the menu bar .
After that, close the Safari preference panel connected to the Instagram website, then click the menu Development > User Agent browser and select one of the options related to Safari in iOS (Ex. Safari - iOS xx - iPhone ).
At the moment the game is almost over and you just have to share the photo as usual: if necessary, log in to Instagram by pressing the button first enter and then enter your username and password, press the button Not now to avoid downloading application and to start the image upload procedure, click on the button (+) located below.
Once this is done, use the control panel explorer To select an image to upload, click on the button select , use the appropriate icons in the form arrow To activate / deactivate the zoom or rotate the image, click on the button Siguiente enter the name and the desired hashtags and press the button cuota located in the upper right corner to complete the procedure.
Easy, isn't it?
Google Chrome
Regarding browser Google Chrome (if you don't already have it, you can install it by checking out my dedicated tutorial), you can change the user agent using the extension User Agent Switcher for Google Chrome .
First, then after connecting to the plug-in webpage, click on the button add and then on the button add extension complete the installation of the software. After that, having connected to the Instagram website, click on the icon of the added extension (button in the form of the globe is located in the upper right corner), then in the drop-down menu Select the user agent and select one of the elements related to Android or iOS from the list provided ( IPhone Safari , Safari on iPad , iPhone , protectors or IPOD , just to name a few).

In a few seconds, the dedicated Instagram interface to the selected device will be loaded onto the screen - at this point, all you have to do is follow the instructions I gave you in the previous section to upload the image. Once you have completed your homework, you can report the situation normal Once again, click on the addon icon and select element default from the list provided.
Mozilla Firefox
Are you using Mozilla Firefox and would you like to use the same trick to upload photos to Instagram from Mac ? No problem! However, even in this case, you will have to rely on an additional component known as User Agent Switcher .
First, by connecting to the site dedicated to the extension, press the button Add to Firefox and complete the operation by clicking on the button install .
At this point, open a new tab, click on the extension button in the upper right corner (marked with an icon in the form of a small man in a raincoat and hat ), select the drop-down menu item left safari and central voice iOS Check the box next to the latest version of the browser (for example, Mobile Safari 10.0 inch IOS 10.3.3 ) and complete the operation by pressing the button apply placed at the bottom.
The game is almost over: through the previously opened tab connected to the Instagram website, log in as usual and follow the instructions I gave you in the Safari section to upload the desired photo. When you're done, don't forget to return to normal navigation: click again on the User Agent Swap icon, press the buttons reset y apply and continue browsing as usual.
Upload photos to Instagram via BlueStacks
The lack of filters is an important limit for you, so you will want to upload photos to Instagram from a Mac using an interface identical to that of the application for mobile phones and tablets?
I really believe that I have the right solution for your case: then I want to explain how to do it with BlueStacks , un android emulator available for mac for free.
In fact, through it, you can install the Instagram app for Android on your Mac and download the photos you want through the latter.
Before continuing, I want to clarify a fundamental point: the free version of BlueStacks sometimes recommends automatic installation of some applications for promotional purposes. However, they can be safely ignored. Alternatively, you can subscribe to get a subscription ($4/month or $40/year) to remove them.
In this case, it is time to take action: firstly, after connecting to the official website of the emulator, first press the button Download Bluestacks then press the button download place on the next page and then wait for the file ( BlueStacksInstaller_xx.dmg ) to be copied to the Mac.
Once this is done, launch the program you have just downloaded by executing double click on the BlueStacks icon that appears on the screen, then to start the installation press the button open .
After that click on continue and then another install enter when prompted, password of your user account and click the Setup Wizard button to complete the procedure.
At this moment press the button Open system settings and through the Mac configuration panel first press enable and then on the icon padlock located in the lower left corner. To complete the installation of BlueStacks on macOS, enter password Mac and click Desbloquear .
After completing this operation, you can finally set up the software as you will be prompted to create a BlueStacks account in order to continue using the program. In this regard, click on starts and enter your Google account login credentials ( email address y password ).
To continue, first click on Siguiente then at I accept and finally its Start using BlueStacks .
Finally, if you don't have a Google account, check out my dedicated tutorial) to see how to complete the registration process.
How is the approximate percentage calculated?
Once the setup is complete, you can finally start downloading apps from Google Play: then launch Play Store by clicking on the icon you see in the home section of from BlueStacks search for the Instagram app using the appropriate search bar and proceed with the installation applications by pressing 9 buttons0019 install y I accept .
For now, that's it: launch Instagram by calling it from the icon you just added to BlueStacks, log in with your credentials and press the button (+) located at the bottom to start the image upload procedure , which is almost identical to the application procedure for mobile phones and tablets.