How to photograph jewelry for instagram
How to Photograph Your Jewelry for Instagram
431A Chestnut Ridge Rd., Woodcliff Lake, NJ 07677 / TEL (201) 930-8883
Menu
Search
August 18, 2021
While there are many social media platforms, Instagram is the best and most popular for showcasing jewelry. There’s just something about the platform that makes pieces shine and sparkle.
Whether you want to become the next big influencer or simply want to show off your favorite pieces, the first step to any good Instagram jewelry post is a good picture. Make every shot shine with these tips for how to photograph your jewelry for Instagram.
Clean Your Lens
You won’t get a good picture if your camera lens is smudged or otherwise dirty, even if you’re taking a close-up shot. Wipe down your lens with a soft cloth before taking pictures, and avoid scratches and smudges in general by keeping your phone lens up.
Clean the Jewelry
Clean jewelry will really sparkle in a photograph. Before prepping the shot, clean the piece with a soft toothbrush and mild detergent or a jewelry cleaner. Rinse and dry, but don’t wipe it with a cloth that leaves lint.
Focus on Lighting
Light can make or break any photo, but especially one of jewelry. The right kind and amount of light can help brighten, deepen, and generally enrich the piece’s colors, shapes, and sparkle. Try setting up the shot next to a window with bright natural light, but avoid placing the piece in direct sunlight or using a flash.
Choose a Good Background
While the jewelry is the photo’s main focus, the background can easily add to or detract from the overall effect. Don’t be afraid to rearrange the background a bit by moving pretty flowers or a silk scarf into the shot, or getting rid of any unsightly items.
Take a moment to style the entire photo. Can you place a ring box on a green leaf or a beautiful wood table? What about pairing earrings with a chic black turtleneck shirt? Could you add a bouquet of flowers to your bracelet frame?
Use Manual Zoom
While digital zoom on smartphones is convenient, it can blur a photo.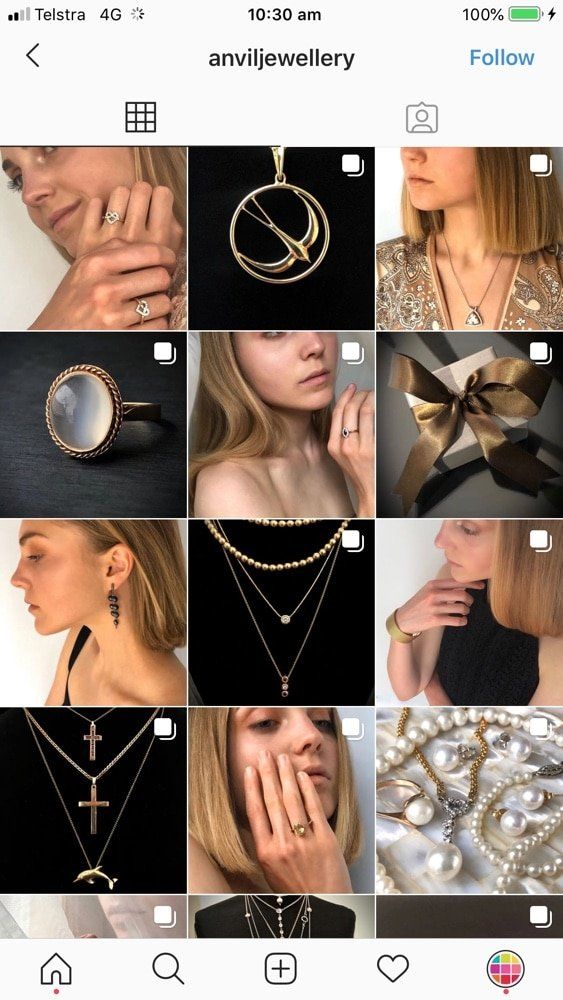 Instead, move the camera closer to the piece if you want to zoom in and always tap the screen so the camera focuses on the jewelry.
Check the Resolution
Double check the camera resolution setting before snapping the picture. You want it to be on the largest size possible because the higher the resolution, the sharper and more precise the details of the photo.
Edit Before Posting
No matter if you take the world’s best picture, you should always take a look at it before posting so you can see if you need to make any edits or crop the frame. Once you’ve edited, take a step back for about 15 minutes and then come back to see if you still like it.
Fine Jewelry from F. Silverman Jewelers
The first step to any good jewelry post on Instagram is good jewelry. F. Silverman Jewelers has the premiere collection of fine jewelry in Bergen County. Stop by our showroom today to find a piece that will truly shine on your Instagram feed.
Previous Post Next Post
Recommended Posts
December 13, 2022
Vote F.
 Silverman Jewelers in Best of Bergen 2023
VOTE NOW: Best of Bergen Poll F Silverman Jewelers is proud to announce that we have made it to the next round of voting for the Best of Bergen 2023! Thank you for nominating us as Best Jewelry/Watch Store in Bergen County. We appreciate our customers! Now we are asking for our customers help, again! Please vote for us to ... Read More
December 13, 2022
What Jewelry Should I Get My Girlfriend for Christmas?
Surprise your girlfriend this holiday season with beautiful jewelry that matches her unique style and personality. From timeless diamond huggies to elegant layered necklaces, we’ve rounded up fine jewelry gifts she’s sure to love. Here’s the best Christmas jewelry for your girlfriend to make her holiday extra magical. Is Jewelry a Good Christmas Gift for Your Girlfriend? Yes! Jewelry is . .. Read More
About F. Silverman Jewelers
For over two decades, F. Silverman Jewelers has been dedicated to serving Bergen County with an array of extraordinary Diamonds, Jewelry and Gift items. Our jewelry collections encompass some of the world’s finest designer brands and our reputation for exceptional customer service, fabulous values and varied collections continues to set us apart.
Store Hours
Monday - Saturday: 11 am - 6 pm
Sunday: Closed
Quicklinks
© 2022 FSilverman Jewelers. Website by .
Type and Press “enter” to Search
A 'How To' Guide For Jewelry Photography On Instagram
Table of Contents
This post is going to cover everything about jewelry photography for Instagram, from the equipment and software that will help to the process itself, through to the editing and hashtags to use.
Photography for Instagram in usually much different than it is for eCommerce and marketplaces.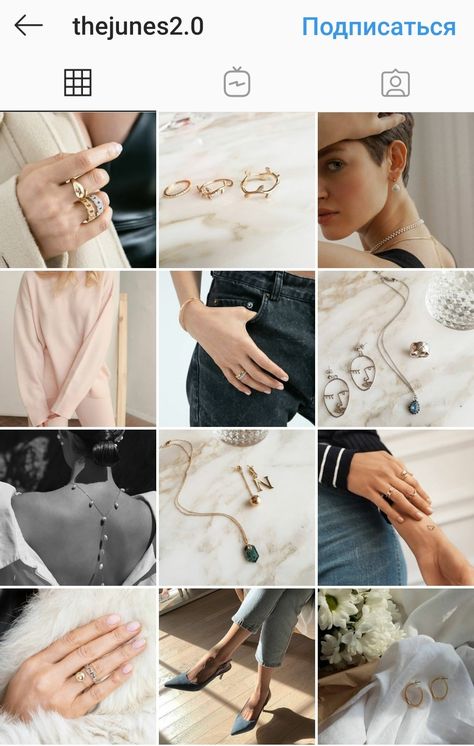 Although the Single image of the piece of jewelry with white background might work – a more diverse and interesting composition is more suitable for the platform.
The composition is a term used in the arts referring to how all the parts come together to make a beautiful piece of art, or how the various instruments work in harmony to make music. Photography is no different, and this is how we are going to photograph our jewelry so that viewers stop scrolling through their feeds to take in what we have created.
Instagram is one of the most visual platforms next to Pinterest, so taking multiple shots from multiple angles in new and interesting ways is how to both capture, as well as keep our audiences attention. Combining all of this with the right hashtags that people are actually searching for is the way to go on Instagram.
A last important point before we get into the details is that Instagram is planning on both starting and then growing online shopping as an integrated part of the platform.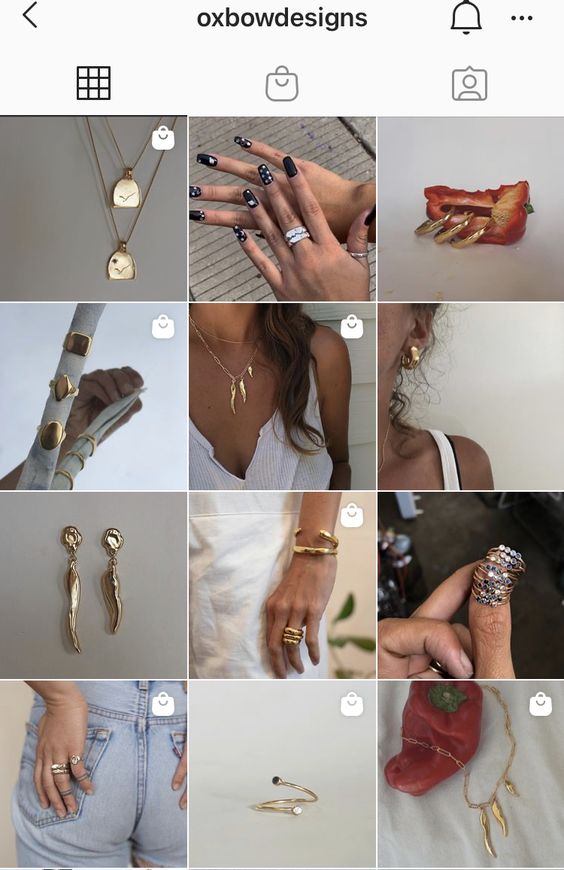 Now is the time to start upping our game with our creativity and compositions in our jewelry photography so that we are known in our fields when this exciting new opportunity hits full force. So keep those white background images ready for that time, but first, pull them in with all the following tactics.
I actually have a complete ‘Photography for Instagram’ Course available. Just sign up below to get it straight to your inbox
I will never send you spam, and you can unsubscribe at any time!
Mobile and iPad vs a Professional DSLR Camera
For those of us just starting off who have a new iPhone or android or some type of tablet, these all have great cameras. Using these you can then just upload your images straight from your device onto Instagram to edit before uploading.
Others who are going to be uploading their images regularly can start upgrading to some new photography strategies to get all your photography lined up ahead of time.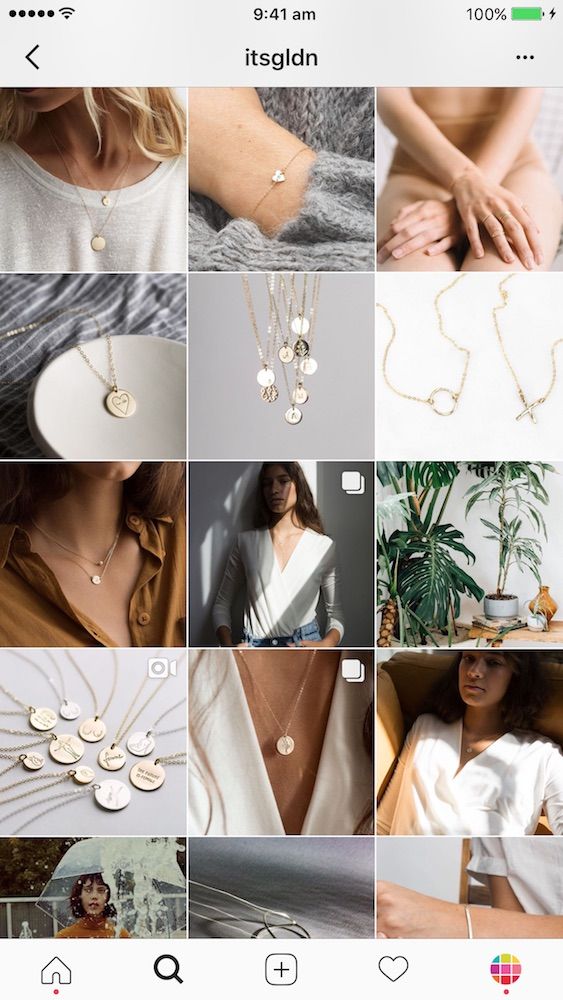
For this, you can combine my big three:
- A DSLR Camera
- A Tripod
- An Instagram Auto Schedular
Why The Big Three
If you plan on making a side income or living using Instagram as a marketing platform, or just want your images to stand out, then aiming to be better than other people is the fast track to get there. This involves having higher quality images that are posted regularly. The more you upload, the more people are going to get a chance to see your jewelry, and the better the jewelry looks in the photos, the more people will come back to you. The big three are the core components that will get you there:
The Big Three In More Detail
- DSLR Camera – I wouldn’t bother with one unless you want to start getting more serious, as phones still give good quality shots. There is a range of these DSLR cameras available, and they do take better quality images that iPhones and androids. Don’t get me wrong, phones are good, but they have cameras as an additional extra, whereas DSLR’s are made for the job.
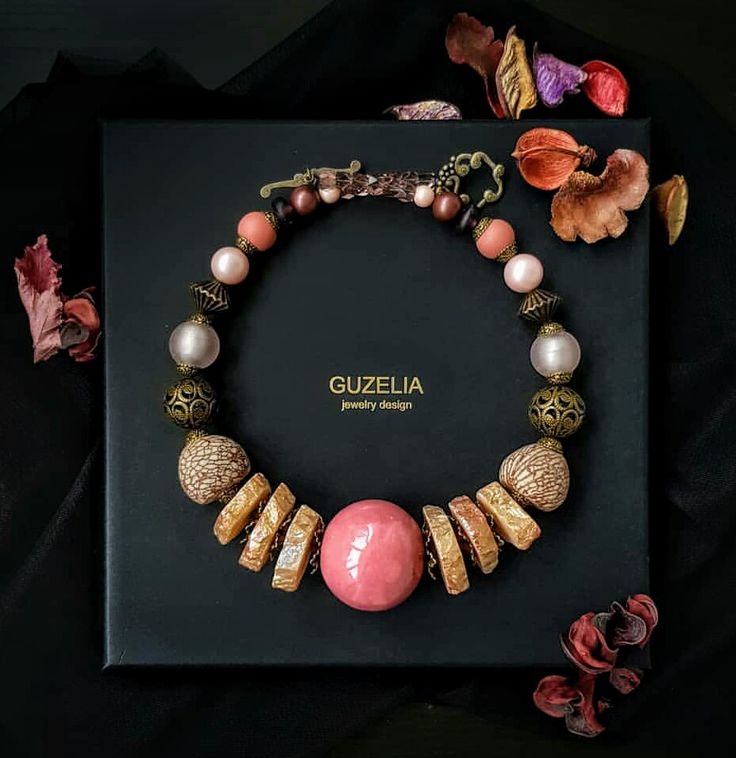 This is the first step that will reap rewards.
 - Tripod – Having the camera as steady as possible is what gets the results. Any movement when taking the image reduces quality. These come for mobiles and cameras so this is the first thing you should consider before anything else. Using this in combination with the timer function means no hands are on the camera when you take the photo, giving you the crispest and the sharpest image of your jewelry possible.
- Instagram Auto Schedular – Consistency is key and this really helps. You can do all your photography and editing in one sitting, then; upload all your photos with their associated content and hashtags to the software. Then just let an auto-scheduler upload a new post every day while you forget about it.
Other Equipment and Props To Consider for Specific Types Of Jewellery
Backgrounds are really good for setting the scene. Using the colour matching techniques I talk about later will help you mix and match the colour of the jewelry, precious stones (if there are any) and backdrops too.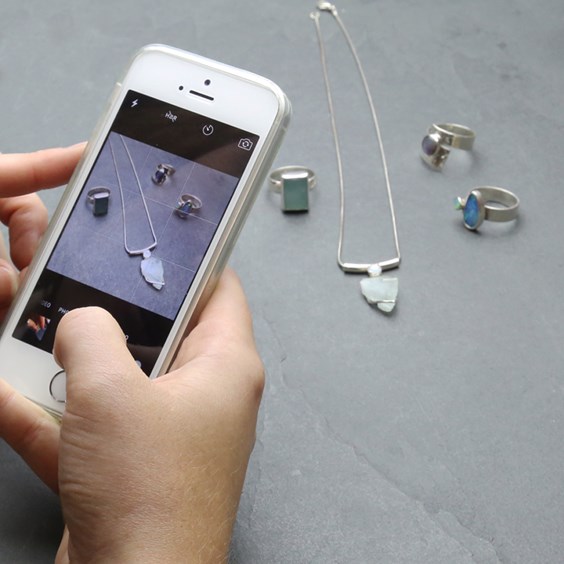 Something like Photo Boards is one option, but printing a background out on some A4 is just as good to be fair.
Here are some more specifics, depending on the type of jewelry you are photographing. Props are not a requirement and you can take great photos without them:
- Rings – Either Blu-Tack or wax stuck to the bottom side of the ring will hold it up in a position that allows for more of the surface area to be visible. Ring cones are another good option, as well as a models hand and even a display hand will all give unique looks to your photography.
- Earrings – A white display board is great to hang longer earring on with a built-in background. An earring stand is another good option. And lastly, a piece of string threaded through the hooks works fine too. See my full blog post specifically on earring photography here for more.
- Necklaces – The Mannequin Bust allows people to have an example of what the necklace looks like when it’s worn, as well as how it hangs.
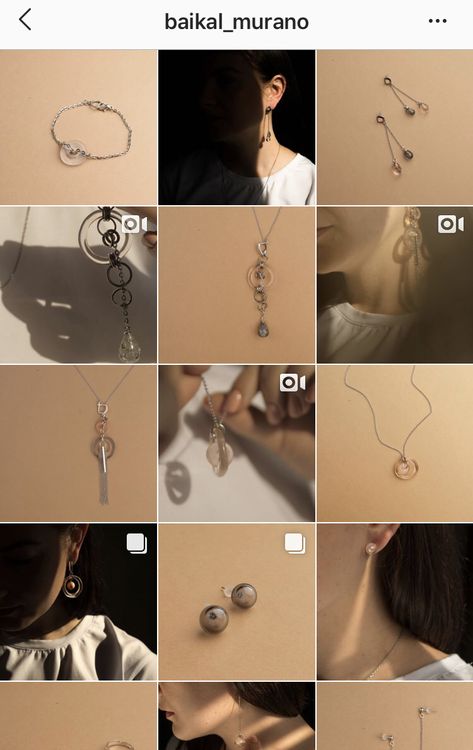
- Bangles and Bracelets – A larger display stand works well for multiple items in shot, single items work well on the display hand too.
- Gold Bangles with Wedding/Engagement Diamond Ring
- Pearl necklace and earrings
Setting Everything Up – Getting Ready for success
The best way to go about this is to get a table, place a large whiteboard on it or a white cloth. Then, set the background up behind it. Get two photography lamps or lights and set them either side of the jewelry on the table. Have the lights higher than the jewelry and pointing downwards at 45 degrees.
Alternatively, with no equipment, set things up on the windowsill on a sunny day, have a piece of white card on the opposite side to bounce the light back for a good light distribution all over the jewelry, then take the photo side on. Just work with what you have.
Camera Settings To Focus On
I find that the autofocus is fine whenever I use it so don’t play about with that, I just click the jewelry on the camera’s display and it’s all good.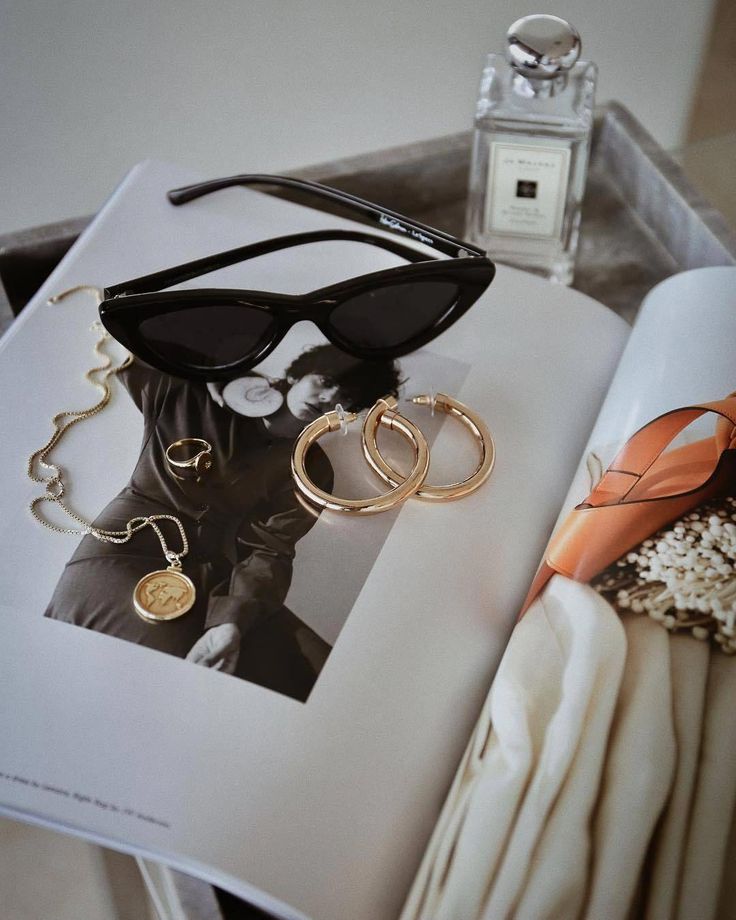 Flash needs to be turned off as it always results with a different picture to what you saw in the display.
Also, I avoid zooming in, the best close shots come from a macro lens, but just hold the camera closer, not so close that is distorted, just leave a bit of extra round the edge to crop out. If you do want to use the zoom, check this article out.
I have already spoken about using the timer, whether by hand or tripod, it helps a lot.
The following are the main two settings to focus on the most:
- Aperture – This controls how much light enters the camera, as well as how much of the image is blurred out (shallow depth of field). Something around F8 is usually good, as it keeps the main objects in focus, but ups the brightness to make things more vibrant, depending on how bright your room is, just move it up or down until it looks right. Mobiles have this in advanced settings too by the way.
- ISO – With everything else set up, have this at about 100 – 300.
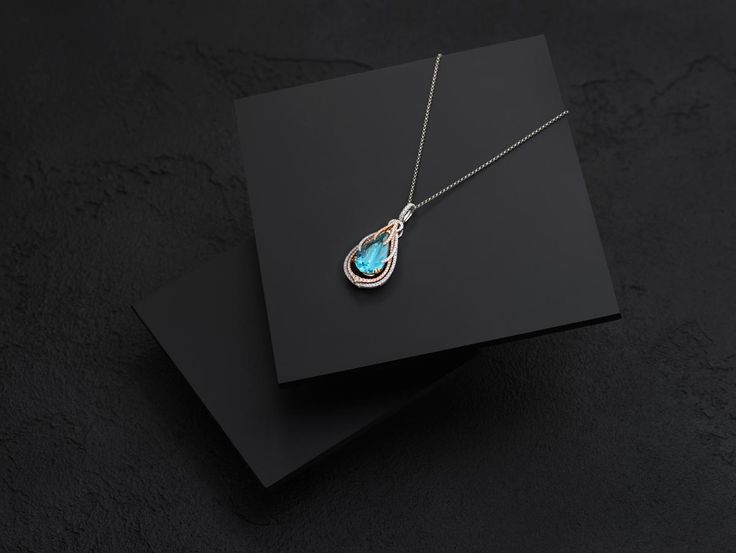 This will give a nice smooth image.
Composition – The Law Of Odd Numbers
Now that either some or all of the previous steps are in place, It’s time to start thinking about how to arrange all the jewelry, props and anything else you want in the photo.
Odd numbers always look more aesthetically pleasing, so if you are showcasing a few different pieces, arrange an odd number in diagonal and triangular patterns, and you will be on the right path.
Composition – Colour Psychology
When choosing your backgrounds and props, check out this Wikipedia article on Complementary colours. Contrasting your props, backgrounds and jewellery with these colour pairings in mind is something not everyone knows about, so is another step closer to getting ahead of the competition. And by competition, I mean the other people in your viewers Instagram feed how are looking to grab their attention with their photography too!
Composition – Give The Audience Insight Into The Creative Process
Giving people an insight into the whole creative process that went into the creation of the jewelry helps them connect with the person and all the work that goes unseen.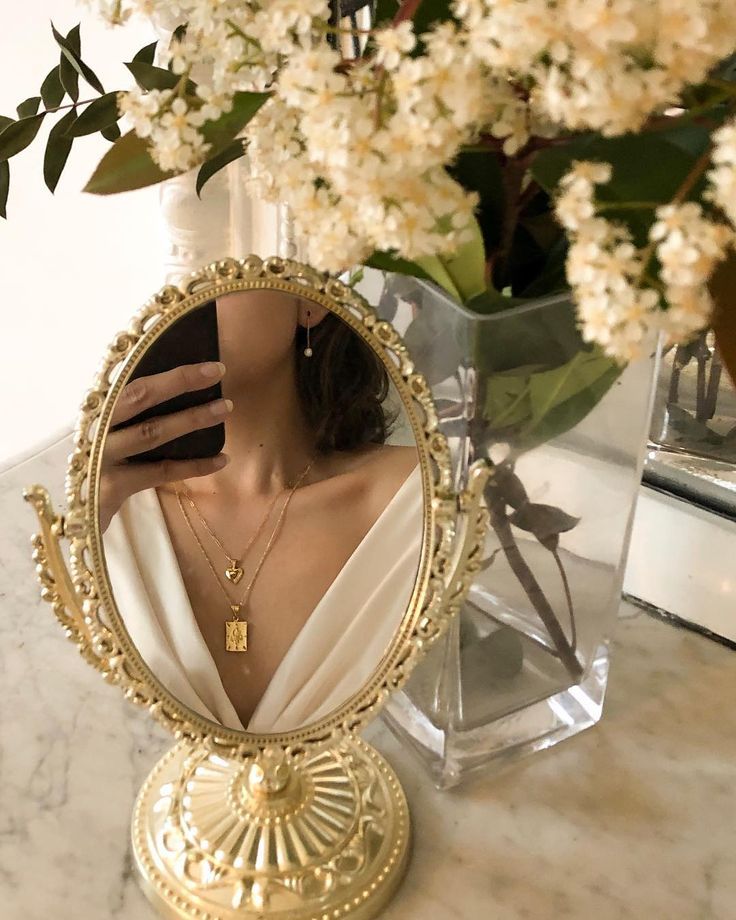 Show people how you create what you are photographing, and use these three methods to show them:
- Video – Having it sped up or on a loop are the best ways of doing this. People have short attention spans on Instagram and are just flicking through profiles to kill some time, so go with it by not taking up too much of their time – they go to YouTube for that!
- Direct live video – People who are coming to watch you live are the exception to what I said above, and seeing something live has a different feel to it. People can also ask questions in real-time, which helps you connect to the audience even more.
- Images – This is not as interactive, nor does it offer as much insight as the video, but it does cater to those with little time to spend watching videos – using a range of media is what will get you results because you are giving as many people as possible what they want based on their time limitations. A shot of the artist making the jewelry with some text in the image explaining whats going on caters to those with little time perfectly.
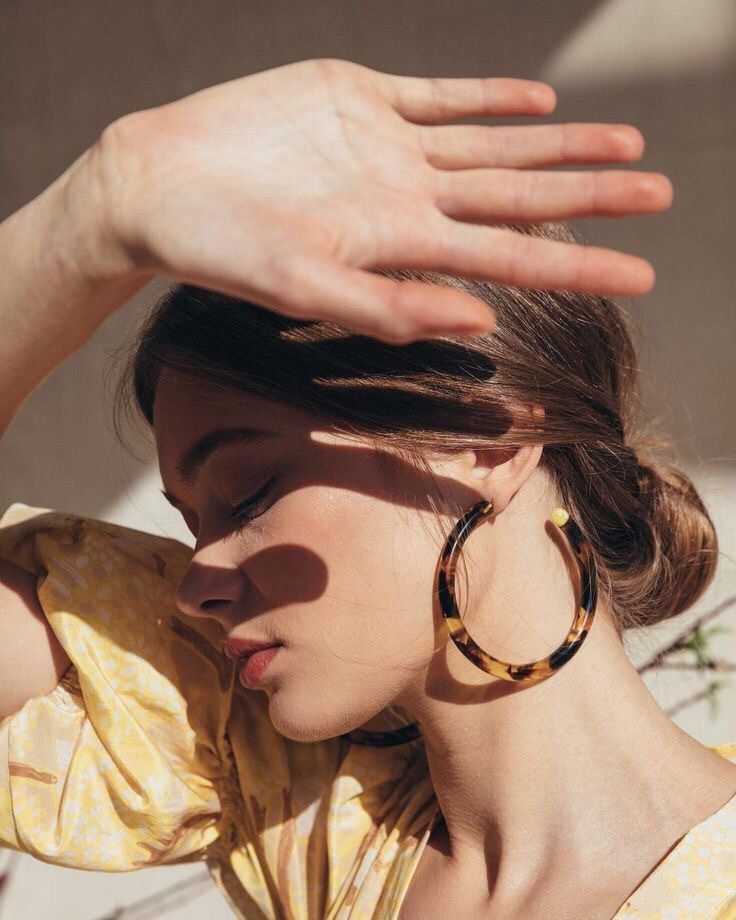 A free app called ‘Spark’ by Adobe makes this easy.
Using A Model
This is similar to using the display hand, except shows what it might be like to wear the jewelry more viscerally. If you dress the model in a colour that compliments the colour of the jewelry, this will enhance things even more.
Having the model wear jewelry in different environments will enhance things further. If you are targeting young women, then photograph the woman in a bar with all eyes on her. For an older woman, a glass of champagne in hand will be more relevant. Just think about who your audience is, what they do, and where they would be wearing the items – and show this to them is your photography.
Composition – Bringing It All Together
With all these ideas, it can become confusing, but it doesn’t need to be. Just get creative and do variations of each idea, get them all done in a day then upload it all to the auto-scheduler. See which ones get the most likes and comments and use that as your signpost to do more of that – just don’t be too repetitious, keep things fresh, interesting and give them what they want – and success will come over time with persistence.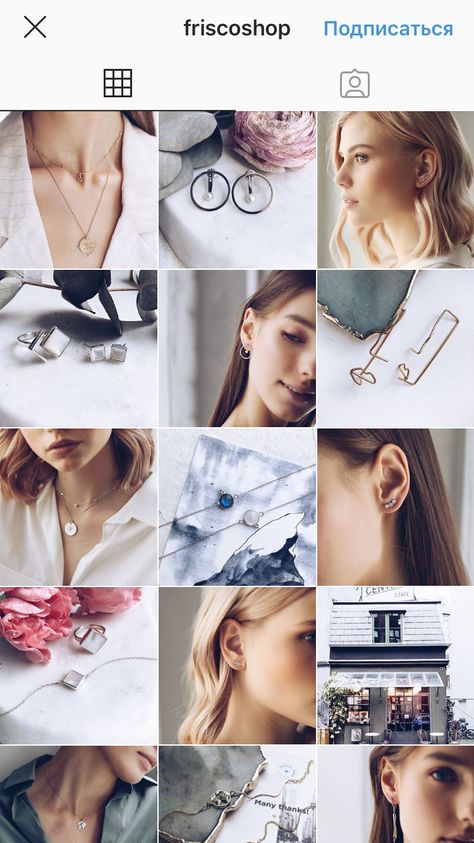
Angles So Viewers Don’t Miss a Thing
When using just images to show off the jewelry, using multiple shots of various angles is one good way to go. The “Layout from Instagram: collage” that is an optional extra to download from the platform is a great way to show the angles in one shot because people don’t always bother to scroll through the carousel. However, here are some ideas:
- Wide – For shots with multiple items and models. Also good for shots with supporting props, such as a diamond ring with a Jewelers Loupe/Magnifier Eye Glass next to it. It’s these nice little touches that make things more interesting.
- Framed – This is the shot that is best for main product images with white or plain backgrounds the piece of jewelry should take up about 80% of the image.
- Close-Up – This to emphasise special details, hallmarks, and well as damage – to avoid returns and complaints, let viewers know up-front what they will be receiving.
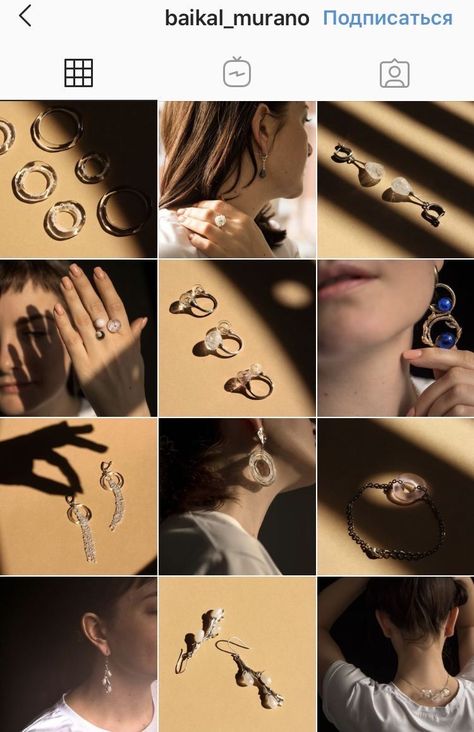
- Side-On – This is a great way to reveal textures that are not as plain to see from the front. It provides a sense of touch when the viewer can’t be in the room with the piece.
For more ideas on angles, see this article.
precious diamond structure extreme closeup kaleidoscope. top view of round gemstone 3d render, 3d illustrationEditing Your Images In Instagram – The Important Things To Focus On
- Filters – The problem with filters is that a lot of them change the colour of the actual item, giving viewers a false idea of what it is. Filters that just change the colour or shading around the edges are best.
- Adjust – Make sure to not zoom in too much as the image quality will go down. Jut tweak it enough neaten up the edges.
- Brightness – Turning this up just a touch will be necessary in most cases. Getting the image looking as vibrant – yet realistic as possible is the aim.
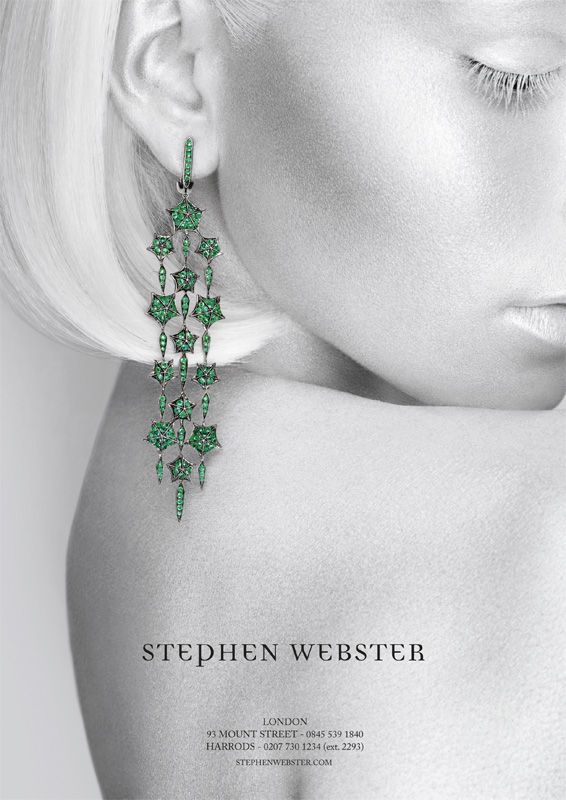
- Contrast – Try not to turn this up more than 10 or 20 points. A little touch here goes a long way.
- Shadow – This is a great function, and will help deal with any issues you have it you took the photo by a window.
- Sharpen – This can be turned way up in many cases, this is the final touch the image needs in many cases.
360 Images and Gif’s To Show Multiple Angles In One Shot
This is something you do see people do, but they still catch the eye when you see them because they are still relatively rare when compared to normal photography. What you need is an electric turntable for a smooth image, and search for an app that can turn this into a 360 image. There are apps on Google Play or the iStore that can do this straight from your mobile camera.
The Art Of Visually Branding Yourself On Instagram Through Your Photography
This is how you communicate with and connect to your target audience.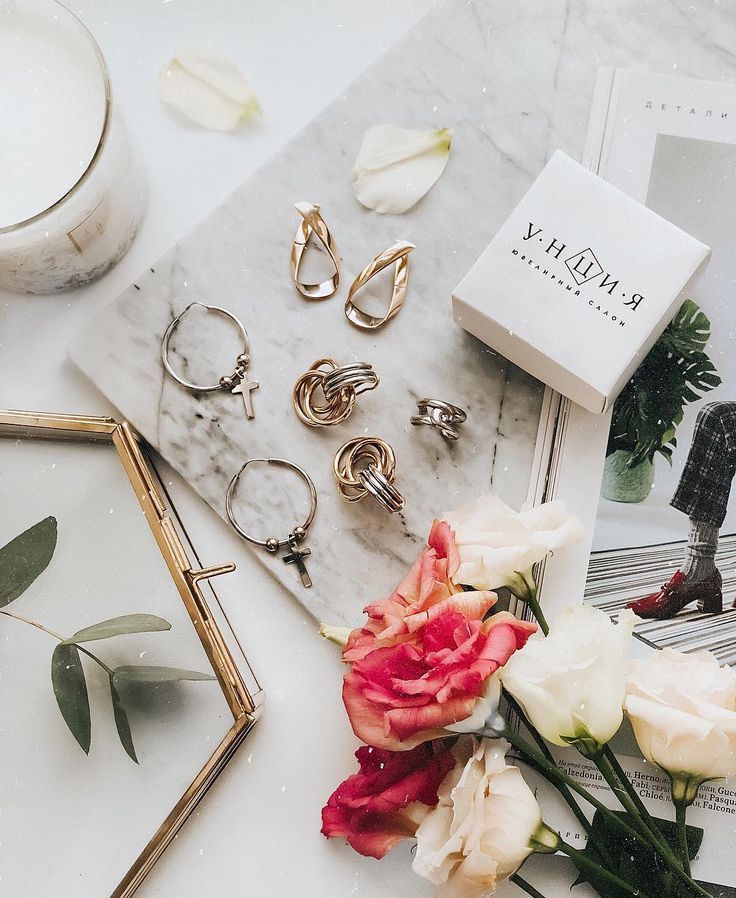 You do this through experimentation. As mentioned earlier, focus your composition on your target audience, and experiment with different variations until you find which themes get the best feedback. This could be a combination of filters, backgrounds, colours and anything else already mentioned
When you find which single element your audience is reacting to positively the most – apply this to the majority of your images- You will then be automatically recognisable from this. It could be as simple as a particular filter- to the style of jewelry – to a type of model.
In marketing, we are taught to test, then test some more. Use this data-based methodology in your photography to reap the rewards over the long-term. I have an article on the marketing side of product photography elsewhere.
Share The Limelight
If you are making your own jewelry, then all’s good. If you are working for Client – @ them into your post. Helping others with recognition will increase the chances of others doing the same for you down the road.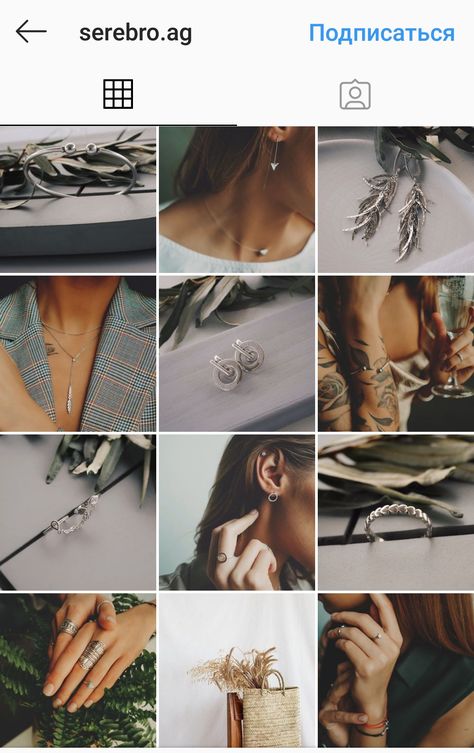
Use Stories For The Important Stuff
When you have your data in place, or in other words, see what people are liking the most, use this in your stories with the really special pieces of jewelry, using any of the above techniques. You could use promotional materials in combination with this to get more exposure for the photography you spend the most time on and are the proudest of.
Finally, How To Get More People To See You Jewelry Pics
To relevant people who like jewelry, create jewelry, buy jewelry, photograph jewelry and create jewelry, do the following to get more views:
- Follow – Following people puts you on their radar. If they check you out and like your imagery, they might just follow you back.
- Comment – This does the same as above, with the added effect of public appreciation. Great for branding and karma.
- Share To Your Story- You might be seeing a theme here about being on their radar.
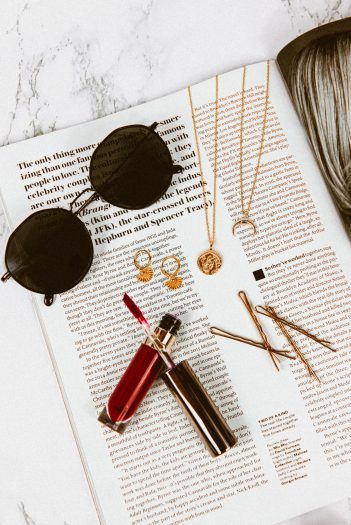 This applies to all these tips. But, this one also associates you with other quality work, helping your image, and helping them get more exposure.
 - Like – The quickest and most simple way to get yourself out there.
- Find influencers to share your stuff – If you can offer those in your niche with a large following some free jewelry, a percentage of sales, or free photography in return for them showing your stuff to their audience, then you have found a great shortcut to a target market.
- Hashtags – Lastly, using the right hashtags will get you even more exposure from more audiences. Copy and paste the below – I researched these myself for work over a fair few hours. They are selected so that you appear at the top of the hashtag lists if you generally get about 20 to 50 likes per post. Feel free to add more general ones as you get more likes:
#JewelleryStore
#JewelleryDesign #JewelleryMaker
#JewelleryDesigner #JewelleryLover
#JewelleryAddict #JewelleryGram
#JewelleryLove #JewelleryMaking
#JewelleryShop #HandMadeJewellery
#JewelleryCollection #JewelleryLovers
#JewelleryBrand #JewellerySet
#JewelleryInspiration #JewelleryPhotography
#JewelleryForSale #JewelleryOfInstagram
#JewelleryArt #BritishJewellery
#BritishJewelleryDesign #JewelryDesign
#FineJewelry #Jewelry
#Rings
#EngagementRings #WeddingRings
#RingsOfInstagram #RingSelfies
#RingSilver #RingSets
#DiamondRings #GoldRings
#SilverRings #PlatinumRings
#RubyRings #EmeraldRings
#NecklaceShopping
#Necklaces #Necklace
#NecklaceLover #NecklaceLove
#NecklaceSets #NecklaceAddict
#NecklaceStatement #NecklaceForSale
#NecklaceOnlineShop #NecklaceHandmade
#NecklaceDesign #NecklacesForSale
#NecklacesOfInstagram #NecklaceLovers
#NecklaceFashion #NecklaceCollection
#Choker #HandmadeNecklace
#CufflinksDesign
#CufflinksButton #CufflinksWedding
#CufflinksForMen #CufflinkStyle
#CufflinksForWomen #CufflinksForSale
#CufflinksShop #Cufflinks
#CufflinkStyle #BritishCufflinks
#HandmadeCufflinks
#BraceletsForWomen
#BraceletsForMen #BraceletsForSale
#BraceletShop #BraceletShopping
#GoldBracelets #SilverBracelets
#DiamondBracelet #DiamondBracelets
#HandmadeBracelet #HandmadeBracelets
#HandmadeBraceletsForSale #BraceletGift
#PlatinumBracelet
#Bangles
#Bangle #BangleBracelet
#BangleLove # BangleBracelets
#HandmadeBangle #HandmadeBangles
#SilverBangle #SilverBangles
#GoldBangle #GoldBangles
#Brooch
#Brooches #BroochHandmade
#BroochLove #BroochLover
#BroochPin #BroochOnline
#BroochCollection #HandmadeBrooch
#HandmadeBrooches #GoldBrooch
#SilverBrooch #DiamondBrooch
#Earrings
#Earring #EarringLove
#EarringFashion #Earringstagram
#EarringsForSale #EarringHandmade
#HandmadeEarrings #HandmadeEarrings
#HandmadeEarringsForSale
#EarringLovers #EarringDesign
#EarringsLover #EarringCollection
#GoldEarrings #GoldEaring
#SilverEarring #SilverEarrings
#DiamondEarring #DiamondEarrings
I hope this post helped, leave any feedback or comments and I’ll get right back to you.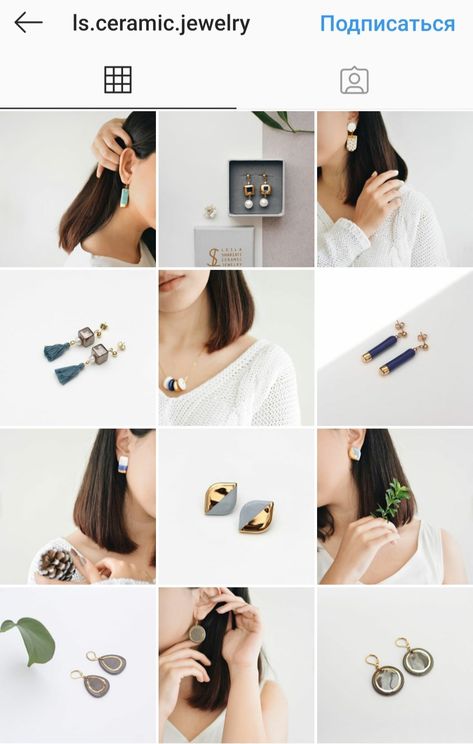
Cheers,
Ian – Founder of Product Pic Tips
- Author
- Recent Posts
Ian Rickard
Product photography has been a large part of my career in the art and craft market since 2017. I created this site to answer product photography-related questions to help people improve their work.
Latest posts by Ian Rickard (see all)
Like this:
Like Loading...
How to photograph decorations for Instagram, take a photo on your phone at home? Sparkling stories from preciosa-shop.ru
What do you need?
To get win-win photos, a number of conditions are required.
- Lighting. Shiny jewelry should not be used with flash. They can glare, refract light incorrectly and the shadows will become larger. Try to use natural light. A window and a white sheet of paper are your indispensable helpers. If you think about shooting at dusk or bad weather does not allow light to penetrate through the window, lighting fixtures will come to the rescue.
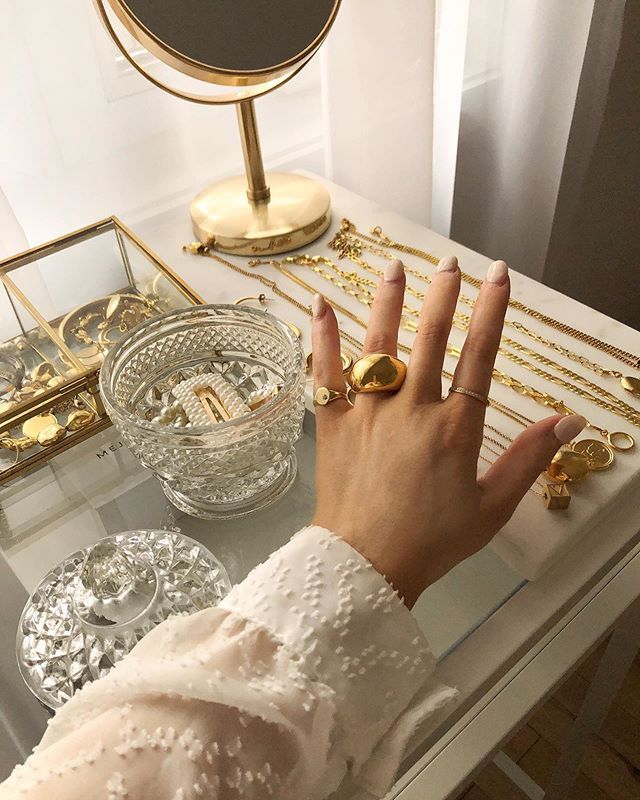 The simplest option is a table lamp. Not everyone has professional lighting or a ring lamp. Try taking two light sources and play around with their placement. Combine front light with back or side light. See how the product looks in general in the photo under different types of lighting. The shadow should be minimal, while maintaining the volume and the correct color. nine0010
- Photophone. If there are cut stones in jewelry, it means that they will absorb background colors and distort their own hue. For shooting, choose solid backgrounds in pastel shades. As the simplest photo background, you can use two sheets of white paper or colored identical A4 sheets. From them we make the bottom-base and the wall. Seamless paper photo backdrops are versatile and affordable. They are sold in the form of a roll and are fixed on the wall. Fabric backgrounds can be plain and with patterns. The fabric can cover any surface and is easy to use and transport.
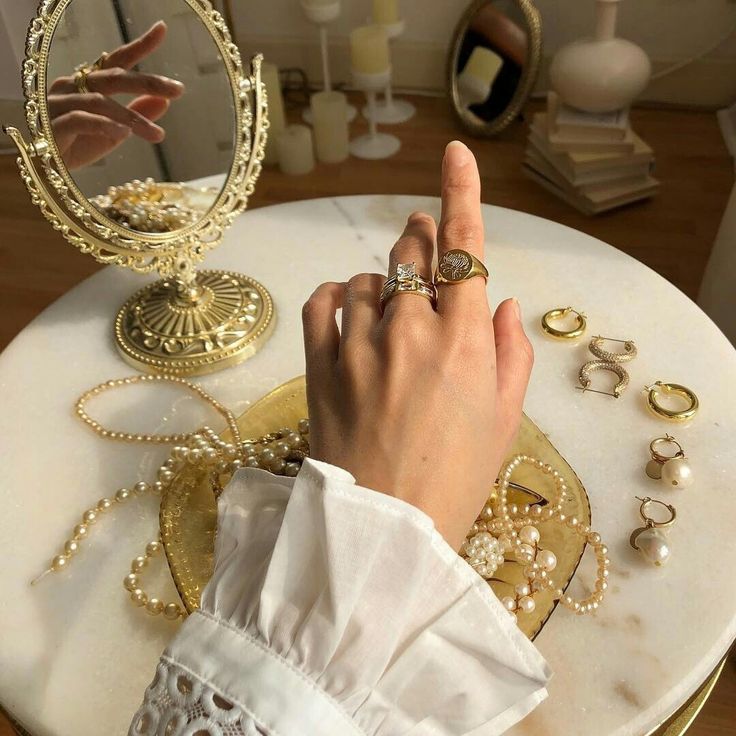 Vinyl backgrounds are also in demand. The image is printed on vinyl with a matte finish. nine0010
- Lens. For macro photography with a SLR camera, it is best to use a lens with a focal length of 50 mm or a macro lens. Depends on what kind of lens you can afford or have on hand. It is important to be able to increase the distance to the object from 1:1 to infinity. Most phones have a macro, portrait, or zoom feature. Try testing these features on your product.
- Reflector. This is a special screen that helps to remove unsuitable shadows and preserves the natural color of jewelry. It can be made from cardboard and foil.
- Mannequins. For decorations, these can be bust mannequins or hand mannequins. They help products look realistic and attractive. Mannequins are wooden, where the wood texture is beautifully highlighted, leather and velvet. Choose according to your taste, which is more suitable for your products.
 nine0010
- Double sided tape. When photographing a ring or bracelet, it is desirable to fix them at the right angle. Scotch tape may be needed when fixing the photophone.
- Line or wire. It is used when shooting hanging earrings and a beautiful arrangement of a bracelet or necklace.
Shooting process
How to beautifully photograph gold and jewelry jewelry at home, armed with a camera and all the necessary tools? nine0005
- Prepare the work area. The photophone is securely fixed and the decoration is ready for shooting. Be sure to secure the product. Hand trembling can fail at the most crucial moment. It is recommended to use a tripod to avoid blurry photos. The tripods have a spirit level and a swivel head so you can shoot at the right angle without worrying about blurry shots. In addition, a tripod will free your hands, which will allow you to adjust the lighting and the position of the subject in the photo.
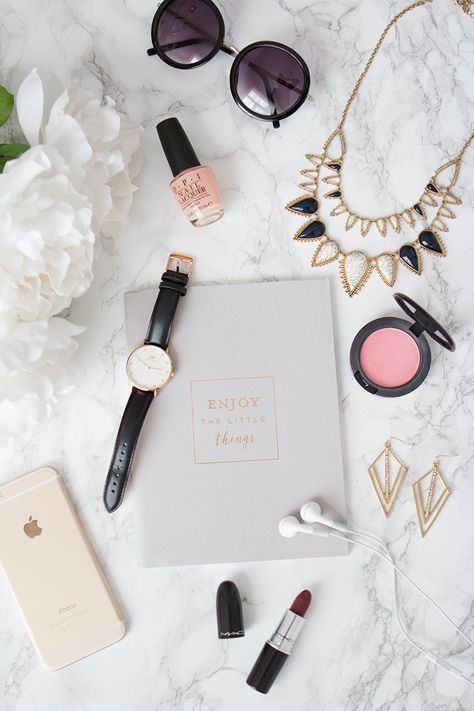 nine0007 Prepare jewelry in advance - remove dust, prints from shiny surfaces. it should look perfect.
 - Set up the camera. Auto mode is the enemy of good shots. Select priority mode Av. Choosing the right aperture is important. A large aperture of f 2.8 - f 4 allows a lot of light to enter the frame, and only part of the product will be in focus - the so-called “bokeh” effect. For our case, the values \u200b\u200bf11 - f16 are suitable.
- Feel free to release the shutter, take as many shots as possible so that you have a choice. Shoot from different angles, with different settings - choose the perfect option for yourself. nine0010
- You can also take photos of jewelry for Instagram on your phone - the quality will depend on the parameters of the phone and its settings Modern phones allow you to take pictures no worse than on a semi-professional SLR camera.
Possible errors
We found out how to photograph jewelry for Instagram correctly. Let's clarify some points:
- Different image size. Decorations come in different sizes, but you need to stick to the same angle and size of the image. On a website or Instagram page, visuals play a big role. If the product just lies on some kind of background, and not on a mannequin, it is difficult to imagine its real size. nine0010
- Unsuitable background. For one page, it is better to choose the same or similar background. It is important to follow a single style decision for your page. Buyers prefer a nicely designed account, in which everything is clear and there are answers to all questions.
- Few pictures. Shoot as much detail as possible, from all angles. It is important for buyers to see the details of the product - the clasp, the wrong side.
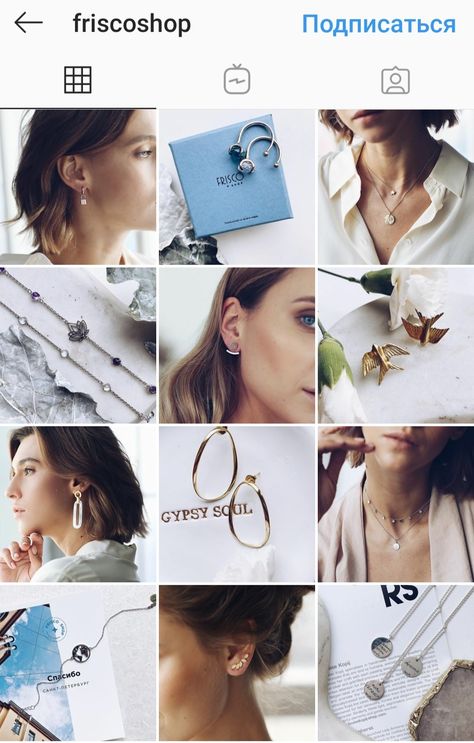
- Some masters like it when women's hands are present in the photo with products. In this case, you need a beautiful manicure, neat wrists.
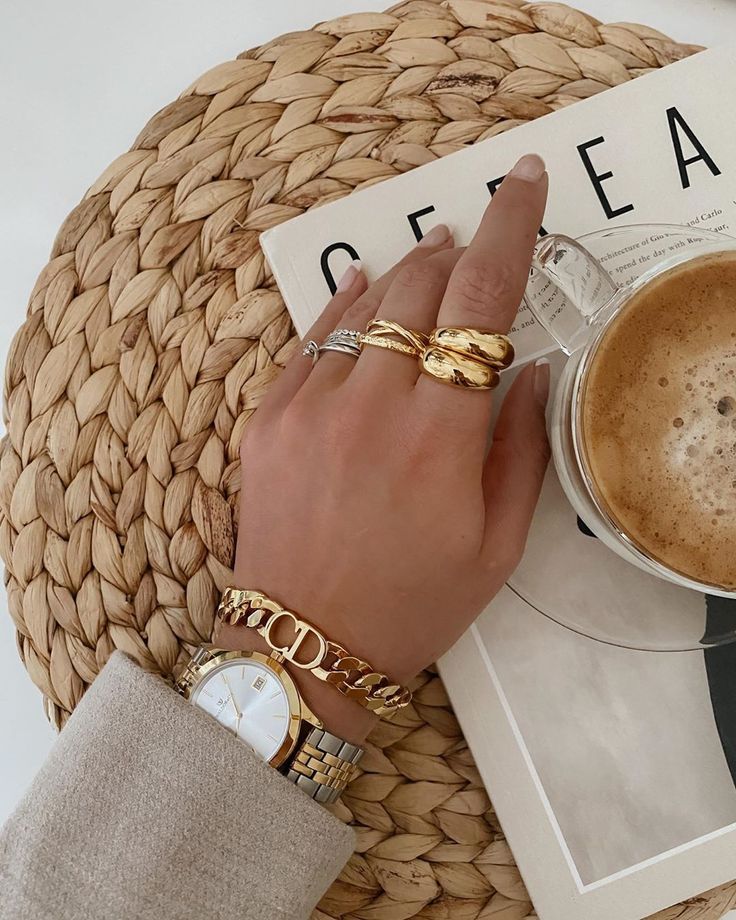 nine0010
A unified image style helps the buyer to make a choice. A visually attractive account is created in certain colors, in a single style of photo processing. Ready to get started?
Instagram guru, or how to learn how to take photos with an emphasis on jewelry
- Concept and style
- Location and illumination
- Details and patterns
- Beauty and aesthetics
- Treatment and filters nine0083 If you need a photo on the model…
- Time and frequency of publications
Instagram is no longer just a visual social network where you can and even need to brag about a vacation in hot countries, the birth of a child or a new designer dress. Instagram over the past few years has become a convenient and effective platform for selling a wide variety of products, including jewelry and costume jewelry.
Thousands of giants of the jewelry industry and local Ukrainian brands maintain their Instagram accounts.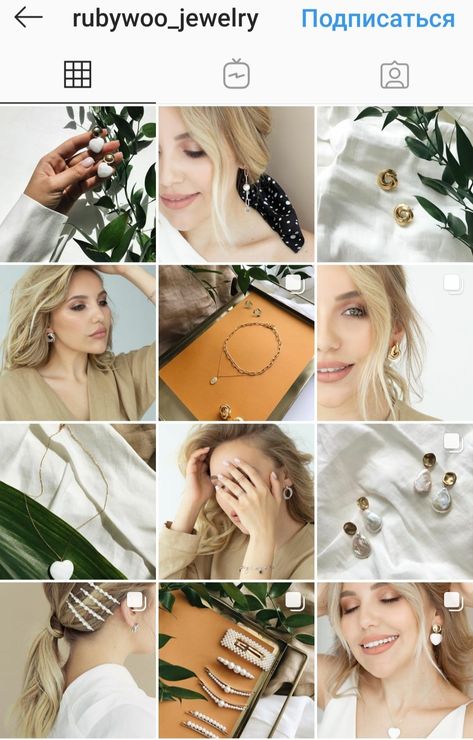 And if for the former it is rather a tribute to fashion and a reputational necessity, then for the latter it is a unique opportunity to increase the reach of the target audience and the level of sales. Specialists in the field of SMM can tell you as much as they like that without their intervention it will not be possible to bring an account to high positions in the rating. This is partly true, of course. But only in part. The secret to a successful Instagram profile is cool pictures. And it is precisely them that we will learn to do today. nine0005
Once you have mastered the art of taking beautiful pictures of the jewelry you sell, it will not be difficult for you to promote your own business profile on a social network. Yes, it will be slower than with the help of a team of SMM specialists and tens of thousands of hryvnias spent on their services. But among your subscribers there will be no “dead” accounts: they will all be “live” and interested in your products.
Concept and style
There are two ways to take photos for an Instagram account.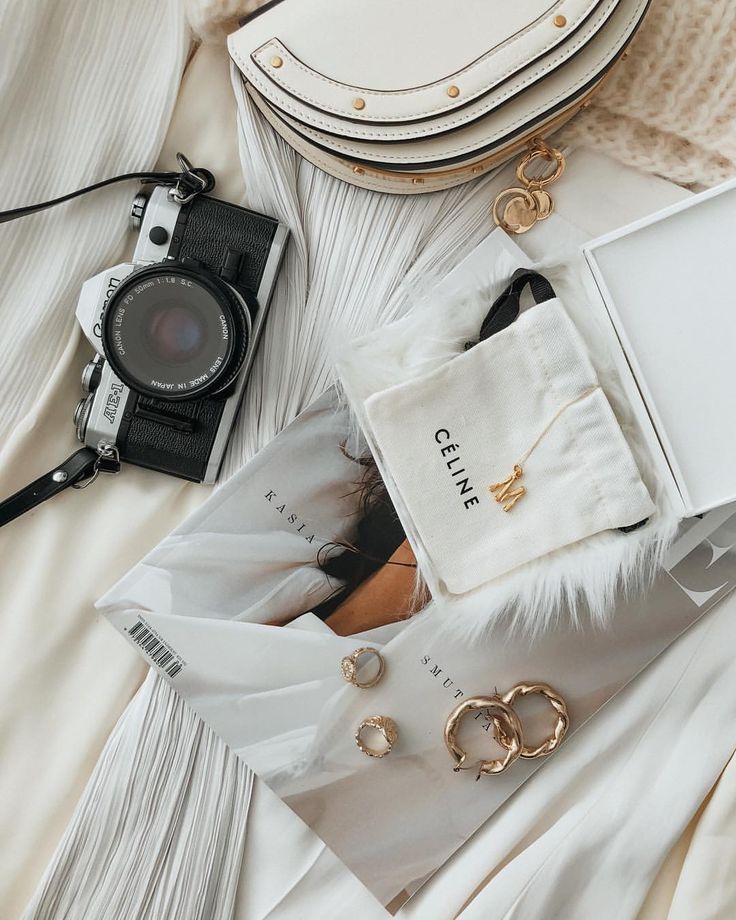 nine0005
Method one: Hire a photographer who will charge by the hour or by project. We warn you, you will have to fork out for a good photographer: the services of professionals cannot be cheap.
The second option: take a photo yourself, after reading our article to the end. We assure you: you won’t need a “SLR camera” or an expensive smartphone for this. You will be surprised, but many successful jewelry accounts are filled with photos taken on a cheap Chinese smartphone. After all, it is not pixels that are important in this matter (although they will not interfere, of course), but “ideological” pictures that catch the subscriber’s eye and make them stay in the profile at least for a while. nine0005
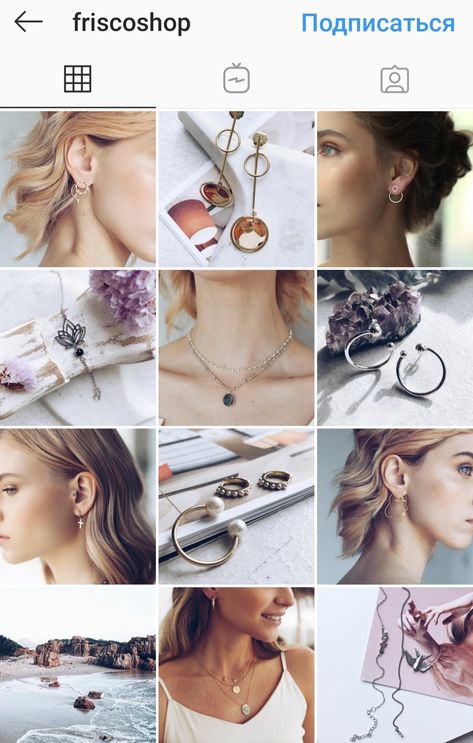
And the first thing you have to take care of is the concept of your account. Motley photos, even if they are very cute, scatter the attention of a potential client. And the profile, which does not have a single style, resembles a vinaigrette.
Location and illumination
Photos with an emphasis on jewelry can be taken with the model or without a person in the frame.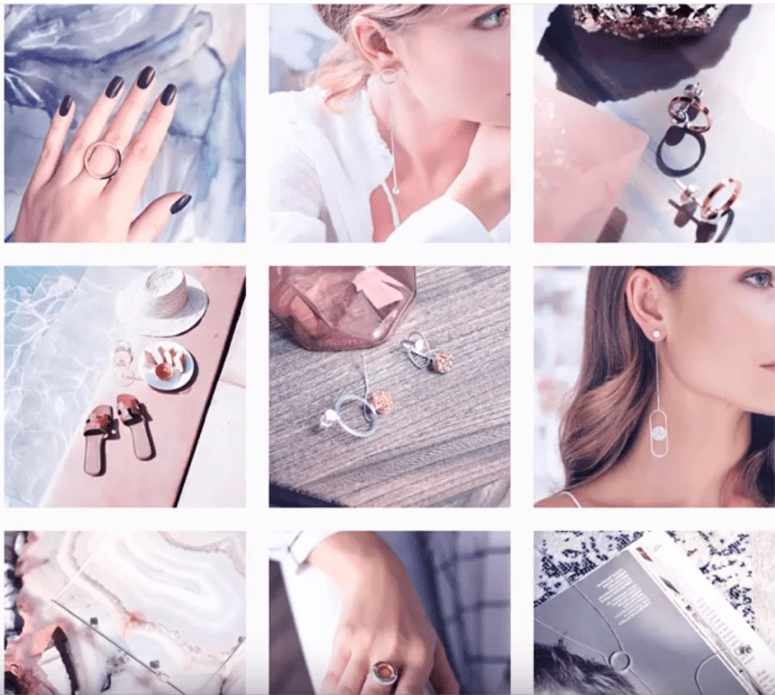 In the second case, we are talking about subject photography, and this is how we will talk about it today - in detail. However, we will also touch on the shooting of jewelry on the model, do not worry. So here are a few basic tips for jewelry photography. nine0005
- Daylight - ideal lighting.
- Direct sunlight should be avoided, otherwise the photo will be too sharp.
- Flash should not be used.
- If you think your photo will turn out better with flash, take a few shots with it and a few without it: for comparison.
- Using the flash involves raising the camera a little higher than usual or shooting at a distance of several steps. Otherwise, the image will be unnatural. nine0010
- Use a blank sheet of watercolor paper to lighten up the subject. If the light falls on the right, the paper must be placed to the left of the photographed accessory. However, be careful not to get the paper in the frame. Otherwise, the frame will be spoiled, and the secret of the perfect illumination of your photos will surface.
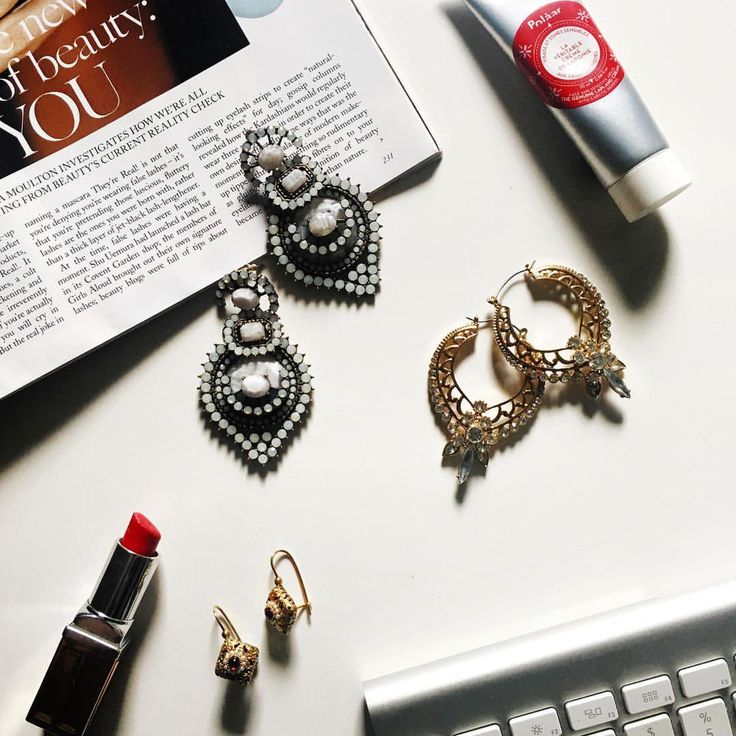 And such information should not be shared with competitors.
It is highly desirable for a home photographer to have a subject table in their arsenal. At the same time, it is not so much about the table as such, but about any vertical surface convenient for you. It can be a window sill, chest of drawers and even an ordinary kitchen stool. Or a couple - for maximum convenience. nine0005
Details and patterns
The background for a good photo can be the designer cardboard or watercolor paper mentioned in the previous section. But it is important that the background color is different from the color of the jewelry that is in the frame. A professional will perfectly capture a gold ring on a yellow background, but it will be extremely difficult for a beginner to do this. Therefore, do not take risks and bet on the contrast. If you find the contrasting paper and embellishment to be overly bright and don't suit your profile style, opt for a classic white background.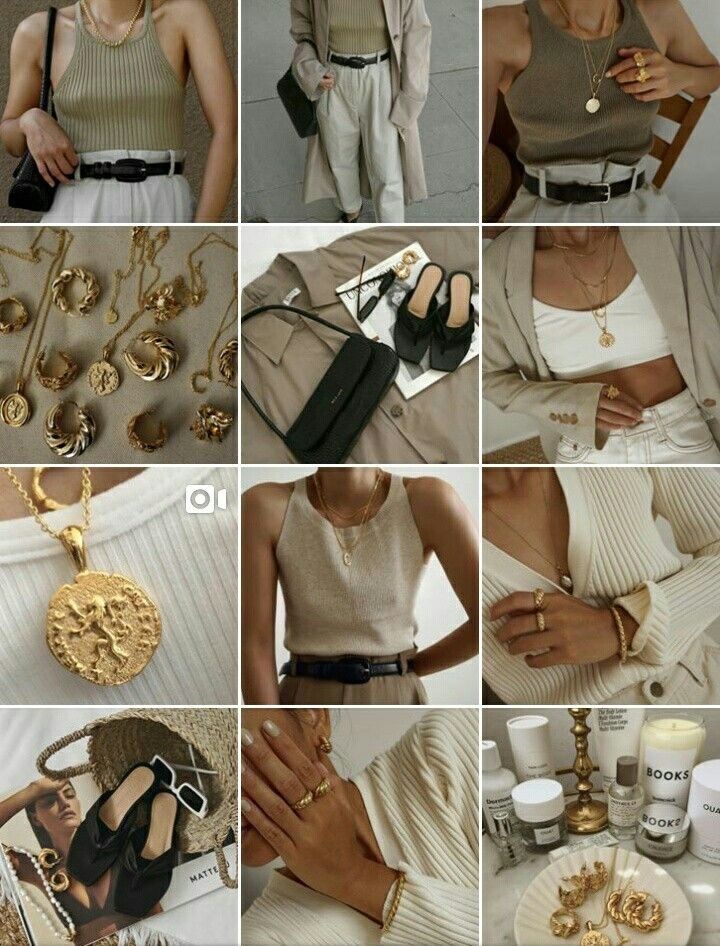 It's always a win-win. nine0005
Regarding the presence of details in the frame, let's say the following: a professional does not need them, he will create an ideal frame without their help, but for a beginner it is better not to refuse the help of details, otherwise the image will turn out to be deserted and dull. As auxiliary elements, you can use whatever your heart desires. Be guided by the principle “I am an artist, this is how I see it”, but do not stray far from common sense. A cup of tea, a scattering of beads, coins, paper elements cut out with a figured stapler - and this is just the beginning of an endless list of decor that at first can greatly help you improve your skills in the art of photography. nine0005
Beauty and aesthetics
You have probably noticed more than once that when looking at mountain peaks or a snow-covered park, we see a magnificent image, but as soon as we try to fit it into the camera frame, all the charm seems to disappear, evaporate, as if it never happened.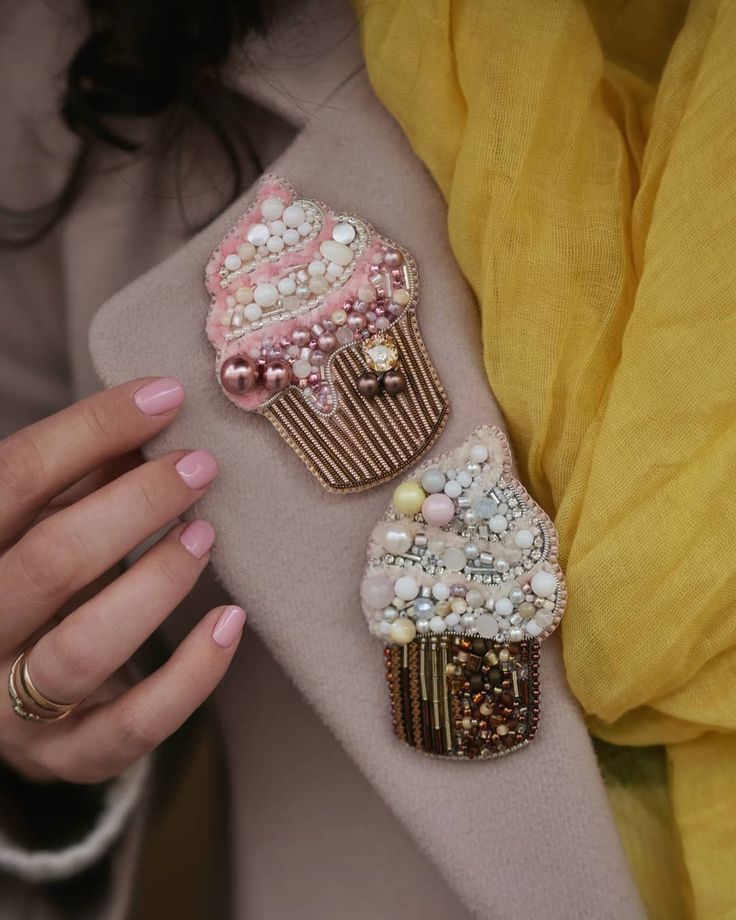 If you are familiar with this situation, then when photographing you do not follow the basic rules. They are listed below. Read the information and try to take a new frame based on these recommendations. We are sure the result will surprise you. nine0005
- Golden section rule. When taking a photo directly through Instagram, a grid is displayed in your frame that divides it into nine equal parts. In order for the picture to turn out to be aesthetic, the decorations should not be located randomly, but exclusively at the intersection points of the lines. If we are talking about long accessories, such as a chain or necklace, it is important to place them parallel to the lines and make sure that the edge of the jewelry or pendant is at the intersection of perpendicular lines. Move the decoration in the frame - and you will certainly find the position that will please not only you, but also your subscribers. nine0010
- Angle. Equally important is the angle of the piece of jewelry.
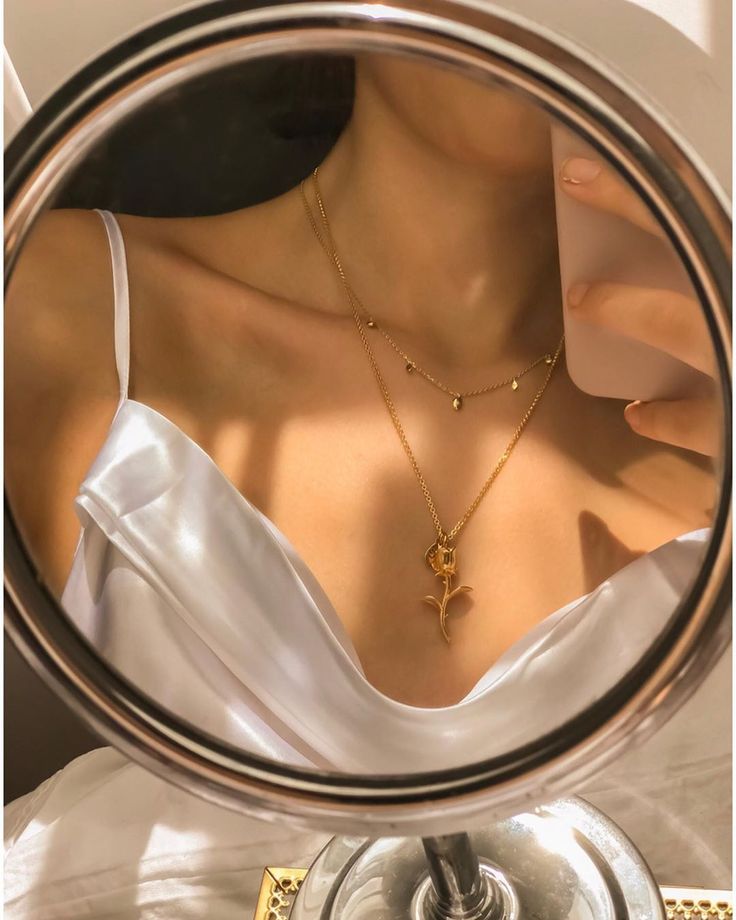 Zero angle is the vertical surface on which you are photographing. Based on this, here are the basic rules for the placement of accessories in the frame:
 - maximum 45 degrees - angle for rings;
- 90 degrees angle for flat products: chains, earrings, pendants, pendants.
- Cropping. Instagram's default aspect ratio is 1:1. This means that the width of the frame is the same as its length. However, you can control cropping and adjust it in such a way as to emphasize a particular section of the image. Therefore, if necessary, do not forget to use this option.
- Photo sharpness. A fuzzy photo is bad manners for the Instagram network when it comes to a selling image.
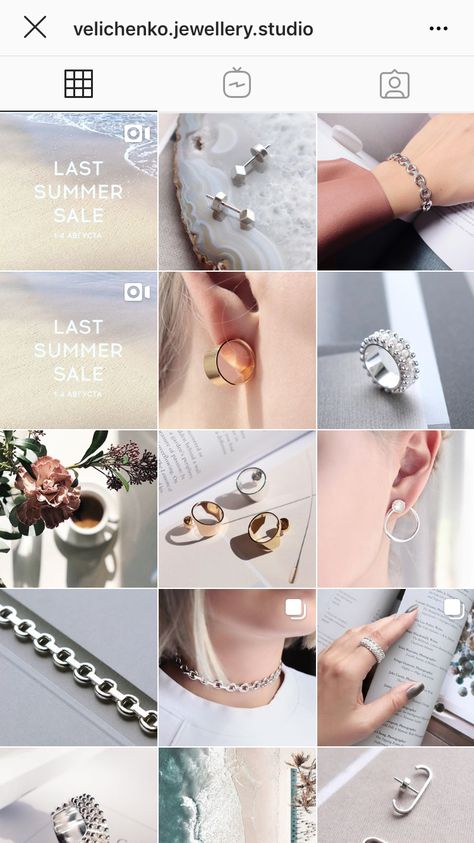 Therefore, before posting a frame, double-check whether it is sharp enough. And if not, then better reshoot, do not be lazy. nine0010
And by the way, a small addition to the conversation about the angle of decoration. If you have absolutely no way of capturing earrings at an angle of 10 to 60 degrees, feel free to take a jewelry box, insert earrings into it - and take pictures of a tandem of accessories and packaging at a right angle.
Treatment and filters
If you have read up to this point, then you probably already have a photo that is almost ready. Just a couple more actions - and the image can be shown to subscribers, getting well-deserved likes. nine0005
- The first thing Instagram will offer you to adjust is cropping. We wrote about it above. You can enlarge the original photo, or you can, on the contrary, enlarge the photo by making it rectangular. Do as you see fit, remembering that this option exists for accents.
- The second thing that the social network will offer you is photo processing.
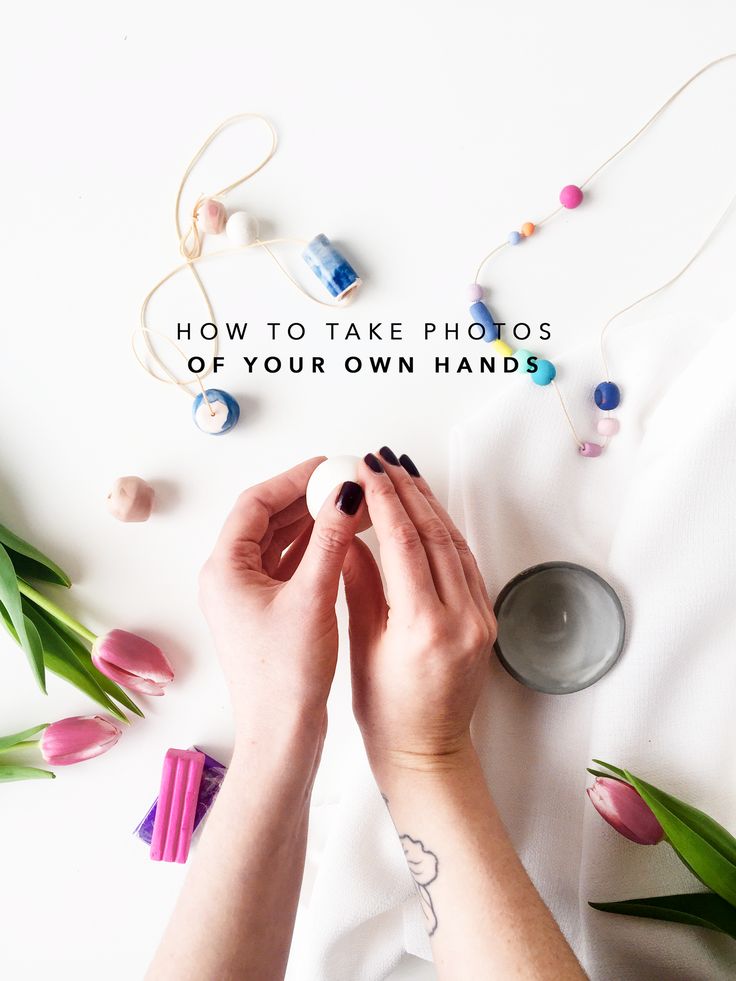 For example, you can adjust the sharpness of the image, add warmth, or, conversely, make the photo colder. At this stage, the “Blur” option is also available. Thanks to this function, the background of the picture can be automatically blurred, concentrating the maximum attention of the viewer on the central object of the image. That is, on the decoration. nine0010
 - The third possibility that opens up at the penultimate stage before publishing the picture is the use of filters. There are dozens of them on Instagram. From our point of view, filters such as Juno, Ludwig, Lo-Fi and Skyline are most suitable for processing photos taken on a white or light background.
However, we warn you: you should not get too carried away with this option. Filters should only be used when they are really needed. And then some mistakenly believe that the original photograph without applying filters a priori cannot be successful. It's a delusion. The main risk is to get a distorted image, in which the color of the object will not match the original color of the decoration.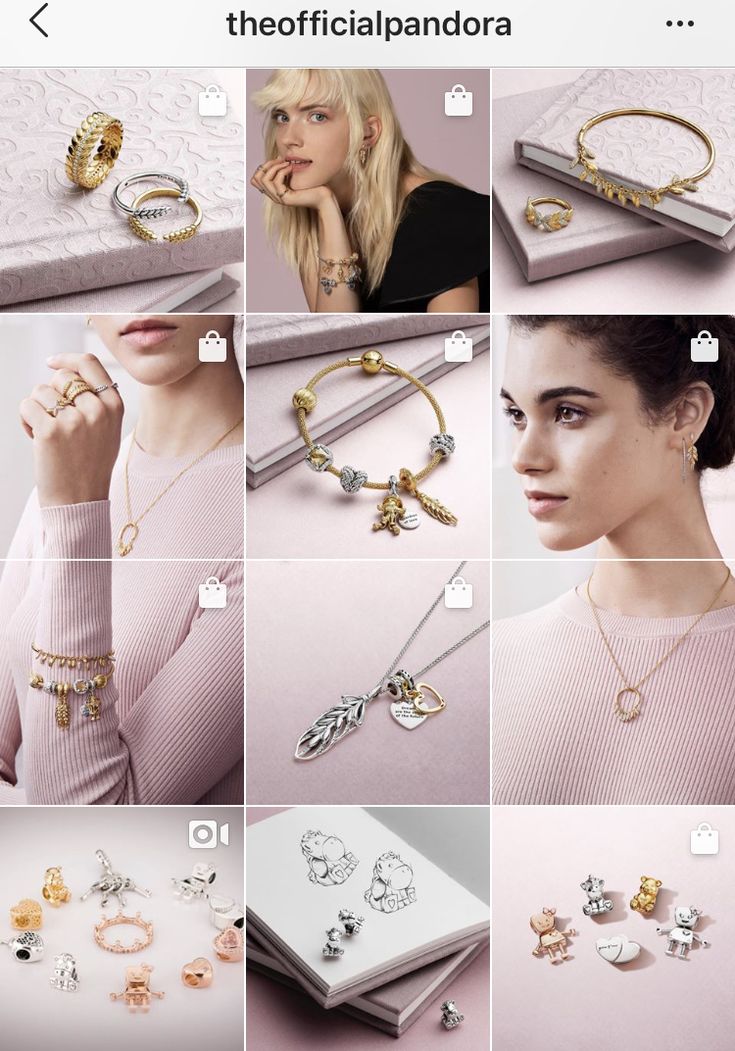 What threatens you? For example, the fact that the buyer, having ordered a product based on a photo on Instagram, will remain dissatisfied with the purchase, since the color of the decoration in the photo will differ from the color in reality. nine0005
If you need a photo on the model…
...and you don't want to invest financially in this process, then you will have to get acquainted with the photographers who work in your city. But no, not to talk them into taking pictures of your jewelry “for free”. In the end, this is tactless and generally bad manners, because any work must be paid. Acquaintance is necessary in order to, on occasion, participate in filming organized by one or another community.
nine0098 Photographers tend to stick together and often do workshops to share their experience with each other. And for such shootings, props are often needed: clothes, shoes, accessories, jewelry. Vendors who provide their jewelry for photography for free receive the final result - professionally processed photos as a payment for their services.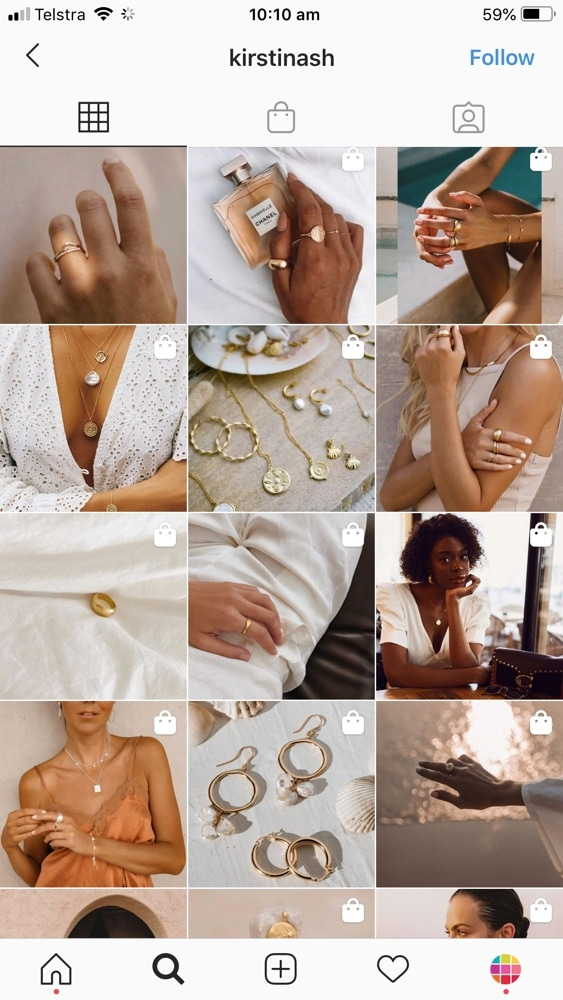 Along with the ability to use them for your own purposes. For example, to advertise jewelry on your Instagram account. nine0005
But keep in mind, even if you get professional photos legally and honestly, it is important to follow the rules of good manners. When publishing images, be sure to indicate the people who participated in their creation: photographers, stylists, makeup artists, designers (if the model wears clothes of a specific brand) - as well as yourself, the jewelry seller, without whom the published photo would not be so breathtaking.
Time and frequency of publications
And to end our conversation, some invaluable advice on what time of day is best to post on Instagram, and how often should you do it: once every three days or maybe three times a day? nine0005
Drawing conclusions, we rely solely on statistical data. Your personal experience with running a business profile on a social network may be different. What to focus on in your particular case is your personal decision.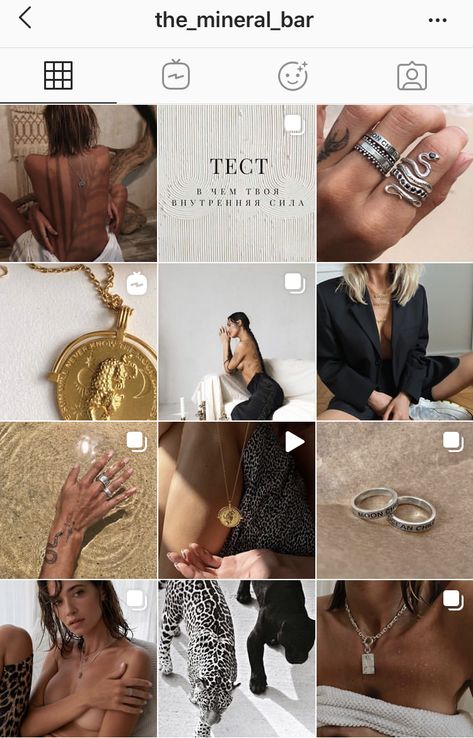 Ideally, on your own observations, because everything is very individual. But if such observations, due to your inexperience, are not yet available, the statistical data for the first time will turn into the main guidelines.
So, publication time. Statistics show that it is worth publishing posts on Instagram at noon, at 15:00 and at 21:00. At the same time, be guided not by the time in London or New York, but by your own time zone. In our case, for Kiev time. A number of statistical services, by the way, believe that the most favorable period for publications in the main feed is Monday between 17:00 and 18:00, and Thursday between 15:00 and 16:00. Video in IGTV format, according to statistics, followers watch after 20:00. But again, you should not take this information as the ultimate truth. This is just a guide, based on which you will soon receive your own statistics. nine0005
And remember: people are not robots. And if the majority of users update Instagram during the above periods, then your followers and your target audience can be very “specific”.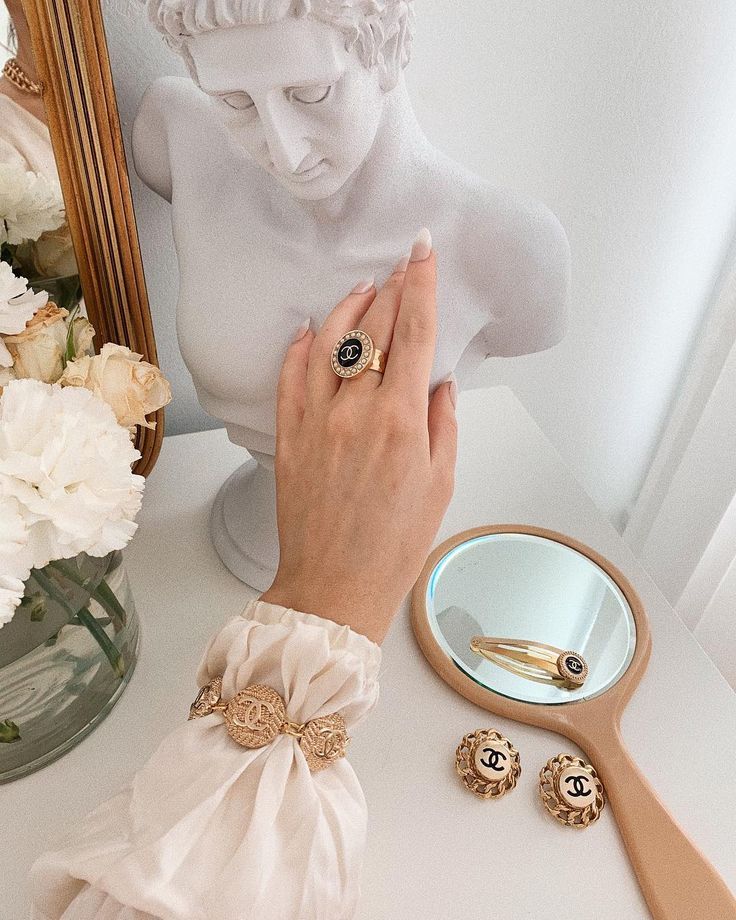 For example, among your followers there may be many people from other countries and even from other continents. Therefore, if possible, it is important to determine the optimal posting time not in general, but specifically for your friends on the Instagram network. Below you will find some tips on how to do this. nine0005
- Define your target audience and find out where most of your subscribers live. You will have to do this manually, looking at the geolocation of each follower. But these data will be as accurate as possible, and not approximate.
- Identify the occupation of your followers. Perhaps many of them are teenagers or students. And perhaps young mothers under the age of 35. The occupation of your friends determines their daily routine, and therefore the time windows when they have free time to surf on social networks. nine0010
- Test statistics or your own findings in practice to understand which of the recommendations really work in your case and which do not.
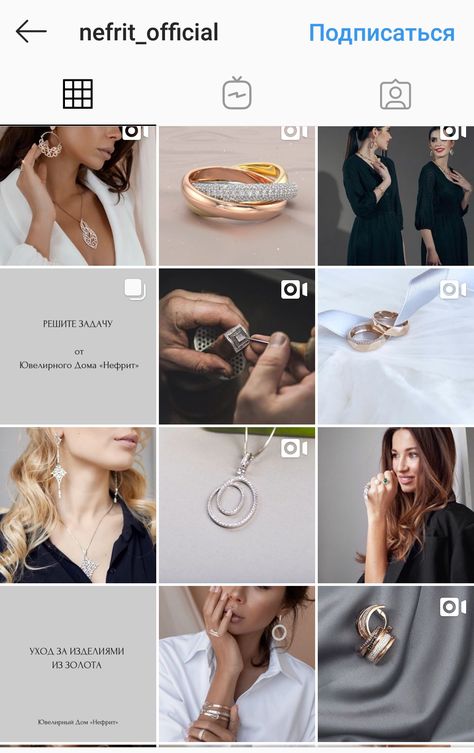 Create a weekly posting schedule so that it differs from the schedule of the past and previous weeks. And then compare which posts the response of the followers was more active, and which less.
If you're still using a regular profile instead of making a business account, please fix it soon. One useful feature available to business profile owners is the ability to see when and what time followers viewed a particular post. From a post planning perspective, this is invaluable information. nine0005
Now regarding the frequency of posts. Statisticians recommend posting daily. Minimum one photo, maximum four images per day. But be warned: don't post in a row. The minimum break between posts should be four hours. We urge you to take this recommendation critically. If you run a blog about your own dog, where you post her pictures and write texts on her behalf, then you are unlikely to encounter a shortage of content. And if you are a representative of a local jewelry brand with a limited, literally piece-by-piece assortment, then you will have to work hard to publish at least one post a day.