If the competition between social media platforms ever felt like a race, then Instagram has shot its way up the scoreboard, offering some serious competition for the top 3 in terms of size and marketing potential.
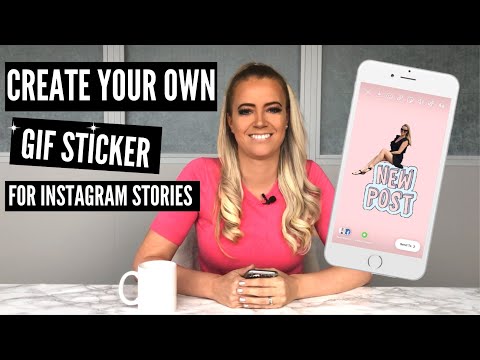
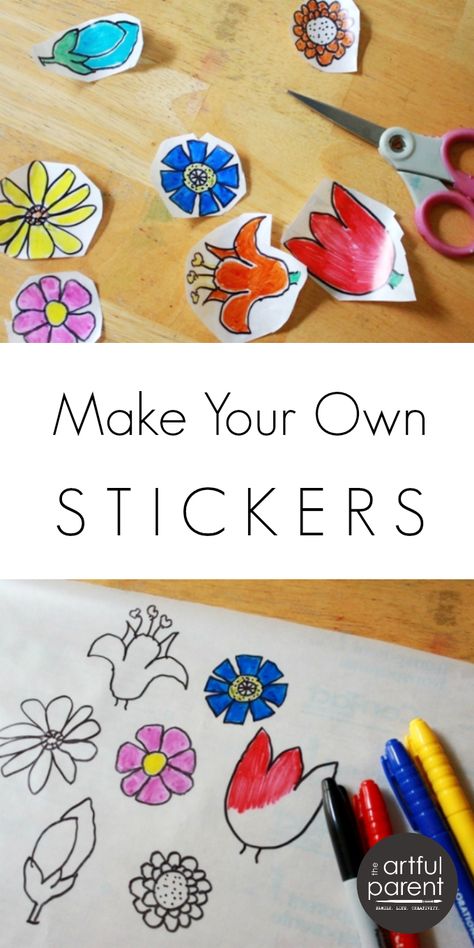
This is a step-by-step guide for making your own GIF stickers. We are not just giving advice. Our stickers have actually been used by over 120 MILLION users worldwide:
Elementor's Giphy PageLaunched in 2010, Instagram now boasts over one billion monthly active users, second only to YouTube and Facebook (who have owned Instagram since 2012).
Instagram is popular because it’s simple and fun to use. We could also argue that it appeals, more than others, to international users as most of its content is pictorial (as opposed to text on other platforms such as Facebook) and lighter (unlike heavier content such as YouTube videos).
From a purely business perspective, Instagram has become the New World of social media marketing. Not because of the number of users but because of their behavior.
It’s this behavior that has made Instagram a major influencer in its own right.
Over 60% of users log into Instagram daily, most of them to post stories. This makes it the second most engaged social network after Facebook.
You may recall that last week, we explained the significance of Google’s decision to favor mobile versions of websites/pages in search results, making mobile responsive design more important than ever. Needless-to-say, Instagram, predominantly used on mobile and by adults, played a big part in this shift.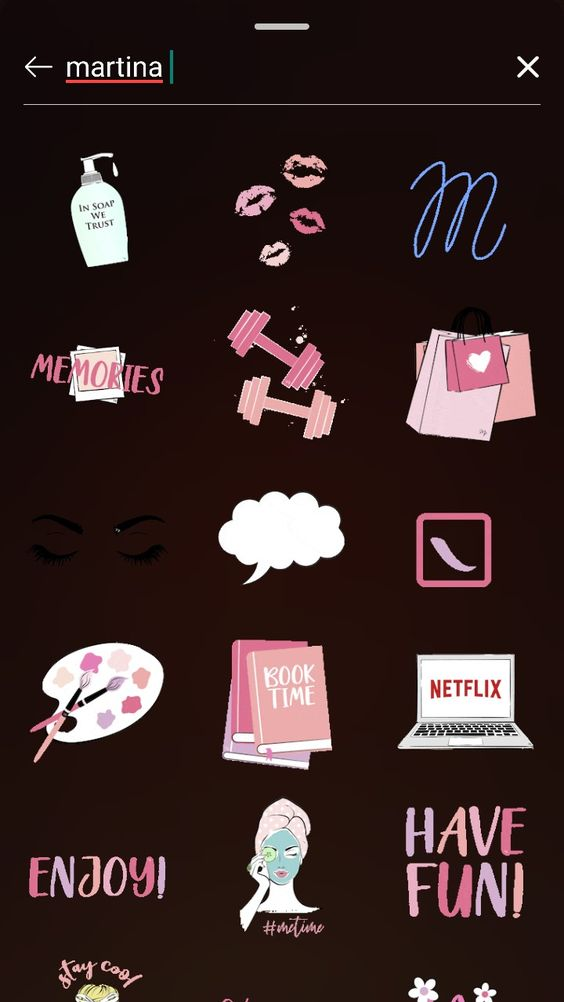
And we’re only starting to get the picture.
Reach seems to not only be easier to obtain on Instagram than on Facebook, once obtained, but it is also more valuable.
80% of users follow at least 1 business or brand, which means that it’s the platform where most users are likely to continue doing so.
Businesses that have realized this and have already begun marketing on Instagram claim that they get up to 37% of their total impressions from Instagram Stories.
You would think that Facebook would have similar marketing potential, when in fact the opposite is true. Instagram boasts 58 times more engagement per follower than Facebook.
There are claims that Facebook is oversaturated with advertising and marketing content, and there could be truth to it. Facebook users seem to have learned to filter out advertising and marketing content.
As consumers, we’ve always needed to be reassured, at the very least, of the quality, dimensions, and current state of a product.
A visual aid has proven to be very convenient for this purpose, and furthermore, it encourages users to take action and buy that item. Kinsta recently pointed out that “about 60% of Instagram users say they’ve discovered new products through the app, while 72% of users say they have purchased a product they saw on the app.”
Most of the businesses we’re discussing are related to things that are visual to include web design, and…, yes, like Elementor as well.
We’ve been running our own experiments with Instagram stories. Of course, we’ve been having a lot of fun in the process, but who said that you couldn’t have fun to get results?
And, boy, did we get results.
Our Instagram account is currently at 18 thousand plus followers and rapidly growing.
Creating stickers like these allowed us to strengthen our brand identity further while expanding our creative assets. In fact, one of our stickers got over 25 million views!
But wouldn’t it be better to share the knowledge of how to similar results? After all, isn’t that what makes a community great?
We want to share how we used GIF stickers on Instagram to generate social impact so that you too can benefit from our knowledge and experience, and by following the same process, perhaps expand your following to similar numbers, if not more!
A Graphics Interchange Format or GIF is a type of digital image that also allows us to create short animations with multiple images.
Imagine the layers being the pages in a book, and flipping through those pages quickly to create an animation, and there’s no limit to the level of animation you can achieve with these GIFs.
Which wild explain why GIFs are mostly used for short animations these days.
When you share a photo or video to your Instagram story, Instagram lets you can add stickers to express yourself in creative ways.
These are little superimposed graphics that add elements of expression to your stories, adding fun, excitement, and character. This makes the stories more interesting and engaging to viewers, which inevitably contributes to the greater reach of your stories, and you know the rest.
The following is the exact process we use to create the GIF stickers for our stories on our social feeds.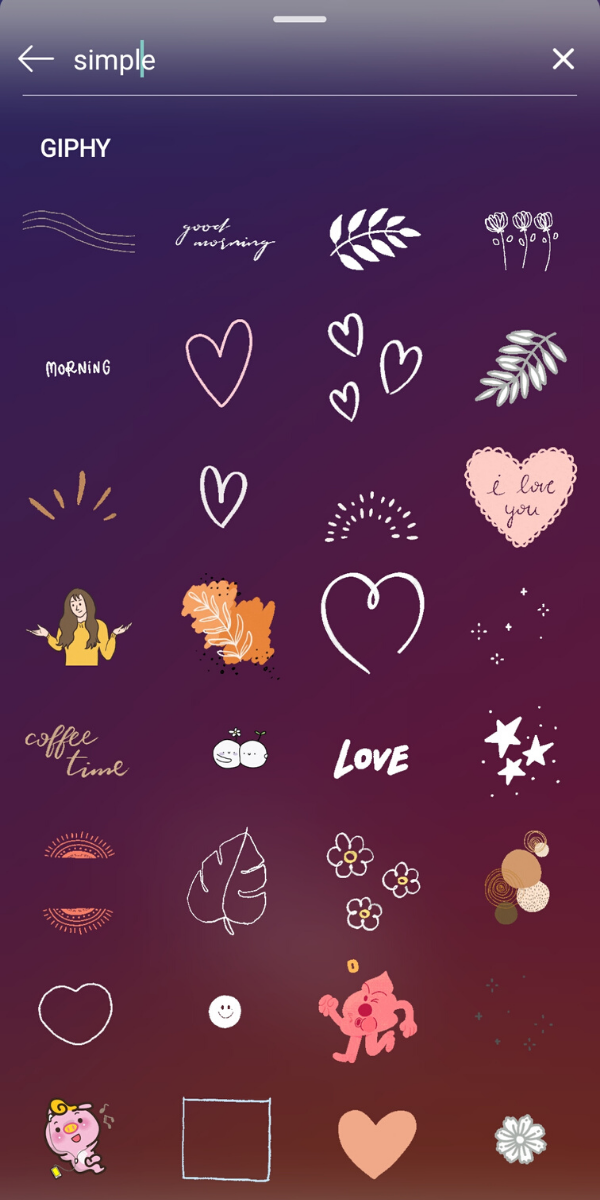 Elementor’s Social Media Manager, Lisa Raz, has gotten so good at creating them, she can produce a nifty GIF faster than you can say “animated GIF stickers for Instagram stories”.
Of course, there are numerous ways to create stickers, such as those explained in this wonderful tutorial by Elementor user Lisa Bardot.
But this is how we make ’em!
For this process we will need the following:
Once you’ve uploaded at least 5 GIF’s, you’ll be eligible to apply for a Brand/Artist account on GIPHY. This will allow your GIFs to become available to the public, and your Instagram account. You can read more about Giphy’s requirements for having Brand/Artist accounts here.
Once your Brand/Artist account is approved, make as many GIFs as you want and upload them!
Let’s Get Started With Gif Stickers.
Open up the Procreate app on your iPad (or another suitable device).
Create a new file by tapping on the plus icon (+) in the top menu bar. When creating a new file, you will be prompted to select the size of what will become your GIF.
We’ll be recreating our WordCamp Europe sticker, made up of the Elementor logo, the WCEU logo, and the @ sign.
 This assures the proportions remain the same regardless of any adjustments we make to the textbox.
Essentially, what we have now are four layers, one on top of the other, that will be flipped through like the flipbook, we mentioned.
The final step

Once we’ve created our GIF, we’ll upload it to Giphy.com, which acts as a host for our online GIF assets.
Giphy reviews each and every GIF to make sure they follow all their guidelines and also look good. Alas, this means that you will not see your GIFs in the stickers search immediately.
However, once Giphy approves our GIF, we’ll be able to find them on Instagram and add them to our stories.
Like we did when we placed them on the images that we were taking at WordCamp.
While you’re at it, feel free to search for Elementor’s stickers on Giphy and use whatever sticker you like!
We’re only too happy to see others using our stickers on their own posts.
Posting stories on Instagram is more like fun than work, and adding animated GIF stickers to make your stories stand out, really is as simple as we’ve shown here.
Use it to generate awareness and expand your reach. Start making the impressions, that will encourage users to follow through your funnels.
We feel that Instagram is the New World of social media marketing. Some of us may have gotten off to a later start than others, but don’t let that discourage you. Instagram’s marketing and creative potential is still a long way from peaking.
Every picture tells a story, so get started and make some great stories of your own.
GIFs on Instagram Stories are seriously trending, but did you know that you can create Instagram Stories GIFs for your brand, too?
Beyond just being a ton of fun, businesses can also use Instagram Stories GIFs to draw attention to important elements in your Instagram Stories, like a call-to-action or the swipe-up button.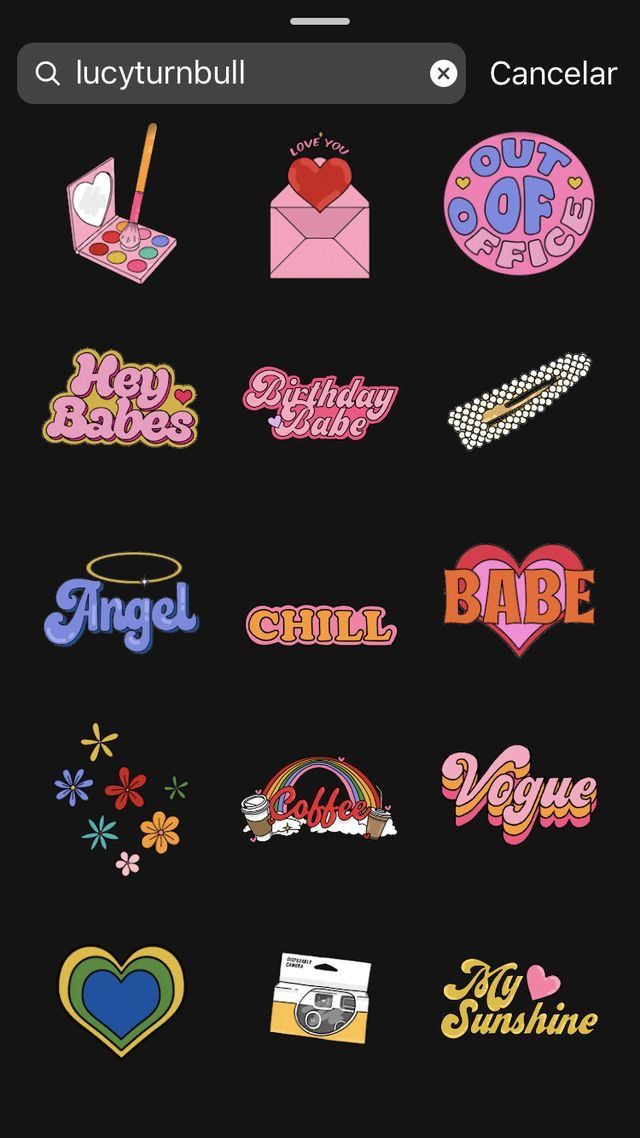
But if you create your own branded GIFs for Instagram Stories, you’ll be able to increase brand awareness, encourage people to post from live events, or just make your own stories match your brand.
Here’s how to create Instagram Stories GIFs for your brand in 3 easy steps:
There a lot of creative ways to use Instagram Stories GIFs, and businesses are quickly jumping on this hot new Instagram trend. But…not many brands have made the leap to create their own.
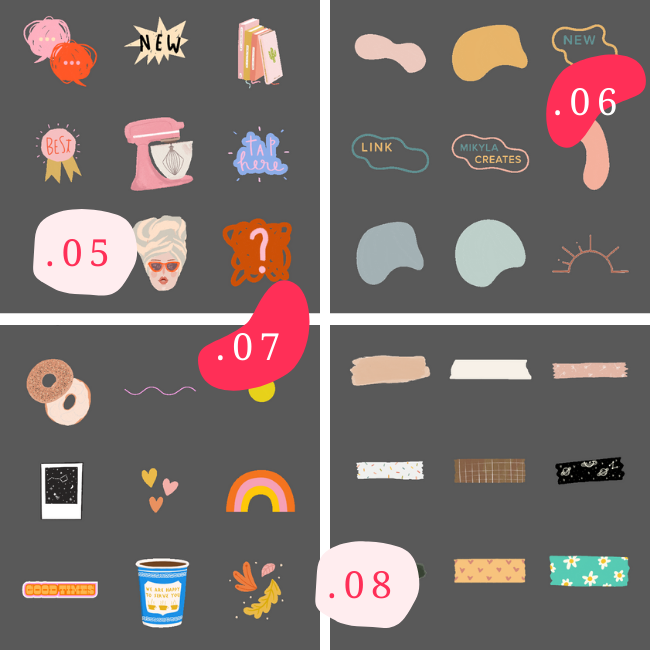
We came up with the idea to create a series of Instagram Stories GIFs to help businesses drive traffic and sales through stories, with fun stickers like “swipe up,” “shop now,” “new post”, etc.
All you have to do is search “Later” when you’re adding a GIF, and you’ll find them all there!
Once we found out how easy it was to create your own Instagram Stories GIFs, not only did we know we had to do it, but we also had to share how we did it!
The good news is, it’s super easy to do, and we’ll show you the exact steps in this post.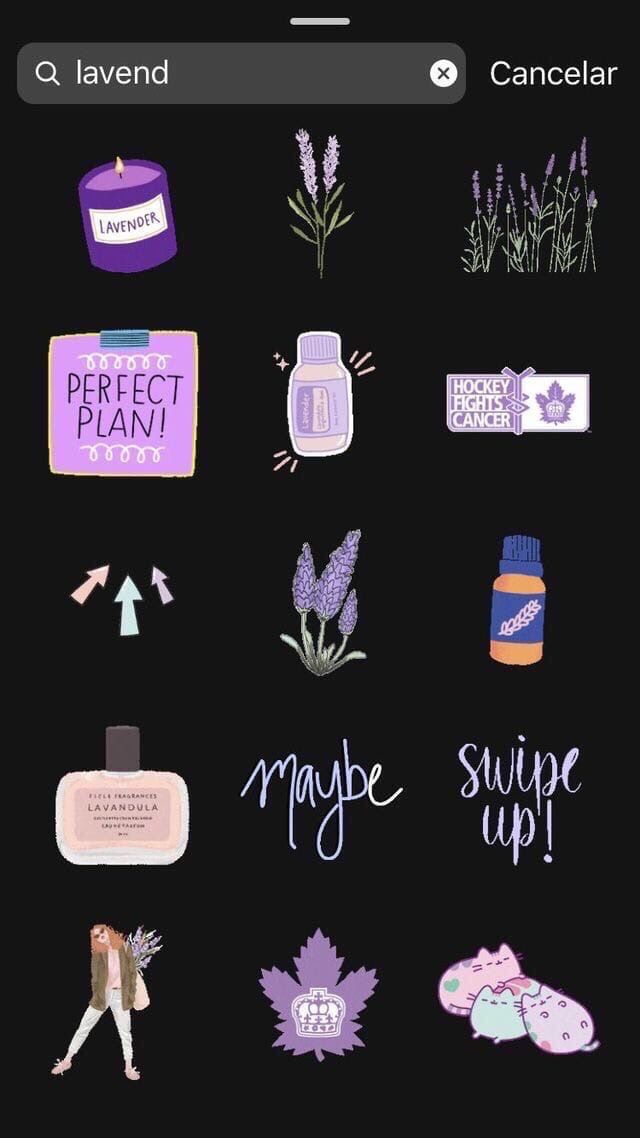
#1: Become a Verified Brand on Giphy**
Instagram Stories GIFs are powered by Giphy, so you will need to create a Giphy brand channel and apply to get it verified (FYI, your channel doesn’t necessarily have to be verified to be available via Giphy’s public API).
The good news is that this process is pretty quick, but the bad news is that because of the verification restriction, small businesses may not get approved.
Also, according to Giphy, they don’t allow artists to upload commercial work for brands (including GIFs) to their own profiles, so if you want to create your own Instagram Stories GIFs, really your only option is to apply for review.
That being said, once you’ve been verified, you’re totally allowed to work with Giphy artists to create Instagram GIF stickers for your brand! You just have to upload those GIFs to your own channel.
To create a brand channel, simply open Giphy, click on “Log In” in the top right corner of the homepage, and then select “Join Giphy” on the following page.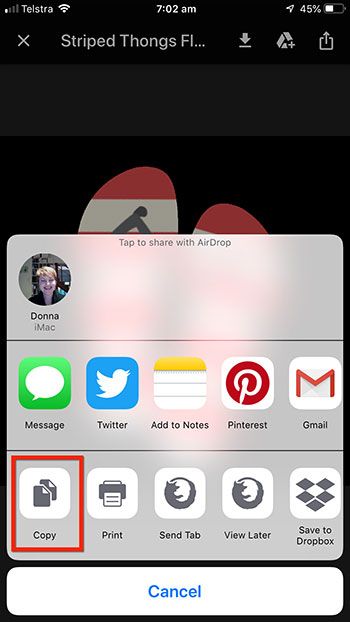
At the bottom, you should see a button to “Join as an Artist or Brand.” Click it and then make your selection on the following page.
Next, you’ll be prompted to submit your details, including your contact info and information about your business.
When you’re done, hit “Apply Now” and that’s it! You should see a message on the following page that Giphy has received your application and that they’ll be in contact shortly. You’ll also receive an email from Giphy with the same information.
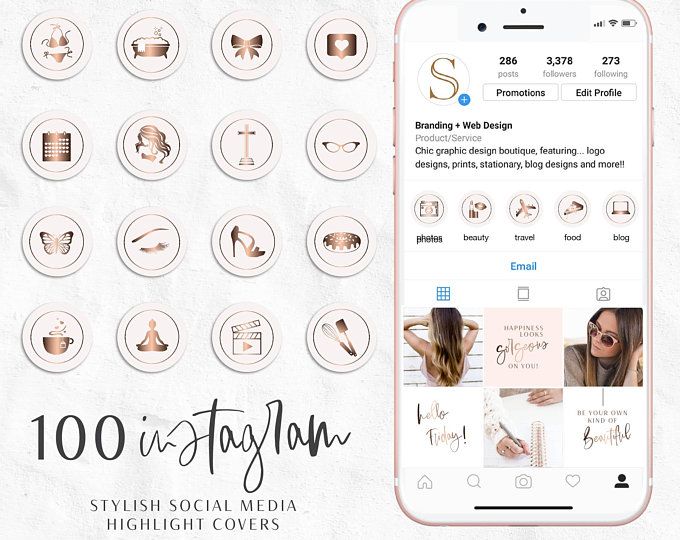
While you’re waiting to be approved, you can start building out your profile. If you set your account to public, people will be able to search for your brand and see info about you, including your name, website, an about you section, and links to your social profiles.
(You can view the Later Giphy page here as an example).
Brand accounts on Giphy come with an analytics dashboard with all kinds of stats on the GIFs you create, which is really helpful for measuring the impact of your Instagram Stories strategy as well as how popular your GIF stickers are.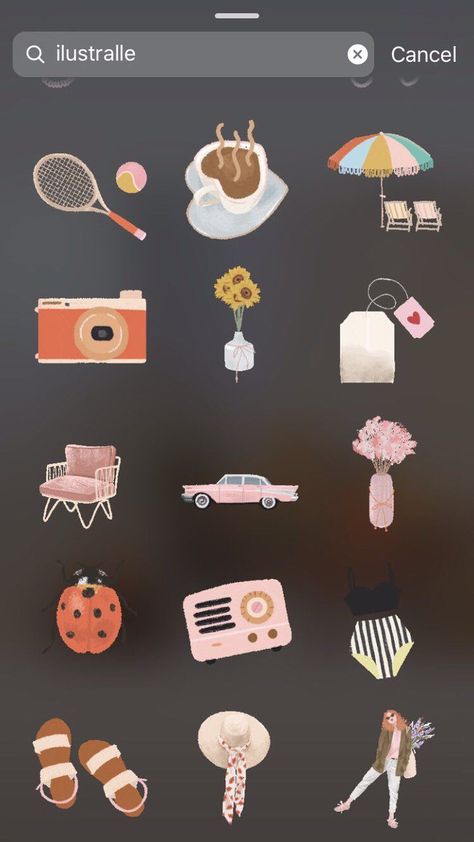
It’s kind of shocking just how successful our stickers are so far, and we haven’t even promoted them! In the matter of a week, they’ve already earned over 16 million views from people using them in their posts, proving that making your own Instagram Stories GIFs could actually be a great strategy for your business.
Step #2 Upload Your GIFs to Giphy**
Once you’re approved, it’s time to create and upload your wonderful GIFs to Giphy!
This is where you need to pay attention: in order for your GIFs to appear on Instagram Stories, they must be uploaded as a sticker and not as a regular GIF.
Unlike regular GIFs, GIF stickers are animated GIFs laid on a transparent background or layer (alpha channel). As Giphy puts it, “Think a cut-out or die-cut, but animated.”
You can turn a GIF into a GIF sticker easily by just turning off the background layer of your canvas, and exporting the same way.
Giphy also offers style advice on how to create a great sticker.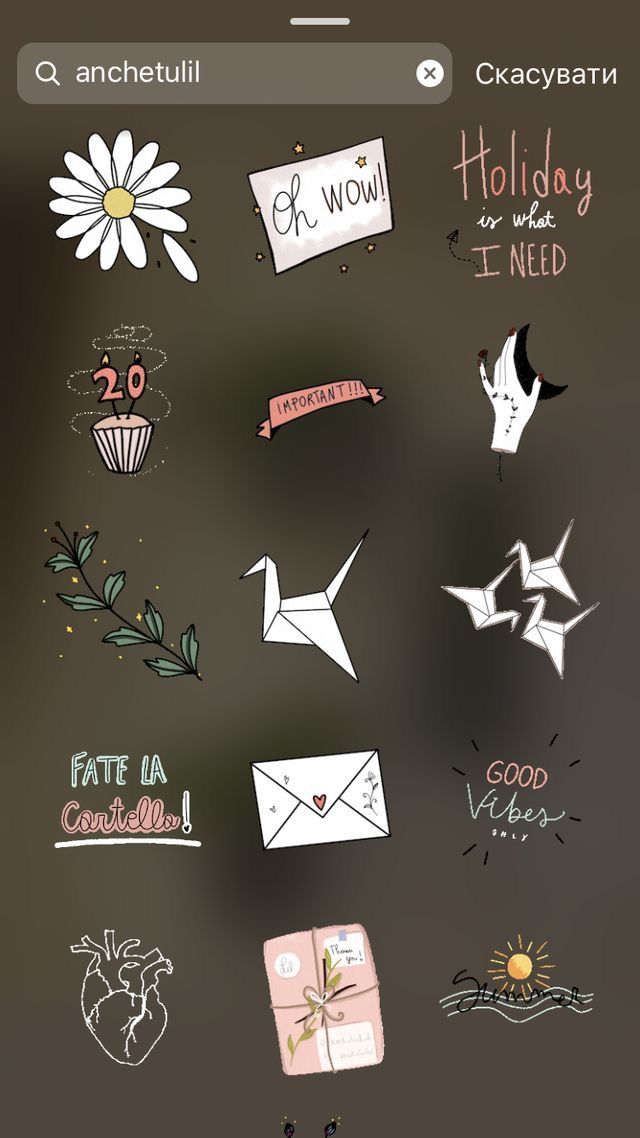 “A good sticker is simple, eye-catching, and fun. Because [they’re] shared at a fairly small size, it’s important to keep them visually sharp and well defined.”
“Also, since stickers have transparent backgrounds, they can “interact” with things…design stickers that can *peek* around things,” Giphy says.
Something else to keep in mind is how you want your followers (and other users) to use your Instagram Stories GIF stickers. If you have a brand with a following that already tags you in user-generated content or stories on Instagram, those people would probably also love to add a fun branded sticker to their post too!
For example, since a ton of people like to post on Instagram Stories while watching The Bachelorette, ABC created a series of branded GIFs featuring their star, Becca. There’s the branded logo, but there’s also her signature catch phrases and various facial reactions.
Did we mention that all of this is…free? You don’t need a big TV show budget to create a viral moment on Instagram.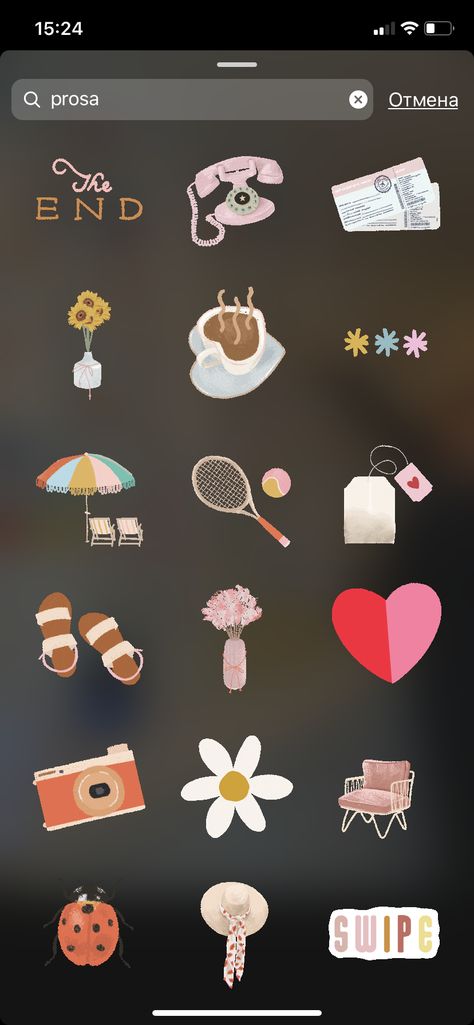
When designing GIFs for Instagram Stories, it’s important to think about how users are most likely to use them: in what ways will your GIFs add to or enhance people’s Instagram Stories?
As for technical specs, Giphy states the following about creating GIF stickers:
Upload your stickers as GIF files (APNG files are currently not supported)
Stickers must be exported with at least 20% transparent pixels, no white or opaque color backgrounds.
Size: 500-600px with an even-numbered height and width.
There is no maximum file size, our server will automatically resize the sticker on upload.
RGB color mode is mandatory.
Set to loop Forever upon exporting.
Once you’ve covered these points, you’re ready to upload to Giphy!
Don’t forget to add descriptive tags! This is how your stickers will show up in searches on Instagram Stories. Each sticker should have at least 5-10 relevant tags, and it’s especially important to tag your stickers with your brand to make them easy to find!
In addition to tagging our GIFs with phrases like “link in bio,” we also made sure to tag them with “Later” so our followers can easily find all our GIFs in one place.
According to Giphy, the most popular searches across their API are love, happy, heart, dance, cat, sad, dog, cry, birthday, kiss, party, lol, and food. You should consider these terms when creating and tagging your stickers to make sure they appear in the results for the most popular searches.
Step #3 Test on Instagram and Spread the Word!**
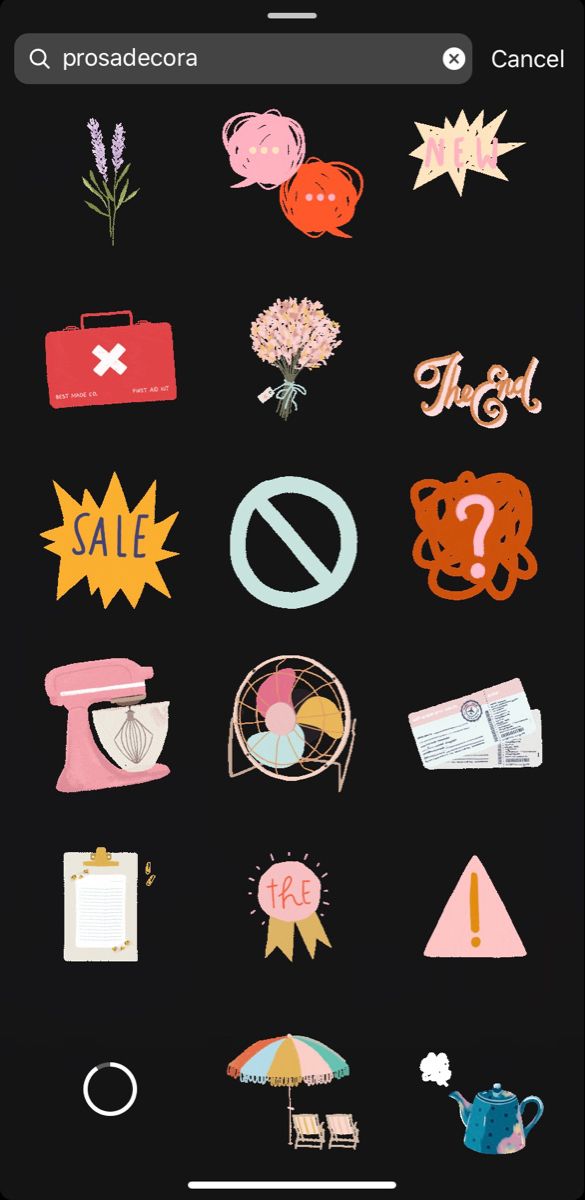
Once you’ve uploaded your GIF stickers to Giphy, they should be available when someone searches for the tags you use, or from your brand profile on Giphy!
You should also test your new GIF stickers out on Instagram Stories! Simply take a photo or video, tap the Sticker button and open the GIF option.
Next, search for your GIF stickers by typing out one or more of the tags you used. This should pull up one or more of your GIFs.
And voilà, your GIF stickers are all ready to go! If you’re planning a special launch, you might want to upload them in advance, we found that our GIFs took about a week for all of them to show up under the search term “Later” on Instagram.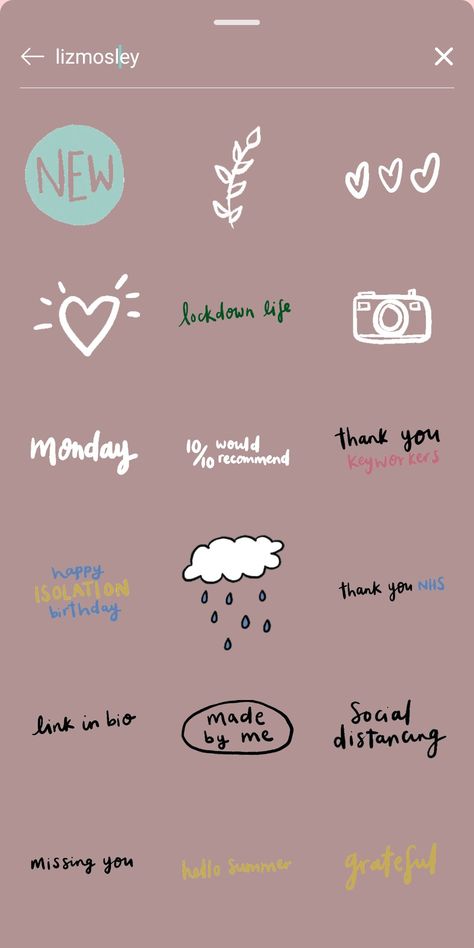
Wondering how you can use custom Instagram Stories GIFs? If you’re hosting a live event, that’s the perfect opportunity to encourage sharing and build brand awareness. Just take a cue from Girlboss, who created their own for their conference, Girlboss Rally:
Also, don’t forget to spread the word about your new stickers! A great strategy is to share a story (or several stories) showing your new GIF stickers in action, and let your viewers know where and how they can use your GIFs in their own stories.
It’s time to take your stories seriously – watch our free Instagram Stories for Business course today!
Spoiler: be patient and show your creativity to the maximum.
GIFs for Instagram stories* (or GIF animations) are a great way to express emotions and new characters of a more complex order.
They help ordinary users to build effective communication with friends, and bloggers and brands to attract attention and register in the ordinary life of users with an emotional component.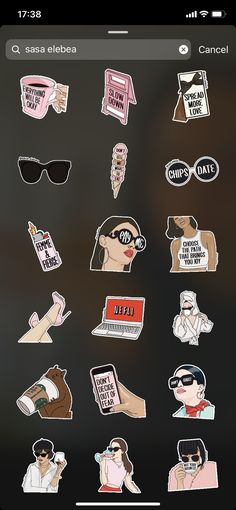
I'll show you where to find GIFs, how to create them, and how to legally and easily add them to the Instagram* app. And if you want to make your account stylish and beautiful, come to the master class "Creating an account on Instagram *".
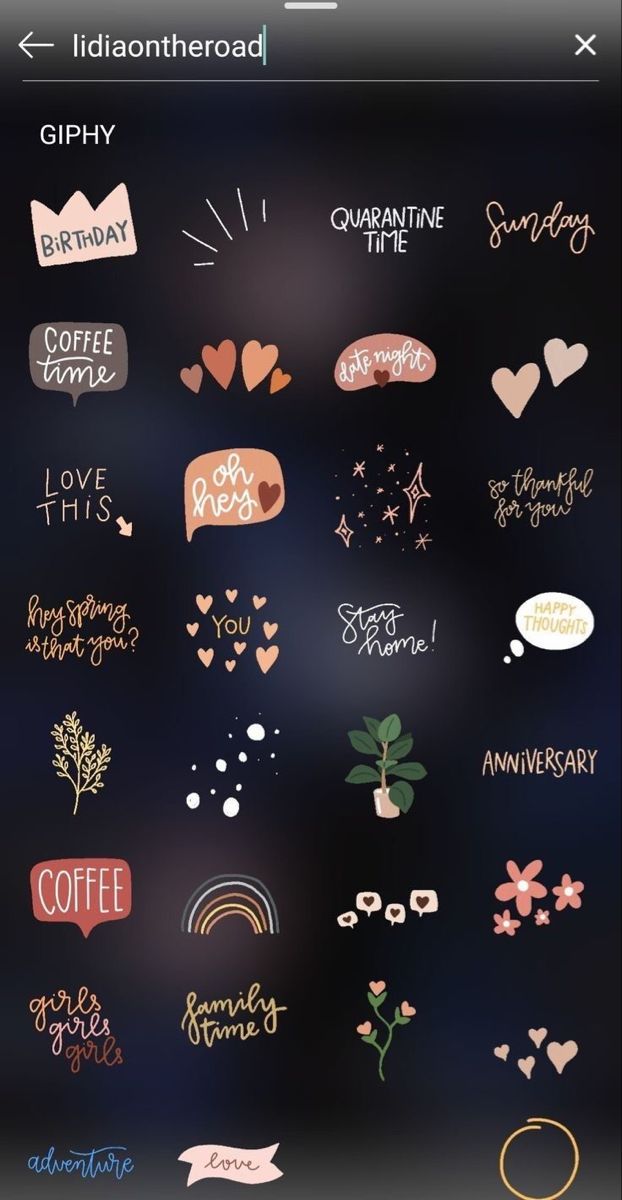
In a special section when creating stories. Choose what you want to share, go to the stickers section, enter the desired query in the search box, choose a gif sticker and share a vivid story with your friends.
You can only use gifs that appear in the search. All of them are loaded from the Giphy service, which was recently bought by Facebook *.
Several factors can be distinguished:
To use any image on Instagram*, you need to search for it in the app's search engine. If you want to add your own animated pictures there, then you need:
But if everything was so simple, this article would not exist =)
Giphy only adds content to Instagram* from verified brand or artist/contributor accounts. In order for your profile to receive one of these categories, you must correctly register and apply for profile approval.
To register, you need to follow the link https://giphy.com/.
When registering, you will see a window in which you need to enter your mailing address, the desired account name and passwordAfter you need to register your account and provide all the information about yourself.
Enter your username, display name, and postal address. Profile photo can be anything. I have a cat after self-isolation :-)There is information on the network that only those accounts that contain corporate mail are verified faster. But I have not been able to verify this information. Why - I'll tell you a little lower.
Next, you need to provide all the information to set up your account. Choose the type of profile (public or private), fill in a brief description of the channel.
After that, you will need to specify a website with your work or a company website. If you are a blogger, media personality or freelancer, you can provide a link to one of your social networks Then provide full links to your accounts in other social networks.![]() For example, I filled in only two items. And don't forget to save all changes.
For example, I filled in only two items. And don't forget to save all changes.
Please note: the link to the site is shortened, and social networks are displayed as icons.
After adding the first five materials, you can apply for verification of your account. This is to ensure that your GIFs are visible to all Instagram users*.
To apply, go to the main page of the service.
In the menu that opens, select Support Go to the GIPHY For Brands and Artists tabTo submit an application, you need to select its type: author channel or brand channel.
We are interested in the first two points. After clicking on one of the categories, you will see a page with a detailed description of the type of channel and a link to fill out the form If you have studied all the information, proceed to the next stepfilling:
You just need to fill in all the information. At the very beginning, do not forget to choose the right type of channel registration: for the author or brand
 If after filling everything suits you and the system, send an application.
At the end you will get this messageAccording to legend, in a couple of days you should receive a message about the verification of your account and channel. But I tried to register in the service for a week both with corporate mail and regular mail, but I never received a response from technical support.
After passing the verification, you will be able to add materials both using a computer and using a smartphone application: for Android and for iOS.
Not all gifs can be added to stories, but only those saved as stickers. That is, you need to upload ready-made gifs to the system that meet the technical requirements, arrange them, add tags, save them as stickers on the service itself and send them for moderation.
You can learn how to create your own gifs and upload them to the service from the article "How to add your own gif to Instagram* Story".
First, check that the file meets all requirements.
Which gifs are suitable for creating Instagram* stickers:

At the same time, the service advises to avoid brand logos and open advertising in images. But he doesn't give clear examples.
Let's assume that we already have a file that fits all the criteria or you created it using the service functionality.
Select the blue Upload button at the top of the page and upload the file.
You can upload an image from a computer or a third-party service Next, you provide a link to the source, if possible. And write tags Tags must be written one by one. You can do this in Russian and English. Tags are responsible for how quickly users will find your content. Then click on the blue button to upload the file to the service.
Please note that the system itself recognized the file as Sticker. This was possible thanks to the transparent background and the correct extension. Under the sticker or any gif, tags will always be written by which they can be found. In the side menu on the right you will find everything that will help you share your content on any platform.
You only need to wait for verification. Then your stickers will become available to a wide audience, and statistics on their use will appear in your profile.
Explore the stickers of other authors, learn about trends and the most popular sticker packs, find ideas for inspiration in the Stickers section. And don't forget that you can create your own content for public use.
Using the Giphy mobile application, you can create GIFs yourself from your phone using the camera, download materials from any social networks or services and become your own unverified content.
Alas, background transparency does not work with this method. But if you really need it, it will help you get out when creating unique content.
Register on the service, create your own content and continue to conquer Instagram*.
Good luck!
GIF on Instagram is the most relevant and trendy format for presenting information. With its help, you can easily share feelings, emotions and experiences with the public, increasing its reach, raising activity. Currently, the GIF format is at the peak of popularity, it is an effective tool for promotion, attracting new subscribers.
GIFs are animated pictures and images. If you still do not understand what a gif is, then see my example.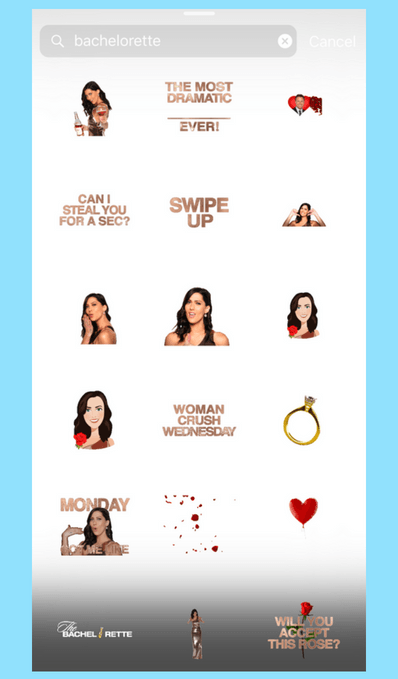 Just don't judge too harshly. I quickly created this hallucinogenic GIF with maximum effects. You can create your own too. In this article I will tell and show you how to do it.
On the left in the corner of the GIF sits a plump relative of Garfield's cat. It's called a sticker. Following the example of celebrities who create their own stickers, you too can create and download a trending GIF sticker pack. Everything you need to know about GIFs can be found in this article.
To do this, you need to use the base of the electronic library of animated files GIPHY. GIPHY is the most powerful GIF library on the web. It is with him that Instagram supports integration, allowing its users to post funny memes and pictures.
This service requires registration on the site. The fastest way to do this is to register with Facebook. Unless of course you have an account there. If not, then “the old fashioned way”: enter your email, create a username and password for yourself. This is not difficult. But a little time consuming. Now let's start creating the GIF itself.
 Here you can also change the privacy of your GIF from public to private. Private GIFs are not visible to anyone but yourself.
 As you can see, absolutely anyone can create their own GIF. And if you decide to take it seriously, you can register as a brand or artist. But for this, you will need to have at least 5 ready-made gifs in your profile and additionally pass the verification of the service. After passing the verification, you automatically get access to all the tools of the service, you can interact with its artists and designers and order the development of gifs from them.
Once verified, you can start uploading your own GIFs and stickers. Please note that GIFs will only appear in Instagram Stories when posted as stickers.
When creating GIF stickers, the following rules must be observed:
After uploading the stickers, check if they appear in the general search on Instagram. To do this, type in a key phrase or tag in the appropriate line and click on the "Find" button. A full download of the sticker pack takes about a week.
If you don't want to create your own stickers for Stories, you can always use those offered by Instagram. Moreover, they are frequently updated. How to find and attach a sticker to a Story, read below:
Once you've created a GIF, you'll want to share it on social media. One such network is Instagram. When you try to share a GIF from the GIFY library, you will see a window with a notification that Instagram does not support this feature from the web. But the service will ask for your email in order to send you this GIF in .mp4 format.
If you have the Mail application installed on your phone, you can simply save this file directly to your phone from this letter. And then publish in Stories, adding to it whatever you want. You will not be able to publish a gif-file on the main, news page. Instagram allows its users to freely share photos and videos in the feed. But when published, gifs will be placed as standard, static images and will lose all their attractiveness.
Now if you think you've been wasting your time "from rookie to GIF Jedi master", then "keep your nose up, midshipmen". In this case, there are a number of third-party services and applications that offer to convert a gif into a video that you can easily post to your Instagram feed. Weeeee.
You can convert online files of any format using the free online service Convertio. It is very easy to use it. Upload the file you need, specify which format to convert to and download the file to your computer. Next, publish this file to Instagram from a computer or phone.
As you already understood, gifs have every chance to “conquer the world of Instagram”. This is a simple but useful tool that depicts the process and outcome in 10-15 slides. This allows you not to overload the user with unnecessary information. And once you master the software for creating GIFs, you can create exclusive advertising for your products or announce the services provided, making your business stand out from the competition.
Footej Camera. Simple and intuitive interface with many settings. The application appeared in 2016 and has been steadily releasing relevant updates for two years now. The software has a camera format with the ability to set the exposure and, of course, the function of generating a GIF image.
Boomerang. You just shoot a video, and the software converts it into a funny GIF format. Boomerang operates on the basis of Instagram and is very popular among users of the social network.
GIMP.