Instagram Reels is an innovative method to produce engaging short-form films, much like TikTok and YouTube Shorts. Most users, however, either directly create Reels inside the Instagram app or use pre-existing movies from their collection.
Nevertheless, most people are still unaware of Reels’ photo-adding capability. Creating a picture reel with music is great when you want to communicate a moment by utilizing images rather than film. This is comparable to making a presentation with several images with music in the background.
Curiously, the Instagram app’s Reels function allows you to create Reels using images. As a result, there is no longer a need for third-party applications or businesses to create Instagram reels with several photographs. Additionally, via the Instagram music library, you may search for and add your favorite songs.
So, let’s jump into how to make reels on Instagram from the gallery on Android and iOS devices.
Steps To Create Your Reels From Gallery With Audio
Here’s a step-by-step guide that will help you learn how to create reels from the gallery with audio:
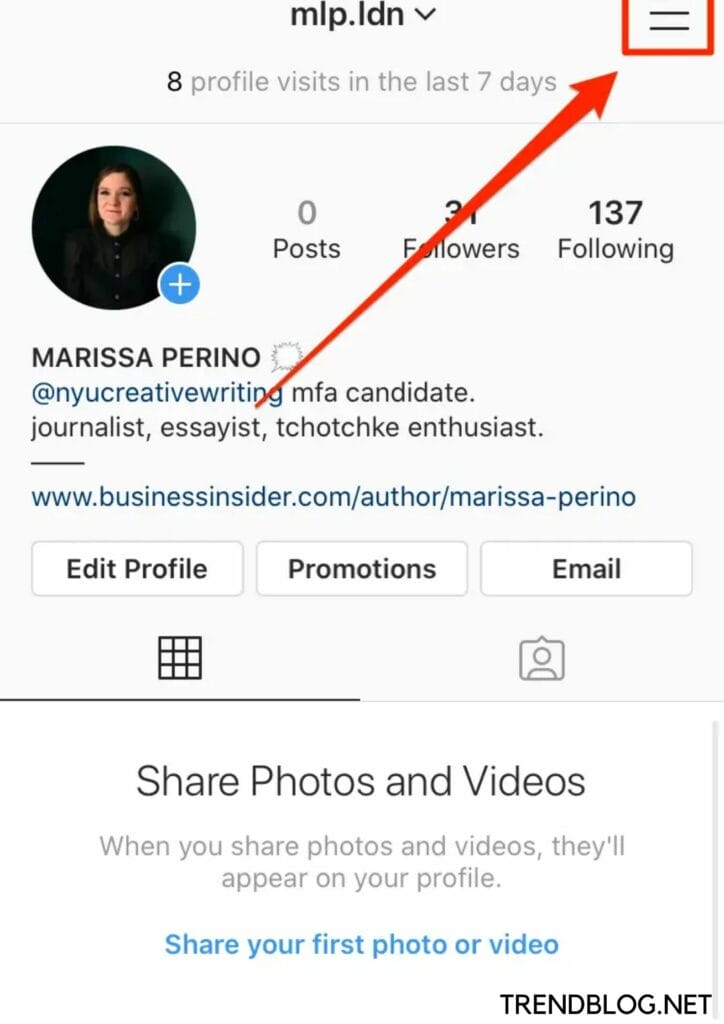
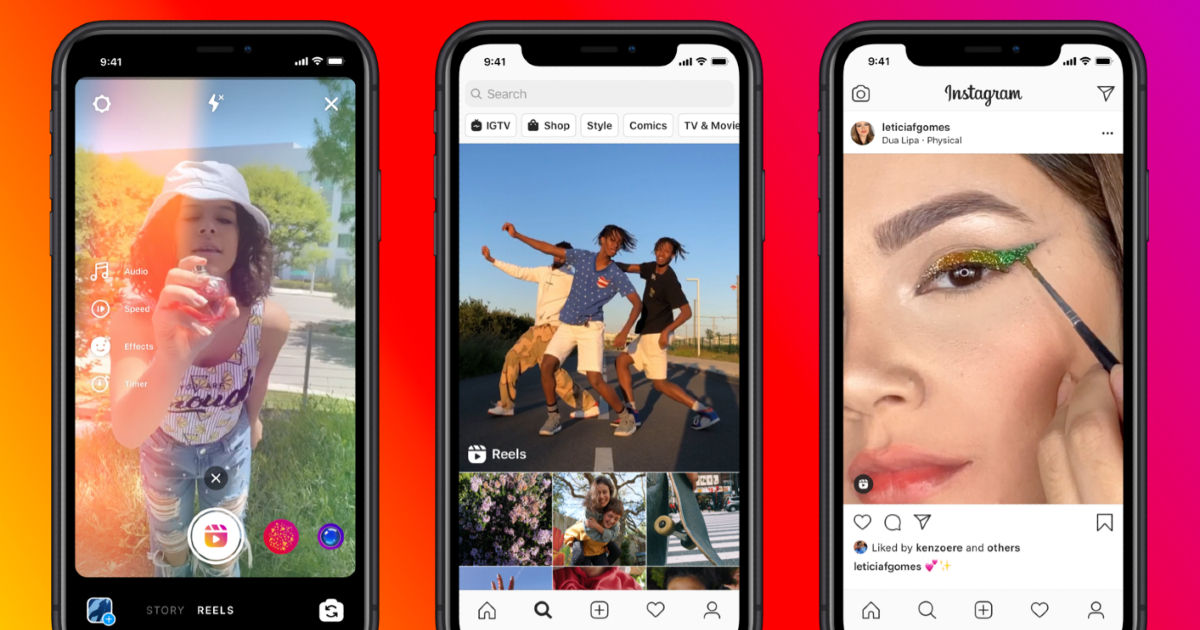
Step 1: Launch the Instagram app; pick the Reels option from the menu in the upper right corner by clicking on the plus (+) sign.
If you like, you may also launch the Instagram stories cam and select the Reels option to produce Reels.
Step 2: Select audio from Instagram’s collection by clicking the Audio icon on the left-hand panel. You may use the search bar to look for certain audio, and the top trending audios will be presented right at the start.
To select the portion of the music you desire for your video, you may indeed drag the slider.
If you use the actual audio from your video, Instagram will credit you for it when you post the Reel. You may utilize audio from an additional reel by choosing the Use Audio option.
Step 3: The runtime of your video may now be set. Depending on your account, you may make 15, 30, or 60-second Reels by navigating to the left side panel and tapping the Length button.
Use the slider next to the Clock symbol to set the duration if you want a movie that is less than 15 seconds.
Step 4: Additionally, you may pick from a selection of effects and capture your video using various filters. On the left side panel, click the Effects button (the stars symbol) to select an effect. Then, select the effect that best complements your video.
Step 5: You can set a timer to record your movies hands-free by clicking the Timer button and selecting a duration between 3 and 10 seconds.
Step 6: Add your photographs at this point. In the bottom left corner, there is a plus (+) button that you may press to choose a photo from. After that, adjust the time of the shot by dragging the slider.
To continue adding images to your slideshow, choose Add. Your slideshow on Instagram may include up to 10 images. Click on the Preview button to watch your slideshow movie after you’ve added all the images.
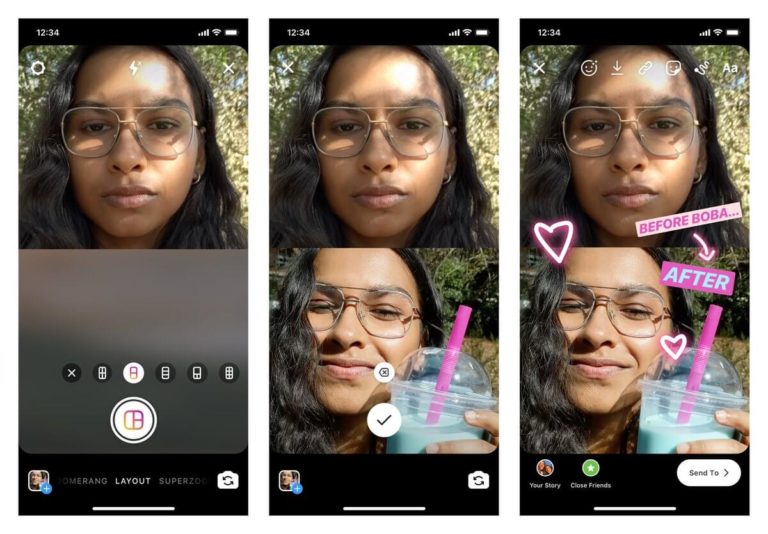
Step 7: You may now edit your movie by adding text, stickers, and other effects. All of these choices are located on the editor’s top panel for Instagram. To fit your brand’s aesthetic, you may also alter the text’s color and style.
Simply press the text and move the slider at the bottom to the desired position to modify how long it remains displayed. Tap the Sticker icon, use the search box to choose a pertinent GIF, and then tap to add it to your slideshow movie.
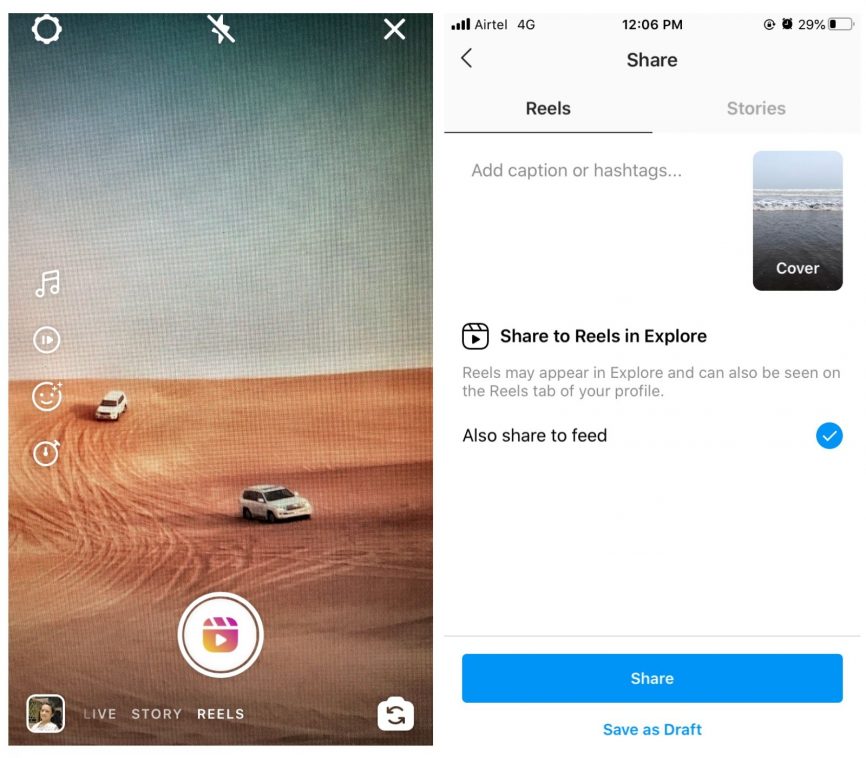
Step 8: Click Next to share the Reel when you are pleased with it. Before clicking Share, make sure to include a cover photo, a caption, and hashtags.
Although you may create and share Reels using the Instagram app, some bugs and restrictions make it challenging to add creative editing to your movie.
How To Make Reels On Instagram With Multiple Photos
To learn how to make reels on Instagram with multiple photos, follow these easy steps:
In order for the photographs to display in your Reel, choose them in that sequence. Once you’ve adjusted the duration between each shot, tap the “Next” button.
After you have finished adding the photographs, you may further customize the Reel by adding a sticker, song, special effects, and, moreover, your own voice.
Ending Note
In conclusion, the phenomenal success and popularity of Instagram Reels have shown that small video content is set to stay for the long haul. This new Instagram function has gained popularity across all demographics, from individual producers to the largest businesses in the world.
So, get the most out of this guide, learn how to make reels on Instagram from the gallery, become a pro, and bring effective results to the organization.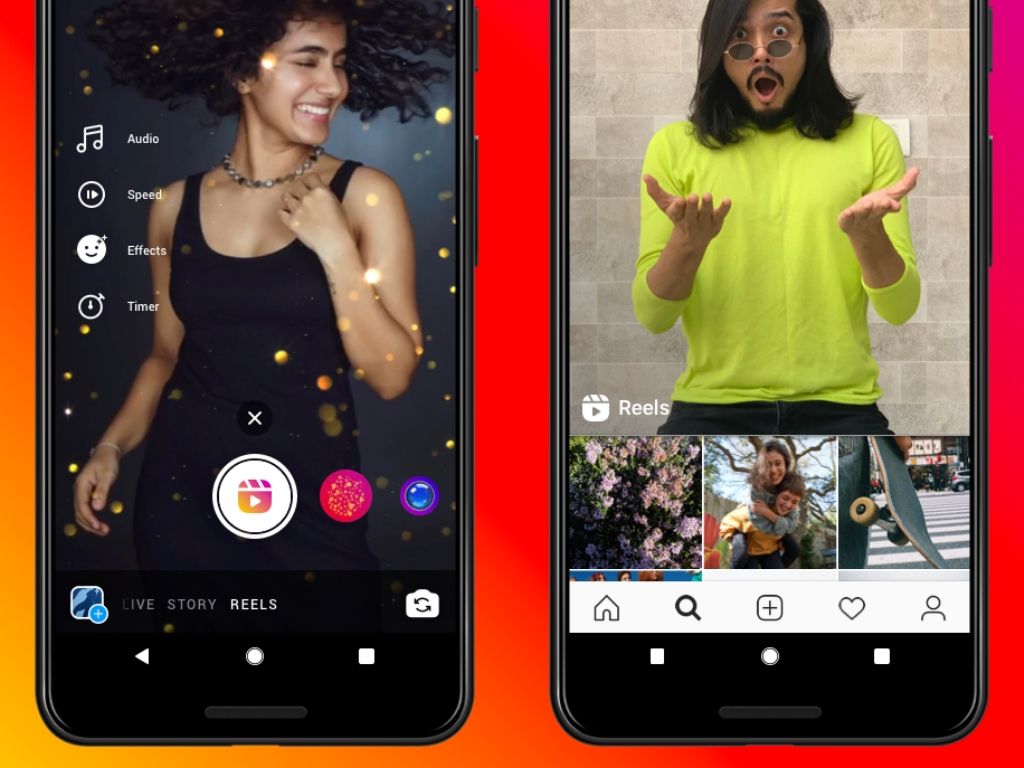
Just like TikTok and YouTube Shorts, Instagram Reels offers a smart way to create short-form entertaining videos.
While most users directly record Reels within the Instagram app or use existing videos from their gallery. That said, most people still aren’t aware of the fact that they can add photos to Reels.
The idea to make a photo reel with music makes sense when you want to share a moment using photos instead of video. This is similar to creating a slideshow of a bunch of pictures with background music.
Interestingly, you can make Reels with photos using the Reels feature in the Instagram app itself. This eliminates the need to use third-party apps or services to make reels on Instagram with multiple photos. Moreover, you can search and add your favorite music or song from the Instagram music library.
Now let’s see how to make Instagram Reels with photos and music on iPhone and Android.
 On the next screen, add text, effects, stickers (TIP: Add disappearing stickers to reels), or voice-over to your clip if required.
 That’s it. Your photo Reel is now ready for sharing on Instagram.
You can also save Instagram Reels to your camera roll but they will be saved without audio.
TIP: To add more than six photos, just reduce the length of the still photos since there is a 30-second recording limit for Reels. Besides, you can rearrange clips in Instagram reels.
ALSO READ: How to see the number of views on Instagram Reels
Use this when you want to quickly add multiple photos from a single photo album instead of selecting multiple photos from different albums.
Once you are done adding the photos, you can add a song, sticker, effects, and even your own voice to the Reel.
NOTE: We’ve tried the above guide on iPhone but the steps should be similar for Android users.
RELATED: How to use multiple filters on Instagram reels
ALSO READ:
Tags: InstagramPhotosReelsSocial MediaTips
Article author:
Maria, Instagram setup expert
Reading time:
7 minutes
10607
up to 10 shots.
It is not necessary to post only video format to a social network: you need to select audio and pictures.
Content
Rils has three types of clip durations and four recording formats:
The last option is suitable for recording clips without third-party applications, but with a photo selection.
In order to place an entry in Reels, the extension must be MP4 or AVI. If you create through a third-party application, then this fact should be taken into account.
When uploading a photo or creating a clip on Instagram itself, the format is set automatically.
The user can make video Reels from photos if he goes to the clip recording and selects the photo in the Gallery instead of the video format. Pictures must be prepared in advance, because the mode does not involve taking a photo.
How to make a selection:
User can select up to ten pictures in total. Submissions may include short videos, but the total length must not exceed one minute (60 seconds).
To work with photo collections, you can use the CapCut application, which is actively used for processing Reels. It supports not only the processing of ready-made video materials, but also the creation of new ones, based on pictures and with the addition of an audio track. nine0003
Create a slideshow using the application:
The advantage of the application is that you can connect to your TikTok account and get songs from there. Or simply use the list of popular melodies. nine0003
In Reels, photos with music can be created using the Clideo service, which supports uploading photos and sounds.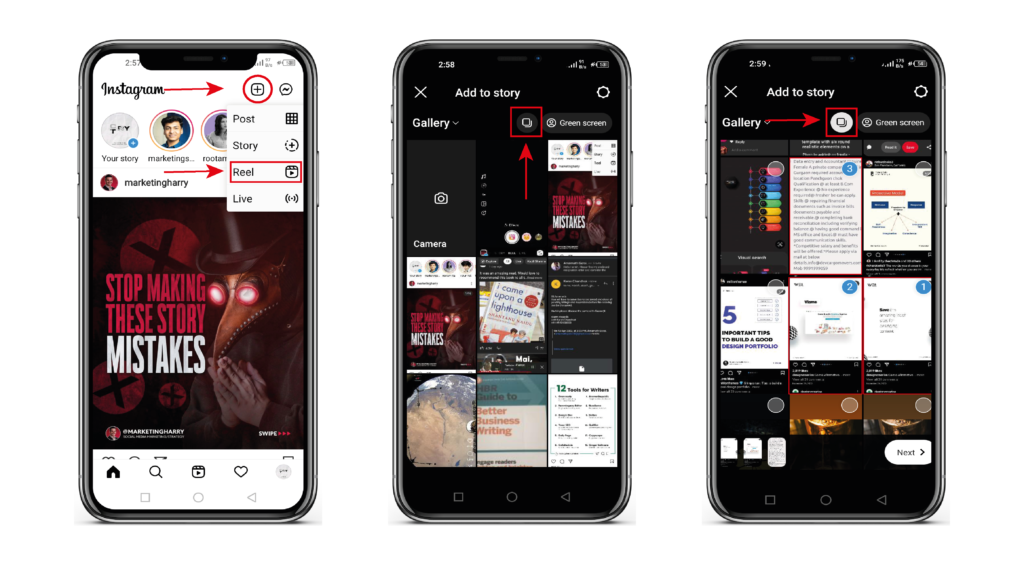
Make a slideshow:
Expert opinion
Maria
An expert on customization and new features on Instagram.
Ask a question
To select several photos at once on the PC, you need to hold down the CTRL button and select the required number with the mouse. Some formats may not be supported: a notification will appear at the top stating an error.
At the first stage, the user can select only photographs and, already proceeding to editing, select an audio file. nine0003
After a user has made a video in Reels from several photos, he can publish it on a social network.
When adding such a video, you must comply with the following requirements:
For added tracks, you can use the additional menu and rename to the original name. So the author will avoid violations and removal of the clip due to copyright. nine0003
How to add to a social network:
To use the same photos that are in the profile, the author needs to download them first or use the originals that are left in the Smartphone Gallery.
There are 4 ways to add music to photos in Reels:
 Record a track in the background;
 For example, if you create slideshows in Canva, there is a selection of free music without copyright.
To record voiceovers in Reels:
This can be a speech by the author or a piece of music played on another device. But with the latter, a copyright problem may arise: the clip can be blocked for using music without specifying the AP.
Did the article help? Rate
.
Post-gallery can be posted on Instagram: several photos and/or videos at once in one post. In such a gallery, there can be up to 10 photos and videos in total. First, we will tell you how to make a post from several photos, and then how to use it to promote on Instagram.
.
 Want to delete completely? Touch and drag to the trash icon. nine0020
 When the first gallery post appears on your blog, there will be a few dots under the photo. These points mean that there are several photos in this publication. In your mosaic account, gallery posts will have a gallery icon in the upper right corner. To view the gallery, swipe from right to left. nine0003
You can comment and like a post with multiple photos and videos as usual. But these comments and likes will not be for each individual photo, but for the entire gallery.
Edit like a normal post. Photos and videos, their order and tagged people cannot be changed. But you can geolocation and signature.
Beauty bloggers
Travelers
Sale of goods (shops, needlewomen, etc. )
)
Sale of services
Posts with several photos and videos are a logical continuation of stories. Nobody wants to spam their account with similar photos/videos, but they still want to keep them (stories disappear!). And for business, there is generally a huge field for development.