Are you seeing a “Create Page @username” on your Facebook cover photo and you aren’t sure what that means? Would you like to create a custom URL for your Page so that it can be easily found?
If you have not yet set up a custom username for your Facebook Page, you may be seeing some new text under your Facebook Page name. Don’t worry, as an Admin of your Page, you are the only one who sees that cryptic message. But it’s a good idea to get your Username set up so that your Page is more “findable” (which should totally be a word).
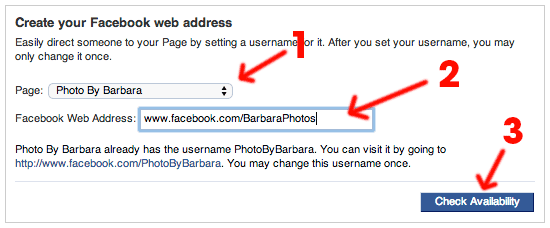
First of all, what does a custom username do for you? Didn’t you already name your Facebook Page? Yes but the custom username is also the custom URL or web address for your Page. So instead of a long Page web address like https://www.facebook.com/Cakes-Cookies-and-Creampuffs-630557690356089/, you can specify a shorter name that is easier to put on business cards like: www. facebook.com/CakesCookiesCreampuffs. Ahhh much better.
Just to be clear, the Create Page @username is only visible to Admins and the category still appears to other people:
To view your Page as a Page visitor, just click on the 3 dots and select View as Page Visitor.
When you do that, you will see that your Facebook Category is still showing and you can switch back to the regular view to manage your Page.
One important thing to note is that when you do choose a Username for your Page, the category will be removed and your Page username you choose appears under your Page name. So Facebook seems to be de-emphasizing the categories of Pages.
Facebook is now asking people to set up their Page username in the Setup process (shown in step number 3 of my How to Set Up your Facebook Page blog post) so many people are setting it up earlier.
Be careful when setting up your Username because Facebook only allows you to change it one time! And after that, it can be very challenging to change it again.
A few things to consider when choosing a username:
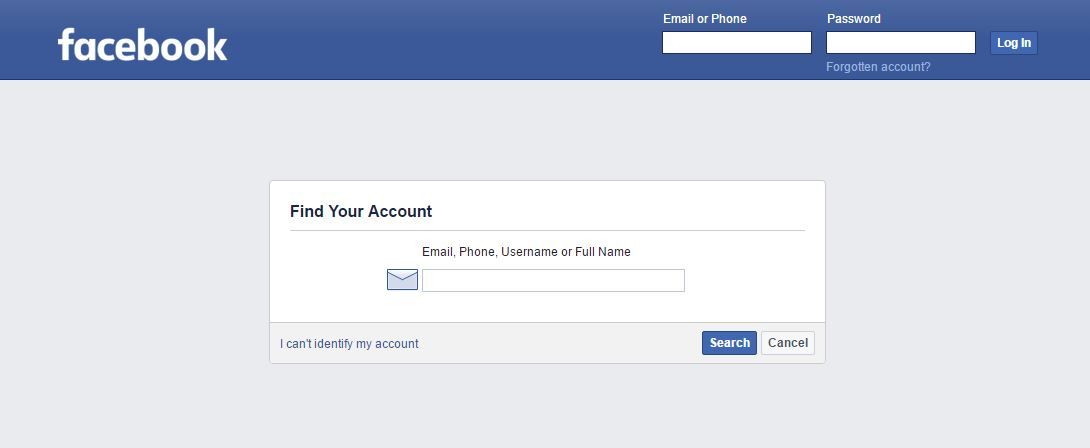
Note that I can’t help with Facebook username issues – that has to be handled by Facebook and you can message the Facebook Help Center for that.
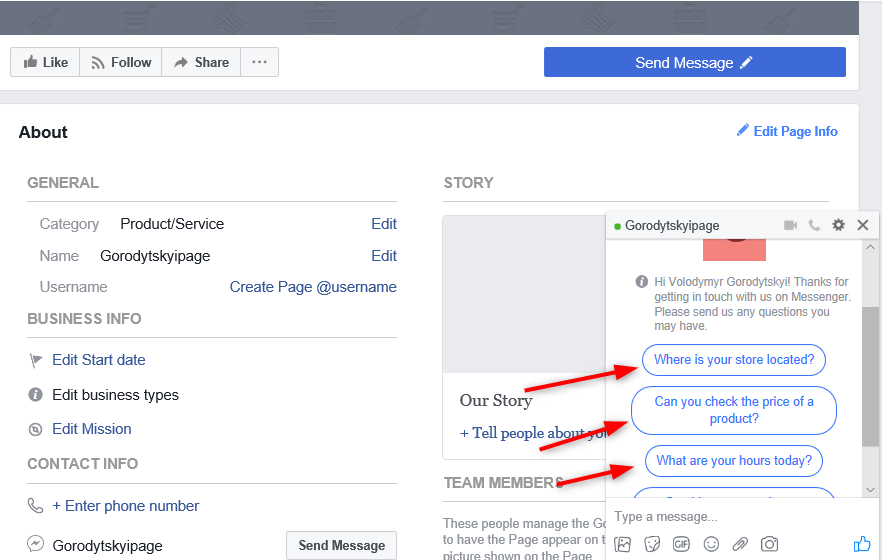
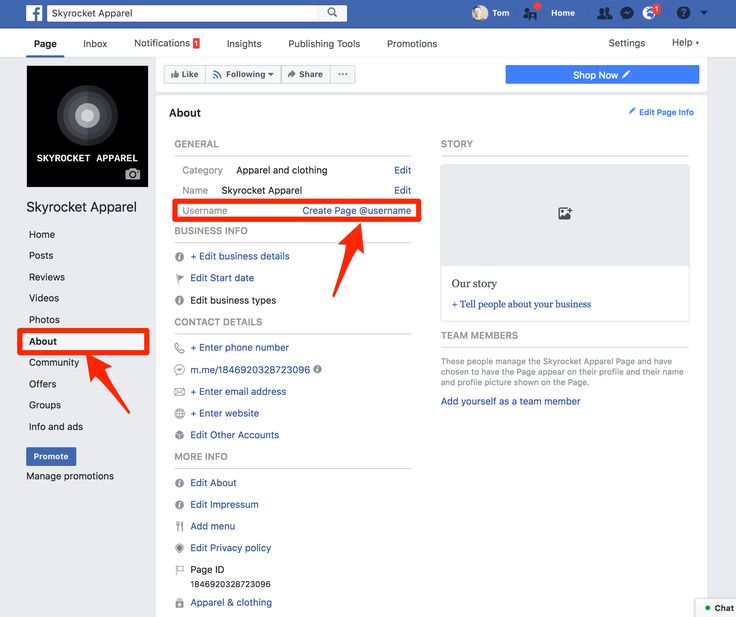
To set your Facebook Page username, you can either just click the hyperlinked “Create Page @username” on your cover photo and a popup box appears, or your username settings are in your About section of your Page.
When you click there, a popup box appears.
If your preferred username isn’t available, you will get a message that you cannot use that username.
I suggest capitalizing the first letter of each word for readability (it won’t be case sensitive when people type it in to their browsers).
Then just select Create Username and you are done!
The only thing I’m not in love with is the fact that it’s a bit redundant if you are choosing a username that is similar to your Facebook Page name. But it’s Facebook – it could all change tomorrow.
Once you set your Username, your old links to your Facebook Page (with the longer address) will still work. But now, you can use your shorter name to direct people to your Facebook Page.
Hope that is helpful and let me know if you have any questions in the comments below!
Want a PDF of this post? Get it here.
Your Facebook username serves as part of your Facebook URL, so it should accurately reflect your real name (or, for Facebook Pages, your organization or business name).
While changing your username is easy, there are some guidelines to follow. These guidelines vary depending on if you’re changing the username for a personal account or Facebook Page.
Facebook has different username requirements for personal profiles and business/brand pages.
Facebook has a strict naming policy that follows its account integrity and authentic identity guidelines. For your personal account, you should use the name you go by.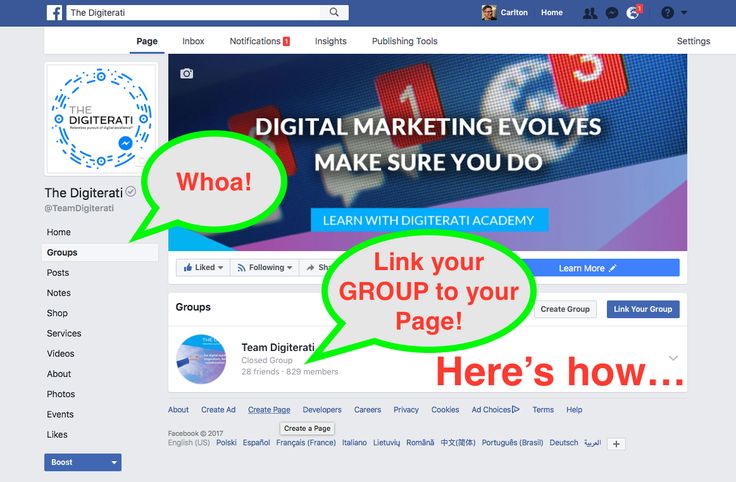 It can, therefore, be your nickname, professional name, or maiden name.
Facebook usernames cannot include the following:
If you are a page’s admin, you can change the page’s username. The username must:
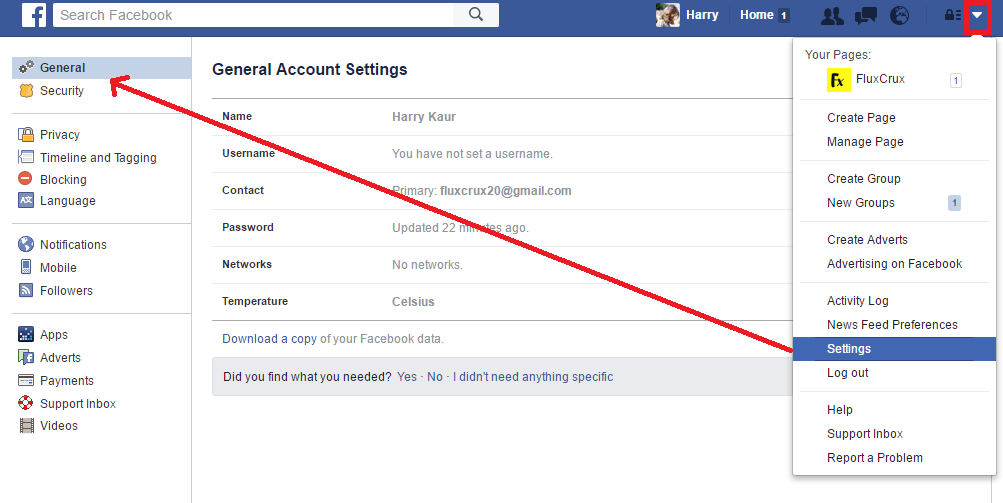
Facebook allows you to change your username only from your computer (not mobile or tablet). To change the username of your personal Facebook account, follow these steps:

Locate and click on the down caret (Source: All images are from the author’s personal account)
Click “Settings” under “Settings & Privacy”
Click “Edit” in the row that says “Username”
Enter your new username in the text box
Click “Save changes” to proceed
Enter your password to confirm your identity
After entering your password, click on “Submit”
Remember: A personal Facebook profile is only for individuals, not businesses or organizations. If you want to create a profile for a business or brand, you should create a Facebook Page.
Facebook recently released a new version of Facebook Pages. It now refers to the old version as Classic Pages and the new version as New Pages Experience.
The process for changing the username of your Page account differs for each version. In both cases, however, you must be logged in from a computer and have admin access.
Click on “Pages” in the left-hand menu

Select the Pages account you wish to edit
Click “Edit Page Info”
Enter your new username
Click “Settings & Privacy”
Click “Edit” in the “Username” row
 ” A green check mark will indicate the entered username is available.
Enter your new username in the text box
Classic Facebook Pages had five administrative roles: Admin, Editor, Moderator, Advertiser, and Analyst. The New Pages Experience condenses administrative access to two roles: Facebook Access and Task Access.
Users with Facebook Access have full or partial control over various Page functions, including:
Users with Task Access can manage Pages through tools such as Facebook Business Suite, Creator Studio, Ads Manager, and Business Manager. Users can’t control a Page’s settings (such as naming another person as an admin or deleting the Page), but they can create and manage content, respond to messages, manage advertisements, and access insights.
*Note: At the time of publishing this article, not all accounts have access to the new Pages Experience.
You just learned how the New Pages Experience offers Task Access, which allows users to control a Pages account via Facebook Business Suite, Creator Studio, Ads Manager, and Business Manager. With this new access system, numerous parties can make changes to your account. Make collaboration between these parties easy by utilizing social media management software, which allows you to plan campaigns, engage users, and track your success and reach.
Step 1.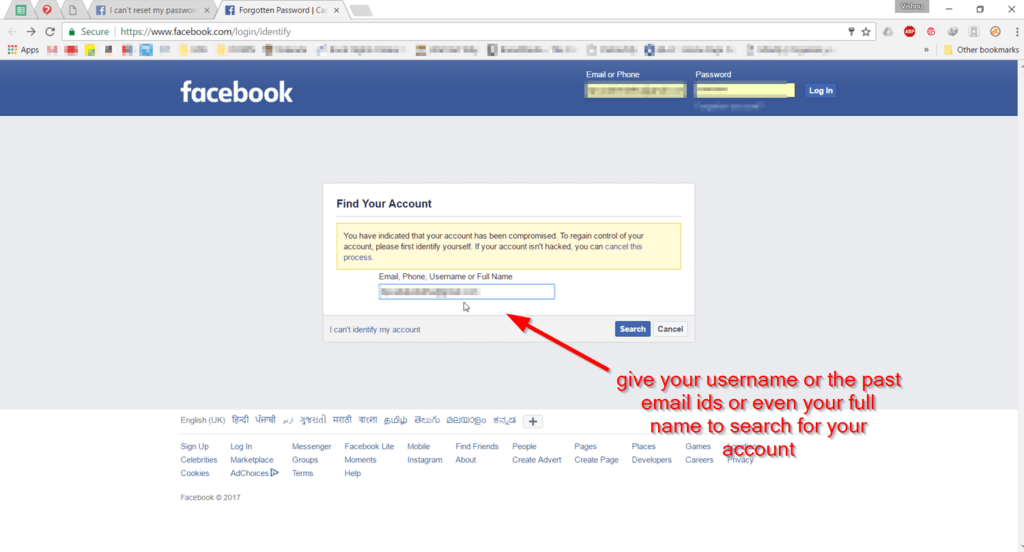 You need to go to the main page by clicking the Facebook logo. Please note that Facebook has groups and pages. Groups are more suitable for thematic communities, where the content is created by the users themselves. If you want users to create content themselves in the same community, choose a group. If you want to create content yourself, you will have a page for your company or your personal page to advertise you or your company, then you need a page.
Step 2. Open this section, here we have options - you can see the pages that you manage, and you can also create a new page. Go to the page section, there is an item "create a new page".
Step 3. Click "Create a new Page". You need to come up with a name. It should be short, concise, preferably optimized for search, contain key queries. If you have a regional community, you may also use the name of the city.
Step 4. Next, Facebook prompts you to select a category. There is a drop-down list if you click on the categories. Then you write a short description in two or three sentences, what kind of company you have, what kind of page.
Step 5. Click "Create Page".
Step 6. After Facebook says that the page has been created, you can either just save it or continue with the design. You can add a profile photo.
Cover and avatar parameters are easy to find on the Internet, the size of the top header changes, so just make a widescreen image in HD quality, at least 1900 pixels.
Step 7. So, the page is created. Then you can: add a button, a link to the site, if it exists, or a link to messages so that a person can write to you.
The default settings are pretty good. But there are some points to which you need to pay attention.
An important setting is the prohibition of user publications. You don't want someone to write something on your wall. Therefore, prohibit other users from writing on your page. This doesn't mean they won't be able to comment, but they won't be able to add a post to your feed. We also recommend that you turn on the obscene language filter.
If you will be writing posts in different languages, there is a special feature that you can enable, it is disabled by default.
You can enable a greeting and write a welcome text that will automatically be sent when the user wants to write a message.
You need to enter a username - this is the URL of your page. It is important that you have one nickname on all social networks and sites so that people can easily and quickly remember your corporate hashtag and your nickname.
Next, you need to provide contact information. If necessary, indicate the phone number, e-mail, website. If you have a regional business, be sure to include the address. Write down the geolocation, check that Facebook correctly shows and reads the desired house. You can set the opening hours.
The next step is to set up sections - active and inactive. There are a lot of them, customize the ones you need and leave what you don't need.
An important point: these sections can be dragged and moved. If you want the block with the latest videos to be at the very top, you can move it to the very top. Or vice versa: if you will not have videos, or they will be very rare, you can move this section to the very bottom.
You can set various notifications to be sent to you by SMS, email, messages, for example, when someone likes, subscribes or writes a comment.
Social or political advertising related to targeting. This feature is for political ads and things related to politics - in terms of ad safety. If you don't, ignore this section.
If you have several administrators or will have an editor - all this can be configured in the access section. Here you write the username or email address to which the Facebook account is registered, you can assign its role:
Access to analytics and advertising account: in this section you can see the current administrators, if necessary, you can add or remove someone.
In this section you can connect your Instagram account. Instagram has regular user accounts and business accounts that have the ability to create ads, have analytics and statistics. You can switch to a business account from Facebook. If you haven't done so yet, you have a regular Instagram account, here you can link it. You will be able to create ads, set up targeting, view statistics.
Notifications will also be shown here if you write to Facebook technical support.
Then you can add different photo albums - from events, thematic, group. Create a new album, come up with a title, description and upload photos. This is convenient when you need to show a lot of different media content. The same with video.
You can also create playlists. Let's say you have themed videos with different headings - organize them using playlists.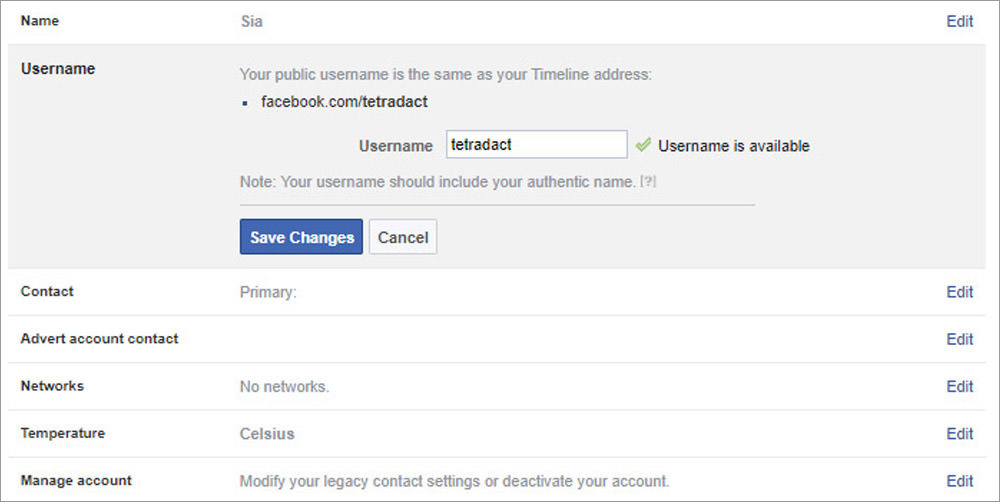
When publishing, you can upload photos and videos, add geolocation, YouTube videos. When you paste a link from YouTube, Facebook automatically converts it into a video format that can be played and watched directly from Facebook.
When you create a Facebook account (create a Facebook account) , your profile or page is automatically assigned a username (username) , which is basically your name and a set of numbers. It's relatively hidden: it only shows up in URL - your Facebook profile address , which you can send to people so they can find you on Facebook .
However, your Facebook username (Facebook username) is different from your Facebook username (Facebook name) . Your Facebook name is what other users see on your profile or when they communicate with you on Messenger (communicate with you on Messenger) .
You can change your name and username in a few quick steps.
Your Facebook name helps others know who they are talking to. If you want to change your name, follow these steps.
Note (Note) . You can only change your name to Facebook every 60 days.
You can also change your Facebook name in application (Facebook) Facebook on the phone.
if you are an administrator Pages (Page) . Changing the name of Page (Page) does not affect her username, but the name you choose must accurately reflect Page (Page) .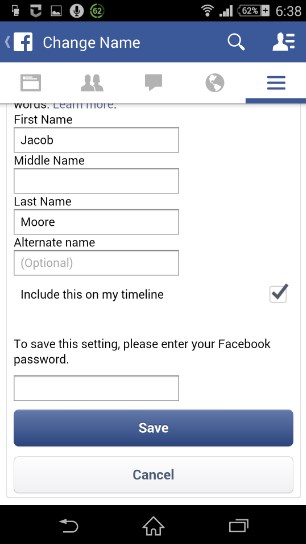
Page name must comply with Page name standards (Page name standards) Facebook .
(Note:) You cannot use the word "official" if Page (Page) is not an official Page (Page) of an organization, brand, public figure or place.
Note (Note) :

You can change your username Facebook but be careful because Facebook allows you to use each unique username only once (only once) .
In addition, the username you choose cannot contain extensions such as .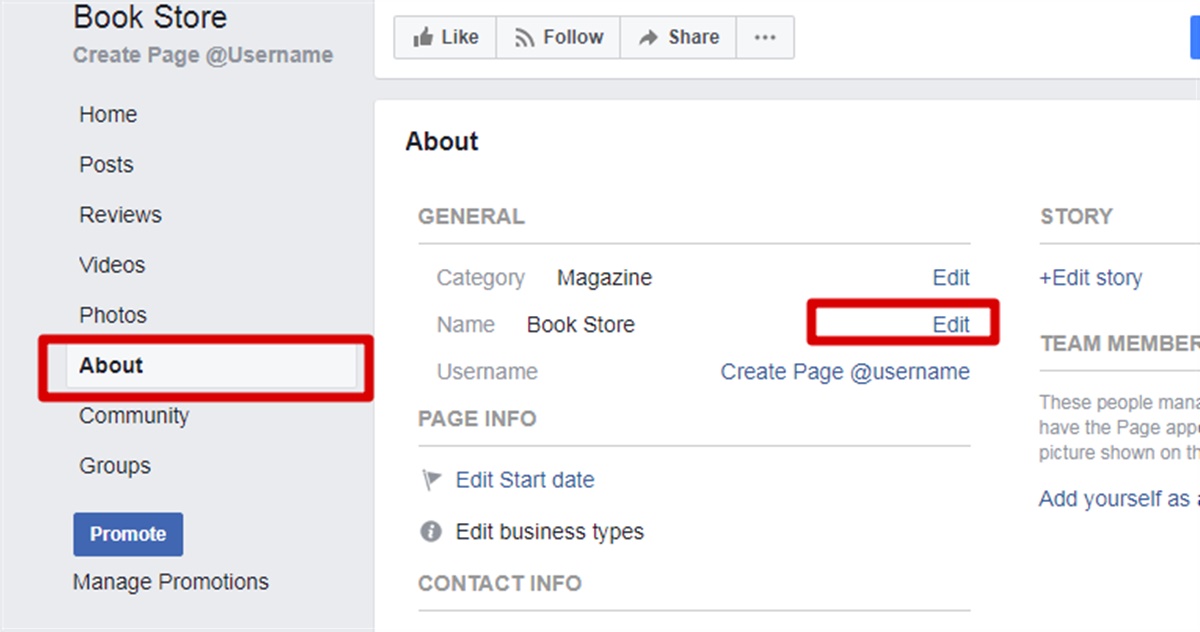 com or .org or generic terms. Usernames can only contain alphanumeric characters and dots, must be at least five characters long, and comply with Facebook terms (Facebook terms) .
Note (Note) . You cannot change your username Facebook through the Facebook mobile application.
If you have a Facebook Page's Username and want to change its username, you can do so, but you must be administrator page , and the page must comply with (Page) Facebook page username standards (Facebook’s page username standards) .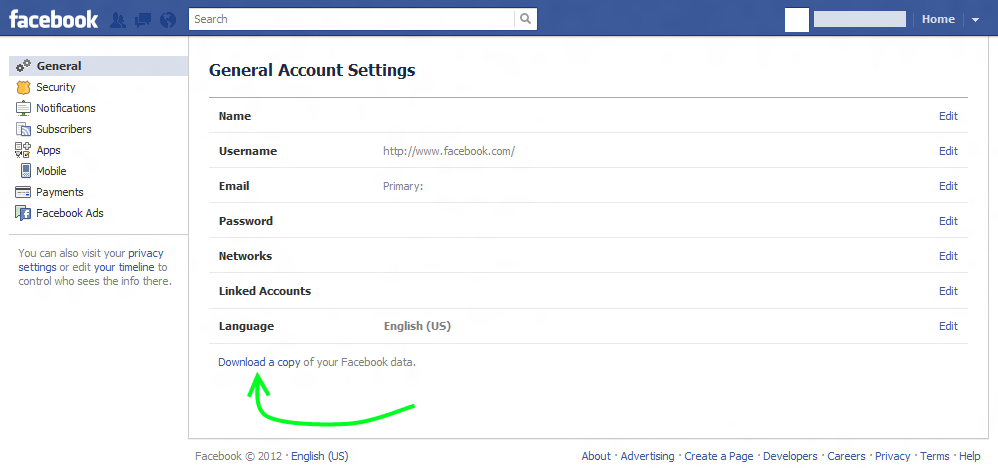
Note (Note) . Sometimes you may need a specific username, but it is not available. This may be because the name is already taken by an unpublished Page.
There are several reasons why you can't change your name to Facebook , including: