If you're the type of person who often makes long, informative posts on Facebook, you've probably gotten the request, "Can you make this shareable?," a few times before.
Facebook's sharing feature is a great way to allow folks to spread posts, in their entirety, from the original source, instead of just reposting.
People share posts for all kinds of reasons: Maybe it contains an encouraging message, or gives information about a serious issue that many people are unaware of. Maybe it talks about an event that's going on, or asks people for help with a GoFundMe for a good cause. No matter what the reason or what the post, allowing people to share them always works the same way.
Here's how to allow people to share your post on Facebook.
 99 at Best Buy)
1. Find the post you want to make shareable and click the three dots in the upper right corner.
2. In the little pop up menu, click "Edit Post."
Click the three dots and then "Edit Post." Melanie Weir/Business Insider3. At the bottom of the post pop-up, next to the "Save" button, click the drop-down menu to bring up the post's privacy settings.
4. From the menu, select "Public," then click Save.
1. Find the post you want to make shareable and tap the three dots in the upper right corner.
Find the post, then tap the three dots in the corner. Melanie Weir/Business Insider2.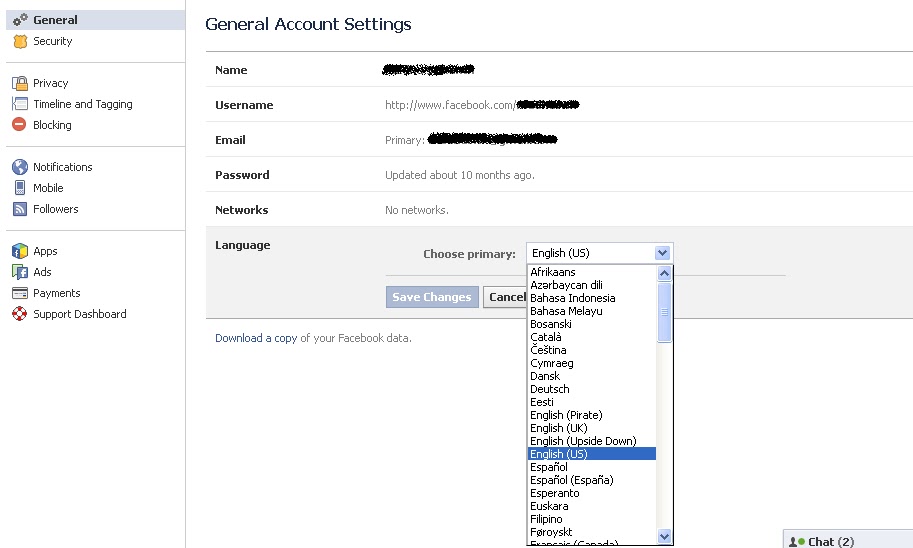 In the pop-up menu, tap "Edit Privacy."
3. In the "Privacy" menu, tap the checkbox next to "Public," then tap "Done" in the upper right corner of the screen.
Tap "Public", then tap "Done." Melanie Weir/Business Insider
Melanie Weir
Freelance author
Melanie Weir is a freelance author for Insider, mainly focusing on the Tech Reference section, but occasionally contributing to Lifestyle and Entertainment topics as well. She is also a freelance writer for ScreenRant, and is the Lead Weekend News Editor at TheThings.com. In her spare time she writes plays for both stage and screen. She can be reached at [email protected], or through LinkedIn.
Read moreRead less
Insider Inc. receives a commission when you buy through our links.
Specify who you want to see your posts
Being active on social media sites like Facebook or Instagram can be a rewarding way to stay in touch with friends and acquaintances.
Social media sites are made for sharing, but chances are you’ve seen this comment on someone else’s post: “Is it okay for me to share your post? Can you make it shareable?”
Table of Contents
This happens when a post hasn’t been made public. In other words, if the privacy settings on the original post are set to “Friends Only,” then that post will lack the Share button. Fortunately, adjusting the privacy settings to allow sharing on a Facebook post is easy, and we’ll show you how below.
There are two main ways to allow sharing on Facebook. You can either make a specific post shareable, or you can change your default Facebook timeline privacy settings so that all your future posts are made public.
First, let’s run through how to make a specific post shareable, either on a computer or on Facebook’s mobile app.
Setting your Facebook post’s audience to public will make your post shareable.
 Depending on your default settings, the audience for your post might already be set to public.
 Now you’re good to go. Anyone on Facebook will be able to view and share your post.
Setting your post’s audience to Public is just as easy on mobile.
If you want all your future posts on Facebook to be set to a public audience, you can change your Timeline’s default settings. The easiest way to do that is to go through Facebook’s Privacy Checkup.
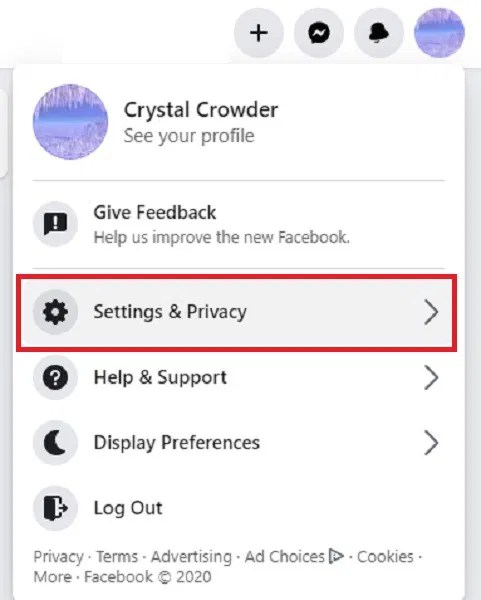
Facebook’s Privacy Checkup is easily-accessible on a desktop browser.
You can launch Facebook’s privacy checkup on mobile, too.

You may have noticed that there are multiple places where you can change your privacy settings on Facebook. It’s a good idea to review these settings from time to time, ensuring that your privacy settings are configured the way you want.
Now that you’ve made it easy for other people to share your Facebook posts, you’d better post something worth sharing!
Knowing that “video and animated content does far better than photos when it comes to social networks and the internet in general,” here’s an idea for you: Learn how to make your photos come alive with our article on 6 Ways To Animate Still Photos Online Or With App.
';document.getElementsByClassName("post-ad-top")[0].outerHTML='';tocEl.outerHTML=tocHTML+newHTML;}}catch(e){console.log(e)}
Maggie Marystone is a freelance technology writer, human rights worker, and storyteller based in Chicago. Read Maggie's Full Bio
Subscribe on YouTube!
Did you enjoy this tip? If so, check out our very own YouTube channel where we cover Windows, Mac, software, and apps, and have a bunch of troubleshooting tips and how-to videos. Click the button below to subscribe!
Subscribe
Help Center
Using Facebook
Stories
We're updating the mobile version of Facebook.com. More
Anything you add to your story will appear on Facebook and Messenger. The story will be seen by the same audience in these apps.
You decide who you share your story with and can change your settings at any time.
To change history privacy settings:
Add a photo or video you want to share in your story.
Click the icon below Your Story and select an audience:
Public - Your story will be visible to friends and followers on Facebook, as well as people you interact with on Messenger. In this case, only your friends will be able to answer it.
Friends - Only your Facebook friends will see your story in the Facebook and Messenger apps, but not your Messenger contacts.
Custom Audience - Your story will be seen by the people you choose.
Click Change.
To hide your story from certain people:
Classic Mobile Browser
Open the Facebook app for iOS or Android.
Set the audience to Friends for the story.
Click Hide history from.
Select the people you want to hide your story from.
Click Done or the icon at the top of the screen, and then click Save.
New version for mobile browser
Add the photo or video you want to share to your story.
Tap the icon under Your Story and select Friends.
Click Hide history from.
Select the people you want to hide your story from.
Select Save and click in the upper left corner of the screen.
The people you added to the Restricted Access list will not be able to see your history.
Is it possible to change the audience of an already published story?
Changes made to the story's privacy settings will be applied to all existing and future photos and videos in the story. You can change these settings at any time.
Was the article helpful?
Related Articles
Changing Facebook Privacy Settings
Facebook Privacy Settings
How do I change my Facebook photo privacy settings?
Change privacy settings for photo albums on Facebook
Information
Confidentiality
Conditions and rules
Advertising preferences
Vacancies
COOKIE
Create an ad
Create a page
Facebook-excellent online. where people meet, communicate, start business and even personal relationships. However, for a considerable number of people, the degree of openness and transparency that Facebook offers to its users is not an easy test. After all, these people value privacy very much.
Therefore, we will analyze how to protect your account from unwanted interest, and how to make sure that information about one user does not become public domain.
Content:
There are no so-called "private profiles" on Facebook, when information about the user is available only to him. However, this does not mean at all that the social network toolkit does not contain the components necessary to protect information. Each user is able, using individual settings, to determine the degree of accessibility of the information contained in his profile.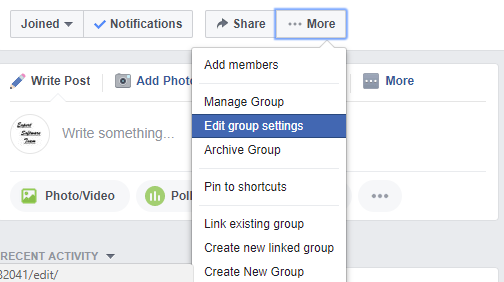
Facebook's privacy settings are responsible for this segment. This is a very extensive section in the settings menu. In addition, users should be aware that the social network offers them to choose the privacy settings for the published content.
When placing a post or any information, the user can see icons in the form of a padlock, a silhouette or a globe next to the field to be filled. They are the regulation of the degree of confidentiality of information and content posted on the social network. What is not for prying eyes should be marked with a padlock, since this level of confidentiality means that the publication is completely closed to everyone except the account owner.
In the desktop version of Facebook, you can block access to your personal profile in the following way:

If there is a desire that any information in the Facebook profile should not be available to outsiders at all, and if privacy settings apply to it, then you can safely use the "Only me" option.
Only allow some friends: if there is something that can only be accessed by some friends, then you can give them access using the "Specific Friends" access.
Exclude only some: there is an option "Friends except", which optionally allows you to filter access to users who are in the friends list.
Important! Every Facebook user should know how to check the availability of personal information that he entrusts to the social network.
To do this:
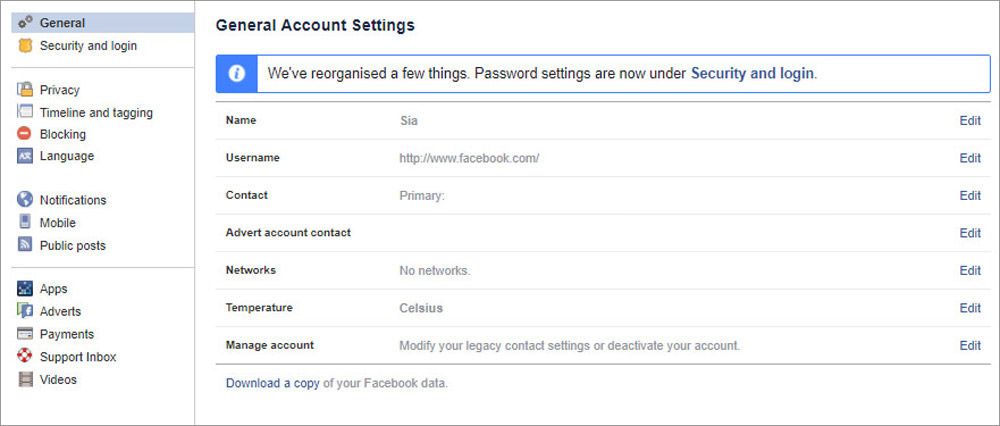
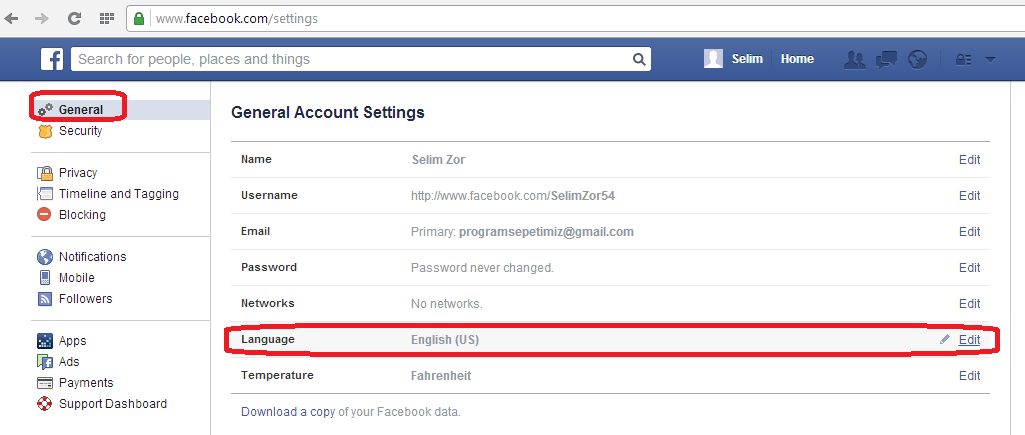
In particular, if you don't want everyone to know where you work, remove the default globe icon in the Work and Education section. Select, for example, "Friends only". The same is desirable to do with the email address and phone number.
When using a social network using a mobile device, you can hide information that is not supposed to be available, so to speak, to the general public.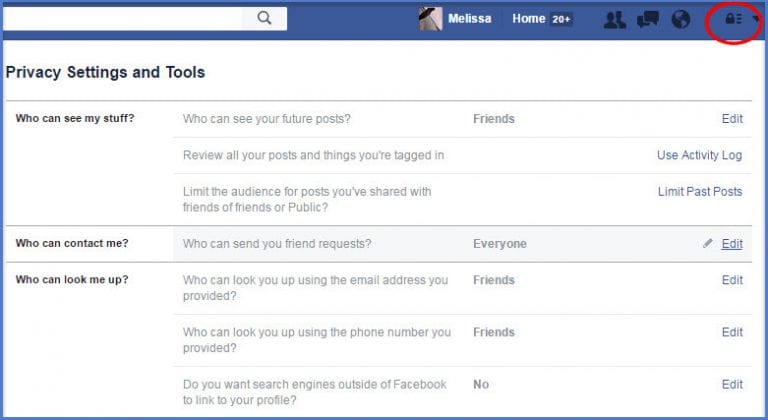
What you need to do:
The lower part of the section is given for options that are responsible for the degree of confidentiality of publications, subscriptions and stories. In the same place, if necessary, you can configure accessibility levels.
As you know, the page is a kind of account on Facebook, available to all users. Therefore, the page cannot be closed.
But certain actions can be taken to regulate the degree of confidentiality.
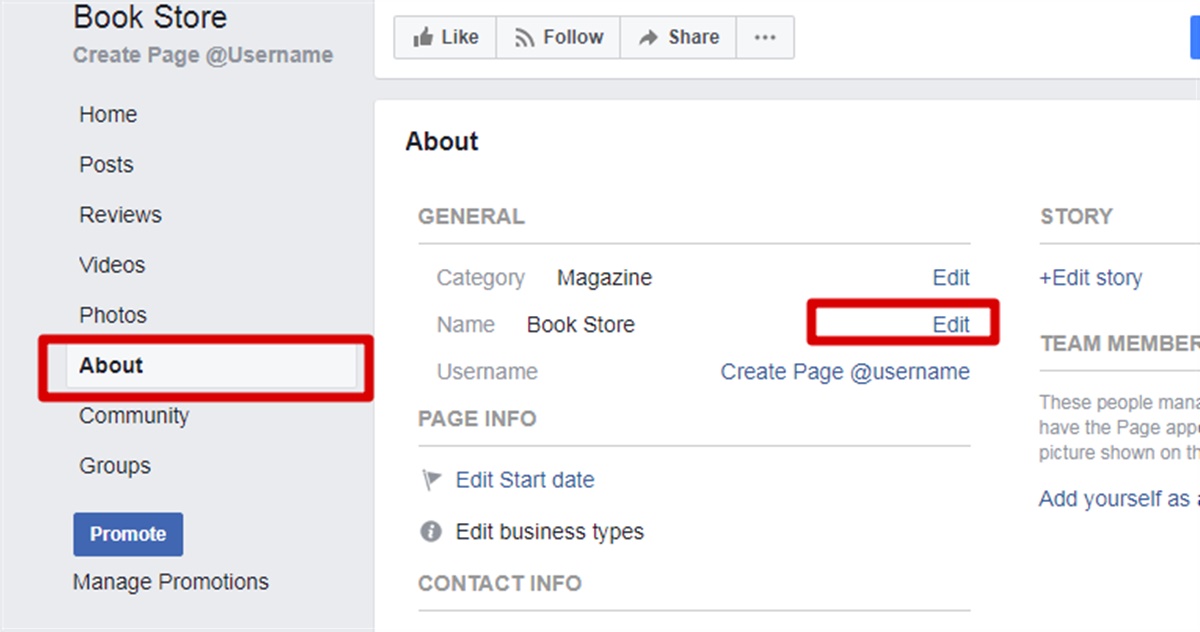
If an unwanted publication appears on the page, you need to click on the name of its author, then on the ellipsis and click "Deny access to the page."
To introduce these restrictions, you need to:
If you need to enter a restriction for users of a certain age, then in the "General" section there is a subsection "Age restrictions".
Facebook groups can also set different levels of accessibility for users who are not members of these communities. By this parameter, groups are divided into:
Group privacy settings on Facebook have some specifics: you can only change the privacy level of a group once every 28 days. If the group has less than 5 thousand members, there are no problems with group status changes. But if the number of participants is more than 5 thousand, and the group positions itself as closed, it will not be able to switch to open status.
How to change the status of a group:
.png)