What is Facebook Business Manager?
How do you set your Facebook Business Manager account?
Why do you need one to run WhatsApp Business ads?
Today I’m gonna show you exactly what you need to know about Facebook Business Manager before you start running your WhatsApp ads.
This is the guide that got me:
And now continue growing our WhatsApp Business guides and courses!
Everybody can learn Facebook Ads, so to be clear this won’t be a technical mess. You already have what it takes to learn all this.
EXCLUSIVE BONUS: Start growing your business with our Ultimate WhatsApp Business Guide! Get your FREE copy with more info to learn how to use and grow your WhatsApp.
The Facebook Business Manager is, as Facebook explains it:
“your one-stop shop to manage business tools, business assets and employee access to those assets.”
It’s basically the place where you manage your marketing activities online. You can also analyze that data and assign people to work with you.
Here are some key functions:
It’s a separate link from Facebook.com, in that it’s focused exclusively on ads.
You can access it via business.
facebook.com.
Everything you do should be done here: from sharing your ad account with others to reaching shop owners in Peru.
Your Facebook Business Manager account can do it all.
This is going to be our main tool in everything we do from now on, so let’s create an account.
How do you set up and create a new Facebook Business Manager account?Follow these steps to create your first Facebook Business Manager Account:
Log into business.facebook.com
1. Click on Create Account and log in to your regular Facebook account.
2. Type in your business details.
3. Check your email and click on confirm now.
Done!
That is all you need to set up your Business Manager account.
You’ve certainly seen that Facebook allows you to launch ads by boosting your Fan Page posts.
This is the absolute worst way to create an ad on Facebook.
Why?
You’re shooting in the dark, hoping that this will reach the right people.
And hoping is not a good plan.
What the Business Manager does is it removes uncertainty when it comes to how Facebook is spending your money.
You need to be in control of all this.
Who am I reaching?
When am I reaching them?
How much am I spending?
The Business Manager will let you know and control all of this. You want your plans to be executed exactly like you planned.
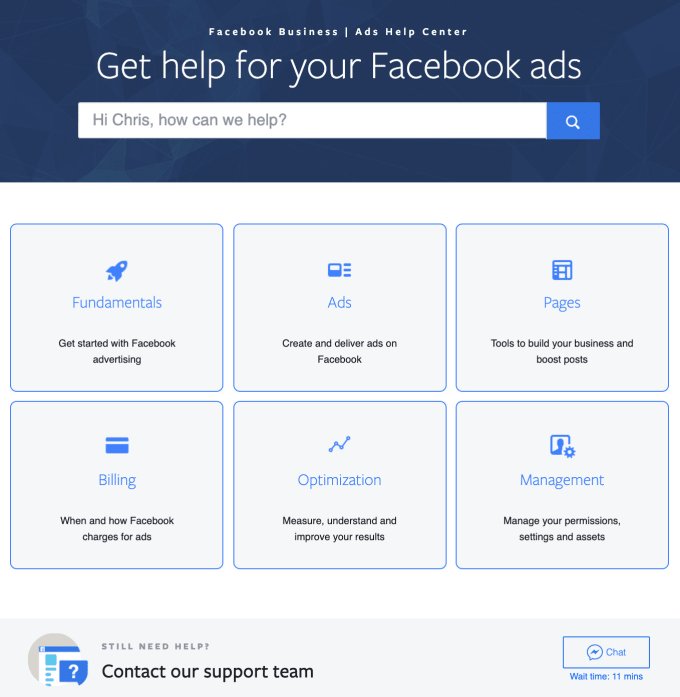
I go over this in detail in this video.
That being said, let’s go over the Facebook Business Manager’s Menu.
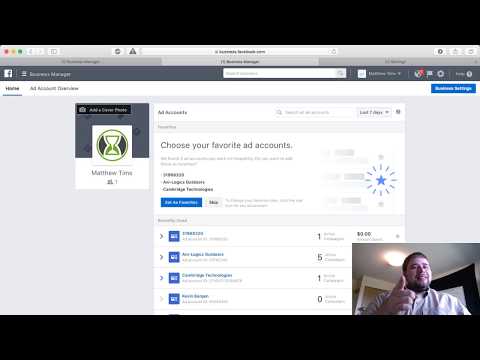
How to use the top bar menu…Once you’re in your Business Manager account, it can get confusing.
On the left, you’ll see a menu with several options.
Let’s go over each one more in depth:
These are the main ones, there are more on the top right submenu but we won’t get into those for now.
This is the place where you create ads!
Choose an objective, set up an audience and choose what image or video you’d like to boost.
See every campaign you’ve done in the past and create a new one whenever you want to.
Most of your time as a marketer will be spent here, this is the muscle of your online business.
When you see an ad on Facebook, know that it has three key components:
If you wish to go more in depth with this, I wrote a blog post explaining it.
You need to analyze your ads’ performance if you want them to be effective.
That’s why this section lets you analyze metrics and build reports for your ads.
You can break them down by
An ad account is basically the grouping of all your specific ad activity. You can manage multiple ad accounts via your Business Manager.
Your ad account details, pages, notifications and payment settings are accessed via the ad account settings.
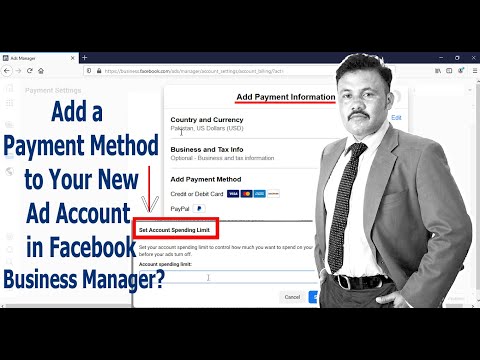
Also, you can’t publish your ads if you haven’t set a payment method.
To set it up:
1. Go to your Business Settings.
2. Click on ad account settings.
3. Set up your billing details.
Facebook’s very transparent with how they will bill you.
Here’s their policy:
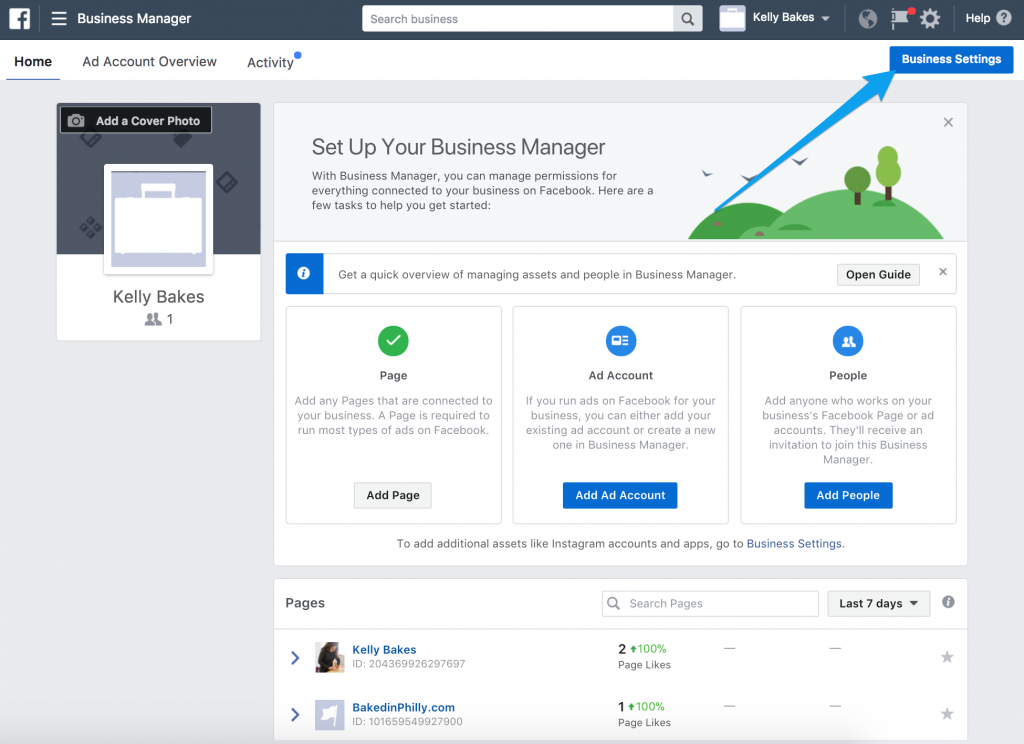
Facebook Business Manager SettingsBusiness Settings will lay the foundations for your online business.
You’ll see it’s importance more in depth later on in this post, but…
What you can do on the Business Settings is basically what an executive would.
You can hire people, initiate a partnership and assign different roles within it.
You can create your data analysis department and show Facebook where to get the information from. Or, you can give somebody exclusive access to just the data.
Link other sections of Facebook by connecting ad accounts, fan pages, instagram accounts and apps.
We’ll be using business settings a lot.
Events ManagerThe events manager is designed to simplify data collection, discovery, management and troubleshooting.
This can get tricky and it has lots of options to choose from.
However, the most important aspect here is the Facebook Pixel and it’s integration with your website.
We’ll go more in depth with the pixel later on. For now, just know this is where you set it up and track data on your website.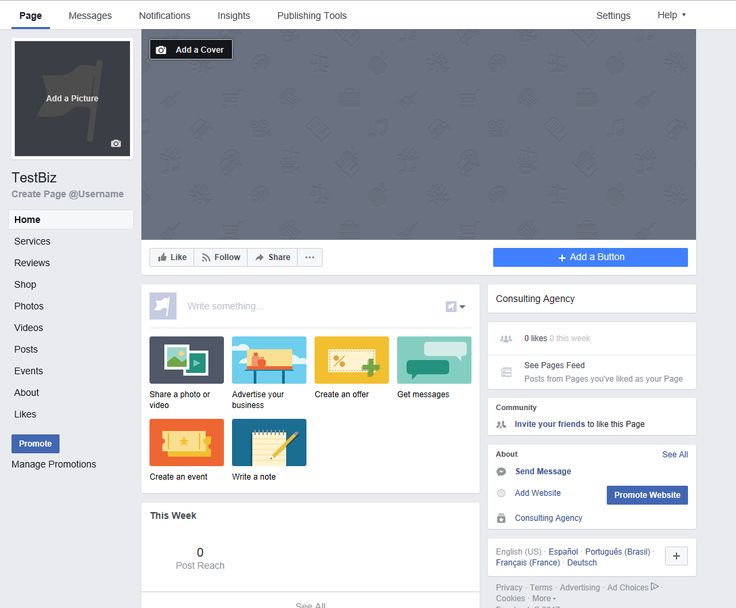
Adding a fan page is telling Facebook which page you’re gonna boost.
A fan page is different from your business account in that one controls the other.
Here’s a video explaining the differences.
You need to select a post to boost and the results will be attributed to your Fan Page.
Have you ever seen a regular post with thousands of likes?
Yep, that boosted post is part of a fan page integrated with somebody’s Business Manager.
To add a new fan page:
From the Business Settings, go to Accounts.
Choose to use an ad account you own, request access to someone else’s or create a new ad account.
Indicate that you’re using the ad account for your business and click create.
If you choose to add an existing one, enter the account’s ID. Here’s how to find it.
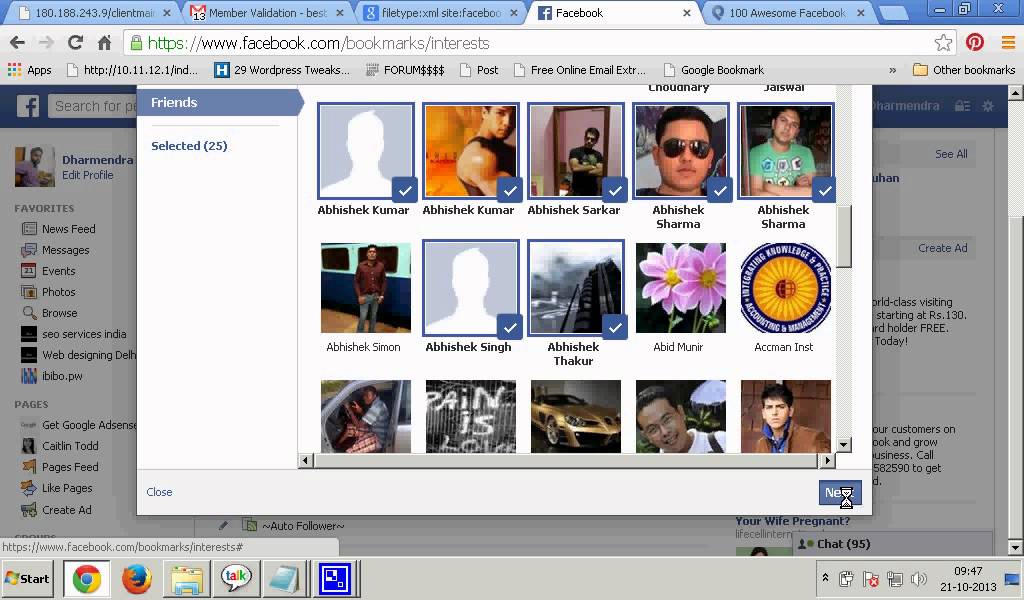
Follow the guide to select people and access levels.
EXCLUSIVE BONUS: Start growing your business with our Ultimate WhatsApp Business Guide! Get your FREE copy with more info to learn how to use and grow your WhatsApp.
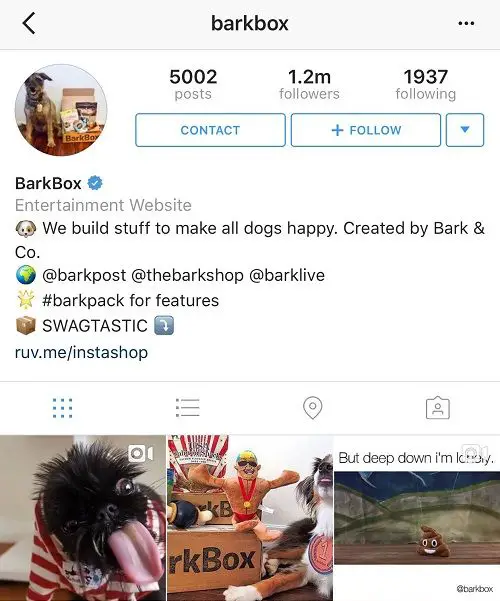
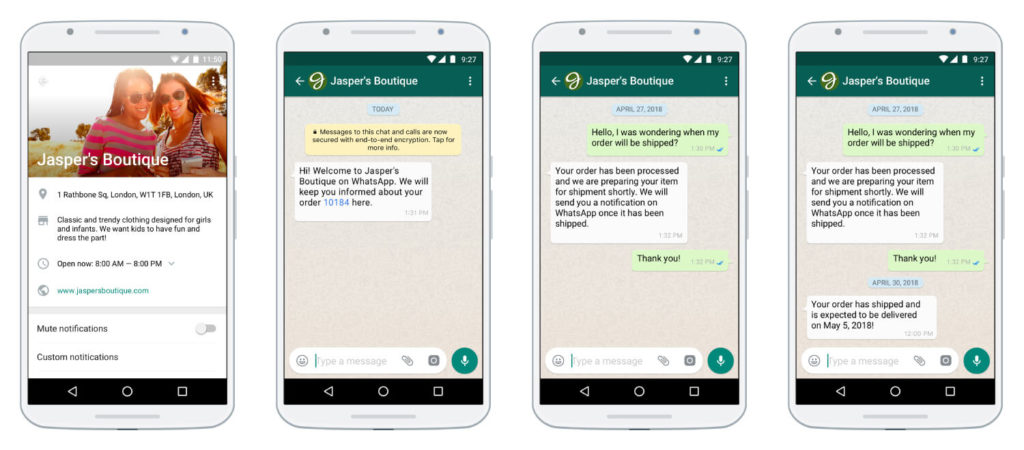
How to add your Instagram AccountAdding an Instagram and WhatsApp account to your Business Manager is simple and important.
First, go to your main ad account menu and click on your Page:
ad
Then, go to the top right and click on Settings.
On the left menu you’ll find the Instagram option, click on it.
And then you just log in to your Instagram.
How to add your WhatsApp Business Account?WhatsApp is very similar, right below Instagram on the left menu there’s a WhatsApp option.
And you’re done! You’ve successfully connected both. Here is a tutorial with more info on how to connect both:
Subscribe to our YouTube Channel!
Which means, you’ll be able to advertise on three places now: Facebook, WhatsApp and Instagram.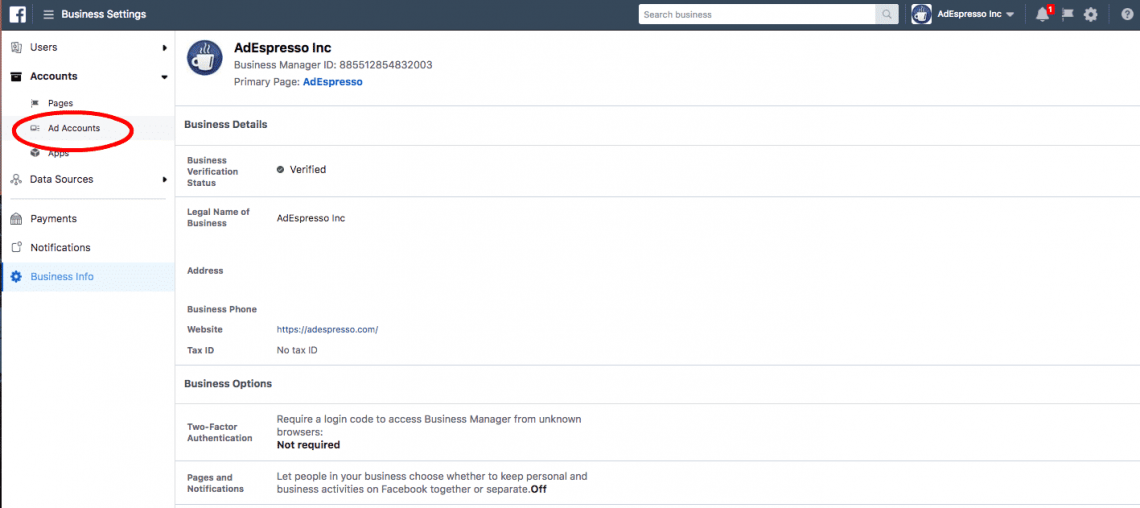
Roles within the Facebook Business Manager need to be done carefully.
One time, I assigned somebody the wrong role and he straight up stole the business from me.
I gave him all the access he needed to do whatever he wanted with my ad account. Including removing me from it.
Pretty ugly.
What assigning roles means is you distribute access to your account. You control what people can and can’t do.
Your community manager will have a different access than your growth marketer. Same with the owner and the ad agency you might be working with.
There are two layers:
Here’s a visual guide:
Add accounts work a little differently. An analyst position is available at the ad account level.
A page is an asset that can only be claimed by one Business Manager. However, they can have people that access their DM’s and can post on it.
This allows you to buy ads. People with this access can create and launch a campaign on the Ads Manager section.
Allows you to access the associated apps’ data and settings.
Pixels are what allows you to track people outside of Facebook and create audiences from it.
Each Business Manager can create up to five.
People with this access can see existing audiences and create new ones for later use.
Here’s a great infographic on permissions from Facebook’s official page:
So basically, an administrator can do anything.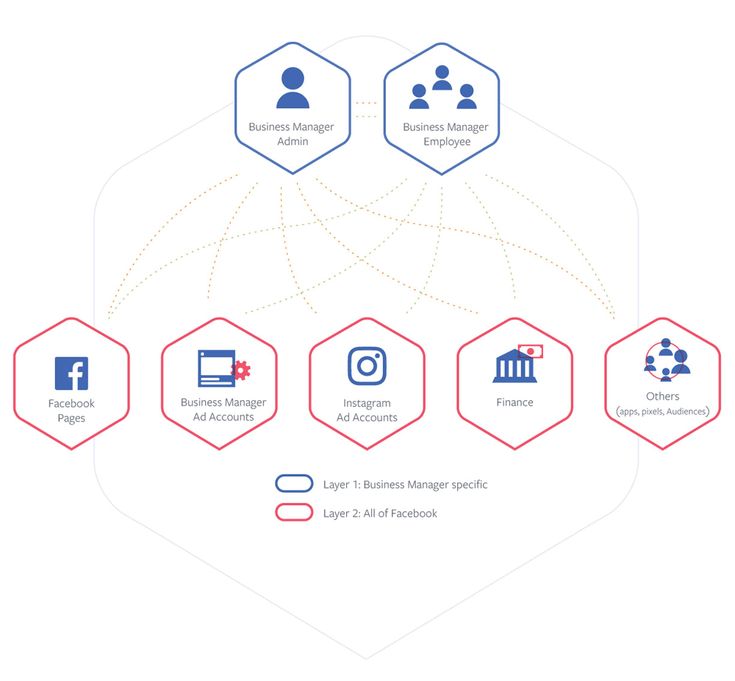 They can add or remove people. They can see all data and they can create or delete the business.
Employees can see all data but can’t change anything unless the admin gives them access.
Keep people away from the admin position.
Only you or people you completely trust should be able to access the admin settings.
How to add agencies or partners to your FB business manager?Maybe you need an agency to manage your ads for you. Here’s how you add an agency or partner:

A pixel is a piece of code you place on your website.
This allows you to collect data, track conversions and build more targeted audiences.
For instance, if you had a pixel on your fashion website you could show a different ad to people who showed interest in the blue, red or green dress.
Here’s how to set up your Facebook Pixel:
Now, there are several ways to install the Facebook Pixel on your website.
You could use the Google Tag Manager, install it directly on your header with HTML or work with a partner to do it.
Either way, this is key to creating custom audiences later on!
I go more in depth about the pixel in this blog post.
Facebook Business Manager is THE tool that every great marketer needs.
You now know the foundations of what will be your digital business. Build upon them and create something amazing!
Now I’d like to hear from you.
Have you been doing any of these steps wrong?
Let me know in the comments below!
In the next blog post, you’ll learn The Beginner’s Guide to WhatsApp Ad Types. You’ll be able to launch your first Ad!
Knowledge is action, remember to experiment by yourself.
See what works, see what doesn’t. If anything happens, you’ll have these 7 blog posts to guide you along the way!
EXCLUSIVE BONUS: Start growing your business with our Ultimate WhatsApp Business Guide! Get your FREE copy with more info to learn how to use and grow your WhatsApp.
by Jon Loomer - No Comments
If you manage Facebook ads for others or have an agency manage your ads, the sharing of assets in Business Manager is critical. The proper people need access to accounts including Facebook pages, Instagram business profiles, WhatsApp accounts, and more.
Previously, we discussed how to add Business Manager users (people, partners, and system users). Now, let’s go through the steps of adding some of these accounts to Business Manager so that those people can manage them.
To access these accounts, go to your Business Manager and open Accounts at the top left.
To add a Facebook page, select “Pages” under “Accounts” in the Business Manager menu. Then click to add.
If you’re the brand and need to grant access to your page to an employee (person) or agency (partner), select the option to “Add a Page.”
Enter the name or URL of the page you want to add. Once added, you can give access to this page to a person or partner.
If you don’t own the page and want to request access to another business’ page, select the second option (“Request Access to a Page”).
Once again, enter the name or URL of the page you want access to. When you move forward, you can toggle what specific access you want to that page.
The owner of the page will have the ability to approve or decline that access. If you need help with either of these, read my post about adding Business Manager users for more info.
You can also add an Instagram business account to your Business Manager. First, make sure that this is a business account and not a business profile. If it’s not, do the following…
1. Go to Settings from your Instagram app on mobile.
2. Select “Account.”
3. Click “Switch to Professional Account” at the bottom.
4. After selecting a category, indicate whether you are a creator or business (you can change this later).
5. Select the Facebook page this account is connected to. You’ll need to be the admin of that page.
Now, let’s add that Instagram business account to Business Manager. Click to add an Instagram account under Accounts in your Business Manager. Then click the button to connect the account.
Once added, you can assign partners and connect assets like ad accounts to your Instagram account.
First, you will only be able to add WhatsApp business accounts to Business Manager. Make sure you’re using the WhatsApp business app, not personal.
Under WhatsApp within Accounts in Business Manager, click to add. Then enter the phone number associated with that account.
A verification code will be sent to your WhatsApp account. Once confirmed, your account will be added to Business Manager.
You will then be able to assign your WhatsApp business account to a partner under Users.
Are you having issues adding social media accounts to your Business Manager?
Let me know in the comments below!
Tags: Facebook Business Manager
WhatsApp Business API is designed to ensure that businesses always stay in touch with customers and be the first to write without fear of restrictions.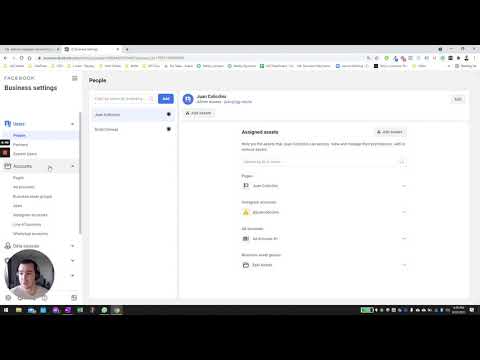 However, it is not always possible to immediately connect and configure it. Read this guide and you will be able to pass verification the first time.
The first 6 steps are preparatory. If you already have a verified Facebook business account, then skip to step 7.
In order to create a Facebook Business Manager, you must have a personal Facebook page. So if you don't have one, create it. After that, you can start creating FBM:
 A confirmation email will be sent to your email, which you will need to confirm.
 Business Manager profile ready.
|
 Create a business page
 Only a business account can be verified, not a public community. Therefore, a business page is needed.
| To speed up verification in the future, the page must be active. Develop the page right away:
7. Fill out the provider's formWrite to us in the chat and we will send you an application form. In it you need to specify:
Check the I agree to the 360dialog Terms of Service checkbox and click the Accept Terms button. Save your login and password, you will need it in the future to connect, create HSM templates, change settings and name. 8. Connect Facebook Business Account After filling out the application, you will find yourself in your 360Dialog account on the Facebook Business account connection page.
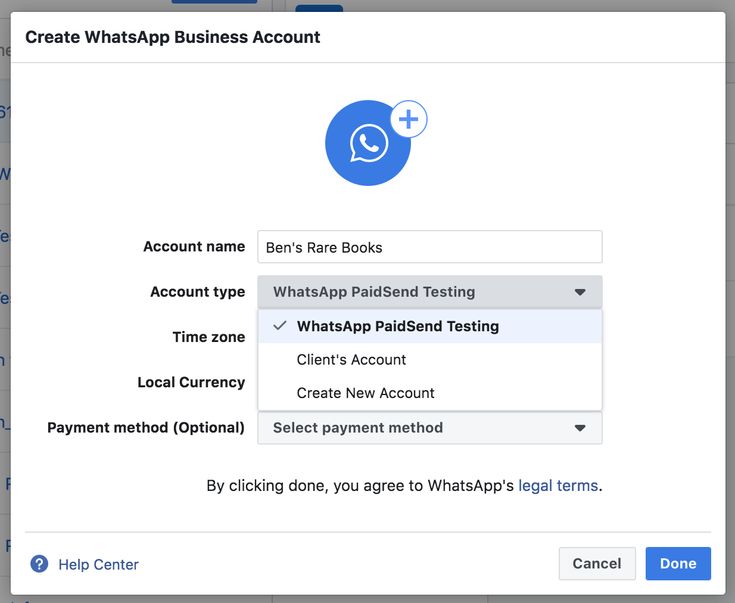
Step 1 of 3: Select or create a WhatsApp Business account. On this page you can log in to an existing Business Manager or create a new one.
Step 2 of 3: Create a WhatsApp Business Profile
Step 3 of 3: Verify WhatsApp Business Number Your customers will see this number. Select an existing one or create a new one. Please delete your WhatsApp account from other devices before doing this.
9. Accept the request for correspondenceAfter you send a request to connect WhatsApp Business API, in section Requests Facebook Business Manager will receive a message request from a provider. Accept it. 10. Confirm the companyYou have done all the preparatory work, now you can send the company for confirmation.
Individuals, individual entrepreneurs and LLCs can verify a company. Document requirements:
|
|
.
Please use a valid phone number and email address as this is where the verification request will be sent.
The application is fully formed and sent to Facebook for verification.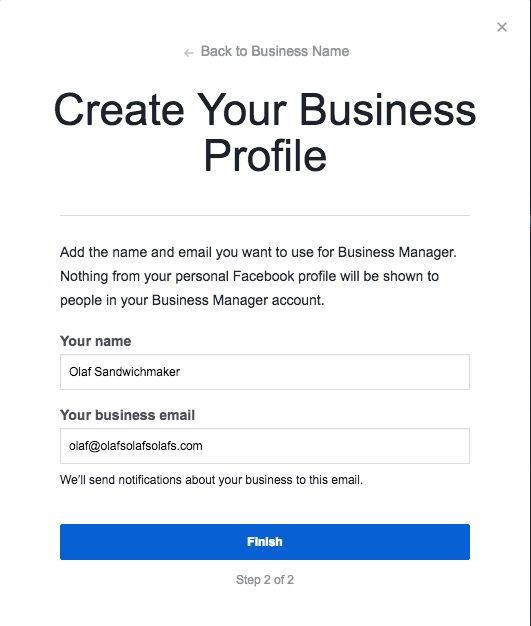 If before that you did everything correctly, then verification will be quick and without problems.
| Be careful: you can copy the key only once, it will not appear again. Therefore, save it just in case in a separate file. |
The received key must be inserted in your personal account in Chat2Desk. After that, the number will be activated. Open Accounts & Channels, select the number associated with WhatsApp Business API, click on the pencil icon and enter your API key.
 Start chatting
 After you have connected WhatsApp Business API, start chatting with customers. It's kind of like verification. WhatsApp will know that you are serious and will not block or disable your account due to inactivity.
Done. You have been verified, you can now use the WhatsApp Business API.
The next step is to create HSM templates in your 360dialog account and send them from Chat2Desk. We will tell you how to do this in this guide.
Important to know
Correspondence has a "lifetime": as soon as you receive a message from a client, you will have a window of 24 hours for correspondence. Outgoing messages from you do not extend this window.
Correspondence is charged in the following cases:
 Until you have verified your WhatsApp Business API account, there will be a limit of 250 outgoing messages per day.
 You can verify your company in Facebook Business Manager to access certain products and tools for your business and fully use the WhatsApp Business API channel to create chatbots. Also, a verified company inspires more trust among users.
Company Verification differs by region and type of business, but is generally documented proof of information entered in a Facebook Business Manager (FBM) profile.
Go to the "Company Settings" of the selected company page in FBM and select the "Security Center" tab.
Click on the "Start Verification" button.
Please note: if your "Start confirmation" button is not active, then you have recently created a company page or it is inactive. Also check the items at the beginning of the step: the page is active, the presence of two administrators, and the presence of the application. Read more about company verification on Facebook.
Enter contact information for your company: legal name, country, registration address, phone number and website.
Please note that all information must exactly match the information in the documents that you will upload to verify the company. Think in advance on whose behalf (full name or legal entity) you will be verified before specifying the company name and uploading documents. Also make sure that the legal name of your company is indicated on the pages of the added site (in the footer or on the "Contacts" page).
The domain name of the site will be used to validate the added corporate email address for communication.
If information about your company is already in public records (the information was filled in somewhere), then FBM will pull up this data. If the pull-up entries do not suit you, select "None of this suits" and click "Next".
To verify your company name, select the language of your document and upload a PDF document containing your company's legal name. For example, it can be a company registration certificate or other document with a seal.
Enter the company's legal address and phone number.
To verify your address, please upload a document that contains the full legal address of the company with a zip code and the phone number you entered. See the example documents in the third step.
You can specify an email address created on your corporate domain, where you will receive a password for confirmation, or a company mobile phone number to confirm via SMS or call.
Please note that verification with a phone number is not available in all countries. The email address must be specified on the domain on which your website is verified.
If you have a website, you can verify your company using an existing domain.
If your domain is already verified, click Use Verification. Otherwise, complete domain verification.
After confirmation through the domain or contact details (email, phone), click "Submit".
Next, the request will be sent to Facebook. The review process can take from 5 days to several weeks.
We also recommend that you follow the notifications and follow the FBM recommendations for developing your business account. For example, your page may have little activity or incomplete information about the company.
You will receive a notification about the completion of the check to the specified e-mail.
You can check the verification status in the "Security Center".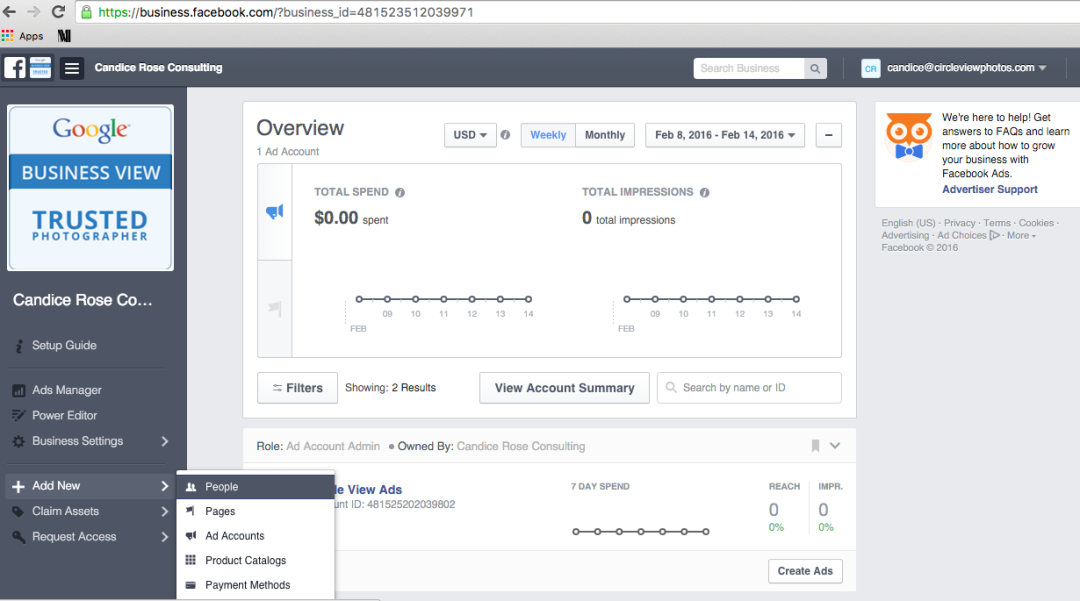
 If you work as an individual, then the full name is confirmed. Keep in mind that all data on the page must exactly match the documents. This will help registration in the future.
 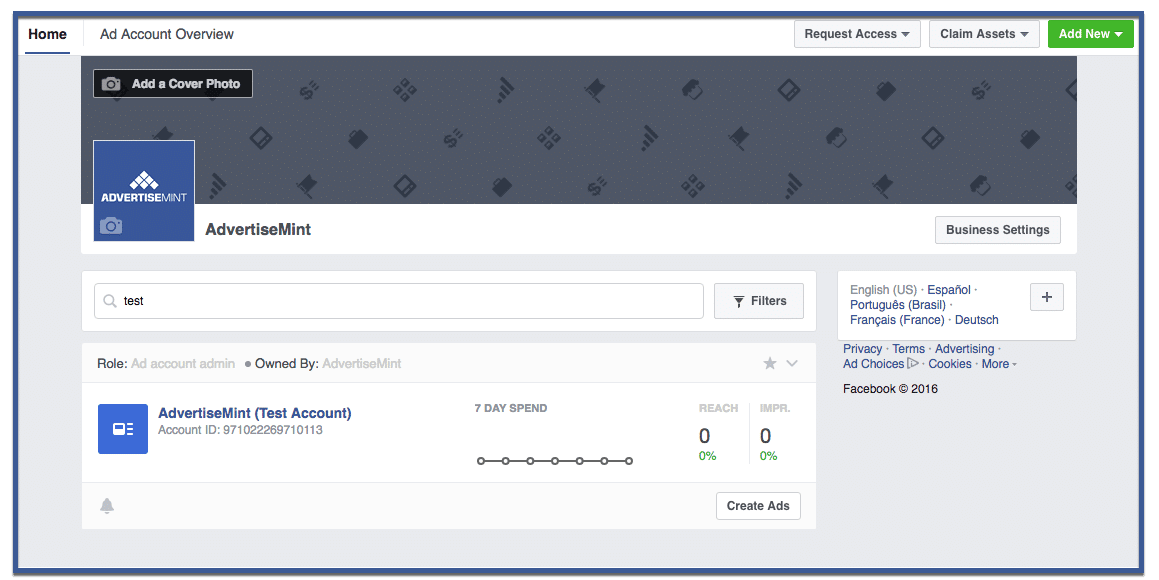 Most often, companies “roll in” at the address verification stage, so be careful.
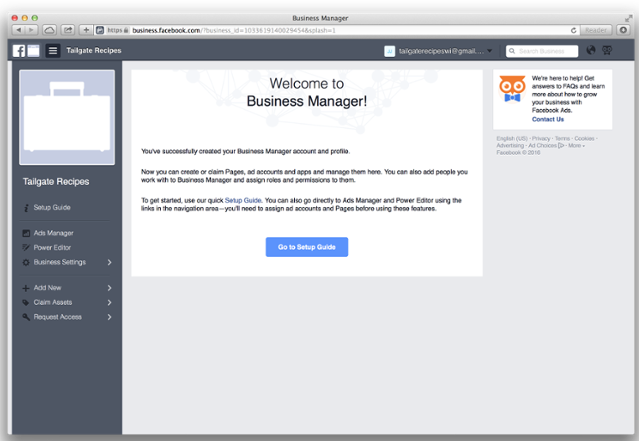
 Specify the name and time zone. Click Continue. Your account will start loading.