posted in: Makeup |
January 27, 2020
Affiliate Links
As a beauty influencer, taking photos is a huge part of my day-to-day job duties. Over the years of my blogging hobby-turned-carreer, I have accumulated my go-to equipment to help me get the best pictures of my makeup looks. But to be honest, sometimes it’s just easier to use my phone.
I often tell beginners who want to get into beauty blogging that you don’t necessarily need top-of-the-line gear to get started. With the quality of modern smartphone cameras, you can get stunning shots without additional investment… as long as you know a few insider tricks.
Keep reading to discover my best tips for taking better makeup photos for Instagram with your phone.
The biggest thing you’ll need to get right in terms of taking great makeup photos is lighting. Lighting plays a huge part in translating color and details in photos that will make your picture pop when scrolling through the feed. I always suggest using natural lighting first, facing a window. This will give your photo the most realistic looking colors, which is super important for makeup looks.
But of course, sometimes natural lighting isn’t readily available, whether it’s a gloomy day, or you want to capture your night-out look. Don’t worry— you still have options! Affordable clip-on selfie ring lights can give your lighting a boost, evenly illuminating your face. If you don’t want to carry around an external light, there are also phone cases with built-in lighting like the ones from Lumee. This way, you’re photo-ready with just a touch of a button.
No matter what model phone you have, chances are the back camera (on the opposite side of your screen) is better quality than the selfie camera. I would suggest taking your makeup selfies using the back camera for the best results– especially for capturing up-close detail– but how do you make sure you’re still in frame? Set up in front of a mirror so you can see where the camera is pointing. Shooting with the back camera also helps you maintain eye contact with the lens, as you won’t be distracted by the screen. This makes for a more engaging and professional-looking photo.
The crispness of your phone photos is what can make them look comparable to— if not indistinguishable from— photos taken on a DSLR. Yep, that means using a selfie stick or tripod to help keep the camera stable. My favorite is this selfie stick that also doubles as a table-top tripod. It comes with a bluetooth remote so you can take hands-free photos. This is perfect for taking full-face shots, or even doing Get Ready With Me videos on Instagram live.
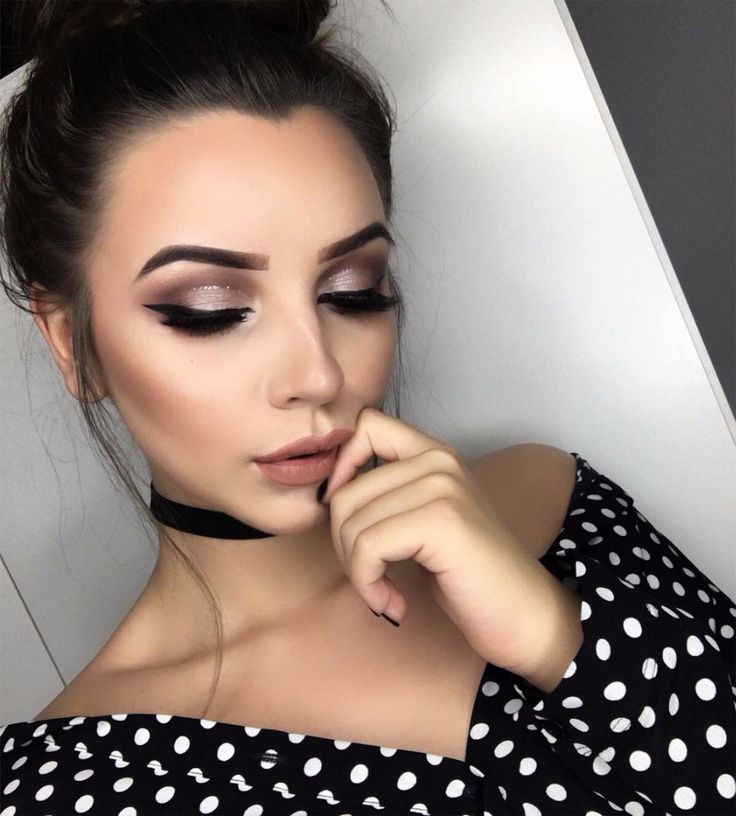
Let’s break this misconception: editing your makeup photos doesn’t mean you’re fake. As long as you’re not drastically changing the appearance of your makeup or your facial features, editing can take your makeup selfies to the next level in a good way.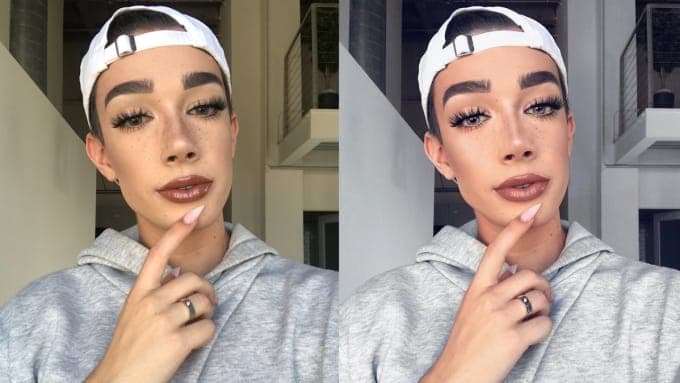 There’s nothing wrong with enhancing colors to make them more “true” or getting rid of the occasional distracting blemish. In the above photo, I’ve removed a few texture spots and stray hairs on my forehead, cleared up a dark spot on my chin and lightened up a shadow under my nose. The photo looks cleaner, but not super altered or fake.
If you want to edit your makeup selfies, here are the my favorite apps to do it with:
Taking your photo at several angles can highlight different aspects of your makeup. I always tilt my head slightly downward in the direction of my light source if I want my highlight to pop. If I’m wearing a cut crease eyeshadow look, shooting from slightly below will show off more of the detail. For eye photos, making eye contact with the camera will accentuate your lashes while looking out of frame will show more of your eyeshadow. Don’t feel silly taking multiple versions of the same look. Personally, I could end up with 50 versions before I get the one I actually post on Instagram.
294 shares
Wondering how to take great makeup pictures like all your favorite Instagram artists?
Don’t worry, it’s not as hard as you might think!
I have answered all your questions about having game-changing makeup photos and collected helpful tips and tricks for you to take great makeup pictures in just four easy steps.
Let’s dive in and check them out!
Table of Contents
There is nothing more annoying than taking a picture many times and not having a good one at the end.
All professional makeup artists and makeup enthusiasts have great pictures on their Instagram profiles. So, how do YOU get them?
There are several essential tips to help you take the best makeup photos.
Usually, makeup looks different in the mirror than in pictures, even if you have a dazzling look.
It is not necessary to have a professional camera to get stunning shots. You can do it with your phones too!
Let’s start with some quick tips, then we’ll answer a few of your burning questions about taking outstanding makeup pictures.
FYI, this post uses affiliate links. If you buy through them, we get a small commission.
First things first, your makeup should look good in real life, which can then ensure an Instagram-worthy post.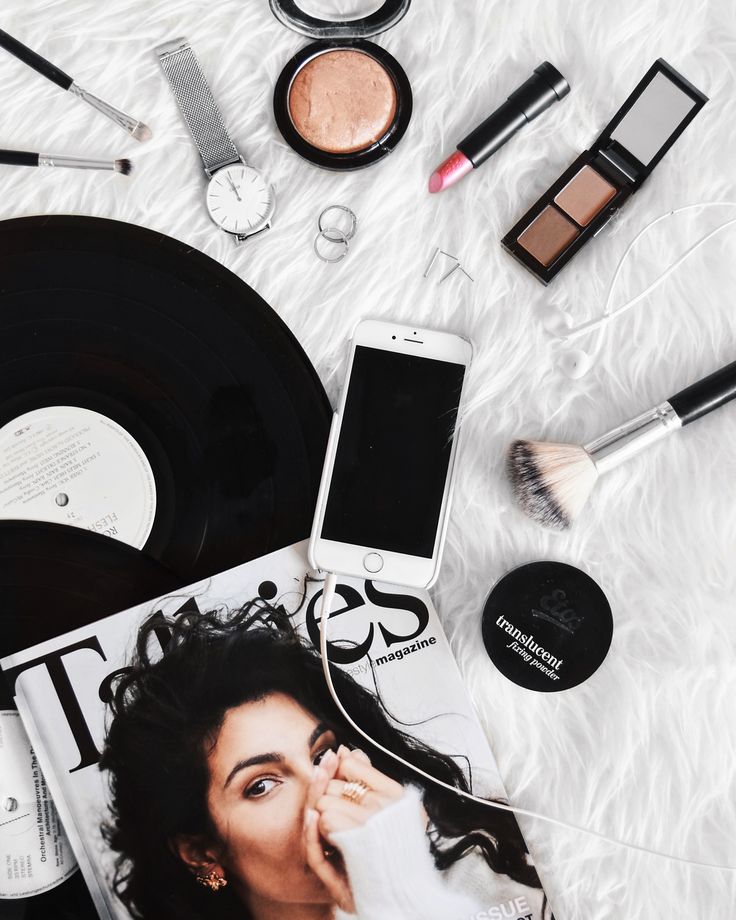
So it is much easier to get your desired result if you like the makeup you have on.
No matter how fabulous your picture-taking skills are, you can’t get the best outcome if the makeup does not sit on you well.
Along those same lines, only use makeup that meshes with your own ethics and ideals.
A lot of wanna-be new beauty influencers try to impress brands by using stuff that they’re not passionate about, and it really shows.
Personally, I only use cruelty-free beauty brands, so I’d feel pretty uncomfortable wearing, say, Neutrogena (they’re NOT animal-friendly).
Lighting is the absolute game-changer when taking makeup photos. And natural lighting is the best option. Selfie ring lights can also be a great option to get the best results, especially for eye makeup.
So rather than having harsh and shiny lightbulbs directly pointed to your face, take shots in a place where natural light at its most. Artificial light can make your skin and makeup look unflattering.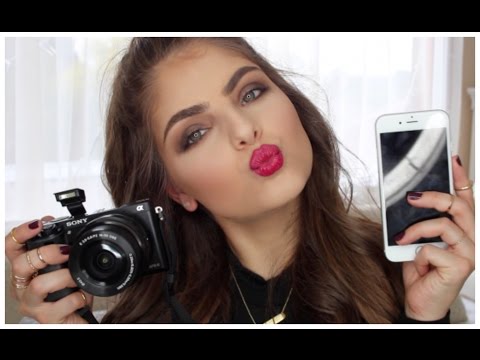
Instead, you can take pictures in a room with big windows and a good amount of indirect sunlight or even outdoors.
Natural light will help you enhance the colors on your face, make it glow, and flatter the sparkle of your eyes.
Taking shots in an open space can be a great choice as you can take pictures anywhere and naturally enhance your makeup.
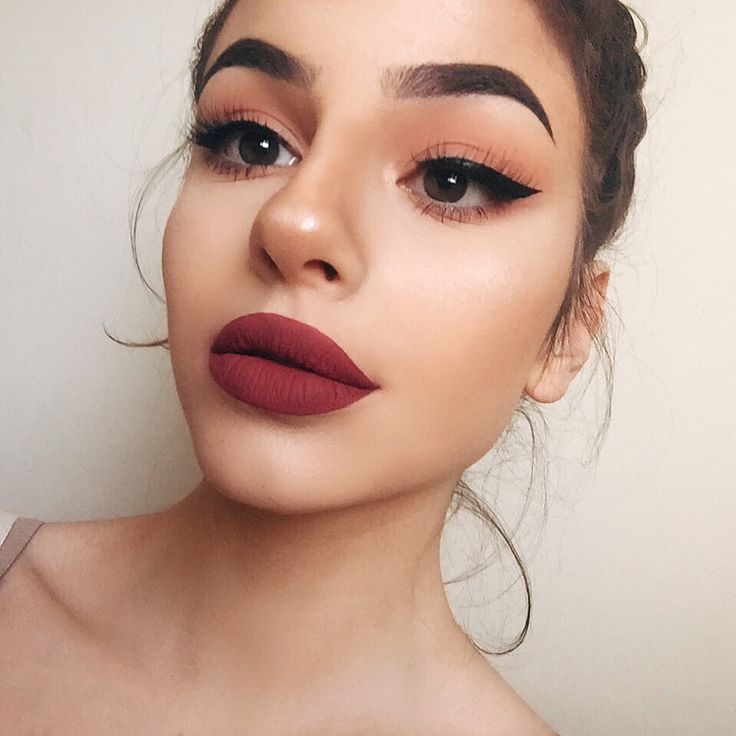
Using bright and bold colors will give you an Instagram-ready look. Don’t be afraid to try bold colors. They always look great on camera.
Wearing a bright pink eyeshadow, beautiful false eyelashes, and complementing lipstick will surely stand out rather than having mascara and a lip gloss.
Also, having your makeup a bit more intense than usual results in better pictures, so go a little heavy-handed with your application.
And if you edit your photos after the shots with a photo editing app, you can always enhance the colors to make them more popping.
Check: Take Me Back to Brazil Palette Looks
Try to take photos from various angles to highlight different parts of your makeup.
So if you want to show the glow of your highlighter, you can turn your head insignificantly down to the direction of the light.
When wanting to show your eye makeup, make eye contact with the camera to accentuate your lashes.
And if you wish to show the eyeshadow, you can always look out of the frame. It will help to highlight the eyelids.
Taking different versions of the same look will help you find the one that will get many likes on social media and level up the makeup photography skills.
It takes a while to get perfect makeup photos when you are a beginner. But when you start doing it over and over and practice your techniques, you will get better results as you go.
When I take makeup pictures, I always try to show natural beauty.
So I always edit the photos as little as possible, maybe remove blemishes here and there, and try not to use filters that will change my look.
Another great way to get the best results of your makeup photo is to focus on a specific part of your face.
Do you want to show the eyes, lips, or cheekbones? Focusing on a specific part helps to get the best result a lot.
Check out the video below for more tips:
Taking selfies has become an unconditional part of our lives. And if you want your makeup to pop on your selfies, you will only need to follow a few simple steps.
Clean the lens before starting the photoshoot. Cleaning it properly with a cotton lens cloth will help you avoid smudgy or blurry pictures. It surely does make a difference.
You can always edit your photos within reasonable limits. There’s nothing wrong with enhancing the colors and playing with the brightness, contrast, and highlights.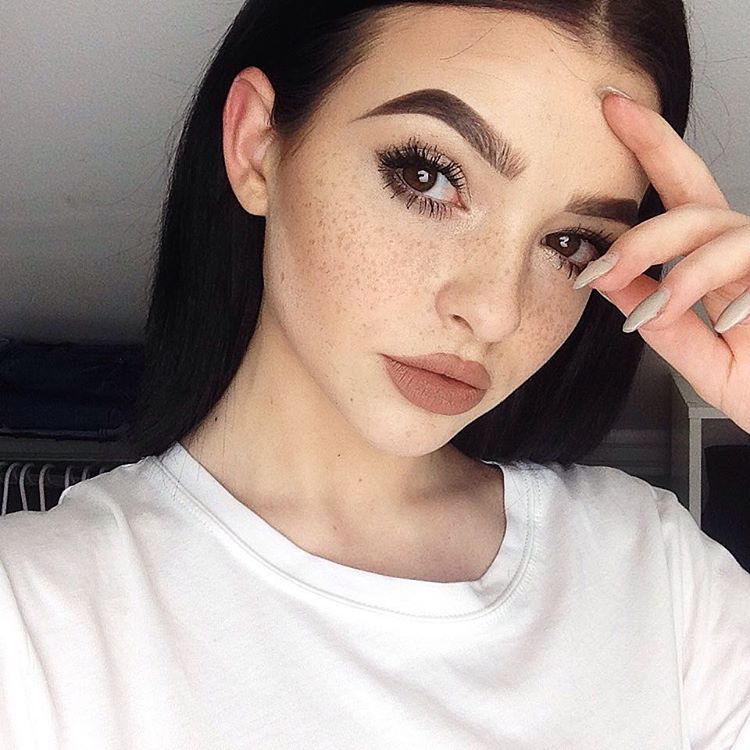
Cameras might show the colors in a faded and smudged way, which is why you can play around and get the desired result. However, overediting will make the photo more unnatural and unappealing.
The video below offers great tips, too.
Most modern smartphones have outstanding camera features and can replace professional cameras in many cases. Front cameras can give you decent results for selfies, but back cameras have way better specs.
So if you want to highlight your makeup, try using the back camera more.
No matter the phone model, back cameras have amazing features and can give you better outcomes, unlike the selfie camera.
For you to be easier to take selfies with your back camera, stand or sit next to a mirror for you to see where the camera is pointing.
With this little trick, you will also have a better eye-contact with the camera lens.
For eye makeup closeup photos, you can look down, rather than closing your eyes as these poses show the wrinkles.
With this, your eyelids will be seen more and the makeup will be perfectly shown in the photo.
294 shares
Not every makeup made specifically for Instagram photos needs to be removed right away. There are tricks that will help to achieve a compromise option that is equally advantageous for both everyday life and spectacular shots on social networks. Let's talk about them in more detail
Content
Julia Sizykh Independent make-up artist, eyebrow master, teacher, photographer, founder of his own studio and make-up school, model
For foundation:
© Makeup. ru
ru
Lips:
© Makeup.ru
For eyes and eyebrows:
Makeup that looks spectacular on an Instagram photo can be completely unsuitable for life. Spectacular clean lines are good for the camera, but on others they make an unnatural impression and look defiant. The hues that the lens conveys as bright are often perceived as an indefinite spot in life.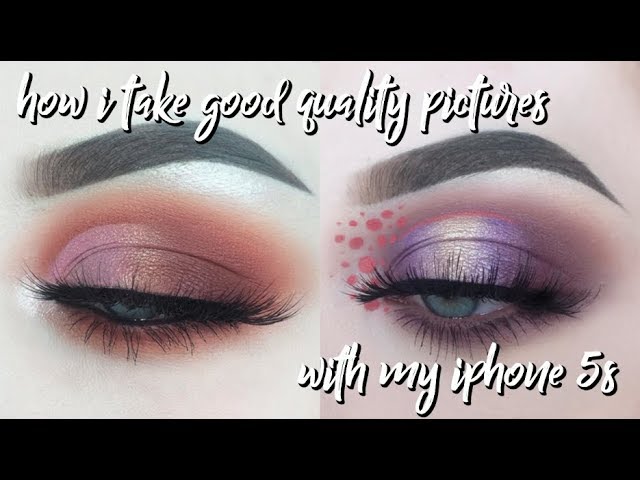 However, the situation is easy to fix. Makeup does not have to be redone if you use a couple of tips. nine0003
© Makeup.ru
© Makeup.ru
© Makeup.ru
Return to the Table of Contents
© Makeup.ru
In Instagram videos, you can often see how beauty bloggers mask circles under the eyes with red lipstick. This trick is based on the law of color neutralization: a red tint can cover green or brown spots.
© Makeup.ru
However, no matter how spectacular this trick looks on social networks, in reality everything turns out to be prosaic - red lipstick, when covered with skin-tone concealer, is shaded into a pink shade, which again and again has to be covered.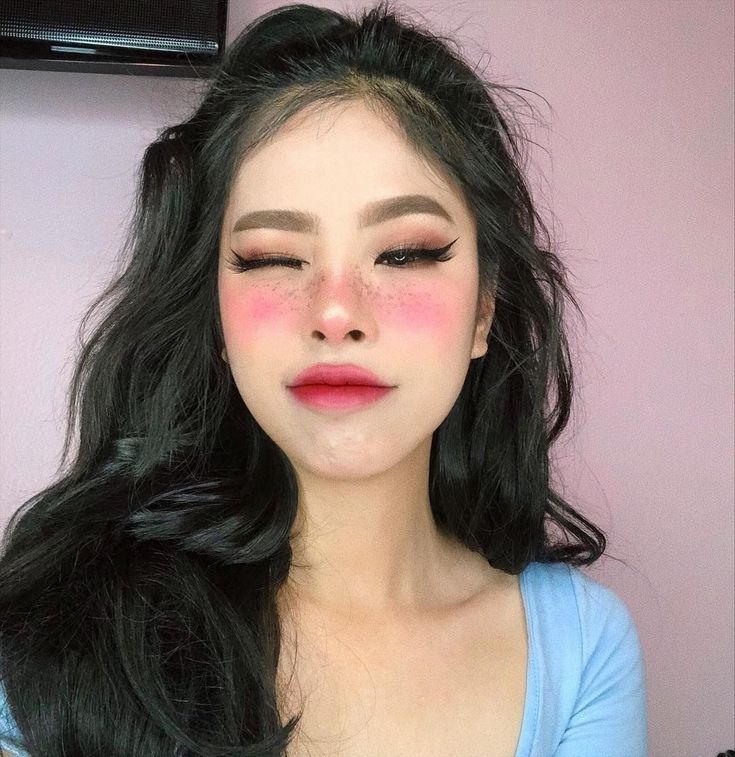 nine0003
© Makeup.ru
It is much easier and more effective to immediately use the pinkish shade of the corrector and apply it only to the circles under the eyes. It neutralizes bruises no less successfully, but it will need to be covered with a very thin layer of beige concealer, and if the circles under the eyes are small, then it will not be necessary at all.
© Makeup.ru
The result is the same, but in the adapted version, the makeup will look natural, since the layer of cosmetics will become 5 times thinner. nine0003
Back to index
Baking technique allows you to achieve an incredibly long-lasting, dense make-up that will not fade either in the heat, or under the spotlight, or in conditions of high humidity. Is that kind of perseverance necessary in life? No! A thick layer of powder dries out the skin, because any dry agent absorbs moisture not only from the air, but also from the skin, thereby emphasizing even micro-wrinkles.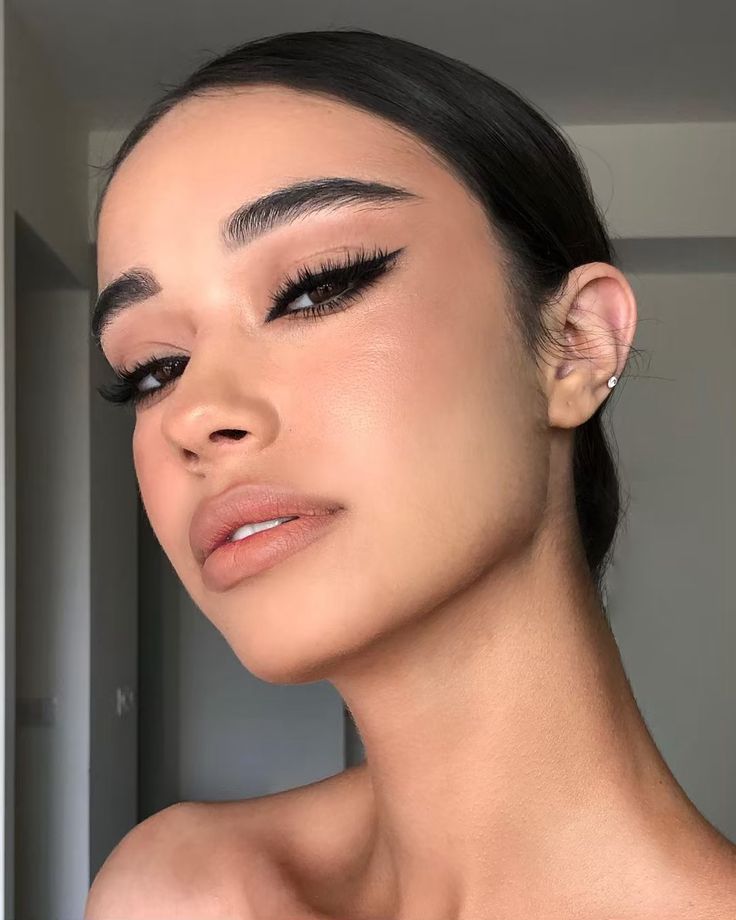
© Makeup.ru
However, this technique can be adapted. Using a damp cosmetic sponge, apply a little loose powder under the eyes to fix the concealer (it will stop treacherously rolling into the crease under the eye), and on oil-prone areas of the face (center of the forehead, nose and chin). nine0003
© Makeup.ru
The powder will cover the skin with a thin veil and, thanks to the “wet” method of application, will minimally dry the skin. This makeup will survive both a day at the office and an evening event.
© Makeup.ru
Return to the Table of Contents
To avoid unnaturally defined eyebrows, it is enough to soften the pressure on the eyebrow pencil and draw not the entire shape, but only the missing hairs. And do not use black, even if you have brown eyes and dark hair. It is better to take dark brown. nine0003
© Makeup.ru
Most likely you don't need false eyelashes in everyday life. It is better to paint over your own black ink in one or two layers.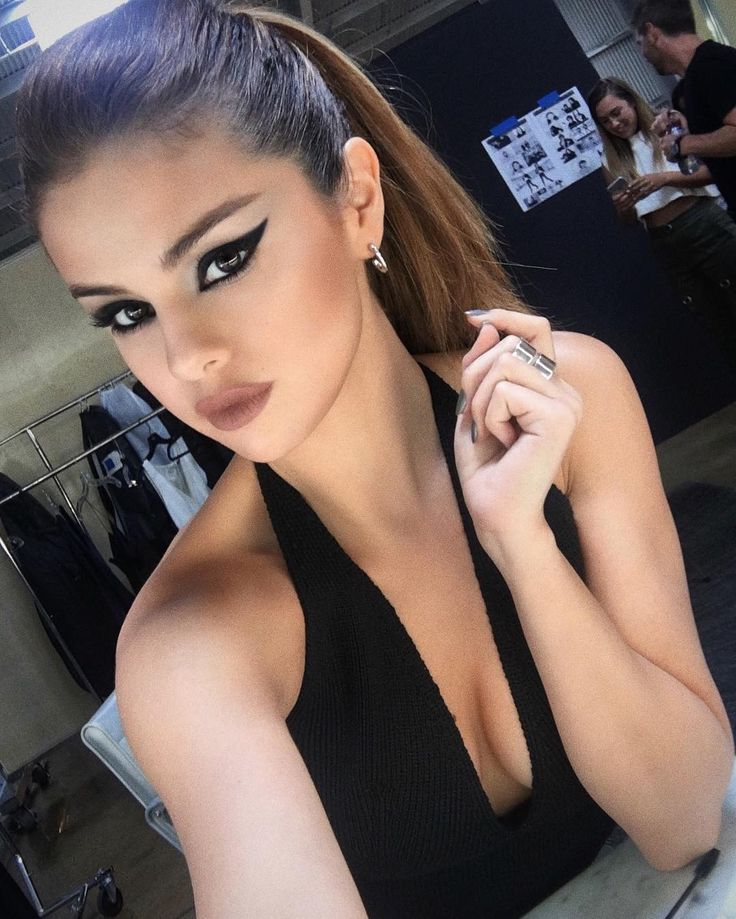
© Makeup.ru
Back to the Table of Contents
Lips contoured with a brown pencil and complemented with glossy gloss can be quite “wearable”. To make the contrast less bright, the shade of the pencil or lipstick should be as close as possible to the natural color of the lips.
© Makeup.ru
Back to index
Intense contouring and a lot of bronzer in the style of Instagram bloggers in life do not produce the most advantageous effect, so it is better to use a refreshing blush shade, and do face sculpting in a light version.
© Makeup.ru
Put a little sculptor on the brush, apply first on the back of the brush (to remove excess), and with the rest go over the areas under the cheekbones and in the area of the temporal cavities. The face will look thinner. nine0003
© Makeup.ru
Cream correction can also be adapted to life if you use a very small amount of the product and gently blend it into a haze without clear boundaries.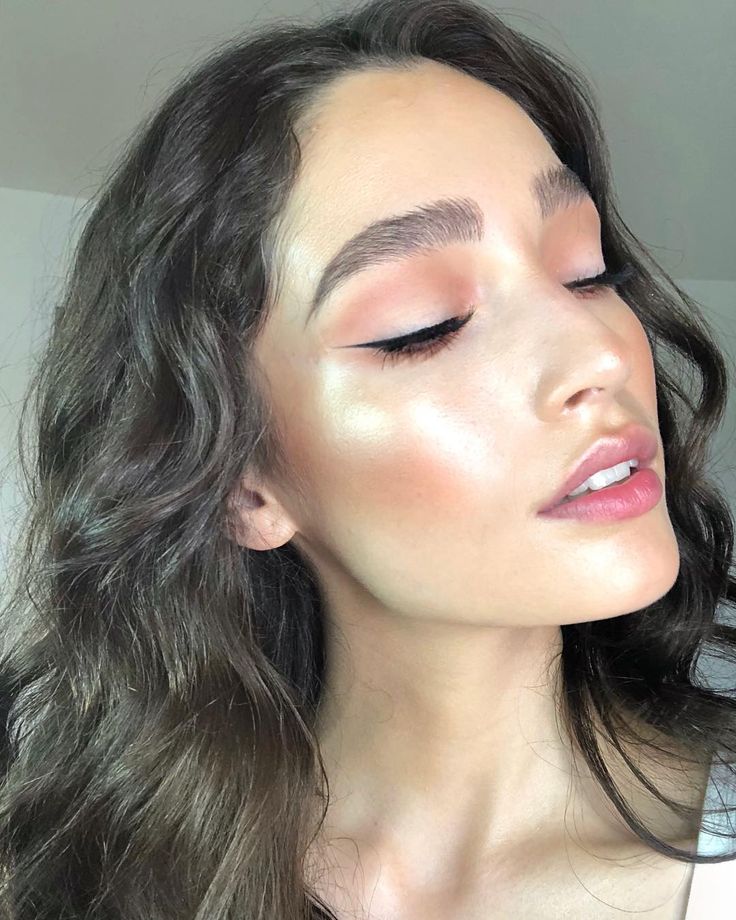
© Makeup.ru
If you want to take spectacular photos, watch our step-by-step video tutorial.
Back to index
“Does Instagram photos require any special make-up?” - you ask. Yes it is! Makeup for photos is quite different from makeup for life. In this article, we'll break down the basic rules that will help you look flawless in your photos.
1
Choose a foundation with a matte finish
Despite the fact that today there are a huge number of photo editors with which you can correct imperfections on the skin, it is better to even out the overall tone of the face with the help of foundation. It is better to have it with a matte finish, as radiant tonal foundations can look like an oily sheen in the photo.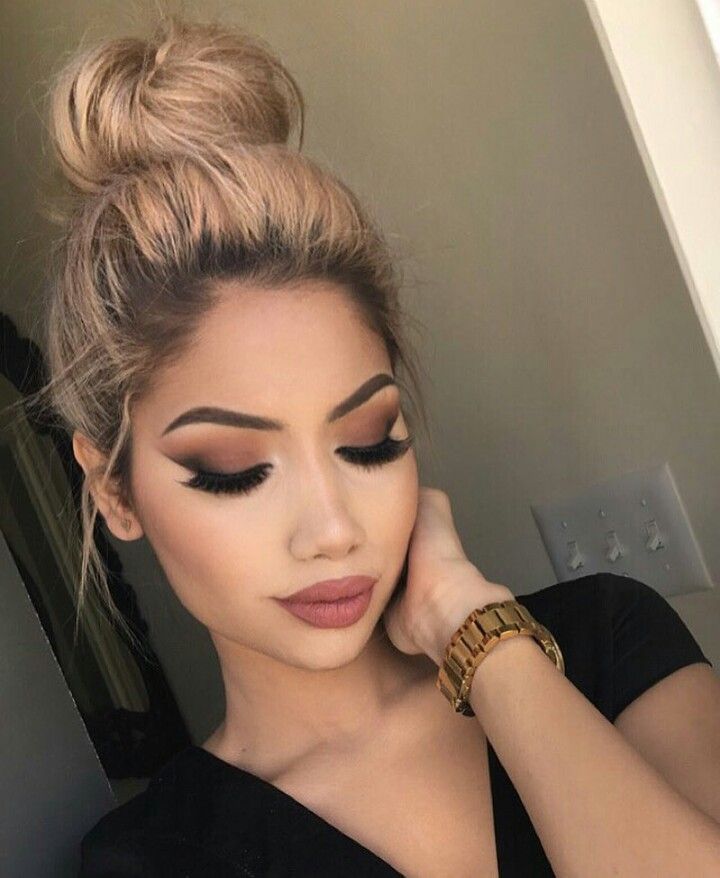 This is especially noticeable if the photo was taken with a flash. Did you know that in television make-up, radiant tonal foundations are almost never used for this very reason - under the spotlight, they look much worse than matte ones? nine0003
2
Remember: the camera “eats” the color
Therefore, for a photo, you need to paint much brighter than you do it in ordinary life. Make more intense face contouring, add more highlighter on the cheekbones. Even if it looks too bright in the mirror, this makeup is perfect for a photo.
3
Use bright shades of eyeshadow
Neutral colors (beige, brown) are fine too, but rich hues will make your eyes stand out in photos. By the way, do not overdo it with shining shadows! There is no clear “ban” on them, but it is better to make the basis of eye makeup with matte shades, and add shining ones as an accent. nine0003
4
Use concealer to define lines
For this you will need a heavy concealer and a flat synthetic brush. Take the concealer on the brush and circle it, "cleaning up" their shape. The same trick can be used to fix shadow feathering if you want to add definition to the shading shape.
5
Don't forget to put some highlighter on the checkmark above the upper lip
This will make your lips look fuller. By the way, it is better to choose matte lipstick, and, again, you can correct the flaws when applying it with the help of a dense concealer. If you still want to use lip gloss, first trace the shape with a pencil so that the gloss does not “float” onto this contour. nine0003
6
Use false eyelashes
Most beauty gurus use false eyelashes for photos - and for good reason! False eyelashes save almost any makeup, even the most unsuccessful shading of shadows will not be visible behind them. But if you don't want to glue your lashes, don't forget to curl your natural lashes with a curler and apply two or three coats of mascara.
7
Remember your hair!
Even the most beautiful makeup will not look complete without it.