Home »
Misc »
How to take eye pictures for instagram
How to take eye pictures for instagram
How to Take Close Up Pictures Of Eyes (Step by Step)
By Chad Verzosa A- A+
Download as PDF
Subscribe Below to Download the Article Immediately
You can also select your interests for free access to our premium training:
Business Basics
Cheat Sheets
Child Photography
Colorful Cityscapes
Composition
Creative Photography
Creative Portrait Concepts
Digital Photo Collages
Fairytale Portrait Photography
Food Photography
Interior Photography
Landscape Editing
Landscape Photography
Lightroom Processing
Lightroom Presets
Long Exposure
Macro Photography
Milky Way Photography
My Camera and Photography
Organic Marketing
Pets
Product Photography
Sky Photography
Social Media
Still Life
Time-Lapse Photography
Travel Photography
Urban Photography
Wildlife Photography
Your privacy is safe.![]() I will never share your information.
I will never share your information. The human iris is not only beautiful, but it also looks otherworldly. That’s why macro pictures of eyes are so interesting.
Here’s how to photograph eyes in an easy macro eye photography tutorial.
Use a Macro Lens to Retain Sharpness
Regular lenses aren’t good for taking macro photos. They only work up to a certain distance to produce a sharp image.
When it comes to eye close-ups, the best option for you is to use a macro lens. This type of optics allows you to “zoom” into your subject up close without losing sharpness.
The best macro lens for taking pictures of eyes should have a focal length of at least 100mm. It has the ideal length to let you shoot up close even when you’re far from your subject.
Remember that maintaining distance is important because if you get too close, you could block the light hitting the pupils.
Macro Lens Alternatives You Can Use
You can use alternatives such as bellows, extension tubes, and reversing rings instead.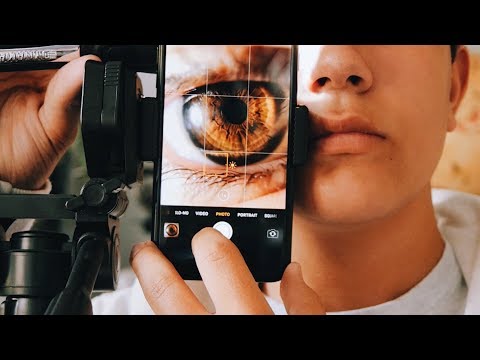
Most of these attachments cost no more than 20USD, and they’re simple to use. All you have to do is attach them to a regular lens, and you got yourself a converted macro lens.
You can use your macro attachment to any lens. But it would help a lot to choose the longest lens you have. That way, you don’t have to get too close to your subject.
The only downside of macro attachments is that they often disable your lens’s autofocus. That means you’ll need to adjust your focus ring manually to get sharp images. But that’s a small price to pay as compared to buying an expensive dedicated macro lens.
Camera Settings for Macro Eye Photography
Producing magical macro photos of eyes doesn’t end in using a macro lens. You also need to make sure that you have the proper camera settings to ensure you get the sharpest images.
Below is a list of our suggestions.
ISO
People tend to ignore this setting all the time. But using the proper ISO is crucial in making sure your files are free from image noise.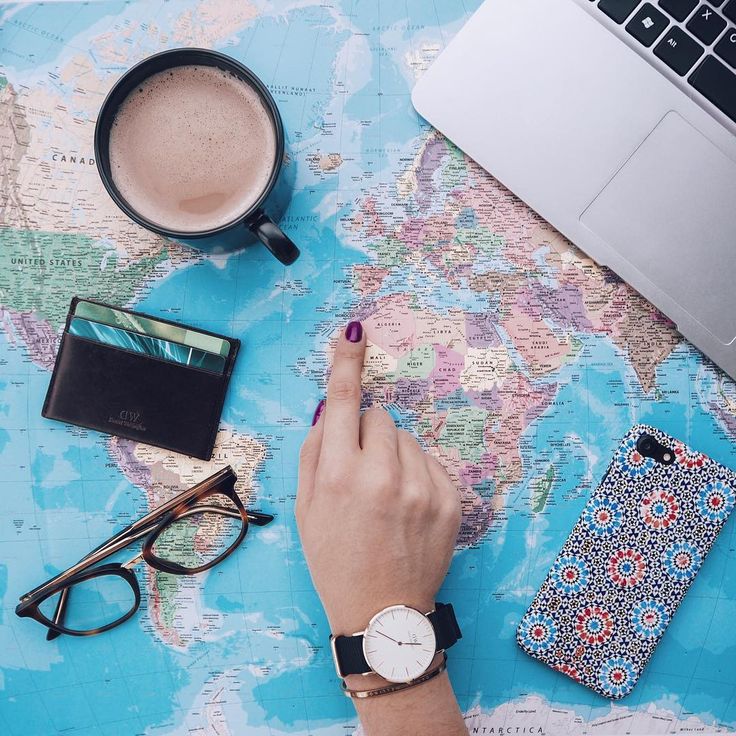
If you want to make sure your images look sharp, you’ll need to adjust your ISOs manually. Try to keep your ISO settings between 100 to 800.
Why? Because for most cameras, it’s the optimal range where image noise is low.
When you’re in a bright location, 100 would be perfect because it produces the least amount of noise. But if you don’t have enough light, then feel free to bump up the value up to 800.
At this point, you’ll see some specks on your image, but not enough to make your picture look ugly.
Aperture
Your lens’ depth of field (the area in focus) gets smaller once you start shooting macro. To help you lock in your focus better, you’ll need to use the proper Aperture setting at all times.
Avoid using a large aperture such as f/1.8. Its shallow depth of field will make it even more difficult for you to capture a sharp image even when you’re up close.
Instead, use a narrow aperture such as f/8 or f/11 to increase your depth of field. Remember that since you’re shooting macro, the depth of field would still be small no matter what setting you use.
But choosing a narrow aperture widens the focus area enough to make it easier for you.
Shutter Speed
For the most part, shutter speed isn’t as important as the aperture for macro photography. So feel free to use Aperture Priority and let your camera choose the shutter speed automatically.
It will save you a lot of time and effort tinkering around.
Still, you should still make it a habit to check your shutter speed before you shoot.
Make sure it doesn’t go below 1/60th of a second. Especially since anything slower than that value can cause motion blur and ruin your image.
But what if the shutter speed the camera chooses is below 1/60th? Then consider adding lights to increase exposure.
If you’re using an aperture of f/11, you can lower it to f/8 to let more light in. You can also try bumping up your ISO.
As long as you don’t go beyond 800, you shouldn’t worry too much about image noise.
Let the Eyes Rest to Minimise Redness
The sclera, or the white of the eye, can be sensitive. If it goes through much stress, it can turn red and may look ugly in your images.
If you want to include the sclera in your macro shot, make sure your subject has adequate rest.
It doesn’t mean you should ask your model to sleep before the shoot. Just tell them to refrain from doing activities that may strain the eyes.
That includes staring at their computer or phone screens.
If you still see tiny red veins in the sclera, use over-the-counter eye drops to lessen the redness.
Just be mindful not to apply them too often to your subject. Long term use of eye drops can cause irritation.
Keep Your Subject Still to Avoid Losing Focus
When you take a macro photo, you’ll realize that even minor movements can throw your image out of focus. That’s why it’s crucial to keep your subject and your camera still at all times.
So how do you ensure your subject doesn’t move while you’re shooting? The easy answer is to ask them to lie down or to sit.
Make sure they’re comfortable and that they have enough neck support to prevent them from moving.
It would be best to set up your camera on a tripod to keep it stable. Once your subject is at rest, focus your lens and remember your distance.
You should place your tripod at the same spot, so you don’t have to adjust device every time you take a photo.
You also have the option to use a remote trigger to set off your camera. Doing so prevents you from touching your device and potentially causing motion blur once you press the shutter.
How to Light Macro Pictures of Eyes
Lighting is crucial when it comes to creating eye shots. You need to make sure you take photos in a bright area to capture all the details of your subject’s iris.
It would also help a lot if you choose a spot where the catchlight is good.
Catchlight refers to a light source that complements the eyes. It’s typically round like the iris and show up as an bright orb inside the eye.
There are many different forms of catchlights. It can be natural light from the sun or even artificial lights such as light bulbs and strobes.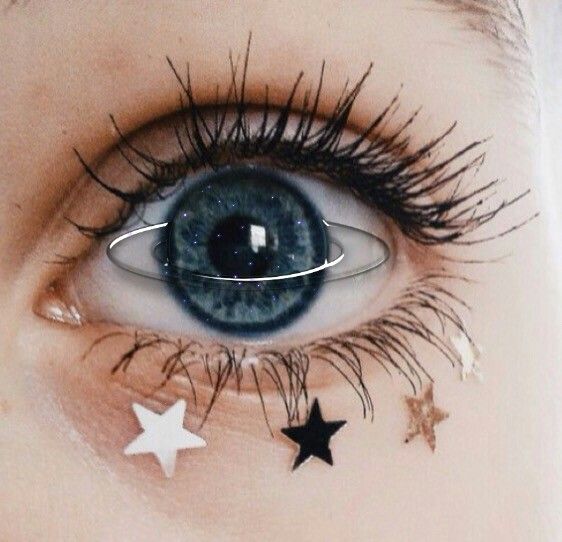
Natural Light
This form of lighting works well when photographing eyes in most situations. We don’t recommend you taking photos in direct daylight as it can damage your subject’s eyes.
But you can always look for a shaded area with large windows.
These will provide you with the right mix of shadows and specular highlights to capture those details.
Artificial Lights
There are two main types of artificial lights: continuous and strobes.
The best options are continuous lighting sources such as lamps and softboxes.
They’re called such because the light they emit stays on constantly. And since they don’t use sudden bursts of flashes, they’re friendly to the eyes.
Flash/Strobe
These aren’t the best choice since they cause a lot of people to blink. But they’re surprisingly good at illuminating the eyes because they’re quite powerful.
Just remember to use low power when you can, so you don’t blind the subject with the light burst.
Lighting Direction
You should also place your light source to the side instead of setting it up on top of your camera. That way, the long lens doesn’t block the light and cast ugly shadows.
And what if you don’t want a catchlight reflecting off the iris? Then place your light source directly beside the eye.
It will still illuminate the eyeball, but without any specular highlights.
When you place light sources near your subject, ask them to close their eyes until you start shooting. That way, the brightness doesn’t cause them unnecessary strain.
But you also shouldn’t press that shutter immediately after your subject opens their eyes.
Give them a few moments to adjust. Feel free to take a photo once you notice they’re not squinting anymore.
Edit Your Macro Eye Shots to Bring Out Details
If you do everything correctly, your eye close-up should already look stunning. But you can make it even more captivating by editing it in post.
The first step is to adjust your basic settings. If the color cast on your image looks unnatural, feel free to play around with your white balance.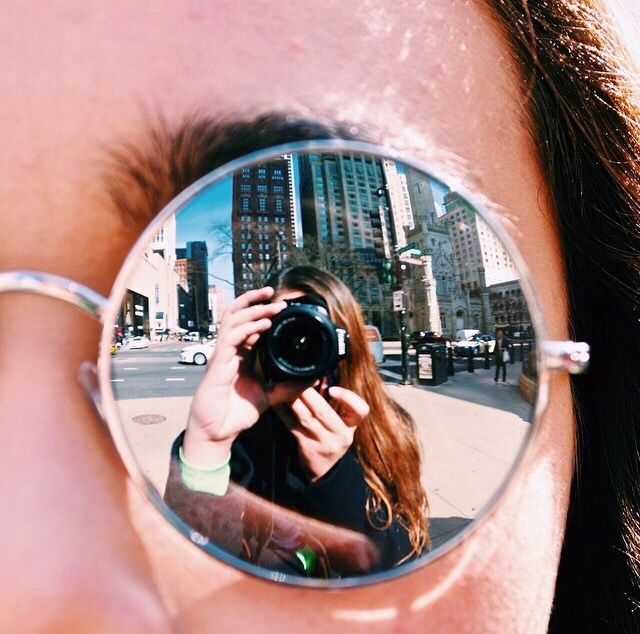
When you feel the colors are finally spot on, tweak your Exposure slider to make your image bright enough. Then, increase your contrast to make the details look prominent.
Next, adjust your highlights and shadows. Doing so brings out the depth of the iris. You can also change the Black and White level to fine-tune the image’s contrast.
Finally, use Vibrance and Saturation to bring out the colors of your eye photo. Just keep your adjustments moderate because you don’t want to end up with unnatural hues.
Crop the Sclera Out of the Way
Sometimes, even using a macro lens with a long focal length isn’t enough to get super close to the iris.
If you zoom all the way and still see the sclera, then think about cropping it out in post. This technique allows you to “zoom in” closer to the eye by clipping out parts of the image.
All you have to do is use the crop tool to reframe your shot. Feel free to use the grid to recompose your image.
Of course, you don’t always have to place the iris in the middle.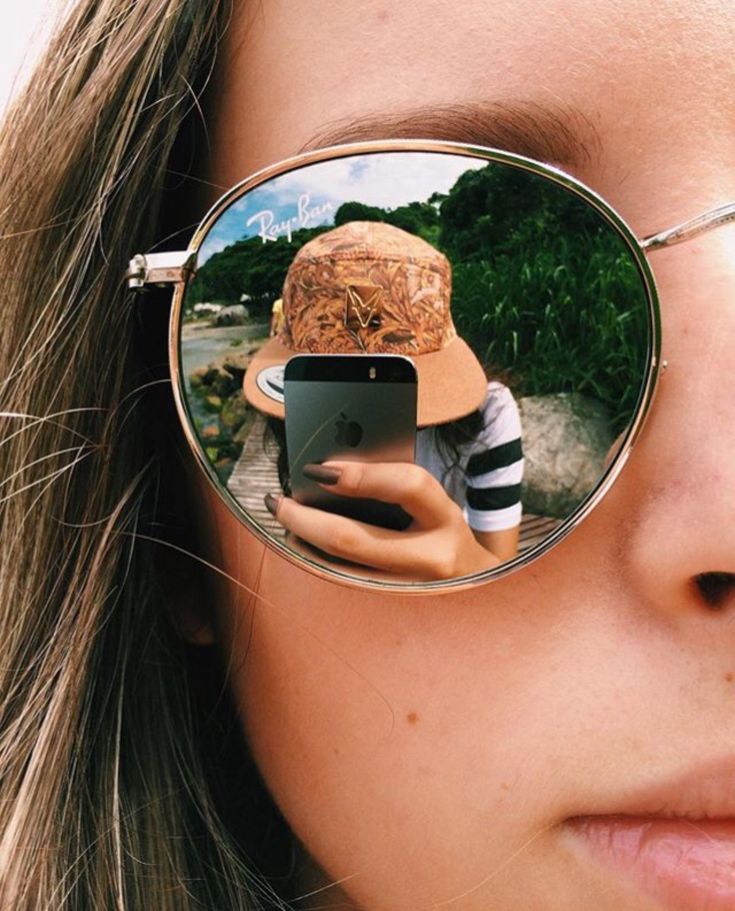 You can experiment with other compositions as well.
Just remember not to overcrop as it can affect the quality of your image.
The more you clip out of the picture, the more grainy and pixelated it will get. So get rid only of the parts you don’t need.
Conclusion
Taking photos of eyes is easy especially if you’ve done macro photography before. The secret is to keep your camera and subject stable. And to pay attention to the lighting in your location.
When you have the perfect light and focus, you can expect great results. So go ahead and try it.
See what it’s like to look at the windows to the soul up close.
Looking for more great macro techniques? Check out posts on macro photography backgrounds, shooting inexpensive macro photos or black and white macro shots next!
How to photograph and edit close-up pictures of your eye looks
Hey everyone! Today I would like to share my secrets on how I take and edit up-close photos of my eye makeup. Being able to do this is really everything if you are wanting to showcase looks that you are proud of, and perhaps what certain eyeshadow palettes can do if you are in the process of creating a review. If you are at all familiar with my blog, you will know that I really rely on close-up pictures. In fact my series’ Eye Look of the Week and Palette Roulette specifically feature them!
Eyeshadow is my favourite part of makeup and is such an outlet for creativity, and I want to be able to share that with you! However, to be able to do this, you need the right technique. It’s simple, I semi-promise.
What I am going to provide you with are four steps to get amazing images of your eyeshadow. The programs or methods that you use to complete these steps don’t really matter, so long as you do them (or don’t, it’s your life!). You will see that I use multiple programs to complete these steps, when the actions that I take could probably all be done with one program. But ultimately I am a creature of habit, and what I do works for me! So feel free to simplify things within the steps, and use programs that you are comfortable with if you have some! I’m just sharing my personal methods.
4 Steps to photograph and edit close-up pictures of your eye looks
-
Taking the picture
I’m going to give it to you straight: I take all of my pictures with my phone. The cameras in phones these days are really very competitive in quality with stand-alone cameras, and I see no need to use a separate camera. I currently have the iPhone 7, but most iPhones and Androids have amazing cameras these days.
The trick for taking up-close and detailed photos: use the back camera, not the selfie camera. Often in phone models, the camera in the back of the phone is better quality than the selfie camera. This leads to a problem though: you need to be able to see what you are taking a picture of, now that your phone is turned the other way! I recommend taking pictures in front of a mirror, so you can see exactly what is happening on your phone.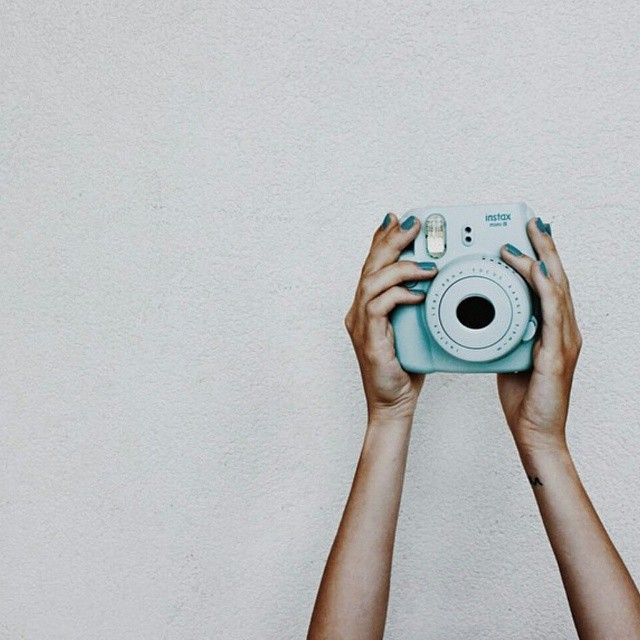
Before you start taking pictures though, let’s talk about lighting. I take all of my pictures in my bathroom where I have a mirror easily accessible. However, the lighting in my bathroom is very warm. Now, you can modulate the temperature of light with different lightbulbs, but I have found the best way to get a pretty good colour of light, and enough light in general, is by using a selfie ring light on my phone. Yes, that’s right, one of those mini clip-on ring lights that you can attach to your phone. I bought mine from amazon, and I have been very happy with it. It is rechargeable, and has three different brightness levels. The one that I purchased is shown below, and you can buy it here. But there are a ton to choose from out there, so take your pick!
Once you have appropriate lighting that isn’t too warm and isn’t too cool (too cool light can really suck the colour out of images), you can take your photo. I like to use the selfie light on the first brightness setting. This leaves me with images that lean just on the warm side. I will tell you now, that slightly warmer images are easier to edit that images that are too warm or too cool (and it’s impossible to get just right, for me at least, Goldilocks). But you will learn through practice. I did!
Make sure that when your phone is pointed at your face that you tap on the screen where your eye is so that it focuses on your eye specifically. You can be very pointed with this if you want. I find that if I tap roughly on top of where my eyelashes are, it will focus on my lashes. However, if you tap on your brow, or on your lid when that eye is lowered or closed, it will focus on your brow or your eyeshadow. Experiment with this, but be sure to tell your camera where to focus.
Another important factor is the distance of the phone from your face. If you have your phone too close to your eye, it will not be able to focus properly. So make sure that you hold your phone far away enough, so that it is capable of focusing.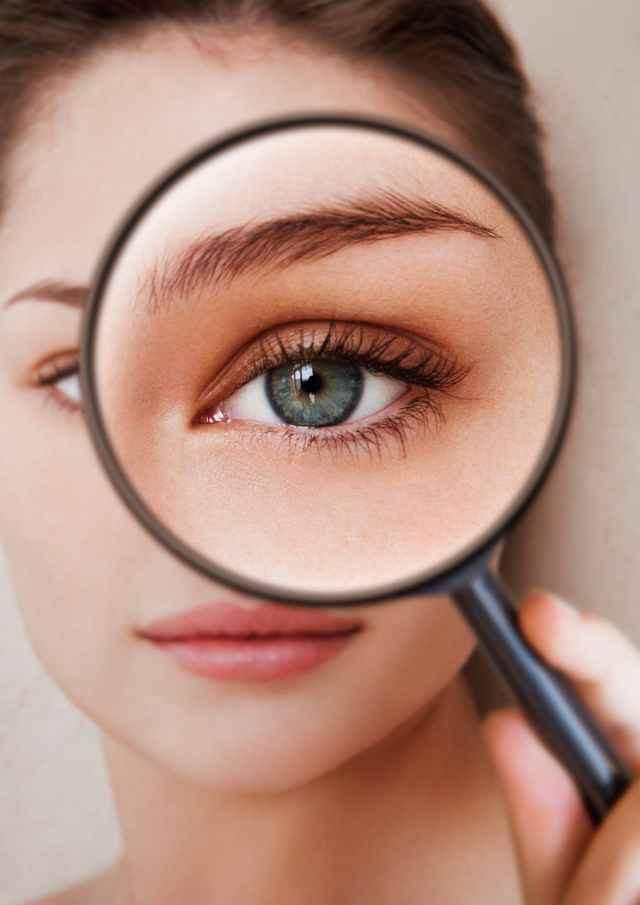 To give you an idea of how far away this should be, this picture below is a good example. Notice how my nose and my lips are included in the photo. That is how far away your phone should be (at least for the iPhone 7; the cameras on different phones will vary). Notice that my eye appears to be in focus.
Sorry for this horrible photo, but it was necessary to show you how far away your phone should be!Another tip is to take a ton of photos. The worst thing would be to put all sorts of work into an eye look, and then realize after the fact that you didn’t capture it properly! I always take pictures looking in various directions. My personal go-to’s are looking straight ahead, and looking down towards my nose. But play with it and figure out what you like!
I often take 20-50 photos per eye look. Probably more than I need, but I’d rather be safe than sorry!In order to decide which picture is the best, I first crop all of them and then select the ones that have the best focus.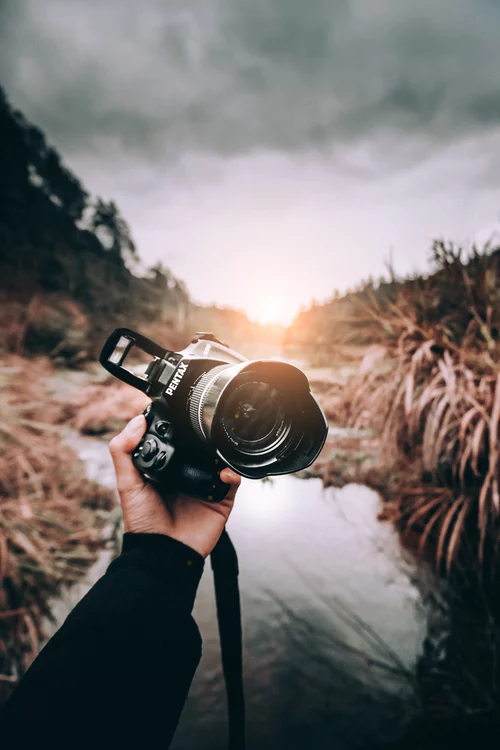 Use the method that works best for you!
2. Retouching
After I have selected the best photo(s), I like to retouch out the uglies. The uglies include stray eyebrow hairs and any other imperfections that just do not belong! It’s funny how those stray eyebrow hairs don’t actually appear until you’re looking at a photo!
The program that I use to retouch is Picasa, which was created by Google. This program has since been discontinued, but you can still download it from some random websites (the one I got it from is here). I use this program because it allows you to directly retouch by replacing one spot with a sample from another area, instead of averaging out the colour, which a lot of programs do. I haven’t yet been able to find another program that allows you to do spot retouching in this way.
As you can see below, you can change the size of the area that you want to retouch, and you can zoom in to reach really tiny spots.
After retouching, this is the result. I also threw on my tag. Protect your works of art!
3. Smoothing texture (surrounding the area of interest)
I don’t know about you, but I have texture to my skin. The whole point of taking photos of your eyeshadow is to showcase your look, and I wouldn’t want the texture of the surrounding area to distract from it. So I use the mobile app facetune to smooth the skin in the surrounding area. However, you can use whatever editing program or app that works for you.
To smooth with facetune, I transfer the photo from my computer onto my phone, and open the photo in facetune. You can then click on “Retouch” and then the “Smooth” tool. All you have to do at that point is draw with your finger back and forth on the places that you want to smooth. You can change the level of smoothing by the sliding blue bar at the bottom of the screen (I usually use the highest level for eye pics, but for selfies I’ll reduce it to 70 or 80% so things don’t look so fake). I usually smooth on all of the surfaces except for my eyebrow and eyelid etc. I will smooth directly under my brow though, but not any lower on the lid. Even if your lid is textured (like mine) still don’t smooth it. It will change the dimension and colour of the eyeshadow. You can also zoom in to get into detailed areas, like between your lower lashes.
Here is the result after smoothing.
4. Editing the colour
After smoothing, I send the image back to my computer so I can do some minor colour editing if it is necessary. Looking at the above image, it looks like the skin around my eye look is coming off too warm and red-toned. To fix this I use the photo editor PhotoScape X. This is a free photo editor that actually has quite a bit of editing power, and you do have the option to purchase a subscription if you want to use more of the functions. I don’t find that that is necessary.
To edit the colour of an image, you click on the colour tab.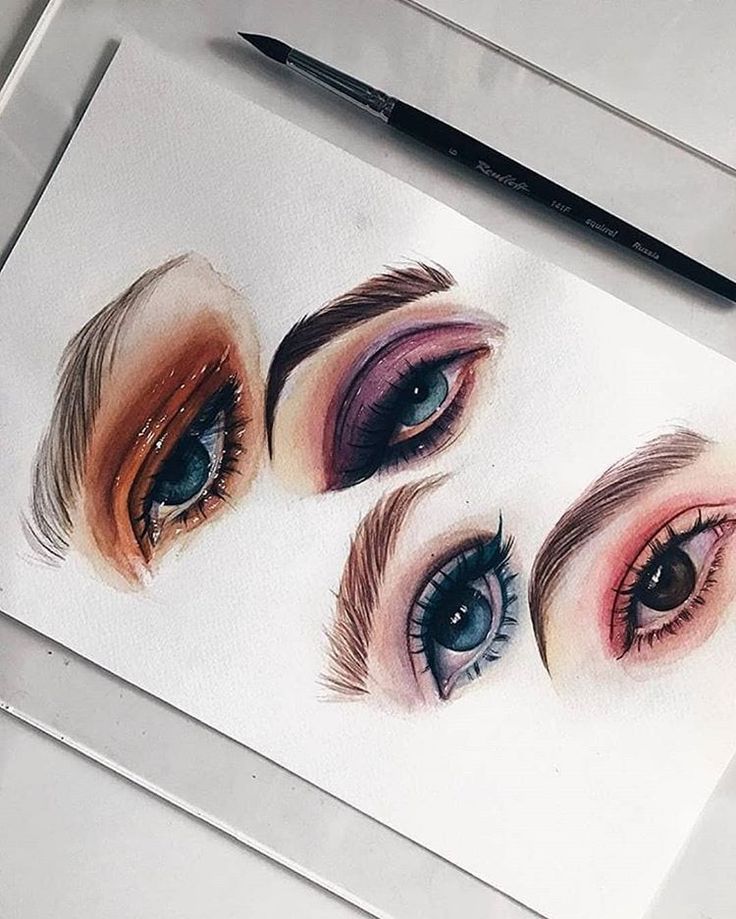
Once you are in there, you can actually select specific areas of the photo to edit if you don’t want to change the whole photo. This is the most amazing feature of PhotoScape! I love being able to selectively change a colour or sharpen an area! Anyways, to select a specific area of the photo that you want to edit click the plus sign beside “Mask (Local Adjustments)”. Then click the paintbrush button, the paintbrush with a plus sign, and check the invert mask button. This all allows you to specifically select the area that you want to edit by drawing with your mouse. The area that you select will show up as highlighted red when you are clicking on the photo.
Red= the area that I have drawn on with my mouse to edit. Because the area around my eyeshadow and eyebrow looks redder than I would like, I’m only going to edit that area. The shade of the eyeshadow looks mostly representative of what it looked like in real life so I’ll leave that part.
The best way to counteract red in a photo is both with the “temperature” and “tint” options in this program. Temperature is a spectrum from orange (warm) to blue (cool) while tint is a spectrum from purple to green. Temperature starts at 6500, whereas tint starts at 0. Play with changes in levels until you are happy. As you can see with this photo, I increased temperature to 6900, and tint to 11. To see what the difference is in your editing compared to the original state, press the “compare” button.
I also decided to brighten the same selected area after the fact.
You can also select only the eyeshadow area if you think that needs a bit of tweaking too. The whole point of taking photos of your eyeshadow is to make them representative of what it looked like in real life, and cameras don’t always capture that.
I’m not entirely sure what all the different options in the colour tab do, but I decided to brighten, deepen and increase the vibrance.
Once you have applied all of your changes, save your file, and you have your finished photo!
The final product
Original
Edited Version
Overall, you can see that the editing didn’t change a huge amount in the photo, but it did fine-tune it. Therefore, the main thing is to take good, in-focus pictures. That’s the first, and most important step.
Final Tips
Overall, I can recognize that I use three different programs to achieve the goal of producing an edited eye photo. While this may seem over-complicated, none of the steps take too long, and I am just used to these programs. However, most or all of this can probably be achieved with PhotoScape X, so give that a try if you don’t already have a good photo editing program. I also can’t recommend Picasa a ton, because I find it quite glitchy, but I just haven’t found another editing program (that is free) that allows you to retouch the way it does. So it is valuable for that purpose. If you have Photoshop, I’m sure it can do everything that I have mentioned here handily. But I don’t want to pay those dollar dollar bills yall.
Haha, ok. I hope this little “how-to” helped! If there are any confusing parts, definitely don’t be afraid to ask and comment below! I’m here to help!
Disclaimer: This post contains an affiliate link
Like this:
Like Loading...
How to take a picture of your eye
The world of macro photography is full of fascinating objects, and the eyes and iris can be some of the most mesmerizing. In this article, professional Canadian photographer Maximilian Simson shares tips, tricks and all the know-how you need to capture eyes. The best image quality can be obtained by using the flash.
The article describes how to photograph your own iris, but obviously the same techniques can be applied to photographing eyes, regardless of who they belong to.
What equipment do you need?
- Camera and macro lens (best with long focal length).
- Flash/bright light source.
- Polarizing filter.
- Tripod.
- Patience.
- And, if you plan to photograph your own eyes, some kind of support or headrest.
The setup that was used to photograph the image at the beginning of the article
Let's get started! From the very beginning, you need to deal with the composition. As mentioned above, you'll need a solid surface for your head to rest on, and ideally something for it to rest on so you can hold it steady and maintain focus.
Mounting
For his build, the photographer used a flash bracket (a long flat rod) and some repurposed GoPro accessories. This setup was placed on a stable tripod and allows you to take stable shots with continuous focus.
Alternatively, you can fit the head into the corner of two walls, or make your own using screw clamps, or a small piece of wood and a few screws.
Focusing on your own eyeball can be tricky as your eyes will move between checking the composition on the flip screen and back straight into the lens. It is recommended to use a lower magnification factor rather than fill the frame with iris. Although we sacrifice some image resolution in this way, it is worth it, as it greatly simplifies the shooting process.
Lights and reflections
In his original setup, the photographer used a ring flash for macro photography, which provided perfect and even lighting, but unfortunately it was impossible to eliminate a distinct reflection in the eye.
The photographer used an inverted 28mm lens at the shortest working distance to shift reflections closer to the outside of the aperture, but the results were not perfect.
While the lighting itself looks good, the crescent-shaped glare is quite distracting.
To solve this problem, the photographer switched on a ring light instead of an off-camera flash, and instead of an inverted 28mm lens, he flipped a 50mm lens with a 2x teleconverter. In this way, the ideal working distance of about 5 cm has been maintained, allowing enough light to enter the eye without being blocked by the lens.
Instead of a true macro lens, the photographer used an inverted 50mm lens with a 2x teleconverter, which gives approximately 1X
However, removing the flash from the camera will cause reflections from the flash and various other objects around the studio to appear in the eye, so the photographer added a polarizing filter to the front of the lens. This helped to remove glare and avoid reflections.
To make life easier, the photographer used a flash to help focus the camera correctly
To further increase the effectiveness of the CPL filter, he also attached one to his flash to allow for cross-polarization and therefore minimize flare.
Cross polarization is a method in which polarizing filters are applied to both the light source and the lens in opposite directions. In this way, glare can be significantly reduced.
The two images below show the results of this technique. But even without this technique, the quality of light and the degree of reflection entering the eye can be largely suppressed simply by moving the light source to the side.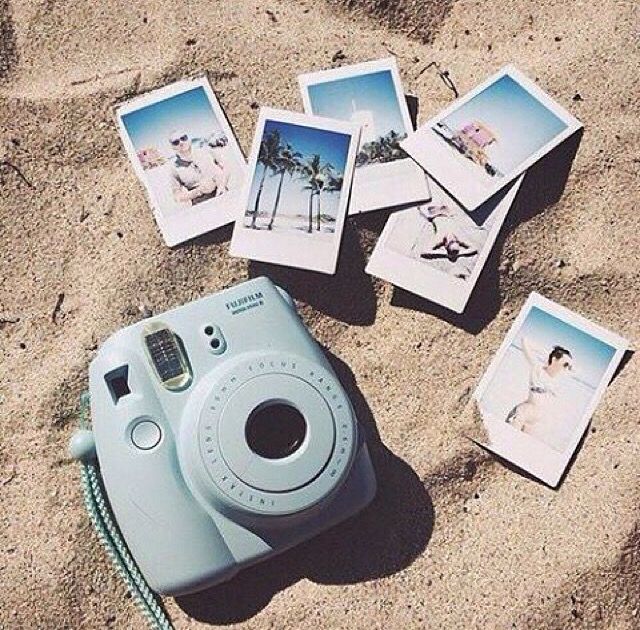
The best results were obtained when the light was placed approximately 110 degrees from the eye and 70 degrees from the camera. This allowed enough light to enter the eye, minimizing reflection.
Of course, the specular highlights and inevitable reflections of your own lashes can also be retouched in post. But even though removing all obstructions from the subject provides the sharpest image of the subject, there is a risk of making the eye look flat and lifeless.
Comparison of these two almost identical images demonstrates the effect of reflection in the frame - they make the look brighter and livelier. For the same reason, the photographer decided to edit out some of the highlights when he created the composite image.
Of course, you can take a different approach and photograph the human eye outdoors in natural light. However, this method requires a lot of light and will only work on the sunniest days. And even then, you'll need a high shutter speed or a tripod, and probably a very high ISO as well.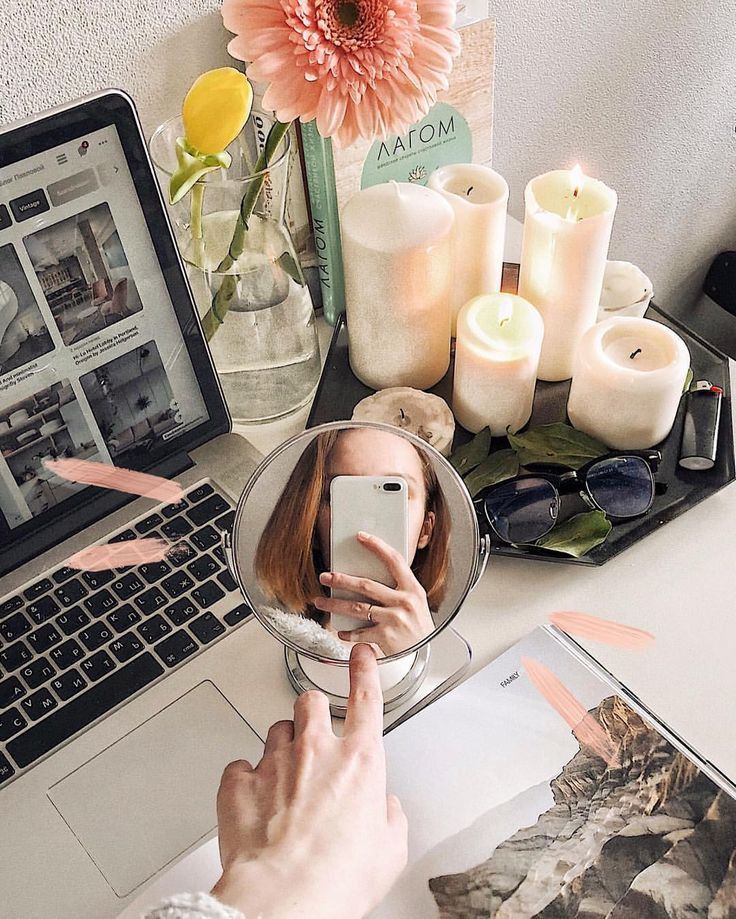
And since you're using ambient light, you'll inevitably see a lot of glare in the eye you're shooting, along with camera lens reflections. Unless, of course, shoot at an angle. This way you can get creative and capture what the model is looking at as a reflection like in the image below.
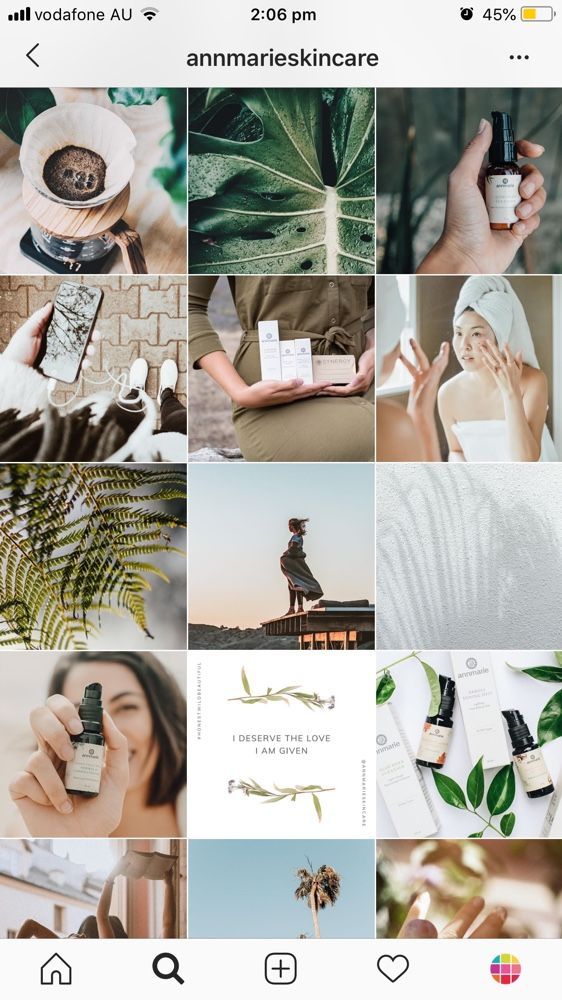
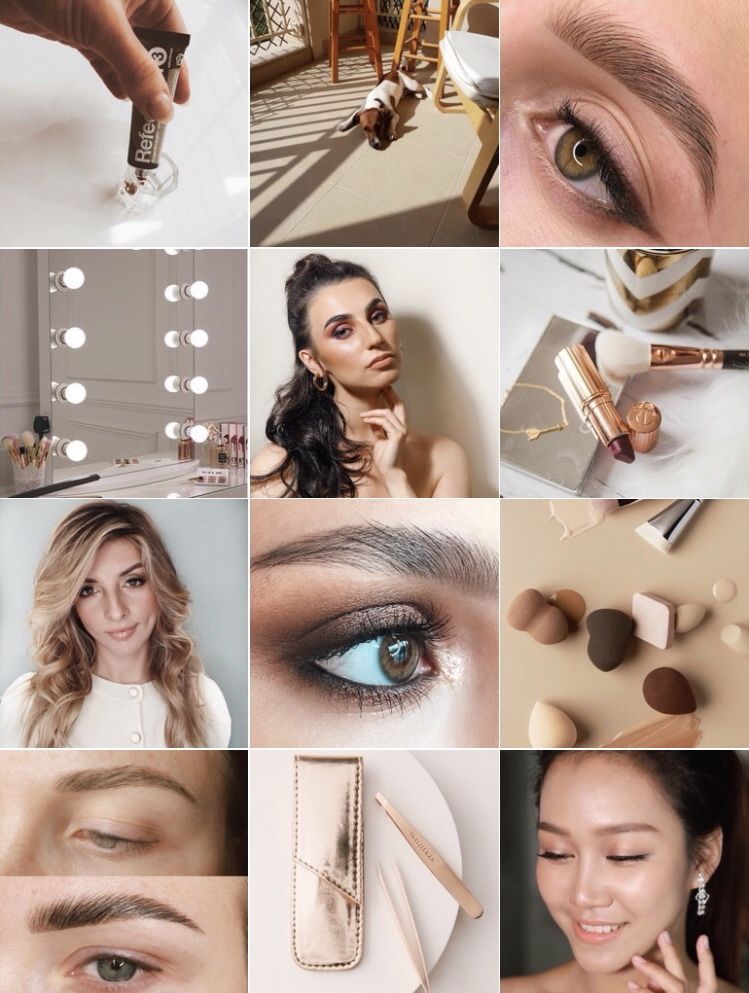
Through the eyes of a pro: how to take great photos for Instagram
Lifestyle
Sofia Karayvanskaya
photographer
On the eve of the holiday season, we asked a professional photographer and a great connoisseur of Instagram shooting Sofia Karaivanskaya (@neemaign) to tell you how to take beautiful photos on your phone for your Instagram profile * ( * Meta Platforms Inc. (Facebook, Instagram) - an organization whose activities are recognized as extremist is prohibited on the territory of the Russian Federation).
We master the basic steps: how to turn on the camera correctly, where to point it, what applications to use and what is in fashion now!
Modern phones are equipped with excellent cameras that allow you to take high-level pictures.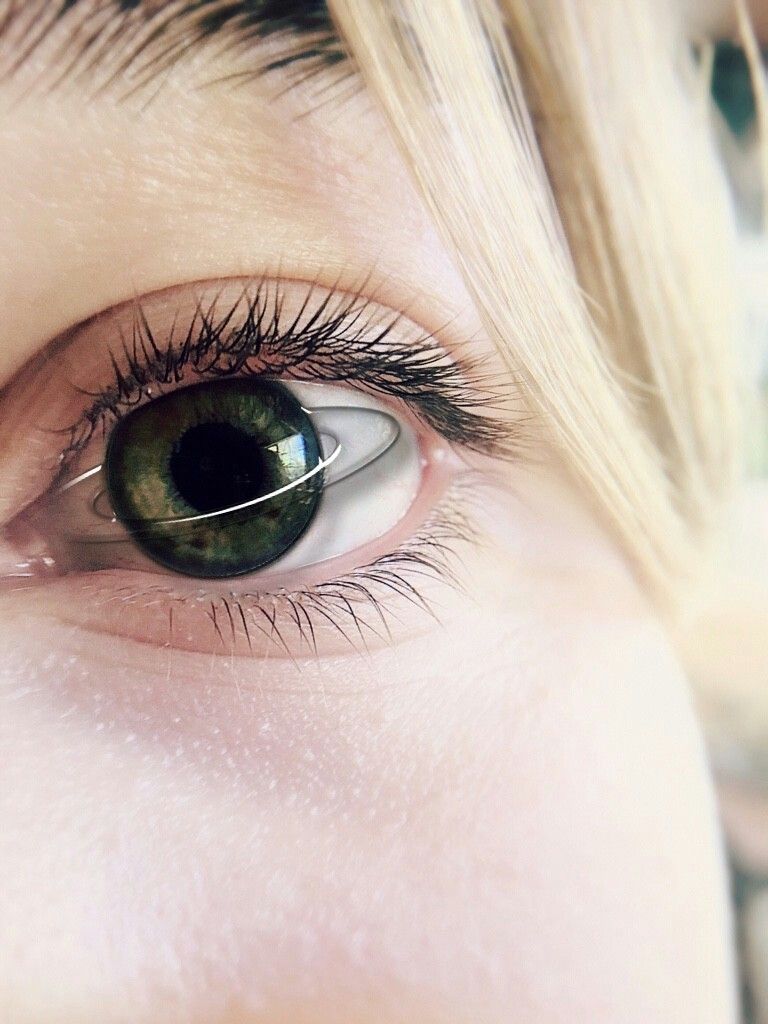 The main thing is to remember a few simple rules.
1. Crystal clear lens
For greater clarity and contrast of pictures, be sure to wipe the camera on your phone before any shooting! The absence of contaminants on the lens solves the problem of blurry images.
2. Grid and composition
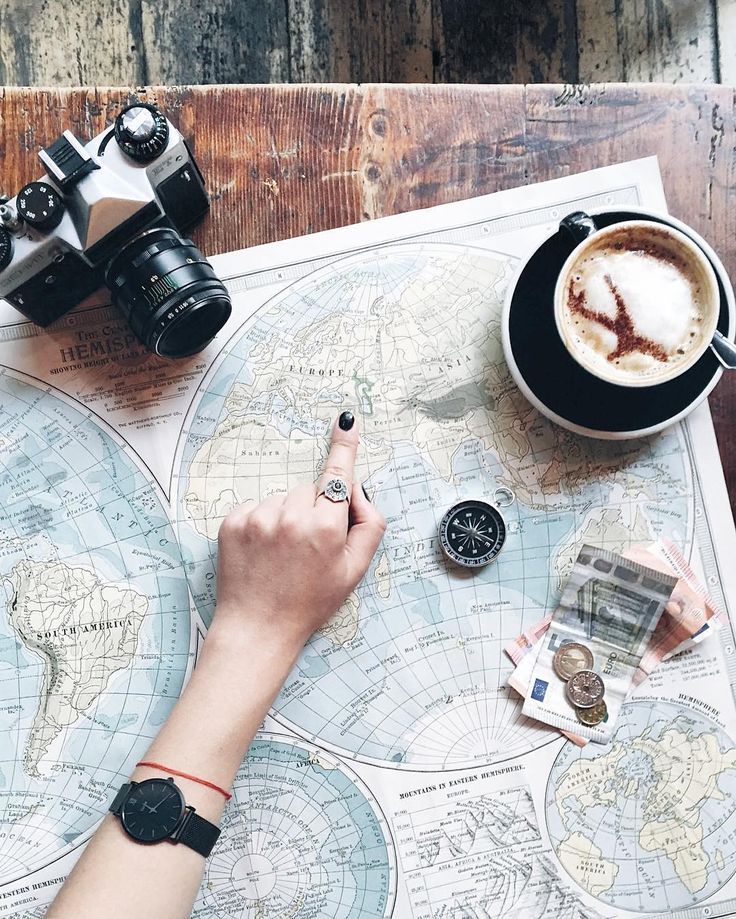
You need to figure out what kind of pictures you like to take. If we are talking about travel, then the frame, as a rule, includes architecture and landscapes, picturesque views. To take such pictures, you need at least a little understanding of the rules for constructing a composition. You can simplify your task with the help of the “grid”: it will not allow you to “fill up the horizon”. How to do it? Go to camera settings and select grid mode. All!
3. Angles
It is best to shoot with a phone from direct angles. What does it mean:
- if you want to rent a building, stand in front of it so that there is no side distortion;
- If you want to shoot a person, you stand, again, in front of him, and not on the side.
 You can also put a person right in front of the building, stand, in turn, in front of him - and you're done. Everything is very simple;
 - If you want to take a picture of a person without distorting the proportions, hold the phone at about the level of the solar plexus (and not at eye level, as you might have thought!). Otherwise, the head in the picture will appear large, and the legs short;
- If you want to take a larger picture of your face, move closer to the person. Do not use superzoom: it greatly spoils the quality of the photo.
4. Selfie
If you are taking a selfie, then you need to turn on the front camera, slightly raise the phone and shoot from top to bottom: this way the eyes are more expressive, the face is more elegant, and the picture as a whole is more beautiful. If you want to take a close-up selfie, you can connect a standard headset to your phone, put it on a windowsill or on a table and take a picture with the volume button (usually the button with the "+" sign performs this function).
5. Photo processing and filters
There are about a million different applications for editing photos on your phone. One of the most popular is still VSCO. Of course, it has a lot of useful filters built in. Given the latest trends in mobilography and the approach of summer, I recommend warmer filters: they are very relevant now. Some of the most successful in this application: A4, A6, M4, M5. M5 is an ideal filter for southern countries: France, Italy, Spain.
Never apply a filter one hundred percent. Turn it off a little in the settings: this way the photos will look more natural, and the effects will fit perfectly on the picture.
You can correct the image itself: for example, play with the exposure and see what happens. It is convenient to use noise: if the photo is beautiful, but it has some flaws, it is easy to hide them in this way.
6. Stories
Stories are now getting to the top due to the pattern of impressions on Instagram * ( * Meta Platforms Inc. (Facebook, Instagram) - an organization whose activities are recognized as extremist, banned on the territory of the Russian Federation)". You can “bomb” stories at least every minute: posts for them become the same work as updating the feed. People do not just post everything, but also make layout, collect interesting content.
There is a great, new and already very trendy app for story layout — Unfold. It allows you to make almost magazine pages from your photos, make beautiful captions, insert inspirational quotes, and so on. The application has a paid FF1 setting - very trendy! Now in fashion 90s: Flash shots with simulated film grain or film edge. Unfold has just such bonuses and frames.
7. Huji
The popularity of the Huji app died down a couple of months ago, but it is still relevant and allows you to take photos in the spirit of a disposable film camera. Shooting through it is very cool, as the application immediately applies a filter in the style of the 90s (and you remember that this is fashionable!).