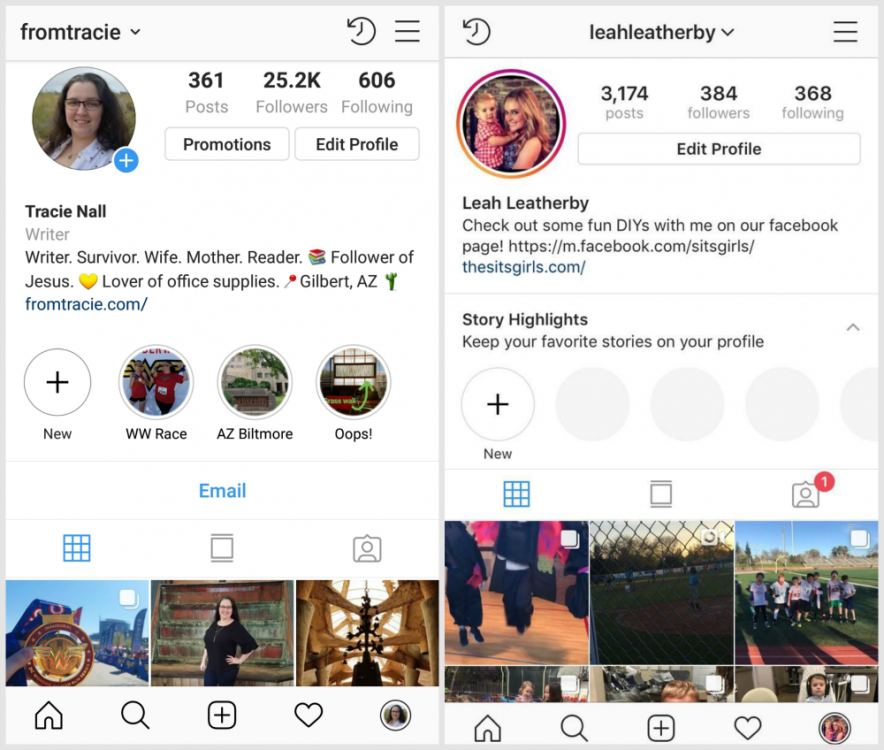
Alexandra | May 11, 2021
Splitting a photo can make your Instagram feed look more unique, very quickly.
And it doesn’t have to be complicated. It can be as simple as splitting a photo in 2 pieces. Your grid will look more aesthetic instantly.
You can use Preview app to split images. It’s super easy and fast to do. And you have a lot of different grid options.
I’m going to show you:
Let’s start!
Preview has an Image Splitter tool within the app.
Here is how to split a photo with Preview:
Your picture will be split into pieces.
Each individual post will appear into your Preview grid.
Click here to use it
You can auto-post to Instagram, or you can post manually.
To post manually:
Done.
Tip: Post individual images in the right order. Start posting from the bottom right corner of your screen and move your way left, and up.
Here are 3 useful features in Preview.
If your posts are not in the right order, you can move them.
You have 2 options:
 Prepare the captions for your posts.
Want to write a caption?
Press on “Find Captions” if you want caption ideas.
Press on “Find Hashtags” to find hashtags.
Caption tip: Want your followers to know that the post is part of a bigger picture? Annotate the image. For example, if you split your big picture into 3 images, you can write “1/3” or “1 out of 3” in the caption of the first image you share.
Want to post later?
Press on “Schedule Post”.
You can choose to:
Now that you know how to use the Instagram Grid Splitter, let’s look at creative Instagram grid ideas.
Let’s look at 5 grid ideas.
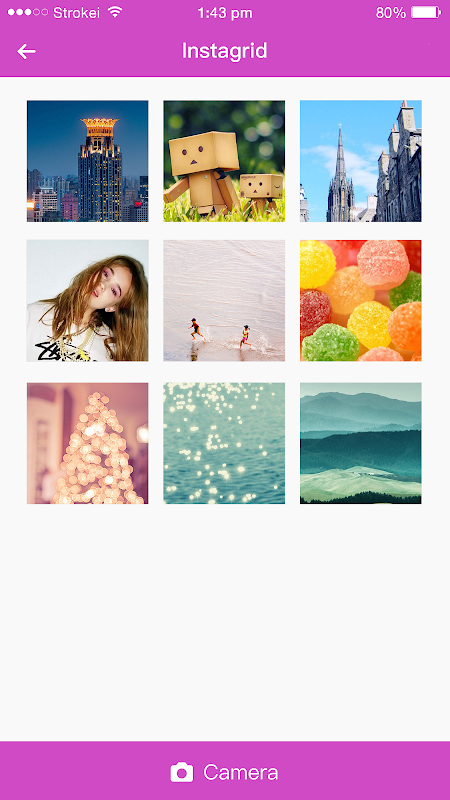
Split a photo in 9 parts, to create a square.
Ideal to create a suspense, photo reveal, product reveal, new campaign launch, or the launch a new Instagram page.
Want to split photos vertically? You can split the photo in 2 or 3 posts.
Recommended for a simple and unique feed.
Split a photo into 3 pictures in a row (horizontal). You can also choose to split in 2 pictures in a row.
Mix different grids to create your own unique feed. For example, I used 3 different grid splits for the feed below: “Square“, “1 column” and “2 Columns“
And now, my personal favorite way to use the image splitter tool: to create a Puzzle Feed.
Use the last two grid options in Preview to split your image into 12 or 15 smaller posts.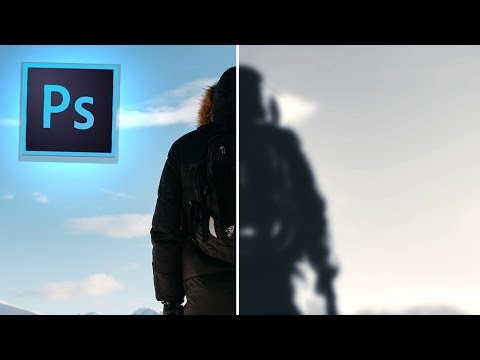
Why 12 or 15 posts? Because it’s the perfect number of posts to create a full screen seamless feed effect.
In seconds, Preview will split your images into smaller posts.
Here are Puzzle Feed ideas with 5 rows:
Tip: Make your big image the perfect size. This way each individual image will be high quality.
There are more image splitting options in Preview.
So have fun splitting your photos to create your own unique feed!
Let me know if you have any questions about this feature!
More tips:
Click here to use it
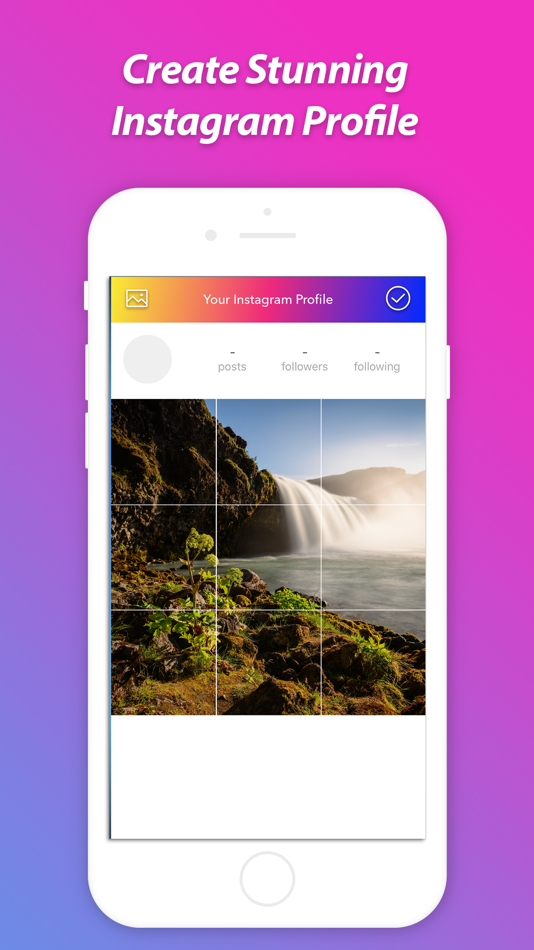
PhotoSplit is the most popular app to split your photos to the grid and post them directly to Instagram.
PhotoSplit lets you slice any photo into a 1x2, 1x3, 2x3, 3x3 & 4x3 grid while keeping it in high resolution. It then quickly lets you post the split images to Instagram to show it as one big photo on your profile. Elevate your Instagram game by giving your profile a professional look.
In PhotoSplit, you can zoom in, move, or even rotate your photo to instantly see how it will look like on your Instagram profile.
Why PhotoSplit?
• Choose from a variety of grid options: 1x2, 1x3, 2x3, 3x3 & 4x3
• Move, Zoom or Rotate to get the perfect fit.
• Keeps images in high resolution. Does not reduce quality after splitting. Will not blur the image.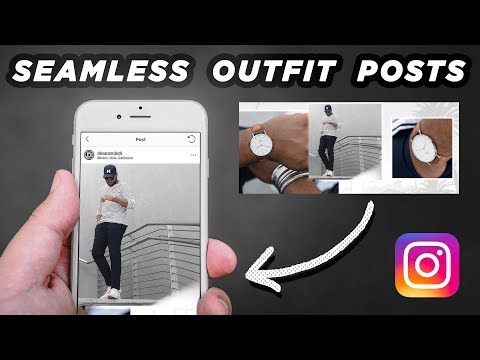
• Share images directly to Instagram without having to save first.
• If you like, save split images to photo library and post from within the Instagram app.
• Send any photo to PhotoSplit app from the iPhone Photo Gallery and other apps directly through Share widget.
• No login, No subscriptions, No ads.
• Over 23,000 5-Star Ratings
• Trusted by over 400,000 Instagram lovers
Version 1.9.8
- New Theme
- Bug fixes and Enhancements
26.9K Ratings
If you’re going to be using Instagram extensively and care enough to use this to enhance your page, just pay the pro fee.
It’s less than $4 USD, which is around the average price of a coffee.
There are claims that using this app to split images reduces the quality of the resulting split images. I have not noticed any drop in image resolution. For the intended purpose (of posting on Instagram and viewing images on smaller screens) this is fine. Don’t use this app to split your professional photography for gallery prints...
Simple, easy to use app.
Thank you for your kind words. We are always working to make the app better.
The app only lets you post two photos and save two photos. After that you have to pay. That’s not two WHOLE photos either. That’s one photo cut up into squares and each square is one photo. So if you use the layout with nine squares you basically waste your time posting less than half of the photo before you realise you have to delete the posts and download another app.

This app is amazing and it works perfectly and the app is super easy and simple to use. My problem comes with the go pro feature. You have a “trial” where you can get 2 images made for free then you have to pay a one time fee of 13 dollars. There would be no problem if it weren’t the fact that this is a one thing tool doesn’t help with anything else apart from something you can find on multiple other apps and sites I would be ok with the go pro feature as well if it were more like a ad free type of thing and you get ads with every use of the app that would make a lot more sense. Thank you for your time and have a great day
The developer, Tech Positive, indicated that the app’s privacy practices may include handling of data as described below. For more information, see the developer’s privacy policy.
The following data may be collected but it is not linked to your identity:
Privacy practices may vary, for example, based on the features you use or your age. Learn More
Contents:
 1 For Android
 Now many people are seriously engaged in the promotion of their accounts in social networks. However, no amount of money invested in promotion will be able to provide the desired progress if the content of the page leaves much to be desired. A very big influence in all social networks, and especially on Instagram, is the design. The appearance of the profile grid may be different. People came up with a lot of interesting things. In this article, we will talk about what features there are and how to split a photo into parts for an Instagram account.
You may need to split a photo into several parts in several cases. Of course, in the article we will only talk about how to use this to draw up a profile. But in order to be objective, consider a few situations.
There are several ways to split photos for Instagram.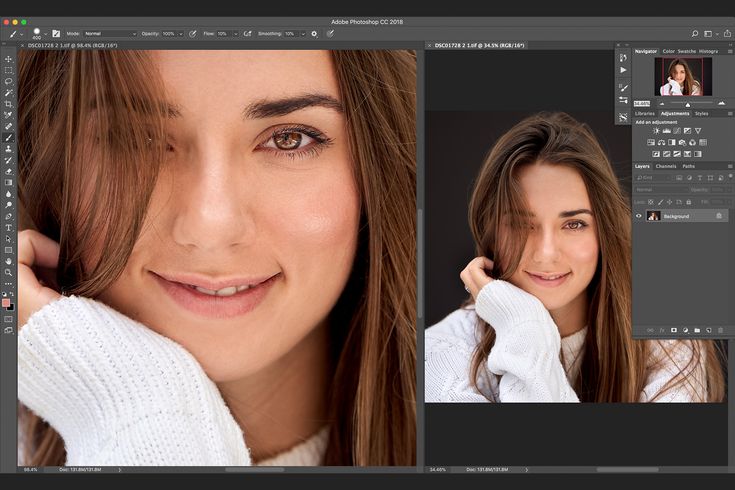 First, let's look at what applications can help us. It is much more convenient to do this from your phone, because it is the easiest way to download posts from a mobile device. I can offer you the following selection:
It is not always convenient to split an image through an application or software. Online work is easier - you do not need to download and install anything, waste time and memory in the device. The following sites can help us do what we have in mind:
 Everything here is not as convenient as in specialized services and applications. But there are no restrictions either - any processing, the ability to split one image into at least as many parts, to make people in the image more beautiful or, conversely, uglier - you can do everything.
 In any case, such a complex composition makes an impression.
 There are several ways to cut a photo for Instagram into 9 parts: applications, services or software on a PC. Which of these is more convenient? Large compositions are easiest to make in full-fledged Photoshop. But to design a landing page, you can simply download one of the applications mentioned in this article.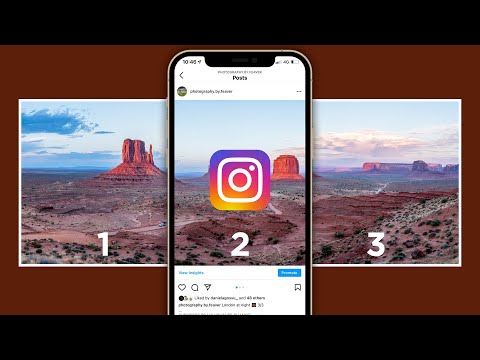
#1. How to post publications so that the collage does not “move out”?
Maintaining a profile in this way is generally not very easy. To keep the picture, you can upload 3 posts at once, for example. Or pause between posts and put up with the fact that sometimes the account will not be so beautiful.
#2. Is it worth putting so much effort into the appearance of the grid on the page?
This is often not required. Of course, a single picture, divided by 9records will attract attention. But just a single color scheme and the concept of photos will make the acc high-quality and stylish.
#3. What is important when creating a grid-puzzle or a grid-collage?
The fact that you have chosen a puzzle as an account concept does not mean that all other rules do not apply to you. It is necessary to ensure that the posts continue to be combined with each other. A good example is @caseymcperry. The bad one is @imperia_sumok.
Ask your questions and speak in the comments! And also watch a helpful video on the topic!
[Total: 3 Average: 4.7/5]
Like the content? Share with your friends!
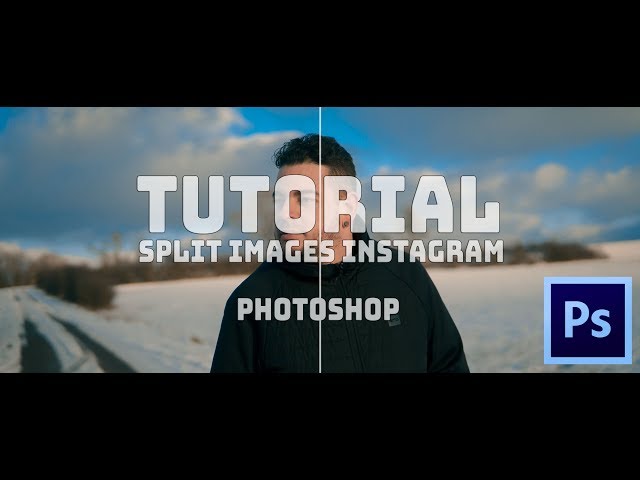
In this tutorial, I'll show you how to split or slice your Instagram Grid images to create an Instagram Grid. With GIMP this task is very easy and does not require any third party plugins. All features in this guide come with GIMP by default.
I'll show you two different methods - the first method is for an Instagram grid with an even number of rows and columns (i.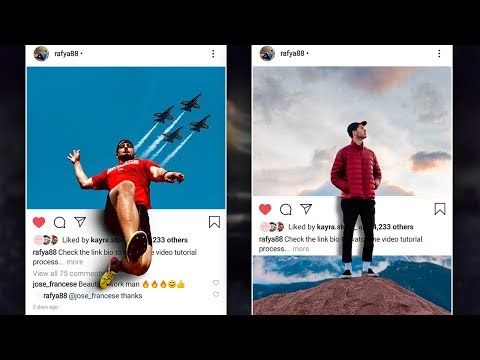 e. a 3×3 grid), and the second method is for an Instagram grid with an odd number. rows and columns (i.e. 3×1 grid).
If you prefer to watch the video version of this lesson (in English), you can do so below. Otherwise, you can read the version of the help article below the video, which is available in different languages.
Let's dive!
You of course need to start this process by opening the image you want to work with in GIMP. To do this, go to File > Open.
The Open Image dialog box will open, allowing you to search for an image file on your computer. You can use the Places column (red arrow in the image above) to navigate your computer until you find the folder containing your image.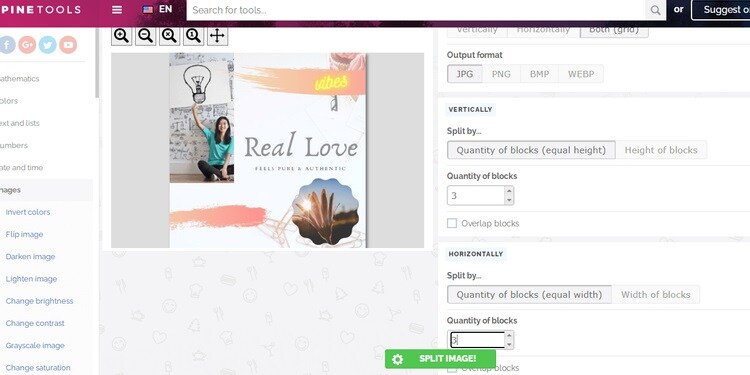
Once you navigate to the correct folder (in my case my image is in the Downloads folder, you can download the image I used on Pexels), click on the file (green arrow) you want to open (this will preview the image indicated by the blue arrow). Click "Open" to open the image in GIMP.
Now that the photo is open in GIMP, I need to crop it to fit the final aspect ratio that I want all of my images to have before uploading them on Instagram. Since our final Instagram grid will be even (3 rows, 3 columns for a 3×3 grid), I can crop the initial image to match the aspect ratio of the final images that will be created in this process.
Instagram generally recommends a 4:5 aspect ratio for images uploaded to the platform, so that's the ratio I'll be using for my crop.
Grab the crop tool from the toolbar (or press shift + c on your keyboard - red arrow in the image above). In the tool options section, select the "Fixed" option (make sure the dropdown is set to "Fixed aspect ratio - green arrow in the photo above)" and enter 4:5 in the box below (blue arrow).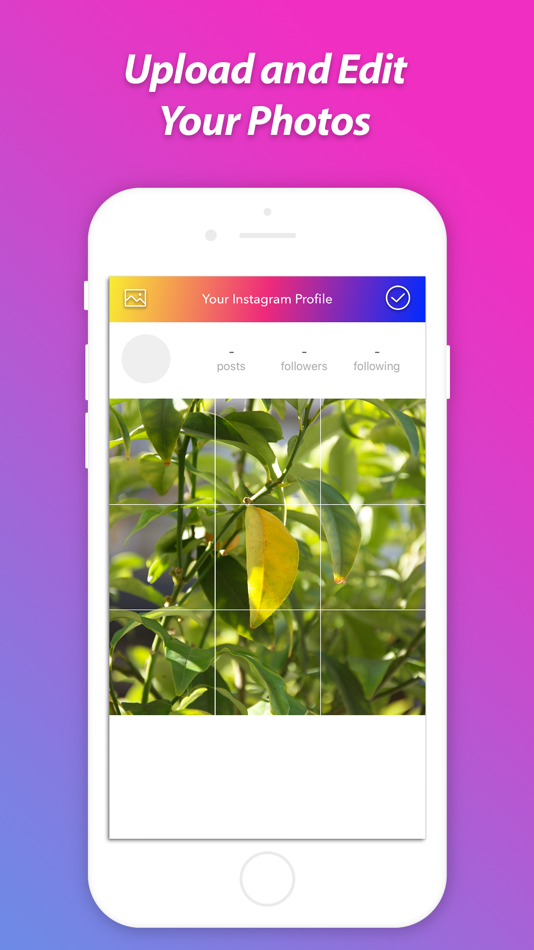 Also, before drawing the crop, make sure the "Allow Growth" option is unchecked. I also recommend setting the cropping guides to the Rule of Thirds (purple arrow in the image above).
Then click and drag on the image to set the crop area. The Rule of Thirds guides inside the crop will show you where your image will be split or cut (as you can see in the image box in the photo above).
Move the crop until it is in the right place. Click inside the crop area to apply the crop (cropped image shown above).
Next we need to split the image into pieces depending on where we want to split the image. To do this, I'll create guides to split the image based on the final grid size I want (in this case a 3×3 grid).
I'll start by going to Image > Guides > New Guide by Percent (red arrow in the image above).
I'll start with the "Direction" option set to "Horizontal" (red arrow in the image above) and set the "Position (in%)" to 33. 33 (blue arrow). This places our first guide at 1/3 of the image's total height. Click OK to add the guide.
I will repeat this step for the next guide - once you go to Image > Guides > New Guide by Percent.
For this second guide, however, I'll set the Position to 66.66 (red arrow). This will place the guide at 2/3 of the overall height of the image.
With the placement of this second guide, our image is now divided horizontally into three equal parts.
Next, I'll split the image vertically in the same way.
Go to Image > Guides > New Guide by Percent again.
Click on the "Direction" drop-down menu and select "Vertical" (red arrow in the image above).
Set Position to 33.33. Click OK to add the guide. You now have a vertical guide that divides the image by 1/3 of its total width.
Go to Image > Guides > New Guide by Percent for the last time. Change the Position value to 66.66 (red arrow in the photo above). Click OK.
Your image should now be evenly divided by 9different parts with four guides - 2 vertical and 2 horizontal.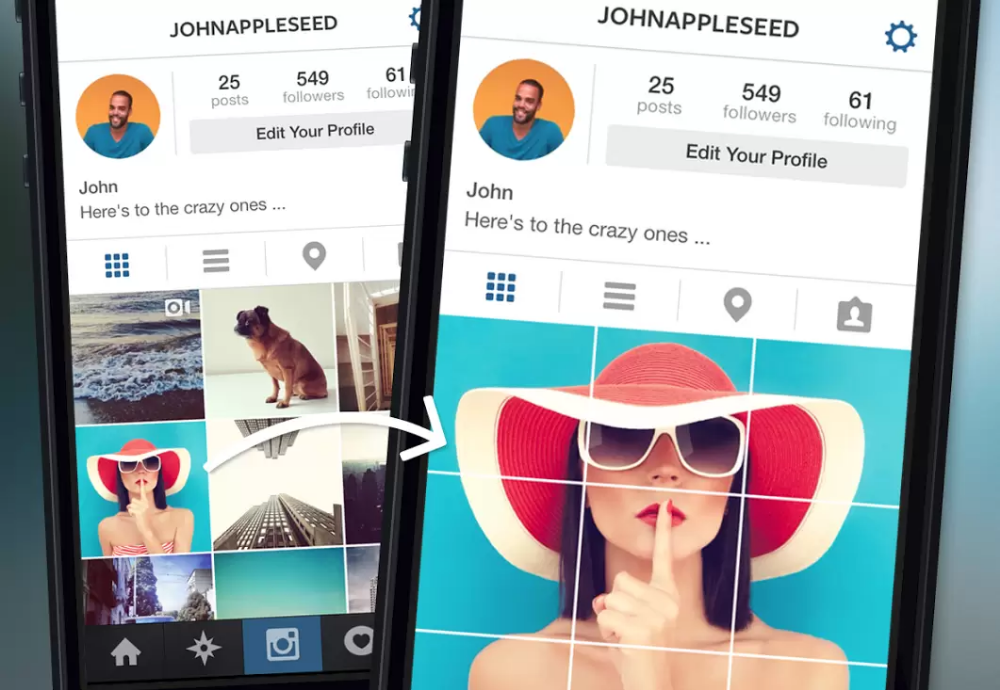
Next, we'll split the image based on the position of our guides.
To do this, go to Image > Slice Using Guides (red arrow in the photo above).
This will create 9 new images in GIMP depending on the location of the guides (each new photo created from slice/slice will open a new tab, highlighted in green in the photo above). The last image generated from this process will be the first image you upload to Instagram (red arrow in the photo above). The first image created will be the last image you upload.
Of course, in order to be able to upload these snippets to Instagram for the grid effect, you will need to export each image. To do this, go to File > Export.
I recommend exporting the last image that was created as "Slice 1.jpg" (red arrow in the photo above) so you know it will be the first image loaded (it's the bottom right corner of the original image). I also recommend saving each file as a JPEG - this can be done by simply ending each filename with a ". jpg" extension. Total 9slices, so make sure you export them all.
The first method works great when you create an even grid with 9 different images, but it won't work exactly the same if you create a smaller, uneven grid, such as a 3×1 grid with only 3 images. This method shows you how to complete the task for a 3×1 grid.
The first step for this part is the same as step 1 in method 1. Go to File > Open and locate the file that you are looking for, on your computer using the Open Image dialog box. Click the file you want to use and click the "Open" button to open the file in GIMP. (See Step 1 in Method 1 for images of this step). I will be using this image from Pexels for method 2 (shown in the photo above).
This is where method 2 differs from method 1. Instead of just cropping your image to the same aspect ratio that all your final images will contain (4:5 aspect ratio), you need to it's going to be a bit of a math to figure out how to crop your original image for a 3×1 grid to ensure that each photo has a 4:5 aspect ratio.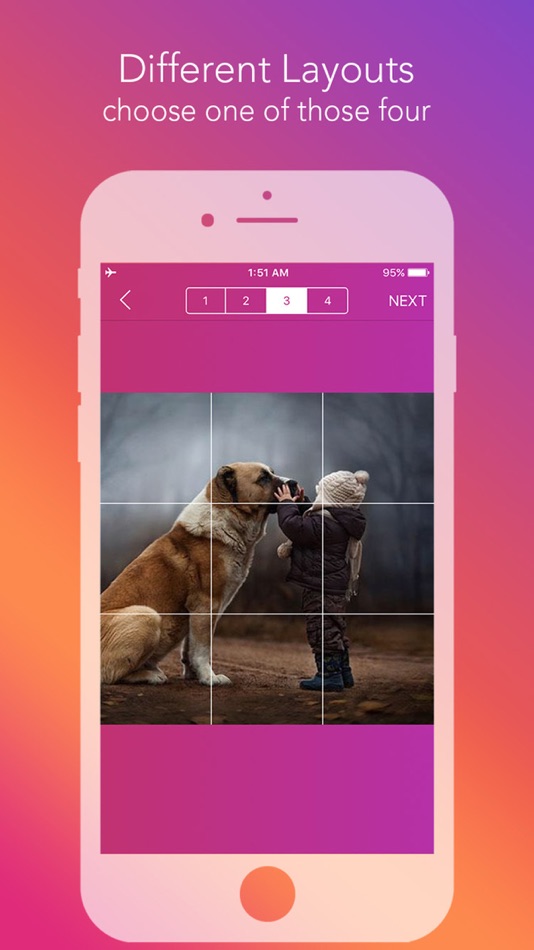 ). For my particular image, the width is 3500px and the height is 1914 pixels. In my case, I know that I want to keep the width the same, so I will have to calculate the new height of my image.
When doing this calculation, I need to keep in mind that I will divide the image into 3 equal parts and each part will have an aspect ratio of 4:5. Since my final grid will be 3×1 (3 rows in one column, or 3 images in total ), I can just multiply the aspect ratio by the grid size.
So I'll multiply the width in my aspect ratio (4) by the number of rows in my grid (3) to get my new width (12). I'll do the same with the height (5), although I'll multiply that by the number of columns in my grid (1) to get my new height (which is still 5). So the new aspect ratio of my image needs to be 12:5 before I split it by 3.
With that information, I'll now grab my crop tool from the toolbar (red arrow in the photo above) and in the tool options section, I'll check the "Fixed Aspect Ratio" option. In the box below, I'll enter "12:5" for the aspect ratio (green arrow). I will also make sure that the "allow growth" option is not checked.
Then I'll click and drag my mouse from the far left side of the image to the far right. I'll use the handles on the crop area to make sure the crop extends to every side of the image. I can also click and drag inside the crop area to adjust the crop position. Once I have the crop area, I want to click inside the crop area to apply the crop.
Our crop is set, so it's time to move on to placing our guides. This step will be a little shorter than Method 1 because we don't need to place horizontal guides.
First, I'll go to Image > Guides > New Guide by Percent (red arrow).
I'll make sure the Direction is set to Vertical and the Position (in%) is 33.339 (red arrow). Click OK to add the guide.
I'll repeat this step (Image > Guides > New Percentage Guide) but make sure the Position is set to 66.