How to share high quality photos on instagram
3 Easy Ways to Upload High-Quality Photos to Instagram
By Nicole Pav
Updated ✓ Facts checked by JP Zhang 4 Comments
Instagram is one of the most popular social media platforms available today, and it isn’t always just for personal pictures or fan accounts.
A growing percentage of people actually use Instagram for branding, advertising, or hobbies like photography, making it key that posted images are of high quality.
However, this can sometimes be hard to achieve, and it’s extremely frustrating when a picture that looks great on your phone comes out blurry on Instagram.
Table of Contents
- Why Are My Instagram Photos Low-quality?
- 3 Ways to Upload High-quality Photos to Instagram
- 1. Understand Instagram’s Requirements
- 2. Fix Relevant Settings
- 3. Resize Your Photos Ahead of Time
- Conclusion
Why Are My Instagram Photos Low-quality?
Whether you feel like your photos randomly come out low quality or if it’s happening to everything you upload, there’s actually a very specific reason that a photo looks low quality on Instagram but high quality on your computer or phone—Instagram compresses photos above certain dimensions.
This means that your photo is being forcefully resized to fit their standards, which doesn’t always have flattering outcomes.
This happens no matter what you use to upload the photo, be it your phone or computer, so it’s unavoidable unless you stick to certain principles.
3 Ways to Upload High-quality Photos to Instagram
There are a few different ways you can avoid having your photos compressed by Instagram. Here’s how to do it.
1. Understand Instagram’s Requirements
If you keep your photos within Instagram’s constraints, then you can control the quality and not worry about them being force resized by the app.
These are the guidelines released by Instagram for uploading photos:
- Use the most recent version of the Instagram app.
- Upload a photo with an aspect ratio between 1.91:1 and 4:5.
- Upload a photo with a maximum width of 1080 pixels and a minimum width of 320 pixels.
Any photo wider than 1080 pixels will be compressed, and you will lose detail.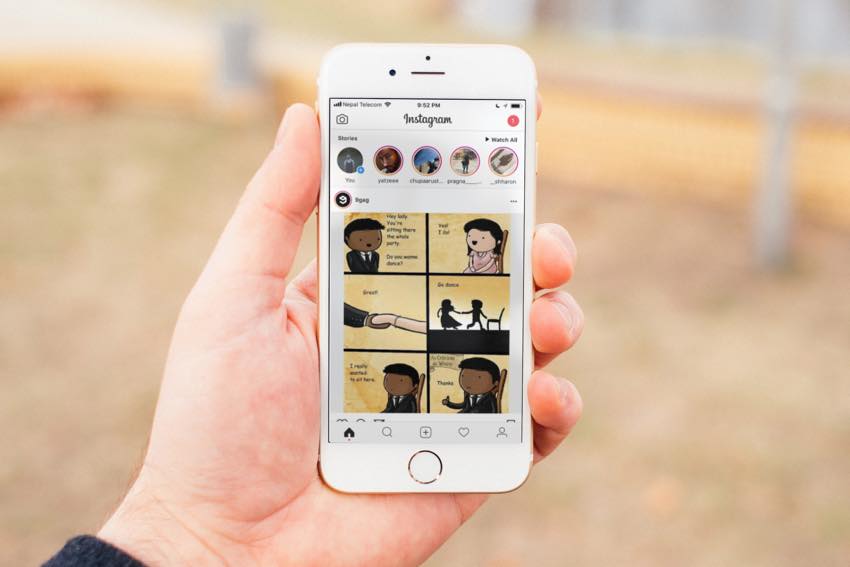 Photos smaller than 320 pixels wide will be enlarged, which will also produce blurriness.
Any photo that doesn’t meet the aspect ratio requirements will be cropped to acceptable dimensions.
2. Fix Relevant Settings
Some users have reported that on iPhone, you may be unintentionally compressing your photo before uploading it to Instagram due to a specific setting, particularly if you use iCloud as your primary data backup solution.
To fix this, open your iPhone’s settings and go to “Camera & Photos”. Then (if the option is available), uncheck “Optimize iPhone Storage”.
Photo from AppleAdditionally, if you use an online backup service like Dropbox or Google Drive, check if the photos are not being compressed by these services as well.
3. Resize Your Photos Ahead of Time
If you already know your photo is not going to be an acceptable size, you can resize it ahead of time and retain the quality.
For instance, photos from a DSLR camera are almost certainly going to be higher quality than allowed on Instagram, so you should import them to software like Photoshop, Lightroom, or GIMP (free) and resize them by yourself before uploading.
If you use Lightroom, you can set up a custom export setting that will make sure your photos never exceed 1080 px.
- For portrait photos, choose “Resize to fit: Short Edge” and set the pixels to 1080.
- For landscape photos, choose “Resize to fit: Long Edge” and set the pixels to 1080 here as well.
Conclusion
Whether you’re a professional with a brand to market, an aspiring influencer, or just a regular Instagram user, the rules of uploading photos are the same for everyone.
Just make sure to stick to Instagram’s strict pixels requirements and you shouldn’t see any unexpected changes in your photos. It may require a little extra work on your end, but the results will show a clear difference.
How to Enable High Quality Uploads on Instagram
When uploading photos or videos to Instagram, you might have noticed that some content changes when you see it displayed on your profile. In fact, Instagram will resize, convert and/or compresses your digital files by default.
Although Instagram will upload your content with decent quality, there’s actually a way to improve them by restricting any sort of changes from ever occurring.
Note: At no extra cost to you, we may earn a commission for purchases using our links. Learn more.
Enabling High Quality Photo & Video Uploads in Instagram
While Instagram seems to try-hard to hide this feature by default, there’s a simple way to enable high quality uploads. Deep within the settings menu in your Instagram app is a simple way to change your upload preferences.
By enabling this setting, your photos and videos won’t experience any change in quality when you upload them. It’s possible to change this setting on Android or iOS; the instructions for each are similar but slightly different. See below.
Enabling High Quality Instagram Uploads on iOS
iPhone or iPad users will need to follow these instructions to enable high quality uploads:
1. Tap the Instagram icon on your Home Screen to launch the app.
2. Tap your profile icon in the bottom right corner so you’re viewing your own profile.
3. Tap on the three dashes in the upper right corner. This will pop-up a list of more options.
4. Tap “Settings” at the very top of the list.
5. Tap “Account” and then “Data Usage”. Alternatively, you can simply search for “Data Usage”.
6. Now, you will see two options. Click the toggle button next to “High Quality Uploads” so the button turns blue upon activation. That’s it. Now your uploads will be higher quality regardless if you’re using cellular or WiFi connectivity.
Enabling High Quality Instagram Uploads on Android
The process is quite similar but not exactly the same for Android users. Follow these instructions to enable this setting on the Instagram app for Android:
1. Tap the Instagram icon on your Home Screen to launch the app.
2. Tap your profile icon in the bottom right corner so you’re viewing your own profile.
3. Tap on the three dashes in the upper right corner. This will pop-up a list of more options.
4. Tap “Settings” at the very top of the list.
5. Tap “Account” and then “Cellular Data Use” towards the bottom of the list. Alternatively, you can simply search for “Cellular Data Use” back in the Settings menu.
6. Now, you will need to activate the toggle button next to “Data Saver” to unblur the “High Resolution Media” setting directly below. Once you do that, it will let you choose from three options: never, WiFi only or Cellular + WiFi.
Choose “Cellular + WiFi” and now, regardless if you’re connected through your cell service or WiFi, the Instagram app won’t change your uploads or even attempt to compress or distort any of the content you view.
Turning-On High Quality Uploads on Instagram
As you can see, regardless of the type of device you’re using, enabling high quality uploads without any restrictions is actually quite easy. Keep in mind, however, that regularly uploading high resolution photos or videos can quickly use a lot of data. In fact, it can easily diminish any data usage you may have through your cell phone or Internet provider. Even browsing around with these settings activated can make a huge difference in your data usage. By enabling, you’re basically telling Instagram to give you the highest quality content without any regard for the amount of bandwidth you’re using.
To be honest, most users won’t find a huge difference by activating high quality uploads on Instagram. Given how advanced Instagram’s default compression algorithm works, the changes they make to your photos and videos are hardly noticeable. But if you have a large following or you’ve got a knack for providing the highest possible quality, it’s a setting that you’ll probably want to keep activated. Either way, trying it out for yourself is the best option.
If you try these settings activated for a few days and you don’t notice a big difference, we recommend leaving the default settings activated. Ultimately, you’ll end up saving a lot of data usage and it may be for the best. After all, load times will likely increase with high quality uploads enabled, which could ultimately put a damper on your overall Instagram experience.
Regardless, learning new things with Instagram is fun and can be quite useful. Whether you’re a personal account user or a manager of a big brand, learning the ins-and-outs of Instagram is a great skill to achieve. Interested in learning more? Be sure to check out our other tutorials such as how to see a list of people you’ve requested to follow on Instagram or how to remove other users likes on your Instagram photos and videos. Enjoy!
Please consider sharing:
Note: At no extra cost to you, we may earn a commission for purchases using our links. Learn more.
How to upload photos to Instagram without losing quality: Tips for optimizing your shot
Many people say that Instagram compresses photos and degrades the original quality of images. If you use the platform only to chat with friends, then the decrease in clarity may not interfere with the publication of frames. However, detail is important when you are promoting a brand and business, posting photos from photo shoots, and creating a beautiful feed. Today we will tell you what determines the clarity of the picture and how to upload a photo to Instagram without losing quality. nine0003
Photo format and size requirements
In order for photos to be displayed without cropping or compression, you must set the appropriate photo format and size. The rules of the social network spell out the required frame proportions and resolution for posts, stories, and even profile photos.
Post sizes
You can post photos in different orientations in the feed. You can upload a vertical, horizontal or square image. In the profile, all content will be displayed in the form of a square, but when you open a picture, Instagram will show the original frame without cropping. nine0003
To ensure that images do not lose quality, you need to set the correct aspect ratio:
- Format: for horizontal images - 1.91:1, vertical - 4:5, square - 1:1.
- Resolution: for horizontal - 1080 × 566 px, vertical - 1080 x 1350 px, square - 1080 × 1080 px.
What happens if I upload an image "as is" without setting the resolution? When posting photos with a width of less than 320 pixels, Instagram will automatically increase the image resolution. Because of this, digital noise and pixelated areas will appear in the photo. nine0003
When uploading large photos, the social network will reduce the width to 1080 pixels. In this case, the detail and contrast of the photo may decrease.
How publications will look in different layouts
Aspect ratio in Stories
In Stories, for the correct display of the image, you need to publish content with a vertical orientation. Horizontal or square footage will either be framed with black borders, or they will adjust to the predominant color of the image. nine0003
Required properties for stories:
- Format: 16:9.
- Resolution: 1080 × 1920 dots.
- Media size: up to 30 MB.
And by the way, photos will be displayed in stories for 5 seconds. You won't be able to change the media duration.
How pictures look in different positions in Stories
Profile photo resolution
The profile avatar in the social network is displayed as a circle, but a square picture is uploaded to the server itself. It's best to crop the shot yourself, as the platform automatically removes the edges of the image and can cut off important parts of the frame. nine0003
The size of the avatar depends on where the profile is opened:
- when viewed on a smartphone — 110 x 110 px;
- in a browser on a computer - 180 x 180 px;
- when displaying search results - 40 x 40.
Automatic cropping of photos with different aspect ratios
What affects the quality of pictures
Basically, the quality depends on the original resolution of the image. Also, the following criteria affect the clarity of the photo:
- when publishing content directly from applications for iPhone, the quality deteriorates; nine0021
- JPG and PNG images are best displayed;
- the social network makes the image faded and blurry, so before uploading it is worth sharpening and increasing the saturation of the photo;
- The detail depends on the model of the device from which the file was published.
How to upload photos to Instagram without losing quality
To optimize the image from your phone, you can use special applications. Good options for Android and iPhone would be InstaSize and NoCrop . For Android users, there is also a good software A Better Camera . All these utilities allow you to maintain the original proportions and upload pictures without white borders, help you avoid blurring the picture and scale the photo correctly.
Step-by-step instructions for optimizing a photo for Instagram
We will look at how to post photos on Instagram without losing quality, using the example of the application A Better Camera . It will allow you to expand the standard capabilities of the main camera, set the appropriate aspect ratio and get high detail. nine0003
You can download the application for free from the Google Play Market. Then we act according to the algorithm:
1. You need to launch the application and swipe from top to bottom. In the menu that opens, select "Settings" and go to the "General settings" - "Shot size" section.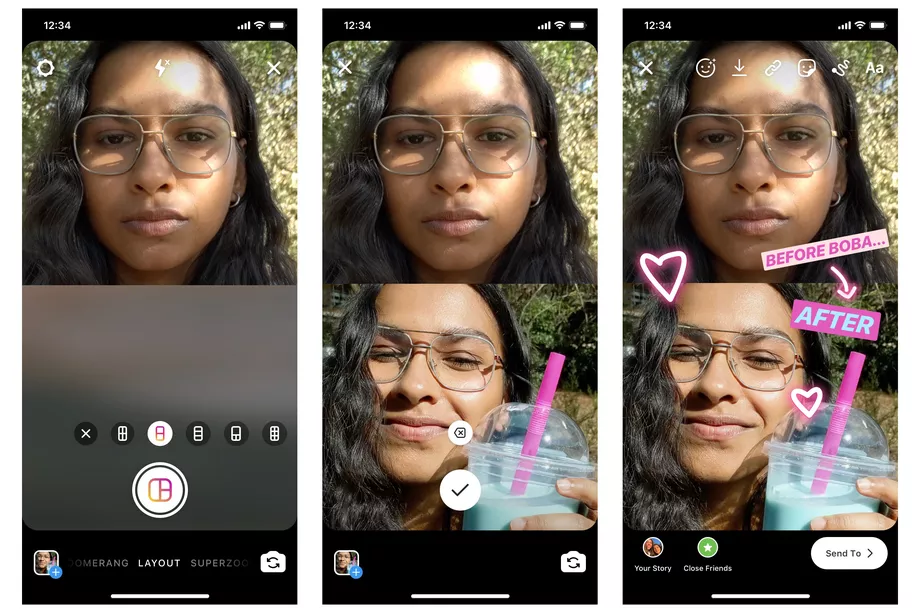 Here you can choose the appropriate resolution for Instagram.
The higher the Mpix value, the higher the resolution.
2. Next, you need to go back and open the Screen Settings tab. You can display additional items in the start menu: battery power, grid, various modes, etc. nine0003
Options will allow you to control the quality of the photo
3. Then you need to exit the settings and swipe down again. Open the "Scenes" tab and specify the desired option: portrait, landscape, sports, etc. The software will automatically set the appropriate exposure, contrast and exposure settings. In fact, you need to choose a thematic filter in order to better convey the atmosphere of the frame and avoid graphical defects.
Available scenes
4. Click on the "Focus" option. If you need to shoot small objects, it is better to switch to the "Macro" mode. For other situations, "Auto" is suitable. nine0003
Available options
5. Next, you need to return to the start menu and click on the modes icon in the lower right corner. Here you can select automatic shooting, create a panorama, a tool for removing unwanted objects, applying an HDR effect, or night mode.
The option is marked on the picture
6. After saving all the settings, you need to tap on the screen in the place where the lens should be focused. Click on the camera icon to take a photo. The result will be saved to the gallery. Now you can upload it to the platform through the Instagram mobile app. nine0003
Conclusions
Now it's clearer how to upload photos to Instagram without quality loss. The original low resolution affects the clarity of the pictures. In such cases, Instagram will automatically enlarge the image and make it blurry and pixelated. A large image will in turn be reduced, and this can reduce the detail and contrast of the photo.
Before publishing, be sure to adjust the aspect ratio in the software, otherwise the frame will not be displayed correctly in the feed. You can use InstaSize, NoCrop and A Better Camera. To find other useful applications for working with photos and not only, it is necessary to read reviews of programs. So you can find the best solution for various tasks and get acquainted with all the features of the software. nine0003
If you follow the requirements of the social network, use special applications for optimization, you can guarantee a perfect image in the feed.
Android I/O Instagram iPhone As an advertisement
How to post panoramas on Instagram*
November 12, 2017 Web Services
A little trick will allow you to bypass the Instagram* limitation on photo width.
Uploading a panoramic photo to Instagram* is easy. You can create an Instagram post* with multiple photos blending into one another. It will look something like this. nine0003
Panoramic photos on Instagram* are no different from regular posts with multiple shots. They can be made manually or using mobile applications.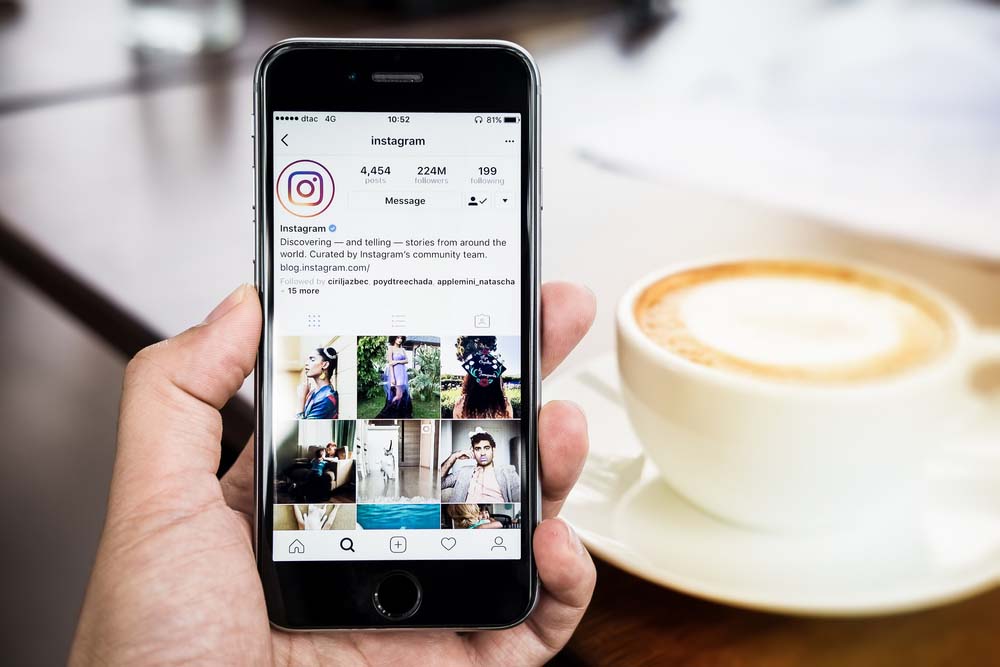 Here's how it's done.
Preparing a panorama manually
- Take a panoramic photo. Most modern smartphones and cameras can do this. Keep in mind that you may need a tripod to get really good panoramic photos.
- Open the photo in any photo editor. You can use professional solutions such as Photoshop, Lightroom and their alternatives, or Lightroom Mobile, or any other image editor of your choice. The editor only needs the ability to cut out image fragments. nine0021
- Use the photo cropping tool to crop your photo to the desired aspect ratio. If you want your panorama to be in three parts, the aspect ratio of the photo should be 3:1. For a six-part panorama, the aspect ratio should be 6:1, and so on. Please note that you cannot insert more than ten squares into one Instagram* panorama.
- Cut the resulting image into several squares of the same size. You can do this both in your graphics editor, and using one of these services:
- Griddrawingtool.
 com;
com; - Imgonline.com.
- You will get several images of the same aspect ratio. Now send them to your phone to upload them in the right order on Instagram*. Or you can upload photos directly from your computer through the mobile version of the site. To make a panorama, you need to place the photos from left to right so that the leftmost part of the photo is the first, and the rightmost is the last.
Load panorama automatically
Take a panoramic photo for Instagram* with apps like Swipeable for iOS and InSwipe for Android. They are free, and with them you do not have to bother fussing in graphic editors.
Swipeable
The iOS app lets you create panoramic and even 360° loop photos for Instagram*. Just select a panoramic photo, and the application will divide it into square segments and apply the necessary filters.
appbox fallback https://apps.apple.com/en/app/id1209
6
InSwipe
Powered by Android and has similar functionality - creates seamless panoramas for Instagram*.


