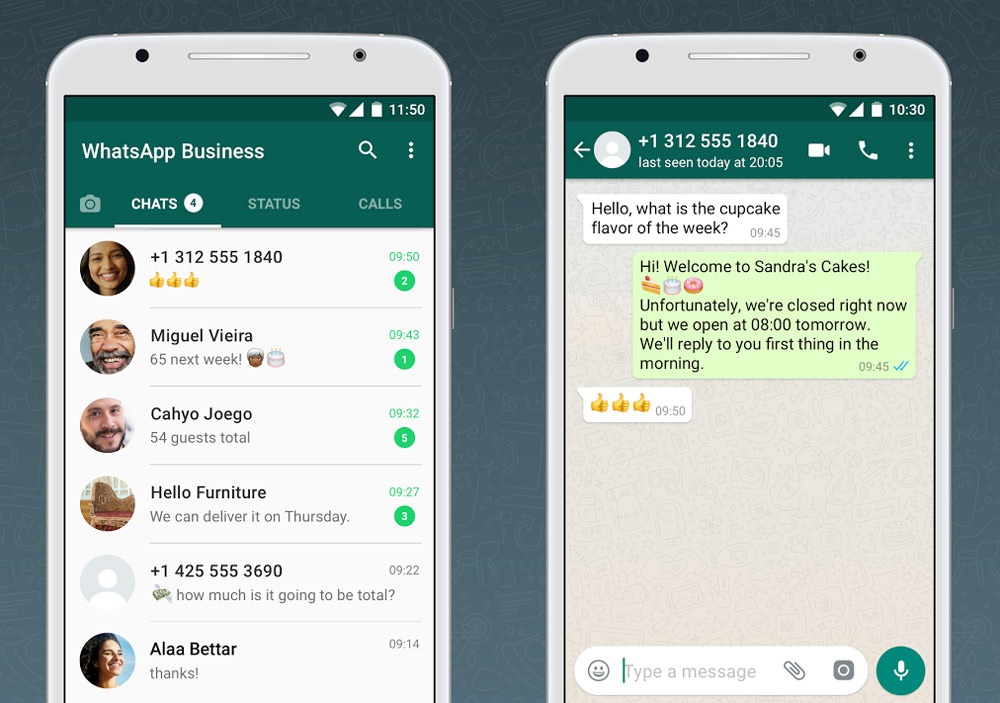
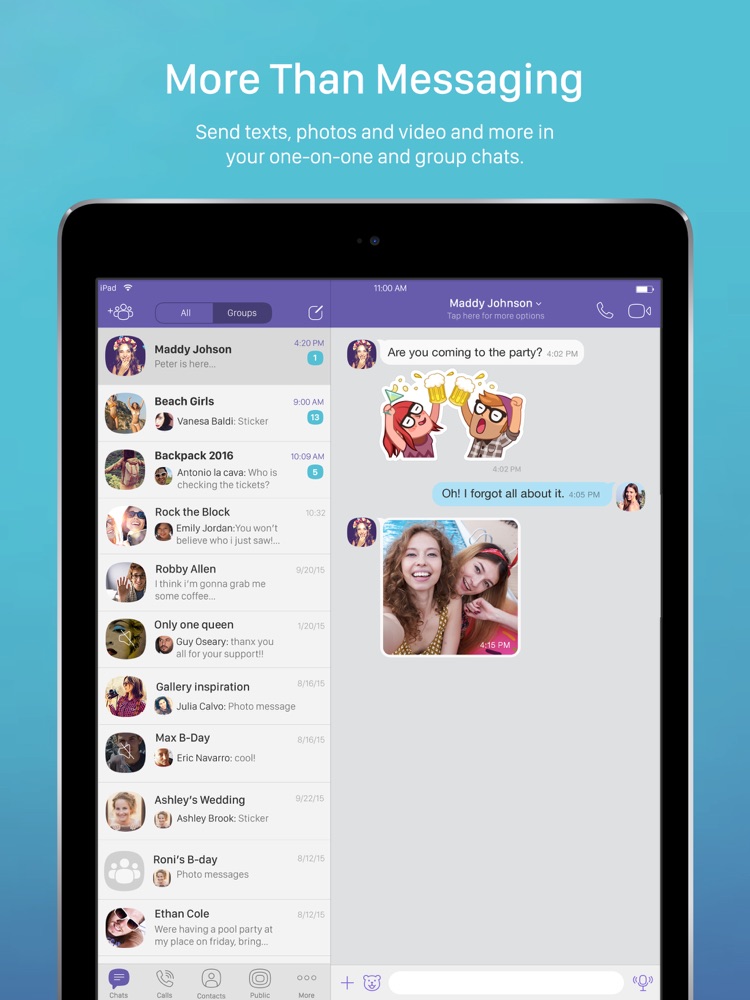
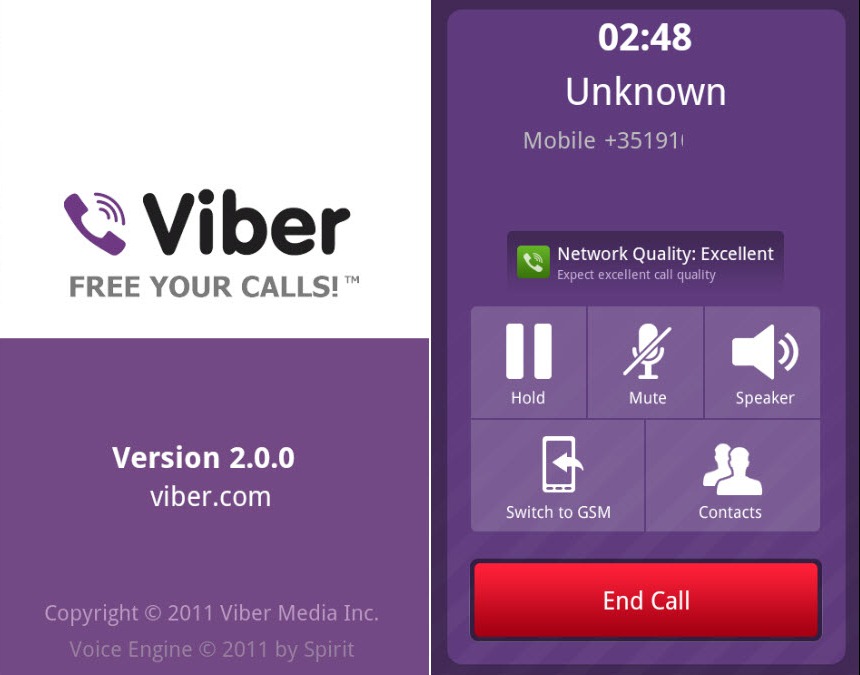
Boasting over 1 billion users worldwide, Viber is undoubtedly one of the most accomplished alternatives to WhatsApp. Features like video/audio calling and fun-loving group messaging make it spot on for seamless communication.
To prevent your photo library from being cluttered, Viber doesn’t automatically save media on your iPhone. However, if you like to store the shared stuff for a keepsake, you may want to download photos and videos shared through Viber chat threads on your iOS device. Let’s learn how to get it done!
Step #1. Launch Viber on your iOS device.
Step #2. Now, tap on More button at the bottom right corner → tap on Settings.
Step #3. Next up, tap on Media.
Step #4. Up next, you need to turn on the switch for Save to Gallery.
That’s pretty much it! Going forward, clips and pics will be automatically saved to your photo library on your device.
Later, if you wish to stop downloading media to your photo library, come to this same setting and toggle off Save to Gallery option.
On this same screen, you can choose to automatically delete media after a preferred time. Simply tap on Keep Media and select the time period.
Besides, you also have the option to prevent the app from auto-downloading photos on the cellular network and even restrict data usage. If you are using limited bandwidth, make sure to take advantage of these features.
Wrapping Up…
Of course, Facebook Messenger and WhatsApp are more popular. However, Viber is not too far behind and does have almost all the tricks to entice users.
One of my favorite features of this app is the Dark Mode (More button → Settings → Appearance) as it makes chatting with friends more convenient in the night. I wish WhatsApp also offered this feature (pretty much like Messenger ) sooner than later.
Explore the following articles as well:
What’s your take on Viber and what are the features you want to see in it? Share your feedback with us in the below comment section.
Author
Jignesh
Jignesh Padhiyar is the co-founder of iGeeksBlog.com, who has a keen eye for news, rumors, and all the unusual stuff around Apple products. During his tight schedule, Jignesh finds some moments of respite to share side-splitting content on social media.
Category: iOS Data Recovery
January 12, 2023 3 mins read
Viber is a great way to communicate especially because you can send and receive other media such as Videos and Photos. In order to keep the videos, you receive on Viber safe, it may be prudent to save them to your iPhone and consequently get them backed up to iCloud automatically, if you have turned on iCloud backup.
In this article, we are going to share with you two solutions to keeping the Viber videos safe. One of them involves saving the viber videos to your iPhone and the other to your computer.
To save videos from your Viber account to your iPhone, you need to enable the option both on Viber and on your iPhone. Here’s how to do it.
 ”
”Now all your Viber videos will be automatically saved to your camera roll.
If you want to have a safe and reliable backup of not just the Viber videos but all the messages, call history and attachments from your Viber account, we have a solution that can help you easily achieve this. This solution is none other than iMyFone D-Back or iMyFone D-Back for Mac, one of the best and most reliable data recovery programs in the business. The following are some of its features.

Try It Free
Follow these simple steps to save your Viber Videos, messages, photos and even call history to your computer using iMyfone D-Back.
The free trial version is available to preview all your Viber messages from your iPhone on the computer. Try it now!
Try It Free
(Click to rate this post)
Generally rated 5 (256 participated)
Rated successfully!
You have already rated this article, please do not repeat scoring!
Please enable JavaScript to view the comments powered by Disqus.
Home > iOS Data Recovery > How to Save Videos from Viber on iPhone
1. On a smartphone
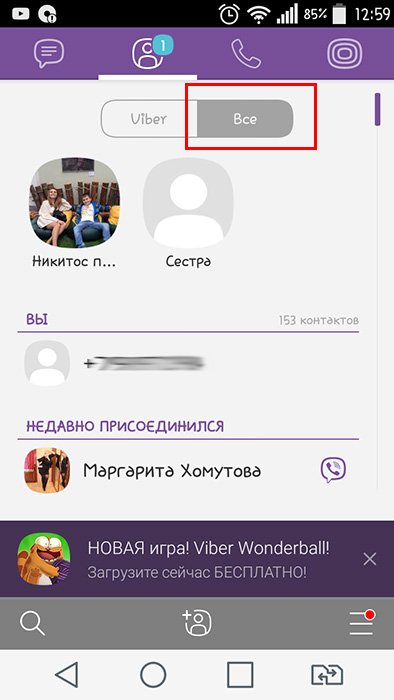
1.1. Android
1.2. iPhone
2. On PC
3. Conclusion
Viber messenger subscribers often exchange multimedia files. To save the selected videos in the internal memory of the gadget, you should use a certain algorithm. This material contains instructions that allow you to record video for devices on Android, iOS platforms, as well as for PC.
Media content sent via Viber can be saved in Gallery. The order of actions to be taken is different for gadgets with different operating systems.
Before discussing the steps for saving Viber videos to an Android smartphone, you should understand the option to automatically download multimedia files. This function is designed to automatically record attachments to the internal memory of the gadget when connected to the Internet.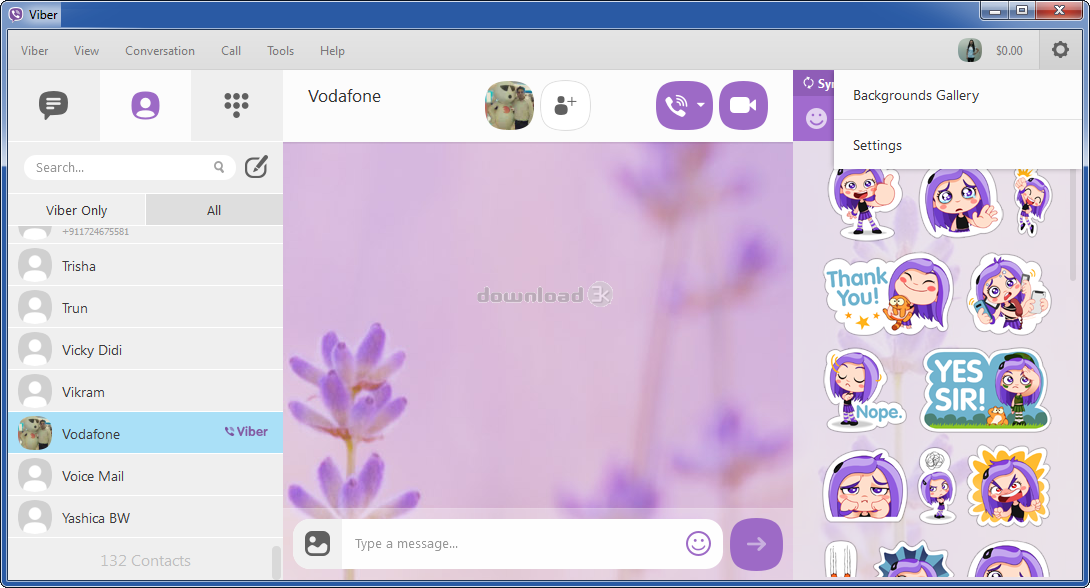 If the option is set correctly, all received content will be recorded in the phone's gallery.
Instructions for setting up autoload include the following steps:
By setting the automatic download option, you don't have to worry about saving files on your gadget. The download will take place without the participation of the user.
If the user wants to independently control the process of downloading videos, you must disable auto-download and download clips one by one, using the following instructions:
After completing these steps, the user can find the videos in the folder from the Gallery application.
To save video clips from the Viber application, follow the steps below:
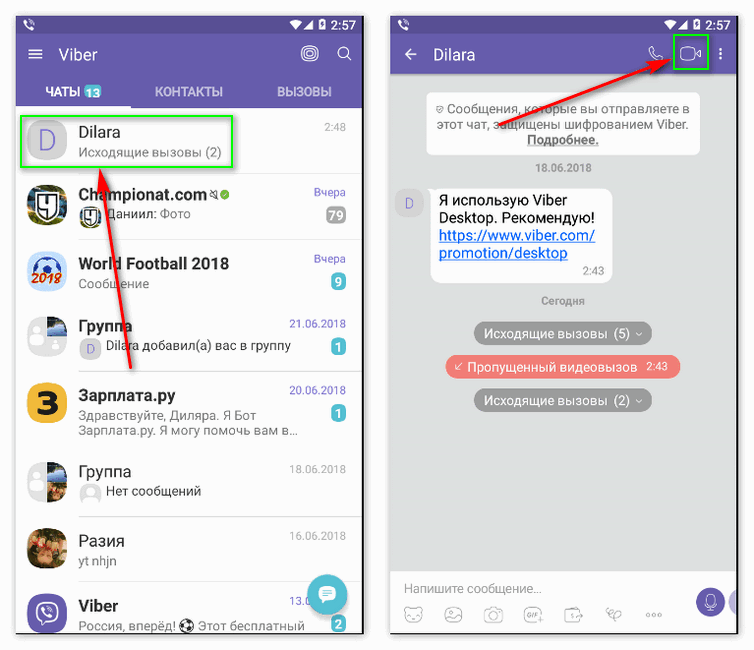
The Viber messenger interface on the iPhone provides an additional opportunity to record video received from the interlocutor:
After pressing the "Share" button, a row of icons appears in front of the user, corresponding to instant messengers, social networks, e-mail addresses. The number of buttons corresponds to the number of user profiles registered in various services.
The desktop version of the Viber program offers the user the same opportunities as the mobile version. Entertainment and business attachments attached to messages can be stored on your computer's hard drive.
The algorithm for saving multimedia content is simple:
When writing media files to a computer, it is recommended to remember the storage location of the materials so that you can easily find the desired video when you need to view it.
Answered: how to download video, music online, which can be sent via Viber, to iPhone and other devices for free.
The creators of the Viber service have provided the ability to save multimedia files received from interlocutors. The user can set the automatic download option or decide to save individual valuable videos. For instructions on how to write clips to your device's memory, see this article.
Popular program for correspondence and voice communication provides various tools for sending files (text, sound, video, pictures). Some messenger users want to save the received content for the purpose of periodic review. Receiving (storing) video is not particularly difficult. How to save video from viber next.
These are used after downloading the desired file for the subsequent replenishment of the gallery.
The first option is to automatically save downloaded content, set as follows:
“Settings”.
The second option is to send content to a personal email or one of the types of storage (“cloud” drive, preferred social network). Procedure:
The third way is to do the operation manually. The subscriber will be able to more easily navigate among the desired files, in contrast to the above-described automatic saving sequences. Using your preferred platform (Android, iOS, or Windows) makes working adjustments.
“Apple” devices (iPhone, iPad) provide an automatic save procedure, like “competitors”. For subsequent content filtering, the subscriber should adhere to the following algorithm:
Smartphones with this operating “stuffing” are used most often among the Viber audience. The order of saving the video is as follows:
When the “automatic” is turned on, the file fills up the device gallery.
It is possible to view the result only after successful completion of the download procedure.
Although limited in functionality, the keyboard and mouse version of Viber does not require preloading of files, providing the user with a seamless browsing experience. There are two known methods for obtaining video on the hard disk memory.
First way:
Second way:

The key to success is the mandatory binding of the computer version of the messenger to the mobile one by synchronizing the two platforms.
Data backed up to a computer is also displayed in the smartphone's memory.
This option is considered an alternative solution for users who do not need an official product. The BlueStacks emulator downloaded to your computer allows you to work with a mobile interface that is identical in functionality to Android smartphones; so a person can purchase any type of application on a PC (from organizers to games).
The copy of the messenger that is in the emulator environment requires the following video saving process: