Cameras are everywhere today, which means you’re likely to come across an image that interests you. There are plenty of reverse image search options on Google. But what do you do if you see an image on Facebook and want to locate its origins?
Fortunately, there are ways to do a reverse image search for Facebook. Although Facebook doesn’t have a reverse image search feature, you can use the unique numerical ID that Facebook assigns to every image on Facebook to identify the source of the photo. Alternatively, you can use Google Image Search to do a reverse image search outside of Facebook.
Here’s how to find the origin of a photo you find on Facebook.
How to Reverse Image SearchOne of the easiest ways to find information about an image is by doing a reverse image search. You can use search engines like Google Images or TinEye to quickly find the source of a picture.
To use a reverse image search engine, you need the image location or the actual image. You can also download the image and save it. To save an image from Facebook, you can either right-click and tap “Save Image As” from the web browser or open the image on the app and tap the three vertical dots in the upper right-hand corner and click save.
For Google, you can either paste the image URL or upload the image you downloaded and saved.
Remember, though, that your reverse image search results may vary depending on the profile settings of the profile from which the photo originated. If the user has their privacy locked down, you may be unable to figure out whose profile the image originated. You may find information about the photo from sources other than Facebook, leading you to the source of the photo.
Instead of or in addition to a reverse image search, there is a method you can use within Facebook to trace a photo back to the originating profile.
Read on for instructions on how to match an image to a profile on Facebook.
Did you know that some Facebook images have a photo number embedded in the file name? Using this method is relatively simple.
However, if you choose to use this method, there are a few things to keep in mind.
First, the profile you find may not be the person in the photo. It may be where the photo originated, but that photo may have been taken and shared by someone else.
Also, it’s important to remember that you may get to a Facebook profile, but the information you see may be limited. It depends on the person’s privacy settings. For optimal results, the profile needs to be public, which of course, isn’t always the case.
With that in mind, here’s how to use this method to find specific Facebook profiles.
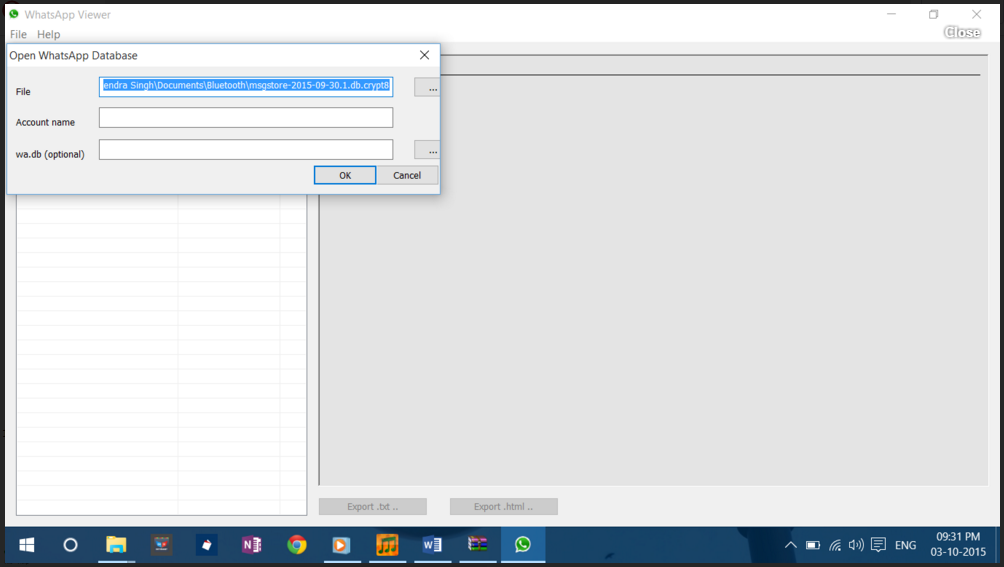
First, you need to locate the Facebook photo ID number on the image. To do this, right-click on the image and choose “View Image/Photo.” Doing this may reveal the original link for the image. Alternatively, you can right-click on the photo and choose “Copy image address.”
Somewhere near the beginning of the link, you should see the letters “fb. ” That stands for Facebook, and it confirms that is where the image originated. But you’re not done yet. You still need the find the photo’s unique number assigned by Facebook.
In the link address, you should see three sets of numbers followed by “jpg” or “png.” For example, you may see a URL that looks similar to this:
fbid=65502964574389&set=a.105484896xxxxx.2345.10000116735844&type
The sets of numbers may also be broken up by underscores to look like this:
fbid=65502964574389&set=a_105484896xxxxx.2345_10000116735844&type
Either way, it’s the second or middle set of numbers that you want. This is the profile number for the person’s photo on Facebook. In this case, it would be 105484896xxxxx.
Every Facebook user and every photo on Facebook has a unique number, so by matching the image’s ID with the profile ID, you now have a match.
Your next step is using that second set of numbers to locate the Facebook profile where the image originated.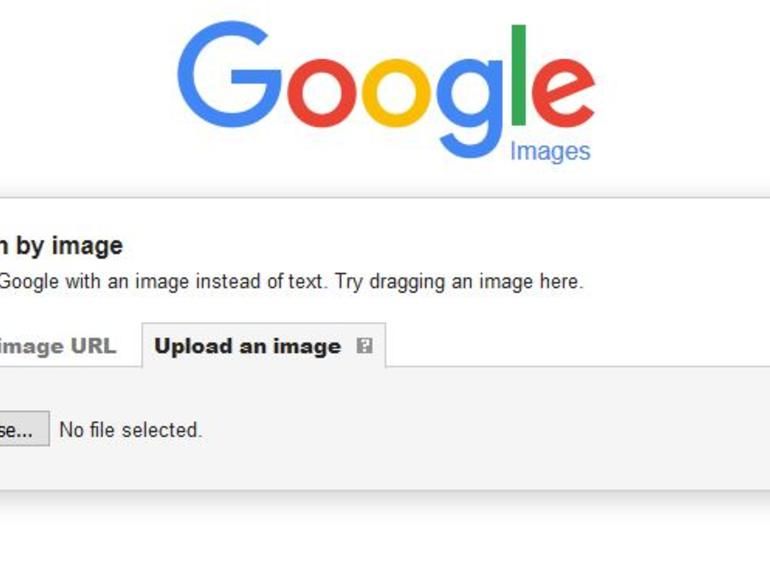 To do this, open up another tab and paste the following link with the photo ID number:
https://www.facebook.com/photo.php?fbid=[insert photo ID number here]
Make sure there are no spaces or decimals when copying the id number. The actual number of digits may vary from the example, so you may get one that’s shorter or longer. Press Enter to open the Facebook profile where the image may have originated.
There’s a lot to learn about what you can find on Facebook. We’ve included this section to answer more questions.
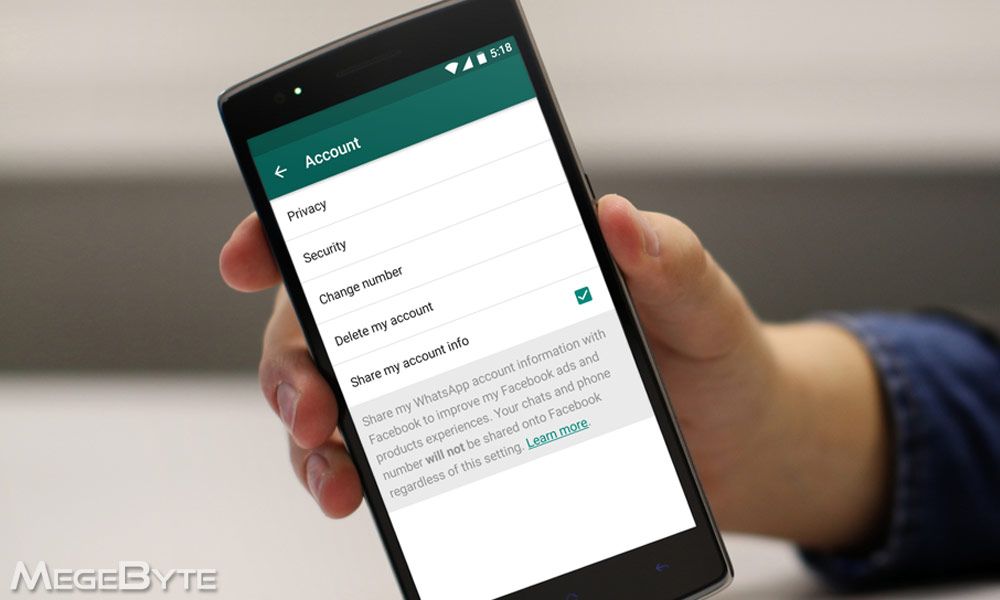
Yes. One of the rules of Facebook is that all profile pictures must be public. Therefore, if you see a photo that appears to be a profile picture, you should be able to find the image’s source.
The only way to see someone’s private photos on Facebook is if you’re friends with their friends (and their settings allow it).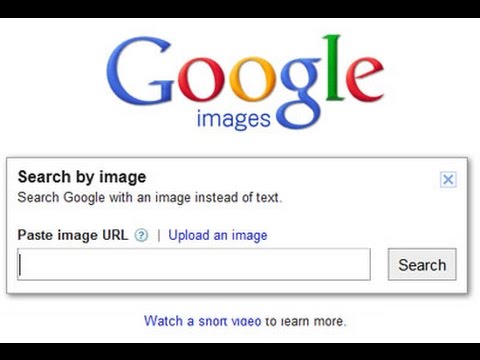 Searching photos on Facebook can be quite difficult if the original poster has a private account.
If you’re friends with someone on Facebook and want to view all of their photos, you can. You can also do this for Public accounts. Here’s what to do:
1. Visit the person’s profile (use the search bar at the top to type their name).
2. Click on Photos/Video.
Here, you can see all of your friend’s photos and videos.
Using a reverse image search may be the easiest way to look up information. It’s not the most comprehensive, especially for social media websites.
Instead, check out the name format. See if the photo comes from Facebook or another website. If it is from Facebook, you can try locating the photo ID and using the generic URL to bring you to the right Facebook page.
Keep in mind that neither method is completely reliable.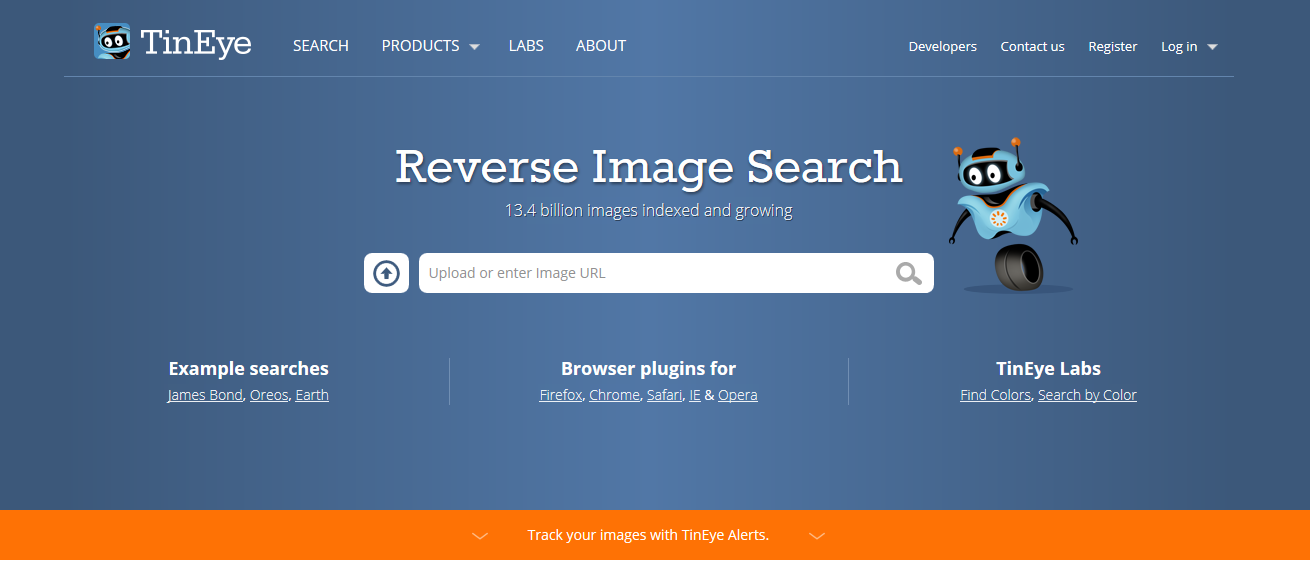 Both results may vary depending on many factors. But you may luck out and be one step closer to putting a name to a face, and that’s a step closer than you were before you tried.
Aug 30, 2022• Proven solutions
Are you looking for the name of a person you have a picture of? Have to lose a previous contact and want to find that person again? Or do you want to know the source of an image you want to use on your website or blog? If you are looking for answers to any of these questions, then this article on reverse image search Facebook is going to help you find the answer.
Unfortunately, Facebook doesn't come with the feature of reverse image search. There are several other ways to perform the reverse image search on Facebook.
In this article, we are going to discuss three ways on how to reverse image search Facebook.
 Reverse Image Search Facebook using TinEye
You can check How to Reverse Search a Pic on Your iPhone Here>>
Facebook provides each image with a unique Facebook Photo ID. Have you ever noticed that it has a weird number as its name when you download a Facebook image? Before using this method, it is important to keep something in your mind. After using this method, you will be redirected to a profile, you don't need to reach a profile of the person in the photo. But it might be a profile where this picture was originated. Another thing to be considered is that the profile you will reach after this reverse image search Facebook may contain limited information depending upon the profile's privacy settings.
Step 01: First of all, we have to locate the photo ID of the image. To do that, navigate to the image and right-click on it.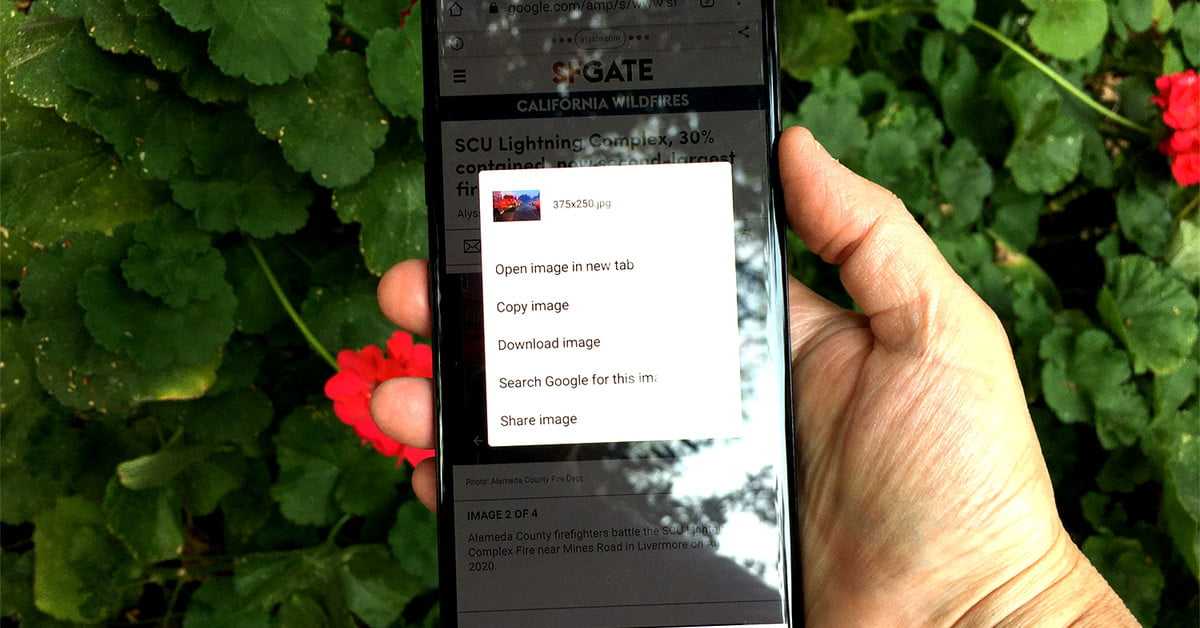 Now select "Copy Image Address." It will copy the link to the image. Now paste it somewhere like Word or Notepad. To see how it looks like. You can see three sets of numbers that are followed by "jpg" or "png."
fbid=65502964574389&set=a.846739673xxxxx.2345.10000116735844&type
We will need the middle set of numbers.
Step 02: Copy and paste this address into your browser https://www.facebook.com/photo.php?fbid=
Now copy the middle set of numbers and paste it after this URL, and hit enter.
It will lead you to the profile which contains the image.
One of the easiest ways to find information about an image is using platforms specially designed for this purpose. One of the best and widely used platforms is TinEye. TinEye can help you have a Reverse Image Search on Facebook and help you get to the profile which originated the image.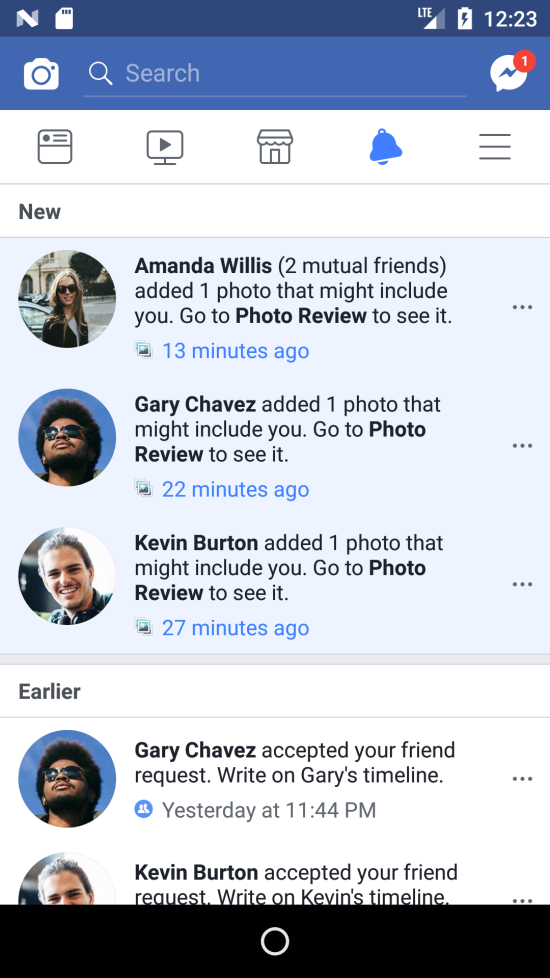
Step 01: Open www.tineye.com in your browser.
Step 02: You can have a reverse image search Facebook by uploading the image from your device or by pasting the URL of the image into the search box. Choose any of the methods that best suit your needs and hit the "Search" Icon.
It will bring you similar as well as some related sources on the internet.
Google is known for its search engine but most people are unaware of the feature of reverse image search of Google. It allows you to find the source of the images, information about the images and much more related to a particular image. We can use Google to have a reverse image search Facebook as well.
Step 01: Navigate to images.google.com
Step 02: Hit on the "Camera" icon beside the search box. Now click on Search by Google.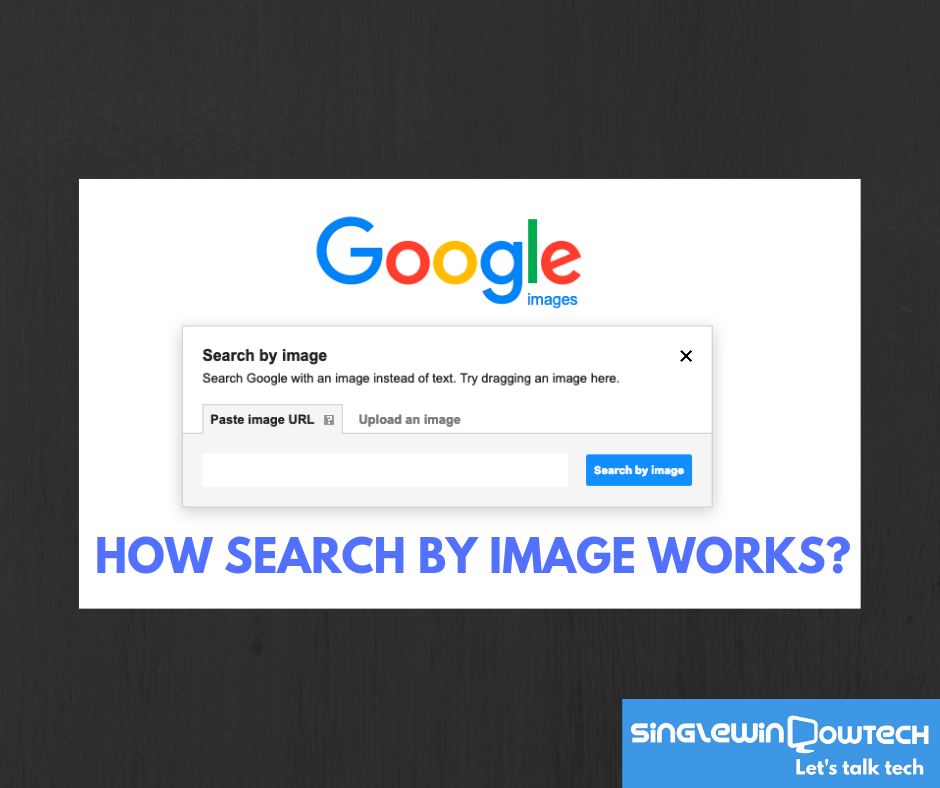 It will provide you with two options for reverse image search, upload the image or paste the URL of the image. If you have the image saved on your device, then upload it on Google.
If the Facebook profile that contains the image doesn't have any restrictions, you can see the Facebook profile in the search results. It will show you all the related websites and pages that contain the same image. It will lead to the profile that contains the image you have searched for.
All of the above methods can help you have a reverse image search Facebook for any purpose you want. Choose any of the methods that are more convenient and easier for you to apply. You can try all of these three methods and see which one works best for you.
Liza Brown
Liza Brown is a writer and a lover of all things video./cdn.vox-cdn.com/uploads/chorus_asset/file/10531003/IMG_C283871B2AEB_1.jpeg)
Follow @Liza Brown
Thank you for your comment. We will review it within few days.
How to delete photos on Facebook Communicate with friends and people of interest, share notes and photos. In this case, it often becomes necessary to delete a photo. This is not easy to do, but very simple thanks to the simple and intuitive settings provided on the Facebook network. For any user, this procedure will not take more than 2-3 minutes.
As you know, Facebook, like other social networks, has the ability to store and sort photos in albums. To delete not one photo, but the whole album, you need to log in to your page (see paragraphs 1-2 of the previous instructions).

See also:
How to delete photos in Odnoklassniki: step-by-step instructions
Search for people using photos of the social network Vkontakte
List of programs for printing photos
How to delete an Instagram account: all methods
Experienced users are well aware that sometimes you can not delete photos from your page, and close the possibility of viewing them by unauthorized persons. To do this, you need to properly configure the settings for showing photos when you add them to your page.
Now it will be quite easy for users of the social network Facebook to delete both one photo and the whole album. As well as adjust the settings for their display and control the ability to view them by other people.
Like this article? Share with friends:
Topic of the day
February 03, 2017, 16:48 Print
The new algorithm allows you to search for the desired picture by what is shown on it, and not by the signature.
Famous brands refuse advertising on Twitter because of Musk - FT 03:54
Scientists find traces of organic compounds in a crater on Mars 26. 11 18:33
A chatbot was created in Ukraine that teaches children and teenagers the main actions during the war 26.11 18:05
Scientists have awakened the ancient "zombie viruses" that they found in Siberia 26.11 17:33
Communication is being restored: 73% of the mobile network is already working in Ukraine 26. 11 14:39
Archaeologists find ancient "snacks" in the Colosseum 26.11 14:06
Twitter will have multi-colored "verification checkmarks" 26.11 10:34
Elon Musk may create tELONphone 26.11 04:12
US bans Huawei and ZTE telecommunications equipment 26.