3 min
On Instagram, it’s impossible to post an album — multiple photos or videos in one post that you swipe through — with multiple different aspect ratios. In this article, I'll show you how to do it for free and online.
When posting an album, Instagram requires that the images have the same aspect ratio. In this post, I’ll describe how you can post multiple photos or videos with different sizes by first resizing them to square.
On Instagram, it’s impossible to post an album — multiple photos or videos in one post that you swipe through — with multiple different aspect ratios. For example, if you want to post a landscape image and a portrait image at the same time, you need to crop one or the other (or you could crop both to square). Instagram requires that your photos have the same aspect ratio.
When posting multiple photos or videos, all are cropped to squareTo post multiple different photos or videos with different sizes on Instagram, you need to use a tool to resize them first. To avoid cropping out content, add a white background to make each photo or video in to a square. Then, you can post the album without cropping out or changing the size of your image.
Here’s a step-by-step tutorial:
Open the Kapwing Studio and start with a square 1:1 canvas (or 4:5 or 5:4, which are both accepted by Instagram).
One at a time, upload the photos or videos you want to post. Kapwing is free to use and online, so you don’t need to download an app. It supports images, GIFs and videos.
If needed, tap the photo or video and resize the canvas to the right aspect ratio. On mobile, use the "Edit Background" button to find the Resize Canvas button.
1:1 for an Instagram Post appears under the "Size" dropdown (Kapwing also supports 9:16 sizing for Stories and other formats). Turn off "Canvas Blur" and select white for your background color. You can use Kapwing’s zoom and positioning tools to zoom in, crop, or add a border. Double tap to crop the image or video, and use the Play button to watch a preview of what your post will look like. Click Export once the preview matches what you want your post to look like.
After resizing your posts, you can download them and share them on Instagram as an album. Since each photo/video now has a 1:1 aspect ratio, you can publish them without cropping.
On an iPhone, use the "Downloads" gallery to find the file you just made and save it to your camera roll.
If you're not signed into a Kapwing account, sign in or sign up using your Google or Facebook account. Once you're signed in, each of your exports will be saved in your workspace so that you can download them later.
Repeat these steps for each of the photos and videos that you want to share in your Instagram carousel.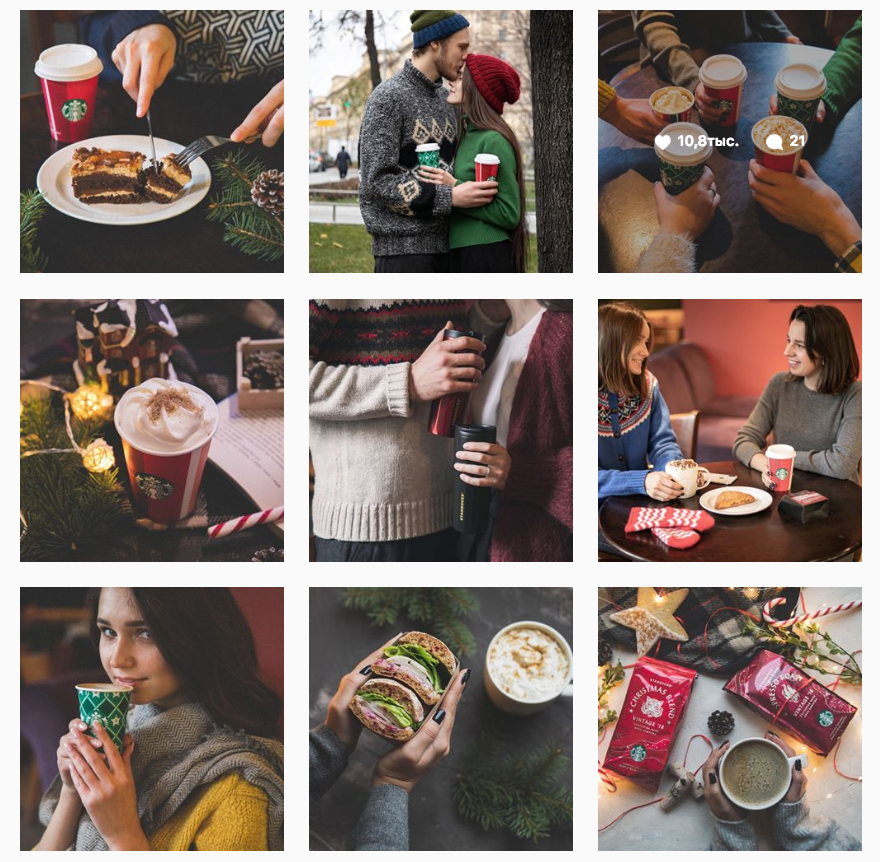 After you've downloaded each of the square posts, open the Instagram app and upload them as an album.
For more ideas, tutorials, and features, check back in at the Kapwing Resources page or our YouTube channel! And remember to tag us @KapwingApp whenever you share your content on social media– we love to see what our creators are passionate about!
Related Articles:
• How to Caption Videos Using Instagram Threads
• How to Download Anyone's Instagram Stories
• How to Make Social Justice Slideshows for Instagram
• How to Download Instagram Reels
When Instagram was launched, it only allowed users to upload square photos.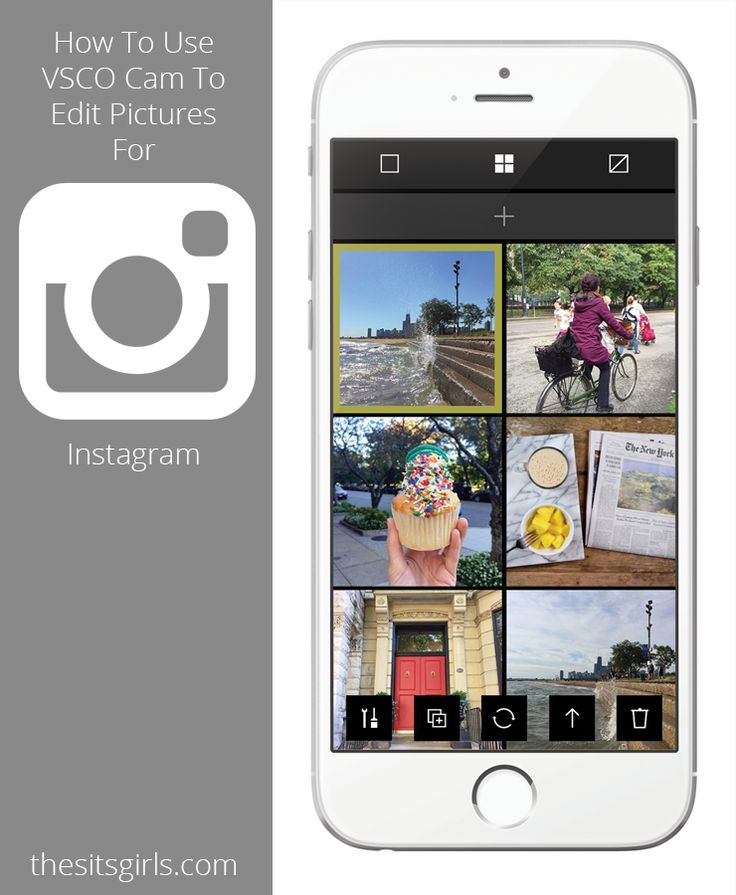 This meant that a substantial portion of your photos had to be cropped.
Instagram’s square photo dimensions became a major drawback to photographers and Instagram users as the image quality, content, and resolution of images were often be sacrificed.
Fortunately, Instagram has seen the need to resolve this major issue. Instagram has given its users more freedom to be creative with their images. Now, pictures can be uploaded in landscape or portrait orientation.
So how can you post portrait photos on Instagram without cropping?
The vast majority of Instagram images are squared off. That’s fine for the most part, but it does tend to impact the composition of a photo — especially if it’s a portrait or landscape subject.
When you upload an image or load it into Instagram, the image is automatically cropped to 4:5. No one wants to put a lot of time and effort into capturing the perfect photo only for Instagram to ruin it by cropping the image.
Instagram did add different orientations not long ago, but images still take a little tweaking to get right. Now, you can post images at a maximum size of 600 x 600 for square images, 1080 × 607 for landscapes, and 480 × 600 for portraits. The actual stored size differs slightly, but when you measure images within Instagram, these are what typically come up.
So, if you’re one of the many Instagram users that’s tired of having their photos cropped, let’s take a look at how you can post portrait or vertical photos on Instagram without cropping.
Depending on the size of your image, you may now be able to post a portrait image on Instagram without having to crop it.
Here’s how you can check:
Open Instagram and create a new post.
Select the image you want to upload from your photo gallery.
Select the small crop icon in the bottom left of the main image screen.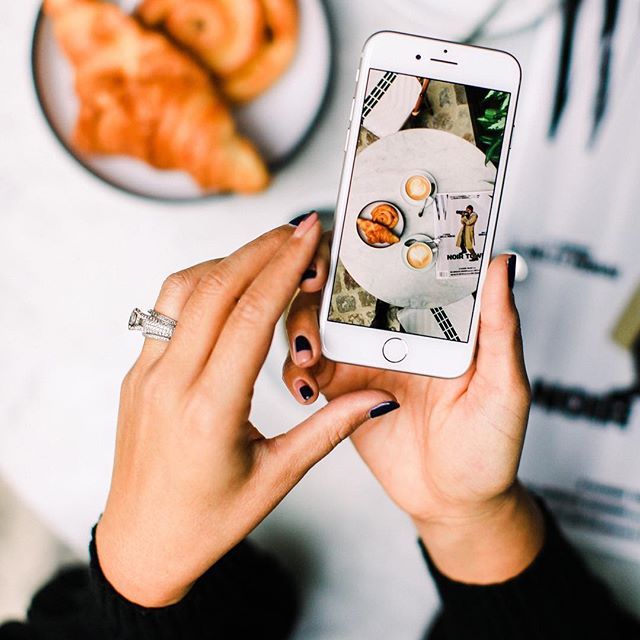
Adjust the image within the grid until it’s to your liking.
Using the crop icon shifts the shape from the usual square to its vertical or portrait orientation. This way, you won’t need to shave off the edges of your photos.
What if you want to post a landscape picture without cropping?
Well, fortunately, the same process above works in landscape orientation too. Since the two sizes were added to Instagram, it will pick up the shape and size of the image and let you post the most suitable size.
The same instructions apply for portrait and landscape photos, so you can simply refer to the above steps and select a landscape image that you want to upload.
Sometimes, the image just doesn’t look right with the new setup on Instagram and you need to do a little bit of manual editing first.
The new orientation feature is good but also has a few glitches, and if it won’t show your image off at its best. It may be better to manually edit the image and upload it as a square — even if it means sacrificing the composition.
There are a lot of photo editing apps that can help you edit your images first before uploading them to Instagram.
Just follow these simple steps to get started:
If that doesn’t quite work or leaves the image subject hanging out to dry, you can add a white border to either side of the image to create the 5:4 ratio.
This can often make the image look better. It has the advantage of leaving your image in its original form, but it will be slightly smaller than usual.
This method works great if you aren’t happy with the way your image looks when you upload it straight to Instagram without editing.
There are a number of third-party apps that can help prepare images for Instagram and help you resize an image with or without cropping. Even though you can now post portrait and landscape, these apps still make life a little easier when preparing something for publishing.
Two of the photo editing apps we can recommend are No Crop & Square for Instagram for Android and Whitagram for iPhone. Although, there are a lot more photo editing apps for you to explore.
Both of the apps mentioned above achieve the same goal as the manual editing method and will resize your images for Instagram. If you want to keep everything on your phone and not download it to your computer, these and other apps like it are well worth a try.
Most photographers find squaring off an image takes something away from the effect. Instagram users have been stuck on using the square dimension for years, but thanks to the app’s recent updates, there is now more flexibility in uploading photos.
Adding portrait and landscape orientation gives the professional photographers and those enthusiastic amateurs more options when composing their shots.
Want to find more apps to help you create eye-catching Instagram posts?
Check out our article on the Most Popular Instagram Apps.
Contents:
Instagram is a social network that focuses on visual content. Apart from online stores, the lion's share of business accounts on this service belongs to bloggers and photographers. This activity involves the creation of high-quality and attractive content. But the site forces users to play by their own rules and fit into the framework. Let's talk about how to post a photo in full size on Instagram.
Users of social networks often notice that the quality of photos drops when uploaded to the Internet. Why is this happening? Is it really a conspiracy of the owners of communication services to worsen the quality of life of people? In fact, this is of course not the case. And in 2019, everything is much better in this regard - for posts, the maximum resolution is 1080 by 1920, and for stories 600 by 1067, which is often quite enough for most modern mobile devices. Modern users, moreover, can post images in any orientation, unlike the early days of the social network.
Of course, I can write that this is done in order to save space on the site's servers. Think for yourself, if there are no restrictions, people will also upload 4k photos, which weigh quite a lot. But these are just my conjectures, there is no official information confirming this idea. Although, of course, lower quality = lighter weight = faster loading. This is the first reason. Let's move on to the second.
What is the feature of Insta? in publication format. They are displayed correctly and uniformly on devices of any year of manufacture and with any operating system. And this is achieved precisely by limiting the uploaded photos.
Formats, restrictions, resolution, yes, yes, yes. But you can somehow upload a large photo, it’s impossible that people don’t come up with some tricks for this. In fact, this section is here to warn you. There are many articles on the Internet about how to supposedly add an image without losing quality, without cropping it. They mention applications, and the same ones that promise to help you in this situation. But I don’t really understand why people write about these tools over and over again, because no matter how we process the image, or make a panorama, in the end everything will rest within the framework of the social network itself.
For example, the NoCrop application, which is often recommended in such articles, only helps to fit the photo to the required extension. Of course, when uploading an image processed in this application, its quality will not drop. But since it has fallen to this, it cannot be said that the photo will be uploaded in full size. But, again, why download third-party software for this if the service does it on its own? Therefore, alas, 1080 by 1920 is our limit.
As we have already understood, it is unrealistic to fully preserve the quality. But do you need something more than FullHD? Of course, 4k technology is already being introduced into phones, but there are only a few such devices, and it will take some time before a full transition to a new generation of screens. Therefore, under “How to upload a photo without losing quality on Instagram?” I mean, first of all, maintaining the original orientation, and not adapting to the standard square format.
Go to instructions:
So, as we understand, there is no way to get around the restrictions of the social network. But what if you post the image as it is? Let's discuss a few ideas that might come in handy.
If you look at the situation soberly, then the answer to the question “How to post a photo in full size on Instagram?” one is nothing. There are, of course, many articles on the Internet on this topic. But most of them cite applications that only fit photos to the format of a social network. That is, Insta does not crop anything, because everything has already been compressed to a photoset.
#1. Why does Instagram cut photos?
The resolution limitation allows you not to stretch the image loading time. And it ensures the uniformity of publications, which allows them to be correctly displayed in the feed of users, regardless of what device they use.
#2. Hello! I tried to upload a small photo, it is stretched to a size of 1080 on the larger side. How to make sure that the original size of the photo does not change? For example, I have a photo of 600x700, how can I leave it the same?
Add a white border to it, adjusting the photo in this way to the standard size of Insta.
#3. How to upload a photo in the correct orientation?
Now there are no problems with orientation. You just need to click on the icon with two arrows in the lower left corner of the photo when creating a publication.
Do you still have questions? Write them in the comments! Also watch videos on the topic.
[Total: 1 Average: 5/5]
Did you like the material? Share with your friends!
Posting a photo on Instagram in full size without prior preparation is difficult. The social network diligently crops the edges of the picture, other people's and not only arms and legs, heads and parts of the landscape. Previously, it was necessary to avoid difficult situations with the help of separate software, but now several local solutions have appeared that allow you to publish entries with almost no additional processing in graphic editors.
There are many reasons why Instagram crops a photo. Saving space on servers, the desire to fully adapt content to vertical screens of mobile technology (the key goal is to put users on an equal footing when scrolling pages is the same on the iPhone and on Samsung, Xiaomi or Huawei), maintaining proportions for non-standard shots with a strange ratio sides.
Together, these factors make us look for ways to get around the restrictions so that Instagram does not cut off the excess.
You can add a full photo in the following ways:
It has long been possible to take a picture and immediately upload it to Instagram without a white background, previously used to get into standard proportions. An automatically arranged transparent margin will now appear around the edges. It is better to immediately follow the proportions of 16 d9and choose a resolution of 1067x600 pixels.
A full-length photo on Instagram is now added without much experimentation. Finally, a separate button appeared in the interface that allows you to stretch out a vertical shot and add everything in full size, but with frames on the sides.
Uploading a rectangular photo to Instagram, stretched horizontally and designed as a panorama, can be done experimentally using separate software. SwieablePanorama and InSwipe help you cut the image into pieces and load the pieces into a grid of 3 or 6 frames that are easy to scroll from left to right. The combination looks unusual and even advantageous against the background of the usual publications in the news feed.
Adjusting the original image to the proportions of a social network is a task, although annoying, not at all difficult - it is easy to find a bunch of software on the network that simplifies the task at times:
even the graphic editors pre-installed in Windows or MacOS operating systems will help to achieve a full display of the image on the pages of the social network (Microsoft's Paint allows you to resize in pixels or percentages). If Photoshop or Lightroom was at hand, then there will be no problems either.
It is important to remember only about proportions - 16 to 9, and about a resolution of no more than 1067x600 pixels for posts that fall into the feed, and up to 1920x1080 for Stories.
An alternative to Paint, Photoshop and Lightroom is a tried and true tool that has been on the web for a long time - Canva. To upload a photo so that Instagram does not cut anything superfluous (and at the same time change some details, such as captions, filters, or even frames), Canva helps with the help of special templates pre-selected for different social networks.
In the realities of Instagram there are special sets for publications, Stories, covers for the eternal "Stories", avatars and even grids.
As soon as you enter a suitable option in the search, the system will immediately select the missing details and help you move on to experiments, and also tell you what things you should not forget about, and what else is easy to impress the public with. Special recommendations help you get inspired in minutes.
A whole collection of graphic editors - NoCrop, Square, Whitagram - can automatically adjust the proportions to the size of the Instagram news feed. The listed assistants adapt the content to both classic publications and Stories, and at the same time they will help with a superficial change in individual details. They will add text and effects, non-standard geometric shapes and visual elements that can emphasize the theme of the picture.
Posting a photo on the Instagram social network without cropping details around the edges will help both special software and manual adjustment of the resolution of photos or images downloaded from the network.