How to post three pictures on instagram
How to Put Three Pictures in a Row on Instagram [Tips +Tutorial]
Have you seen those perfectly planned feeds on Instagram with 3 pictures in a row forming one larger image? Ever wondered how you might be able to recreate the look on your own Instagram account?
Maybe you desire that collage look or crave a row by row theme for your Instagram. Or, maybe you simply want your photos to complement each other more! Either way, we’re sure you won’t want to pass up the chance to make your Instagram more follow-worthy.
Any way you slice it, we’re covering the basics with a row-by-row Instagram theme tutorial!
We’re giving you the play-by-play on:
- Creating and planning a row by row Instagram grid with the Tailwind app,
- Teaching you how to upload 3 photos on Instagram together
- Giving you tips and tricks for keeping your Instagram theme pristine
Ready? Let’s get started!
Step One: Prep Your Three Picture Instagram PostsFirst, you’ll need to do some brainstorming about what you’re looking to create.
Are you willing to commit to this strategy for your entire feed? Or is this a special occasion on Instagram, with three pictures in a row promoting a product launch?
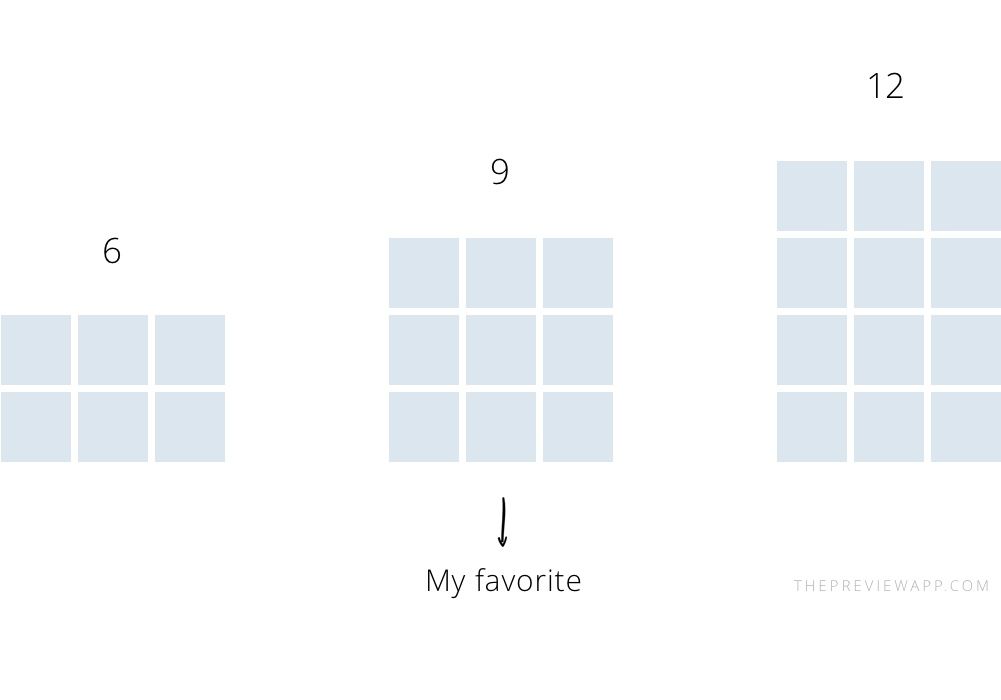
Once you have your plan down, you’ll need to decide what content you want to post. Do you have 3 (or 6, 9, or 12) individual images you want to post together?
Or do you want to split your photos into 1:1 squares to form a giant square on your Instagram feed?
How do you split a picture into 3 equal parts on Instagram?If you choose the split photo route, you’ll need to use a tool to divide your photo into equal parts.
Related: 4 Best Instagram Photo Splitting Tools
Simply upload your photo to the tool (We used PicSplit, but there are plenty of free Instagram photo splitters available!), choose the number of parts you want it divided into, and click Save.
The tool then crops the image and formats it as multiple images you can directly upload to Instagram– or save yourself even more time and schedule it ahead of time with an Instagram planning tool like Tailwind!
Psst… When trying to decide how to break up your original image, keep photo orientation in mind.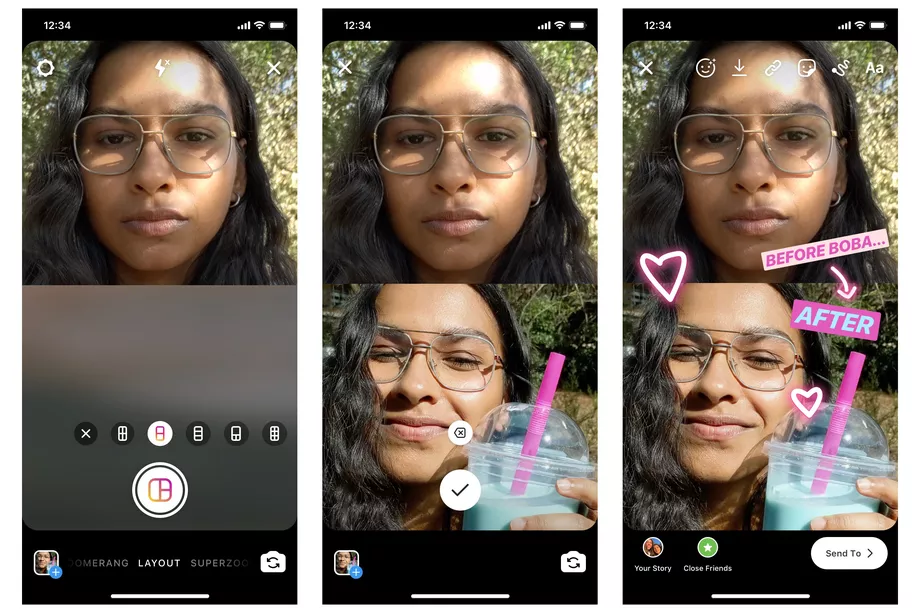 Multiple photo grids of 3 or 6 images work great for landscape and panoramic images. For portrait style or square images, a 9 or 12 square grid is usually the way to go. Multiple photo grids of 3 or 6 images work great for landscape and panoramic images. For portrait style or square images, a 9 or 12 square grid is usually the way to go. |
Don’t forget- you can also try cropping your pictures beforehand, to keep the focus on the most important part of the image.
Step Two: Upload Your Split Images to Tailwind Instagram Grid Planner
Now it’s time to upload your split images to your Tailwind grid planner!
The grid planner makes it super easy to upload each photo individually exactly where you want it. Just click the ➕ on any slot to add the photo! Or you have the option to add multiple photos to your drafts, to make arranging your feed even faster!
Tip: Skipping a scheduler? If you’re posting your photos directly to Instagram, post the last image first. Instagram profiles display the images in order of recency from left to right for each row.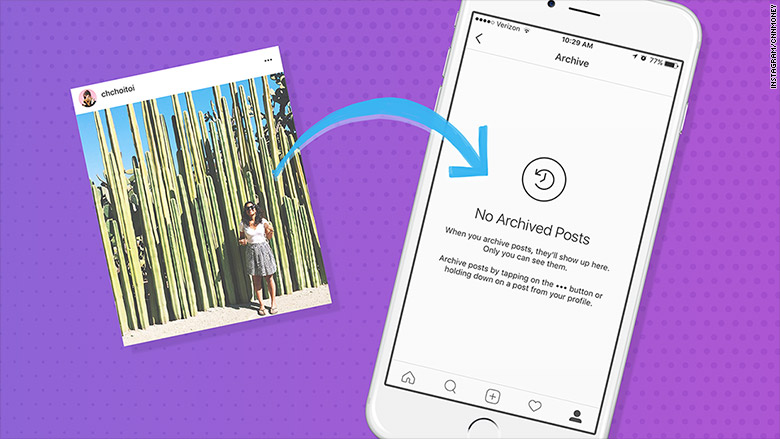 |
Step Three: Arrange, Schedule and Post Your Instagram Posts in Threes
This is where you’ll be super glad you have Tailwind for Instagram.
On the Instagram app itself, you can preview each post before you tap share, but you won’t know how it looks with the rest of your feed until it’s already there.
With Tailwind, you can preview your posts and easily plan your Instagram feed to get the ideal look. Just drag and drop your posts to move them around, and lock them into place when you feel good about your 9-grid!
If you want to change the days your images will be posted, just drag and drop them to the correct slot on your grid planner. The best part is the posting times are already optimized for your audience with our Smart Schedule!
Tips For a Clean Row-by-Row Instagram ThemeNow that you have your images split up, you’re going to want to keep your Instagram profile looking clean and organized as you unveil your new theme.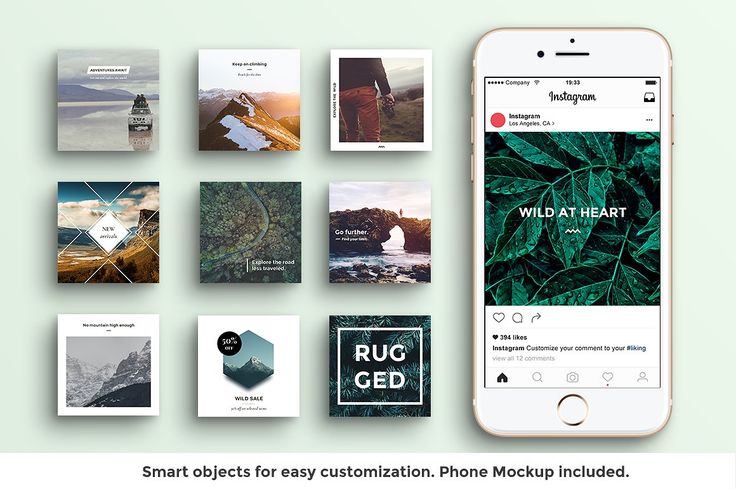
Read on for Tailwind’s best tips to help you do just that.
1. Figure Out How Often to Post Your 3 Pictures to Instagram
You’ll have to decide whether you want to stagger out posting your pictures or post all three at the same time.
Posting Three Pictures in Row on Separate Days
If you stagger your posts, there will be periods of time where your feed doesn’t have that cohesive look.
Your “three posts in a row” images will be broken up across multiple rows.
It also means your message might not make sense before the other one or two parts are posted which can lead to confusion.
Choose this method carefully. You may build anticipation as the theme emerges. Or, it may create a weaker effect on the three posts overall.
Posting Three Pictures in a Row At Once
If you elect to post all three images at the same time, you run the risk of annoying your audience by spamming their feed with three very similar images at once.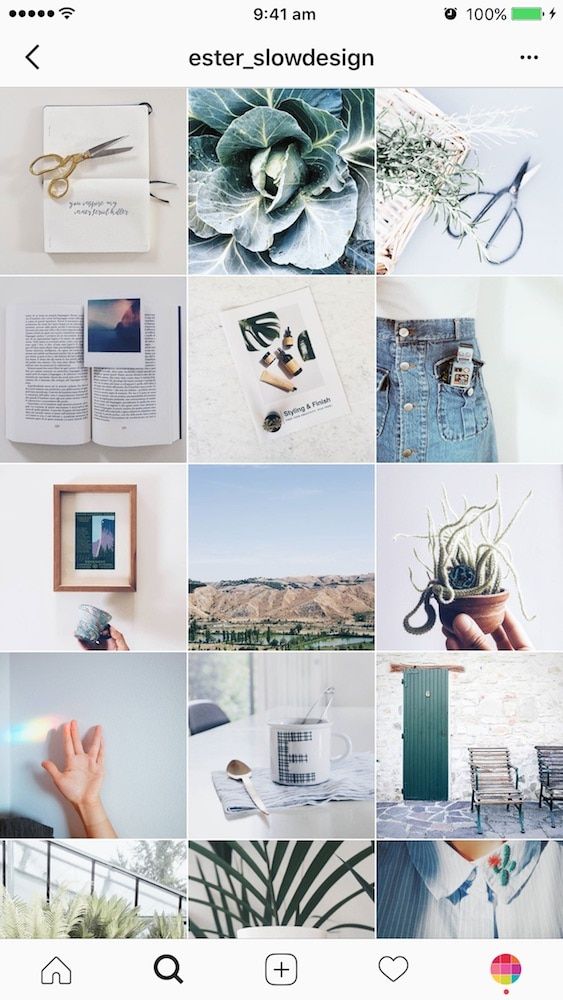
However, this method does ensure your feed theme will always be complete and cohesive anytime someone looks at your Instagram profile page.
When making this decision, think about:
- Whether the three images can stand on their own or if they can only be understood together.
- The overall effect you’re trying to achieve with the three post method.
- Whether you’re dedicated to continuing this method from here on out (sudden changes to your Instagram theme will disrupt your grid.)
Make sure you’re starting out with high image resolution, and quality photos for this project, especially if you’ll be using the photo splitting tools.
Cropping photos into threes may mean some parts are zoomed in, which can make low-quality images blurred, distorted, or pixelated.
Even if you’re not using photo splitting, it’s likely that your three images will be more zoomed in than they would be as a normal post.
Using high quality images makes everyone happy. Reference an Instagram image size guide to make sure you achieve the quality you need.
3. Use Carousel Posts to Include 3 Pictures in One Post“Cropping photos into threes may mean some parts are zoomed in, which can make low-quality images blurred, distorted, or pixelated.”
If you’re not having success on Instagram with 3 pics in a row or want to feature close-up details that might not be obvious from the profile feed, consider using an Instagram carousel post for the same effect!
Instead of scheduling each piece of your split image separately, turn it into a seamless carousel post that your followers enjoy.
Plus, you can now schedule and post Instagram carousels with Tailwind!
Schedule Your Instagram 3 Pictures in a Row Online with Tailwind App
Whether you’re trying to cultivate a row by row theme, create carousels, or post individual photos from your camera roll, Tailwind has the tools to make tackling your social media easy and saving time inevitable.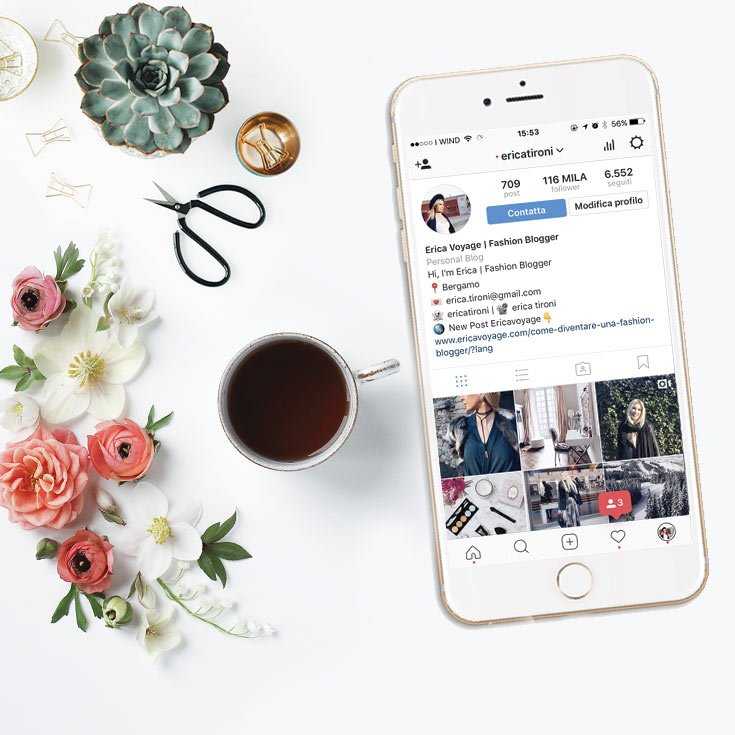
Between Visual Planning, Smart Schedule, caption help, Hashtag Finder, and Auto Post, uploading multiple photos to your Instagram has never been easier.
Be sure to start your free trial of Tailwind for Instagram if you haven’t already!
FAQs
Should I post in 3s on Instagram?
Posting Instagram photo splits in threes is a common way to use the layouts of Instagram profiles to create a balance with the ratios already in place. We’ve seen how stepping out of the rule of 3s can create an aesthetic imbalance on a profile unless done creatively to counteract the imbalance of threes.
On that note, however, it is known that because Instagram split photos are more for the purpose of creating an engaging Instagram profile, the same user experience does not translate when each static post appears on your followers’ Instagram feeds when it’s first live.
The original static post when it appears in followers’ feeds upon posting only shows a portion of an image and with little context as to why. Posting split images on Instagram can lead users to confusion and easily make them scroll past your post. This can create less engagement with your posts and your overall Instagram profile if you use split images on a regular basis.
This is worth keeping in mind when considering whether these types of posts work with the purpose of your Instagram feed and how important engagement is to your profile or brand.
How to split a photo into a swipeable panorama on Instagram?
Swipeable panorama images on Instagram are where you can split an original panoramic photo into multiple images so that users can swipe to view the full panorama on a static carousel Instagram post.
Swipeable panorama images are different from Instagram photo splits because the series of split images are posted in a single static post in a carousel while Instagram photo splits are respectively posted as individual static posts.
Similar to Instagram splitter tools, there are specific tools to create Panoramic images tools for Instagram. It is also possible for Panoramic images to be split using the previously mentioned free tools for splitting Instagram images.
The way that you can use Instagram photo splitters to create panoramic carousel images is by first using a tool like Photoshop to crop your panoramic image to a 3,000 pixel by 1,000 pixel ratio. From there, you can use any photo splitter tool with specifying you want 1 row and however many columns you desire.
If that sounds like a lot of extra work, a panoramic image splitter tool may be the simplest and most straightforward way to split a photo into a swipeable panorama on Instagram. Here are a few free tools for splitting a panoramic image for Instagram:
- Panogr. Available on iOS.
- Pannify Insta Panorma. Available on Android.
- Panora. Available on iOS.
- Unsquared. Available on iOS and Android.
- Panols. Available on iOS. Currently priced at $1.
 99.
99. - Panora Split. Available on Android.
Panorama Split for Instagram for Pc. Available on Windows and Mac desktops.
Start a Free Trial of Tailwind for Instagram!
- Schedule photos and videos directly to your Instagram feed with Auto Post.
- Optimize every post for more engagement with SmartSchedule and Hashtag Finder.
- Automatically hide your post’s hashtags in the first comment to keep your caption clean & clutter-free.
- Make your posts more discoverable with user tagging & location tagging.
- Analyze what's working across every post and profile with smart analytics.
No credit card required
Create a 3 part Instagram Post for Increased Engagement
Instagram is quickly becoming my favorite social media platform for engaging with our audience. One of my favorite things for getting people engaged, starting conversations, and getting people interested in Ivory mix is by creating a 3 part Instagram post that spans the width of my Instagram feed.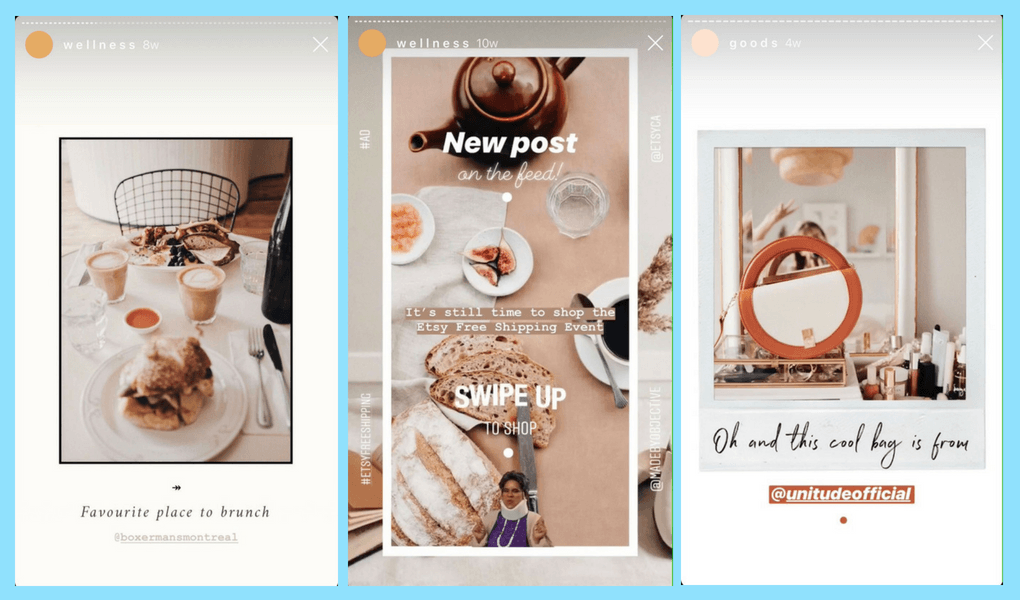 Since uploading my very first set of 3 photos, I’ve been getting messages and comments asking exactly how I do this. So, I’ve decided to create a quick tutorial on how you can create a 3 part Instagram post that will get people interested in your creativity and be engaging with you.
Related Post: Create 30 Days of Instagram Content in 8 Simple Steps
APPs You Can Use to Create Create a 3 part Instagram Post:
Giant Square is the FIRST app to let you create big pictures, panorama pictures and banners on Instagram!
Giant Square is also the first app ever to let you easily create BIG collages on Twitter!
It also let you avoid cropping your pictures on Instagram with our Square editor that let you avoid cropping panorama pictures when uploading them to Instagram.
MAIN FEATURES:
1) Let’s you work with MULTIPLE pictures at the same time
2) Is completely FREE to use ALL our features
3) Has a unique label maker to help number your pictures in your gallery
4) Provides you with advanced collage editor for Instagram, Twitter and Facebook
5) Has a square editor!
Related Post: How to create an Instagram Puzzle Feed
GRIDS FOR INSTAGRAM
With this app, you can crop your pictures into 3×1, 3×2, 3×3, 3×4, 3×5 grids and upload directly to Instagram.
MAIN FEATURES:
★ Crop any picture into 3×1, 3×2, 3×3, 3×4, 3×5 grids
★ High resolution images
★ Post images directly to Instagram
★ Save to SDCard
★ Very simple and easy to use
PhotoGrids app allows you to split(crop) your large rectangular photos into a number of square pics and upload them to Instagram and impress your friends and your profile page visitors!
Features :
1. You can make 5 type of grids: 3X5, 3X4, 3X3, 3X2 and 3X1
2. App allows you to add fun overlays and different grid styles.
3. You can also apply different colors on overlays and grid styles.
4. Zoom or move your photo
5. App will suggest you ordering so you can easily upload one by one image.
6. Create big pictures and banner pictures on Instagram.
7. Photo grid is the fast and easy giant square maker
Download now and have a fun!
MAIN FEATURES:
★ Crop any picture into 3×1, 3×2, 3×3, 3×4, 3×5 grids
★ High resolution images
★ Post images directly to Instagram
★ Save to SDCard
★ Very simple and easy to use
TIP: Use 9Square + Canva App to Create a Puzzle Grid
Another interesting option is the use of two apps together to create those Puzzle Instagram grids you may have seen.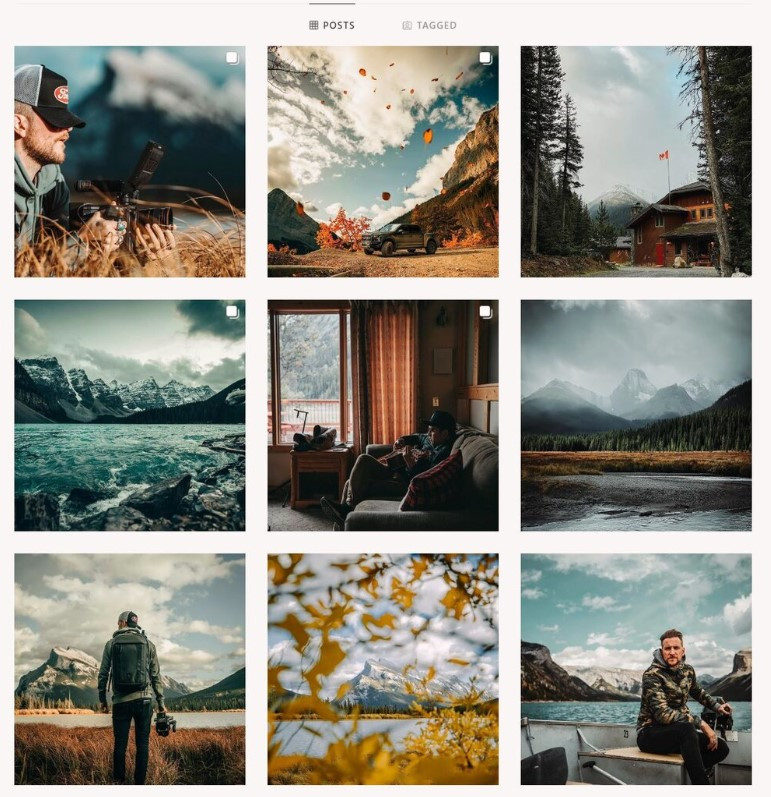 I go in-depth on how to do this here with a full tutorial.
The main feature you’ll want is called the “Splitter” – it helps you Slice a photo into several pieces
Desktop Tools Needed to Create a 3 part Instagram Post:- Camera or Graphic Software like Canva.com
- Laptop / desktop computer
- Image editing software (I use a free tool called PhotoScape or Photoscape X)
- Access to email on your laptop & on your smart phone
- Smart Phone
- Instagram App
Using your camera or Canva.com, take or create an image that you want to post to Instagram. The image you pick should look good in a 3 x 1 ratio. This means it will be 3 times wider than it is tall.
Step 2 – Crop the image 3 x 1 and Save a copy:Using your photo editing software on your laptop or your desktop computer, you’ll want to crop the image down to a 3 x 1 ratio. I have been using PhotoScape for at least 5 years for editing all my photos. I’m not affiliated with them in any way. I’ve just found that their software has many of the tools I need to add filters, crop, touch up, and more.
The 3 x 1 ratio I used every time is 1000 pixels by 333 pixels. See the screenshot image below for what I mean.
Step 3 – Use the image splitter to split your newly cropped image into 3 equal parts:I’m not sure of any other software and if they have the splitting capabilities, but PhotoScape has a splitting tool specifically for this function.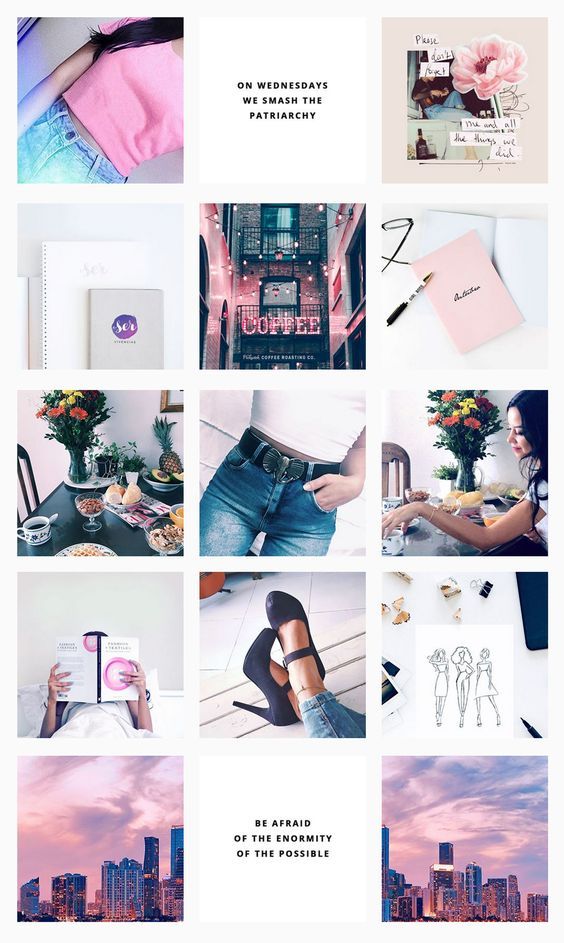
Once the splitter is open, you’ll want to add the photo you just cropped with a 3 x 1 ratio. Then, let the splitter tool know that you want this image to be split into 3 different images across its width and just 1 image tall. See the screenshot below to see more about what I mean.
Step 4 – Save your images in the order you will upload themThe trick with the 3 part Instagram post is making sure you upload the 3 images in a backward order. Once you’ve saved the individual split images onto your computer, you will want to rename them in the order you will upload them in to reduce any confusion when you go to do it. If you’re the type of person who schedules their Instagram posts a few days in advance, then renaming your image files in the order you want to upload them will come in handy so you don’t forget!
Step 5 – Email your images to yourself with the caption and hashtags you want to use.I’ve attempted to use Instagram scheduling apps, but have yet to find one that I’m extremely happy with.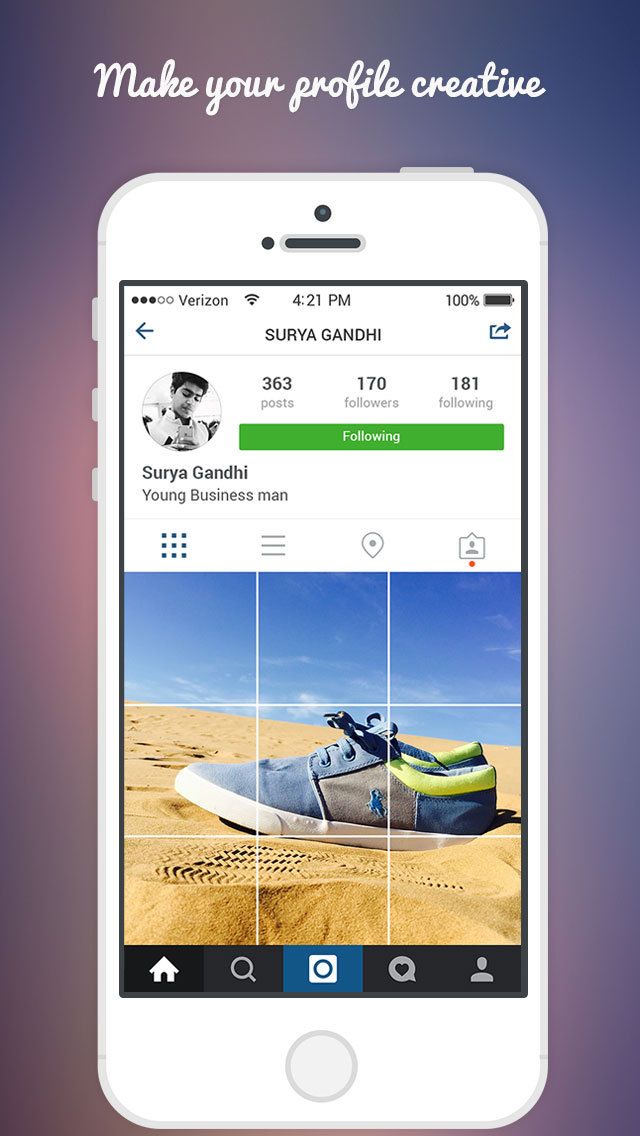 That said, you can always email your images and post caption with your hashtags, and reference the email when you want (using your email app on your phone) on the day you want to upload to Instagram. If I’m scheduling my posts for the week, I may send myself 7 emails.
When it’s time to upload your 3 part Instagram post, you’ll simply download the images from your email, and copy and paste the text for immediate use.
Start uploading your images in the correct order. You’ll want to post them consecutively (one right after the other). Don’t forget to use the text you copied from your email to post with each image. I like to encourage people to see my profile for the entire image. This helps get people to your entire Instagram feed and from there, they are more likely to click the follow button and like or comment on more images from your feed.
Step 7 – Watch your follows, likes, and comments come in well after you’ve postedOne of the best reasons to do a 3 part Instagram post every few days is because it peeks a new followers interest when they are checking out your feed.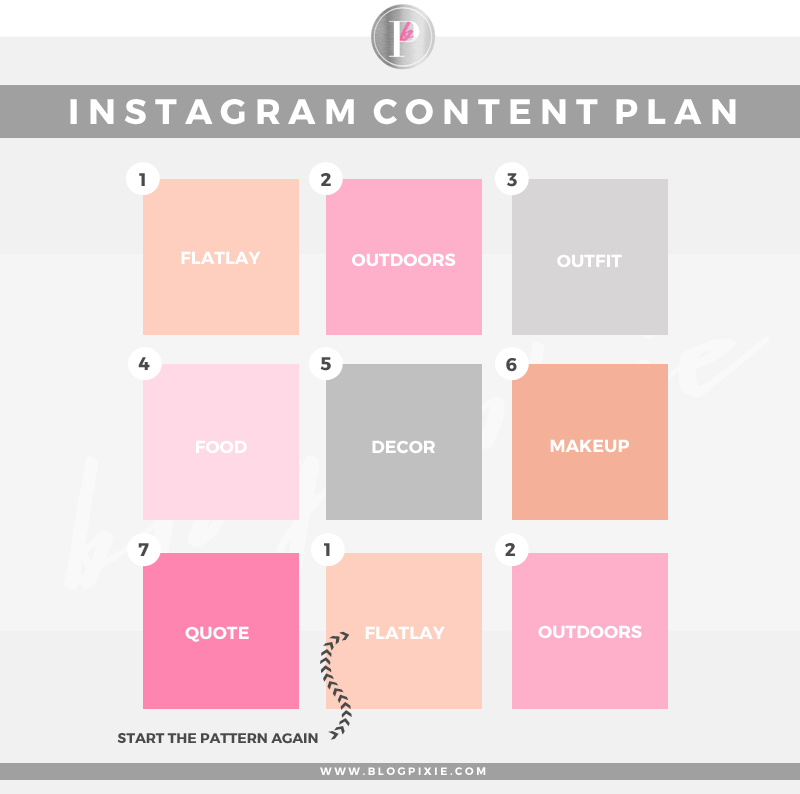 People seem to feel something when they see these and will continue to comment and like your old 3 part posts well after you’ve posted them.
Have fun with this! I can’t wait to see what you come up with.
NEED DESIGN HELP WITH THIS?T Grab this free template and theme made for you in Canva.
LOOKING FOR MORE INSTAGRAM TIPS AND TRICKS? HERE ARE SOME OF OUR FAVORITES:
First, make sure you read this blog post about creating 30 days worth of Instagram content here and learn how to create a colorful month of content in as little as 5 minutes.
CHECK OUT THESE OTHER ARTICLES TOO:- How to create an Instagram Puzzle Feed
- How to style flatlays for marketing your blog
- Find out the best times to post on Instagram for maximum engagement
- Your top questions answered about Instagram
- Why you should create an Instagram Challenge, and how
- Instagram and Blog Photo Ideas
- How to hack the Instagram Algorithm
How to add multiple photos to Instagram - detailed instructions
One of the most popular content formats on Instagram* is image galleries in posts. Users choose the carousel for a number of reasons. For example, you need to tell a single visual story or publish a series of useful cards. Or you don’t want to bore subscribers with photos from the same location or the same event, but at the same time there is a need to post several equally cool ones. Agree, sometimes it is very difficult to choose? :-) nine0003 An example of a series of cards in an Instagram post*: informative tips from the Kinzhal magazine. Post link
Posting multiple photos on Instagram* may also be needed for Stories. Collages of photos and videos, firstly, remain a visual trend in design, and secondly, they allow you to demonstrate the “before and after” effect, different sides of your product. Thirdly, such compositions allow the brand to stand out, detail the elements of the big picture and show the integrity of the product, which helps to achieve a certain effect from your Stories. Collages of several photos can also be used as a background, for example:
Clothing brand Antipod uses the series to announce the new Introvert collection in the Stories section. Link to Story
 Let's look at all the technical possibilities to attach multiple photos on Instagram* and what are the limitations.
How many photos can be posted on Instagram*: requirements and restrictions
Gallery in the feed: from 2 to 10 photos per post .
Stories Collage mode: 2 to 6 photos . nine0003
Using the "Photo" sticker - there are no restrictions on the number of added photos . But, of course, to add too much means to clutter up the already small space of History. In addition, the sticker now allows you to add a video, and also choose the shape of the added photo. In 2022, after the next update, there are also 5 different options for processing pictures for the Story: a square, a square with rounded edges, a circle, an asterisk, a heart.
Selecting a grid in Collage mode and working with Instagram Photo sticker* is very easy In addition, in 2021, a new mode appeared in the Stories section - Photo Booth in the Stories section. This is another way to upload multiple photos to Instagram*.
The number of photos in the "Photo Booth" mode is exactly 4 . No more, no less. After shooting, they replace each other in a looped mode. Users can change the transition effect between these photos, at the moment there are 6 modes: Flash, Highlight, Filmstrip, B/W Filmstrip, Photo Tape, VHS. nine0003
Since Stories as a format in terms of popularity and functionality has long been ahead of the classic tape, they have more opportunities for publishing a series of photos and they are more interesting. The photo gallery in the feed has not changed much since the release, but the developers have made some improvements, for example:
- You can change the order of pictures in the photo carousel.
- The filter can be applied both to a single picture in the gallery and to the entire series as a whole.
- At the creation stage, you can delete a photo from the future gallery at any time.
nine0044
Why is posting a few photos on Instagram* OK? Advantages of
And who most often needs to publish several photos at once?
Definitely all retail. From cosmetic companies to clothing brands. Showing a product from different angles is priceless.
All areas of online education. A series of visual stories (informative and not so) is a good and visually appealing trend. When the story is accompanied by illustrations, it turns out intelligibly. nine0003
Actually, the niche is not important. It is important to understand what kind of content your audience wants and what opportunities you have to provide it. For example, we have written for you what services you can sell on Instagram*.
Why posting a lot of photos at once on Instagram* is ok? Because you can talk about a corporate holiday, post a few photos from a family trip, vote, post a cool recipe, post a series of tips from an expert… Or continue the story by posting a screenshot of the text, because the post description didn’t fit entirely.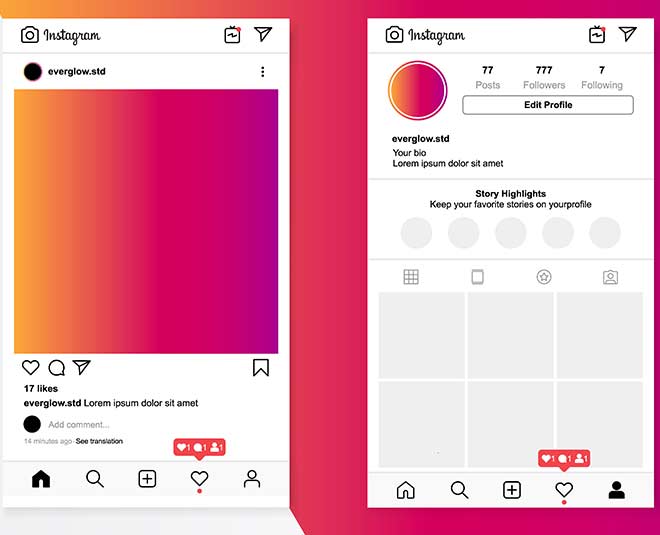 nine0003 Instagram collage* Stories for inspiration or opinion gathering, useful post from an expert – using multiple photos in one post is always convenient. Link to post
The main advantage of the format is the ability to fit one cool but visually meaningful story of your brand or yourself into a single post.
Another plus is that the presentation in series format will be concise and concise. A group of photographs or hand-drawn pictures should be carefully thought out, from sequence to content. It's basically a mini-series. And in order for such a format to be appreciated, you will have to try. nine0003
In addition, collages of several published photos on Instagram* suggest a visual combination of elements: contrast or vice versa the overall color scheme does not matter. You need to have taste or a good designer so that users can appreciate your creativity. So the complexity of this format simultaneously affects the quality of content on the social network, requires more investment and effort from brands, and makes us, the layman, a little happier.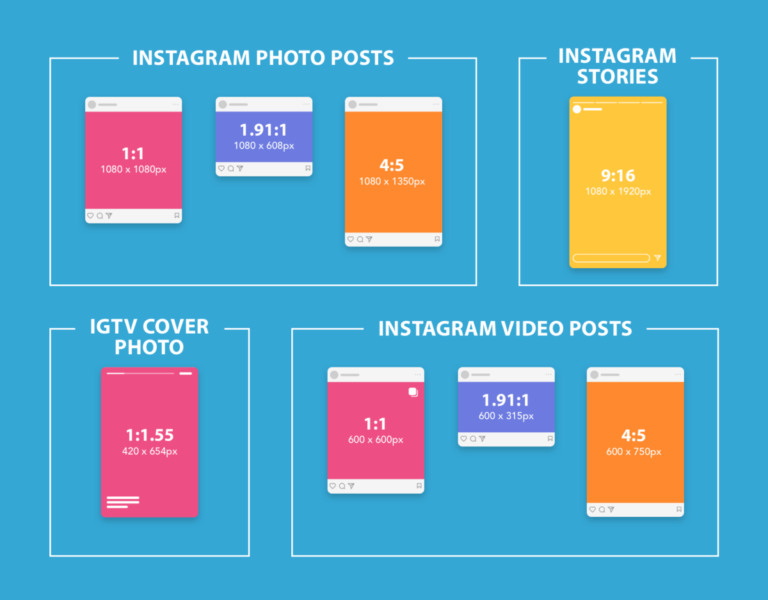 Visual perfection is an important part of content, which is why we, by the way, have released an article for business on how to write a TOR for an Instagram profile designer*. nine0003
Now to the technical part - how to upload a series of photos to Instagram*.
How to post a lot of photos on Instagram * - instructions
Let's analyze all the possible ways to publish several photos.
Through a mobile application on the phone
Everything is simple here, regardless of the operating system that you use on your smartphone: press the plus sign, select the format - for example, History. In the History, to add several photos, you can either select the “Photobooth” or “Collage” mode and continue working there (I already wrote about the features above). Or post multiple photos on Instagram* using a sticker. nine0003 How to post multiple photos in Stories mode
To post multiple photos on your Instagram feed*, select "Post" from the list, click on the double square icon at the bottom right, and circles will appear next to the photo on the screen - select the desired photos in the correct order . Continue your work, select the necessary filters if necessary, or add more pictures to the future gallery. Done, it remains to sign and publish.
If you hold your finger on a slide in the photo gallery for a long time before publishing, you will see a trash icon - you can delete an unwanted object by simply moving the picture to the icon. Please note that in the gallery with only two shots, this will not work.
On the web version of Instagram* from a computer
Neither emulator apps nor developer mode can add multiple photos to Instagram* via a computer. Especially before writing the article, I tried all kinds of ways to download the gallery from a computer, none of them work. Can't upload multiple photos at once, only one is posted:
Bitter reality – the web version of Instagram*, even in emulators and in developer mode, is limited to uploading one photo deferred posting SMMplanner. The service offers various options for regular posting: for example, through the official Instagram API*.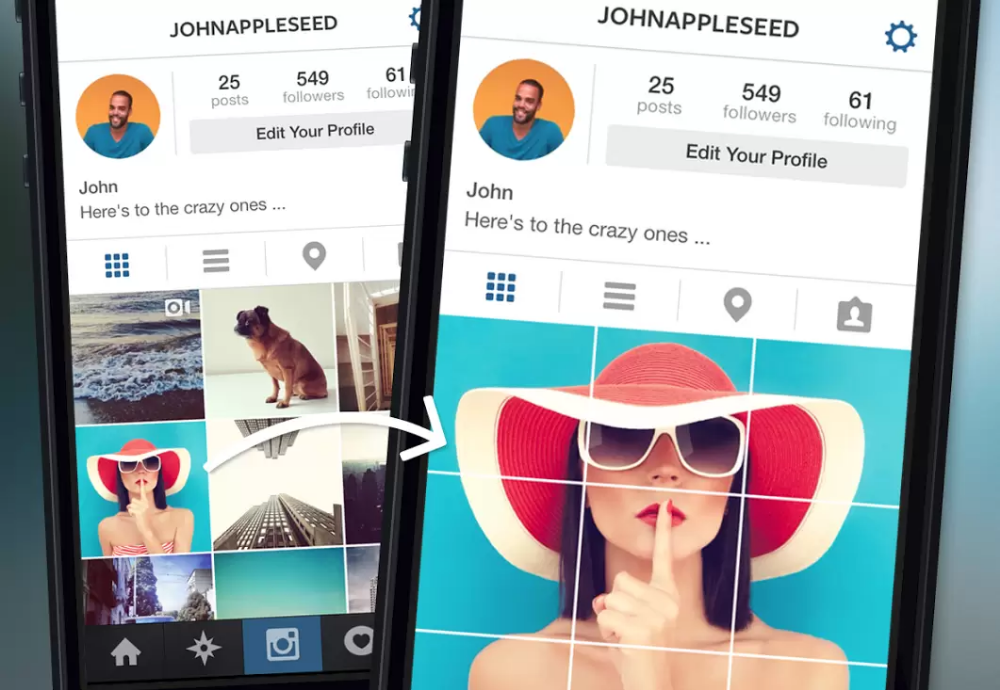
To add multiple photos to Instagram*, just click the "Schedule Post" button and select a photo/video to post. To edit photos, you do not need to download additional applications for post-processing, everything is already in the functionality of the service. nine0003 Post-processing photos for Instagram* inside the delayed posting service
And if you want to delay or schedule the release of Stories in advance and be able to edit them directly from your computer (including adding a lot of stickers), then SMMplanner has a built-in Stories editor with multiposting. This means that you can duplicate a Story created through Story Maker, reopen it, and repost it on another day or even to another account. nine0003 When I uploaded several photos to Instagram* at once after a good walk
As you can see, any user can figure out how to attach several photos to Instagram*. But if after reading this guide you still have questions, I'm waiting in the comments!
How to add, upload and post several photos on Instagram at the same time
We make your page interesting and encourage subscribers to visit your page or website more often for shopping
Fresh Posts Regularly
Get our book Social Media Content Marketing: How to get into the head of your followers and make them fall in love with your brand.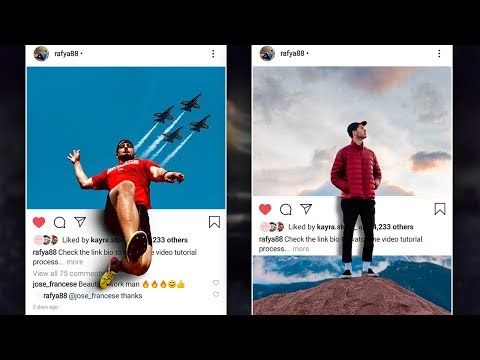
Subscribe to the newsletter and get a book as a gift!
Instagram is an actively developing social network that never ceases to please with new functionality and user-friendly interface. Relatively recently, the function of adding more than 1 image has become available to users. This has greatly simplified the lives of many people, as the rather boring collages have faded into the background. The advantages over them are obvious: posts are larger, which allows you to take a good look at everything, and full-fledged pictures look much more attractive than their small copies or parts. To understand all the benefits, let's look at how to put, make and add a lot and upload several photos at once to Instagram, how to send and upload them to Instagram, post, insert, publish, merge, expose, launch, and publish 2 (second) photo in one Instagram post. nine0003
- How to post everything
- If it is not possible to add multiple photos at the same time
- How to upload multiple photos to Instagram stories
- How to add a photo from the gallery
- How to delete
- How to save a post from an Instagram page nine0044
How to put everything in a post
Surely you have already noticed that some people have dots displayed. If you swipe the entry, other images will become available to you.
The main steps for adding more than two or three pictures:
- Go to your main profile and click on the "plus", which is located at the very bottom of the screen.
- If you look to the right side, then there you will notice the inscription "Select several". Click on it. nine0044
- The first frame in your gallery is automatically selected, but you can cancel this action by unchecking it.
- Select the photos you want to include in one post. Follow the order carefully, as the "start" will be the publication that was marked first, and then the pictures will be added according to the serial number.
You can then change the size and format. Click next. - You can choose a separate filter for each photo. Tip: if you want them to look organic within the post, choose one filter for all pictures. nine0044
- To remove an image from a shared collage, long-press it and then drag it to the Urn icon.
 After completing the procedure, select "Next".
 - Add a hashtag, tag users, or indicate the location to which the post belongs or was made.
- Click the share button.
The instruction is detailed, so there should be no problems with further use of the innovation. In any case, Instagram developers help their users adapt to the new conditions for maintaining their pages. nine0003
If it is not possible to add multiple photos at once
If the function is not available on your device, just go to the Play Market or Apple Store (depending on which platform you are using) and click the "update" button.
If even after this manipulation nothing happened, restart the phone or close the application, and after 15 minutes go back to it.
Throws you out? This is a version 10.13 issue. In this case, you will just have to wait for the update on your device. nine0003
How to upload multiple photos to Instagram stories
Many users are already familiar with the concept of "story".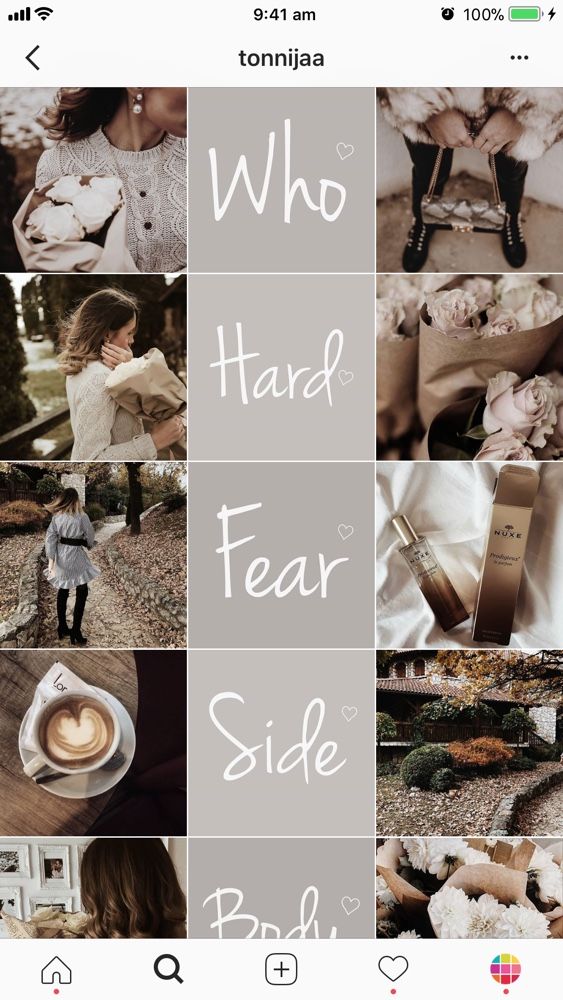 The function provides for posting a photo or video lasting 24 hours. After the time expires, the publication will no longer be available to subscribers.
They are gaining popularity as the main advantage is the ability to view users who have clicked on the glowing halo around the profile picture.
Now the question is: “How to upload more than one photo to a story?” Unfortunately, this is not possible, as the story is designed to publish only one moment at a time. You can post a new photo or video in the next. Timing - 15 seconds. nine0003
If you add 2+ pictures within a day, they will automatically merge into one photo stream. Your subscribers will be able to block view stories.
How to add a photo from the gallery
Experienced users know that to insert a photo from Explorer, you just need to swipe up from the bottom of the screen. In this case, the storage will open in a reduced version. The main rule: you can upload a frame that was taken in the last 24 hours.
But there is a little secret: if you want to show an old photo, just screen the screen. nine0003
How to delete
Unfortunately, Instagram does not allow you to delete more than two or three pictures at a time. You won't be able to do this even if you download the mobile app on your computer. You can get rid of several images at once only if they are all within the same post.
How to save a post from a page on Instagram
Now there are many services that provide such an opportunity.
- The well-known Instagram. nine0165 Enter the desired name in Insta, you will see the required profile with a photo in good quality. A nice bonus: to download it, just click the right mouse button and in the drop-down menu "Save as ...", and the file will be on your computer. Everything is simple and effortless.
- Desk Gram application.
Has similar functionality. After you save the pictures to your computer, you can transfer them to your mobile phone or any other gadget.