When Instagram was launched, it only allowed users to upload square photos. This meant that a substantial portion of your photos had to be cropped.
Instagram’s square photo dimensions became a major drawback to photographers and Instagram users as the image quality, content, and resolution of images were often be sacrificed.
Fortunately, Instagram has seen the need to resolve this major issue. Instagram has given its users more freedom to be creative with their images. Now, pictures can be uploaded in landscape or portrait orientation.
So how can you post portrait photos on Instagram without cropping?
The vast majority of Instagram images are squared off. That’s fine for the most part, but it does tend to impact the composition of a photo — especially if it’s a portrait or landscape subject.
When you upload an image or load it into Instagram, the image is automatically cropped to 4:5. No one wants to put a lot of time and effort into capturing the perfect photo only for Instagram to ruin it by cropping the image.
Instagram did add different orientations not long ago, but images still take a little tweaking to get right. Now, you can post images at a maximum size of 600 x 600 for square images, 1080 × 607 for landscapes, and 480 × 600 for portraits. The actual stored size differs slightly, but when you measure images within Instagram, these are what typically come up.
So, if you’re one of the many Instagram users that’s tired of having their photos cropped, let’s take a look at how you can post portrait or vertical photos on Instagram without cropping.
Depending on the size of your image, you may now be able to post a portrait image on Instagram without having to crop it.
Here’s how you can check:
Open Instagram and create a new post.
Select the image you want to upload from your photo gallery.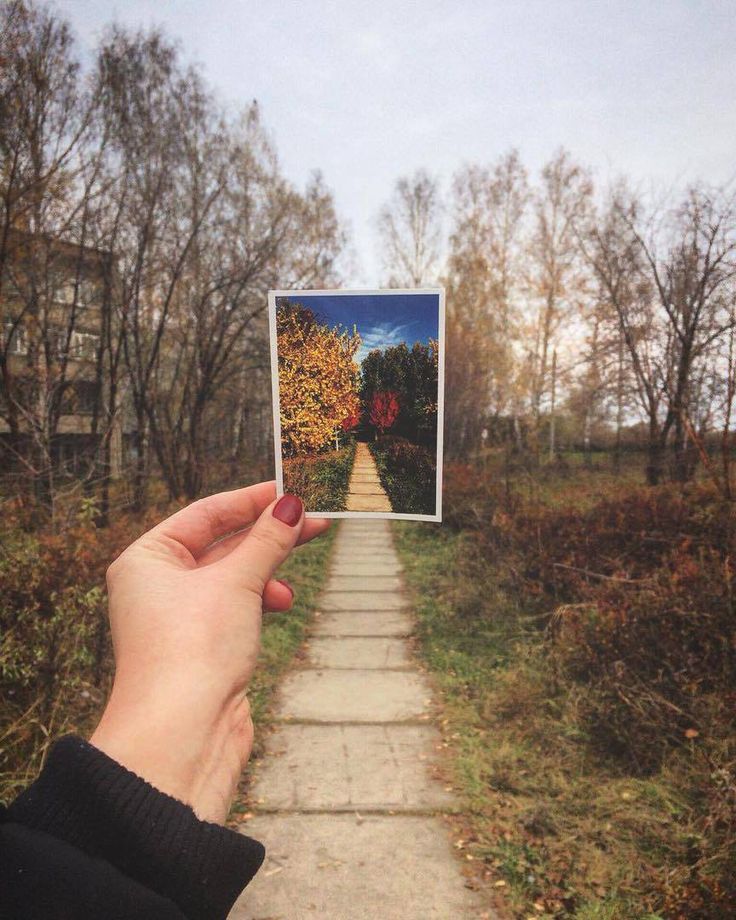
Select the small crop icon in the bottom left of the main image screen.
Adjust the image within the grid until it’s to your liking.
Using the crop icon shifts the shape from the usual square to its vertical or portrait orientation. This way, you won’t need to shave off the edges of your photos.
What if you want to post a landscape picture without cropping?
Well, fortunately, the same process above works in landscape orientation too. Since the two sizes were added to Instagram, it will pick up the shape and size of the image and let you post the most suitable size.
The same instructions apply for portrait and landscape photos, so you can simply refer to the above steps and select a landscape image that you want to upload.
Sometimes, the image just doesn’t look right with the new setup on Instagram and you need to do a little bit of manual editing first.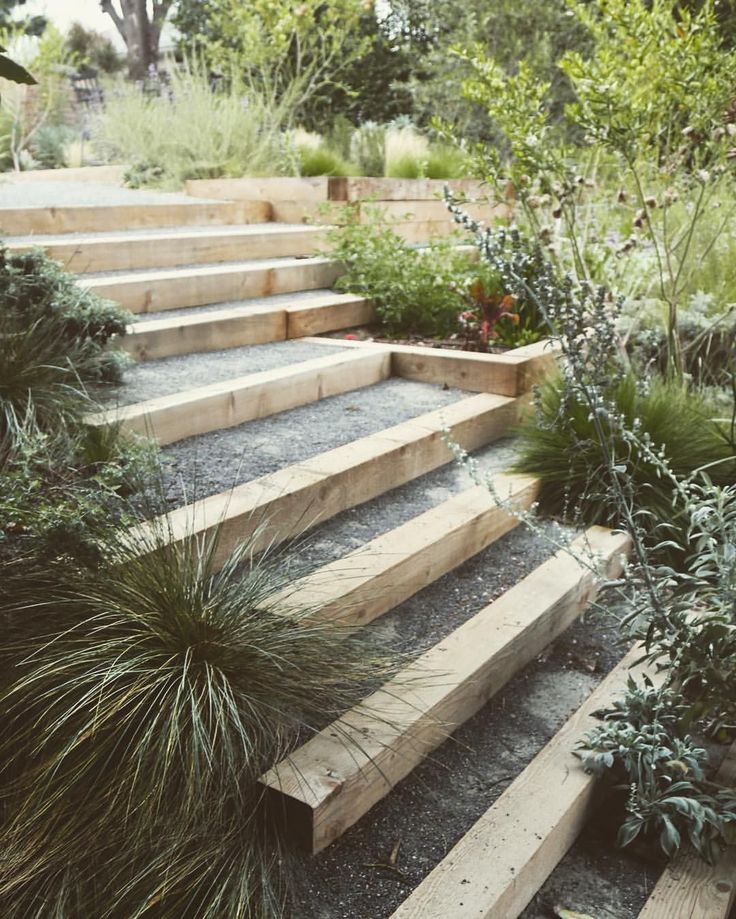
The new orientation feature is good but also has a few glitches, and if it won’t show your image off at its best. It may be better to manually edit the image and upload it as a square — even if it means sacrificing the composition.
There are a lot of photo editing apps that can help you edit your images first before uploading them to Instagram.
Just follow these simple steps to get started:
If that doesn’t quite work or leaves the image subject hanging out to dry, you can add a white border to either side of the image to create the 5:4 ratio.
This can often make the image look better. It has the advantage of leaving your image in its original form, but it will be slightly smaller than usual.
This method works great if you aren’t happy with the way your image looks when you upload it straight to Instagram without editing.
There are a number of third-party apps that can help prepare images for Instagram and help you resize an image with or without cropping. Even though you can now post portrait and landscape, these apps still make life a little easier when preparing something for publishing.
Two of the photo editing apps we can recommend are No Crop & Square for Instagram for Android and Whitagram for iPhone. Although, there are a lot more photo editing apps for you to explore.
Both of the apps mentioned above achieve the same goal as the manual editing method and will resize your images for Instagram. If you want to keep everything on your phone and not download it to your computer, these and other apps like it are well worth a try.
Most photographers find squaring off an image takes something away from the effect.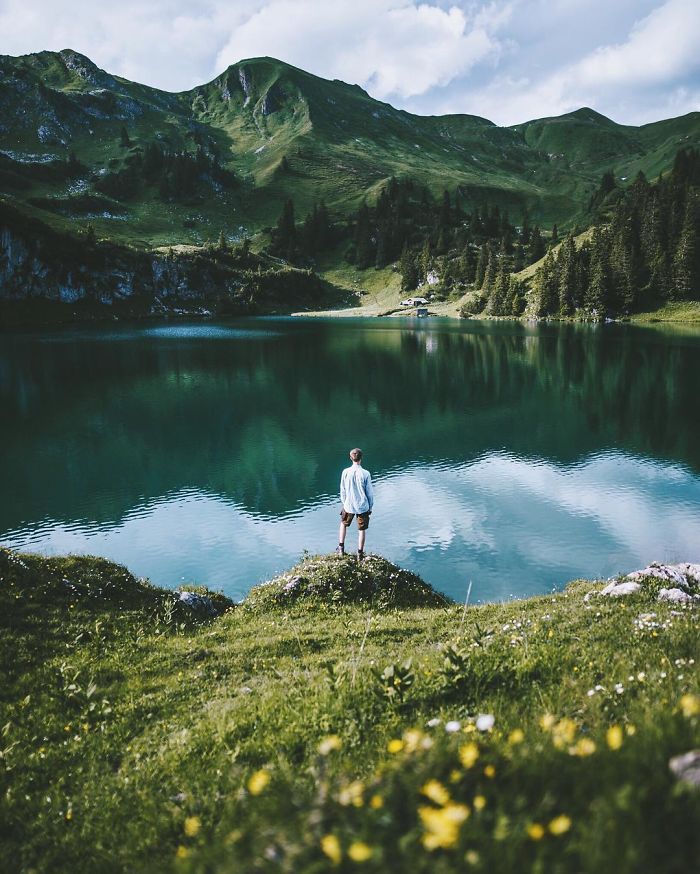 Instagram users have been stuck on using the square dimension for years, but thanks to the app’s recent updates, there is now more flexibility in uploading photos.
Adding portrait and landscape orientation gives the professional photographers and those enthusiastic amateurs more options when composing their shots.
Want to find more apps to help you create eye-catching Instagram posts?
Check out our article on the Most Popular Instagram Apps.
3 min
On Instagram, it’s impossible to post an album — multiple photos or videos in one post that you swipe through — with multiple different aspect ratios. In this article, I'll show you how to do it for free and online.
When posting an album, Instagram requires that the images have the same aspect ratio. In this post, I’ll describe how you can post multiple photos or videos with different sizes by first resizing them to square.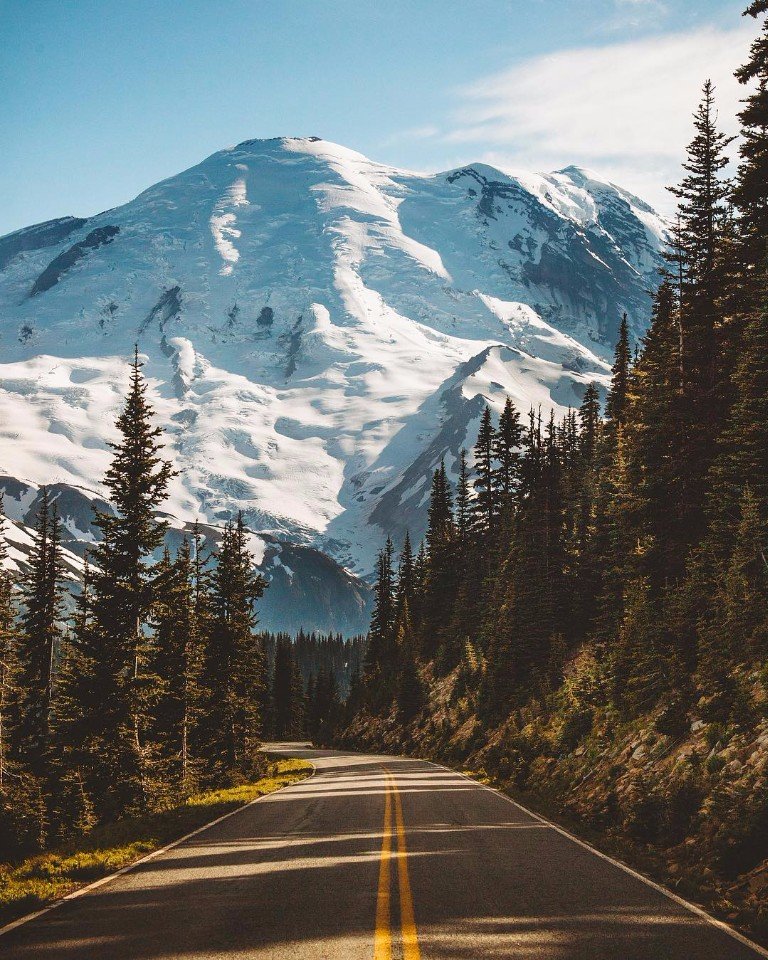
On Instagram, it’s impossible to post an album — multiple photos or videos in one post that you swipe through — with multiple different aspect ratios. For example, if you want to post a landscape image and a portrait image at the same time, you need to crop one or the other (or you could crop both to square). Instagram requires that your photos have the same aspect ratio.
When posting multiple photos or videos, all are cropped to squareTo post multiple different photos or videos with different sizes on Instagram, you need to use a tool to resize them first. To avoid cropping out content, add a white background to make each photo or video in to a square. Then, you can post the album without cropping out or changing the size of your image.
Here’s a step-by-step tutorial:
Open the Kapwing Studio and start with a square 1:1 canvas (or 4:5 or 5:4, which are both accepted by Instagram).
One at a time, upload the photos or videos you want to post. Kapwing is free to use and online, so you don’t need to download an app. It supports images, GIFs and videos.
If needed, tap the photo or video and resize the canvas to the right aspect ratio. On mobile, use the "Edit Background" button to find the Resize Canvas button.
1:1 for an Instagram Post appears under the "Size" dropdown (Kapwing also supports 9:16 sizing for Stories and other formats). Turn off "Canvas Blur" and select white for your background color. You can use Kapwing’s zoom and positioning tools to zoom in, crop, or add a border. Double tap to crop the image or video, and use the Play button to watch a preview of what your post will look like. Click Export once the preview matches what you want your post to look like.
3. Export, download, and postAfter resizing your posts, you can download them and share them on Instagram as an album.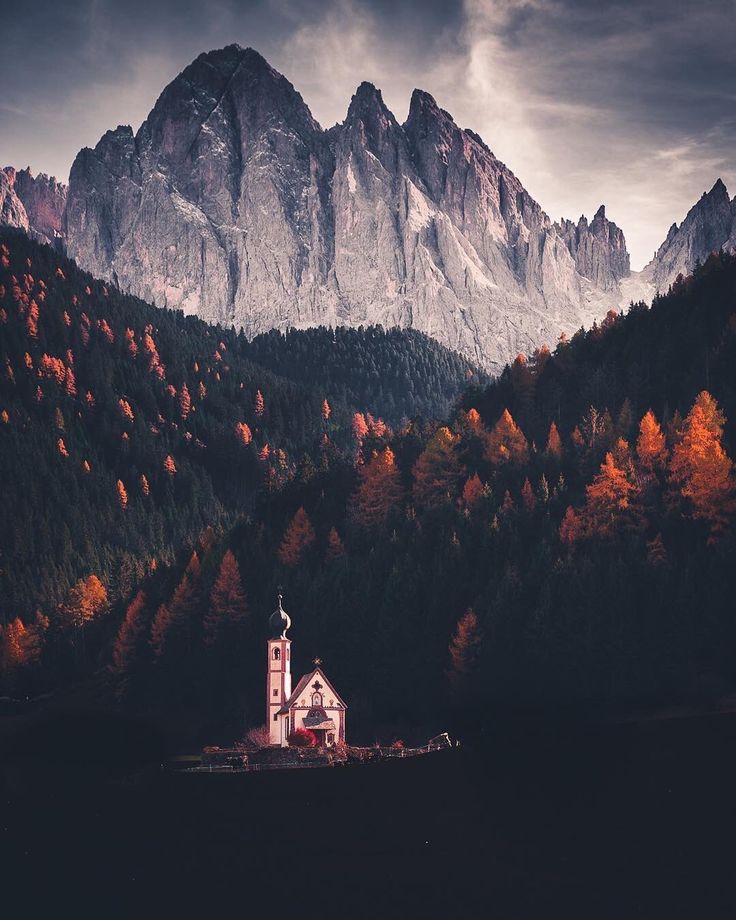 Since each photo/video now has a 1:1 aspect ratio, you can publish them without cropping.
On an iPhone, use the "Downloads" gallery to find the file you just made and save it to your camera roll.
If you're not signed into a Kapwing account, sign in or sign up using your Google or Facebook account. Once you're signed in, each of your exports will be saved in your workspace so that you can download them later.
Repeat these steps for each of the photos and videos that you want to share in your Instagram carousel. After you've downloaded each of the square posts, open the Instagram app and upload them as an album.
For more ideas, tutorials, and features, check back in at the Kapwing Resources page or our YouTube channel! And remember to tag us @KapwingApp whenever you share your content on social media– we love to see what our creators are passionate about!
Related Articles:
• How to Caption Videos Using Instagram Threads
• How to Download Anyone's Instagram Stories
• How to Make Social Justice Slideshows for Instagram
• How to Download Instagram Reels
Article updated. First post: May 23, 2017
Instagram* is a social network where you can't post without an image, so it's important to know the optimal formats and sizes for photos, stories, and videos on Instagram*. By studying these parameters, you will know in advance which areas of the image or video will be selected and left in the frame.
Let's consider a technical issue: what formats Instagram* eats, how to make files of such sizes, how to upload photos to Instagram* from a computer.
Anyone else remember the Instagram apps* that helped you post a rectangular photo? Which actually created a giant white border?
The time for square publications is long gone. Now Instagram * eats rectangular and square frames. There are three options for frames:
Leah Canarskaya , SMM specialist:
A good visual example of a psychologist blog on Instagram*. A winning visual on Instagram* gives a big advantage to a bloggerI like the 4:5 format in publications more than a boring square. It allows you to place text with a caption, while leaving a full-fledged photo.
As an example:
Photo resolution is 1080 px. You can upload better content, but Instagram* will crop it anyway.
Maximum size - 30 MB, file formats: png, jpg, gif.
Let's see the options for different frame sizes.
In landscape photographs, all three lines of the signature and comments are visible. In the square, only 2 lines of the signature are visible. In vertical photographs, only the photo is visible.Pay attention to a little trick. Photos where there is a lot of text on the photos themselves, text logos, solids, as a rule, receive less coverage than pure photos. Text on photo - helps manage attention, aids in navigation, but reduces reach.
Your profile picture is like a trademark, it makes you recognizable among your followers.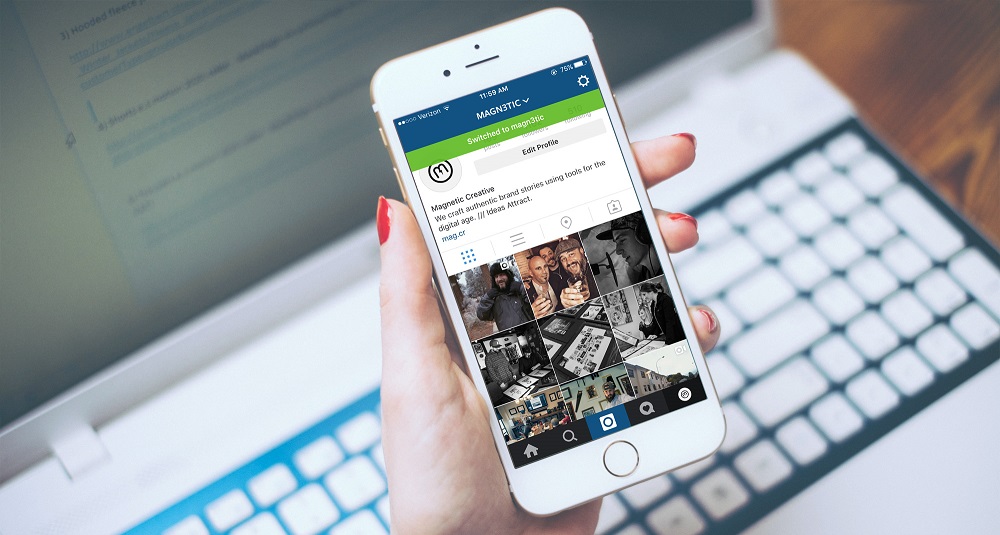 But I advise you to use the same photo in your personal profile as in other social networks, of course, if you want to make it easier to remember and find you.
Optimum size: 160 x 160 px.
Maximum resolution: 180 x 180 px.
Do not overload the avatar with small details, no one will see them because of the small size of the photo. And don't place anything important in the corners of the image, as the avatar is round and anything in the corners will be cut off.
Do you want to decorate your Instagram profile beautifully and correctly*? Sign up for the master class "Create an account on Instagram*".
Can I upload a gif to Instagram*? No. Instagram* will not be able to take an animated *gif file and make it move after posting. It will look like a static picture. To make the photo move, you will have to convert the gif to mp4 or avi, or to another supported video format.
We figured it out in detail in the article "How to add your own GIF to the Story on Instagram *".
From a technical point of view, the simplest content. Go to Instagram* stories, swipe to live and start broadcasting.
When broadcasting it is better to use a tripodFrom the requirements - you must have good internet, and good content that you can offer to subscribers.
Video : H.264 video compression standard, high profile preferred, widescreen pixels, fixed frame rate, progressive scan.
Audio : Stereo, AAC compression format, 128Kbps + preferred. Instagram* has its own audio copyright recognition algorithms. Therefore, for background music, it is better to use free music, creative commons. Otherwise, there is a chance to lose your account for copyright infringement.
Instagram video format*:
In fact, the file that you get from your phone's video camera will get into Instagram*.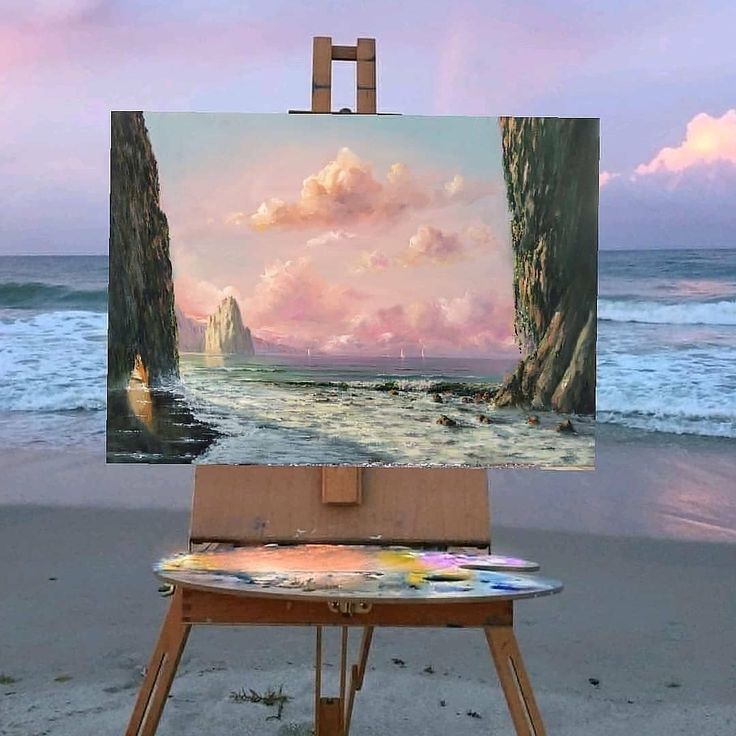
Maximum video length : 60 seconds.
Video codecs: H.264, VP8
Almost any video editor from the app store can make videos that Instagram eats*. Pay attention to file compression, some applications reduce image quality.
Video aspect ratio can be square, landscape or vertical. But if you want to put it in the gallery, then crop the video to a square.
Square videos:
Horizontal videos, otherwise landscape:
The correct size depends on where you publish it.
IGTV video can be both vertical and horizontal, lasting from one to 60 minutes. From a mobile phone, you can upload a video up to 15 minutes.
The maximum file size for an Instagram* video up to 10 minutes long is 650 MB, for a 60-minute video it is 3.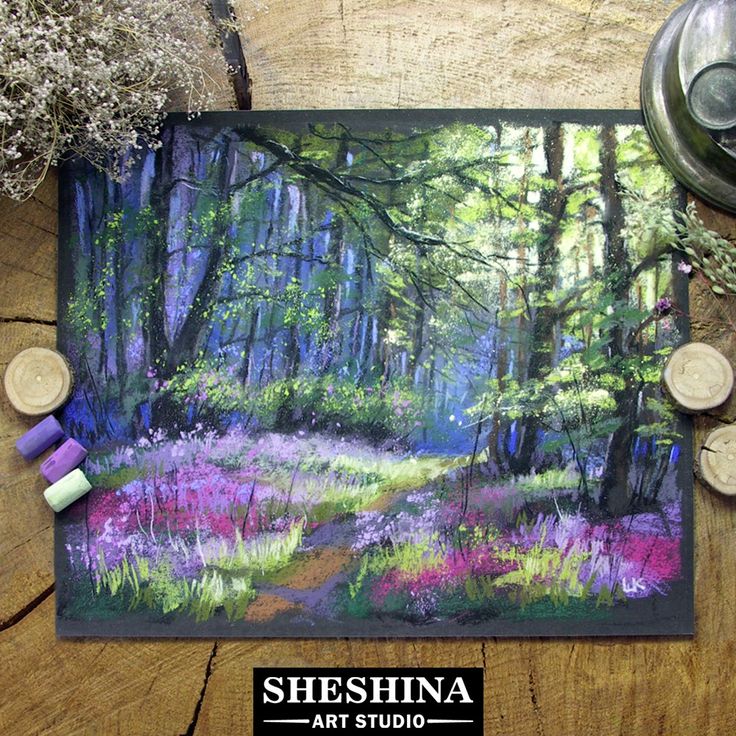 6 GB.
6 GB.
Vertical IGTV:
Horizontal IGTV:
IGTV cover size:
Please note that if you have already uploaded the cover, you will not be able to edit it. Prepare it ahead of time.
Capacity : 10 photos and videos. On the very first day, I cut a five-minute video into 6 clips from 30 to 55 seconds and uploaded everything sequentially to the gallery.
Format : Square Only a square. For now, it's just a square. I don't know if this format will change or not, but now if you want to use rectangular photos and videos, they will have to be cropped. In SMMplanner you can choose whether you want to crop your photo/video or add color fields.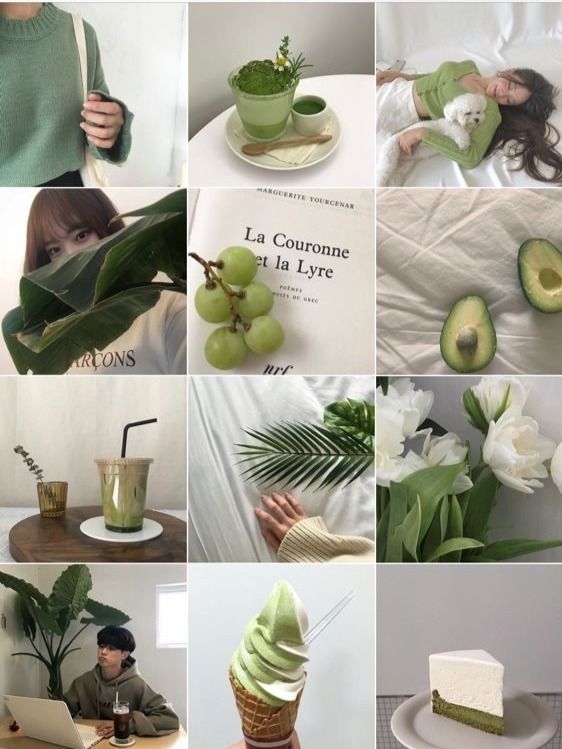
Format: photos, videos, boomerangs, collage. The user in the collage mode is offered 6 different formats - you can place from 2 to 6 photos in a vertical and horizontal arrangement.
Full-size and vertical images are available with a 9:16 aspect ratio and image quality of 1080 x 1920 pxA new tool is available in SMMplanner - Stories Maker, where you can easily create beautiful stories for Instagram*. With it, you don't have to think about image formats and styles. The functionality of the Constructor is constantly updated.
Learn more about Instagram Stories* in the article Designing Trendy Stories: Trends in 2021.
Instagram* eats:
Photos, videos, boomerangs: png, jpg, gif, mov, mp4 and a bunch of other video files. With resolution up to 1080 px and up to 1920 px for stories. Up to 30 MB for photos and up to 3.6 GB for videos.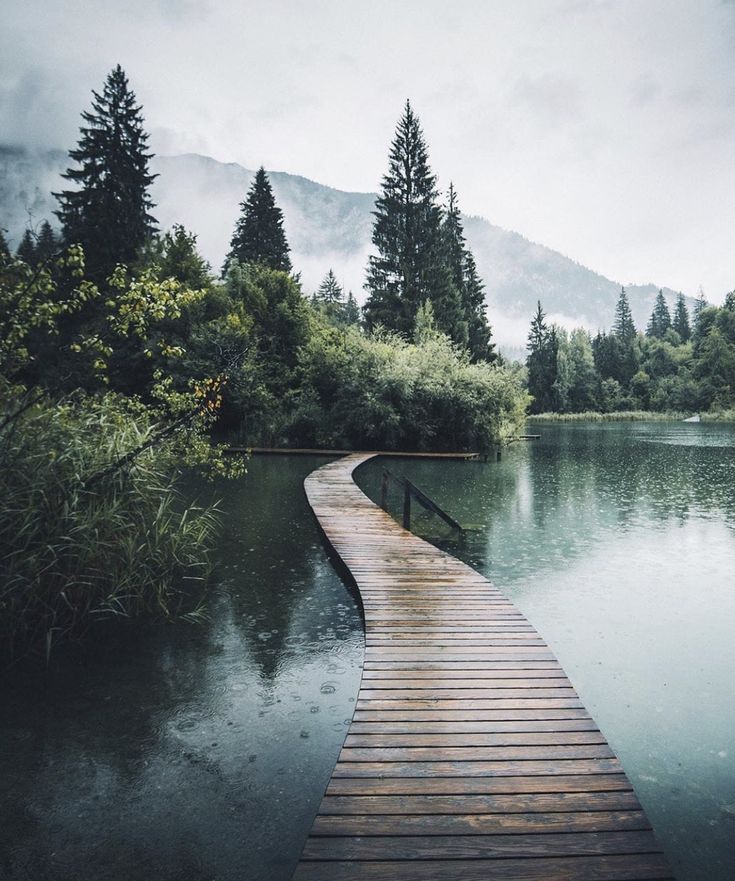
Landscape photography is one of the most popular genres in photography in general. Using landscape shots to post on Instagram can add variety to your profile, making it stand out from the rest.
A very interesting idea is to publish landscape photos to advertise a travel agency on Instagram or for an online photo equipment store. If in the first case, a photograph of a landscape will act, rather, as an announcement of a vacation option, then in the second, it is perfect for describing various categories of equipment.
Be that as it may, a beautiful landscape photo always attracts attention. To make a high-quality and interesting picture, it is enough to follow a few basic rules.
How to shoot a landscape?
The rule of thirds says that the most successful images are those in which the lines correspond to the conditional division of the photo into thirds.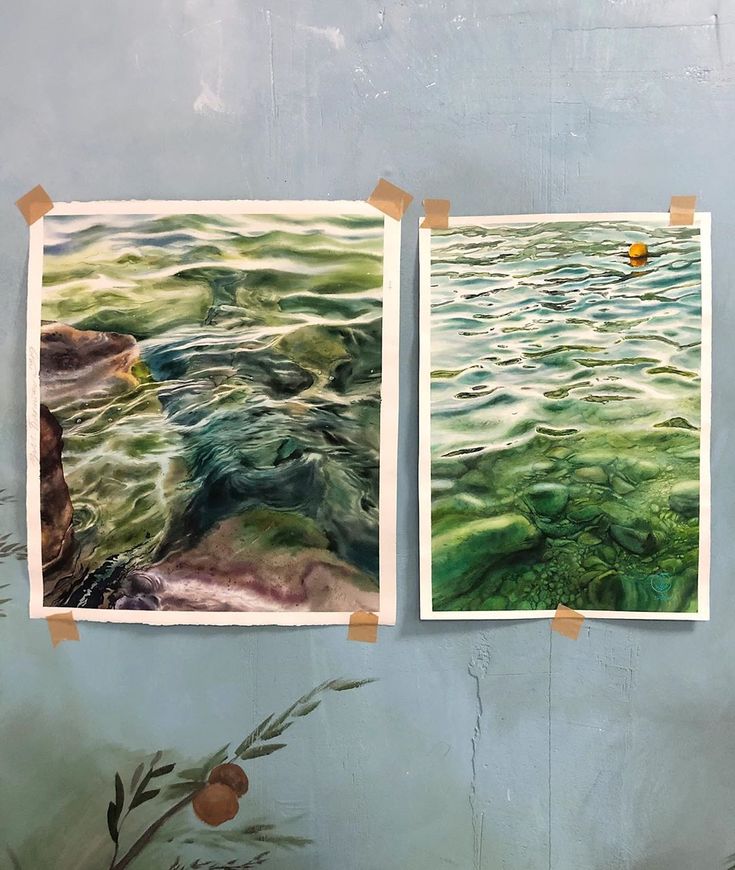
Essentially, when placing a horizon line on a photo, you need to remember that a horizon placed ⅓ from the top or bottom edge of the image will be perceived best.
Landscape photo must have an element in the photo with high sharpness. Such an element will attract attention. To achieve focus on a specific point, it is worth clicking on it in the process of creating a picture. The camera will focus on the specified area and take the desired frame.
Please note! For landscape photography on Instagram, it is better to use the camera through the original application. Functionality through the Instagram camera will be much lower.
The presence of lines in a photo attracts much more attention to it, which has been repeatedly confirmed by research. Diagonal lines give a particularly interesting effect. Positioning to the right and up gives the picture energy and strength, and the direction to the right and down, on the contrary, calms.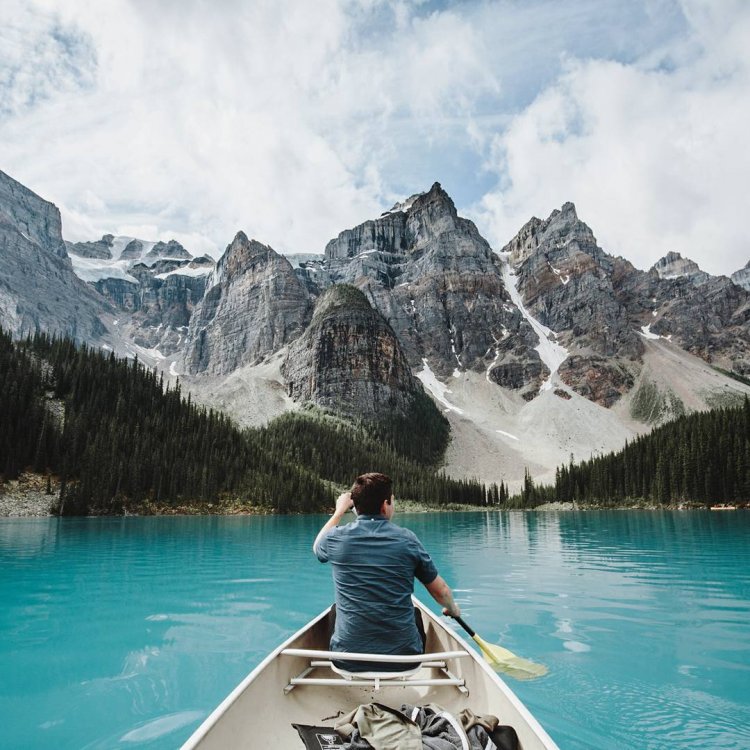
Highlighting clear lines not only in the horizon, but also in other parts of a landscape photo, allows you to achieve greater detail.
It's not enough to have the horizon in the top or bottom third to get an interesting Instagram shot. You can focus on the photo with the help of the background. If the horizon line is placed ⅓ from the bottom edge, then there should be elements at the top of the picture that would attract attention. It can be clouds, tree branches, birds.
When placing the horizon line ⅓ from the top, there should be an interesting feature at the bottom. It can be stones, plants, animals. In the absence of such elements, the picture will appear “empty”.
One of the main points is the use of different positions of the light source - at different times of the day, the same area can look completely different. When planning a landscape photo, it is important to remember that the light from the side will produce long, contrasting shadows. If the light source is behind the shooter, you can get maximum illumination and the effect of "highlighting" the clouds.
Backlight allows you to create a very effective photo, but can be harmful to the camera sensor.
Studies show that photos with a predominance of blue tints score almost a third more than red ones. At the same time, photos with warm filters were perceived much more pleasantly. To balance the color of the image, you can use a yellow undertone overlay - this will give it a certain lamp effect and emphasize the details.
When applying filters , you should avoid getting unnatural colors - this will reduce interest in photography.
With the right choice of time and shooting point, you can make a high-quality photo for Instagram without using special equipment.
As you can see, if you already know that all you need for landscape photography is a camera and the landscape itself, then you can take an entry-level DSLR with a basic lens right now and shoot breathtaking landscapes.