There’s nothing worse than your Instagram stories being published out of sequence. Especially when you know you did everything right.
In this article, we’ll show you how to fix this issue in the future. That way, the quality content that you’ve created will be displayed in the order you intended.
There are a lot of things about Instagram we still don’t know. Take the algorithm as an example. There are many theories about how it functions, but no one can tell for sure. Instagram likes to keeps its small secrets, and, for now, we can only guess.
When it comes to your stories, there isn’t an official explanation of why this might happen. However, most users noted that it occurs when you try to upload multiple stories at the same time. Add a bad Internet connection into the mix, and your stories start uploading out of sequence, and they don’t make any sense.
Don’t despair. We have a couple of solutions that may help you.
The simplest, yet most effective, solution would be to upload only one story at a time. You don’t have to make long pauses in between the stories – a couple of seconds should be enough. Before you upload another story, just make sure that the first one is published already.
We know it may seem like a time-consuming process, especially if you want to publish a lot of stories. However, it’s the safest way to make sure everything looks the way you wanted.
Many users complain that this happens when they try to upload a video to their Instagram stories. As you know, individual stories can’t be longer than fifteen seconds. And you can’t say a lot in just fifteen seconds, so your videos are probably somewhat longer.
Instagram cuts longer videos to fragments and then uploads them one by one. Usually, there shouldn’t be any confusion in the order of the stories. However, if the Internet connection is low, some segments may take longer to upload than the others.
In this scenario, Instagram sometimes automatically uploads the videos that have loaded, without waiting for the rest to upload. As a result, you may have mixed up videos that are difficult to watch because they’re out of sequence.
When it comes to videos, we’d recommend using one of the apps that can cut your video to shorter segments. You can then upload each section as a new story, so Instagram can’t ruin the order.
There are a lot of apps that can help you edit and cut videos for your stories. We’ve chosen Cut Story for a few reasons: it’s easy to use, has lots of options, and it’s free.
All you have to do is upload your video to the app, and it’ll cut it to smaller fragments. This app was made for Instagram users; therefore, it’ll automatically cut your video to 15-second extracts. If you want them to be shorter or longer, you can enter any length in the app’s settings.
It doesn’t matter how long your video might be, nor its quality.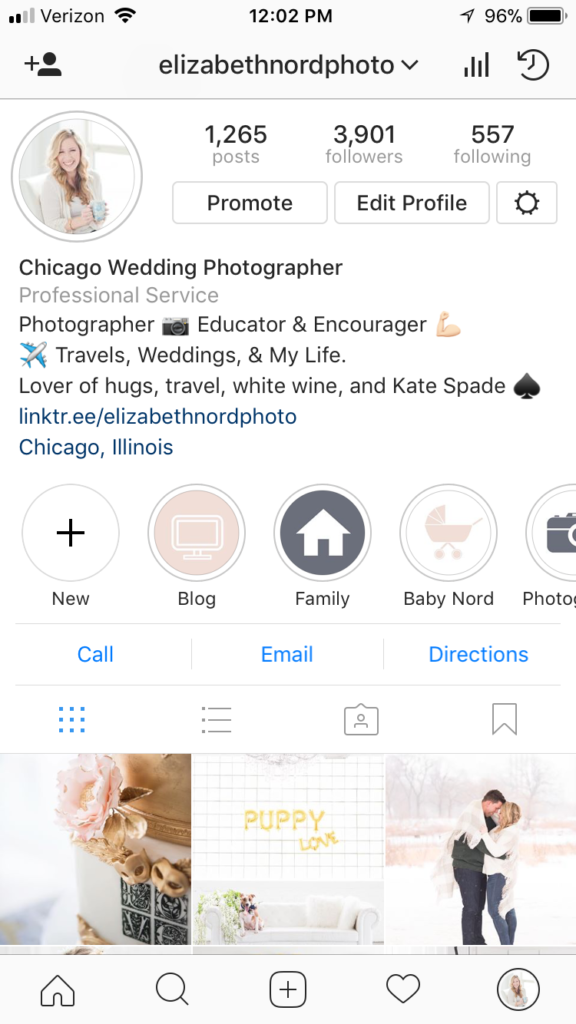 The app is compatible with videos of all sizes, and the quality of your video won’t be compromised.
Although the app’s name clearly states what it was made for, that’s not all. You can use this app to edit your videos, add music, or text. Like we said, it’s one of the easiest video editing apps out there, but the results are fantastic.
When finished, you can post videos to your Instagram directly from the Cut Story app. We promise it’ll upload the stories in the right order! However, if you don’t want to connect this app with your Instagram account, don’t worry. All you have to do is save the videos to your phone’s gallery and upload them to Instagram Stories one by one.
If you want to make sure your story appears first when your followers access your account, here’s what you have to do:
Of course, there’s no universal recipe on how to be the first on Instagram, but these tactics have helped many users, and we hope they’ll help you as well.
Like any other app, Instagram isn’t perfect. Sometimes it has bugs that we can’t explain. And while waiting for Instagram to fix all issues, it’s worth trying out the tactics mentioned above.
Do you know any other tips and tricks to fix Instagram stories? Let us know in the comments section below.
Read Next
If you’re using Stories as part of your Instagram marketing mix, you’ve probably wondered: Can you schedule Instagram Stories?
Well, great news — the answer is yes! You can now create, edit, and schedule your Stories in advance using the Instagram Story scheduler in Hootsuite or Facebook Business Suite.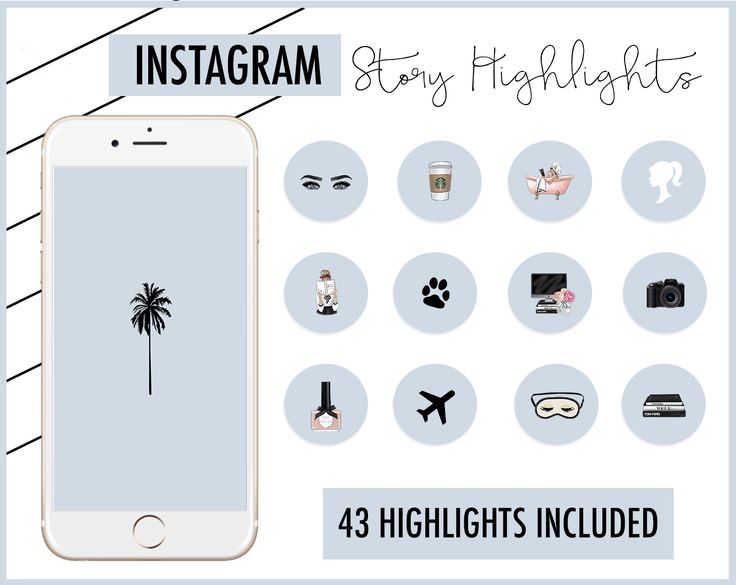
In this post, we cover the benefits to scheduling Instagram Stories rather than publishing them on the fly, like:
We also walk you through the exact process of how to schedule Instagram Stories.
Step 1: Create your Instagram Story
Step 2: Preview your Story and add interactive elements
Step 3: Schedule your Story
Step 4: Finalize and publish your Story
Get your free pack of 72 customizable Instagram Stories templates now. Save time and look professional while promoting your brand in style.
You can’t schedule Stories ahead of time directly within Instagram. But you can use the Hootsuite mobile app or desktop dashboard to schedule Instagram Stories.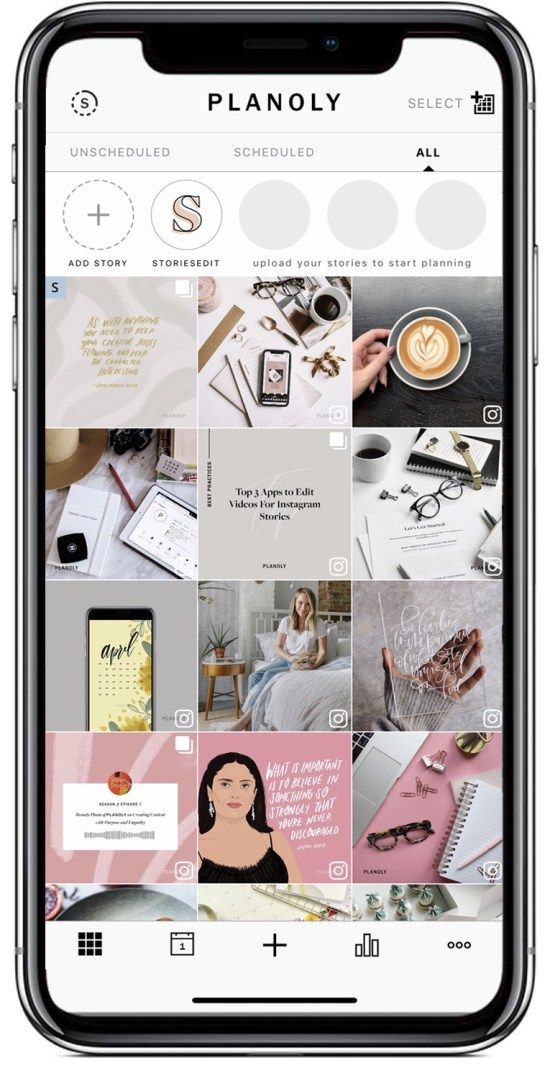 As of May 2021, it is also possible to schedule and post Instagram Stories via Facebook Business Suite.
Not a big reader? We don’t judge. Watch this video for an easy, visual demonstration of how to schedule Instagram Stories — or keep reading.
Because of an Instagram API limitation, third-party apps and software can’t publish directly to Instagram Stories. This means once you create and schedule your Story, there are just a couple extra steps to take directly within the Instagram app. But don’t worry — the whole process is very quick and easy.
Here’s exactly how it works.
Before you start, make sure you’re using the latest versions of both the Hootsuite* and Instagram apps.
You can create and schedule Instagram Stories on your desktop, but you’ll need both mobile apps to complete the publishing process.
*Instagram Stories scheduling is available to Professional users and above
1. From the Hootsuite dashboard, click the drop-down arrow next to the green New Post button and select New Story.
2. In the Post to field, choose which Instagram profile(s) you want to share the Story to.
3. Drag and drop up to 10 images and videos for your Story into the Media area, or click Select files to upload. Or, click Open Media Library to create a Story using free stock images or image assets from your Enterprise content library. Keep in mind that each image file can be a maximum of 5MB, and videos can be a maximum of 60 seconds long. You can always change the order in which your photos and videos appear in your story. Simply drag-and-drop them into the correct in the list on the left of your dashboard.
4. Click Edit Image under each file to prepare your Story assets using the Hootsuite image editor.
5. In the Transform menu, click Story under Instagram to crop your photo to the correct size.
6. Apply any other edits to customize your image using filters and the Adjust and Focus tools.
7. Get creative with frames, stickers, and the brush tool, and add your overlay text. Keep in mind that stickers and text you apply with the image editing tool are not clickable in Stories. You’ll add hashtags, links, and other interactive elements in a later step. When you’re happy with your image, click Save.
Try Hootsuite for free. Cancel anytime.
1. Use the preview pane on the right to check your Story components and make sure everything looks great.
2. If you want to add links, hashtags, or other interactive text components to your Story, type them into the Clipboard text box. This will save the text so you can easily copy and paste it when you’re finalizing your Story in the Instagram app.
3. If you have not already set up the mobile notification workflow, click the bell icon and complete the steps as prompted. You’ll only have to do this the first time you schedule a Story. Remember that you cannot use the direct publishing option with Instagram Stories because Instagram does not allow it.
1. Click Schedule for later
2. Select your date and time and click Done.
3. Click the green Schedule button to schedule your Story.
Get your free pack of 72 customizable Instagram Stories templates now. Save time and look professional while promoting your brand in style.
Get the templates now!
The Hootsuite app will send you a push notification on your phone when it’s time for your Story to go live. From here, you can publish your Story in just a few clicks.
1. Tap the notification to open a preview of your Story, then click Open in Instagram. This will open the Instagram app. Important: The Story will post to whichever account is signed in. If you have more than one Instagram profile, make sure you are signed into the right one.
2. In the Instagram app, tap the camera icon in the top-left corner, then tap the gallery icon in the bottom right. The images and videos you prepared for your Story will appear as the most recent items in your camera roll.
3. If your Story includes multiple photos and videos, tap Select Multiple, then select all the components of your Story and tap Next. If your Story includes just one photo or video, simply tap that item.
4. You can now add any interactive text components to your Story. All the text you entered in Hootsuite has been copied to your clipboard, so you can simply paste it into the correct location. For example, to add your hashtag text, either add a hashtag sticker or open a text box, then tap-and-hold and select Paste to paste in your text.
5. If you want to make further edits to your images, you can use Instagram’s stickers, drawing tools, and filters. When you’re finished, tap Send To. This is a good chance to double-check that you’re signed into the right Instagram account by looking at the profile picture.
6. Tap Share next to Your Story to publish your Story.
Watch the video below to see the whole Instagram Stories scheduling process in action.
Try Hootsuite for free. Cancel anytime.
If you have a Business account on Instagram, you can use Facebook’s native Business Suite to craft and schedule Instagram Stories.
Facebook Business Suite is a handy tool if you’re only posting to Facebook and Instagram — but most social media marketing pros can save a lot of time and energy using a social media management tool and handling all social channels from a single dashboard. A tool like Hootsuite will help you schedule content to Facebook, Instagram (including posts, Stories, and Reels), TikTok, Twitter, LinkedIn, YouTube and Pinterest from one place.
If you choose to schedule your Instagram Stories using Facebook’s native solution, sign in to your account and follow the steps below.
Go to your Page and pick Business Suite from the menu on the left side of the screen.
Once you’re in, select your account from the drop-down menu in the top left corner of the dashboard.
You can do this from 3 spots in the dashboard:
Once you click on one of these options, a Story creator window will pop up. Here, select the account you want to share your Story to, and upload an image or video to start working on your Story.
The Story editing options in Business Suite are quite limited compared to what you can do in the Instagram app or Hootsuite. You can only crop your media file, and add text and stickers.
Once you’re happy with your creation, click the arrow beside the Publish Story button for scheduling options.
Click Schedule Story. Then, pick a date and time to post your Story.
Once you save the date and time, click Schedule Story, and you’re done! Your Story will be automatically posted to Instagram at the specified date and time.
You can confirm that your Story has been scheduled by navigating to Posts and Stories, then Stories, then Scheduled.
This is also where you can manage your post — reschedule it, publish it immediately or delete it from your pipeline.
 Save time
Learning how to schedule Instagram Stories saves you a ton of time and makes sharing Stories much less disruptive to your workday. Instead of having to create and post Stories on the fly multiple times per day, you can sit down and prepare your Stories for the week all in one go.
When it’s time for your scheduled Stories to go live, you can push them out with just a couple of clicks.
Of course, you can also share live Stories in between your scheduled ones if you want to update your audience on something happening in the moment.
How many times have you had to send a photo or file to your phone just to post it on Stories? And then dig around in your camera roll trying to find the right posts in the right order?
When you use an Instagram Story scheduler, you can eliminate this step. You can upload your Stories files directly from your desktop or laptop. When it’s time for your Story to go live, the components automatically appear in the right order at the top of your camera roll, ready to go.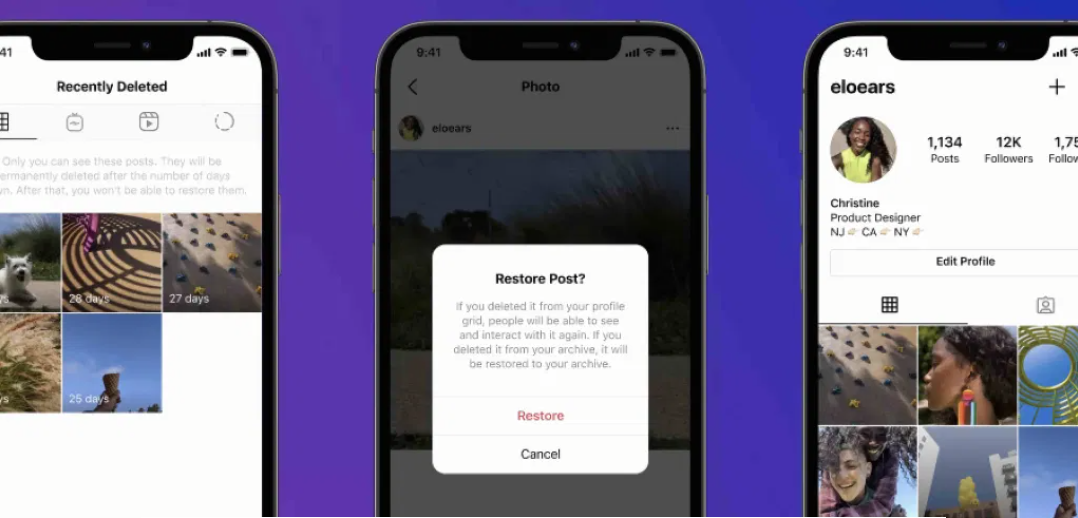
When you use Hootsuite to schedule Instagram Stories, you gain access to all the editing tools built into the Hootsuite dashboard. That means you can create Stories with fonts, stickers, and frames that are not available within the Instagram app. You can even upload your own stickers to give your Story a unique look and feel.
And, as we mentioned in the last point, you can do this editing on your desktop or laptop. You can use a full-size keyboard and monitor to fine-tune your edits, giving your greater creative control.
Using Instagram templates is a great way to create consistent Story posts that align with your brand’s overall look and feel. Templates are especially useful when you’re sharing non-visual content like text, quotes, or links to your blog posts.
The challenge is that many Instagram templates require you to use a computer-based software program like Adobe Photoshop to create your posts. And getting your finished posts from Photoshop to your phone for posting is a tedious process.
The ability to upload your posts directly from your computer makes it much easier to work with templates. That means you’re more likely to incorporate these valuable tools into your Instagram Stories posts.
New to templates? We’ve created a whole post on how to use them that includes a set of free Instagram Stories templates to get you started.
Typing with your thumbs is not the best way to create pristine content. Never mind when autocorrect gets involved.
Scheduling your posts in advance gives you the chance to plan your text and links more carefully. Type your captions on a proper keyboard. Run them through a spelling and grammar check program. Test your links. See what other posts are being shared for the hashtags you plan to use.
It’s always a good idea to give yourself time to walk away from your content for a minute and then read it again with a fresher set of eyes.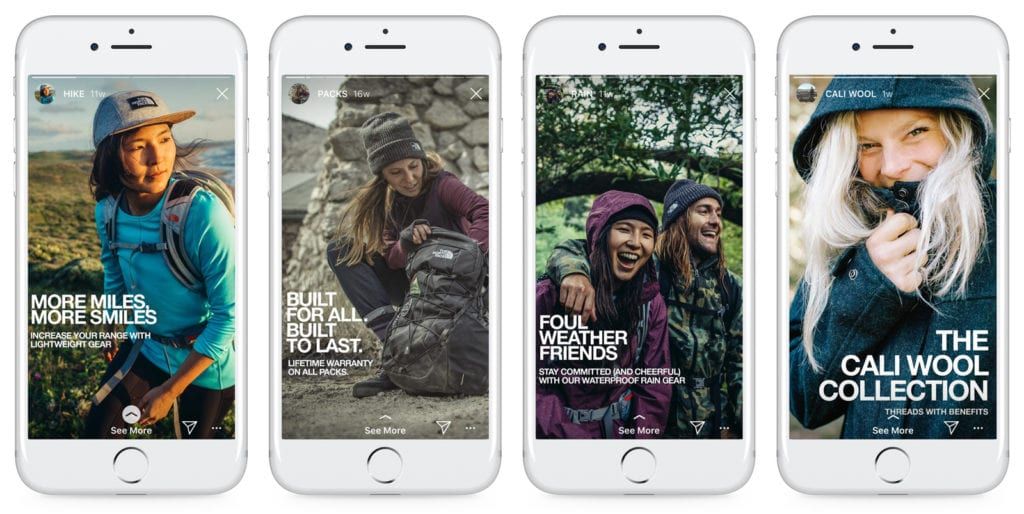 (Or even get a colleague to have a peek.) That’s tough when you’re posting on the fly. When you’ve scheduled Stories, you can review them in the Hootsuite planner at any time before they go live.
Once you’ve mastered how to schedule Instagram Stories, you’ll likely find you’re posting more Stories, and more consistently. When your audience knows what kind of content to expect from you, and when to expect it, they’re more likely to watch your Stories and engage.
Ready to start scheduling Instagram Stories and save time? Use Hootsuite to manage all your social networks (and schedule posts) from a single dashboard.
Try it free for 30 days
Easily create, analyze, and schedule Instagram posts, Stories, and Reels with Hootsuite. Save time and get results.
Free 30-Day Trial
Instagram Stories, aka “stories”, “moments”, “stories” or “stories” appeared in 2016, and since then have gained such popularity that Instagram is constantly updating and improving this format.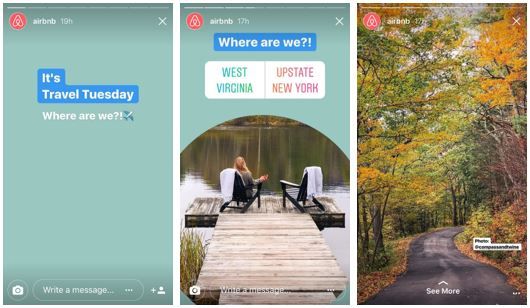 Instagram Stories appeared thanks to the growing popularity of Snapchat, in which users could send short videos and photos.
Now more than 400 million Instagram users view Stories per day, and this figure continues to grow.
Any content on Instagram can be seen by all users - profile posts and “stories” - this is a very promising media format, moreover, stories are integrated with Facebook, and users can view them from the feed of this social network.
Stories can only be viewed for 24 hours, after which they disappear from the feed and are stored in an archive accessible only to the user. The time of one video clip is no more than 15 seconds.
“Stories” are actively used for advertising, personal brand and business promotion. They help the brand to remind about itself, attract a new audience, talk about promotions and new products. Stories is like your own TV channel.
Instagram Stories appear at the top of the app, to view stories, just click on the profile photo.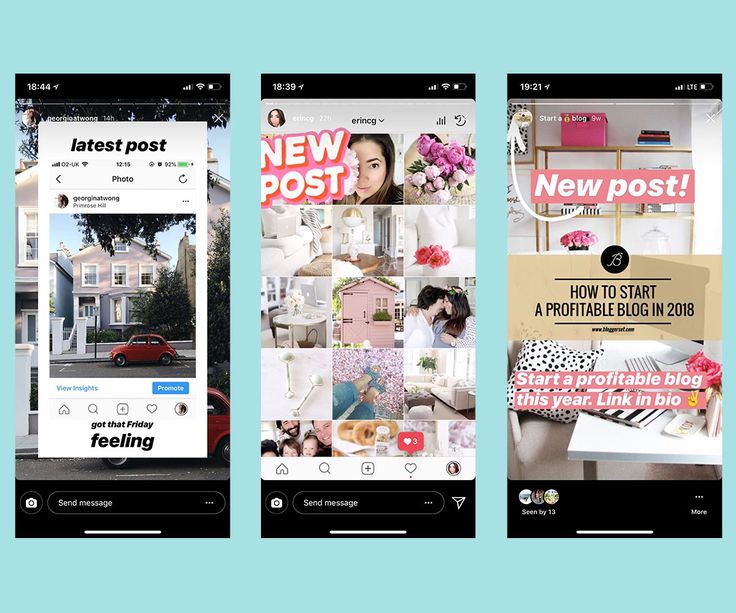 Stories are rewound with a single tap on the phone screen: on the right - fast forward, on the left - back. Stories are paused by long pressing the screen - this is usually used to read long texts.
To switch stories, swipe from right to left or vice versa.
You can create stories through Instagram or third-party applications, upload photos and videos from your computer after editing them. We will tell you about all the ways to create and upload stories.
To add previously captured videos and photos to stories, you need to switch to the Stories shooting mode, click on the leftmost button to go to the gallery, and select the necessary files. Thus, you can shoot stories not only with the camera from the application, but also with any available phone camera that you use.
Instagram allows you to capture and edit your Stories directly from the app. To create a Story, click the camera icon in the top left corner of the app, or open the camera by swiping right.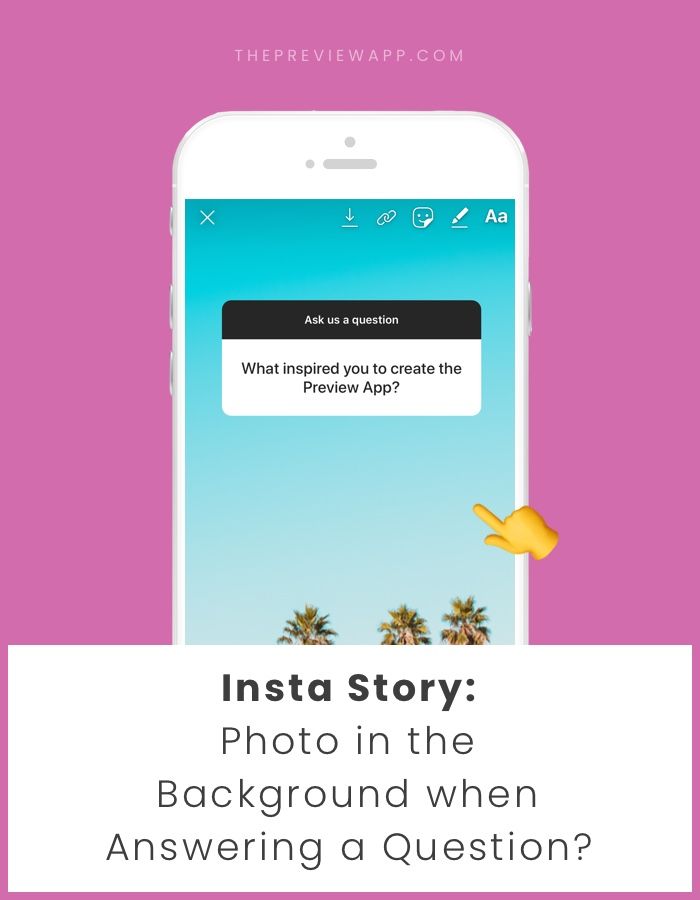
Instagram camera has several modes and features. Let's get to know each of them.
As soon as you switch to creating stories, the normal camera mode turns on. One short press on the central round button creates a photo, a long press - a video that lasts 15 seconds. If you hold the button and move it up, the camera will move closer to the object.
Below the photo and video button is a menu with other camera modes.
Boomerang
Boomerang is an analogue of live photos, that is, short looped videos made up of a series of photos. Frames taken one after another are played from beginning to end and in reverse order. Boomerangs are not as popular now as they were when they appeared, but users still love to make short videos and come up with new ideas.
View this post on Instagram
Posted by Starbucks Coffee ☕ (@starbucks)
Superzoom
Superzoom allows you to shoot dramatic 3-second video music using a special camera close to the subject.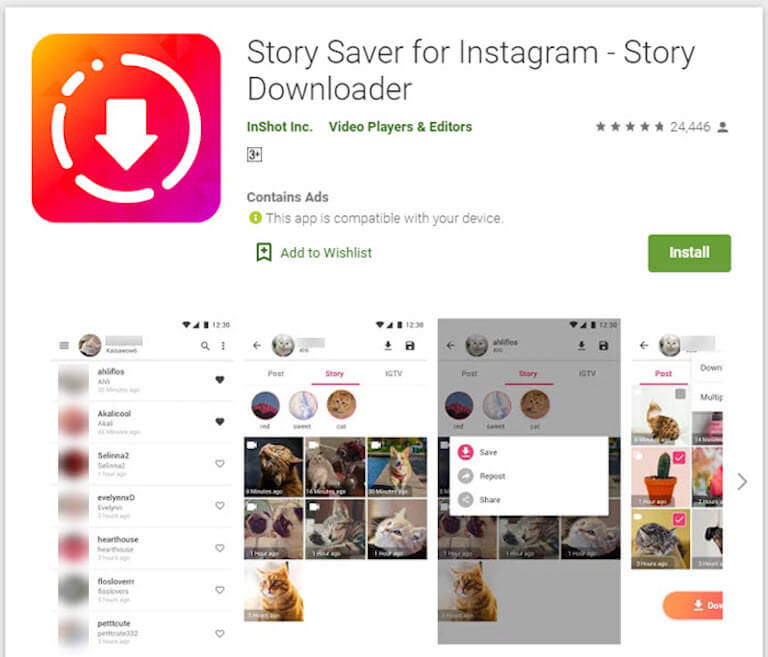 Instagram gives you the opportunity to choose several shooting options, from romantic to tragic. It remains only to choose the right one.
Reverse Capture
Reverse Capture creates videos with reverse playback, so you can diversify your content with an interesting idea.
View this post on Instagram
Posted by ReverX (@reverx.app)
Shooting one video will last 15 seconds.
Text
Text - a mode that allows you to insert text information into stories. There are several font options: modern, neon, typewriter, bold. Fonts are switched by touching the font name at the top of the screen. You can change the background color by touching the button with the current color on the bottom left.
Live
Live allows you to broadcast stories in real time, communicate with subscribers and get instant feedback. The live broadcast cannot last more than one hour, and users see the comments and likes coming at this time on the screen with the broadcast. Starting a live broadcast is very easy. It is enough to select the desired mode, and the “On Air” button will appear. Subscribers who are currently online (they can be seen live) will receive a notification when the broadcast begins.
During the live broadcast, you can write a comment and pin it on the screen. You can turn off the ability to comment for everyone by clicking on the menu item and selecting “Turn off comments”. Live broadcast allows you to broadcast together with another user.
To end the broadcast, you must click “End” and confirm the action. By clicking the "Save" button, you will download the live broadcast without likes and comments. This function is made so that the video material is not lost. The live broadcast can be seen on Instagram in the recording for another 24 hours, like regular stories.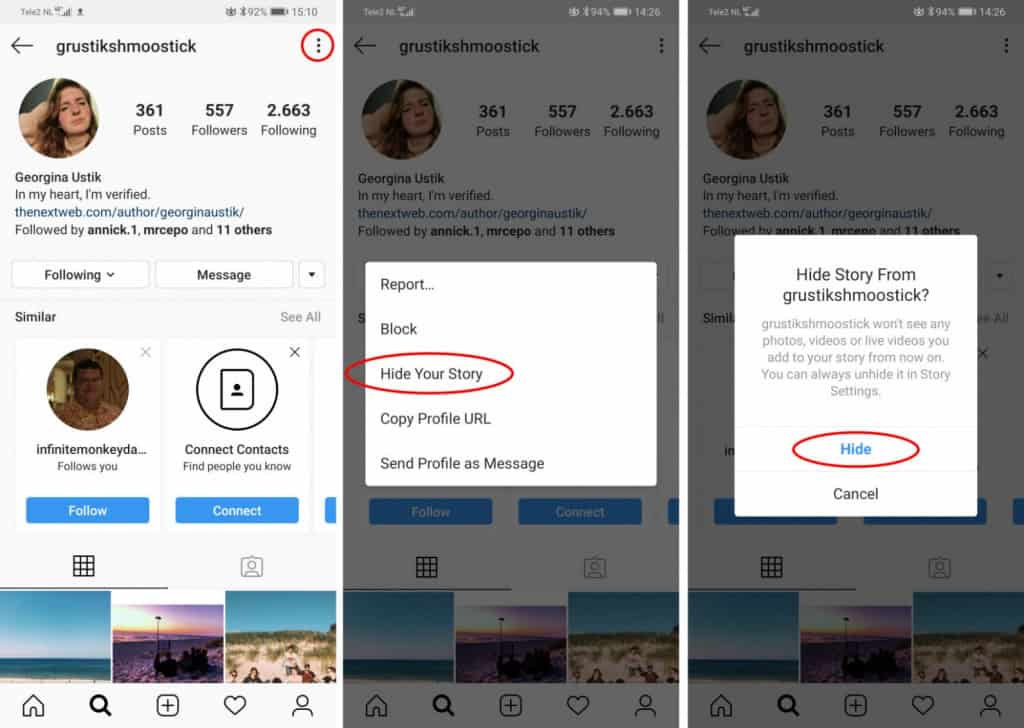
Remember: if you don't save the live broadcast, it will be deleted after 24 hours and you won't be able to restore it.
Instagram masks
Another feature of stories is adding masks. Masks are virtual face filters that make Stories even more colorful and funny.
Masks are available in almost all shooting modes. Just click on the smiley to the right of the record button and select the appropriate one. Masks can change along with the rotation of the camera, the surrounding space or the user's facial expressions.
You can publish your posts from your Instagram profile to Stories to attract more attention to them. To do this, you need to click on the airplane icon under the post and select “Add to story”.
You can repost the story itself from another person's profile if your account is tagged in it. When this happens, you will receive a notification in private messages about the mention in the story, there is also an active link “Add this to the story”.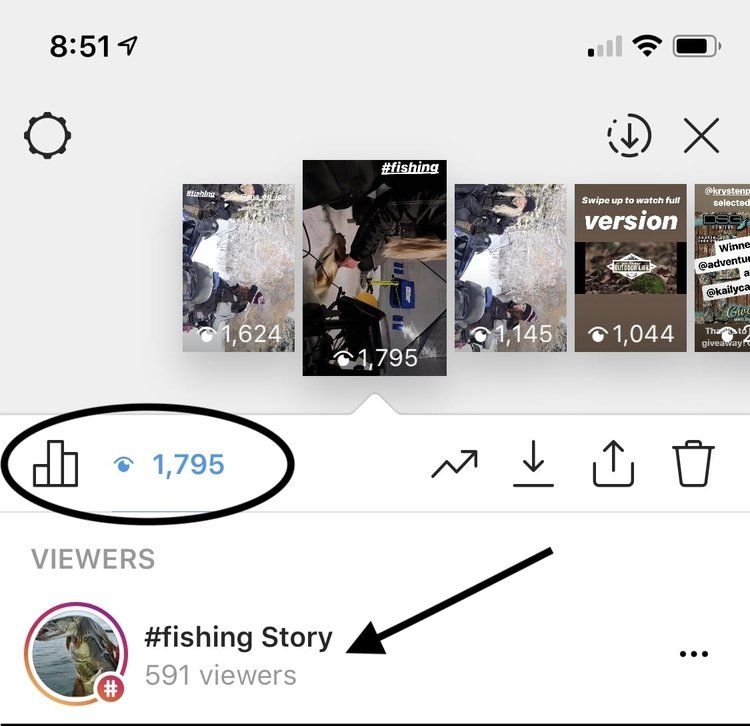 After clicking on the link, a window with editing stories will open.
Once you've shot your story, it's time to edit it. Editing is available for both photos and videos.
How to add filters to Instagram?
To view and apply filters, swipe left and select your favorite.
How to add hashtags to Instagram Stories?
A hashtag is a special label that combines user content into one group. On Instagram, hashtags are used not only as a means of navigation and search, but also for promotion. We can say that hashtags are the keywords of your post, story and Instagram profile.
There are several ways to add hashtags to stories.
The first way: click on the sticker icon at the top of the screen and select “#Hashtag”. In this case, you need to enter the hashtag without the pound sign #, Instagram will offer several popular or frequently used hashtags.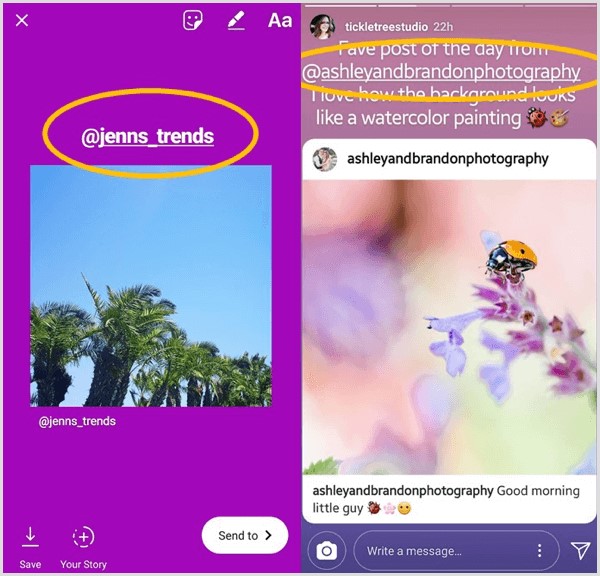
Second way: enter the hashtag using the Text tool. In this case, you must enter along with the hashtag #, and Instagram will also offer to select popular or frequently used hashtags.
Some users use tricks to insert more hashtags into stories. They use two methods at once, write more hashtags in text, hide hashtags in a poorly viewed area of the screen (at the very bottom or top of the story), fill the text with a hashtag with a background color so that they are not visible to users and do not annoy when viewing.
These hashtags are also included in Instagram searches.
On Onlypult.com, when publishing stories, you can insert up to 9hashtags, while they are not visible in the story itself, but participate in the Instagram search.
How to geotag Instagram?
Instagram geotags are also used to promote and search for publications. Geotags or geotags are data about a specific position that are affixed to a frame as metadata.
Inserting a geotag into an Instagram story is very easy. Just click on the sticker icon and select . Choose from the proposed list or start typing the name of the location.
How to tag a person in an Instagram story?
To mark another Instagram profile in your story, you need to select the “Text” tool and enter the user's nickname, starting with the @ symbol. In this way, you can enter up to 10 profiles in one History. If you click on the sticker and select “Mention” from the menu that appears, you can add one profile without using the @ symbol.
In both cases, Instagram will prompt you to select a profile corresponding to the characters you enter, it remains to choose the one you need.
The user will be notified that they have been mentioned. He will not be able to remove the mark, but it will be possible to share this Story in his account.
After affixing such a mark, subscribers will be able to go to the specified profile by clicking on it in the story.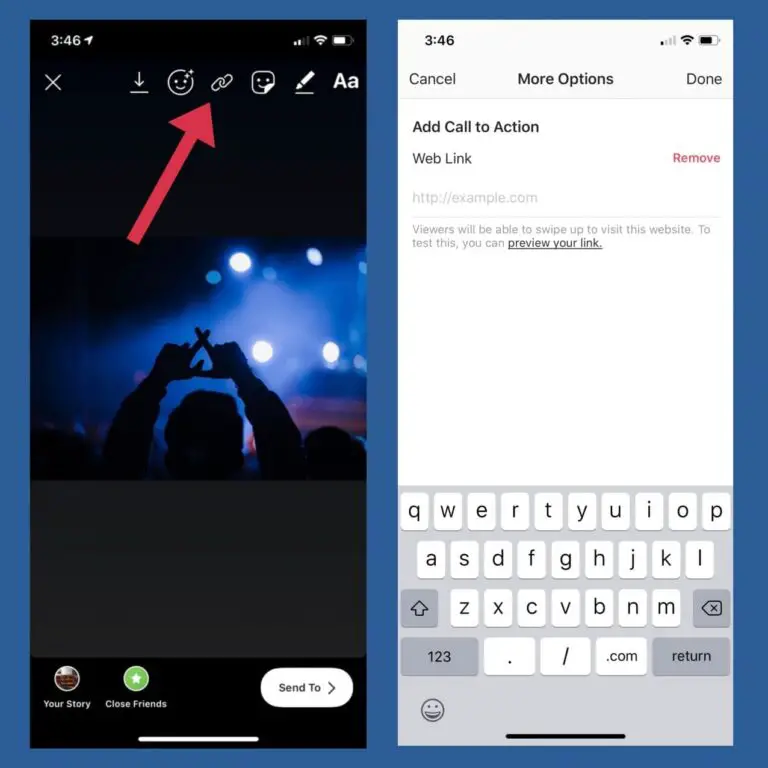
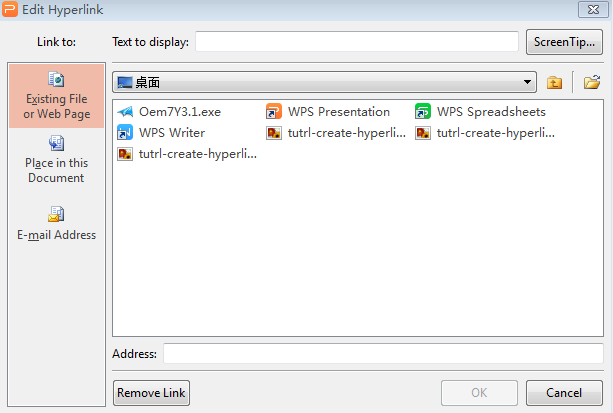
How to insert a link in an Instagram story?
This feature is only available to business accounts with more than 10,000 subscribers. A few days after reaching the required threshold, a link button appears at the top of the screen in the interface for adding stories.
With this tool, discounts and promotions are announced, Instagram users are directed to the site or a separate page of the site, links are added to blog articles, online and offline events, and so on. By clicking on the button, enter the desired link and create a story. When viewing your Story, users only need to swipe up to follow the link.
If after reaching 10,000 followers the link button still does not appear, try restarting your phone or updating the app, you can also contact Instagram support.
How to draw on Instagram stories?
Instagram Stories has a drawing tool. To use it, you need to click on the pencil icon at the top of the screen.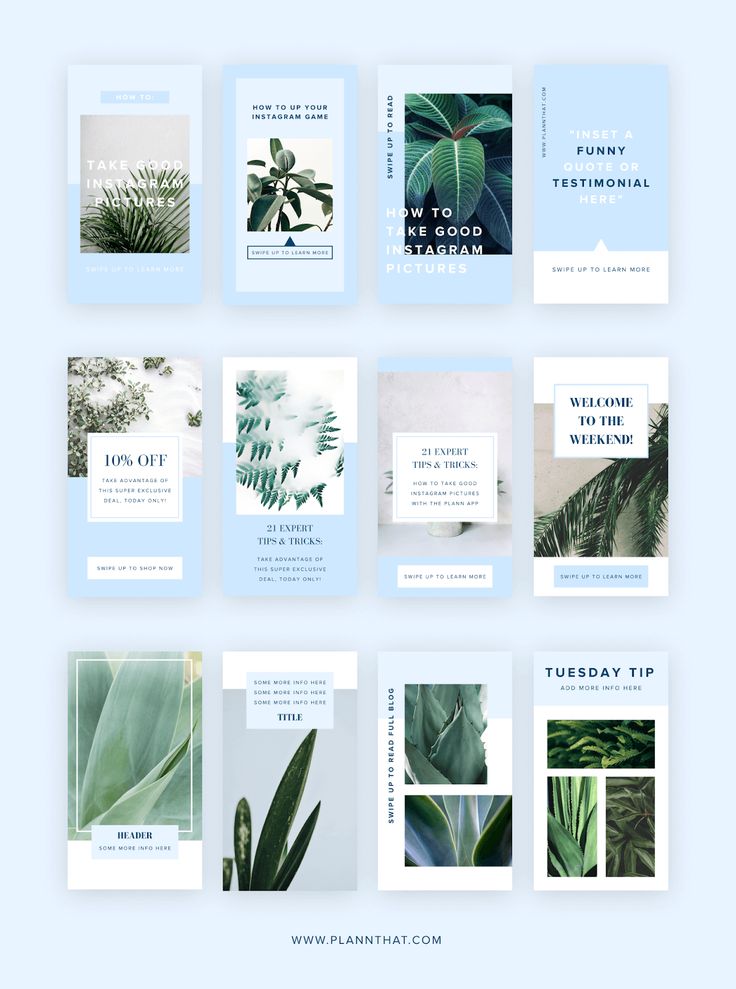
Several modes or brushes are available for painting. They differ in overlay style and line thickness.
Use the drawing tool to fill a photo with a solid color. Just select the desired color at the bottom of the screen and pinch the photo anywhere.
To fill with a translucent solid tone, choose a brush with a thick nib or a “marker”.
There is another secret to this tool. You can choose not only the standard colors indicated in the palette. If you press and hold the colors of the palette, a panel with a choice of an arbitrary color will appear. Without lifting your finger from the screen, move to the desired color to select.
How to add a selfie to Instagram stories?
You can add a selfie to the finished photo or video. To do this, click on the camera sticker. If you click on the finished selfie, the design will change: blurry edges or a white frame.
Questions.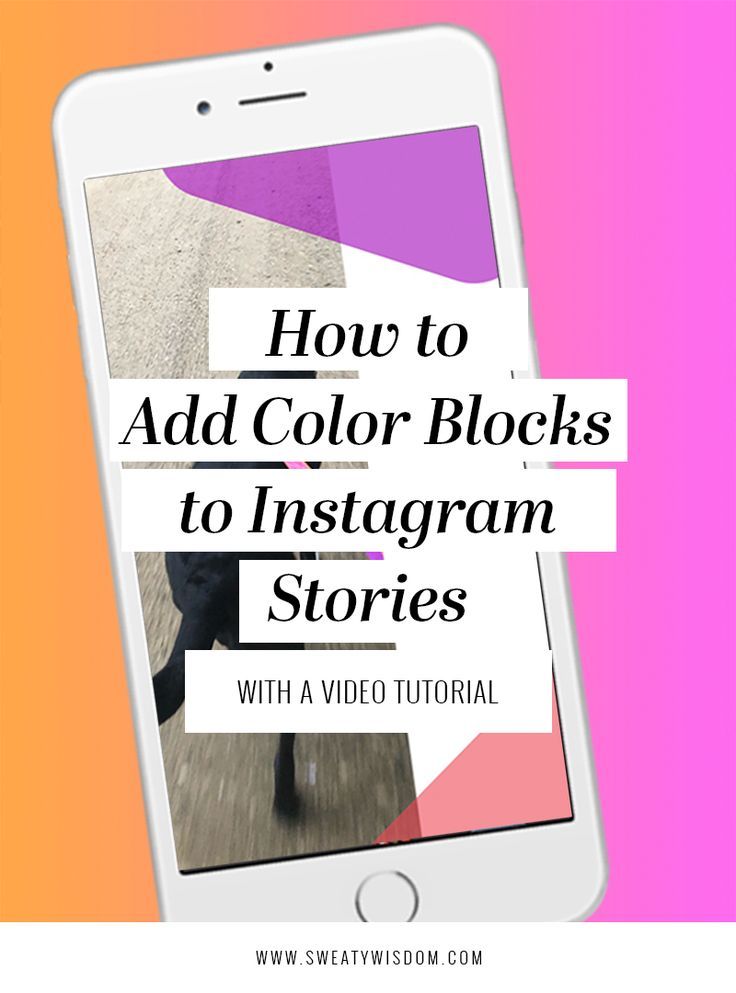
A form is attached to the story in which you can enter your question. Subscribers will be able to ask you any questions.
To insert a form, select the “Questions” widget while editing stories. You can choose the color and size of the published form.
Enter your appeal in the form. For example, “I will answer your questions. Ask!”.
Responses can be viewed by clicking in the lower left corner in the story. You can share responses with subscribers, to do this, open the desired response and click "Share response". You can choose the color of the form, add a comment and publish to stories.
Polls
The "Polls" widget allows you to conduct a small survey among subscribers, where only two answers are available. The standard form is “Yes” and “No”, but you can enter your own question and short answers. After the survey is published, you will see the responses as a percentage.
In the story statistics, you can see which user clicked on which answer, and the total number of viewed stories.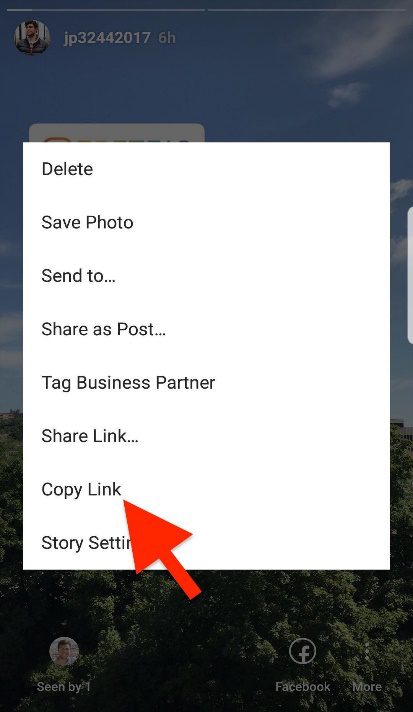
Voting
Voting in stories is done using a scale. By selecting the appropriate widget, you can assign the color of the scale and emoji for the answer. Ask a question, and to answer it, subscribers will move the slider, expressing the degree of their reaction to the question.
Statistics will show exactly how users voted, as well as the average answer on the scale.
Quiz
This widget is also called “Test” because you enter the correct answer, and users, having chosen an option, immediately see whether it is correct or not. To insert a widget, click on the sticker icons and select "Quiz" in the story. In the form that appears, you can enter your question and several answers.
There can only be four answers. Enter the answers in order and press “Next” on the phone keypad for new options to appear next.
The color is changed using the setting at the top of the screen.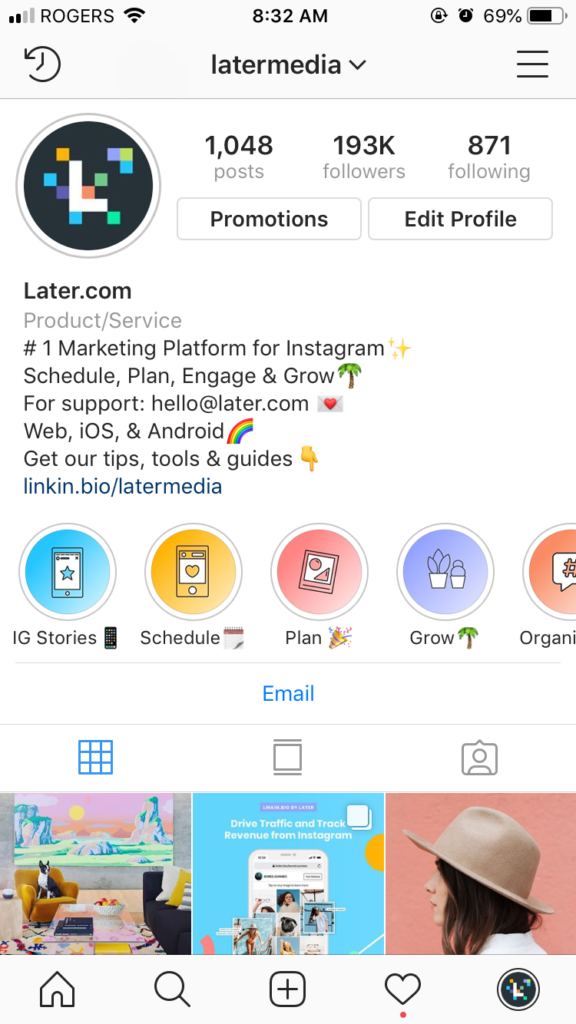
Do not forget to indicate the correct answer. To do this, click on the letter of one of the options, it will be highlighted in green.
To see user responses, go to your story statistics or swipe up. You will see the number of correct and incorrect answers, as well as the total number of viewed stories.
Adding music to Stories has been available since 2018, but not in all countries. Therefore, if it is not possible to add music directly through Instagram, you need to use third-party applications. But we will tell you about all the ways.
How to add music through the Instagram app?
If you can add music through the Instagram app, click on the sticker icon and select “Music” from the menu. The application has a search by mood, genre and popularity. After selecting a song, you can rewind to the desired moment, and the track will be played from a given point while the story continues.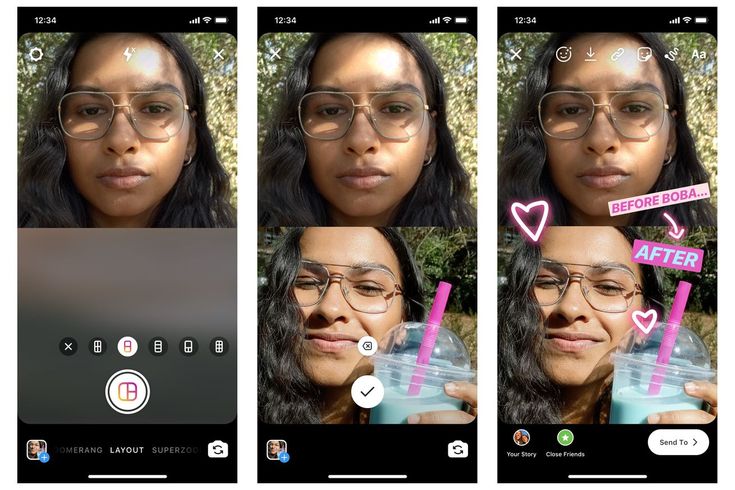
You can add a track before selecting a video. Open the camera, swipe the menu under the record button to the right and select "Music". Find the song and the right moment, and record a video while the song is playing.
How to add music to Instagram?
If there is no choice of music in the Instagram application, it is possible to add it to the story through third-party video editors.
You can download the video editor from the App Store or Google Play, here are some of them:
Storybeat - allows you to add not only music, but also small effects on photos and videos, you can record your voice or slow down the video.
InShot - can remove unwanted frames, suppress noise, add text and stickers. Music is added only from the device library.
PicMusic - photo and video editor, you can add music, voice, text.
When a story is ready and edited, it can be published.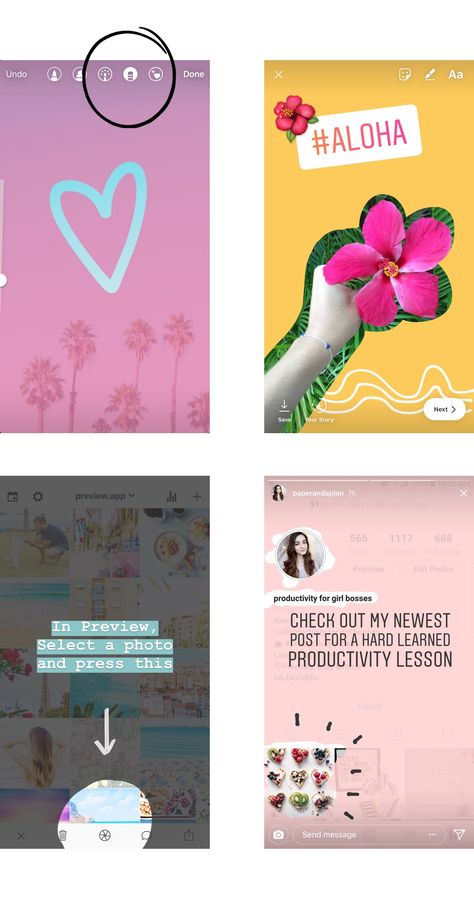 To do this, just click the “Your story” button in the lower left corner, and the story will be published on your profile and will be available to everyone. You can limit your viewers by clicking the "Best Friends" button when posting. Then only those whom you add to your friends list will see the Story.
Stories can be sent to selected contacts if you click on the "Publish" button and select the desired profiles.
Within 24 hours, while the published History is available, it can be deleted, edited and adjusted. To do this, click on the three dots in the lower right corner and select the desired menu item.
To customize your story, select "Story Settings". By moving the sliders and checking the checkboxes, you can customize the display of stories for yourself. Here you can hide Stories from certain accounts, allow or block comments on stories, and create a list of best friends.
You can post multiple stories at the same time. To do this, select the story camera and click on the gallery icon.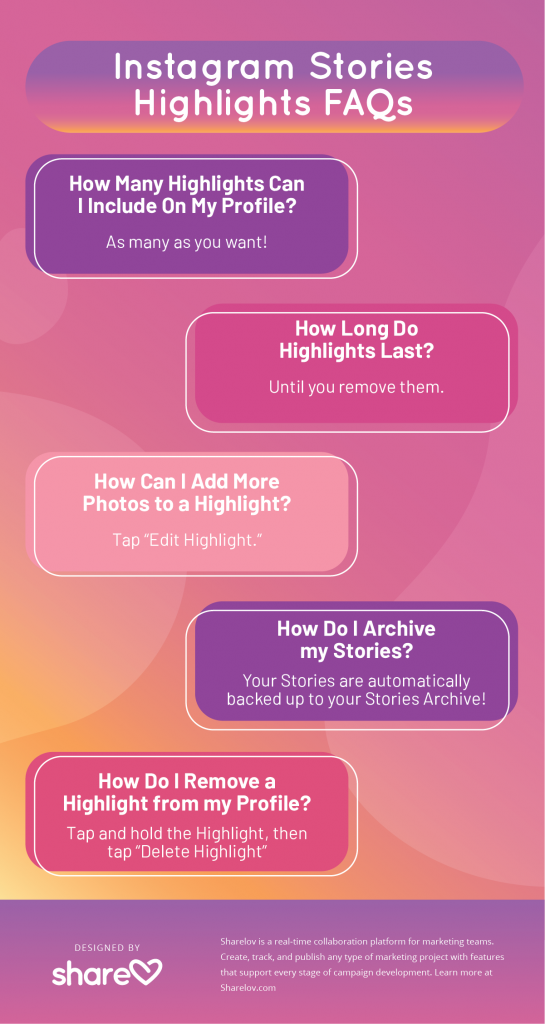 The latest photos and videos taken by the device will be shown. Click the pages icon at the top right and select all the photos and videos you want in the order in which they should be published. Each story can be edited before publication.
To publish stories from a computer, you need to use third-party services. For example, the Onlypult.com deferred posting service, with which you can select the date and time of publication.
Go to the service website, click "Stories", edit the publication card and set the time. Ready!
Already published stories can be deleted. To do this, you need to open the Stories and at the moment the unnecessary file is displayed, click “More” in the lower right corner. When the additional menu of stories comes out, click “Delete” and confirm the deletion.
To delete the entire history, you must delete each file in it.
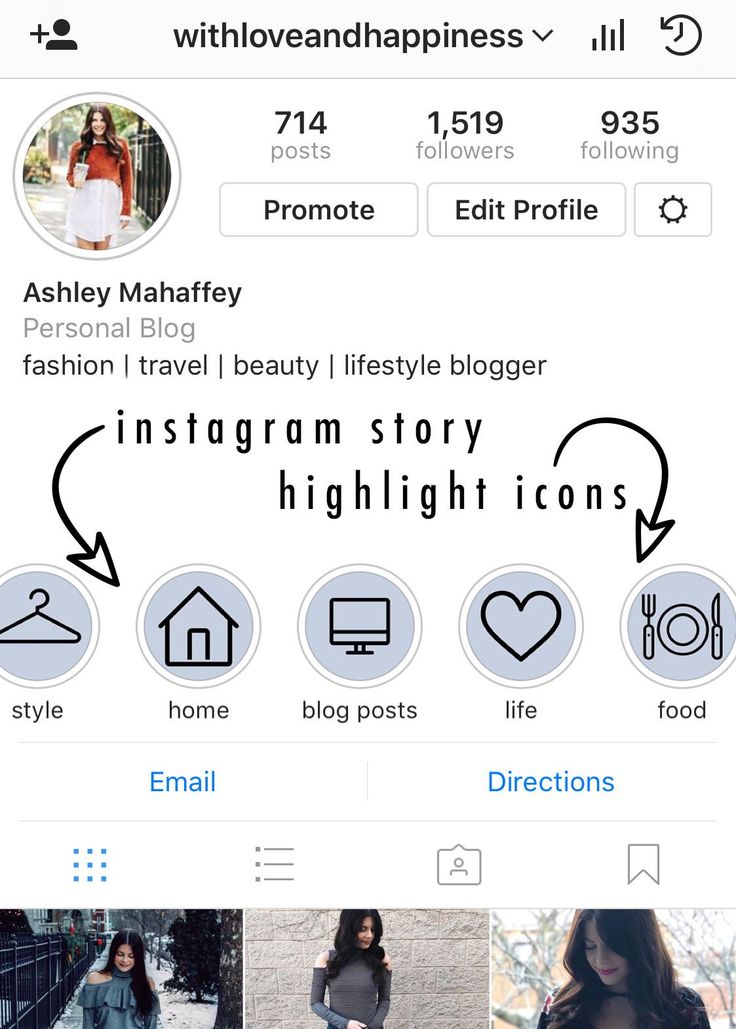
Stories Highlights or Actual Stories - albums or sections with archived Stories that users can save in their profile.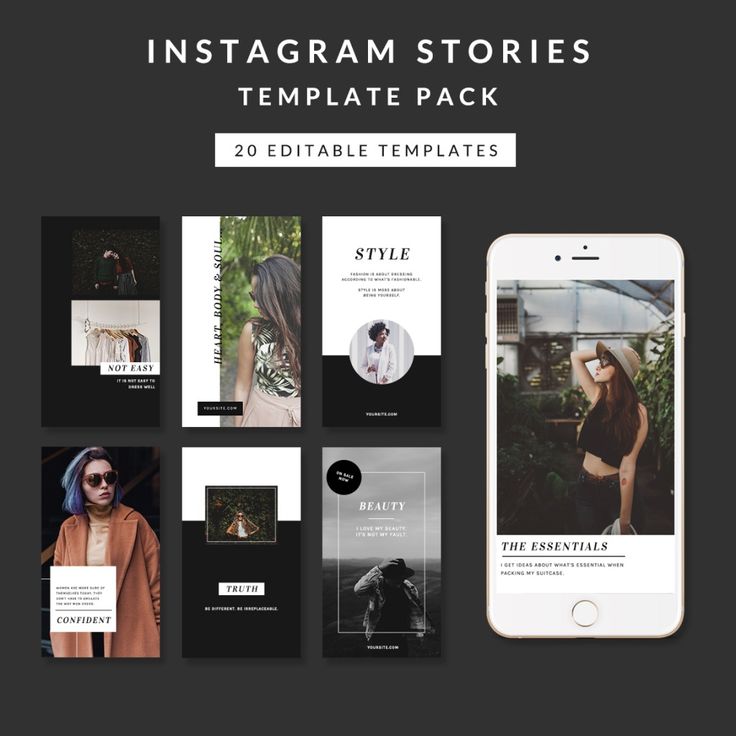 Thus, all saved stories can be sorted or the main ones can be selected - as it is more convenient for anyone.
Actual stories you create yourself. They will appear on your profile above your photos. You can add to Topical those stories that have already been published. To do this, in the profile, click on the plus sign “+”, select the desired stories and click “Next”. Give a name to the new collection of "Actual", select the cover (initially it will be one of the stories) and click "Done".
Here you can save promotions, portfolios, products, case studies, workshops and much more. This will make it easier to navigate through your account and allow you to highlight the information you need.
When creating Actual Stories, it is important to remember:
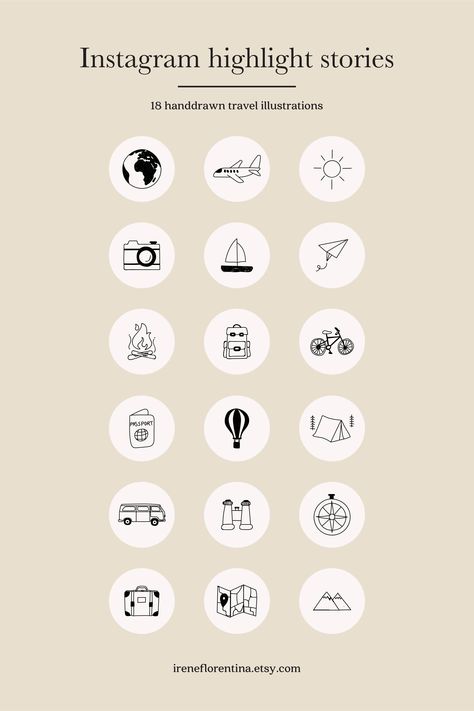
For the latest, you can create and upload your own icons. This will emphasize individuality.
There are several ways to create a story icon.
The easiest option is to use a pre-made Story and select it as the cover.
Click on the “+” in the Instagram profile, select the necessary stories and click “Next”. After that, give a name to the new album and click "Edit Cover". In this step, you can choose any story for the cover, zoom in or out, or select a specific part of the photo.
Click "Done" and your new album will appear on your profile.
Another way to create an icon is to make it in third-party applications and services. For example, in Canva or Photoshop. It is better to create regular square images, where the icon will be located in the center. The optimal image resolution is 1080x1080 pixels.
The finished picture can be uploaded as a story and selected as a cover according to an already known option. Or, when editing a cover in Actual, click on the gallery icon and select from phone files.
To insert a cover into an already created album, you need to open it through your Instagram profile. In the lower right corner, click on the three dots with the words “More”, and then “Edit current”.
Click “Edit Cover” and select the desired icon.
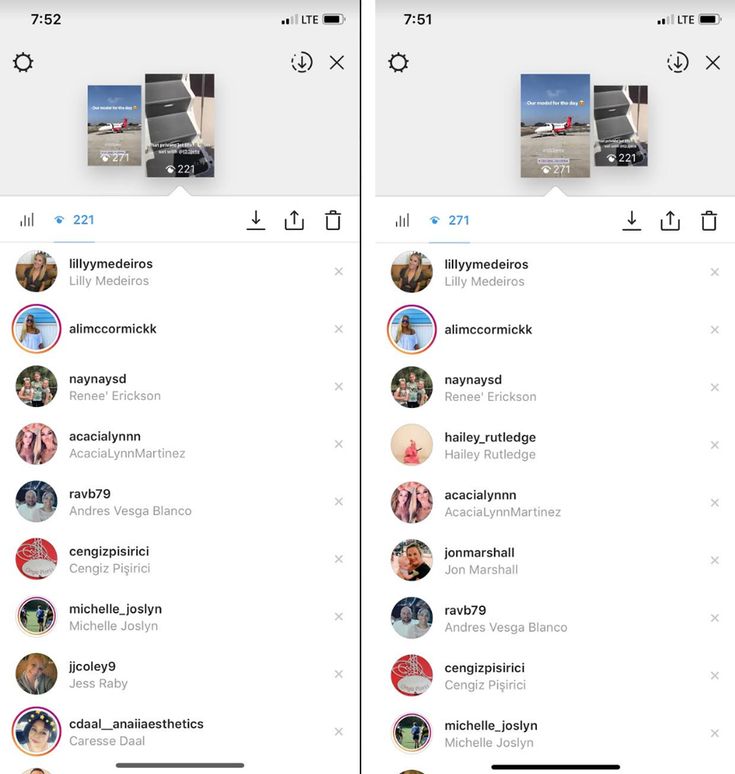
Stories statistics can be viewed by connecting a business account.
To view statistics, go to your Instagram profile, click on the menu icon in the upper right corner and select "Statistics". You will have access to account statistics and publications.
The “Stories” section displays statistics of stories posted in the last 24 hours. But you can find out the statistics of publications made in the last 14 days. To do this, click "All" in the "Stories" section.
In the filter above statistics, you can switch data and view statistics on impressions, reach, clicks, scrolls, responses, and so on.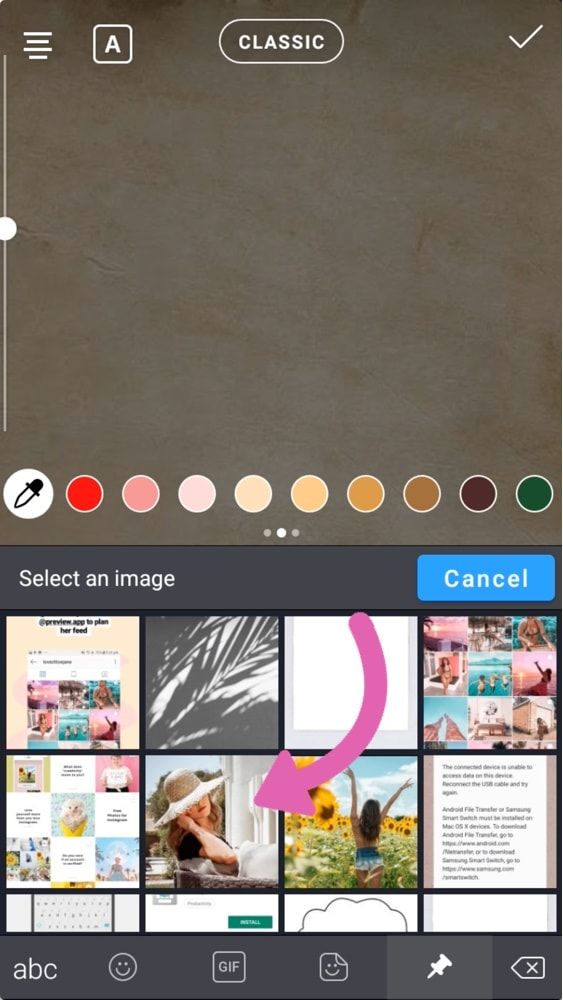
Impressions - the total number of views of stories.
Reach is the number of people who viewed your stories. Impressions for the same account do not count here.
Scroll forward and backward - how many times users have moved to your next post or returned to the previous one. So you can understand whether the audience was interested or not, they were intrigued by the continuation of the viewing, they understood what you wanted to tell in the story.
Next story - transitions to the stories of other accounts. The data shows how many people moved from your story to the next without being interested in the content.
Exits - shows how many times users clicked the cross to exit your Story.
Replies - how many people have responded to your stories.
Reposts - how many other accounts reposted your story.
Clicks on the link - how many people followed the link published in the story.
Stories statistics provide detailed metrics and help you determine how engaged your viewers are when viewing Stories.
Instagram stories can be created on third-party resources and use not only the standard tools that Instagram offers.
Here are a few services where you can create stories from ready-made templates, upload your photos or use ready-made backgrounds and fonts:
Easil is a platform with a number of ready-made templates that you can change. Templates already have the correct dimensions for stories, but in the paid version it is possible to change them.
Another popular platform for creating marketing materials, including Instagram Stories, is Canva. All templates you create will be stored on the platform and you can download them at any time.
Is the list of viewed Stories displayed in order?
Instagram uses different ranking methods, and users sort differently. Moreover, it can change every few months. Therefore, for some users, lists can be shown by viewing time, for others by the frequency of interaction with the profile, and so on.
How is the list of unviewed Stories formed?
Usually shows actual stories made in the last 4 hours. Then they are mixed with the earlier ones. But Instagram pays more attention to real people, so the stories of ordinary accounts are shown first, and then commercial or impersonal ones.
Viewing History will count as a profile visit?
No. According to Instagram, visits are the number of clicks on a username to go to a profile.
To learn more about Instagram and other social networks, subscribe to our newsletter.
Skip to content
Svetlana Simagina 1
Instagram Stories is one of the best platforms in order to share videos. But these can only be short videos up to 15 seconds in vertical format. In addition, they disappear after 24 hours.
We've already written about how to use third-party apps to split videos into 15-second clips. Now you don't even need to use any apps, Instagram does everything for you.
Recently in Instagram stories now have the ability to upload up to 10 photos at once. And if you choose a long video, Instagram will automatically split it into several stories. However, there is one caveat - you can only download up to four stories, i.e. The video must be no longer than 1 minute. Otherwise, you will have to use an additional application.
If your video is shorter than a minute, skip to the instructions below.
Step 1 : Open the Instagram Stories screen and swipe up to select your video.
Step 2 : Find and select the video you want post to stories.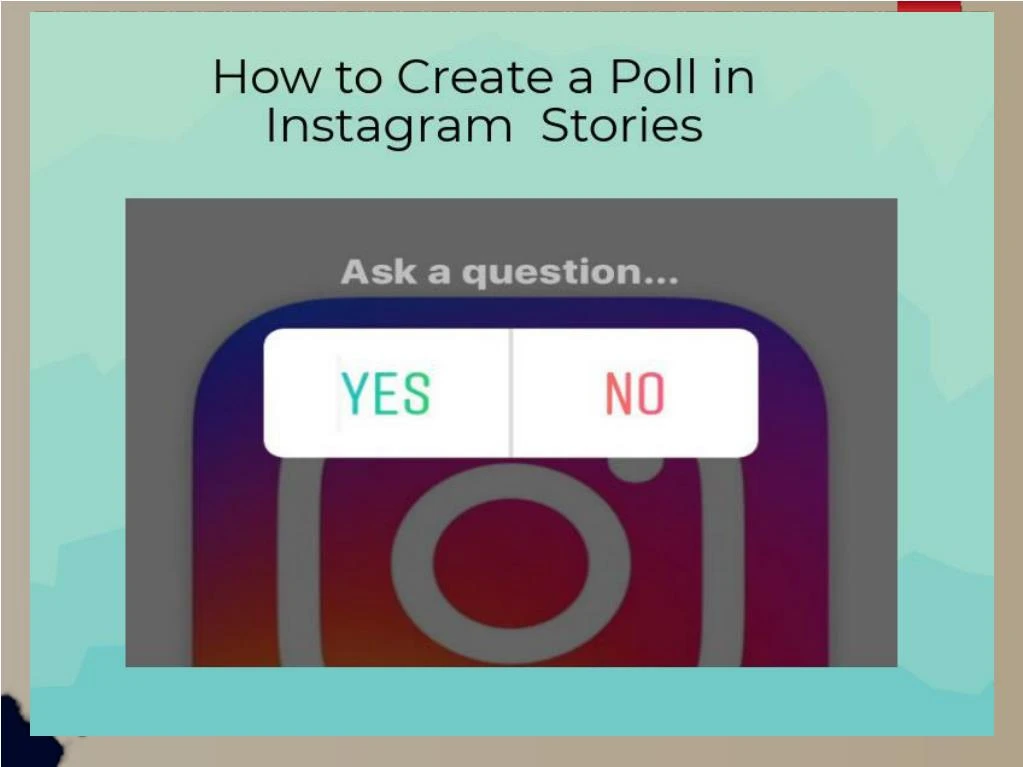
Step 3 : At the bottom of the screen you will see a preview of the four parts of your video. Touch them to switch between stories. You can individually edit all four stories.
Step 4 : When finished editing stories, post them as usual.
Cut Story is an application with many features, incl. and with the ability to split the video into 15-second fragments. It works great, but adds a watermark to the video by default, which can be removed after additional fee.
Step 1 : Open the application CutStory and press button Video .
Step 2 : Select video and edit if desired it with tools.
Step 3 : Click the Download button in the bottom right corner of the screen and select the format Instagram
Step 4 : Now wait for the videos to split and save to you in Photo.