 You can use it in the future in a matter of a few clicks, individually or as a batch.
While you can upload your landscape or portrait photos to Instagram, the thumbnail will always be cropped to a square. This isn’t always ideal for photographers. If you want to get around this, just learn a simple trick. Add a border to your photo to avoid cropping. In Zoner Photo Studio X, get your photo ready to share, whether it’s for yourself or a client. This will also keep you from needing to use questionable mobile apps that offer similar functions.
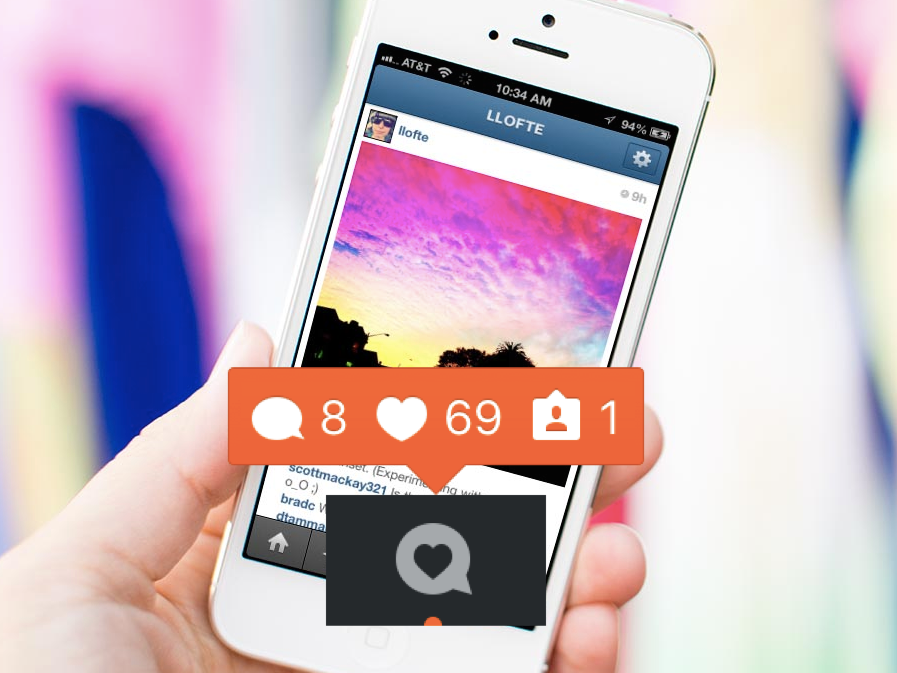
Instagram is an app, developed primarily for mobile phones mainly for the sharing of photographs. Ironically, it can be very unkind to photographs. In recent years, it has tried to adapt and allows you to post photos horizontally or vertically. However, in your gallery, the photo will still appear as a square thumbnail.
While you can upload a photo to Instagram vertically or horizontally, it will still appear as a square thumbnail in your gallery grid (Zoner Photo Studio X’s Instagram page).Portrait and landscape photos continue to be a problem because you cannot upload them without cropping. Here’s an innovative solution. All you have to do is add a border and set Instagram’s required square format.
You will now see your landscape or portrait photo not only when opening it, but also in the thumbnail. You cannot do this in the Instagram interface, but you can do it using your photo editing software. In Zoner Photo Studio X, you can easily do it with the help of the Batch Filter.
You have options for how you want your borders to look. You can make them different colors, black, or white. The only drawback is that if your followers have a color scheme that is different from yours, this type of border could come off as a bit too much.
Borders can be different colors or made from a blurry image taken from the original photograph.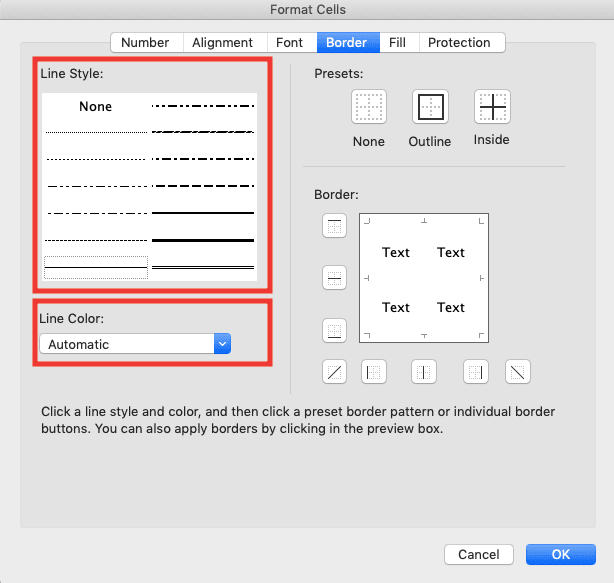 Photo: Jakub Danihelka
For this reason, we recommend using a border that is made from a blurry version of the original image. You make this using the Batch Filter. You only need to set it up properly. When you save its settings, you can easily edit any number of photos that will all be ready to showcase on Instagram in the future. This is great for those of you who upload to Instagram often. You don’t need to edit each photo separately.
The basic concept is that you make and save fixed settings that are made from two different filters (Resize and Canvas Size):
Open the photo in the Manager module and click the Batch Filter icon (Ctrl+Q).
Choose your photo and click the Batch Filter icon. Or use the keyboard shortcut Ctrl+Q.
Click the Add Filter button, choose Resize, and confirm by clicking OK.
Click Add Filter and select Resize.In the Mode menu, select the option Never increase size. This way you’ll make sure that a photo that is too small won’t be stretched when using filters. Enter the dimensions 2000px into the Height and Width field. This is the size suitable for Instagram. Leave the Keep proportions option checked. By entering the same dimensions in both fields, you’ll find that the filter will work for photos with both portrait and landscape orientation.
Enter 2000 pixels for the longer and shorter side. The filter will then work for both portrait and landscape photos.The second to last step is to add the second filter – Canvas Size. Click the Add Filter button and choose Canvas Size. Confirm by clicking OK.
Add another filter – Canvas Size.
In the dimensions fields, you will again enter 2000 pixels for each side. Your photo will now be converted to a square format, but without cropping. The gaps are filled with the chosen border.
Again, set 2000 pixels as the dimensions for height and width and choose the border type. Either select color or choose Fill in background using blurred image.Either select a border of any color or check the box Fill in background using blurred image. Use the Blurring strength, Zoom, and Color blending sliders to fine-tune the final product and create your own unique border. Click the Apply button and your photograph is ready for sharing.
This is what a completed photo looks like.TIP: We recommend you export your photos right away for sharing or save them to a special folder. This is a destructive edit and cannot be changed back!
You’re done! Click the disc icon in the bottom part of the Batch Filter window to save and name this setting. You can use it in the future in a matter of a few clicks, individually or as a batch.
Do you want to get your photos Instagram ready in a few clicks? Download Zoner Photo Studio X free for 30 days and get right to it.
Photo EditingMorten ByskovHow to Add a Border Instagram, How to Add a Border Instagram Pics, Border Instagram Photos, Vertical Versus Horizontal Photos on Instagram, Create a Photo for Instagram With a White Border in Photoshop, Using Actions and Batch Processing to Create Photos for Instagram With a White Border, Create an Instagram Photo With a White Border Using the VSCO appComment
Photo EditingMorten ByskovHow to Add a Border Instagram, How to Add a Border Instagram Pics, Border Instagram Photos, Vertical Versus Horizontal Photos on Instagram, Create a Photo for Instagram With a White Border in Photoshop, Using Actions and Batch Processing to Create Photos for Instagram With a White Border, Create an Instagram Photo With a White Border Using the VSCO appComment
A collection of photos with a border posted on my Instagram feed
Instagram is one of the windows to the world for sharing our photos and you have a few choices when it comes to formatting your photos for this platform.
First of all, it is important to know that Instagram currently gives us a rectangular box with a ratio of 4 x 5. Four wide and five tall. In the latest update from Instagram, it is also mentioned that we should be able to post 6 x 19 soon.
This poses a few challenges when it comes to standard 3 x 2 photos from many digital cameras or 4 x 3 photos from either mobile phones, medium format cameras, or micro 4/3 cameras.
Adding a white border to your instagram photos can add aesthetics as it mimics a white matte of a framed print
You can, of course, post your photos without worrying too much about how the end-user will see your photos but it may be of interest to customize your approach to make your photos stand out. Below I will show you how to do so in Photoshop and thereby make the most of the 4 x 5 aspect ratio format while adding a border.
I have chosen to add borders to my photos on Instagram. It mimics a picture frame with a white matte and puts extra emphasis on the photo with this simple little effect and aesthetically I find it quite pleasing.
It is, however, not a straightforward process and does not happen with the click of a magic button. You can however create a smooth smooth workflow.
In the following, I will describe my approach, step-by-step, for the most popular ratios of photos and also how you can create a Photoshop action and batch process in order to speed things up.
My photography buddy, Carl used to tease me as I rarely would capture photos in the vertical orientation. It did not come naturally to me.
I tended to favor the landscape horizontal format, probably because the photos looked amazing on a widescreen computer monitor. I was never too concerned about the fact that I could flip my camera 90 degrees and capture photos in a different orientation.
Recently this has changed and I cannot decide if I am thrilled or concerned that it was Instagram that got me to think “vertically”.
The fact is, almost all of our photos on Instagram are viewed in the vertical orientation on mobile phones meaning horizontal photos will appear smaller and take up fewer pixels on the screen. This is okay but if you are going for maximum impact, vertically oriented photos will be larger and perhaps capture viewer attention more so.
I have not studied if my photos posted in the vertical orientation get more likes and I am not too concerned or occupied with this as I mostly do it because it looks great and that in itself is a positive. Growing my account is okay too :)
When it comes to getting photos prepped for Instagram the most time-consuming format is the vertical photos if you decide to add or border.
For horizontal images, I use the VSCO app on my iPhone and this is by far the fastest way to get good results for 3 x 2, 4 x 3, or square photos as the app has a borders feature.
You can also use this for vertical photos but the end result will be a square format 1 x 1 ratio and hence smaller than a customized 4 x 5 layout.
A horizontal image with a white border created with VSCO
Open your vertically oriented photo in Photoshop and resize it to a height of 2500 pixels. In this example, I assume we start from an original larger file.
2500 pixels may be a bit overkill but this way you can use them for other applications such as stories.
If you are working with a photo smaller than a height of 2500 pixels you will need to adjust all numbers accordingly.
Resize your photo to height of 2500 pixels
Adjust the canvas size and you will see a white border added to your photo
Save your masterpiece as a .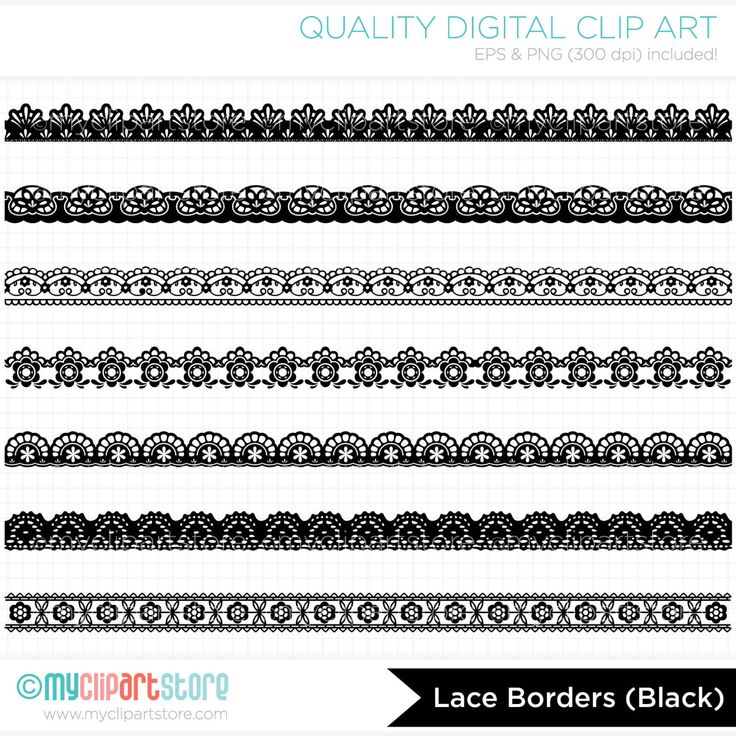 jpg and upload it to Instagram. Make sure to hit the resize tool, bottom left, until you see the full photo.
I airdrop the photos to my iPhone as I prefer to upload from here
If you want to save time and prep several photos at a time you can speed things up by creating an Action and then processing your photos in a batch.
Open your original “vertical oriented” photo
Open the Action Tab
Start a new Action by clicking the file folder at the bottom next to the trash can
Name your Action
Hit the record button
Then repeat the steps described above. Resize the photo, adjust the canvas size, and finally save the image to a folder.
Back in the actions panel - click Stop
Open a new photo
Hit the Play Button in Actions and you should see the border is added to the photo
Create an Action in Photoshop to speed up the process for adding a white border to a photo
Open a series of photos in Photoshop
Hit the File drop-down and pick Automate, then Batch
In the “Play” section pick your new action. In my example “IG Canvas”
“Source” is the files you have opened. You can also pull files from a folder without opening them first
In the “Destination” section, pick the folder you want the images saved to. In my example “Test” folder.
Then hit okay and your new photos with borders should land in your designated folder.
I stumbled upon VSCO years ago for film simulations. Back then it was desktop Lightroom presets dominating the scene. VSCO has since dropped this and instead focus one hundred percent on the mobile app.
I find the app very useful for basic photo editing and the draw is excellent film simulations that look very organic.
On the topic of adding borders, VSCO has an excellent tool for this when it comes to horizontal and square images. For vertical images, I prefer the method shown above as it yields larger images on the mobile screen.
Pick a photo in VSCO
Hit the Edit tab - scroll right until you see the Borders tool
Click the Borders tool
You can experiment with the size of your border. For horizontal images in the aspect ratio of 3 x 2 or 4 x 3, I use +1.5 and for square images +3.0
Save the image to your camera roll and upload it to Instagram
Please see the three variations below and click to view a larger image.
You can argue that you can show your photos even larger if you chose to go without using borders. If you prefer this for vertical images, simply upload an image after you have cropped it to the 4 x 5 aspect ratio. Instagram also gives you an option to crop when you upload your photo.
For vertical images, my Photoshop workaround gives great-looking results that make images stand out. This, of course, is subjective and you would need to try it out to see if you think it is worth the effort.
As an all-around great solution, you could use VSCO across the board for adding borders to all your images, vertical and horizontal. The only caveat is the fact that Instagram will show your vertical images in a smaller square box.
I hope this tutorial has been helpful. Do not hesitate to comment below if you have any questions.
Morten's Latest Musings
Morten Byskov
0 LikesContent:
Hello, dear friends! Today we continue to talk about the design of posts on Instagram, and it is in this article that we will talk about how to frame a photo with a frame, and only then upload it to your Instagram account.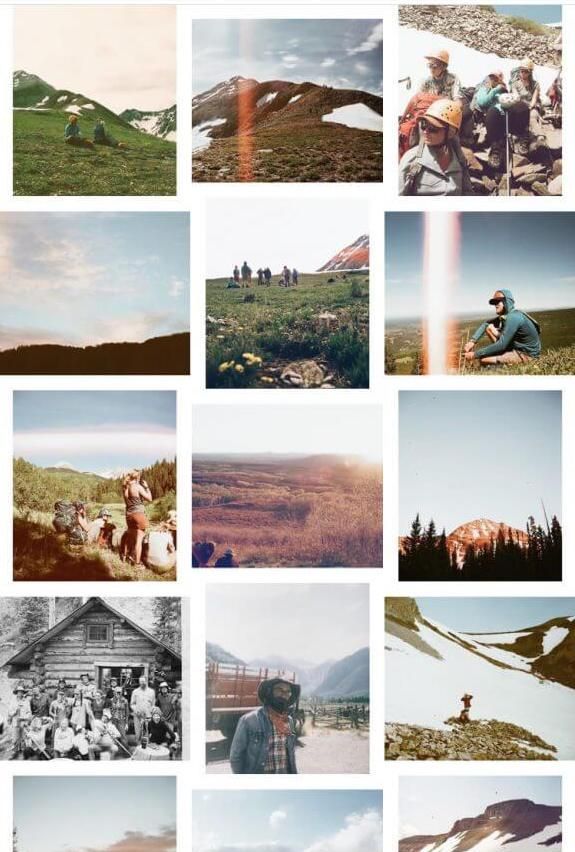
I think you have often seen, by going to the profile of another user, published photos, along the edges of which there is a beautiful frame. It can be simple (white and black with different line thicknesses), or it can look like leaves, ornaments, various geometric shapes, and the like. Now it is also very popular to add your photo without cropping, and leave the same picture on the background (so that it is not boring white), just make it blurry.
Let's do all this and learn how to do it now. To begin with, I’ll tell you what alternative you can use in the Instagram application, since there are filters, buttons for changing contrast, brightness, and other things, but there are no frames. Then we will look at the various applications that are in the Play Store and the App Store.
So, if there is no time to install something and you need to add a frame to the photo right now, then go to the Instagram application on your device and click on the plus sign below to add a new post. If you have difficulty with this, read: how to add a photo to Instagram.
Then decide on the snapshot and click "Next".
Open the "Edit" tab and among the available options we need only "Vignette" and "Blur".
Click on "Vignette". A slider will appear below the photo. Moving it to the right will darken the image around the edges. When you're done, click Done.
If you want to select "Blur", then there are two options: "Radial" or "Linear".
Select the first one - a circle will appear. In it, the picture will be clear, and outside it - blurry. By pinching and spreading your fingers across the screen, you can change the size of the circle or its location. At the end, click "Finish".
This is the result. The rose is clearly visible, while the rest is blurry.
If you click "Linear" blur, then two parallel lines will appear on the picture. They can be rotated and reduced / parted.
The essence is the same as with the circle - in the middle the picture is displayed clearly, and behind the lines it is blurred.
Choose the appropriate option and click Finish.
Further process the image as desired and click "Next".
Come up with a caption for the photo, mark users on Instagram and select "Share".
If interested, read the article: how to caption a photo on Instagram. There you will find various examples and tips on how to do everything right and why you need it.
Yes, there are few options here, but you can make a blurry frame and darken the edges of the picture. If you want more, then you need to look for various photo editing applications and use them.
There are a lot of options here. You can simply go to the Play Market or the App Store and in the search bar enter the query "Frames on Instagram". By searching, choose the one that suits you.
I also searched a little and found a lot of interesting things. Now I will describe some of them and tell you how to use them. In addition to the frames, all these applications have different options. So they can be safely called simple editors for photo processing, and used to improve the look of the picture.
The first one is called Insta square snap pic collage. Let's go and install it.
Collage
I will not tell you about all the possibilities of this photo processing program, there are quite a lot of them. I'll just show you how I managed to make a frame.
In the menu, select the item "Square":
Next, at the next stage, select a white background for the photo (if you wish, you can, of course, choose another one).
After that, in the left corner, click on the frame icon to choose the one that suits you.
And now select the frame style.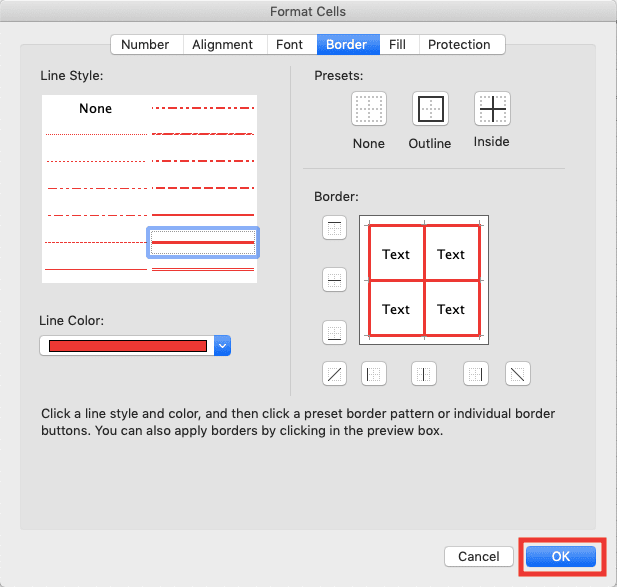 You can choose this:
Or like this:
Or maybe like this. (After you decide on the frame, click on the "Share" icon in the upper right corner)
In the "Share" window, we will have icons in which social network you are going to publish this photo in a frame. We naturally choose Instagram.
We immediately open the Instagram application and start adding a photo as usual, only it will already be in a frame.
Type "no crop" in the search bar and search for the corresponding application. Install it on your phone.
It is in English and contains advertisements. To add a photo from the gallery, click "Add Photo". If you want to capture it, select "Capture".
The essence of the application is that it does not crop the picture, and you can add it completely. And the areas that remain on the sides can be changed to your taste.
For example, "Blur" will blur the background behind the image, "Pixel" will turn it into small squares or pixels.
With No Crop you can also rotate the picture, write or draw something on it, add a sticker.
"Colors" - you can select any fill color. "Background" are ready-made backgrounds.
Click on them to see how they will look. When you pick it up, click on the arrow to the left.
Next, you need to save the result - click on the "Save" button.
Confirm that you want to save the picture to the gallery.
You may also see a window asking you to rate the application. To postpone the procedure, select "Later".
Since we saved the result of the work in the gallery, then go to Instagram and, as usual, publish the processed photo from your phone.
The following application is called "Photo Editor - Photo Collage" from the developer InShot.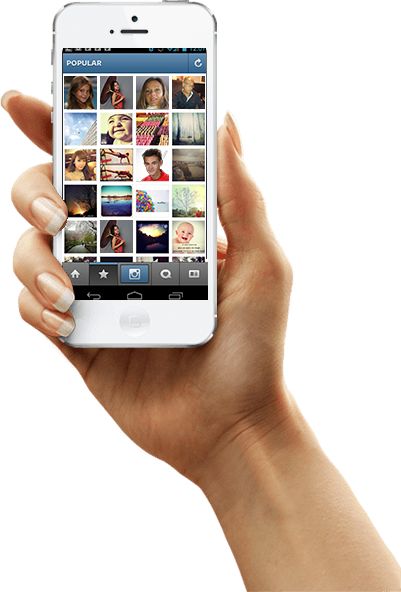 The English name is "Photo Editor".
We go into it and select "Photo".
Decide on the image and click the "Fit" button.
On the Proportion tab, select an appropriate aspect ratio.
Now you need to decide on the background, which will serve as a kind of frame. Go to the "Background" tab and decide whether this is a blur or some color. If the thumbnail below consists of four squares, then click on it to see the available options.
The last tab is Border. Move the slider and see how the position of the photo on the background changes - it can increase or decrease.
After you've finished making changes on each tab, don't forget to click the "Apply" button at the top right.
Then you can edit the picture: adjust colors, select a filter, crop, add a sticker and more. When the image is ready, click Save.
An inscription will appear at the top that it has been saved. Below is the "Share with" block. Select the Instagram icon from the available options. Then specify where you want to add the snapshot to the "History" or to the "Feed".
After that, the photo is published as usual.
Photo editor from Aviary is very easy to find. Enter the desired word in the search and install the application.
On the "Gallery" tab, select one of the photos, or you can make a new one by clicking on the plus sign.
Ads may appear while using the application. You can close it with a plus sign, which is located in the middle on the left.
You can: apply effects to an image, select automatic enhancement, add stickers, crop a frame, adjust heat, saturation, shadows, focus, rotate, sharpen, transform, add a color spot, meme, text, blur an area, draw something , brighten the frame, or remove red-eye. In general, there are plenty of functions here and you can process photos to your taste.
We are interested in the "Frames" item.
To begin with, we will be prompted to install a package with simple frames. Click on it.
You can see what they look like. There are white frames and black, thick and thin ones. Then click "Free". After that they will install.
Now click on a package to expand all of its frames. Click on the ones you like one by one and see how they look on the image.
To download more frame packs, click on the "Products" button.
There are many different options. Among them, paid ones may also come across (opposite the price will be indicated). Choose what suits you and click on the corresponding picture.
Here you can find a colored frame for a photo, and a round one, and a white one, and in the form of patterns, and many more.
Again, see if these frames are suitable for Instagram posts, and if “Yes”, then click on the “Free” button.
I immediately got a window in which I was offered to either sign in to my Adobe ID account or create a new one. If you have it, then you just need to sign in. If it is not there, like me, then click "Register".
Fill in all the proposed fields, create a password and click "Register".
After that, you can freely install any packages with frames you like by clicking on the "Free" button.
All installed packages will appear under the processed photo. Click on the picture and see what the frames are. Choose from them suitable. Then click on the checkmark at the top right to save the changes.
Another item that might come in handy is Overlays.
Right away, let's click "Products" to see all available packages.
Click on the picture, see what is included in the package, and if you like it, then install it by clicking on the "Free" button.
Expand the desired group and decide on the frame. By the way, the "Original" set has a round white border, which many users are looking for. To save changes, click the checkmark at the top right.
When the picture is processed, click on the Done button.
Right in the application, you can select the Instagram thumbnail to go straight to creating a post.
Next, click where you are going to add a picture to the "History" or to the "Feed". To remember the choice, click "Just now."
Then go to the standard form of creating posts on Instagram. Go through all the steps and at the last click "Share".
Now my Instagram page looks very unusual. The frames make it unique, and the posts look more interesting. For example, if you have important news and want to tell your subscribers about it, then you can make a white round frame and write the desired text in the middle.
Of course, there are many more applications. Popular ones include InstaSize and PhotoGrid. Try to use them, maybe you will like them more. The main thing is not to forget that it is advisable to design your Instagram profile in the same style, using just a couple of filters and frames. Then he will have his own personality, and it will look neater. So remember that you can't overdo it with different frames.
That's it, dear friends, as you can see, there is nothing complicated in adding frames to your posts on Insta. You, in turn, can drop in the comments the names of the applications with which you make frames for your posts. I and other readers of my blog will be very grateful to you.
February 15, 2018
Inshot Photo Editor
We've all heard of VSCO, Snapseed and Facetune.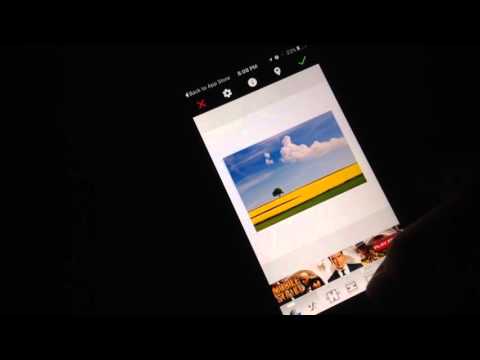
Today we want to talk about another photo editor - Inshot. We will discuss the most interesting features and show an example of photo processing.
By downloading Inshot you get a standard set of photo editing tools: 10 good filters, photo correction tools, stickers and inscriptions.
But the most interesting thing is not on the surface.
We show how you can diversify photo processing with this application.
Glitch
You can add a glitch effect using the app. Moreover, you can choose different versions of this effect with different intensities.
RGB
This 3D glasses effect is especially interesting in black and white photos.
Mirror
Creates a mirror effect. The application “mirrors” the photo in different directions - there is where to turn around.
Frames
Inshot offers automatic photo cropping for popular social media formats.