Home » How To » How To Pin Stickers On Instagram Stories
by Hemant Mendiratta
As an Amazon Associate and affiliate of other programs, I earn from qualifying purchases.
Have you ever come across a video in Instagram stories with a sticker or text moving along with a particular object?
Well, that is nothing but a sticker pinning feature that came earlier this year. If you too want your videos to stand out from the crowd then follow this guide to learn how to pin stickers or text on Instagram stories.
Apart from that, is your sticker pinned in an incorrect location or it’s too large in size? Don’t bother we have got you covered.
Contents
As I mentioned earlier, pinning a text or sticker will make it stay at the desired spot. So, if you are capturing a moving car, pinning a sticker on it would make it move along with the car in the video. Got the hang of it now? Well, it’s time to go ahead and see how to get it done.
The method is exactly the same for stickers and text. Here, I have used steps and screenshots from the iPhone app but there isn’t any difference for Android users.
Before proceeding ahead make sure the Instagram app is updated to the latest version so that there is no issue while pinning.
 If you selected text then type the text as usual.
That’s it.
Now, post your story and you will see the sticker not leaving that particular location.
We hope that you are going to make use of the pin sticker/text feature to give your videos more traction.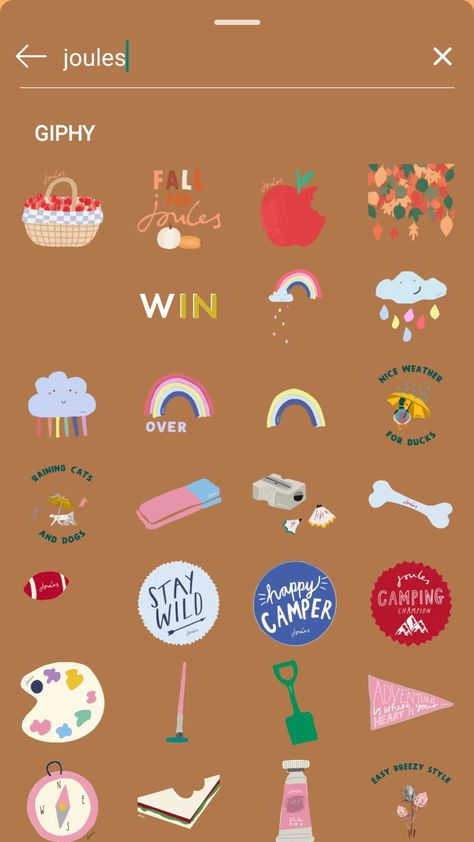 Note that you can do the same thing with your stories on WhatsApp (if you are using it, of course).
If you like the information in this article then share it with fellow Instagrammers.
Hemant Mendiratta
Hemant Mendiratta is a passionate blogger and keeps a keen eye on useful apps and gadgets. Absolutely loves running and is currently training for his first Marathon. You can connect with him on: Facebook, Twitter.
Life
by Lily Feinn
Eva Blanco / EyeEm/EyeEm/Getty Images
On April 13, Instagram announced their latest update with a host of brand new features to make Stories even more fun and interactive. A new "sticker pinning" option fine-tunes the way 'grammers can add stickers and text to videos. If you are wondering how to pin Instagram stickers to videos, it's fairly easy to learn, but may take some practice to perfect.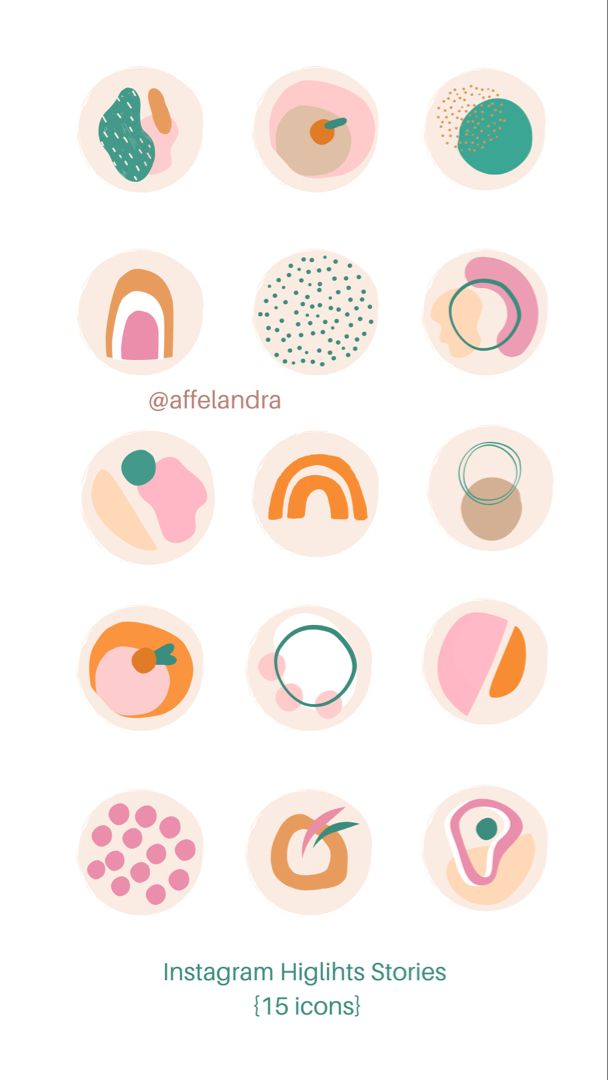 Buckle in; we got this.
With sticker pinning, users can place a sticker in a specific location of a video and it will stay there throughout. They can also change the size of the sticker and text as the video plays — and if you want to get really fancy, you can set the exact time in the video when the sticker appears and disappears. We've seen this feature before, notes TechCruch: "Exactly one year ago, Snapchat launched augmented reality '3D stickers' and text you can stick to objects in videos, which then stay stuck to them and grow or shrink as they move around." Those familiar with Snapchat's AR stickers will likely get the hang of the Instagram version pretty quickly.
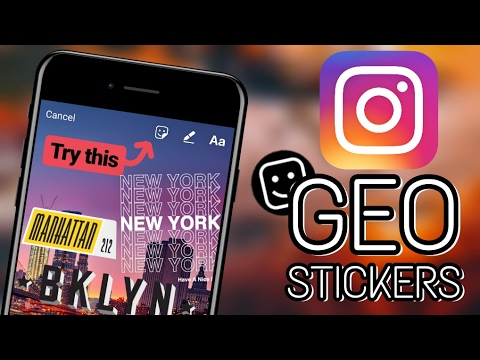
The popularity of Instagram is on the rise, with their Stories feature hitting a milestone of 200 million daily users this month — an increase of 50 million in since January. Along with sticker pinning, Instagram debuted new tools Thursday including Direct messaging for private conversations, Geolocation stickers for the cities of London, Chicago, Madrid, and Tokyo, as well as "selfie stickers," a new way to take a mini selfie and make your Story even more uniquely individual (by stamping your face all over it).
Itching to try out Instagram's latest features in your next ephemeral Story? Here's how to get started with pinning stickers in a video:
Lily Feinn/Bustle
If you haven't updated your Instagram recently, the first thing you should do before attempting any fancy video editing is head on over to the iTunes App Store or Google Play Store to update to version 10.16 for iOS or 10.16.1 for Android.
Once your update is complete, open Instagram and create a video by tapping the camera icon in the upper left hand corner or the "Your Story" avatar. In addition to Boomerang, the new update provides users with yet another video option called "Hands-Free." To record a video using the new mode, tap and hold the button and a timer will count down from three. In order to place the camera in your preferred position before it starts recording, you'll have to move fast; but, now you can film yourself without every video being a selfie.
Lily Feinn/Bustle
When you are happy with your video, tap the sticker icon (the one with the smiley face) in the upper right hand corner of the screen. With even more options to choose from, the sticker menu has become an exciting place. Add context to your video by using a day of the week or time sticker, or try out one of the new Geolocation stickers for those living in Chicago, London, Madrid, or Tokyo. You can pin multiple stickers to each video, so don't stress too much about finding the perfect one to use. You can even create a new selfie sticker by tapping on the image of your profile photo with the selfie symbol over it and snapping a mini selfie of your current expression.
Lily Feinn/Bustle
Once you have selected your ideal sticker, it will appear on the video. Move the sticker to the desired location and change its size or style to suit your preference. Once you tap and hold down on the sticker, a video timeline will appear at the bottom of the screen; scroll forwards and backwards through the video to find the perfect place to pin your sticker, and hit "pin" when you are happy with your selection. If you are not thrilled with the results, tap and hold on the sticker once again and a trash can icon will appear. Tap the trash can to get rid of any unwanted stickers and start over.
When your Story is perfect, tap the arrow in the lower right hand corner to post it and share your video creation with friends and followers. This new feature is so fun it's sure to turn your face into the smiley emoji — literally and metaphorically.
Stickers for Instagram Stories are used in creating sections and designing each Story. By adding to one picture or video, the user can create interesting collections: music, with polls or quizzes.
Table of Contents
There are many types of stickers that will add interactivity to the Story.
Popular ones:
Other views: " Hashtag ", " Current time ", " Selfie ", " Music ". With the help of stickers, you can create separate categories of "Actual": collections of questions or quizzes, music files.
To make a cover for Instagram Trending as a sticker, the user must create a post in advance. That is, upload a record with a sticker, go to the Archive and add it to the main photo.
Instructions on how to add stickers for Stories on Instagram:
By stretching and moving, the user specifies the position of the object in the picture. The category includes not only animation and action, but also standard Emojii.
Pulling the edges with two fingers will enlarge or reduce the picture. To delete: hold your finger on the object - the icon " Baskets " will appear below - move and delete.
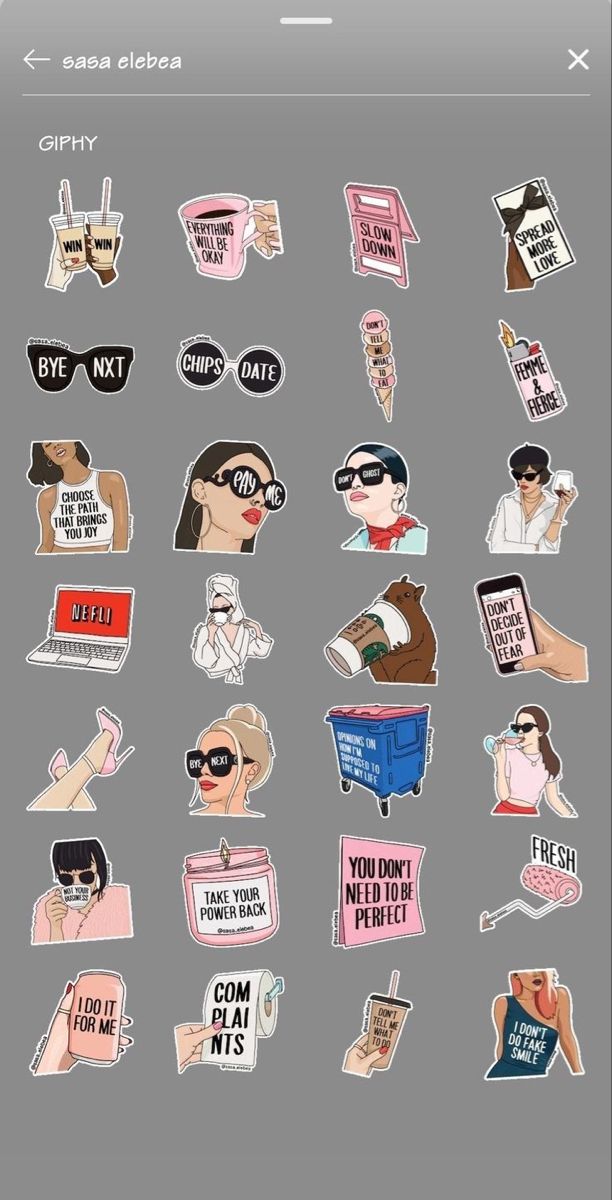
To add other stickers for Stories on Instagram, you need to use the " Search " function. When opening a section with graphic objects, there is an entry line at the top of the window. It is recommended to enter only English words, because the search is carried out using the Giphy service.
Not only static ones, but also animated ones for Instagram Stories will appear in the list. The feature for adding graphics is only available for Stories.
When adding a photo to the Feed, the user will not be able to add a sticker. But by saving a snapshot from the Story with a sticker, the object will be static on the publication.
A long-awaited innovation appeared in the app a year ago – now many people add music stickers to Instagram. This means that you can attach your favorite song to the Story, which will automatically start for users when they view the image.
But there was a problem: the "Music" sticker on Instagram of some profiles is missing. Occurs among users of different versions and smartphones.
Reasons for not opening:
For example, the music sticker did not immediately appear on the iPhone and was completely removed in one of the Android updates. With the latest updates, the ability to add " Music " is not available to all users.
If Instagram has not been updated, set automatic updates and downloads directly in the application itself.
Instructions on how to set automatic updates on Instagram:
In the settings, specify automatic updates for Instagram.
In addition to all these tools, you can bring your Instagram story to life with animated stickers. After uploading the image for the Story, you need to go to the stickers section by clicking on the icon with a square smiley on the top panel. A selection window will open - you need to select the option labeled "GIF".
Animation provided by Giphy. The user can search on request in English and Russian. Such graphic objects are stretched, rotated and placed in any convenient place.
The user will be able to add their stickers to Instagram only when they are uploaded to the Giphy service. To do this, download the mobile application or go through the computer version.
Stickers for Instagram Stories are not only beautiful design, but also functional objects.
This category includes "Quiz", "Poll" and others.
July 11, 2017Technology
The interface of Instagram* Stories is intuitive for everyone, but some features are not so obvious. A detailed guide will help you publish your first story on Instagram*, as well as reveal some useful tricks for experienced users of the service.
Share
0Swipe from left to right on the Instagram home page* (where you follow your feed) to start posting stories. To take a photo or shoot a video, you need to click on the circle at the bottom of the screen, and by swiping down you can open the media selection window from your library. There is another way to create a story: select your account tab (where your photos are shown) and click on the + next to your profile photo.
Instagram* Stories supports five shooting modes.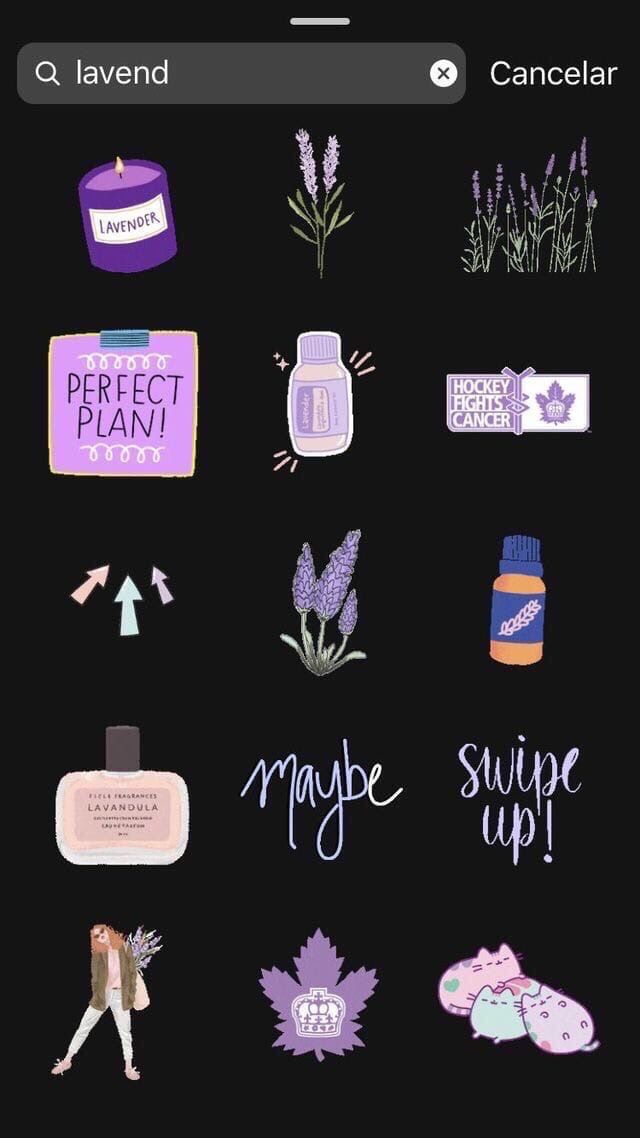
The choice of filters in Instagram* Stories is small, but usually enough. Filters can be changed by swiping left or right.
Instagram* Stories photos and videos are vertical. Horizontal media files are cut off when imported. To select the desired area of the photo to be published in the story, you can use the frame crop in the standard photo editor. The maximum video length is 15 seconds. Keep in mind that a longer video clip will be shortened when imported. You can upload to history only those pictures and videos that were taken in the last 24 hours.
Another borrowing of Instagram* Stories from Snapchat. To go to the masks, you need to tap on the icon to the right of the camera change icon.
To attach a sticker to a story, you need to click on the corresponding icon after shooting or simply swipe up on the screen.
On the first line of the sticker selection screen, you can choose to add location data, the current temperature at your location, and the time of publication to your history.
The next line of the sticker selection screen has a camera icon. Choosing such a sticker will allow you to take a selfie and embed it in the story. Moreover, the borders of the photo can be either blurred or emphasized with a white frame. With this feature, you can create fun collages or express your opinion about what is depicted in the story with the help of a joyful or condemning grimace.
Use two fingers to make the sticker larger or smaller. Once you've selected a sticker, pinch your fingers together to make it smaller, or move your fingers apart to make it bigger.
Select any of the stickers, press and hold your finger for a couple of seconds. A time slider will appear in front of you. Select the second with the element to which you want to attach the sticker, set the desired location and size of the "sticker" and click "Attach". Now the sticker will be attached to the selected video subject.
To assign a hashtag to a story, you can use the tag in the text, but it's easier to select the appropriate sticker. Tapping on it will change the display style of the hashtag. When your friends see the tag, they can jump to posts with the same tag with one click.
To avoid having to scroll the screen every time to find your favorite sticker, swipe right when you select it. You will see a list of recently used stickers. There is a separate group of stickers that fit especially well on portraits. To access them, swipe left.
To delete a sticker you accidentally added, press and hold your finger. A trash can icon will appear at the bottom of the screen, and you need to move the extra “sticker” there.
To switch to drawing, click on the corresponding icon between the sticker and text icons in the story editing window.
Four brushes are available to the user.
 The main color remains white.
 A choice of erasers is also available.
Brush size is adjusted using a special slider that opens by clicking on the icon with three dots in the lower left part of the screen.
You can also choose brush colors when drawing: they are located at the bottom. You can move between the three standard palettes by swiping left or right. To choose your color, hold your finger on one of the circles.
To fill a frame with a single color, select a brush, and press and hold anywhere on the screen. After uploading, you can open part of the photo or video using the eraser tool.
Select the Aa icon to the right of the draw icon to start typing.
To adjust the color and size of text, follow the same steps as when painting with a brush. The scale of writing can also be changed using two fingers.
A button with indent adjustment appears in the upper left corner when typing. You can position the label on the left, right, or middle. The second functional button when typing is the letter A in a square. By clicking on it, you can switch between three label display styles.
To give text a 3D effect, create two identical text boxes but in different colors. Place them almost on top of each other, with a slight shift: you get 3D text.
To mark a user in your story, type the @ symbol when creating a note. Start typing a nickname and Instagram* will suggest options from among your friends. You can attach hashtags in approximately the same way: use the # symbol for this.
Click on the three dots in the top right corner when you are on your Instagram profile*. To automatically save your stories, go to the story settings and move the "Save published photos" slider to the active position.
There is no function to add music to video in Instagram* Stories. But there is still a way to add audio to a story. Many may have noticed that the music playing on your smartphone is not interrupted when viewing other people's stories. The same thing works when creating a video: just turn on the song on a streaming service or, for example, on the VKontakte social network and start shooting a story.
You can avoid cropping the edges of videos when publishing to stories using special applications that rotate videos by 90 degrees.
Upload
Price: Free
If you are late with the publication and 24 hours have already passed since the shooting, a little trick will help you upload a photo or video. Just send the desired pictures or videos to yourself on WhatsApp and save. There is an easier way - using special applications.