How to make personal blog page on facebook
How to Create a Facebook Page for a Blog: Easy Fan Page Setup
Table of Contents
Our #1 Choice For Hosting Blogs62% Off Exclusive Offer Applied at Checkout
Disclosure As an independent review site, we get compensated if you purchase through the referral links or coupon codes on this page – at no additional cost to you.
Regularly
Starting From
$2.64/mo*- Free 1 Year Domain Registration on Select Plans
- FREE SSL Certificate
- Drag-and-drop Website Builder
- E-commerce Ready
- 1-Click WordPress Installation
CREATE NOW!
If you are looking to expand your site readership or help its popularity grow, learning how to create a Facebook page for a blog which is located on your site should be on top of your list, and there is no platform better than Facebook to get you started.
Facebook presents bloggers with an ideal platform to establish a blog fan page. The platform has the most active users globally, which means that the fans you attract for your blog page are likely to read what you post.
It also allows you to separate your personal profile from that of your blog. Something many bloggers feel the need to do so their blogging, professional personality and actual one stay separate.
No matter what your reasoning may be behind making a Facebook page for a blog, it is the right step. This guide breaks down the whole process so you don’t face any problem and can establish the page within 10 minutes.
You might also like:
Heres how to create a Facebook page for a blog
- Select the option to create a page
- Establish your business or brand
- Add a blog fan page picture
- Upload a cover photo
- Change your Facebook page URL
- Add a description of your blog
- Fill out the information under the “About” tab
- Invite people to like your blog page
- Promote your blog fan page
In order to create an account for your blog, you will first need to have a Facebook account. So, if you already don’t, make a Facebook account first. For those that already have a personal or business Facebook account follow the following steps to create your blog fan page.
1. Select the option to create a page
Once you have logged into Facebook, the top panel has a “Create” tab, click on it and select the “Page” option.
For those that are having trouble finding the tab or for any reason it doesn’t appear, you can go directly to the link to create a page which is here.
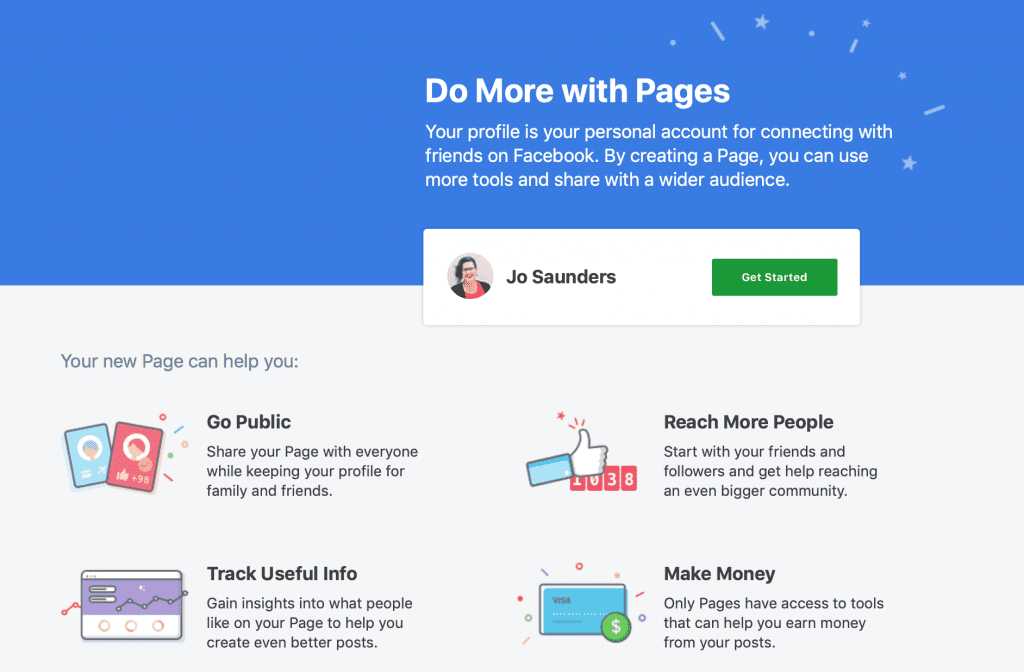
The following page should then appear:
2. Establish your business or brand
Click on the “Get started” tab under the business or brand option. Since for most bloggers, their blog is a business or brand, this option is ideal. You will then be giving the option to type in your page name and the category it falls under.
Enter the name and since this is for a blog, you can select either “Blogger” or “Personal Blog” under category, depending on which of the two categories your blog falls under.
After you’ve selected the category, you can hit the “Continue” tab at the bottom.
3. Add a blog fan page picture
You will now have the option to upload a profile picture for your blog fan page. Most personal bloggers upload a picture of themselves, others upload their logo. Whatever picture you upload here, make sure it is related to your blog.
For example, if you don’t have a logo but blog about food, then you can upload a picture of food items here. Just make sure the picture you upload is professional and gives fans a sense that you care about your blog. Since, this will be one of the first aspect of your blog fan page that users will view.
Note: For those that currently do not have a picture to upload, you have the option to skip this step.
4. Upload a cover photo
Similar to your personal profile, your blog fan page also has a cover photo. You want to upload a photo here that relates to your blog, once again make sure that it is professional.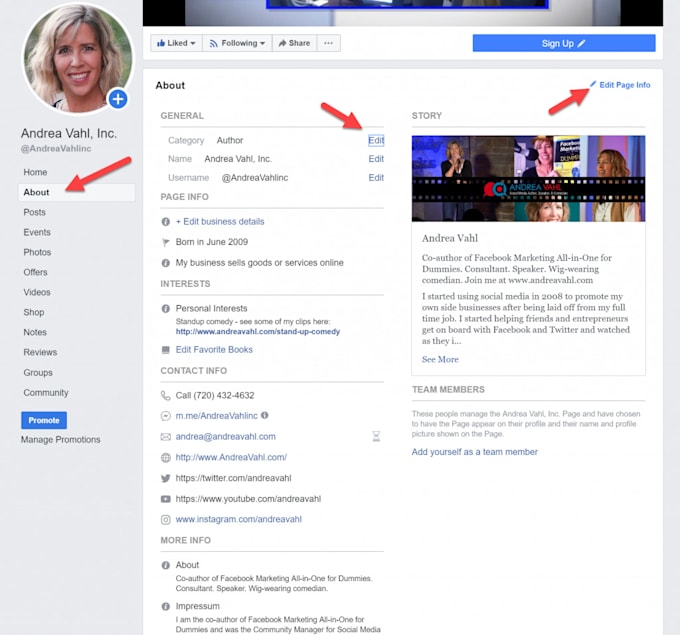
Once again, if you don’t have a photo to upload at this point and time, you can skip this step and do it later.
5. Change your Facebook page URL
After you’ve uploaded (or skipped uploading) your pictures, your blog fan page will be generated. One of the first things you want to do is change your page’s URL.
By changing the URL, you make it easier for users to remember it. In order to do this, you need to click on the “See More” tab on the left panel and click on “About”. The following page will appear:
You then click on the “Create Page @username” option and another box will appear in which you can type in the username you want.
If it is available you can create the username and your page’s URL will also change according to the username. For example, if you select the username, personalblogger, then your Facebook fan page URL will become: www.facebook.com/personalblogger.
6. Add a description of your blog
After you have the URL sorted out, you want to add a short description about your blog.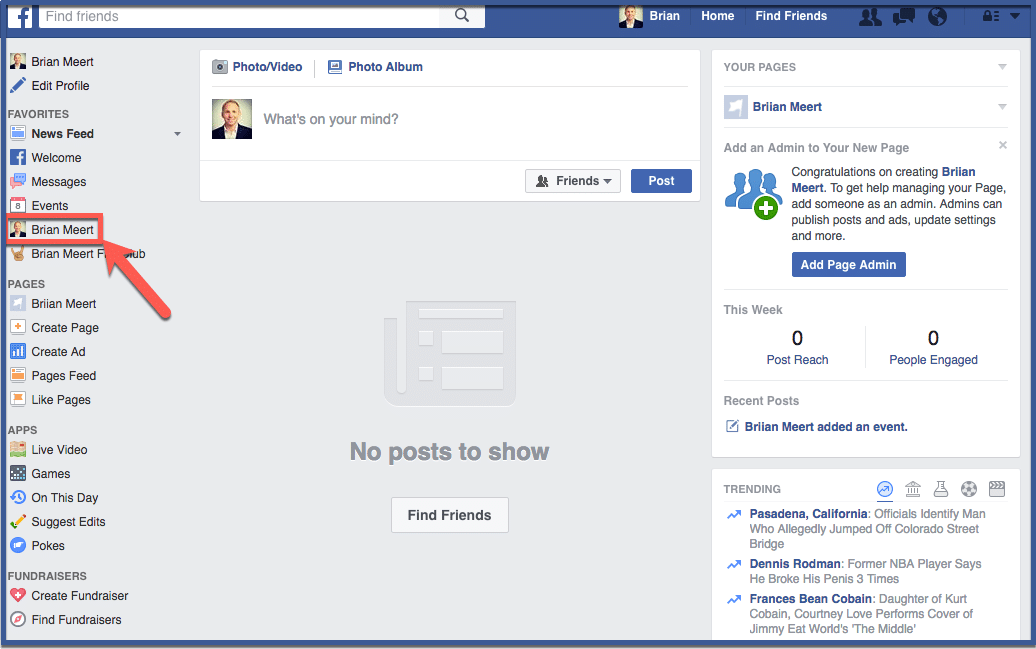 Here, you give a brief overview of your blog, what it is about and any other information you want to add.
This will be one of the first things viewers will read so you want to make it appealing. But make sure to keep it short also, summarize everything in under 255 characters since that is the limit.
To enter the description, you can go back to the homepage of your blog page and click on the option to “Add a short description.”
Click the “Save” tab once you’ve finalized your description.
7. Fill out the information under the “About” tab
With the description filled out, you want to go back to the “About” tab and fill out all the information you can. It is important to fill out as much as possible so when visitors come to the page, they can get all the information they need.
Now, you may not want to share your number or some other information. That is completely fine, you can fill as much as you want but be sure to have the basics filled such as website, company overview, founding date, and e-mail.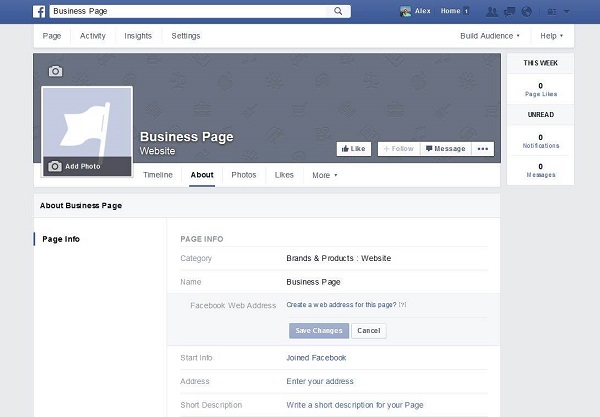
8. Invite people to like your blog page
With your blog fan page now established and most of the information filled out, you are now ready to start inviting people to come and like/follow your page.
The best place to start is with friends and family that are already on your network. Facebook makes it easy for you to invite individuals from your network under the “Know Friends Who Might Like Your Page” tab. Here you can search and select all your friends in your network that you want to invite to like your page.
9. Promote your blog fan page
One of the reason why you’ve established a fan page for your blog is to reach a wider audience. Facebook lets you do that with its option to promote your page.
You can do this by clicking the “Promote” option in the sidebar. It is important that you have all your information up and have blog posts already posted on the fan page so once Facebook promotes your page, your visitors have something to actually interact with.![]()
Then the following page will appear for you to select the goal of your promotion:
Initially your aim will be to promote your blog page, get more likes for it and reach a wider audience. So you want to select that and go through the process of promoting it.
With time as your page gains more popularity, you can start promoting your blog directly with the “Get More Website Visitors” option. But then again promoting your page is the equivalent to promoting your blog site since all your blogs will be shared on your page and fans will click through them to reach your website.
Facebook blog page conclusion
With that, your blog fan page is setup on Facebook and in no time, you will experience more traffic to your blog. The page setup process is fairly easy, what can be difficult is how you promote the page.
As long as you monitor your promoting efforts, you should have a strategy down in no time. All of which will help you gain more fans and readers for your blog.
Our #1 Choice For Hosting Blogs
62% Off Exclusive Offer Applied at Checkout
Regularly
Starting From
$2.64/mo*- Free 1 Year Domain Registration on Select Plans
- FREE SSL Certificate
- Drag-and-drop Website Builder
- E-commerce Ready
- 1-Click WordPress Installation
CREATE NOW!
Related articles:
How to Create a Facebook Fan Page for Your Blog — Andrea Whitmer
Note: This article is a relic from the past and may be outdated. Learn More
This is one of my oldest posts, but it has been updated as of June 29, 2021 to be more relevant to Facebook’s current steps for creating a page. Hope it helps!
Creating a Facebook fan page for your blog can be anxiety-inducing, especially if you’re trying to keep your real identity separate from your blogging identity. However, it doesn’t have to be complicated – once you see how easy it is, you’ll be ready to get social!
First of all, let me tell you that it’s okay to be logged into your personal Facebook account when you create your fan page. When I made my first one, I was terrified that my last name, personal profile, or other information would be linked to it. After setting it up and testing it from my son’s profile, though, I learned that I was worried for nothing. If you set it up with a different email address, it will be much more difficult to manage because of all the logging in and out.
Second, while some people like to set up a regular Facebook profile with their blog name, it’s better to set up a fan page. That way your fans can “like” your blog without having to add you as a friend, and the page functions will be easier to control.
Okay, with those tidbits out of the way, here’s what you do:
1. Go to https://www.facebook.com/pages/creation/ to get started. You’ll see a screen like this (though perhaps lighter if you aren’t using dark mode):
click to view larger2. Enter your desired page name, choose a category, and add a description on the left side of the screen:
click to view largerFacebook’s categories change constantly, so it’s hard to tell you which option you should choose. I selected Entertainment Website for this example but you may need a different option depending on what type of website or blog you have.
3. Click the Create Page button on the lower left.
4. Next you’ll be prompted to upload a profile picture and/or page cover photo. If you have a logo, this would be a good time to upload it. If you don’t, feel free to skip this step – you can always add pictures later.
click to view larger5. Dismiss WhatsApp modal? The next thing I saw was a modal prompting me to connect to WhatsApp, which must be new. I just clicked the X in the top right corner to get rid of it, but feel free to connect if you are a WhatsApp fan!
6. Finish setting up your page. From here your page is set up! You’ll see a number of prompts to add more information, invite friends to like your page, etc.
7. Be sure to set your @Username! Under your page title, you’ll see a link to create a username. This makes your page URL facebook.com/whatever/ instead of a long string like facebook.com/random-words-493540395830/ so it’s definitely important.
8. You’re all done! There are some other things you’ll need to do, like mention your Facebook fan page on your blog, with a link or button so people can go “like” it, but other than that, your fan page is all set up and ready for you to post.
This is an ancient article,
so comments are now closed.
Back to the Museum
How to create a personal or professional blog on Facebook for free - step by step
Social networks
0 1.973 3 minutes to read
Facebook is one of the most famous social networks in the world, it has millions of registered users and now it gives us the opportunity to create a blog or a website that can be personal or professional.
In many cases it is very important to get more likes and reactions on your Facebook, for' increase the number of subscribers and comments . To do this, it will be very useful to know details such as creating a Facebook poll with different options, improving our content to share stories from Instagram to Facebook, or even simple things like changing the type and color of the letters in your profile.
Facebook has been growing in recent years, creating a Facebook page for our blog will help us expand our reach on this social network. In this way, we will easily make the articles that we publish viral . In this article, you will learn how to create a blog on Facebook and the benefits of doing so.
Create a Facebook page
To create this Facebook page , you have to go to the menu; In the section with plus sign select Creer ; Cliquez-sur- start Then select the category or type of page you want to create to make it easier for people to find this page . Facebook allows you to choose from three categories or types of pages.
Types of blogs or Facebook pages
Categories help you improve the quality of your blog . These are: Own business; Large companies or departments; Personal blog; Music / bands and entertainment.
Set up your Facebook page
You must first define information that your page can describe , your blog URL; You just need to think about the desired Facebook address, as you can only change it once, and the description of the page or blog.
Second, select profile picture, is perfect for her female picture you want, and be attractive to other users, thus creating more trust and intimacy between readers.
Third, add to favorites, in this step you add your page to the favorites section to make it easier for you to have it at hand. Finally, this step only affects more people if you have the ability to invest in promoting your Facebook page; if you are not interested, you can skip this step. This way you get your page or Votre Blog on Facebook.
Ratings
You can also write notes , they are like a blog. You can create them by entering your Facebook profile page , click on the button plus , you will find the notes option . You can also find it on your Facebook among information and friends; then press to add notes .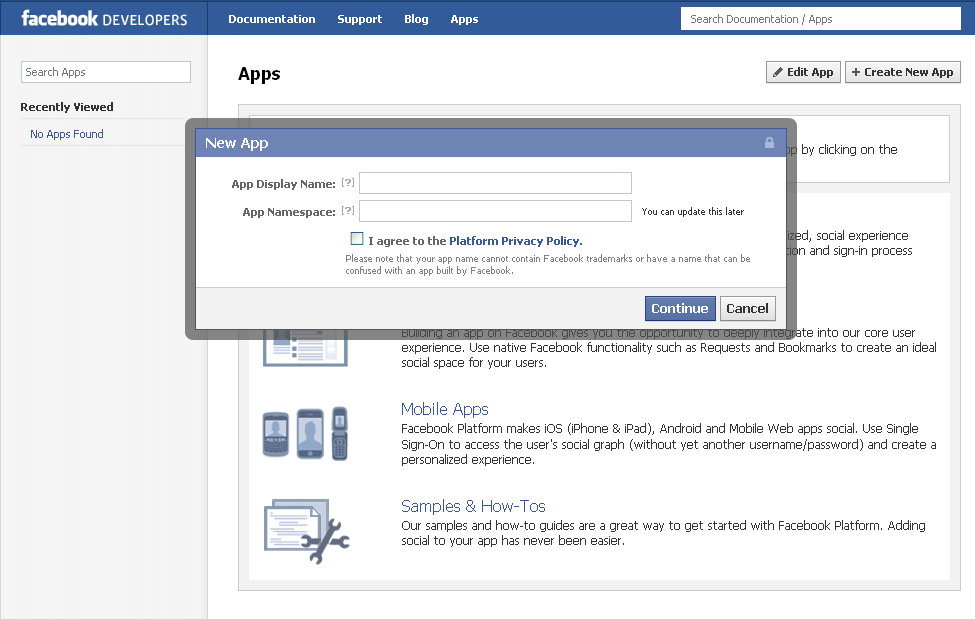
Create note
To create a note on your profile and Facebook page you need to follow these simple steps:
- Access the notes section of your profile or page.
- Cliquez of add note.
- C in the picture privacy .
- Add a photo to whichever you want to promote .
- add name and in write something in the section you can description of the place of the corresponding photo that you upload to the note.
- you can add your favorite photo and customize it as you like, you can write great favorite texts . You can also add another image and describe if you like.
- Click on the post for your friends where you can get it personnel element . Also, you can save it as a draft if you don't want to publish it yet.
If you want to edit the note you created, access notes , Cliquez sur Show more , then select edit note . When you're done editing the note, you can click to publish update . Corn if something is wrong and you want to delete it, you can access notes ; Cliquez-sur- Voire plus on the note that you want to delete and select on change note , finally click at the bottom left side of Delete.
Now that you know how to start a personal or business blog on Facebook, you can start one quickly and easily. Thus improving the development of your business or the promotion of certain personal objects, as well as many visits to your page.
report this ad
Similar items
How to make friends with Facebook
The popularity of the social network Facebook continues to gain momentum, and if you have a blog or website, it is logical to link it to Facebook.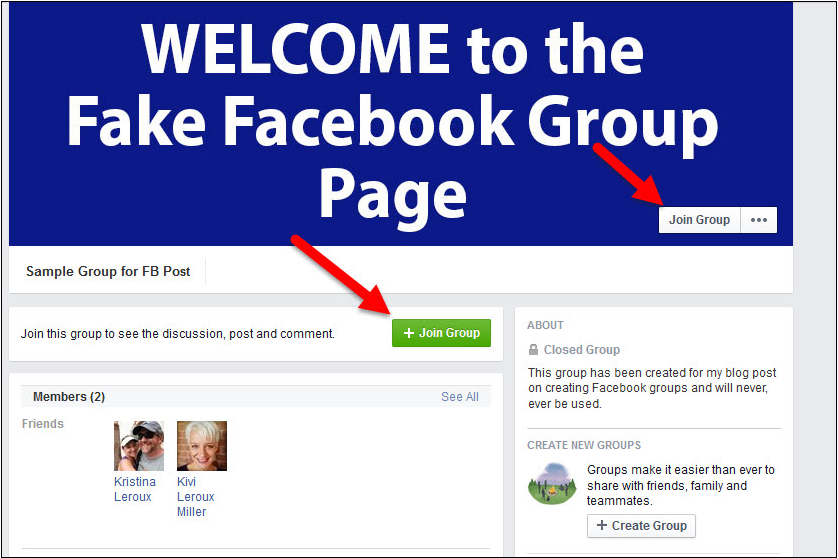 To do this, you can use several methods. Quite simple, but for some reason it is not always possible to find out about them from Facebook itself.
When I was looking for this information for the first time, desperate to find explanations in my account, I found everything in Google. And only then did I find out where everything that is needed in order to link the blog to Facebook is located.
Step 1: Create a Facebook blog page.
If your goal is to promote your blog or site on Facebook, as well as communicate more productively with your readers, the best way to do this is through a page (not a group and not your own personal profile).
Read more about the difference between a Facebook page and a group here and here .
Want to create a Facebook page? You here!
Competent detailed instruction in Russian was found on MirzaAliev.com blog: How to create a page on Facebook . Please note that the interface of the pages section has changed a few months ago, so many instructional posts on the same topic, dated earlier than 2011, are partially outdated.
How to make a short link to a Facebook page
Another little trick: both your personal page (your profile) and the site page on Facebook can be assigned a short link, URL (by default, this is just a set of numbers). Why is this needed? The blog page on Facebook is its representation on this social network. Like the domain, it is desirable that the URL of the page is short, understandable and memorable for readers. Compare: Here's what the default profile URL looks like: facebook.com/profile.php?id=100001727125791 and here is the short name facebook.com/alla.green.
There are no restrictions for a personal profile, but to make a short link for a website (or company) page, it is necessary that at least 25 people join it .
So, in order to make a short URL, you need to go to this page , check if the name you have chosen is not busy and quickly take it. 🙂
🙂
How to invite friends to the Facebook page of the site?
Everyone who created a page on Facebook saw the option "Invite Friends" (Suggest to Friends), but not everyone knows that it ... does not work. Experimentally, it has been found that people simply do not receive these invitations! Why? Facebook doesn't report it.
How to tell friends about your page? Through private messages, personal profile and your website. And also, if you post interesting updates in the blog page feed, people will slowly join.
By the way, if you haven't joined the Mom Blogs Facebook page yet, now is the time to do it, because there are both links to site updates and other interesting information that does not make it to the blog. You can also create polls, post albums of photos and videos.
Let's add that we don't mind at all if you also post announcements of some of your important posts or events in our feed.
Step 2: Linking your blog to Facebook
All the tools you need for a webmaster can be found here:
Facebook Developers Social Plugins
Essentials from this list:
Adding a Like button to facebook
Like buttons in posts >>
This is a really necessary thing, there are no users who do not know how to use it. Yes, and what to use there - clicked and you're done. Expressed a positive attitude to the read with a single click. And the link to the page appeared in the reader's news feed of his Facebook account. On our Mom Blogs , the Like button is installed at the beginning of the posts.
Facebook like box: setup and installation
Installing the Friends block (Like Box) >>
Also useful if you have a separate Facebook page for your blog. Here you can see this block in the right sidebar. The appearance of the block can be varied: you yourself determine how many faces to show, include the update feed or not, the size of the block can also be adjusted to fit the design of your site.
Ability to comment using Facebook registration
Add comments to posts using Facebook account >>
We do not use this plugin. Perhaps this will not be relevant for many blogomers, since it is important for most blog owners to indicate a link to their resource in the comments.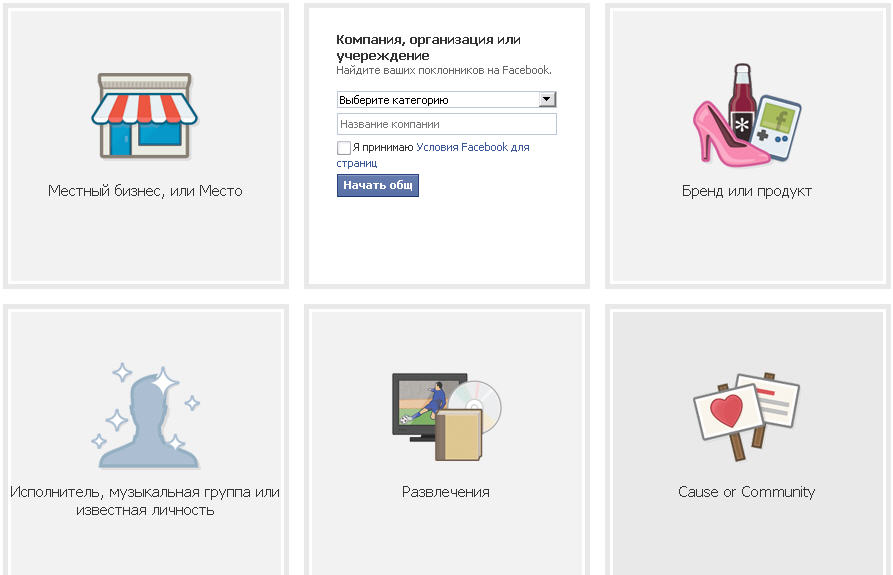 And this plugin makes commenting easier for those who “live” on Facebook and are not too interested in website promotion.
The facebook developers section provides detailed instructions for setting up and installing these plugins. But if you prefer simpler recommendations, and even in Russian, read article How to add Facebook to your site from Mikhail Shakin. Please note that you are not required to work directly with the code, the post contains links to special plugins for WordPress, if it is more convenient for you, use them.
Step 3: Broadcast blog news to a Facebook page
We've created a page, but how do we link to blog posts using it? If you like automation and time saving to the maximum, use the application RSS Graffiti . It takes news from the RSS feed of a blog or website and publishes it in the news feed of a page or even your personal profile. Update frequency, sources and many other options you specify in the application settings.
Please note that the Graffiti RSS application can publish the same posts to a personal profile (wall) and blog page. If you want only one thing, specify it in the settings.
We stopped using this method after Ilya Rabchenok in his article about promotion of the Vkontakte group convinced that it makes sense to write live human updates, and not copy RSS.
So now just posting links to new articles on the Mom Blogs Facebook page with a few comments.
I do not recommend clicking on the “Like” button on my own site. It's double work, plus readers who are also my Facebook friends will get the same update twice. And in general - it seems to me (this is purely my subjective opinion) that it’s better for me to “like” other people’s articles, and readers will do mine if they liked what they read. 🙂
Step 4: Facebook Feed Settings: A Few More Tricks
* You may have noticed that in your news feed you are constantly getting updates from the same friends and pages, and there are updates that you don't see at all.