Highlight Cover photos in Instagram are the perfect way to make your highlighted stories look professional and branded to match your page. Past 10K followers, you’re able to add a swipe up in your story which makes highlights extra useful because now you can easily share all of your promotions or sales in one place. Next time someone asks for a link, just direct them to that particular highlight. You can even use your cover photos as a way to differentiate between them.
I’ve seen some people get very creative with these and have each one be a different color or theme, Some people have photos or icons, some use text, and some even have hand drawings. Whatever fits you and your brand best - by all means!
Creating Instagram Highlight covers in Canva is super easy and only takes a few steps! I personally use Photoshop to create my cover photos but I know some of you either don’t own Photoshop or are looking for an easy way to create quickly when on the go.
Create an account if you don’t already have one or log in. Click on create a design and either search from the provided list or type ‘Instagram Story’ into the search bar.
To be honest, you can use just about any size for the highlight cover since you will be uploading it separately from your story but this just makes things easy.
Choose from Canva’s pre-selected colors or choose your own on the color picker. You can even add your brand’s hex code color. For photos, you can either choose a stock image from Canva, connect your Instagram, or upload your own. (I also recommend using Unsplash or Pexels for stock backgrounds)
Add lines, icons, boxes, circles… you name it! In the example here, I searched for photography and added a camera Icon.![]() Canva has hundreds of free icons to choose from or lots of premium options if you sign up for a membership.
Canva has hundreds of free icons to choose from or lots of premium options if you sign up for a membership.
From here if you are using a computer, I recommend either airdropping it to your phone or uploading to Dropbox and downloading on your phone.
Once you’ve saved the image to your phone, open Instagram.
Click on your profile and either add a new highlight or hold down on an existing highlight. Click on ‘Edit Highlight’.
Then click on ‘Edit Cover’. This is also where you can edit the highlight and add old stories or delete images you no longer need.
Next, scroll to the far left so that the little image icon comes up and click on it. This will open your camera roll. Add the image that you just created and click done!
It’s as easy as that! I hope this was helpful and I can’t wait to see how you’ll get creative with your cover photos!xx AnnaAnna McNaughtComment
0 LikesAww! I wish I can feature my Instagram story forever!
Is that even possible?
Well, if you’re an updated user of Instagram, you’ll see that they already incorporated this feature in the app as an Instagram highlight cover.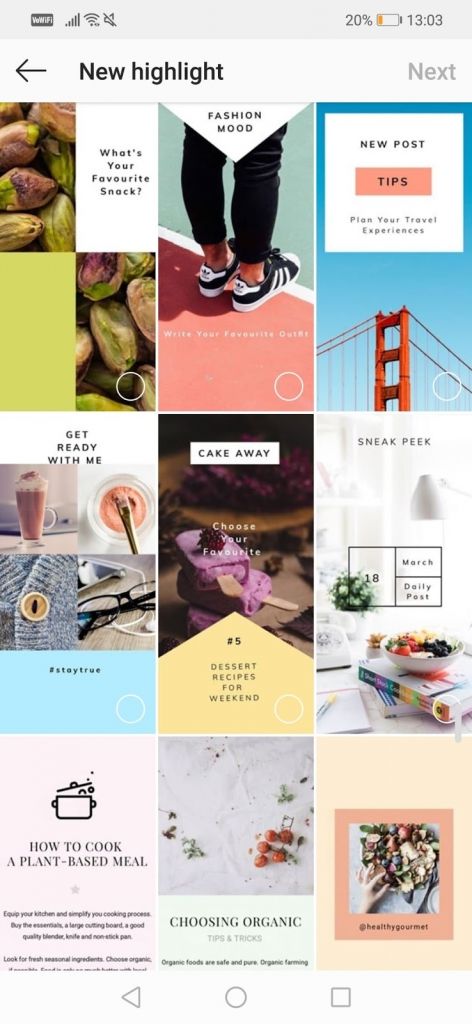
And, with all the amazing things you can design in Canva for Instagram, highlight covers are merely a cinch for anyone willing to create one — if you know how.
So, if you’re a complete newbie in creating these intriguing IG highlight covers, then you’re in the right place.
How to Create Instagram Highlight Covers in Canva
First, search for Instagram highlight cover templates in the search bar of Canva’s homepage. Then, select a template design from the Template gallery. Edit the colors, add icons, graphic elements, and text as needed. Once done, download the design as a JPG or PNG file and upload it on your Instagram account.
Designing Instagram Highlight Covers in Canva: Tips and Tricks
Creating an Instagram highlight cover isn’t as complicated as you think.
Even newbie Canva users can come up with brilliant design ideas that’ll make anyone want to click on their highlight covers.
So, to create your Instagram highlight covers, begin by following these steps.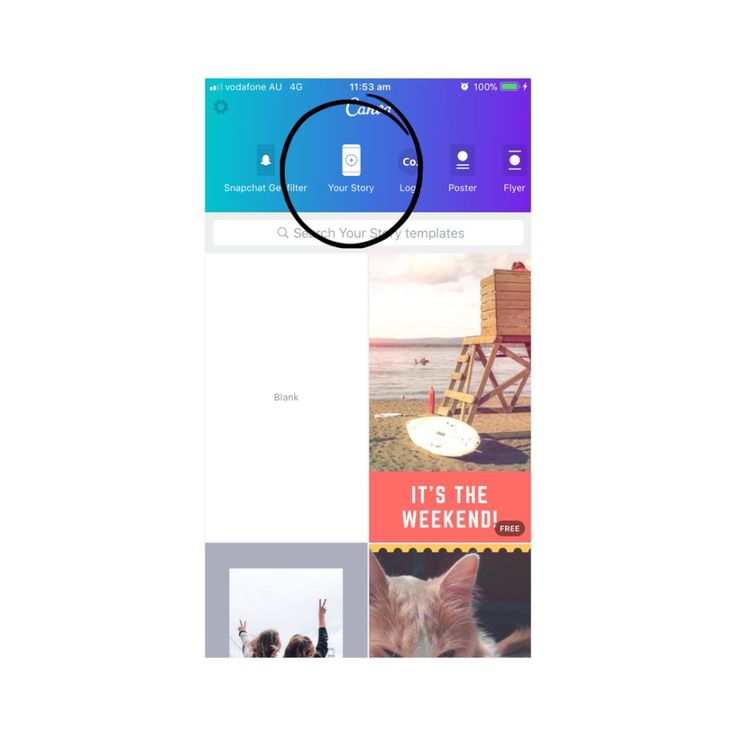
Step 1: After logging into your Canva account, head over to the search bar and type in the term “Instagram story highlights” or simply “highlights.”
A dropdown menu will then appear and show you the template options and their sizes related to the search terms you entered.
Tap the Instagram Story Highlight Cover option.
Step 2: After clicking the option, you will then be redirected to the Instagram Story Highlight Cover templates gallery.
You can opt to scroll down and keep searching for pre-made templates according to the theme you have in mind. Tap on the design you fancy.
But, if you want to create your very own, just tap the Blank template option.
For sample purposes, I’ll create one using a blank template.
Step 3: Start customizing the template by changing its background color. Click anywhere on the blank canvas to make the color picker tile appear on the editor toolbar.
Tap on the rainbow-colored tile and select the colors from the gallery.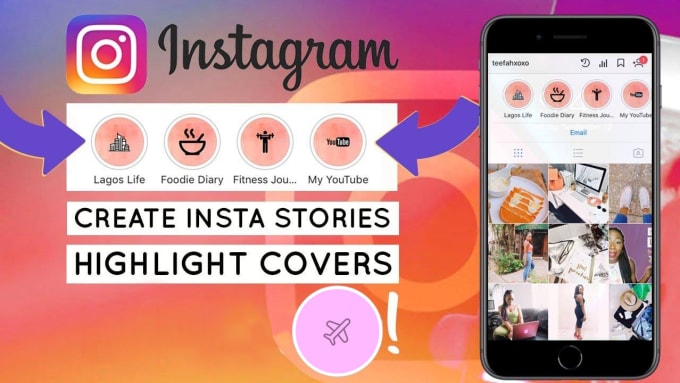
If, however, you want to select a hue closely resembling your Instagram color scheme, you can take advantage of the eyedropper tool.
You can also opt to encode the hex code of that hue or select from the color palette box.
Adding backgrounds from the Background tab on the left-side menu is also another option you can add to this list.
Step 4: After changing the background of your canvas, head to the left-side menu and tap the Elements button.
You can add shapes, graphics, frames, and other elements that you’d like to add for your highlight cover.
Just tap the category of the element you’ll add, browse through the options available, and click on them to make them appear on the canvas.
Adjust the sizes of the elements by dragging the white circles you’ll find in the corners.
Step 5: Once you’re satisfied with the sizing of your element, position them on your design accordingly by dragging them across the canvas.
You can check for the alignment of your elements using the ruler in Canva, or take advantage of the pink smart guides.
You can even rotate the elements or flip them depending on how you want them to appear on your design.
Step 6: Change the colors of the elements by tapping on each one of them and following the same process in Step 3 (changing the color of the background).
Step 7: Add text to your design (if you want) by heading over the left-side menu and clicking on the Text tab.
You can also directly add a text box simply by pressing Ctrl and T simultaneously on your keyboard.
Change the color of the text by highlighting them and selecting the font color button that appears on the editor toolbar.
Step 8: Once you’re done with the finishing touches to your highlight cover, click the Download button and select JPG or PNG for the file type.
Tap the Download button to jumpstart the exporting process for your highlight cover.
And, there you have it! You’ve already created the hippest Instagram highlight cover. Now, all you’ll need is to upload it to your Instagram account.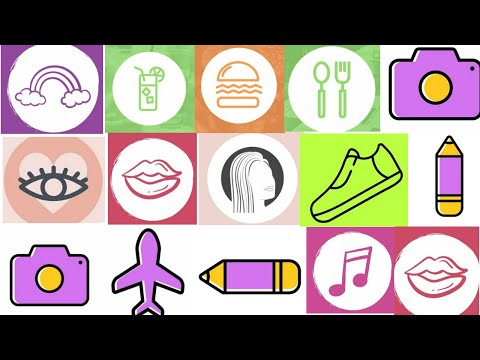
Frequently Asked Questions about How to Create Instagram Highlight Covers in Canva
What’s the ideal size for an Instagram highlight cover?
Ideally, the size for Instagram highlight covers is 1080 px by 1920 px. Though ideal, you can opt to experiment with other sizing dimensions so long as the document orientation is vertical.
Can I use uploaded photos as a background for Instagram highlight covers?
You can use uploaded photos as your background image for Ig highlight covers. Head to the Uploads tab on the left side menu and select the Upload image button. Once the picture’s uploaded, click it to make it appear on your design.
Marcel
Hey guys! It’s me, Marcel, aka Maschi. On MaschiTuts, it’s all about tutorials! No matter the topic of the article, the goal always remains the same: Providing you guys with the most in-depth and helpful tutorials!
Instagram Stories cover allows you to make them more attractive, plus, increase the number of views. Stories that you have marked as "relevant" and pinned to your profile can be given a separate cover. Instagram usually sets the story you uploaded as the cover. However, there is an opportunity to download the cover separately, however, for this it must first be prepared.
Content
In fact, there are many methods - download ready-made solutions from the Internet, make a design yourself using online services, special programs or professional graphic editors, such as Photoshop. We will not dwell on searching and downloading ready-made templates from the Internet, as this requires absolutely no skills.
We recommend that you only look for cover images for current stories on Pinterest. In the upper field, enter what you need to find and save the design you like as a picture. All this can be done absolutely free. True, if you have a promoted Instagram account and your own personal brand, plus you sell something, then we recommend that you think about creating a design yourself. The fact is that a picture from the Internet can be protected by copyright. An ordinary user will not get anything for using it, but the owner of a promoted account from which something else is being sold may be sued.
Read also:
How to delete a photo from Instagram
Clearing the cache of the Instagram app
Checking the guests on the profile on Instagram
Repost on Instagram what it is
Also, we will not go into creating covers through professional programs, such as Photoshop or Illustrator . The fact is that the programs themselves require certain skills, so they are not suitable for a novice user. Applications specifically designed for creating covers and posts on Instagram, as well as online services, are in this case the golden mean.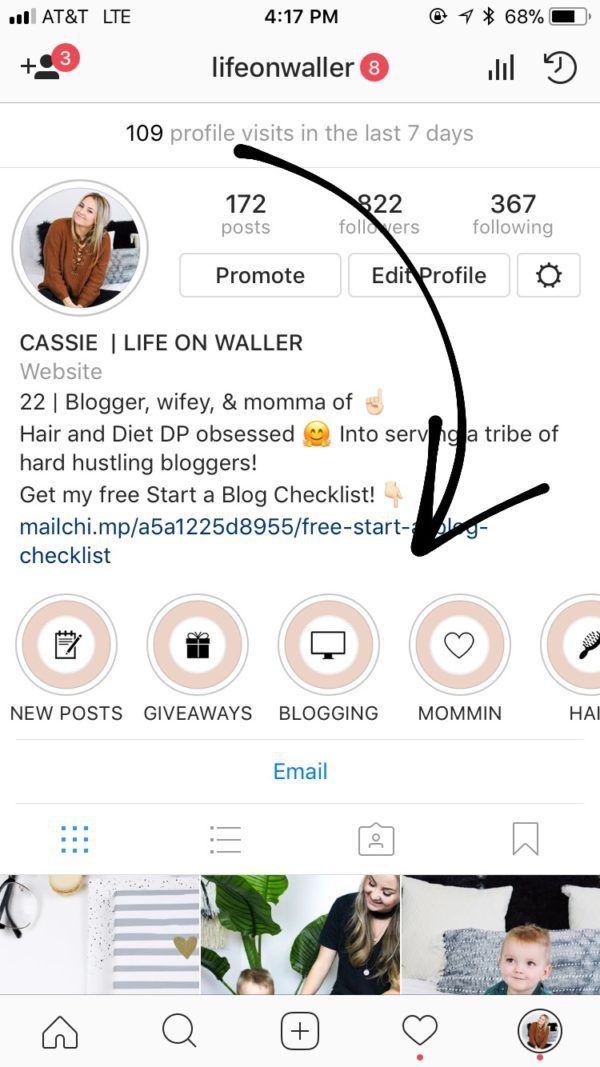
This is a simple application that specializes in creating covers and templates for Instagram stories. It is easy to use. There are versions for Android and iOS. In both cases, they are distributed completely free of charge.
The finished image file will be saved to your device's gallery. PicsArt Photo Editor Distributed for free and available for download on Google Play and AppStore.

Canva is a feature-rich online service that allows you to create a template for a story that can later be used as a cover for current stories.
We've already covered Canva's functionality in detail, and we've also created a template for an Instagram story. With this in mind, we'll walk through the process of creating a cover for current Instagram stories in general terms:
 Please note that templates can be divided by color, as well as categories - paid or free. For clarity, let's create a completely empty template.
Now it's just a matter of uploading a ready-made cover for your trending story. This is done as follows:
Please note that it is impossible to view the cover in full size, so none of the viewers will see unwanted details even if they wish. Finally, we would like to recommend sticking to a single style of designing your stories, especially if this is a business account.
Instagram highlights is a section where you can save your most important stories. They will be available to subscribers all the time until you remove them from your profile. It’s like a menu on a website – commercial profiles save information about delivery, prices, F.A.Q. in Highlights, bloggers post thematic collections of stories, experts post instructions, webinar recordings.
We have prepared for you a complete guide on current stories - how to add a story to a section, how to make a cover, how to change it and what to place in highlights.
Reduce the budget of targeted and contextual advertising with click.ru
Click.ru will return up to 15% of advertising costs.
Cut the budget >> Advertising
Read also : The best Instagram promotion courses
Why bother with the actual, do some covers? We explain:
What is placed in highlights - collections of photos and videos (for example, stories from holidays, parties, family stories), photos of goods, information for customers (delivery, availability, prices), instructions and life hacks, portfolio , question-answer, excerpts from lectures.
Let's look at the example of specific accounts — what should be the highlights depending on the type of profile (bloggers, experts, company accounts, personal, portfolio).
Important : everything in the profile should be organic and highlights are no exception. Ideally, the icons should be made in the same style and not stand out from the overall picture.
This is interesting : How to beautifully design stories for Instagram
Makeeva Olesya — food blogger . Created unique covers with illustrations of the blogger. Highlights include recipes, meetings with friends, sports stories, trips.
What collections to create for bloggers - collections in the direction of the blogger. (A food blogger can post recipes, a beauty blogger can post collections with cosmetics, a weiner can post themed collections with vines, folders with their interests (sports, hobbies, favorite movies), folders with hangouts, travel, meetings with fans.
Bloggers can be creative with names, so that you don’t immediately understand that in the highlights, for example, the blogger Ksenia has such folders - “Dovecote”, “Humor”, “Back and forth”, “Chat”. they can, unless their work is creative related.0003
Nina Ovchinnikova — business coach . As covers - a photo from stories (that is, the cover does not have to have text or an icon). What collections are posted - trainings, student reviews, personal photos, travel, folders for specific events.
Designer Daria . In the highlights, she has a customer review, a list of services, promotions, progress (story with the work process) and a portfolio.
What collections to create for experts - collections of events, reviews, folders with information on trainings / books, folders of personal achievements, travel, a selection of your quotes, a folder with information about who you are.
Loft furniture store. Made highlights with categories of goods - kitchen furniture, office furniture, chairs, racks. The first selection is the cost of goods. Covers of different colors, each with an icon that defines the category, for example, on the cover of the “Chairs” category, a chair is drawn.
Paintings on canvas . All covers are black and white. We made a folder with a catalog of paintings, a video review, customer reviews, what they say about the company in the media and a highlight with prices. Lack of shipping information.
Mosvettorg - online flower shop . Highlights include customer reviews, bouquet selections, a folder with promotions, store opening hours, "Mono-bouquets" and "Compositions" folders, a highlight with company events.
What collections to create for company accounts - product catalogs, answers to customer questions (F. A.Q.), folders with information on prices and delivery, customer reviews, work schedule, events and company news.
There are no special standards for a personal profile, you can peep blogger highlights for inspiration.
What collections to create for personal accounts - thematic collections of photos and videos: stories from travels, meetings, events, images in clothes, food preferences, a folder with pets, family stories.
These are accounts of photographers, designers, artists, illustrators. Here it is logical to create collections of works divided into categories, for example, if you are a photographer, you can make highlights "Wedding photos", "Family photo session", "Master classes". It is also worth posting at least one selection about yourself so that subscribers not only get acquainted with the work, but also get to know you more as a person.
Photographer Natalya Makovoz — in the highlights of the folder on the topic of filming: Prague, wedding, wedding, christening, there is a folder "About me".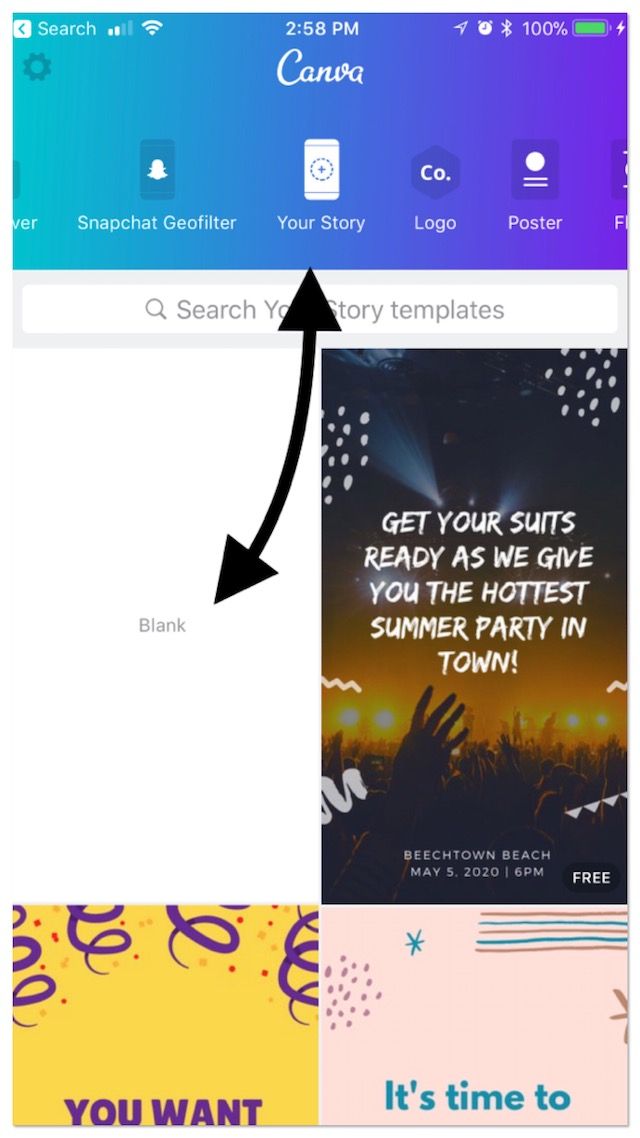
Photographer Inna Gulyaeva — 3 highlights with awards, photography conditions and types of shooting. In this example, the highlights contain only important information for potential clients, and the portfolio itself is a photo feed.
What collections to create for portfolio account - collections of works divided into categories, working conditions, reviews, awards, backstages + collections about you.
Stories can be placed in the current using the "Add" button, which is located under the profile. But initially this button is not there, so the first time a story is added through the menu in the story itself.
So, first you need to publish a story. Then you need to open the published story and in the lower right corner between the "Share" and "More" buttons, click on "Select". The tooltip "Highlight to keep content in your profile for more than 24 hours" will appear.
We will be asked to add stories to the current one. By default, the icon will be a story fragment, and below it there will be a “Relevant” field, where you need to write your name, for example, “Important”, “F.A.Q”, “Delivery”. When the collection is named, click "Add". You can immediately view it in your profile or just click "Done".
Now we have an Add button. Even if we delete the current one, the button will remain.
Now you can use this button to create collections of relevant stories. Click "Add" and select one or more stories from the archive, then click "Next". We will see the already familiar menu where you need to write the name of the collection and add a cover.
P.S. Save stories to the archive automatically, so that later it will be easier to transfer them to the current. The setting is performed 1 time - open any story, click "More - History Settings" and in the "Save" section move the slider to the "On" position opposite the "Save to archive" item.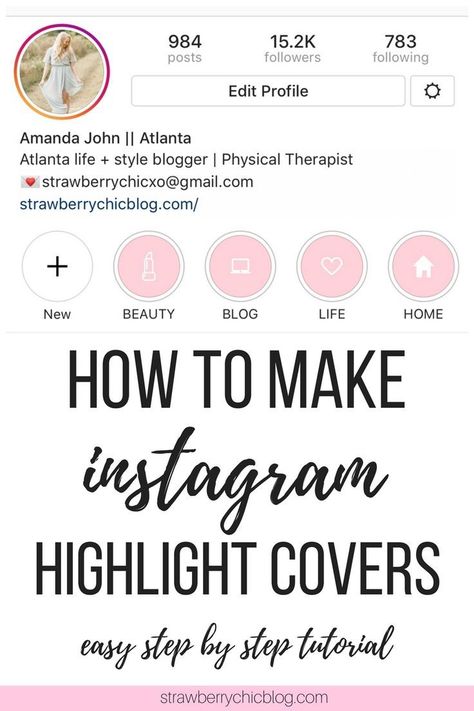
There is the third easiest way to add a story to the highlights - when the story is ready, click "Recipients", then next to "Your Story" click the blue "Submit" button. The item “Where else to share” - “Add to current” will appear. We select it.
Important to know :
Read also : 10 services for sending messages to Direct Instagram0019 Introducing 4 ways to create covers of current stories in the same style. This is the easiest and fastest way to make a cover — create a static story (select the “Create” section). We make a one-color background of stories. Then go to stickers and click on the "GIF" sticker. We write the name of the icon, for example, "Shop". We choose a gif that fits the meaning and put it in the center of the story. It can be enlarged a little. The content of the cover (name or icon) should be placed in the center of the vertical image so that it eventually fits into the center of the circle. When the picture is completely ready, save the story to the gallery or publish it like a regular Instagram story. How to put the resulting image in the Highlights cover (2 options) : To register for the service, go to the main page of the site: canva and activate a 30-day free trial. 1. From scratch. Create a 1080 x 1920 px blank white canvas. Fill the background with color. Or select a background image in the "Background" section. The background is ready, you can add an icon or an inscription. The inscription is added through the "Text" tool. If you need an icon, then go to "Elements" and write the name of the icon, for example "Delivery". Add. If necessary, increase and change the color. Save the image in jpg or png format. Important : choose icons for covers in the same style. 2. From template. Opening the "Instagram Story" section. We find a template with a suitable background, or immediately go to the “Current history cover” subsection - this option is preferable, since all the elements in it are already located correctly, nothing will be cut off and will not go beyond. The subsection is good because here in each template there are 5 cover options in the same style - you just have to replace the text and icons. You can take one template from the set or all 5. Replace the text with your own and save the image. If we choose another template (not from the subsection with highlights), then you need to remove all unnecessary elements and replace the text / add an icon. In general, any convenient editor will do, not just Canva. It's interesting : How to write an engaging post on Instagram There are special applications for creating covers. We go to the marketplace (App Store or Google Play) and write “Instagram Covers” or “Instagram Highlights”. Let's take the StoryLight app as an example. It has ready-made sets of icons in different styles - neon, minimalistic, boho, chalk on a blackboard. First, set up the background - the "Background" button. You can choose a ready-made color from the proposed ones - the palette is quite wide. You can also choose the shade manually using the sliders or choose a background from ready-made selections with pictures. When we have decided on the background, we add a frame or shape - the "Frame" button. The step is optional, but it will decorate your cover. Frames in three different styles. Frame color can be changed by clicking on the music rest icon. The icon can be moved, enlarged / reduced and deleted (cross in the upper left corner). Next, you need to add an icon or text - "Sticker" or "Text". In stickers, ready-made sets of icons, as we have already said, some are paid, but there are many free ones. When everything is ready, click "Save" and voila - the picture can be sent to Facebook / Whatsapp or immediately thrown into stories, and then used for highlighting. Created icons can be found in the "Saved" section. 1 option - download . If you don’t pretend to be original, and you’re not too worried about the uniqueness of the covers, you can simply download ready-made images from the Internet - go to Google Images and write “Highlights Instagram” or “Story Covers” (try different keyword options). We choose the appropriate option and shamelessly download. You can also search for covers on Pinterest. Option 2 - download/buy PSD template for Photoshop . You can find it by searching "Instagram Highlight Covers Template PSD". But mostly they sell sets with icons in jpg format. Icons for every taste and color can be found on the iconfinder website - this is such a “search engine” for icons, there are almost 5 million of them in the library. When we first create a selection of current stories, the cover is set automatically, but then it can be changed. To do this, go to the created folder. Story opens. Until it closes, click on "More" in the lower right corner. In the pop-up window, click "Edit current". You can change the folder name and cover art here. Click "Edit Cover". Click on the gallery icon and select the custom-made cover you want to put. If we want to remove stories from the current , in the same menu in the pop-up window, click "Remove from current". That is, you can not only delete the entire collection, but also individual stories in it. For example, if you have a folder with products, and one is discontinued, you can remove the story with it from the current one without deleting the entire folder. In the standard editor

Creating icons for action stories in Canva
 Later, you can refuse it and use the service for free! Here it is much more convenient to create covers. Showing 2 options:
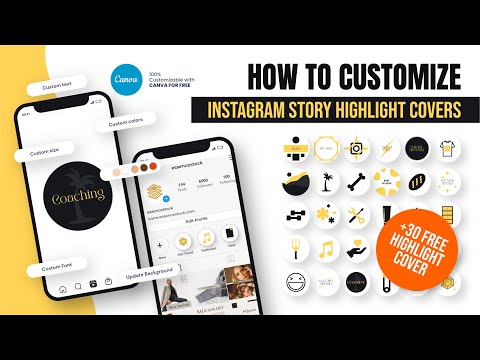
Make the design of actual stories in the application
 True, ready-made sets are paid, but in the application you can make covers from scratch. To create a cover, click "Create".
  And all the pictures are saved in a special folder created by the application.
 Download or buy a ready-made picture / template / set with icons for the current
 There are many free ones. Icons are divided into categories.
 How to add/change the cover of current stories
![]()