4 min
This article shows you how to fit the whole picture on Instagram. If you have a full portrait (9:16) image or video or a landscape (16:9) image or video, you can fit the whole picture in your Instagram post by following this tutorial.
Instagram has a maximum aspect ratio of 4:5 on portrait posts (four pixels wide for every five pixels tall). Instagram’s restriction reduces the number of very tall images that take up a lot of vertical space in the feed. Although it’s nice that Instagram keeps users from publishing massive, obtrusive posts, the 4:5 limit makes it difficult to post a whole vertical picture or video that you shot on your phone.
Here's what your tall photos will look like on Instagram without added borders.If you want to fit your whole picture on Instagram but it is taller than the 4:5 aspect ratio, you need to modify your image before posting. Otherwise, Instagram will automatically crop your image to a maximum of 4:5. I recommend the Kapwing resizer as it allows you to add white space on either side to bring your image to the required aspect ratio. In this article, I’ll explain how to fit the whole picture on Instagram in three simple steps:
Start by opening the Kapwing’s Resizer tool on your phone or computer. Upload your image file from camera roll or import it from a URL. Kapwing supports images, videos, and GIFs, so you can use it to resize for any kind of media.
The video resizer tool in KapwingOnce your picture loads into the editor, you’ll be taken into the Kapwing Studio Editor where you'll see a preview of your image in the center of the screen.
In the Output Size section, select the 4:5 option. This allows your photo to take up maximum vertical space in the Instagram feed without getting sized down. There is a resizing option for Instagram, 1:1, but this shrinks your image to fit in the default square shape.
Resize the image to 4:5 using the button in the Output Size listOnce you have selected the size option, Kapwing adds white padding to either side of your image to make it fit the 4:5 aspect ratio. You can change this white background to any color you want so that it stands out in the Instagram feed.
Click the red Export Image button at the top of the screen. After a few moments of processing, Kapwing makes your resized 4:5 picture or video available for download. Whether you're using a desktop computer, iPhone, Android, or tablet you'll be able to instantly download the image to your photo gallery once published.
If you're not signed into a Kapwing account, sign in or sign up using your Google or Facebook account – once you've signed into a Kapwing account, the watermark in the lower right corner will be removed from your final image.
Open the Instagram app and upload your picture. You’ll notice that Instagram crops the picture to square by default, but you can click the expand arrows or pinch the image in the lower left to fit the whole picture on Instagram. When you publish it, Instagram will resize to image width to fit the screen, the white image background will blend in with Instagram’s white background, and your whole picture will appear on Instagram with no cropping.
Note: You can also choose a black background, if you and your followers use Instagram in Dark Mode.
This tutorial shows you a workaround for posting full portrait pictures and videos on Instagram. You can use Kapwing’s Resizer to post multiple images with different sizes on Instagram, add a thin white border around your media, and publish TikTok and Snap videos. I hope that it helps speed up your social media workflow and enables you to post your beautiful and fun candid moments to Instagram.
For more information on how to resize a video for Instagram, check out this video tutorial (we give you the best sizes for each type of video too!):
Check back in at the Kapwing Resources page or our YouTube channel for other content creation tips and tutorials! And remember to tag us @KapwingApp whenever you share your content on social media– we love to see what our creators are passionate about!
Related Articles:
3 min
Instagram crops all vertical posts to a 4:5, which means part of a vertical video or photo is cut off. But, if you add a white background before publishing to Instagram, you can post the full 9:16 portrait without cropping.
Instagram crops all vertical posts to a 4:5. Unless your video is under 30 seconds, it won't work on Reels. That means that it’s impossible to fit a full 9:16 video into a normal Instagram video post. If you take a screenshot, film a video clip on your phone, TikTok, or Snap, or if you want to post a Story to your feed, Instagram makes you crop part of it out unless you resize it first.
A portrait video is cropped to 4x5 aspect ratioTo post a full vertical video or image on Instagram without cropping to 4:5, add a white background to make it into a square. Then, you can post the photo or video without cropping out or changing the size. This technique works for pictures, GIFs, and videos. Here’s a step-by-step tutorial:
Open Kapwing’s resizer and upload the vertical or portrait photo you want to post. Kapwing’s resizer is free to use and online, so you don’t need to download an app. It supports images, GIFs and videos.
Kapwing's Resizer is quick and intuitive, even for beginners.Note: If you want to edit or add filters to your photos, make sure to do this before resizing. That way, the white background won’t be affected by the color changes and adjustments.
Choose the 1:1 option for Instagram (Kapwing also supports 16:9 sizing for YouTube and other formats). You can change the background color and use Kapwing’s zoom and positioning tools to zoom in, crop, or add a border.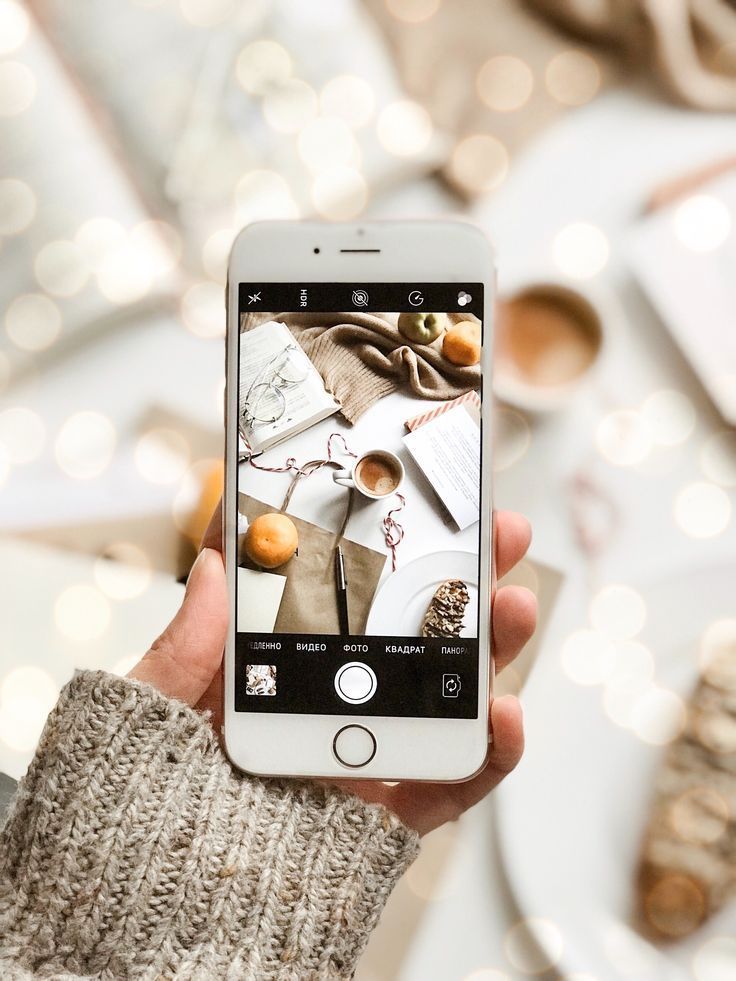 Click “Export Image” once the preview matches what you want your post to look like!
To take up more vertical space in the Instagram feed, you can also choose to resize your post to 4:5 (the “FB/Twitter Portrait” option on Kapwing).
After a few moments, your image or video will be ready for download – you can remove the Kapwing watermark for free by signing into your account. Since your photo/video now has a 1:1 aspect ratio, you can now download and publish it without cropping on Instagram.
If you're not signed into a Kapwing account, sign in or sign up using your Google or Facebook account – once you've signed into a Kapwing account, the watermark in the lower right corner will be removed from your final image.
Steps for saving the image on iPhonesI hope this article helps you share your un-cropped vertical videos and portrait photos with the world! Kapwing’s one-click editor was designed for people with no previous editing expertise, so don’t be afraid to try it out.
For more information on how to resize a video for Instagram, check out this video tutorial:
For more ideas, tutorials, and features, check back in at the Kapwing Resources page or our YouTube channel! And remember to tag us @KapwingApp whenever you share your content on social media– we love to see what our creators are passionate about!
Related Articles:
Have you ever felt like posting a full size photo to your story or Instagram feed? But the social network ruthlessly cut off the most beautiful area in the picture.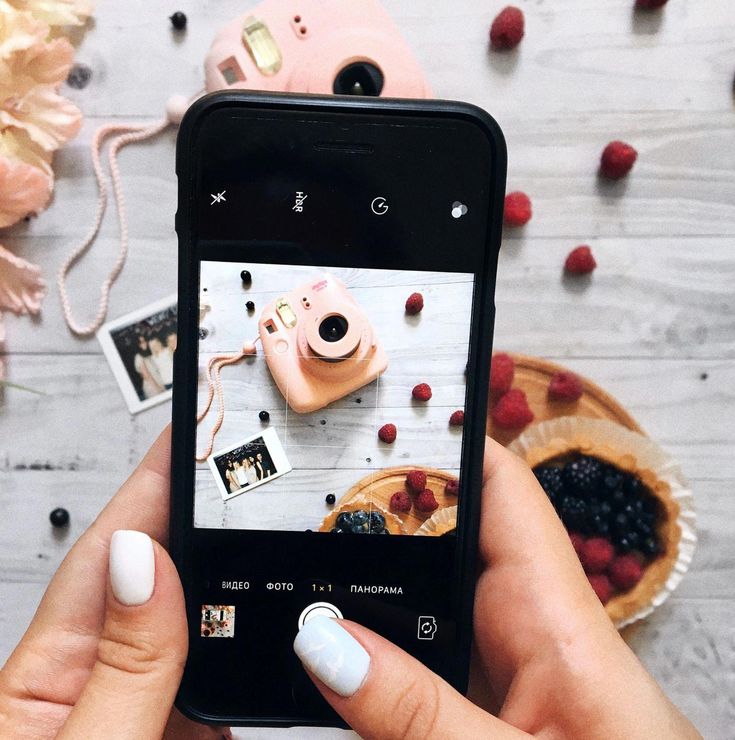 Let's see how to resize to instagram and upload a photo in original size.
If you want to post a story, but everything is cut off, then the easiest way to resize a photo for Instagram is to take a screenshot of it from the general Gallery. Only if you upload a picture to the story, the image will have black borders.
Everything is easier with posts. And uploading a full size photo is easy. Let's see how to do it. Instagram itself has a standard function with which you can adjust the size of the photo to Instagram.
What to do:
If you're a creepy perfectionist and want all of your photos to be edited the same way, then you can use an app called Instasize . You can download it in the AppStore and Google Play (in-app purchases are possible).
Leaving the photo in full size, you can choose any frame format in the application:
The following functions are also available in the program:
Be the most stylish! Use super effects:
More life hacks, processing secrets, best filters and unusual masks. And also how to make a rainbow on the face, overlay text, correctly lay out the layout on the photo, is described in the large team article. Click on the picture!
Now you know how to edit, upload and resize photos for Instagram. Use these simple tricks to make your profile sparkle with new colors. Let your pictures collect a huge number of likes.
Thank you for your time.
You are a person who loves to take pictures and since you always take a lot of pictures, you would like to post them on Instagram . In fact, you've already tried it, but the results are unsatisfactory because the photos don't have the perfect aspect ratio for a well-known social network, and you don't know how to resize them correctly. So is it true? If yes, don't worry, I'm here to help.
If you're wondering how to resize photos for instagram , you'll be glad to hear you've found the right guide at the right time. In fact, in the next chapters of this guide, I will explain in detail how to resize a photo using the tools available on Instagram itself (yes, there is!) or using third-party apps.
So if you can't wait to get more information now, sit back and take a few minutes of your free time to calmly read the procedures I'm about to give you. You will see that by carefully following what I am about to illustrate, you will easily and quickly succeed in your intention. At this point, all I have to do is wish you a good read and, most importantly, a lot of fun!
Index
 1 Borderless Photo Resizer for Instagram
 I start this tutorial by explaining to you how to resize Instagram photos using the official photo social network app for Android (download from Play Store or alternative stores) and for iPhone (downloadable from the App Store), to be able to post the image in question in the posts section or in the stories section. Find everything below.
Your intention is to resize a photo for instagram , post to Enviar , but would you like the image to be borderless? If so, you'll be glad to know that the official social media app has a built-in image resizer.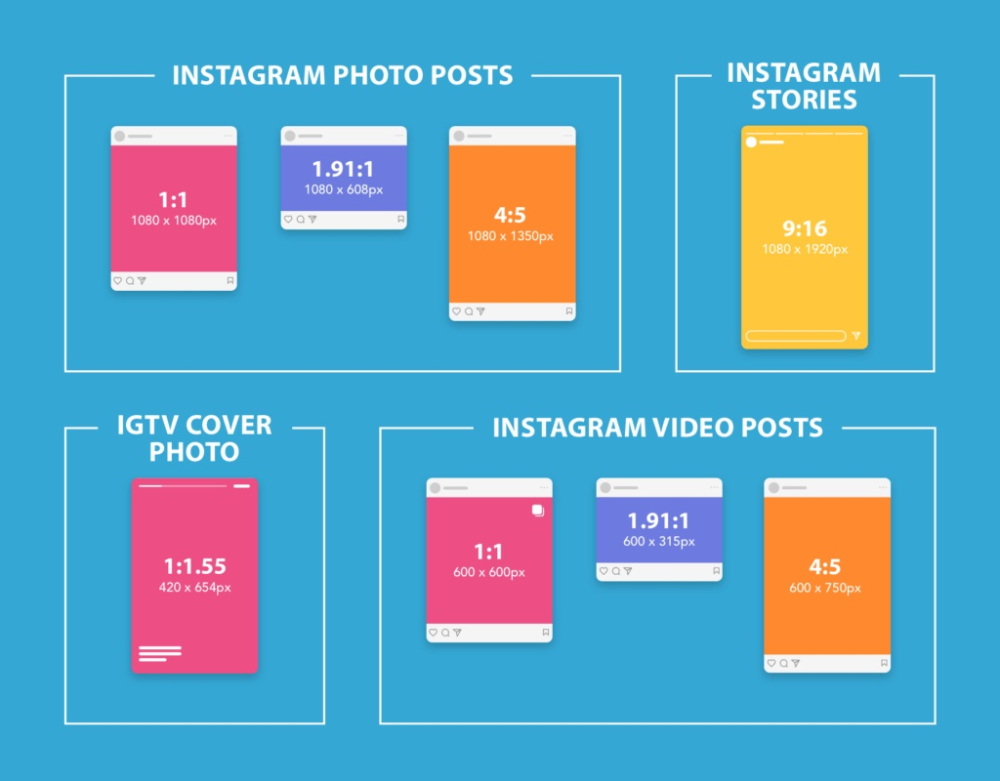
So launch Instagram and log into your account (if needed) then press the 9 button0029 (+) located at the bottom, and then in the device gallery, select photo of your interest.
Una vez hecho esto, para cambiar su tamaño, haga clic en icono de dos flechas ubicado en la esquina inferior izquierda o utilice el pellizcar para ampliar y luego, extienda o pellizque la imagen con los dedos, para agrandarla o reducirla.
How do I know if my mobile phone has a virus?
When you are finished editing, touch the button Forward twice in a row, then after recording el subtitle accompanying the photo, go to its publication by pressing the button Share . If you have questions or concerns, check out my tutorial where I will guide you in more detail on how to post on Instagram.
Even when creating a story su Instagram You can easily and quickly resize shared items using the same photo social networking application.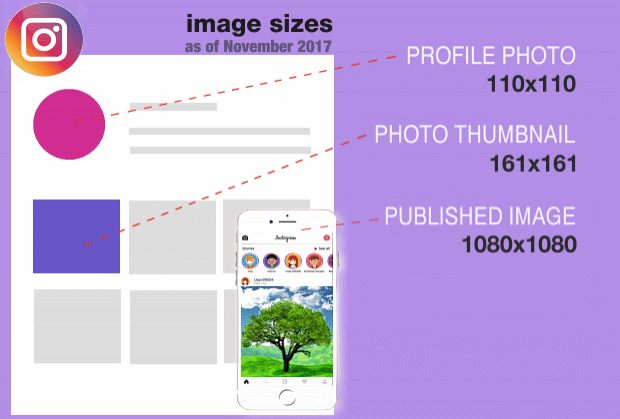
To get started, start Instagram by clicking on the appropriate icon located on your home screen and/or your device's application menu to sign in to your account (if necessary).
Now click the camera icon located in the upper left corner, then to share the image in the story, click the gallery icon located in the lower left corner and tap the image you are interested in to select it. After that use pinch to enlarge (then pinch or pinch the image) to resize the image.
The exact same operation can be performed if you later want to attach an image to a story using a sticker with media gallery symbol located in the sticker menu (icon square emoticon icon ). Once you've done that, once you've made changes to the story, click the Your Story button to post it.
In case of doubt or problems, please refer to my guide where I will explain in more detail how Instagram stories work.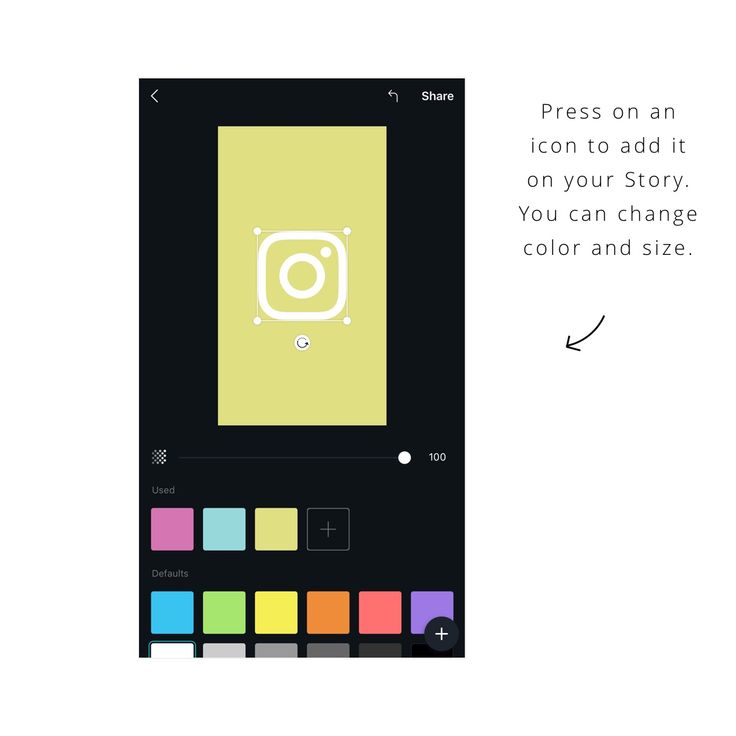
If the features included in the Instagram app are a little too tight for you, you can resort to some third party apps and resize your photos for posting to a social network through the latter. Here are some of the most interesting ones.
One of the easiest solutions you can use to resize photos for Instagram is Google Photos . In fact, it is a free application developed by Google that is used to create a backup of all the elements of your device in the cloud and organize them very efficiently.
This application is preinstalled on most devices. Android has been released recently, but can also be downloaded from the Play Store. However, for iPhone it is available for free in the App Store. Among its most outstanding features is also the possibility of using some of the photo editing tools.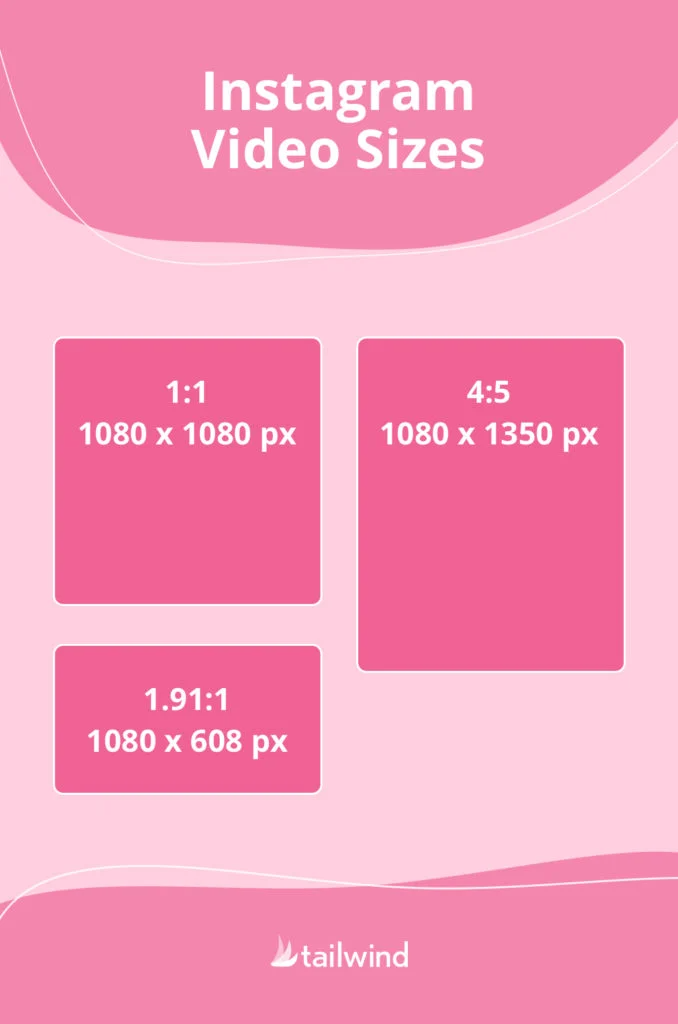
Having said that, after downloading and launching the app on your device, click on the image to edit, and then click the gear icon located at the bottom. Now if you are using Android tap the separate button and if you are using iOS tap the rule icon .
Then crop the image using the corresponding cursors that appear on the screen, or click the square icon select one of the preset formats: dedicated to stories Instagram y el 16:9 , while posting is for 4:3 .
When you are done making changes, press the button Fine or the one named save to save your changes and then post the photo to Enviar about en Stories from Instagram as explained in previous chapters.
If you have iPhone you can resize photo for instagram using app photo iOS, which, in addition to allowing you to view and manage photos on your device, also includes some very interesting editing tools.
Therefore, to start, launch the app by tapping on its icon located on the home screen and/or in your device's app library, then tap on the photo to edit and tap on the edit button located on the top right corner.
Once this is done press the ruler icon is located in the lower right corner, and use the corresponding sliders to manually crop the image. Or touch the square icon located in the upper right corner and select the format related to Enviar de Instagram ( 4:3 ) or relative to Stories ( 9:16 ).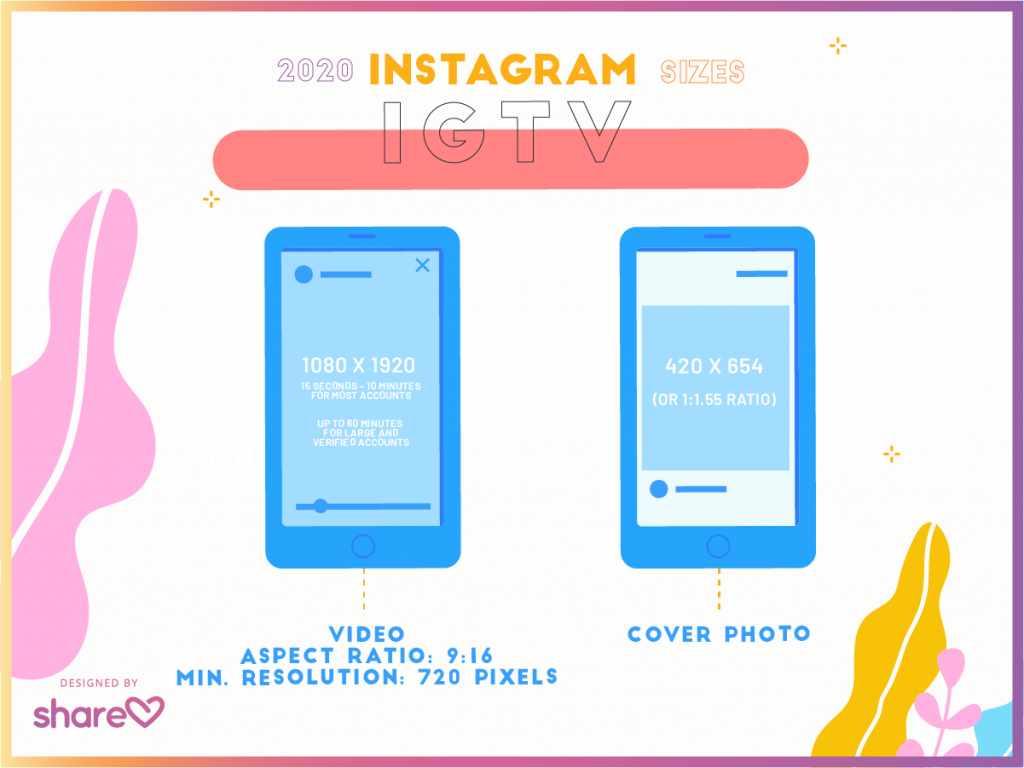
Finally press the button Penalty is located in the lower right corner to be able to save the photo with the changes made and thus publish it to Instagram.
If even the apps I've suggested so far don't satisfy you, you can take a look at my photo resizer app tutorial to find other suitable ones.
Also, always consider using third party tools if you're interested. how to resize photos for instagram with Photoshop , you'll be sure that the popular Adobe software offers several advanced photo editing options, including image resizing.
If you need more information, I suggest you read my guide on how to resize photos with Photoshop.
Do you want to resize a photo to post as Instagram profile picture ? If so, you'll be happy to know that you can use the same tools that I discussed in previous chapters.